3 Cabinet Design Trends That Make Reselling Harder
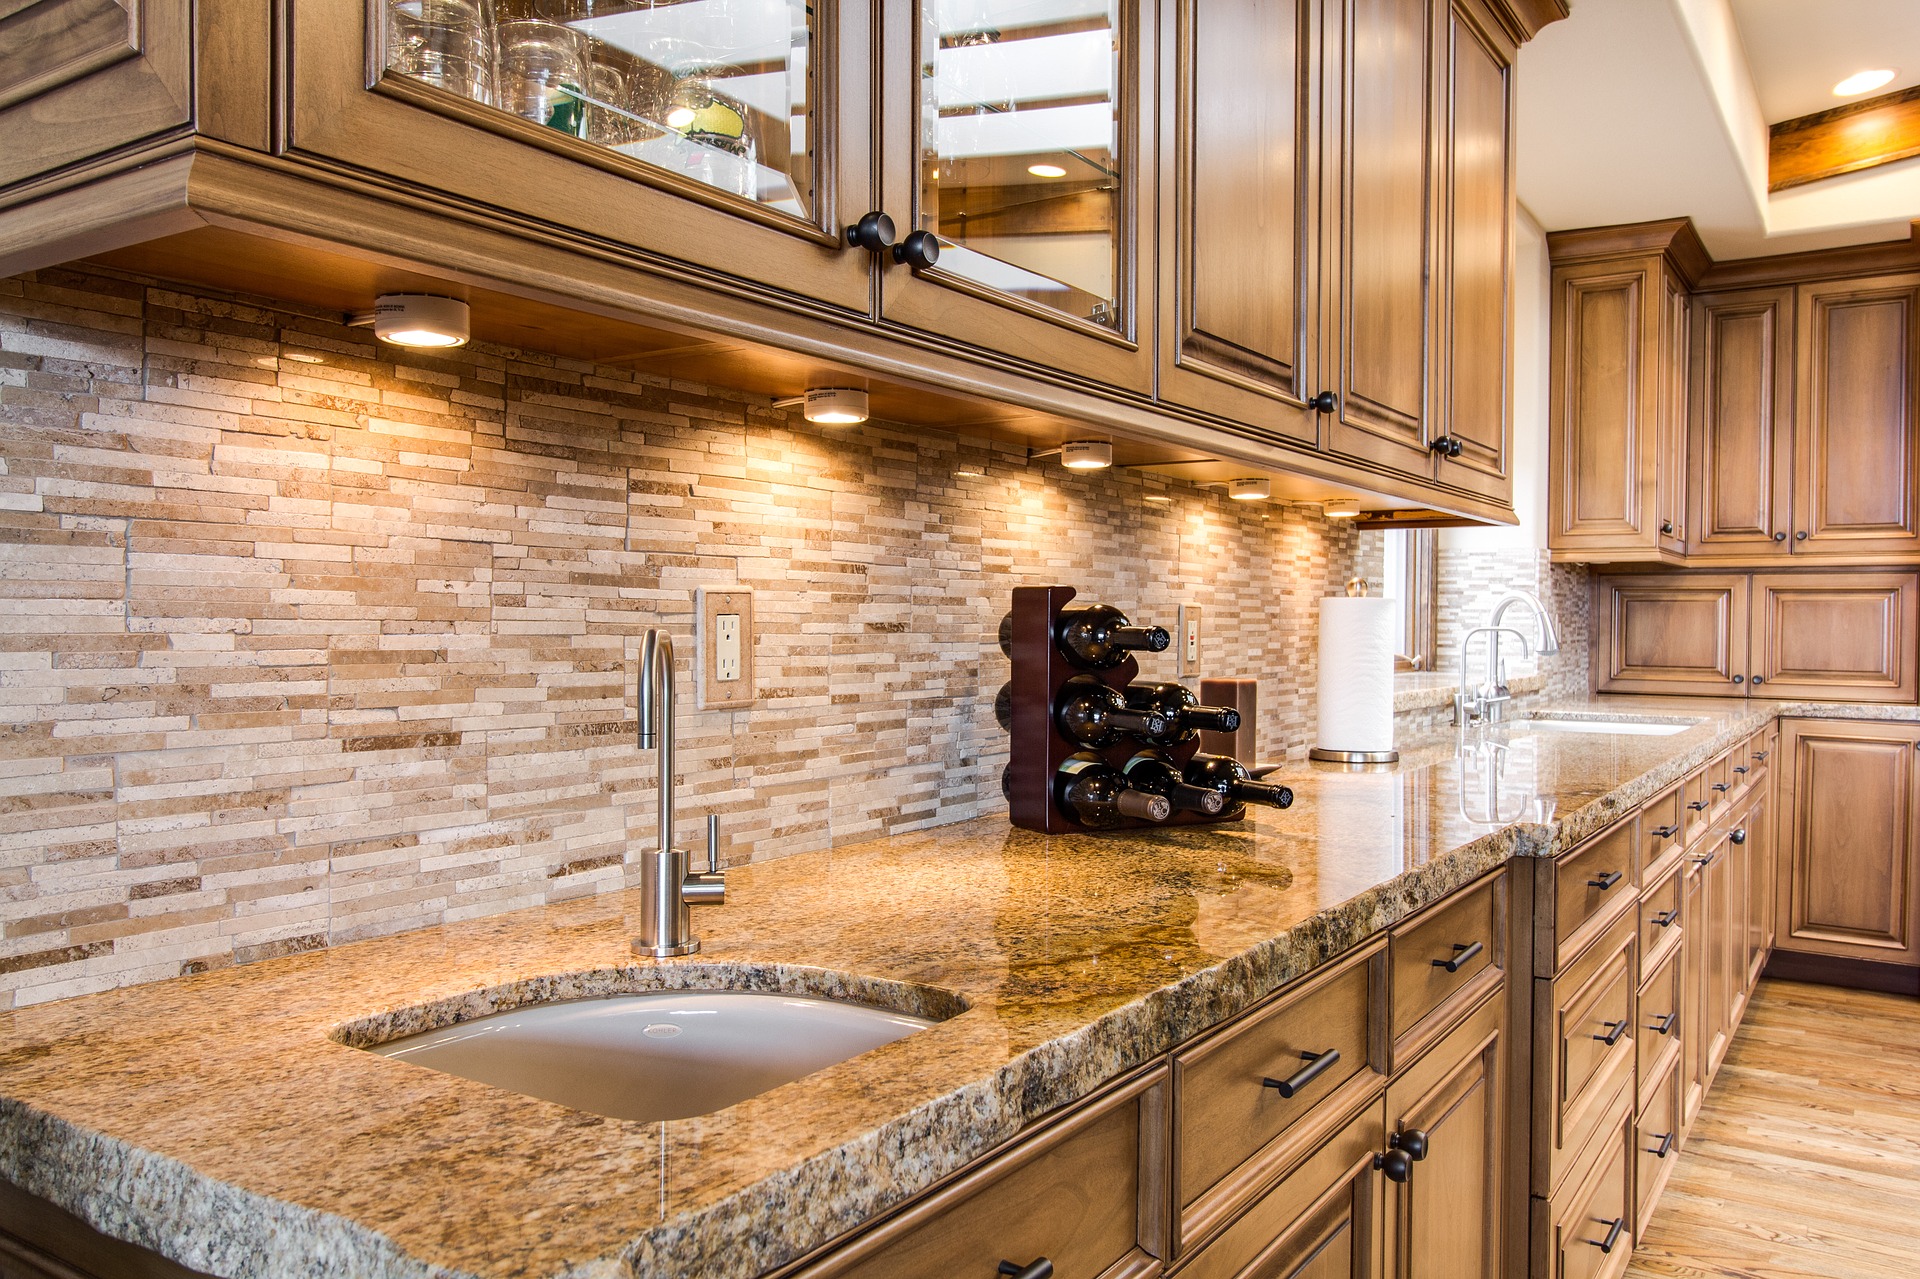
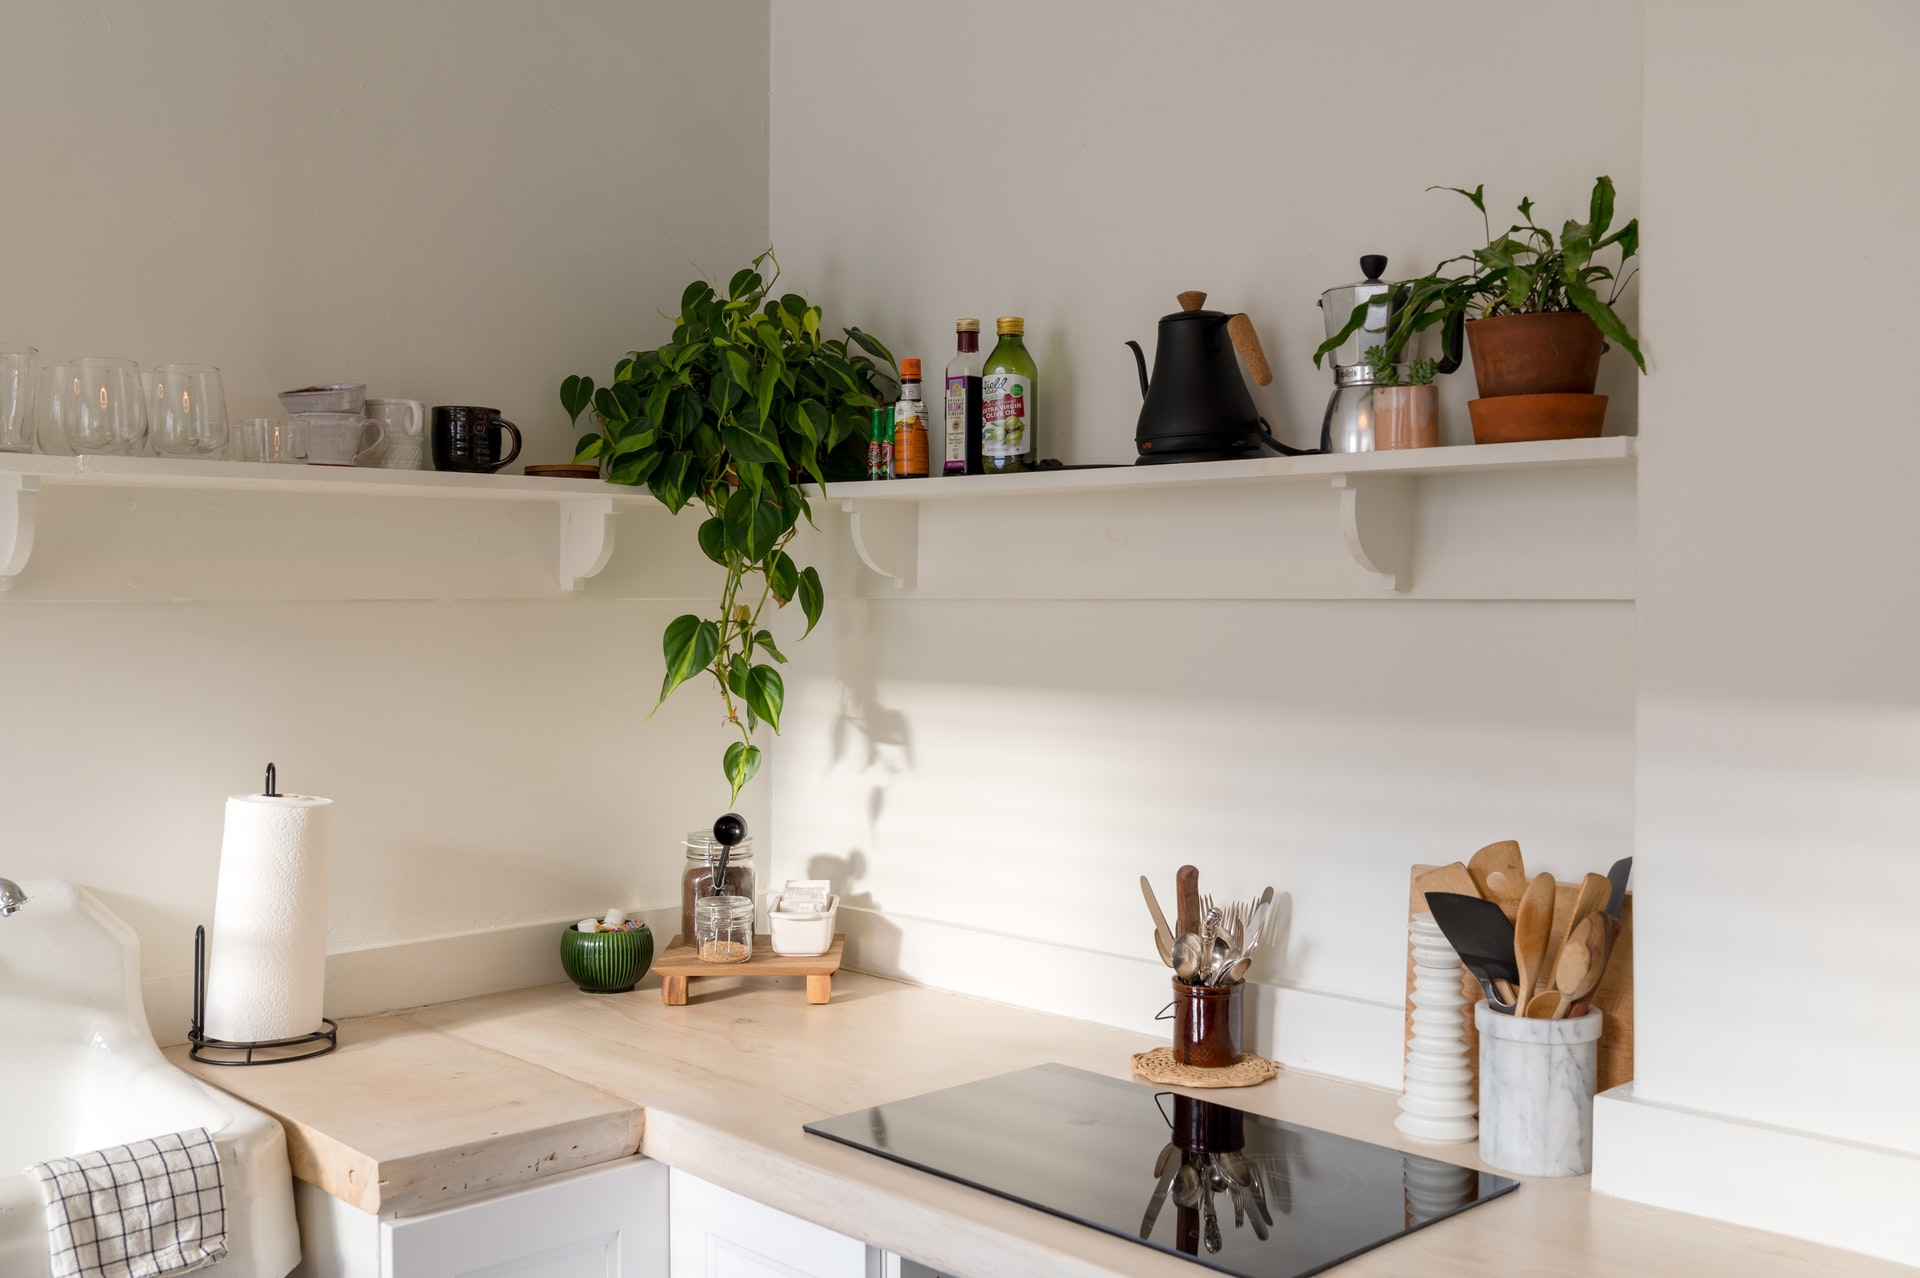
Since a kitchen gets so much use day in and day out, it’s no surprise that it’s usually the biggest selling point in a home. A kitchen remodel gets expensive fast, so it’s even more incentive for a potential buyer to love the kitchen right away. Those looking to sell their home should be conscious of the design elements that may ultimately affect the sell price. Here’s three to avoid. Open shelving. An open shelf is a great concept in theory, but can be a lot more hassle for homeowners. While it does open up a space, the dishware placed on it can easily gather dust. If a potential buyer doesn’t have the means to close off the shelves, it could have them feeling overwhelmed to constantly maintain the look. Dark cabinets. These are very big commitments to homes. A white kitchen will usually sell faster than a dark blue one. A darker kitchen with dated hardware can feel old, and especially unattractive to millennials. The cost to repaint kitchen cabinets will hit a lot harder than a simple wall recolor. Intricate millwork. A younger buyer prefers transitional looks, where lines are clean and geometric. Simplicity is the key here. A neutral kitchen with light countertops and brass hardware is typically a good option. Source: the Kitchn