Recipes

How to Make Soft Pretzels

A soft pretzel is made with a simple dough almost nearly identical to sandwich bread. These pretzels aren’t hard to make, it just takes a leap of faith when placing the pretzels in a vat of simmering water before baking. You’ll want to utilize the boiling step to gelatinize the outside of the pretzel, preventing it from fully rising during baking and giving the pretzels their signature chewy crust and taste. Ingredients 1 cup warm water 2 teaspoons active dry yeast 2 1/2 to 3 cups all-purpose flour 1 tablespoon granulated sugar 1 1/2 teaspoons salt 1/4 cup baking soda 1 tablespoon barley malt syrup, rice syrup, or dark brown sugar 1 large egg, whisked with 2 tablespoons warm water Coarse sea salt or pretzel salt Directions: Make the pretzel dough: Combine the warm water and yeast in the bowl of a stand mixer (or a medium-sized bowl, if kneading by hand). Let stand a few minutes, then stir to dissolve the yeast. Add 2 1/2 cups of the flour, sugar, and salt. Stir with a stiff spatula to form a floury, shaggy dough. Knead the dough: Knead the dough with a stand mixer fitted with a dough hook attachment on low speed for 5 minutes. If the dough is very sticky after 1 minute, add flour a tablespoon at a time until it forms a ball. Alternatively, knead the dough against the counter for 5 to 7 minutes. The dough has finished kneading when it is soft, slightly tacky, and holds a ball-shape. Let the dough rise: Clean out the bowl, film it with oil, and return the dough to the bowl. Cover and let rise somewhere warm until the dough is doubled in bulk, about 1 hour.→ Make Ahead Tip: At this point, the pretzel dough can be refrigerated for up to three days or frozen for three months. Thaw frozen dough in the refrigerator before using. Refrigerated dough can be shaped into pretzels while still cold, but allow some extra time for the pretzels to puff up before dipping and baking. Divide the dough: Turn the dough out onto a lightly floured work surface. Use a bench scraper to divide the dough into 8 equal pieces. Shape the pretzels: Working with one piece of dough a time, roll the dough into a long, skinny rope against the counter using the palms of your hands. Aim for a rope about 20 inches long. If it shrinks back on you, set it aside, roll another piece of dough, and come back to it after it’s rested a few minutes.Lift the ends of the rope toward the top of your work surface and cross them. Cross them one more time to make a twist, then fold the twist back down over the bottom loop to form a pretzel shape.Set the pretzel on a parchment-lined baking sheet and continue shaping the rest of the pretzels. When all the pretzels are shaped, cover them loosely and set them aside to rise until puffy, 20 to 30 minutes. Preheat the oven to 450°F. Place a rack in the middle-bottom position. Prepare the water bath: When the pretzels are starting to look puffy, measure 8 cups of water into a large, wide pot and set over high heat. Make sure the pot has high sides because the water will foam, nearly doubling in volume, when you add the baking soda.Bring the water to a rapid simmer, then add the baking soda and the barley malt syrup. The baking soda will make the water foam up the sides of the pot. Stir to dissolve the baking soda and syrup, then reduce the heat to medium to maintain a simmer. Boil the pretzels: Lower 2 to 3 pretzels into the water bath — as many as will fit without crowding. Simmer for 30 seconds, then use a slotted spoon to flip the pretzels over. Simmer for another 30 seconds, then scoop the pretzels out of the water and return them to the baking sheet. While in the water bath, the pretzels will puff and take on a doughy, puckered appearance. Repeat with the remaining pretzels. Brush with egg and sprinkle with salt: Once all the pretzels have been dipped in the water bath, brush them with the egg and water mixture and sprinkle them with salt. Bake the pretzels: Bake the pretzels until they are deep brown and glossy, 12 to 15 minutes. Cool and eat! Transfer the pretzels to a cooling rack and let sit until cool enough to handle. Pretzels are best when eaten fresh and hot, but will still be good for up to a day later. Store them in a paper bag at room temperature. Source: the Kitchn

Egg Cup Omelette Recipe

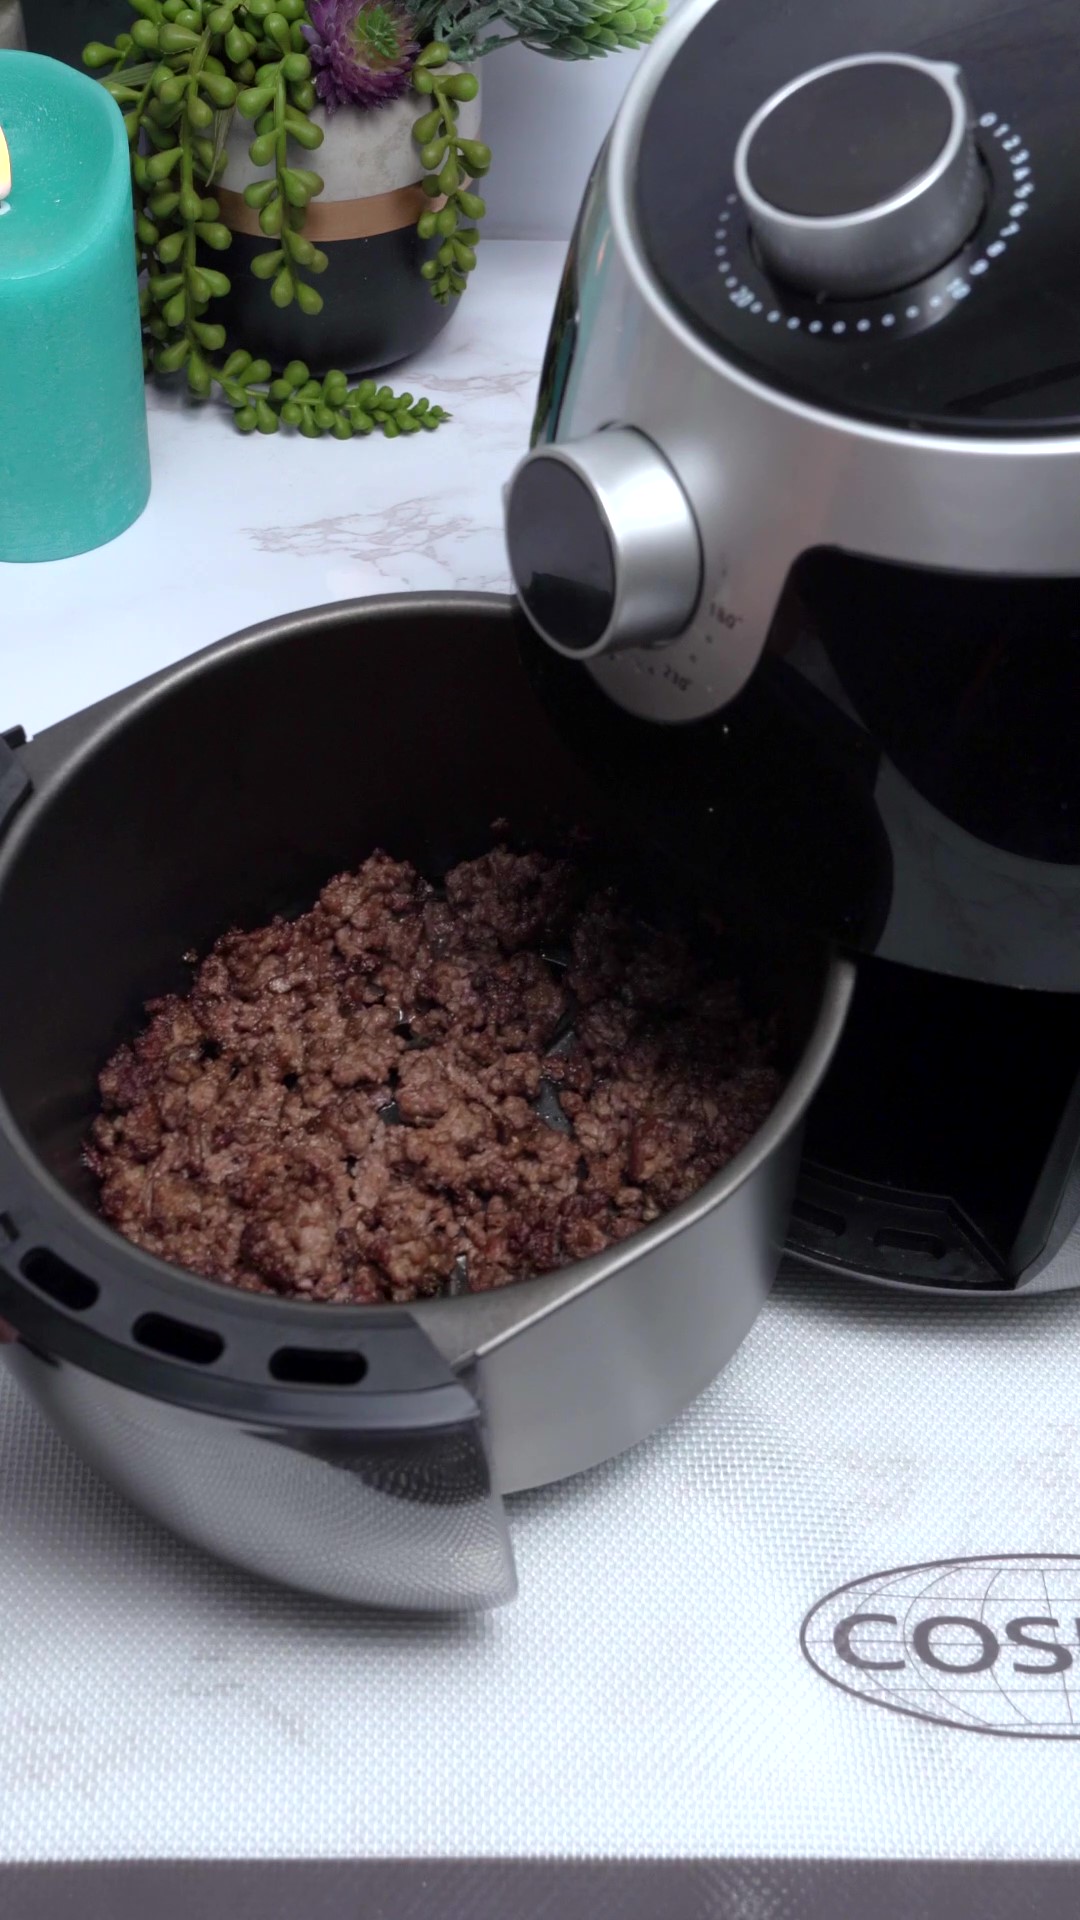
Make breakfast simple! This egg cup omelette has everything you need such as cheese, veggies and choice of meat. Don’t fuss with cleaning pans afterwards. Conveniently prepare this in an air fryer in about 10 minutes. Serve the egg cup omelette on its own or along your other favorite breakfast sides. Ingredients: 2 Eggs Chopped Veggies Chopped Meat Cheese 1 Tsp butter 1 Tsp Cream Cheese Directions: Mix 2 eggs and your choice of chopped veggies and meats Add a handful of cheese and the butter and cream cheese Mix then pour in a pan Cook at 375°F for 10 to 12 minutes

Ginger Beef Stir Fry Recipe

Looking for a quick dinner idea? Beef stir fry is easy and packed with flavor. The honey soy marinade comes together with julienned ginger for a tasty meal. The trick to a good stir-fry is using a very hot, and relatively stick-free pan. Cooking on high heat allows you to get a good sear on the meat and vegetables without overcooking them. Prep time: 15 minsCook time: 10 minsMarinating: 30 minsTotal time: 55 minsServings: 4 to 6 servings Ingredients: Marinade: 2 tablespoons unseasoned rice vinegar 5 tablespoons soy sauce (use gluten-free soy sauce if cooking gluten-free) 1 tablespoon honey 1 tablespoon peeled, grated fresh ginger 1 teaspoon chili pepper flakes 1 teaspoon ground cumin Beef and stir-fry: 1 1 1/4 to 1 1/2 pound top sirloin steak 1 tablespoon cornstarch 2 tablespoons vegetable oil (preferably peanut) 1 tablespoon dark toasted sesame oil, optional 3 to 4 green onions, cut on a diagonal, 1/2-inch apart, including the greens 2 cloves garlic, thinly sliced 2 to 3 hot chilies, preferably red serranos, seeded, sliced 1-inch knob of ginger, peeled, cut lengthwise into matchstick shapes 1/2 cup loosely packed, chopped cilantro Directions: Chill steak, slice into strips: Chill the steak in the freezer for 30 minutes before you slice it, this will make it easier to cut in thin slices. Slice the steak first crosswise in 1/2-inch thick slices. The cut each slice lengthwise into strips. Marinate the beef: In a medium bowl, whisk together the marinade ingredients; the soy sauce, vinegar, grated ginger, honey, red chile flakes, and cumin. Mix the beef in with the marinade to coat and let it sit for at least 30 minutes, and up to 4 hours, in the fridge. Make cornstarch slurry: In a small bowl, mix the cornstarch with 2 tablespoons of cold water to make a slurry. Brown the beef strips: Heat the oil in a wok (vegetable oil plus dark sesame oil if using), or a large sauté pan, over high heat until it is nearly smoking. As the oil is heating up, pat the beef dry and separate it into small batches no larger than what can fit into the palm of your hand. Working in batches, sauté beef until just brown outside but rare inside, no more than 1 minute. Transfer beef to a bowl. Stir fry chilies, garlic, ginger: When all of the beef is cooked, put the chilies and garlic into the pan and stir-fry 30-45 seconds. Add the julienned ginger and cook for 30-45 seconds more. Add beef, cornstarch slurry, scallions: Add the beef back to the pan. Add the cornstarch slurry. Add the scallions and mix everything together. Cook for 1 minute. Remove from heat, stir in cilantro: Turn the heat off and mix in the cilantro. Serve at once with steamed white rice. Source: Simply Recipes

Crispy Grilled Cheese Chips Recipe

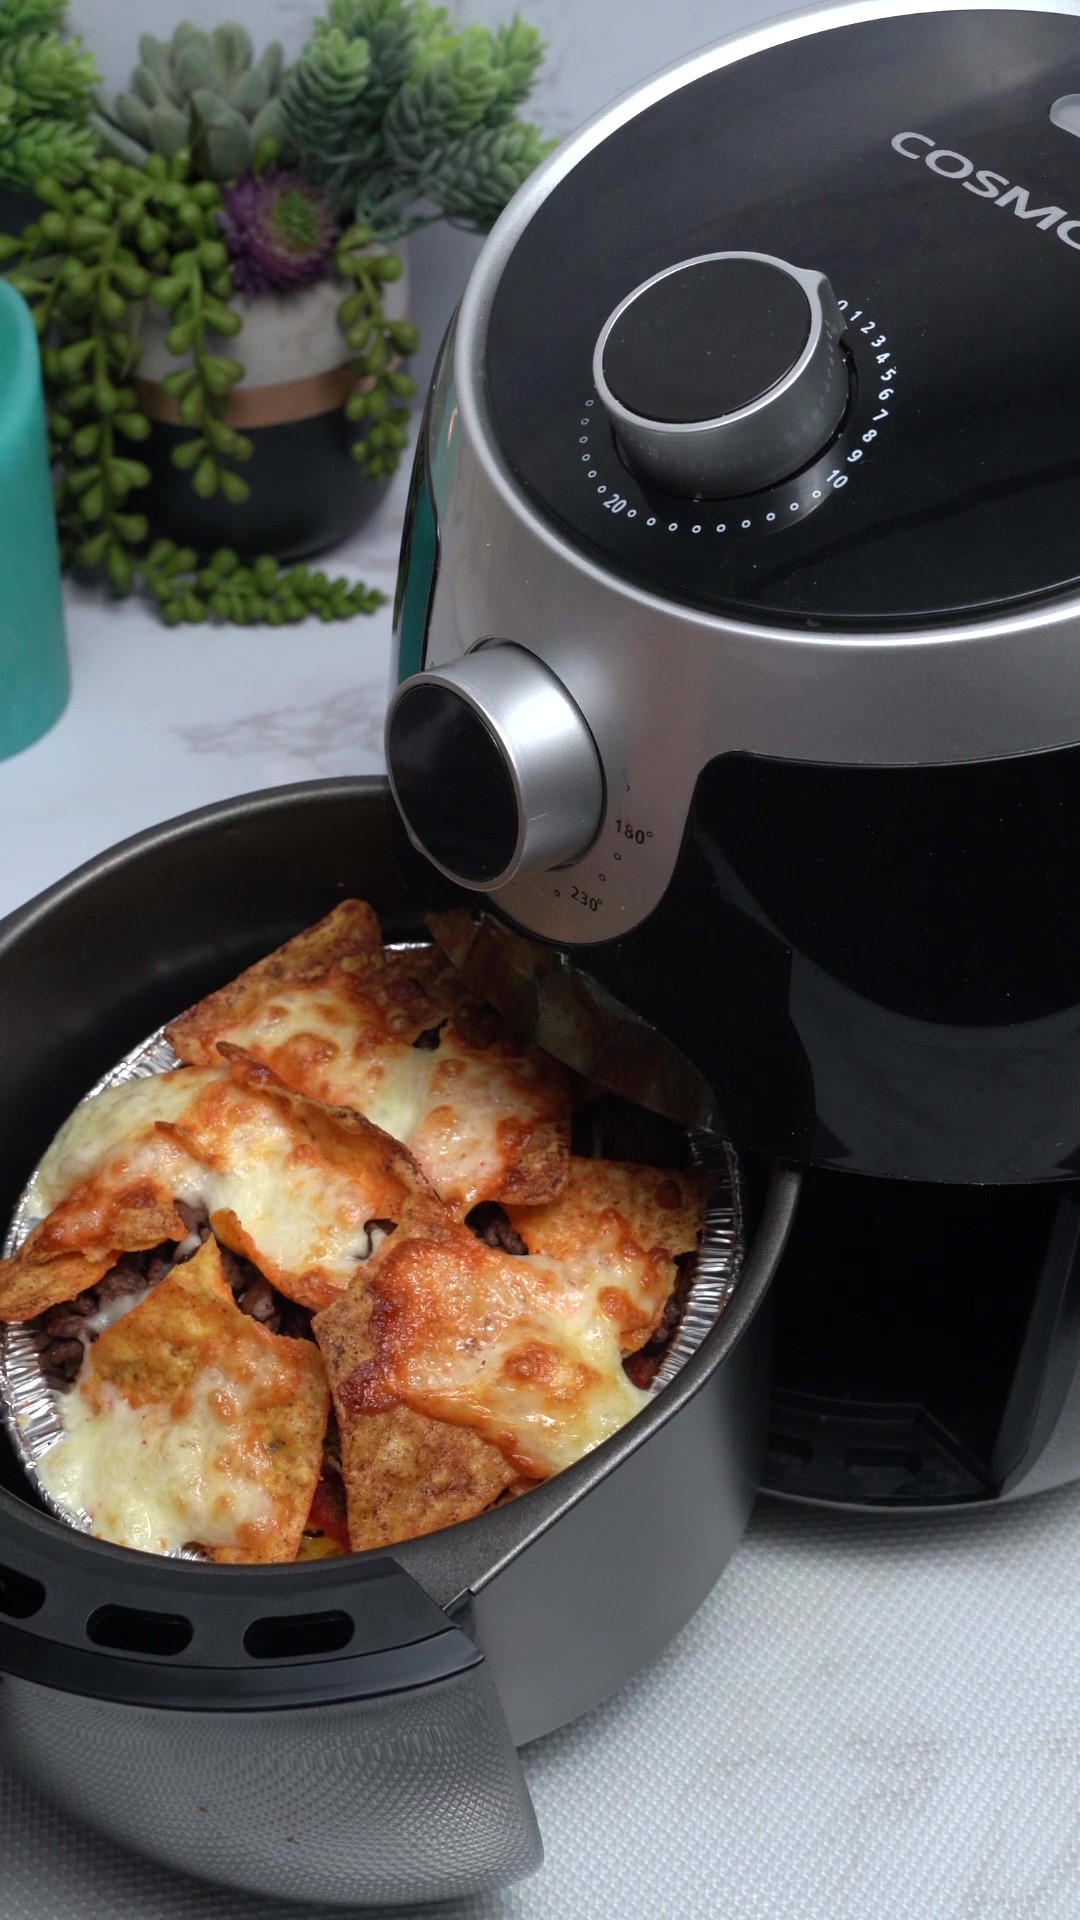
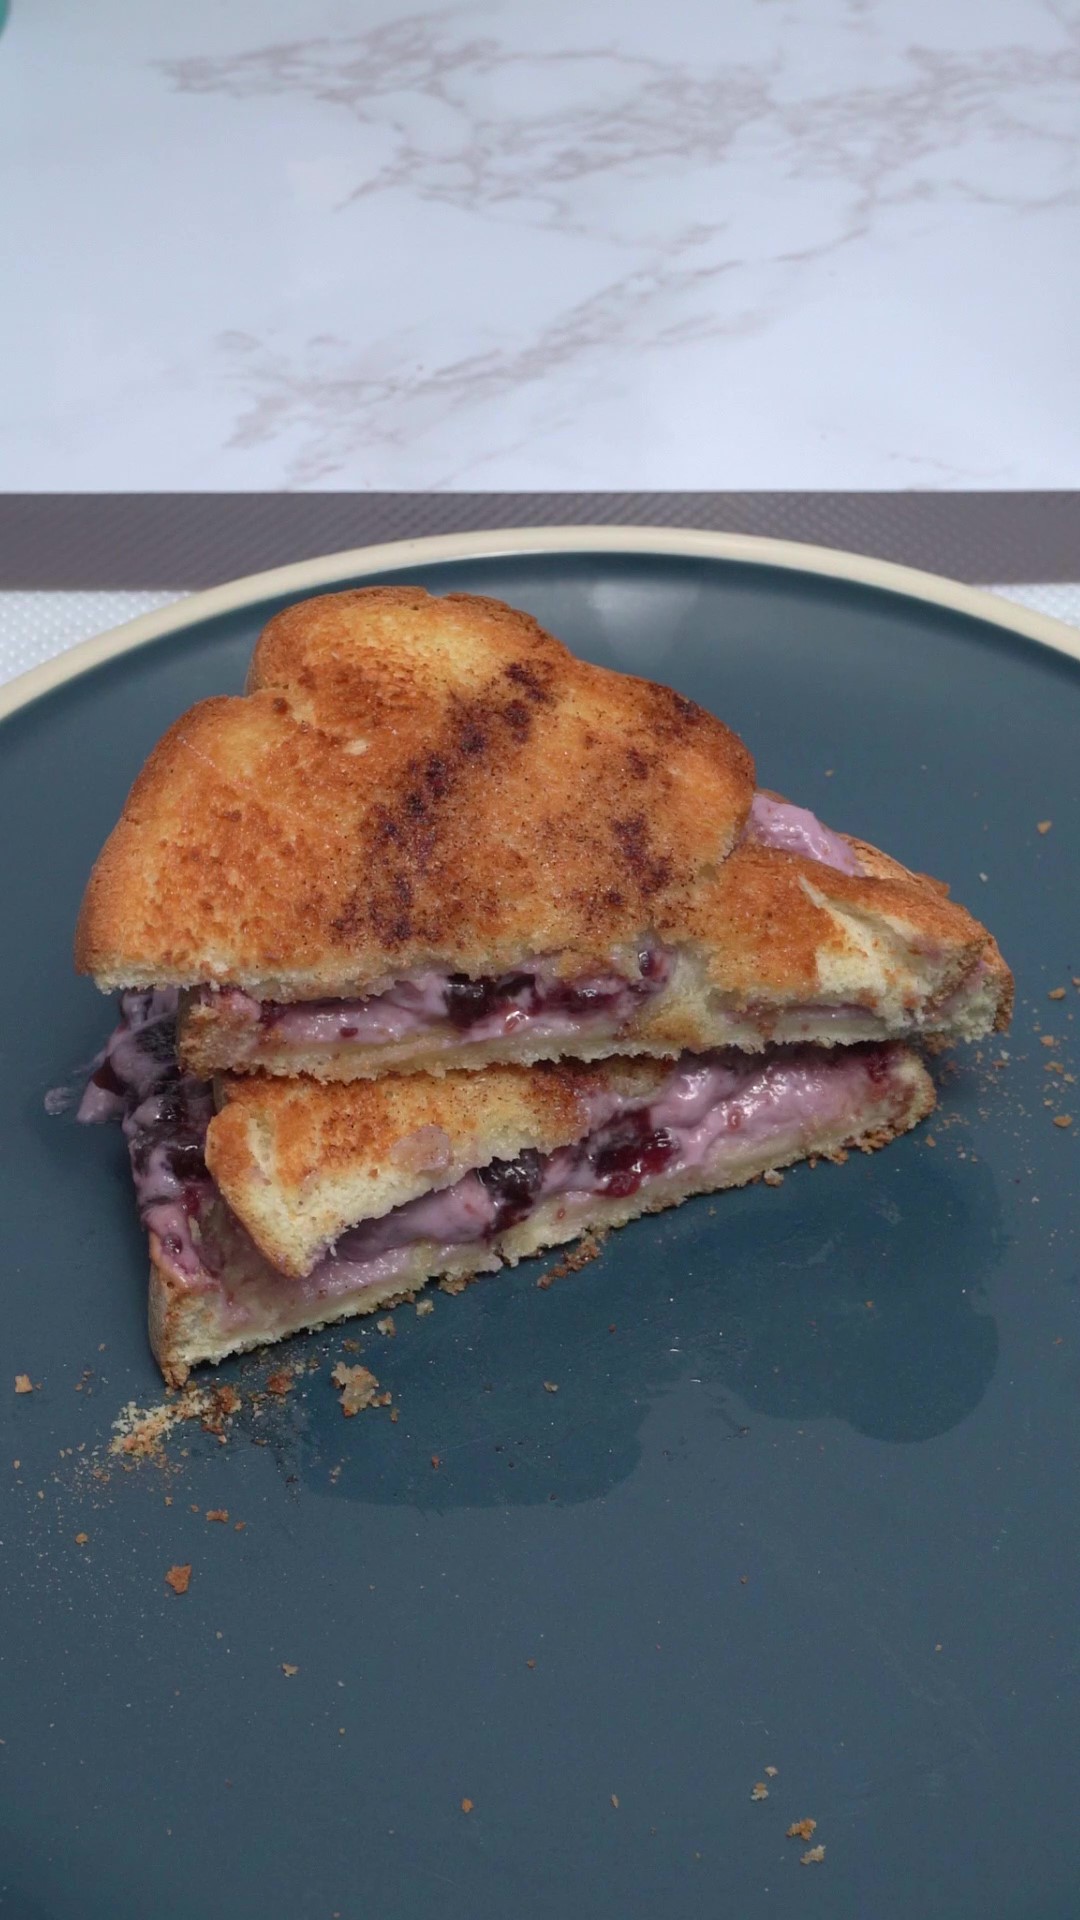
Prepare a quick and simple snack with this air fryer recipe! Crispy grilled cheese chips have everything you love, from a crunchy exterior to all the right seasonings and cheese inside for a highly versatile dish. Serve these on their own or as a side to your dinner. Ingredients: Brioche Bread Butter Cheese Garlic Salt Italian Seasoning Non-stick Cooking Spray Directions: Flatten bread and sandwich them with choice of cheese and garlic salt Cut into triangles. Butter and sprinkle with Italian seasoning Spray air fryer pan with non-stick spray and load chips Cook at 350°F for 10 to 12 minutes. Flip and cook for another 3 minutes

Peach Cobbler Recipe

Peach cobbler is a summer favorite. It’s super easy to make with just fresh peaches and a simple cobbler topping. Use ripe, sweet and flavorful yellow peaches. The peach cobbler will only be as good as the peaches you use. You’ll want to serve this with a scoop of vanilla ice cream for the final touch. Prep time: 40 minsCook time: 50 minsTotal time: 90 minsServings: 8 servings Ingredients: Peach filling: 4 pounds ripe yellow peaches (about 12 medium-sized peaches), peeled, pitted, and sliced into 1/2 inch thick wedges 1 cup sugar, divided 2/3 cup and 1/3 cup 1/2 cup instant tapioca (grind in a food processor for better texture) 1 teaspoon lemon zest 1 1/2 tablespoons lemon juice 2 teaspoons vanilla extract Cobbler topping: 2 cups all-purpose flour 1 1/4 teaspoons baking powder 1/2 teaspoon ground nutmeg 3/4 cup (6-ounces) butter, cut into 1/2 inch chunks 2/3 cup heavy cream Directions: Make the filling: Place the peaches, 2/3 cup of the sugar, instant tapioca, lemon juice, lemon zest, and vanilla in a large bowl and stir to evenly coat the peach slice with everything.Let sit for 30 minutes for the peaches to macerate and the tapioca to soften, stirring occasionally. Preheat oven to 350°F Make cobbler topping: In a separate bowl, vigorously whisk together the flour, 1/3 cup of sugar, baking powder, and nutmeg.Cut the butter into the flour with your fingers or a fork until the mixture has the texture of a coarse meal. Add the cream and stir with a fork until the dough mixture just comes together. Assemble the cobbler: Butter a 2 1/2 to 3 quart casserole baking dish. Spread the sliced peaches out in an even layer. Crumble the dough mixture over the peaches. Bake: Bake at 350°F until the peaches are bubbly and the topping is well browned, about 50-60 minutes. Cool and serve: Let cool 10 minutes before serving. Serve with vanilla ice cream or whipped cream. Source: Simply Recipes

Chocolate Ganache Recipe

Chocolate ganache is a luxurious and rich frosting, used for anything from Bundt cakes to cupcakes. It’s super easy to make with just a few ingredients and minutes of hands-on time. A dark chocolate ganache at its core is a warm heavy cream and chocolate stirred together. The type of chocolate you use can be substituted depending on your preference. You can also alter the consistency by adding more or less cream to better suit the dessert you’re using it with. Prep time: 10 minsCook time: 3 minsRest time: 30 minsTotal time: 43 minsYield: 4 cups ganache Ingredients: 1 1/2 cups (12 ounces, 354 milliliters) heavy cream 16 ounces (453g) semi-sweet chocolate chips 2 tablespoons brandy, cognac, or vanilla extract Directions: Heat the heavy cream: Pour the heavy cream into a small saucepan set over medium heat, until steam begins to rise, 2-3 minutes. You want the cream to be hot, but do not allow the cream to boil.If it does happen to boil, make sure you cool the cream down for 5 minutes before adding it to the chocolate. Alternatively, use a microwave-safe measuring cup and microwave on high, until steaming, about 1 1/2 minutes. Pour the hot cream over the chocolate chips: Into a medium-sized mixing bowl, add the chocolate chips. Pour the warm cream over the chocolate chips and allow the cream to sit and melt the chocolate for 10 minutes. Do not stir it. Add the liquor (or flavoring): Add the brandy, cognac or vanilla extract to the bowl of chocolate and whisk the mixture until very smooth.If you find that chocolate lumps remain, pop the bowl into the microwave, and heat it for 30 seconds, 15 seconds at a time. Whisk the ganache until smooth. How to get a pourable glaze: Allow the ganache to sit for 15 minutes (or until it reaches 90°F) stirring every 5 minutes with a whisk, for a pourable, glaze consistency. How to get a pipeable frosting: Allow the ganache to cool for 25-30 minutes, stirring every 10 minutes, for a thicker, pipeable frosting. Once the ganache has reached this stage, it will hold a peak when you lift your spatula or whisk from it.At this point, you can also whip it with an electric hand mixer on high. It will go from a dark chocolatey-brown ganache to an airy, light brown color. Frost a cake: This recipe will frost a 3 tiered, 8-inch cake. If you have left over frosting stir it into warm milk for a cup of hot chocolate. Source: Simply Recipes

Avocado and Black Bean Quesadilla

Quesadillas can be made in a variety of ways with practically anything in your refrigerator. Creamy avocado and savory black beans are a perfect combination. They’re easy to make and kid-friendly for a weeknight dinner. You can prepare the black beans, peppers and onions a night or day before. Just keep them covered in the refrigerator. Prep time: 10 minsCook time: 15 minsTotal time: 25 minsServings: 4 servings Ingredients: For the avocado mash: 2 large or 3 small avocados Juice of 1/2 lime Pinch of kosher salt For the quesadillas: 2 tablespoons olive oil, divided 1 cup red onion, sliced into 1/4-inch half moons 1/2 teaspoon kosher salt 1 1/2 teaspoons cumin 1 1/2 teaspoons dried oregano 3/4 teaspoon coriander 1/2 yellow, red, or orange bell pepper, deseeded and chopped into 1/2-inch pieces Juice of 1/2 lime 1 (15.5-ounce) can black beans, drained and rinsed 4 8-inch flour tortillas 1 cup queso fresco, crumbled or grated 1 cup sharp cheddar cheese, grated To serve: Sour cream Pico de gallo or salsa Directions: Make the avocado mash: In a small bowl, mash the avocado with a fork, and add a dash of kosher salt and the juice of half a lime. You want it to reach a consistency that feels close to guacamole—a little chunky, but still spreadable. Set aside. Cook the veggies and beans: In a cast iron skillet or other large, heavy skillet, heat 1 tablespoon of olive oil over medium heat. Add the red onion and cook, stirring every minute or so, until the onion starts to soften, about 3 to 4 minutes. Add the salt, cumin, oregano, and coriander, stirring until the onions are completely coated.Add the bell pepper and stir to combine. Cook for another 3 minutes, until the peppers just begin to soften. Add the lime juice and black beans and stir the whole mix together. Cook for about 2 minutes, just to warm the black beans through. Warm the tortillas: Heat the second tablespoon of olive oil in a separate skillet or grill pan over medium high heat. Add 1 flour tortilla and let it heat up for a minute or so. Using tongs, flip the tortilla over, and repeat the process for the other side, until you see a couple of bubbles welling up in the center of the tortilla. Assemble the quesadilla: Layer the filling, then the avocado, and then the cheese—about 1/4 cup of each, but if you want more go for it! Cook the quesadilla: Fold the tortilla over to seal the quesadilla. Cook for 2 to 3 minutes per side, until it’s crispy, and the cheese has melted. Repeat the process for the other quesadillas, although if your skillet is large enough you can make two at a time in the same skillet. Serve the quesadillas: Cut the quesadillas into triangular portions and serve with sour cream, avocado, and/or the pico de gallo, if desired. Quesadillas are best served and eaten immediately. Source: Simply Recipes

Grilled Tofu Satay Recipe

Satay or sate is typically a dish with marinated meat or poultry, threaded onto skewers and charred over a grill. This recipe is the vegetarian spin, featuring tofu rather than meat. The tofu absorbs the marinade and remains tender even on the grill. It’s served along with a spicy peanut sauce made of common ingredients. If you’d like a completely vegan recipe, replace the fish sauce with soy sauce in the marinade. Prep time: 25 minsCook time: 10 minsTotal time: 35 minsServings: 5 to 7 servingsYield: 20 skewers Ingredients: 1 (14-ounce) block extra-firm tofu 1-inch piece fresh ginger, grated on a microplane or minced 2 large cloves garlic, grated on a microplane or minced 1 1/2 teaspoons yellow curry powder 1 teaspoon ground turmeric 1 tablespoon fish sauce 1 1/2 tablespoons lime juice 2 tablespoons packed brown sugar 2 teaspoons sriracha 1 tablespoon toasted sesame oil 1/4 cup creamy peanut butter 1/4 cup coconut milk Salt, to taste Vegetable oil, for the grill 2 tablespoons roughly chopped cilantro (optional) 20 (10-inch) bamboo skewers Directions: Soak the bamboo skewers: Soak the bamboo skewers in water while preparing the tofu and peanut sauce. Drain, cut, and dry the tofu: Drain the tofu from its packaging and cut into 10 slices (about ⅓-inch thick) along the shortest edge so they look like little decks of cards. Cut each slab in half to create narrow strips of tofu.Lay the tofu in a single layer between two stacks of paper towels. Press down to absorb any remaining liquid. Transfer tofu strips to an 8×8-inch baking pan. Make the marinade: In a small bowl, whisk the ginger, garlic, curry powder, turmeric, fish sauce, lime juice, brown sugar, and sriracha until smooth. Pour half the marinade into a separate medium bowl and set aside. You will use it to make the sauce. Add sesame oil to marinade and coat tofu: Add the sesame oil into the small bowl with the marinade, whisk to combine. Drizzle the marinade with the sesame oil over the tofu, making sure to flip the tofu strips over to coat all the sides. While the tofu marinates, make the peanut sauce: Add the peanut butter and coconut milk to the marinade you set aside in the medium bowl and whisk until smooth. Add an extra 1/2 teaspoon or more sriracha if you want a spicier sauce. Prepare the grill: You always want to start with a clean grill. If using a charcoal grill, get the coals going until covered in ash and then spread them out.If using gas, open the lid and light it. Set it to medium heat. Close the lid and give it 10 minutes to preheat with the lid closed, aiming for 350 to 400° F. Spear tofu onto skewers and season: While the grill heats, carefully spear the skewers through the center of the tofu strips. Season all sides of the tofu skewers with salt to taste. Brush grates with vegetable oil: Just before putting the skewers on the grill, brush the grate with vegetable oil or rub with an oil-soaked paper towel using a pair of metal tongs. Grill the tofu skewers: Lay down the skewers, cover the grill, and cook until the tofu shows distinct grill marks and lifts off the grate with relative ease, about 5 minutes.Flip skewers, with the aid of a metal spatula if needed, and grill until well-marked and easy to lift, another 4 to 5 minutes. Garnish and serve: Transfer skewers to a platter. Garnish with cilantro, if desired, and serve with the peanut sauce. Source: Simply Recipes
Ricotta and Berry Parfaits Recipe

These ricotta berry parfaits are easy to make and don’t taste too sweet, making them the perfect casual summer dinner treat. The cream cheese with honey and lemon adds an extra bit of creaminess to the ricotta. Use any glasses you have such as tumblers, champagne glasses or any clear dessert dish. You can make these in advance and refrigerate until needed. Prep time: 15 minsTotal time: 15 minsServings: 4 servings Ingredients: 4 ounces cream cheese, cut into chunks and softened to room temperature 2 tablespoons honey 2 teaspoons finely grated lemon zest 2 tablespoons fresh lemon juice 1 teaspoon vanilla 1 1/2 cups (12 ounces) whole milk ricotta cheese 3 tablespoons strawberry jam 4 cups mixed fresh berries, such as blueberries, raspberries, blackberries, and sliced strawberries 2 tablespoons chopped pistachios (for garnish) Mint leaves (for garnish) Directions: Make the ricotta cream: Combine the cream cheese, honey, lemon zest, 1 tablespoon of the lemon juice and vanilla in a mixing bowl, and beat with an electric mixer for 1 to 2 minutes on medium speed, until light and fluffy. Beat in the ricotta until smooth. Glaze the berries: Use a spatula to push the jam through a fine mesh strainer into a small mixing bowl; this will remove any tiny seeds in the jam. Add the remaining 1 tablespoon of the lemon juice to the strained jam and mix until smooth. Add the berries and stir to coat them. Assemble the parfaits: Into four dessert glasses or bowls, layer 1 to 2 tablespoon of the berries and 2 to 3 tablespoons ricotta mixture. Repeat, ending with berries on top. Sprinkle with chopped pistachios, and garnish with mint leaves.The fruit and ricotta can be layered into dishes and refrigerated for up to a day. Sprinkle with pistachios and mint until just before serving. Source: Simply Recipes

Cucumber Soup Recipe

A cold and refreshing cucumber soup is great for a hot summer day. It’s super easy to prepare in just under 10 minutes! The chilled soup calls for chopped onion, buttermilk, sour cream, olive oil, dill, salt, pepper and of course cucumbers. Make it ahead of time to enjoy any day. If you don’t have a blender, an immersion blender works for this recipe. Prep time: 10 minsTotal time: 10 minsServings: 3 to 4 servings Ingredients: 2 large cucumbers (about 1 1/2 pounds total) 2 tablespoons chopped onion (white, red, or green) 1/2 cup buttermilk 1/4 cup sour cream 1 tablespoon rice vinegar 1 tablespoon extra virgin olive oil 2 tablespoons fresh dill, chopped 1/2 teaspoon kosher salt Pinch black pepper Directions: Prep the cucumbers, onion, and dill: Peel, seed, and roughly chop the cucumbers. Chop the onion and dill. Blend: Put all of the ingredients into a blender and pulse until completely smooth. Adjust seasonings to taste. Add more salt and pepper if needed.At this point you can make ahead and chill. Chill the soup: Chill in a container in the refrigerator until cold. Serve: Pour into bowls and garnish with a drizzle of olive oil and a feather of dill. Source: Simply Recipes