Herbs

Using Garnishes and Sauces to Enhance Food Presentation

When it comes to creating a memorable dining experience, taste is only part of the equation. The way food is presented can significantly impact how it is perceived and enjoyed. Garnishes and sauces play a crucial role in elevating the visual appeal of a dish, making it more appetizing and inviting. Whether you’re a home cook looking to impress your guests or a professional chef striving for perfection, mastering the art of garnishing and sauce presentation can take your culinary creations to the next level. In this blog post, we’ll explore the various ways garnishes and sauces can be used to enhance food presentation, offering tips and techniques to help you plate like a pro. The Importance of Garnishes What Are Garnishes? Garnishes are decorative elements added to a dish that can also enhance its flavor and texture. They are typically small, edible components placed on or around the food to add color, contrast, and a finishing touch. Common garnishes include fresh herbs, citrus zest, edible flowers, microgreens, and finely chopped vegetables. Choosing the Right Garnish: The key to a successful garnish is ensuring that it complements the dish both visually and flavor-wise. Here are some tips for selecting the right garnish: Examples of Effective Garnishes: The Art of Sauce Presentation Why Sauces Matter: Sauces are more than just a way to add flavor to a dish; they are also an essential element of food presentation. The way a sauce is applied can change the entire look of a dish, turning a simple plate of food into a work of art. Whether drizzled, smeared, or pooled, sauces can add color, contrast, and elegance to your presentation. Techniques for Sauce Presentation: Pairing Garnishes and Sauces To truly elevate your food presentation, consider how garnishes and sauces can work together. Here are some tips for creating harmonious pairings: Garnishes and sauces are powerful tools in the art of food presentation. By carefully selecting and applying these elements, you can transform a simple dish into a visually stunning and delicious experience. Whether you’re drizzling a balsamic reduction over a salad or adding a sprinkle of fresh herbs to a pasta dish, the right garnish or sauce can make all the difference. So, next time you’re in the kitchen, take a moment to think about how you can enhance your food’s presentation with the perfect garnish or sauce. Your eyes—and your taste buds—will thank you!

Exploring Dehydration Options with Your Air Fryer

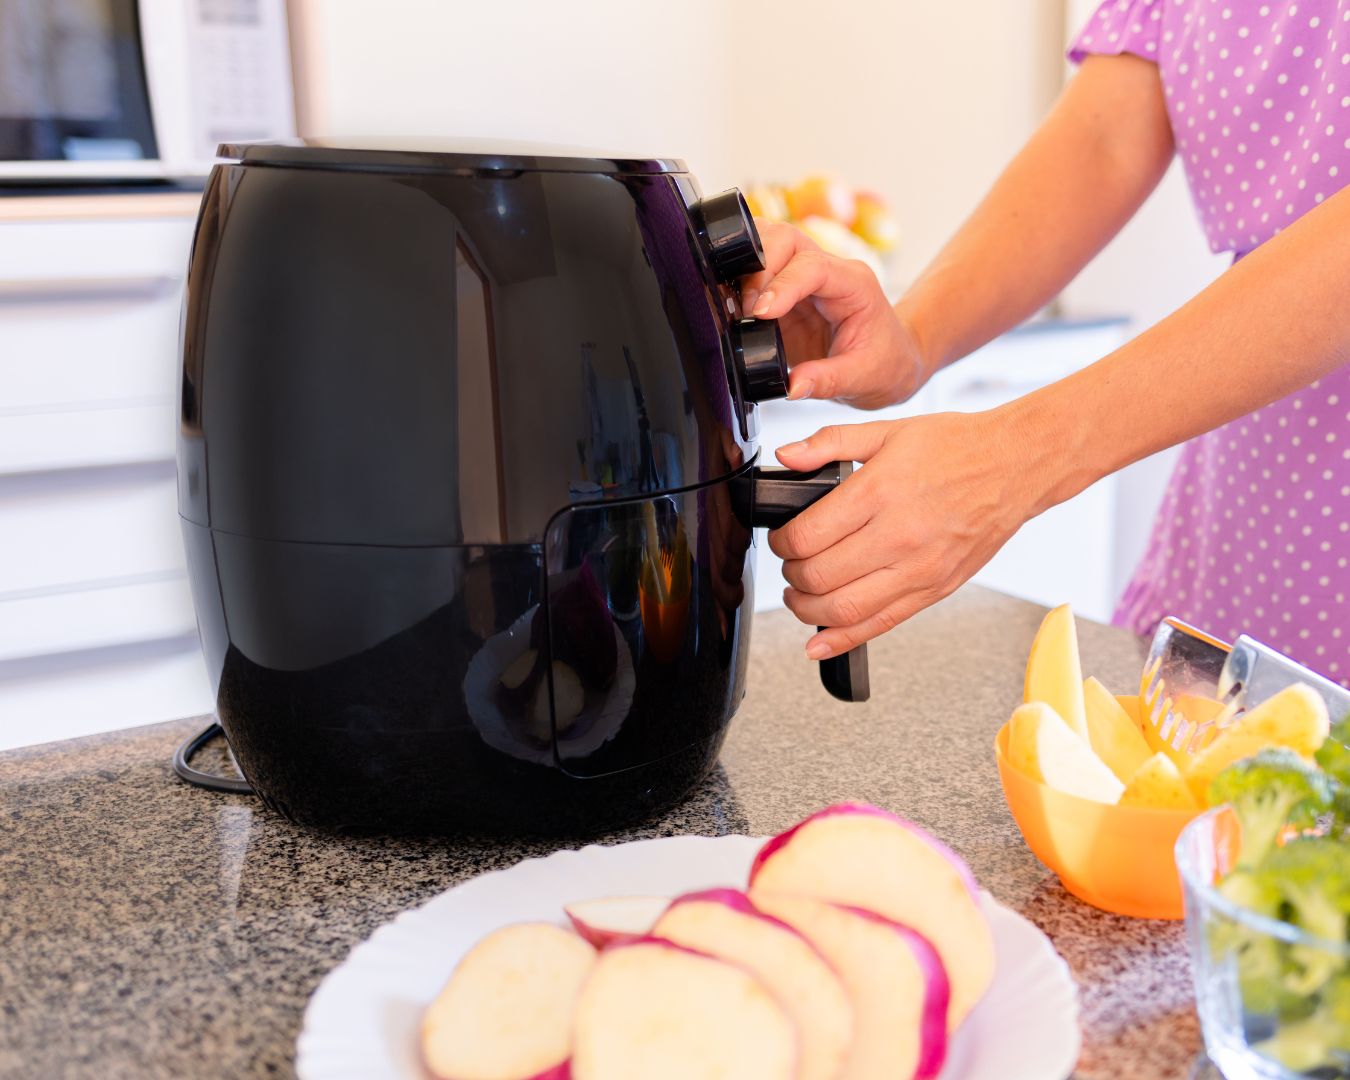
The air fryer has become a kitchen favorite for its ability to create crispy, delicious meals with minimal oil. But did you know that your air fryer can also serve as a dehydrator? Dehydrating food is a fantastic way to preserve fruits, vegetables, and even herbs, making them last longer and providing healthy, shelf-stable snacks. In this blog post, we’ll explore how you can use your air fryer for dehydration, the types of foods you can dehydrate, and tips for achieving the best results. Why Dehydrate Food? Dehydrating food removes moisture, which inhibits the growth of bacteria, yeast, and mold, thereby extending the shelf life of your food. It also concentrates the flavors, making dehydrated snacks like fruit chips or vegetable crisps a tasty and healthy alternative to store-bought snacks. Plus, dehydrated foods are lightweight, making them perfect for camping, hiking, or just stocking your pantry with nutritious options. Dehydrating with an Air Fryer: What You Need to Know Many air fryers come with a dehydration function, or at least the capability to run at a low temperature, which is essential for dehydration. Here’s how you can get started: 1. Choose the Right Air Fryer: 2. Preparing the Food: 3. Arranging the Food in the Air Fryer: 4. Setting the Temperature and Time: Foods You Can Dehydrate in Your Air Fryer 1. Fruits: 2. Vegetables: 3. Herbs: Tips for Successful Dehydration 1. Store Properly: 2. Label and Date: 3. Experiment with Flavors: Dehydrating with your air fryer opens up a whole new world of culinary possibilities. Whether you’re looking to preserve seasonal produce, create healthy snacks, or simply experiment with new flavors, the air fryer can be your go-to tool. With a bit of practice and experimentation, you can master the art of dehydration and enjoy the convenience and versatility it brings to your kitchen. Happy dehydrating!

How to Grow and Preserve Fresh Herbs in the Kitchen

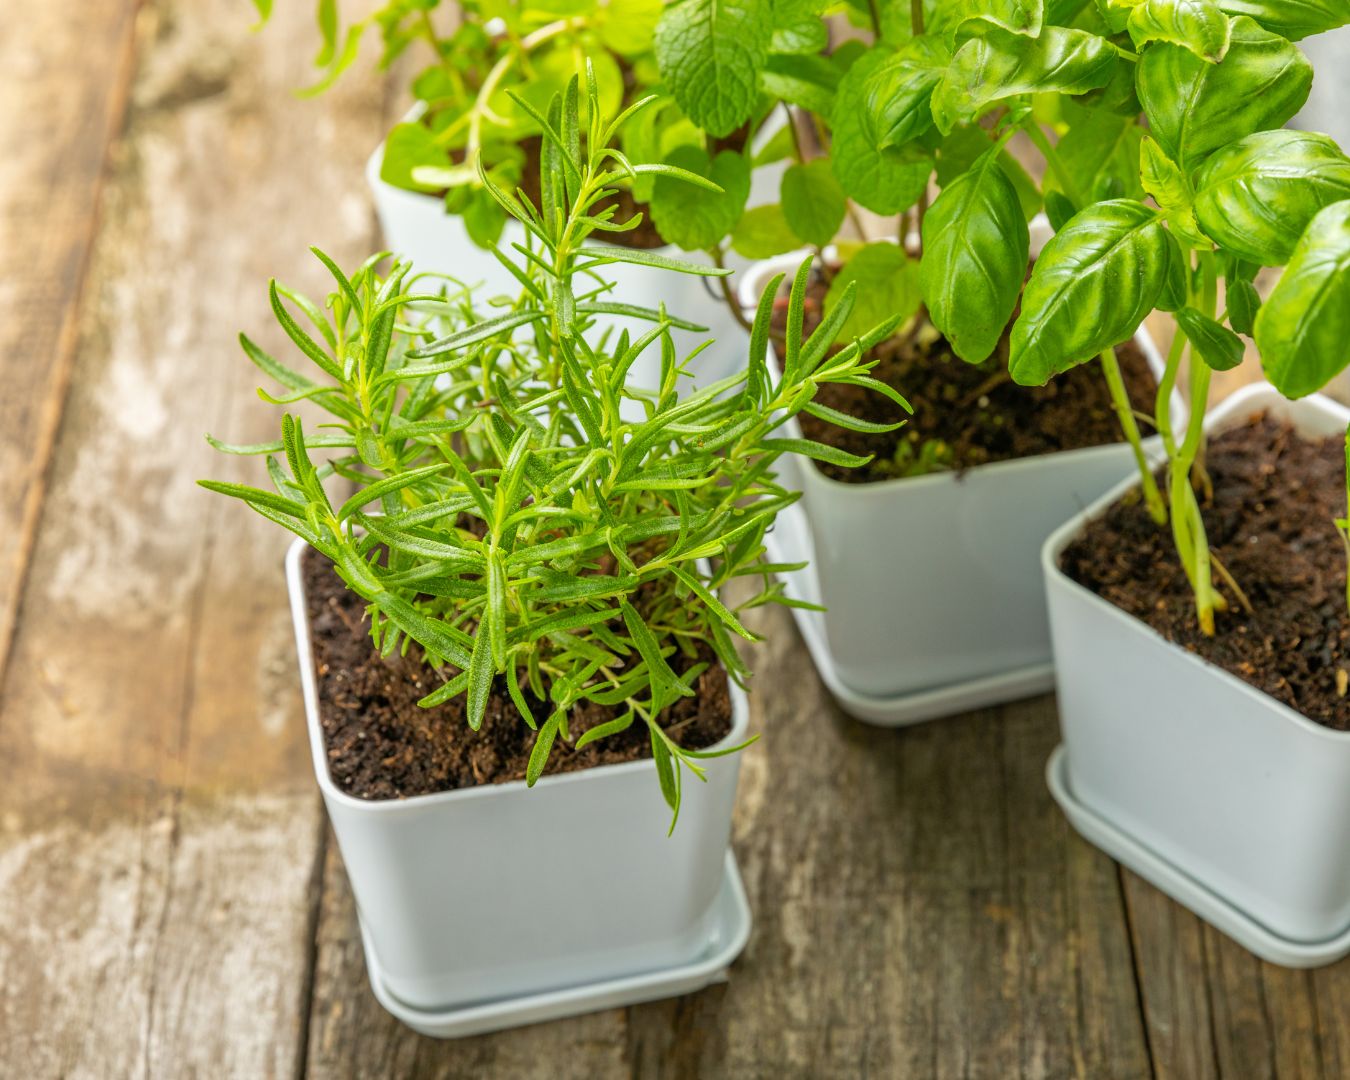
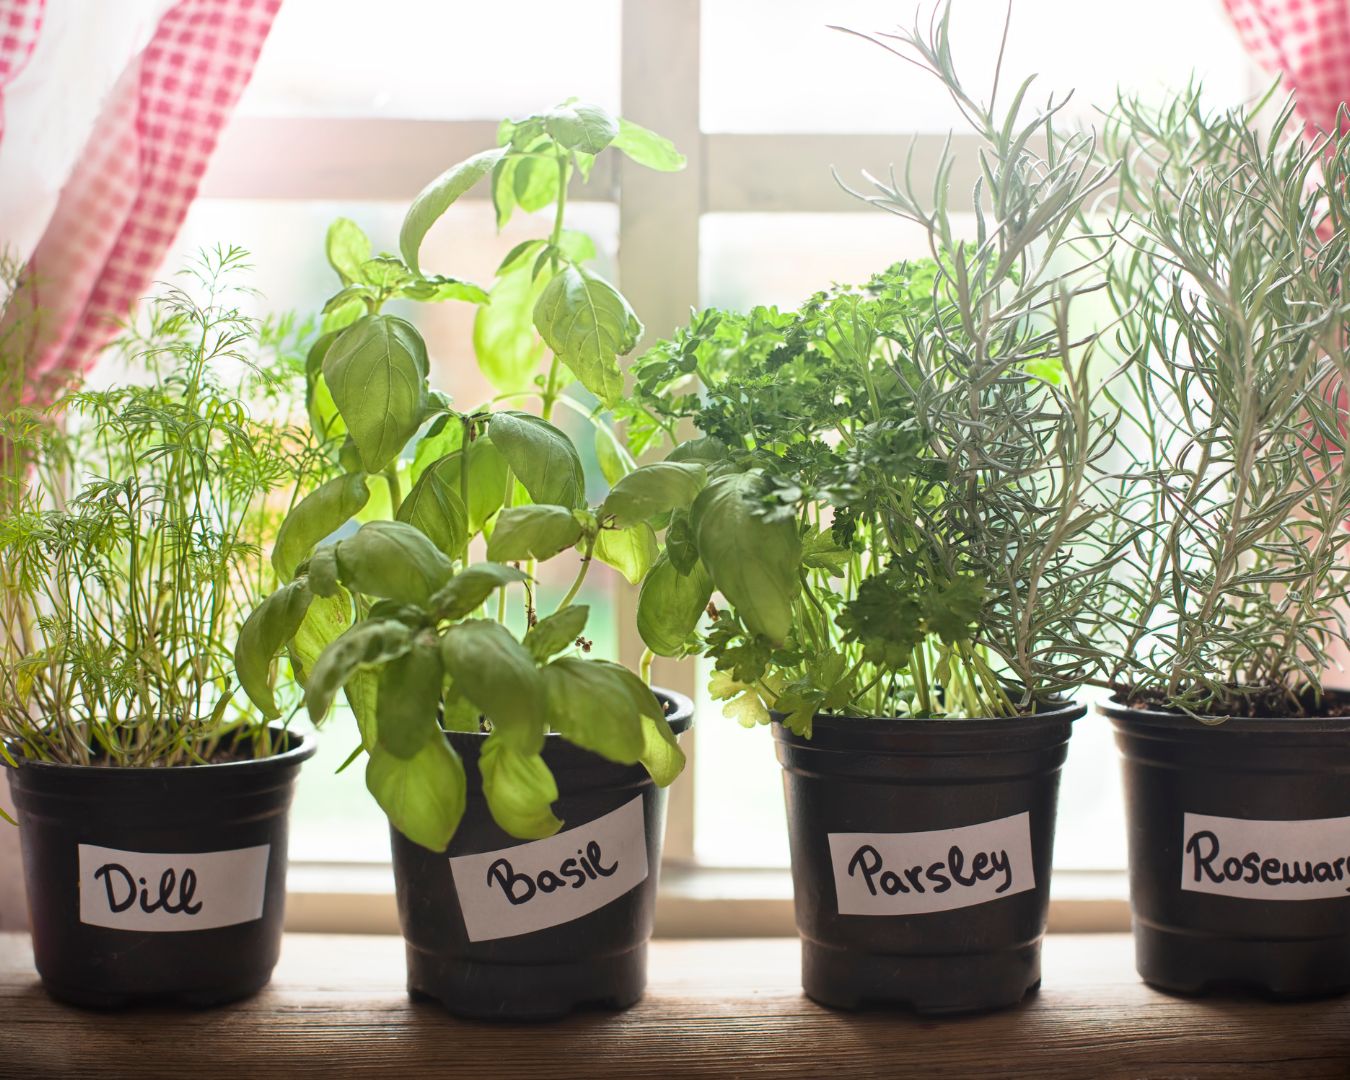
Fresh herbs are a wonderful addition to any kitchen, bringing vibrant flavors, aromas, and nutrients to your cooking. Growing your own herbs not only saves money but also ensures that you have a steady supply of fresh, pesticide-free herbs at your fingertips. Additionally, preserving them ensures you can enjoy their flavors year-round. This guide will walk you through the basics of growing and preserving fresh herbs in your kitchen. Growing Fresh Herbs Indoors Growing herbs indoors is simple and rewarding. With just a few pots, some good-quality soil, and proper light, you can create a mini herb garden right in your kitchen. 1. Choosing the Right Herbs Not all herbs grow equally well indoors, but there are several that thrive in pots and limited space. Some of the best herbs to grow indoors include: These herbs are versatile and can be used in a variety of dishes, from salads and soups to sauces and marinades. 2. Selecting the Right Containers Herbs can grow well in small pots or containers with proper drainage. It’s important to ensure your pots have drainage holes to prevent waterlogging, which can lead to root rot. 3. Soil and Watering Needs Herbs generally prefer well-draining potting soil that doesn’t retain too much moisture. A light potting mix with perlite or sand works well. 4. Providing Sufficient Light Herbs need about 6-8 hours of sunlight per day to thrive. Position your herb pots near a sunny window or in an area where they can get plenty of light. 5. Pruning and Harvesting Pruning herbs regularly encourages new growth and prevents them from becoming leggy. Always trim just above a leaf node to allow the plant to continue growing. Preserving Fresh Herbs When your herbs are growing abundantly, preserving them ensures that you have their fresh flavors available even when they’re not in season. 1. Drying Herbs Drying is one of the simplest methods for preserving herbs. Dried herbs last for months and can be used in soups, sauces, and marinades. 2. Freezing Herbs Freezing is a great way to preserve herbs like basil, parsley, and cilantro, which don’t dry as well but retain their flavor when frozen. 3. Making Herb-Infused Oils and Vinegars Herb-infused oils and vinegars add a concentrated flavor to dressings, marinades, and sauces. 4. Herb-Infused Butter Herb butter is another way to preserve fresh herbs and adds flavor to bread, vegetables, and meats. Growing and preserving fresh herbs in your kitchen is a rewarding way to enhance your cooking with flavorful, nutritious ingredients. With the right care, your indoor herb garden can thrive year-round, providing a steady supply of herbs for all your culinary creations. By drying, freezing, or infusing your herbs, you can capture their peak flavor and enjoy them even when they’re out of season. Whether you’re a beginner or an experienced home cook, herbs will elevate your dishes to a new level of taste and aroma. Happy growing!

How to Make Flavored Oils and Butters

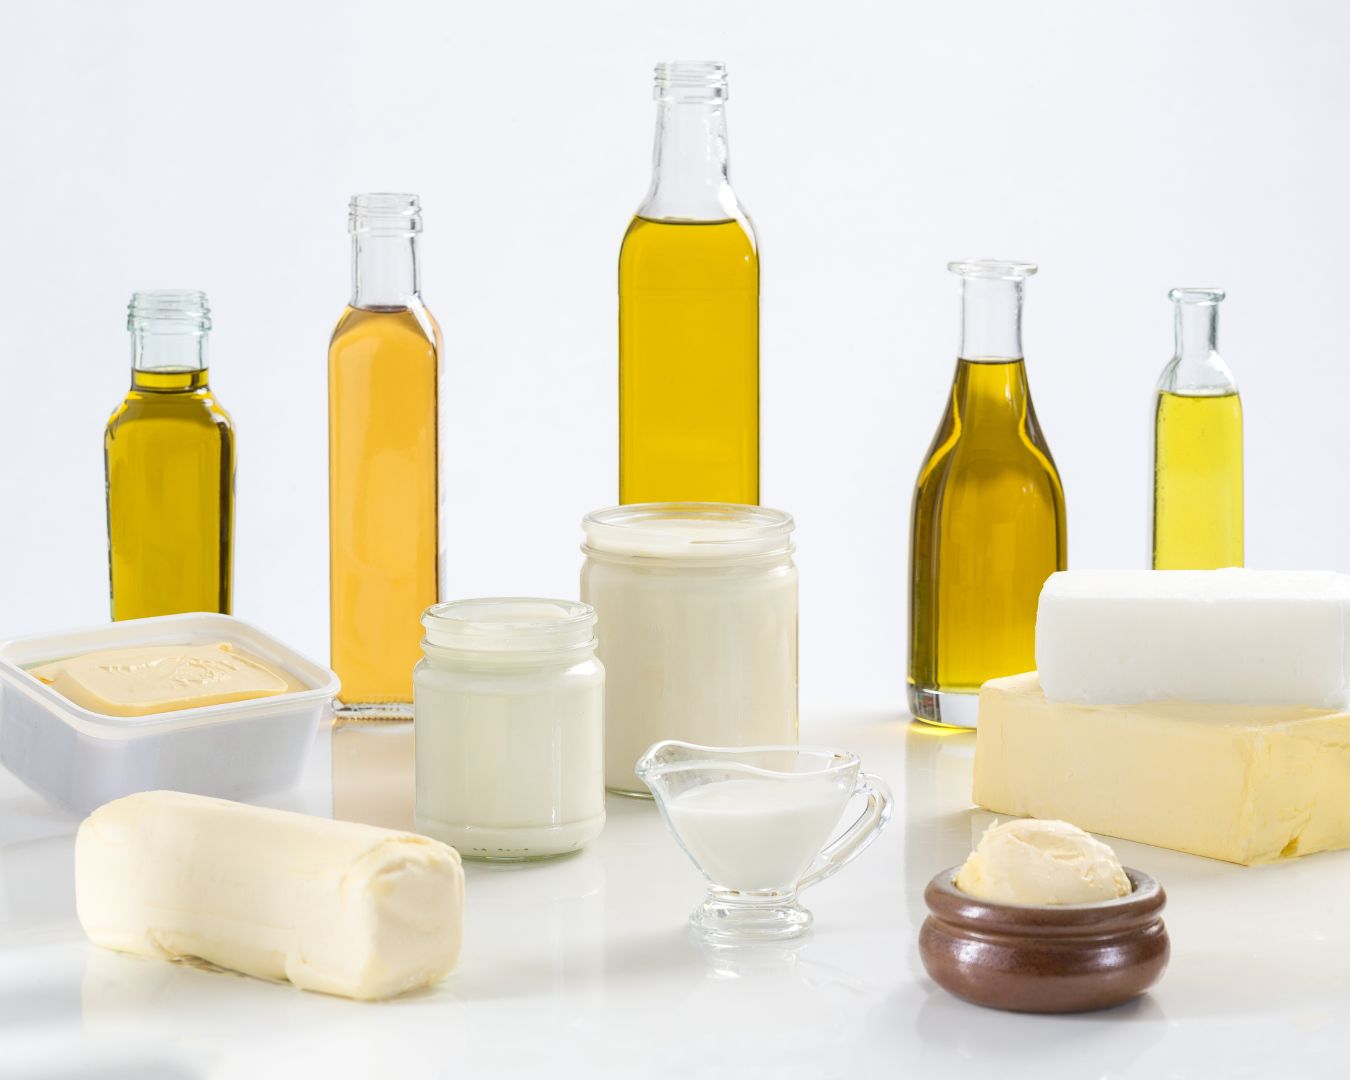
Flavored oils and butters are a fantastic way to add a burst of flavor to your dishes. Whether you’re drizzling herb-infused oil over a salad or spreading garlic butter on freshly baked bread, these homemade condiments can elevate your cooking to a new level. The best part? They’re easy to make at home with just a few simple ingredients. In this blog post, we’ll guide you through the process of creating your own flavored oils and butters, perfect for enhancing any meal. Flavored Oils Flavored oils are versatile and can be used in a variety of dishes, from salad dressings to marinades, or simply as a finishing touch to roasted vegetables or grilled meats. Here’s how to make them: 1. Choosing Your Base Oil Start with a high-quality oil as your base. Olive oil is a popular choice due to its flavor and health benefits, but you can also use neutral oils like canola, sunflower, or grapeseed oil. 2. Selecting Flavorings There are endless possibilities for flavoring oils. Some popular choices include: 3. Infusing the Oil There are two methods for infusing oil: the cold infusion method and the warm infusion method. Tip: For safety, it’s important to refrigerate oils that contain fresh ingredients like garlic, as they can pose a risk of botulism if left at room temperature. 4. Using Flavored Oils Flavored oils can be drizzled over salads, used in cooking, or as a dipping sauce for bread. Experiment with different combinations to find your favorite flavors. Flavored Butters Flavored butters are a delicious way to enhance your meals, adding richness and depth of flavor. They can be used as a spread, melted over cooked vegetables, or incorporated into baking. Here’s how to make them: 1. Choosing Your Base Butter Start with unsalted butter to allow full control over the salt content in your flavored butter. Let the butter soften at room temperature for easy mixing. 2. Selecting Flavorings Just like oils, you can infuse butter with a variety of flavors. Popular options include: 3. Mixing the Flavored Butter Tip: For a smooth and even texture, ensure that any add-ins like herbs or garlic are finely chopped. 4. Shaping and Storing the Butter Once your butter is mixed, you can shape and store it in various ways: Storage: Flavored butter can be stored in the refrigerator for up to 2 weeks or in the freezer for up to 3 months. 5. Using Flavored Butters Flavored butters are perfect for spreading on toast, melting over grilled meats or vegetables, or incorporating into sauces and baked goods. Sweet varieties can be spread on pancakes, waffles, or muffins. Making your own flavored oils and butters is a simple and rewarding process that allows you to customize your cooking and add a personal touch to your dishes. With just a few ingredients, you can create delicious, aromatic condiments that elevate your meals and impress your guests. Whether you’re a fan of bold, spicy flavors or prefer something more subtle and herbaceous, the possibilities are endless. Start experimenting today and discover your favorite combinations!