Month: February 2021

What Not to Do on a Ceramic or Glass Cooktop

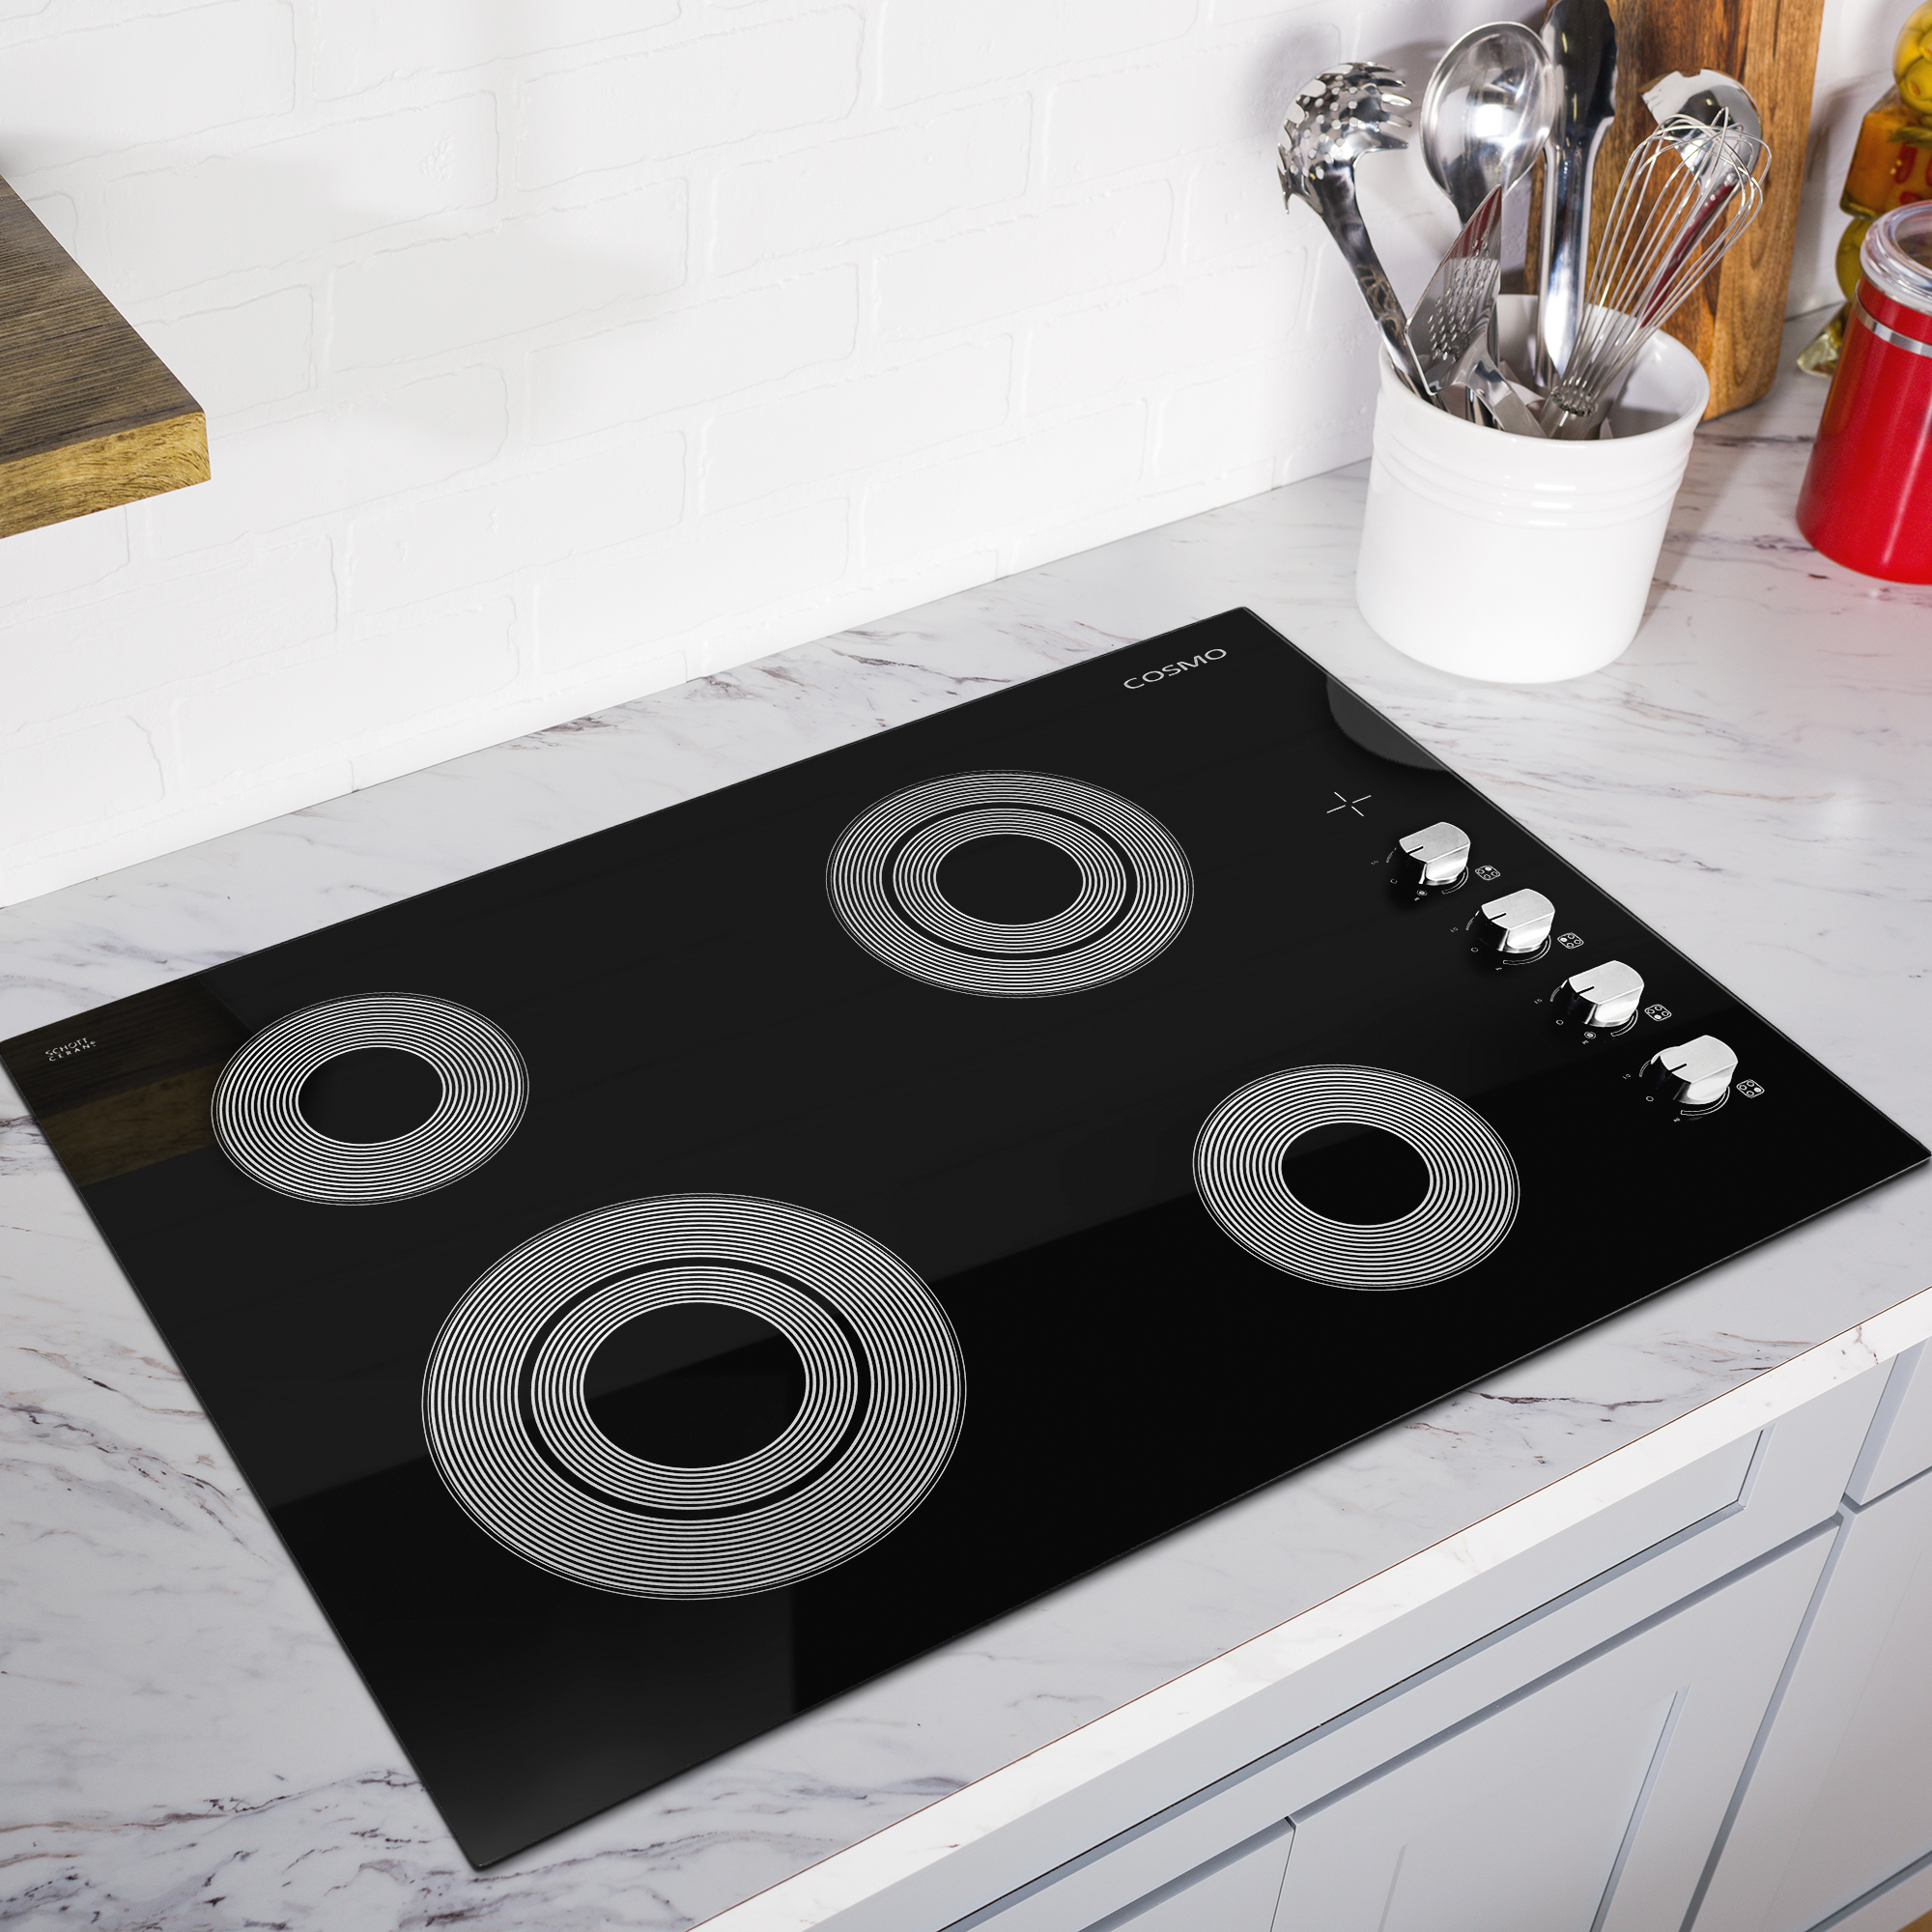
A smooth top electric cooktop is often favored for its stylish appearance versus traditional coil element types. The maintenance for a smooth cooktop differs in that it can discolor or scratch if used incorrectly. Owners should also be proactive in cleaning their smooth cooktops to keep them in pristine shape. Here’s some of the things you should avoid to help your cooktop. Avoid iron cookware. The bottoms of cast iron cookware are usually very rough and any sudden movements can leave scratches behind. Ceramic and stoneware also have unfinished, rough bases. Use these for your oven instead. Skillets or pans with rounded edge bottoms aren’t recommended for smooth cooktops. Pans will perform better if they are flat to evenly distribute heat. A smooth bottom will also offer more stability and prevent any rocking. Never use abrasive cleaners or metal pads which can scratch the surface. Opt for a soft sponge or cloth and cream cleaning solution made specifically for ceramic or glass cooktops. Avoid dragging heavy pots on your cooktop. Always lift and transfer to another area to reduce the risk of scratching. Clean your cookware regularly before placing it on your cooktop. A build-up of grease can leave aluminum-looking rings or marks on a cooktop. These are often very difficult to clean. Avoid spilling when boiling or cooking sugary substances. This can discolor the cooktop leaving yellowish areas. Clean up these spills as quickly as possible. Avoid placing utensils on your cooktop. These may have food which will mark and burn, leaving a mess that will need to be cleaned. Source: The Spruce

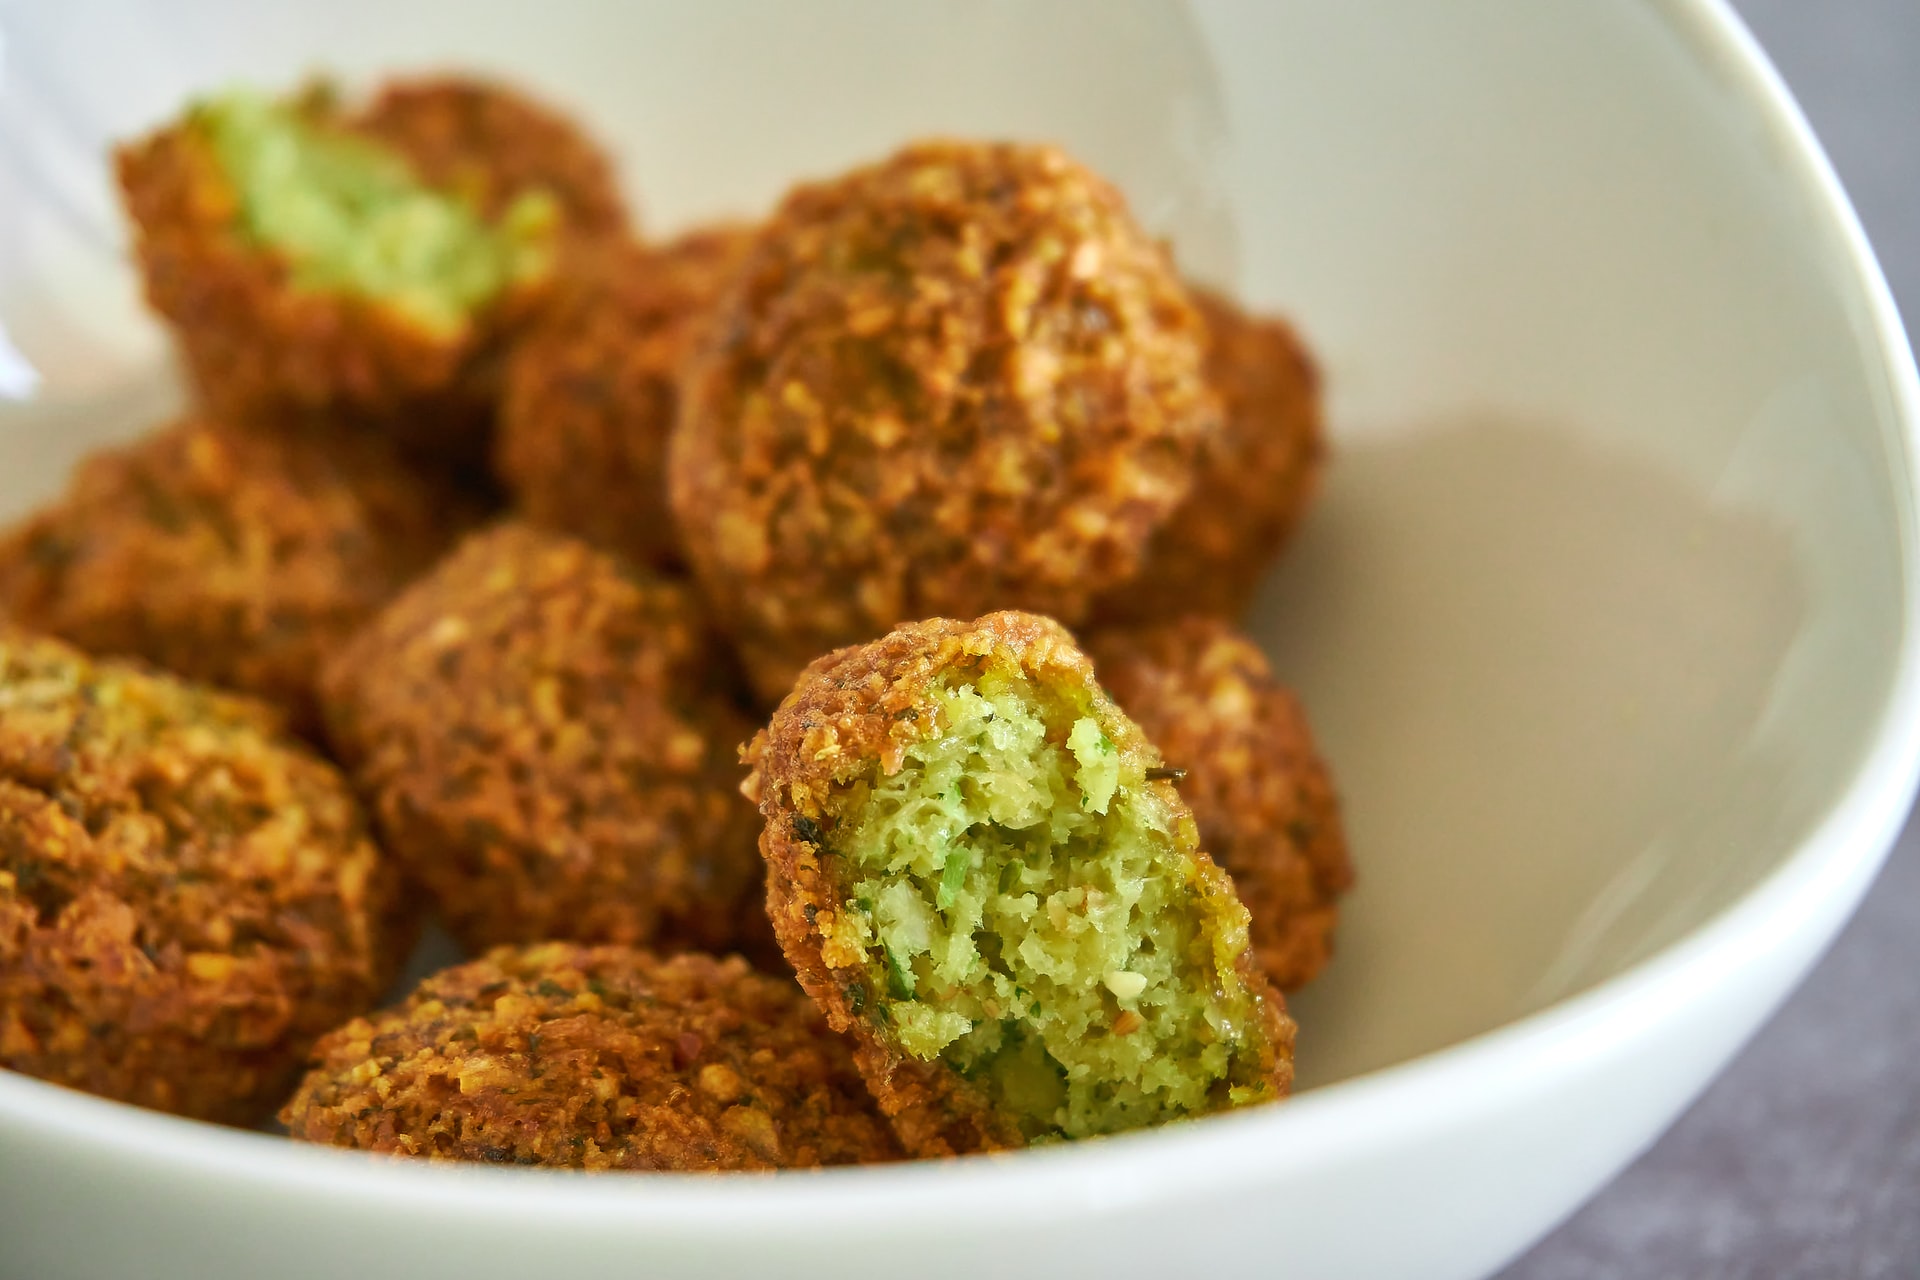
Falafel Chopped Salad Recipe

Vegans rejoice. Falafel is a great meatless choice that is hearty and filling with little effort. Pair this with a lemony chopped salad for dinner. Yield: 4 servings Time: 50 minutes Ingredients: 2 c. canola oil, for frying 2 cloves garlic 1 medium yellow onion, chopped 4 1/2 c. packed baby spinach, divided 2 15-ounce cans chickpeas, rinsed 2 tbsp. all-purpose flour 1 tsp. ground cumin 1 tsp. ground coriander Kosher salt 6 oz. roughly torn baguette (about 4 cups) 2 pt. (4 cups) grape tomatoes, quartered 1/4 red onion, finely chopped 2 tbsp. fresh lemon juice 2 tbsp. olive oil Directions: Heat oven to 425°F. Attach a deep-fry thermometer to a small pot, add canola oil and heat to 350°F. In a food processor, pulse garlic, yellow onion and 1/2 cup spinach until very finely chopped. Add chickpeas, flour, cumin, coriander and 1/2 teaspoon salt and pulse to combine (chickpeas should be chopped but coarse). Form mixture into 2-Tbsp balls and fry in batches until golden brown, turning as necessary, 4 minutes. (Note: Oil must remain between 340°F and 360°F or balls will fall apart; adjust heat as needed.) In a food processor, pulse baguette to form coarse crumbs; transfer to baking sheet and toast until dry and crisp, 5 to 7 minutes. Meanwhile, in a medium bowl, combine tomatoes, red onion, lemon juice, olive oil, 1/4 teaspoon salt and 1/2 teaspoon pepper. Finely chop remaining 4 cups spinach and fold into salad. Top with crumbs and serve with falafel. Connect with us on social media! Follow us on Instagram and Facebook. Source: Good Housekeeping

The Water Test You Should Do Once a Year

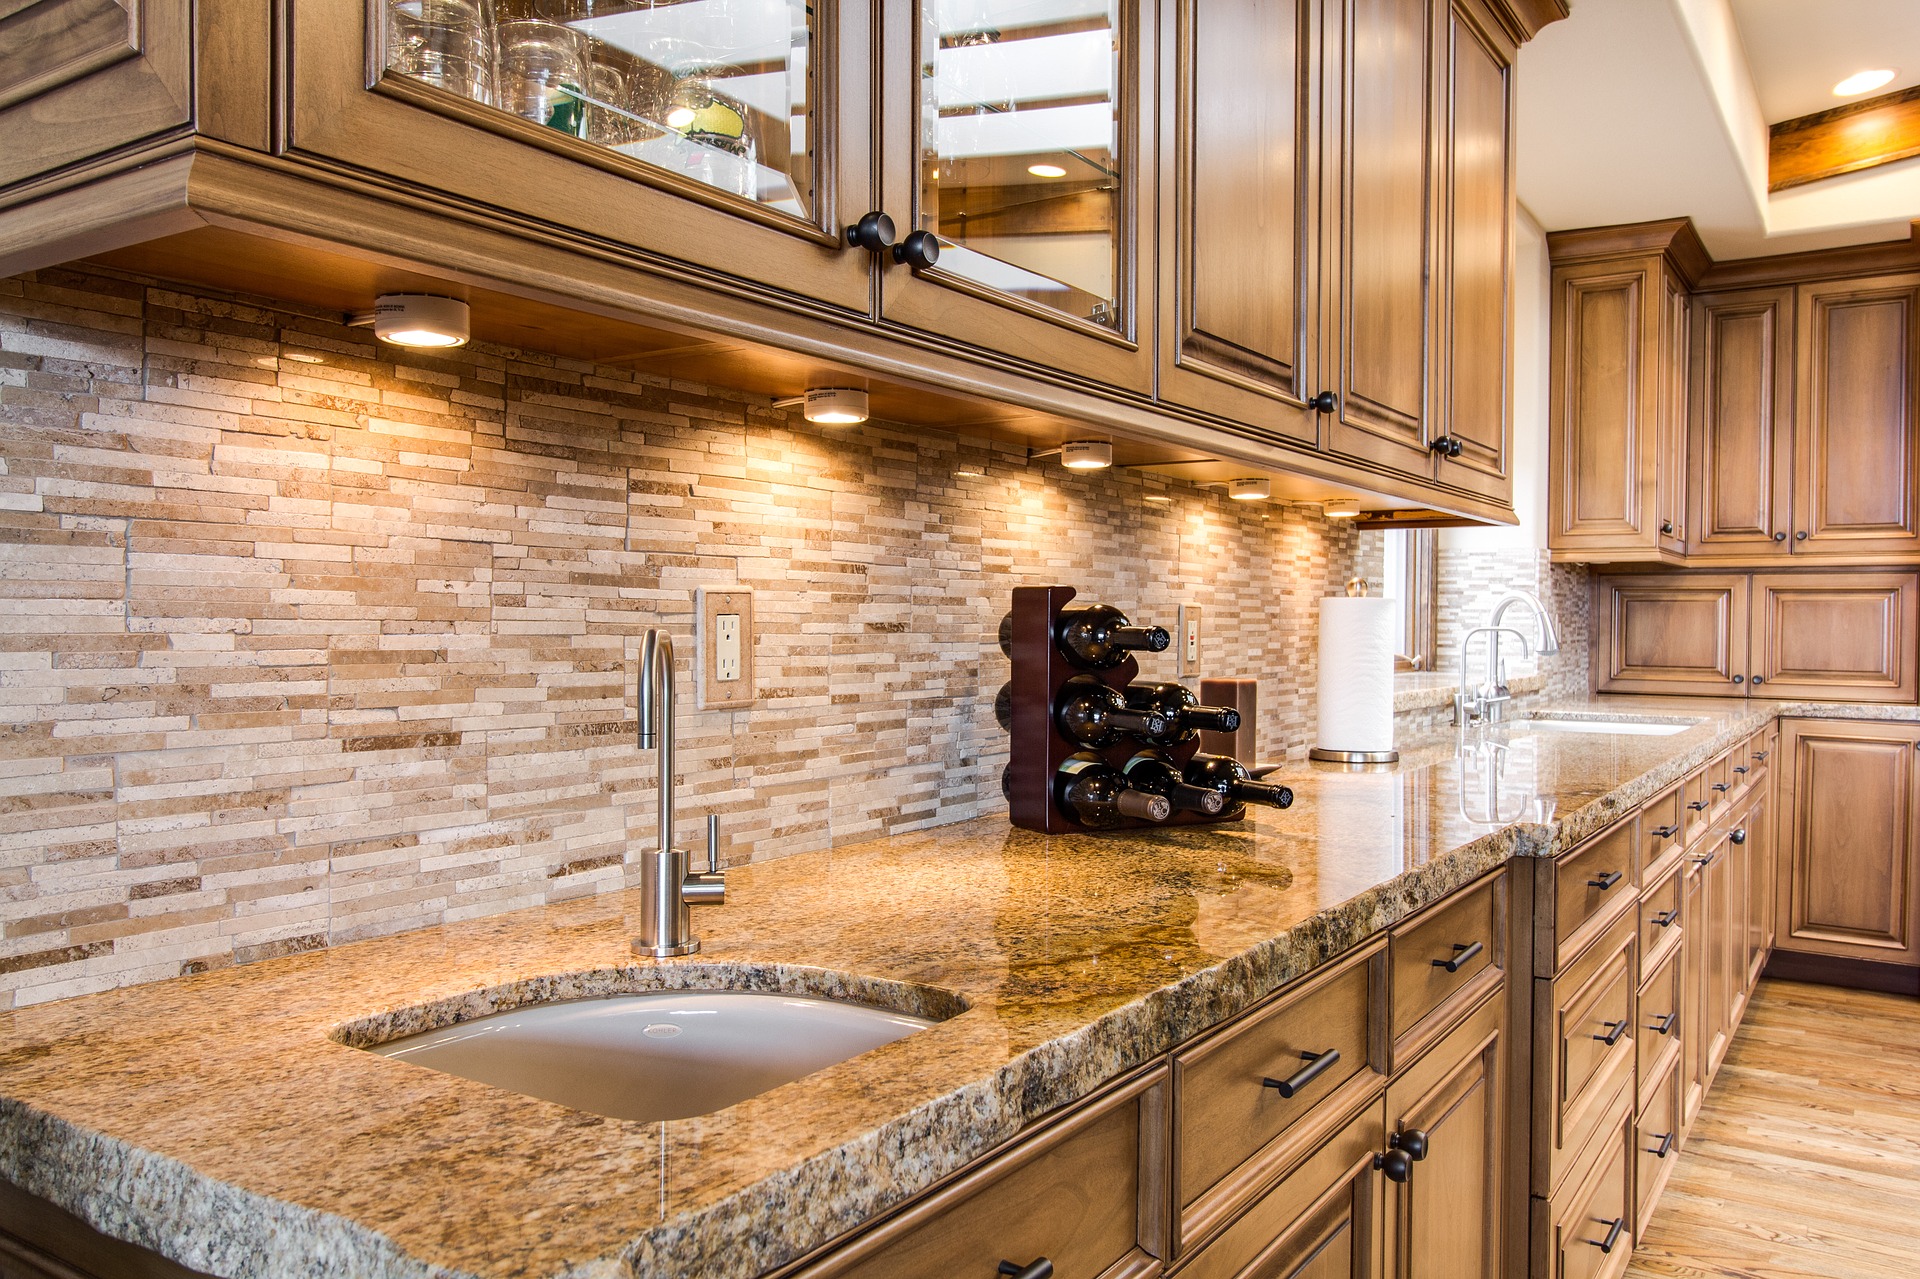
Taking care of your kitchen may not be as obvious as you think. Your granite countertops or other natural stone surfaces require regular sealing. Leaving counters unsealed will result in etching and staining, especially from dark-colored greasy spills. Sealing ensures protection and leaves them with a reflective sheen to elevate your entire kitchen. Here’s a test you can perform to see if your counters need sealing. Drip a small amount of water on your surface and check on it again in half an hour. If the water is still beaded up at the surface, your counters are sealed and safe. If the water stays splotchy or seeps into the granite with visible dark spots, it’s time to seal. Sealing a counter is simple and more like cleaning. You’ll spray it on the counter and leave it for a minute or two, and buff it into the counter with a soft lint, free rag. Source: Apartment Therapy

Taking Care of Cast Iron

Your cast iron pans need special attention when it comes to maintenance. There are many novice mistakes you can make like using a lot of dish soap when cleaning them. Here are some of the best tips to get the most out of your cast iron, no matter your experience level. Clean With a Nylon Pan Scraper You’ll need some scouring power when taking off burnt bits from your pan. Be careful not to use any harsh products like steel wool, which can damage your skillet. Opt for nylon pan scrapers which can take the bulk of stuck-on residue. Use a stiff brush and hot water afterwards. Boiling Water Simply pour a cup of fresh water onto a skillet and turn on the burner. Boil the water for a minute or two to clean it. After you pour out the water, carefully wipe the hot skillet with a paper towel, then pour a teaspoon of vegetable oil. Rub it around with another paper towel so it’s ready for the next time you need it. Water, Salt and Olive Oil First, rinse your pan with warm water and sprinkle a few shakes of table salt onto the surface. Then, add a couple spoonfuls of olive oil and rub the pan with a clean paper towel. Rinse out the salt and wipe dry. If your oven is still warm, place your cast iron inside to keep it seasoned properly. Bring Oil to its Smoke Point To get the most out of your oil, spread it on your pan after you clean it and heat the skillet until it smokes. Once the oil reaches its smoke point, it will begin making long-chain molecules to leave you with a well-seasoned pan. Source: The Kitchn

Air Fryer Mozzarella Sticks Recipe

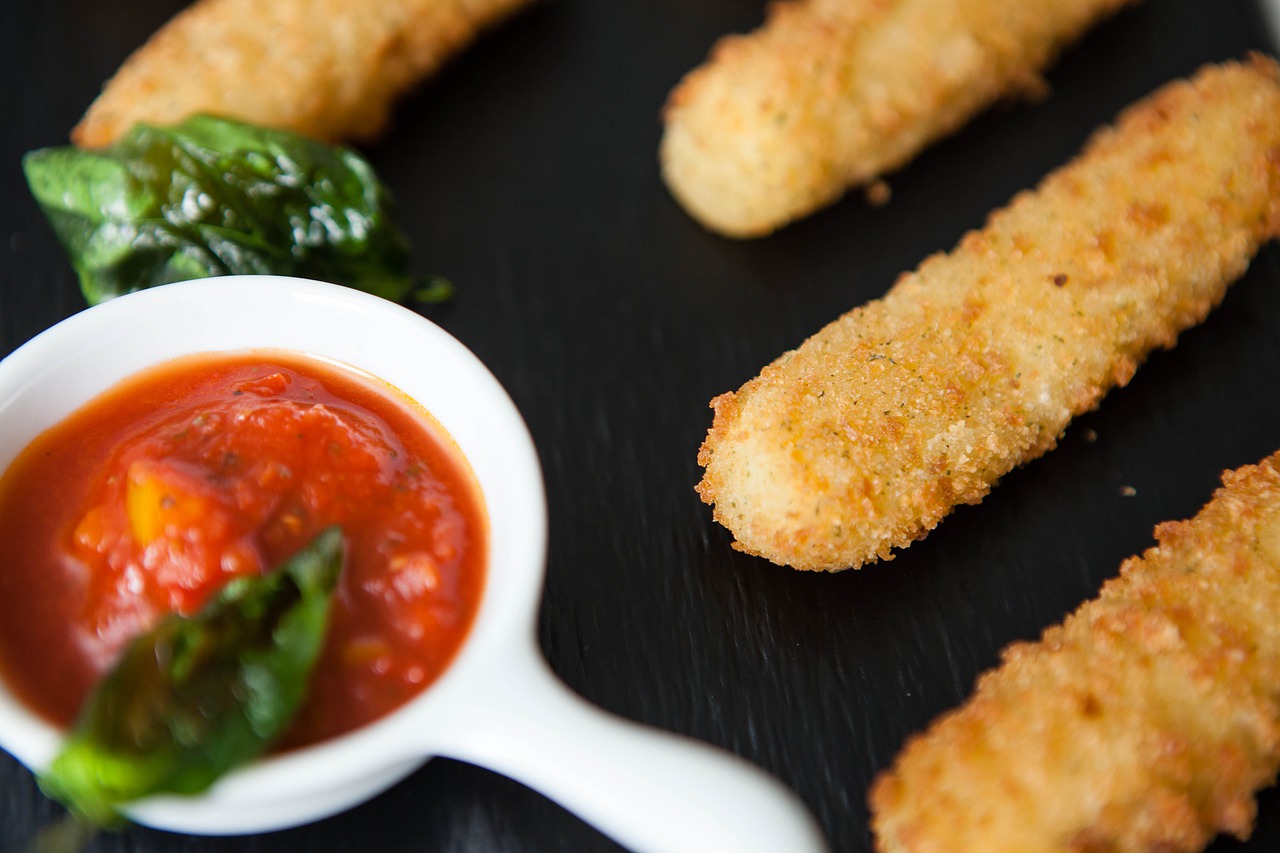
The all time favorite appetizer can also be made in an air fryer. Get the best flavor versus their frozen counterparts with this recipe. The secret is all in the preparation. Prep time: 5 minutesCook time: 8 minutesFreeze time: 1 to 2 hoursYield: 8 mozzarella sticks Ingredients: 1 large egg 1 teaspoon Italian seasoning 1/2 teaspoon salt 1 cup panko breadcrumbs 8 whole milk (or low-fat) mozzarella sticks Equipment: Air Fryer Wax paper Directions: Do the prep work: Line a rimmed baking sheet with wax paper. Lightly beat the egg in a wide, shallow bowl. Combine the Italian seasoning, salt, and breadcrumbs in a second wide, shallow bowl. Coat the mozzarella sticks and freeze them: Dip a mozzarella stick into the beaten egg and coat it completely. Dip the stick into the bowl with the breadcrumbs and coat completely. This will be messy. It’s okay.Transfer to a wax paper-lined rimmed baking sheet and line them up so they are not touching. Freeze for 1/2 hour minimum, 1 hour maximum.Coat the mozzarella sticks again, and freeze them, again. Pull the mozzarella sticks out of the freezer, dip them into the egg and then the breadcrumb mix, and then freeze them for another 1/2 hour minimum, 1 hour maximum. Air fry the mozzarella sticks: Set your air fryer to 390°F. Spray the air fryer basket and the mozzarella sticks with a nonstick cooking spray. Air fry the mozzarella sticks (in batches if desired or necessary, as space permits) for 6 to 8 minutes until the exterior is golden and crispy. Serve! Remove from the fryer, cool just long enough to avoid burning your tongue, and eat immediately! Source: Simply Recipes

Homemade Pizza Recipe

You can never go wrong with pizza, especially a homemade one. Add this recipe to your dinner plans for a tasty meal your family will be sure to love. Prep time: 2 hours Cook time: 30 minutes Yield: Makes 2 10-12-inch pizzas Ingredients: Pizza Dough: 1 1/2 cups (355 ml) warm water (105°F-115°F) 1 package (2 1/4 teaspoons) of active dry yeast 3 3/4 cups (490 g) bread flour 2 tablespoons extra virgin olive oil (omit if cooking pizza in a wood-fired pizza oven) 2 teaspoons salt 1 teaspoon sugar Pizza Ingredients: Extra virgin olive oil Cornmeal (to help slide the pizza onto the pizza stone) Tomato sauce (smooth, or puréed) Firm mozzarella cheese, grated Fresh soft mozzarella cheese, separated into small clumps Fontina cheese, grated Parmesan cheese, grated Feta cheese, crumbled Mushrooms, very thinly sliced if raw, otherwise first sautéed Bell peppers, stems and seeds removed, very thinly sliced Italian pepperoncini, thinly sliced Italian sausage, cooked ahead and crumbled Sliced black olives Chopped fresh basil Baby arugula, tossed in a little olive oil, added as pizza comes out of the oven Pesto Pepperoni, thinly sliced Onions, thinly sliced raw or caramelized Ham, thinly sliced Equipment: Pizza stone Pizza peel Pizza wheel Directions: Proof the yeast: Place the warm water in the large bowl of a heavy duty stand mixer. Sprinkle the yeast over the warm water and let it sit for 5 minutes until the yeast is dissolved. After 5 minutes stir if the yeast hasn’t dissolved completely. The yeast should begin to foam or bloom, indicating that the yeast is still active and alive. (Note that if you are using “instant yeast” instead of “active yeast”, no proofing is required. Just add to the flour in the next step.) Make and knead the pizza dough: Add the flour, salt, sugar, and olive oil, and using the mixing paddle attachment, mix on low speed for a minute. Then replace the mixing paddle with the dough hook attachment. Knead the pizza dough on low to medium speed using the dough hook about 7-10 minutes. If you don’t have a mixer, you can mix the ingredients together and knead them by hand. The dough should be a little sticky, or tacky to the touch. If it’s too wet, sprinkle in a little more flour. Let the dough rise: Spread a thin layer of olive oil over the inside of a large bowl. Place the pizza dough in the bowl and turn it around so that it gets coated with the oil. At this point you can choose how long you want the dough to ferment and rise. A slow fermentation (24 hours in the fridge) will result in more complex flavors in the dough. A quick fermentation (1 1/2 hours in a warm place) will allow the dough to rise sufficiently to work with. Cover the dough with plastic wrap. For a quick rise, place the dough in a warm place (75°F to 85°F) for 1 1/2 hours. For a medium rise, place the dough in a regular room temperature place (your kitchen counter will do fine) for 8 hours. For a longer rise, chill the dough in the refrigerator for 24 hours (no more than 48 hours). The longer the rise (to a point) the better the flavor the crust will have. Preparing the Pizzas Preheat pizza stone (or pizza pan or baking sheet): Place a pizza stone on a rack in the lower third of your oven. Preheat the oven to 475°F (245°C) for at least 30 minutes, preferably an hour. If you don’t have a pizza stone, you can use a pizza pan or a thick baking sheet; you need something that will not warp at high temperatures. Divide the dough into two balls: Remove the plastic cover from the dough. Dust your hands with flour and push the dough down so it deflates a bit. Divide the dough in half. Form two round balls of dough. Place each in its own bowl, cover with plastic and let sit for 15 minutes (or up to 2 hours). Prep toppings: Prepare your desired toppings. Note that you are not going to want to load up each pizza with a lot of toppings as the crust will end up not crisp that way. About a third a cup each of tomato sauce and cheese would be sufficient for one pizza. One to two mushrooms thinly sliced will cover a pizza. Flatten dough ball, and stretch out into a round: Working one ball of dough at a time, take one ball of dough and flatten it with your hands on a lightly floured work surface. Starting at the center and working outwards, use your fingertips to press the dough to 1/2-inch thick. Turn and stretch the dough until it will not stretch further. Let the dough relax 5 minutes and then continue to stretch it until it reaches the desired diameter – 10 to 12 inches. Treat the dough gently! You can also hold up the edges of the dough with your fingers, letting the dough hang and stretch, while working around the edges of the dough. If a hole appears in your dough, place the dough on a floured surface and push the dough back together to seal the hole. Use your palm to flatten the edge of the dough where it is thicker. Pinch the edges if you want to form a lip. Brush dough top with olive oil: Use your fingertips to press down and make dents along the surface of the dough to prevent bubbling. Brush the top of the dough with olive oil (to prevent it from getting soggy from the toppings). Let rest another 10-15 minutes. Repeat with the second ball of dough. Sprinkle pizza peel with corn meal, put flattened dough on top: Lightly sprinkle your pizza peel (or flat baking sheet) with cornmeal. (The corn meal will act as little ball bearings to help move the pizza from the pizza peel into

How to Get Started with Cosmo Products

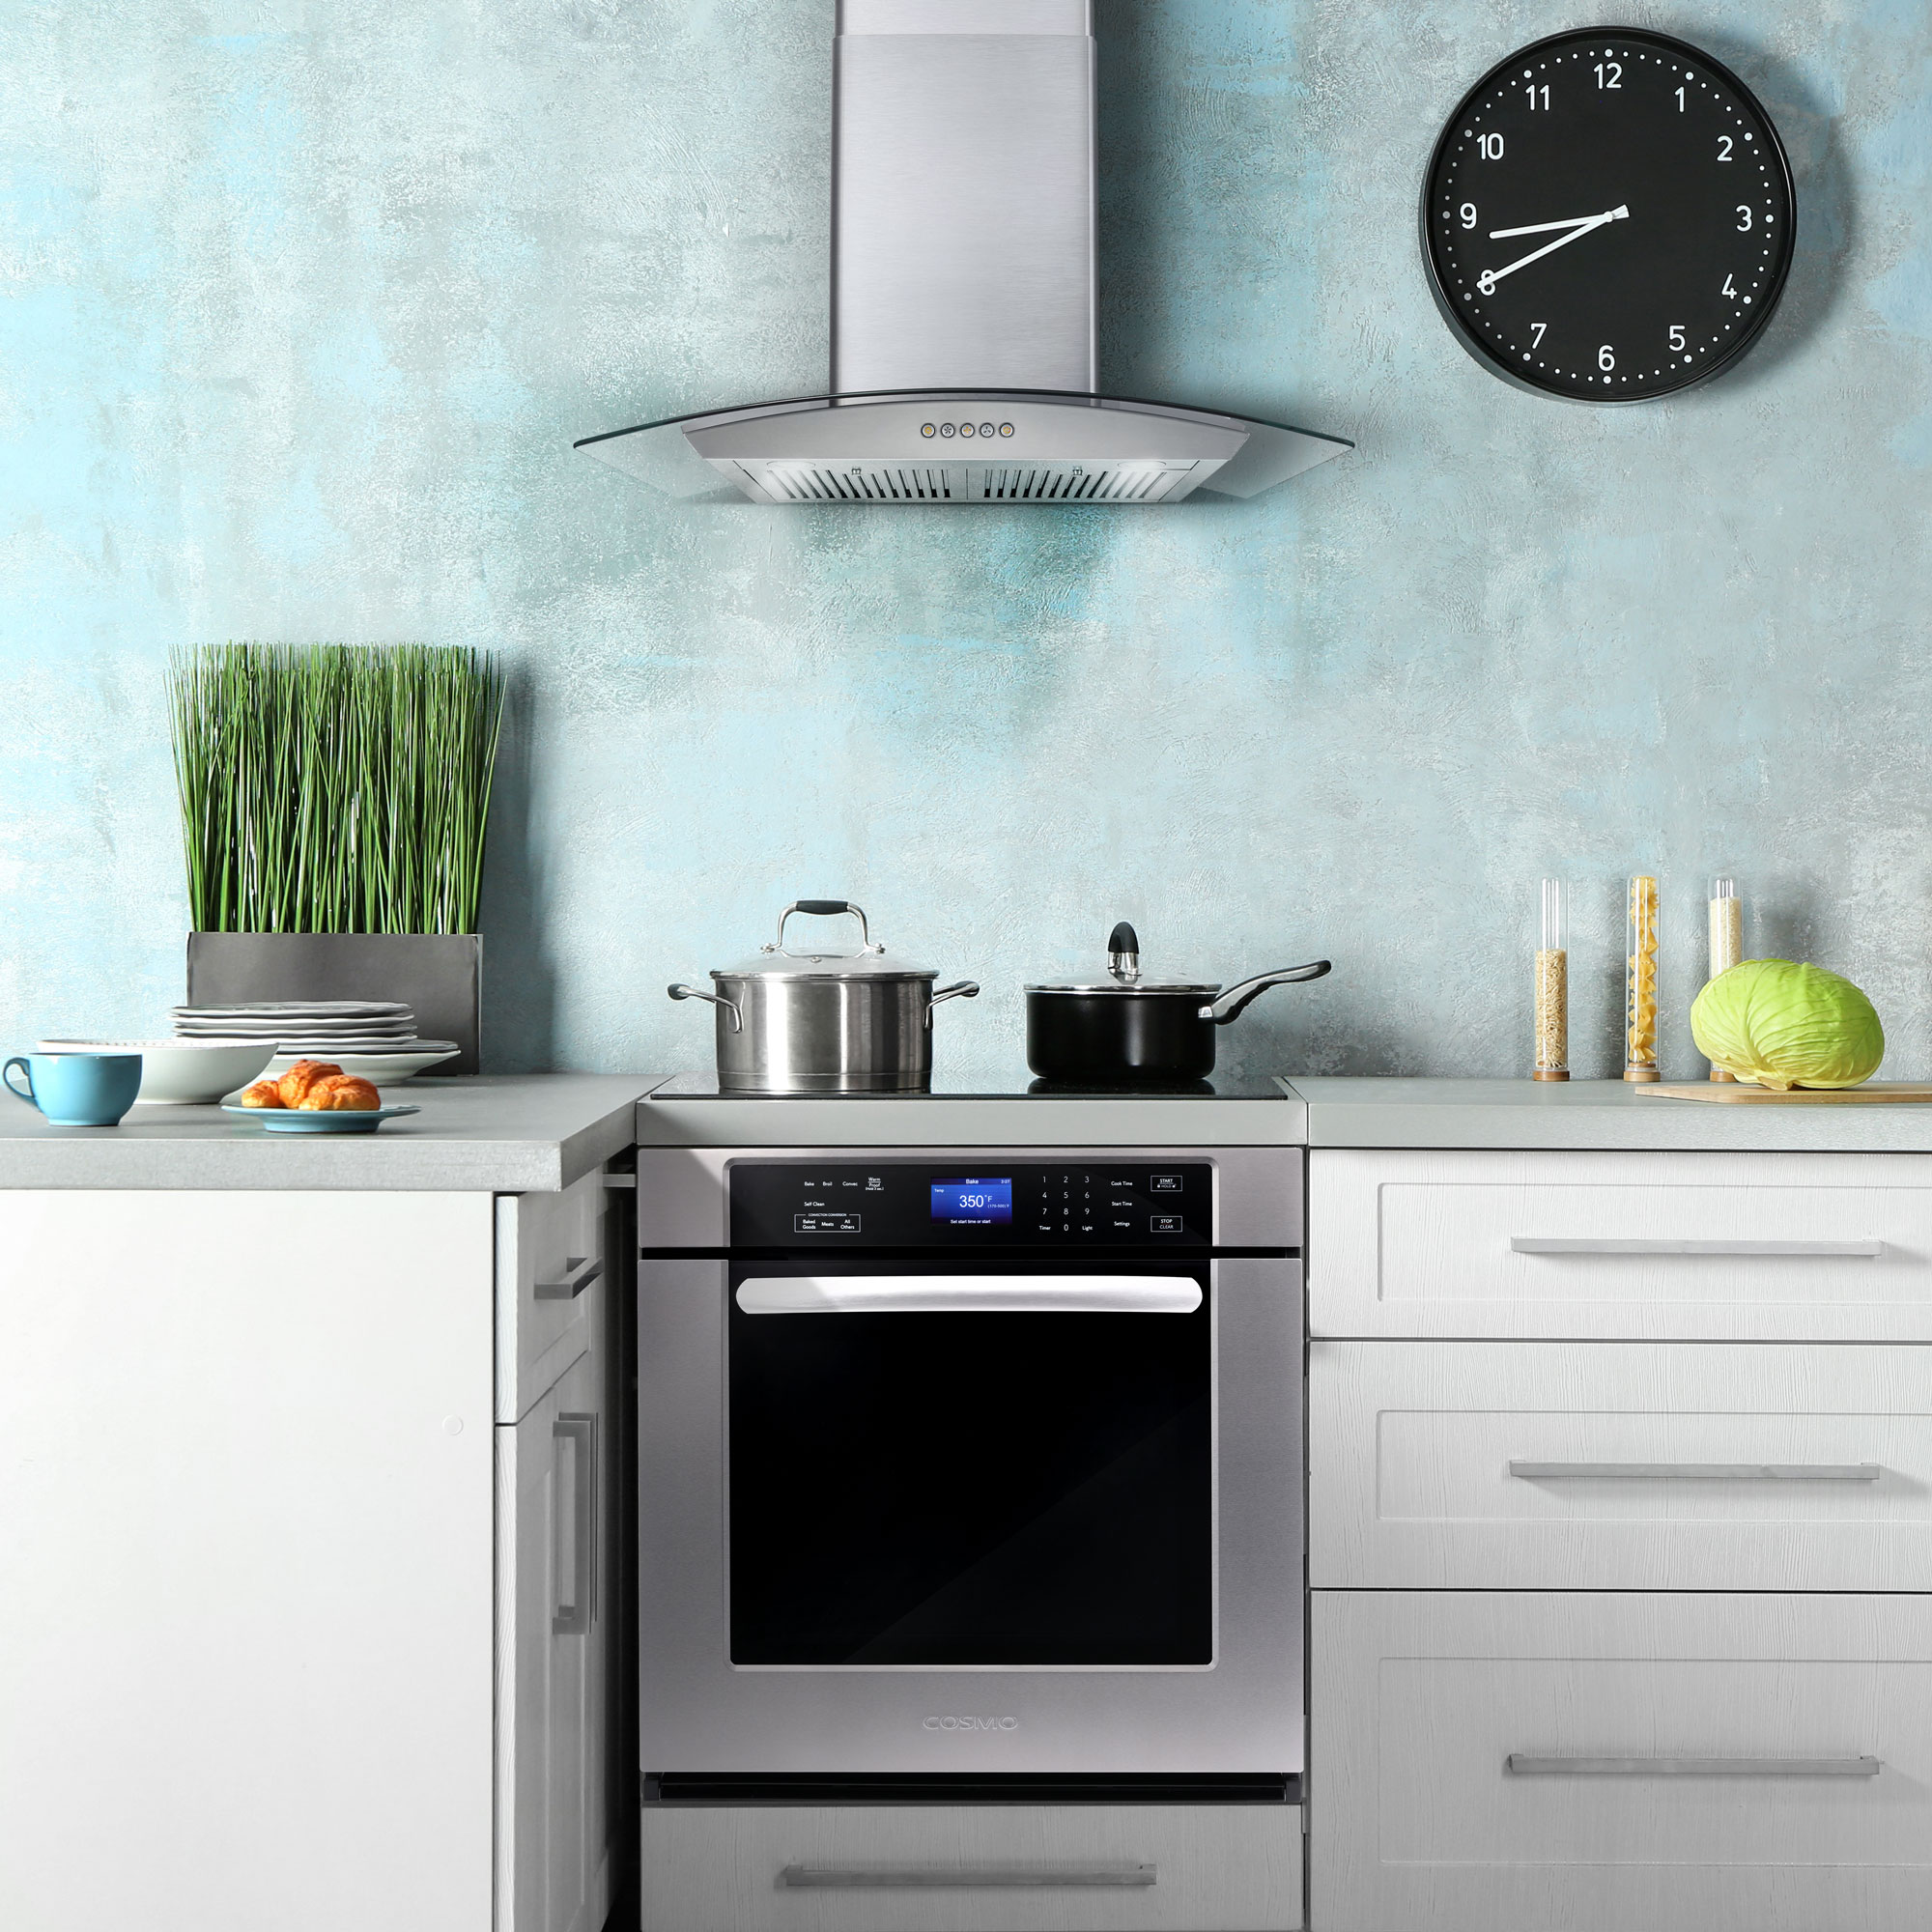
You’ve purchased a Cosmo Appliance, and you’ll soon be on your way to upgrading your kitchen with the design and durability it needs. If you’re stuck on the basics, we’ll be rolling out quick start guides to help you along. These videos give an easy visual reference for all the essentials you should know about your product. Our Range Hood series will be the first out. Subscribe to our YouTube Channel for all of our guides and hit the notification bell to be alerted as soon as we post. Subscribe Here YouTube For more from Cosmo, follow us on our Facebook and Instagram to connect with our community. Installed your appliance? Tag us with #cosmokitchenproducts for a chance to be featured on our page!

Kitchen Cabinetry Essentials

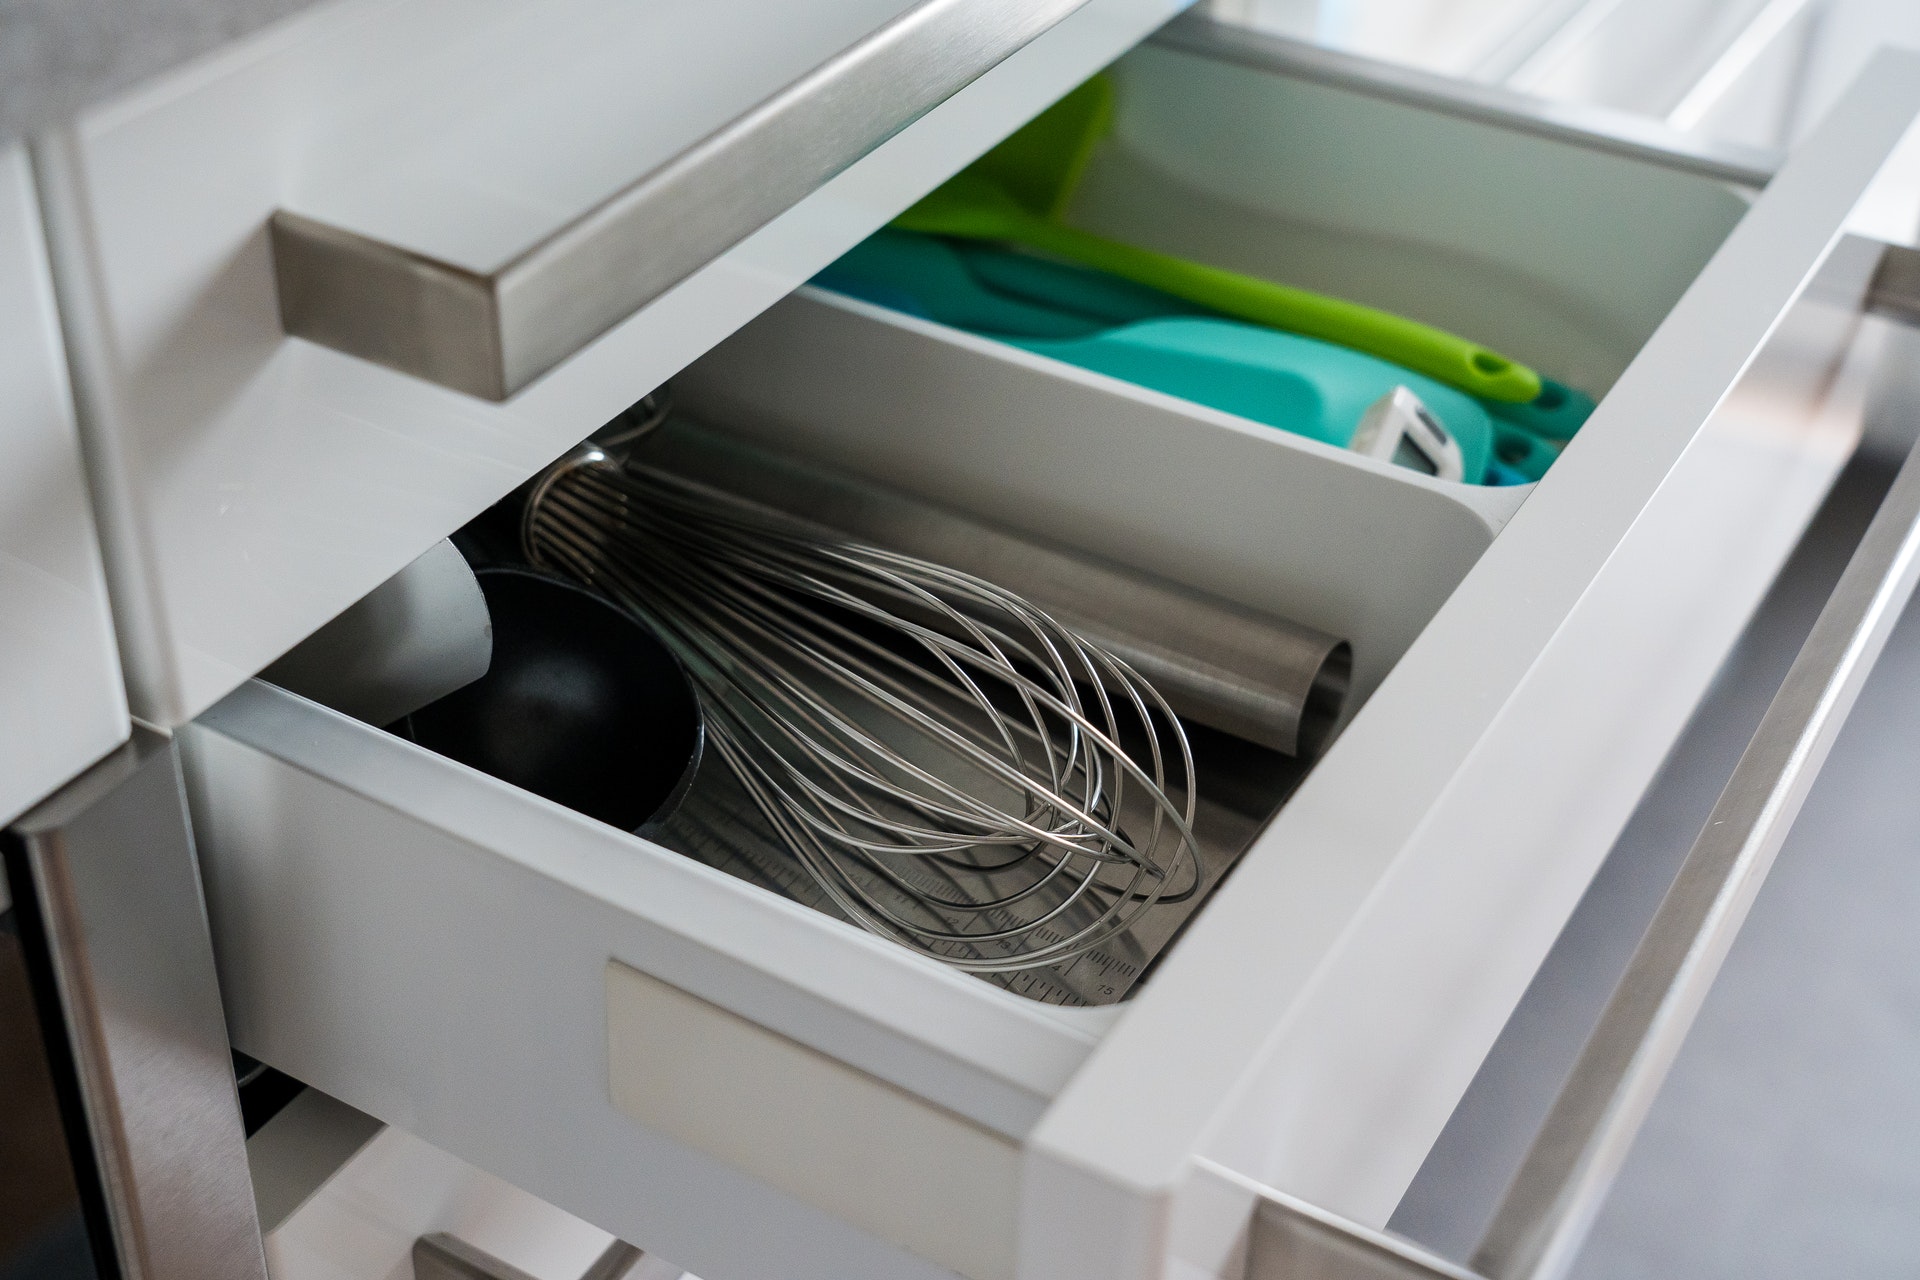
If you find yourself replacing your kitchen cabinets any time soon, consider good storage that goes beyond volume. Not all cabinets are providing the intelligent, strategic storage that makes a kitchen work at maximum effectiveness. Here are some of the essentials to bring out your kitchen’s potential. Drawers and Sliding Shelves These drawers are the ultimate storage space for a kitchen for several reasons. They offer an ergonomic design since they pull out towards you, removing the need to squat or reach up high. Anything can be stored in these cabinets and they can be stacked one on top of the other. A drawer will always bring clean lines which fits any kitchen design such as traditional, farmhouse or contemporary. Trash Pull-Out Remove the trash bin from the side of the island and hide it behind a door in your cabinetry. Ideally you should have two bins–one for trash and another for recycling. A double trash unit only takes up 18 inches of space and is available with soft-close mechanisms. Many trash units are short enough to fit into a base cabinet with a top drawer. Vertical Dividers These dividers are great for storing many large, flat objects like cutting boards, cookie sheets or baking pans. They are often placed in the upper portion of tall cabinetry or can fit in narrow base cabinets, 9 to 12 inches wide. Use these dividers to compensate where a drawer stack isn’t practical. Spice Pull-Out Spices will accumulate in your kitchen over time. When spices are stacked behind each other, it can be difficult to organize and find what you need. A great solution is a 12-inch-wide pull out cabinet fitted adjacent to your cooking surface. Tiered shelves are the best to store larger jars where you can view everything at once. Source: The Spruce

Kitchen Remodels: What to Look Out For

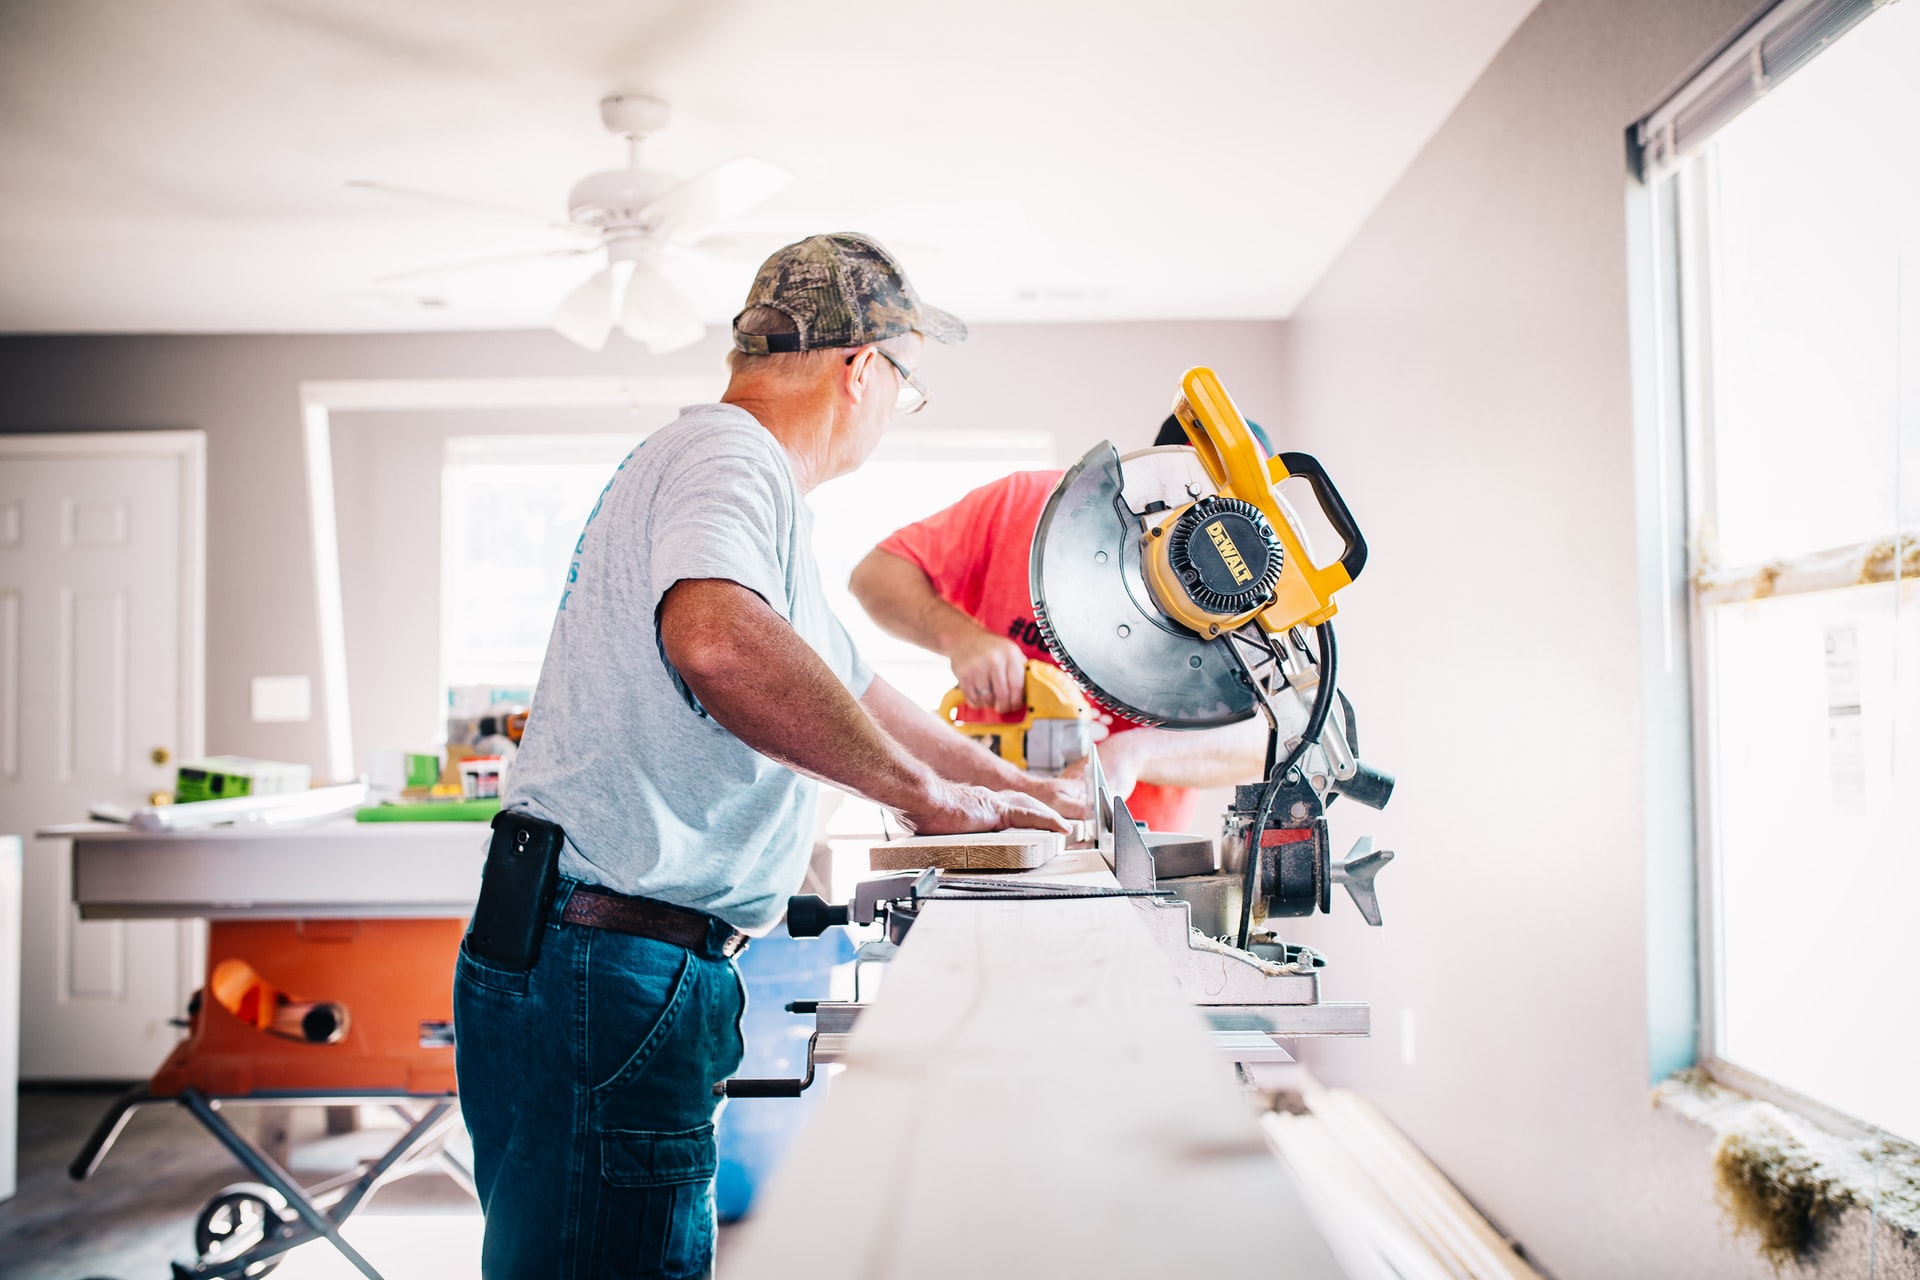
A kitchen doesn’t always come as we’d like it to. Remodeling a kitchen can solve many problems with functionality or design. When planning a kitchen remodel, here are some of the potential issues you should consider. Functionality and Service Zones The kitchen could be considered one of the most functional spaces of a home. Focus on the functional areas such as prep areas, cooking, refrigeration and dishwashing. While aesthetics are important, the functionality should always come first. An ideal kitchen remodel is one where major features aren’t moved. You can save yourself a good deal of money and headache if you leave major appliances where they are such as vented range hoods, the sink or dishwasher. Moving these appliances brings on new technical issues with electrical outlets, wiring or plumbing. Instead, move features that are more simple such as a refrigerator or cabinetry. Skip the Island Kitchen islands are on trend, but it actually isn’t as valuable as you may think. Before opt-ing for an island, ask yourself if your kitchen has the space needed. It takes a rather large kitchen for an island to work as intended. Trying to force it in could leave the rest of your areas cramped and harder to navigate. Invest in Quality Countertops Your kitchen counters are an essential part you will be using day in and day out. It’s worth the extra cost to invest in materials like granite, quartz, laminate or solid-surface. A countertop is one of the largest visual elements in a kitchen, it’s best to get this part right. It’ll also play a valuable role if you ever need to sell your home. Looking for more from Cosmo? Follow us on Instagram and Facebook! Source: The Spruce

Sweet Strawberry French Crêpes Recipe

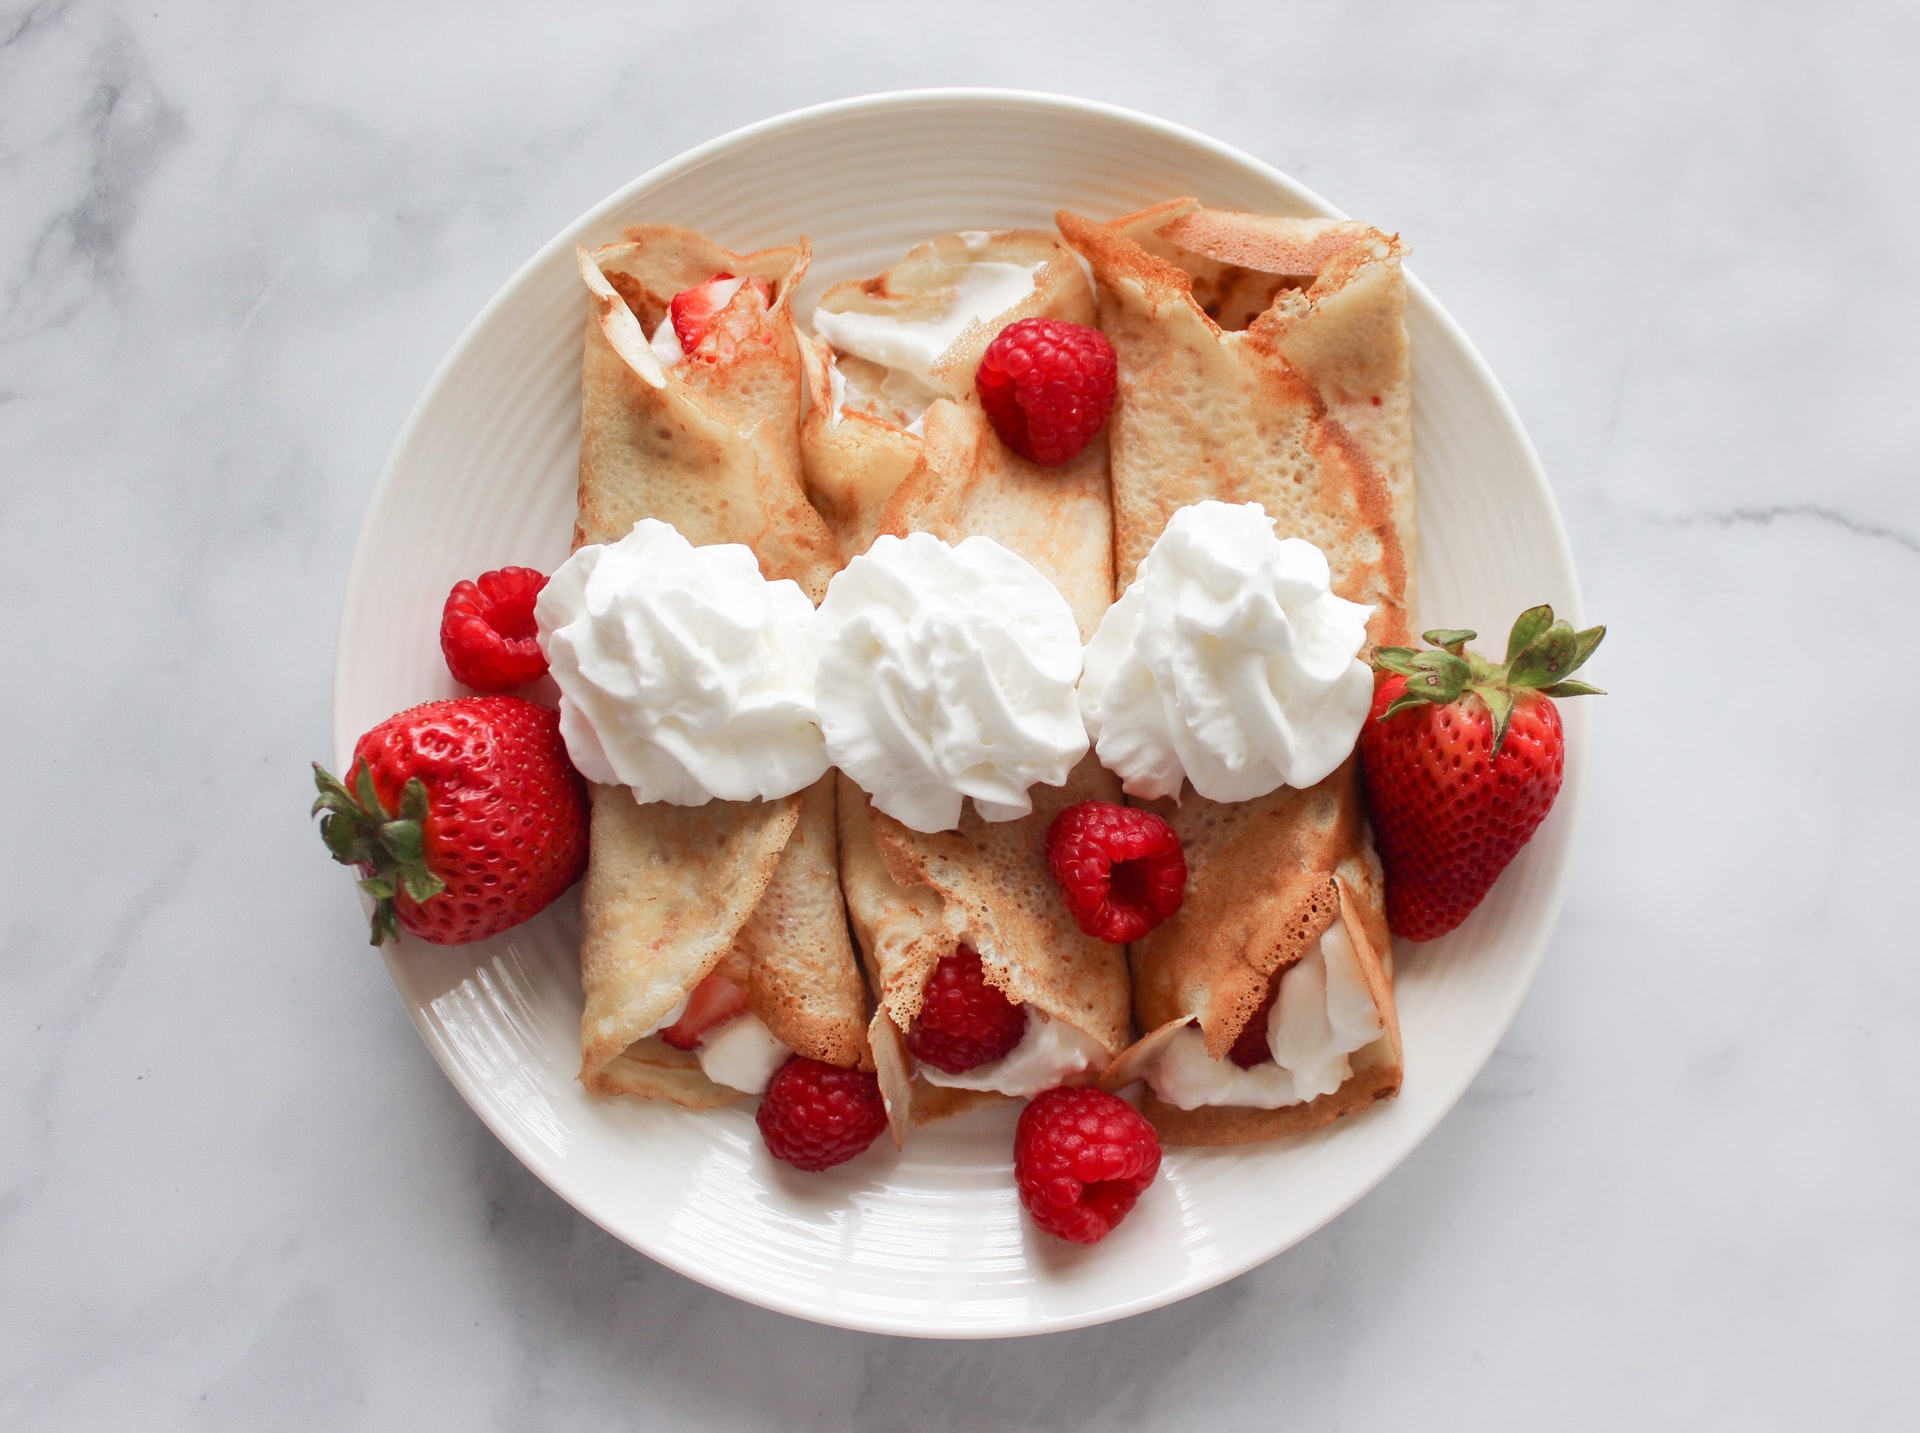
A French crêpe is surprisingly easy to make using a simple blender batter and a nonstick skillet. They are versatile, ranging from sweet to savory. Try this strawberry crêpe recipe for a quick yet fancy breakfast. Prep time: 5 minutes Cook time: 20 minutes Yield: 6 servings (about 12 crêpes) Ingredients: 3 large eggs 2 1/3 cups milk 1/4 cup sugar 1 teaspoon vanilla Pinch of salt 2 1/3 cups (290g) flour 2 cups of hulled ripe strawberries 3 tablespoons of strawberry jam Vanilla ice cream (if desired) Butter for the pan Directions: Make the crêpe batter: In a blender, pulse the eggs, milk, sugar, vanilla, salt and flour for 7 to 10 seconds, or until the batter is smooth. Pour into a bowl. (The batter can be refrigerated, covered, for up to 3 days. If the batter thickens too much, add additional milk before cooking to thin it to the consistency of heavy cream.) Heat and grease the pan: Heat an 8- or 10-inch non-stick skillet or well-seasoned crêpe pan over medium heat until hot. Using one end of a stick of butter, coat the bottom of the pan with a thin layer of melted butter. Start cooking the crêpes: Pour 1/3 cup of batter into the center of the pan. Immediately pick up the pan and tilt and swirl it to spread the batter evenly over the bottom. Cook for 1 to 2 minutes, or until the crêpe is golden on the bottom. Flip the crêpe: Use a rubber spatula to loosen the edge of the crêpe all around. Hold the edge with your fingertips and gently, but quickly, flip the crêpe to the other side (or use a spatula if that feels more comfortable). Cook for another 30 seconds, or until the crêpe is golden on the bottom. Slide the finished crêpe onto a plate. Repeat until all the batter is used, stacking the crêpes on top of each other on the plate. Assemble the crêpes: Place one crêpe on a plate and fill it with your filling of choice. For strawberry crêpes, blend 2 cups of hulled ripe strawberries with 3 tablespoons of strawberry jam to make a smooth sauce (add additional water as needed to thin). Serve crêpes with a scoop of vanilla ice cream, some fresh sliced strawberries, and a few spoonfuls of sauce drizzled over top. If you’re not eating them right away, let the crêpes cool, then cover the stack with plastic wrap and refrigerate for up to 3 days. Reheat in a buttered skillet. Source: Simply Recipes