Month: February 2021

Disinfecting Myths Debunked

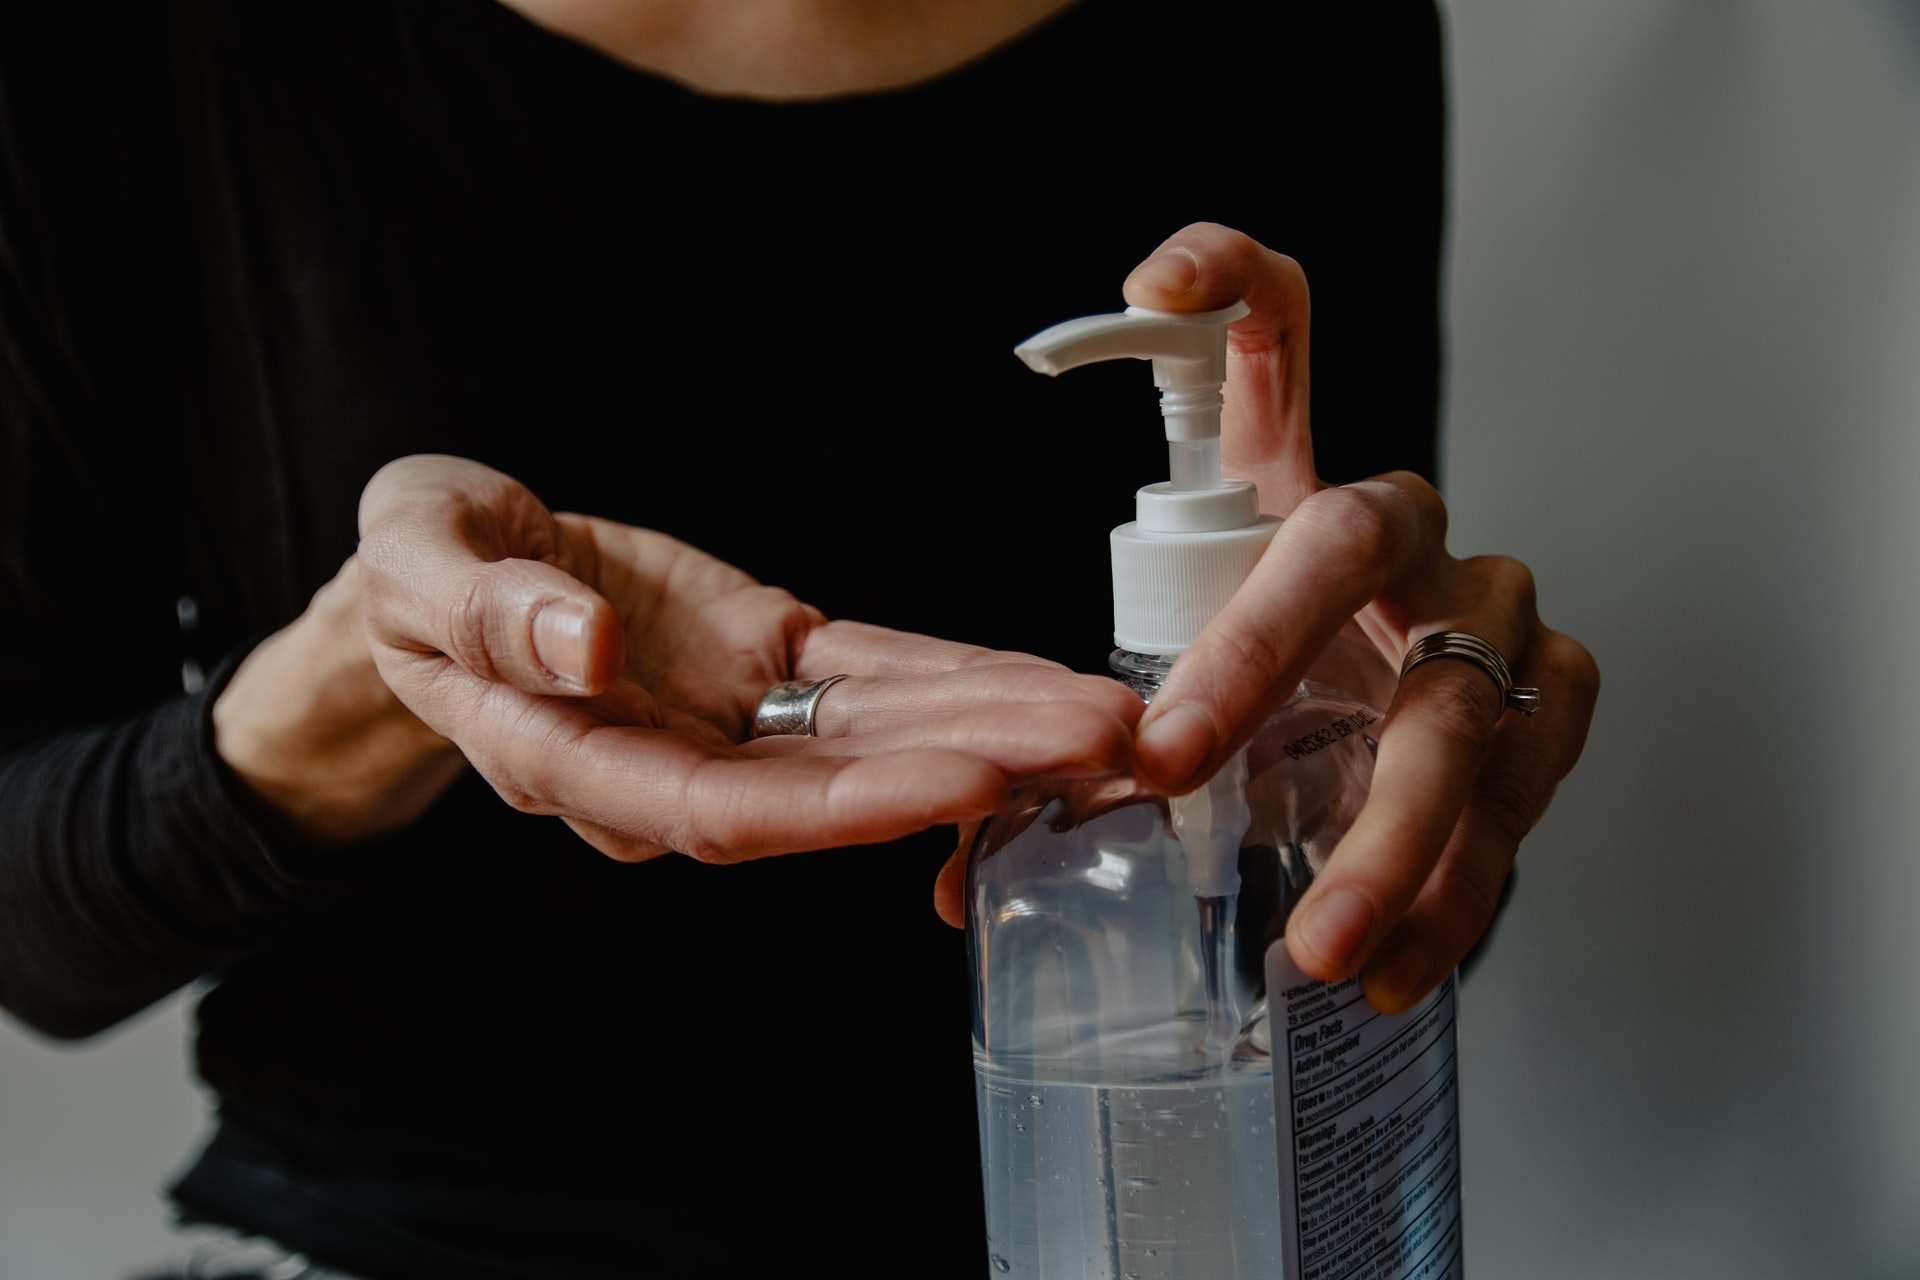
We’ve talked a lot about cleaning and disinfecting this past year. But it’s valuable to know there may be misinformation floating around. Here are three of the biggest mistakes about disinfecting. Cleaning and Disinfecting Are The Same This myth couldn’t be further from the truth. These two steps are meant to follow one after the other. Cleaning refers to the removal of germs, dirt and impurities from surfaces. This however does not kill germs, but by removing them it lowers their numbers. Disinfecting on the other hand will kill germs on surfaces through the use of chemicals. This doesn’t necessarily clean dirt surfaces but it also reduces the number of germs on a surface. It’s important to disinfect while also cleaning, preferably cleaning first. Leaving dirt or grime behind makes disinfectants less effective. Disinfectants Kill Germs on Contact Immediately wiping down disinfectant with a paper towel is actually doing it a disservice. In order for a disinfectant to be effective it needs a certain amount of time to sit on the surface. Bleach for example requires at least 10 minutes of contact time to kill germs. Clorox wipes need to leave the objects that they’re treating wet for four at least minutes. Be sure to read the label of your disinfectants to find that required “dwell time”. Disinfectants Provide Lasting Protection Any surface you disinfect will only stay that way until someone else comes along and touches it again. Germs will come back, so it’s crucial to maintain a clean and disinfected environment to ensure the least amount of germs. Source: the Kitchn

How to Safely Freeze and Defrost Food

Cooking at home requires a basic understanding of food safety. Ensuring food is safe and fresh can protect you from illness or contamination. Here’s what you can do to make your food safe. At the core of all food safety is the idea of “the danger zone”. This temperature range is where microbes like to grow, especially on food. These microbes such as molds and bacterias will make you sick if ingested. This range is between 40°F and 140°F. Placing food in environments where they are either colder than 40°F or hotter than 140°F is ideal. Always keep your fridge colder than 40°F or cook your meats at least 140°F. If you are unable to keep your food in this range for more than two hours, it’s advised to toss it out. Defrosting Food One easy way to ensure food is safely thawed is by moving it from the freezer to the fridge. However, this takes a while and if you’re short on time there are other methods to thaw food quickly. Put your food in a bowl of cold water. As long as it’s in a leak-proof container, this method will generally thaw meat in about 30 minutes to an hour. Just be sure to swap out the water every half hour. The larger the foods the longer it will take to thaw this way. You can also cook some meat directly from frozen. Chicken breast and frozen fish filets will only need a longer cook time. It’s important to note only some meats work with this method so it’s best to do some research beforehand. Cooking Food As previously mentioned, when cooking you’ll want to surpass the danger zone of meat to ensure bacteria is safely destroyed. While this list doesn’t encompass every type of meat, here are some general guidelines. These are all internal temperatures, so it’s a good idea to invest in an instant-read thermometer. 145°F for fish and whole cuts of beef, pork, veal or lamb. 160°F for ground meat including beef, lamb and park 165°F for any kind of poultry including chicken, turkey and duck 165°F is also the temperature any leftovers should be heated to If you need to cool down hot food quickly, a cold-water bath is your friend. Place your food in sealed, airtight containers and place in cold or ice water. This should cool it in a few minutes. You should never place hot food directly into your fridge as this may warm up everything else around it, thus spoiling other foods. Source: The Kitchn

Organizing Appliances 101

If your kitchen is cluttered and disorganized, there are three steps to manage your kitchen space. This will vary depending on the type of cook you are and what you eat. A pressure cooker front in center may be more optimal for a vegan, while a blender could be more useful for a raw food lover. Group Your Appliances. Sort out your appliances by their frequency of use. Split every appliance into one of the following categories: frequently used, rarely used and never used. Consider appliances that can have multiple purposes. A high-quality blender can double as a food processor, leaving you more kitchen space. Rid the Never-Used Appliances. This may be obvious, but do away with the appliances you aren’t using. Think about those rice cookers, juicers and egg poachers. Your kitchen space is valuable and should be reserved for appliances you’ll be using constantly. If you’re having trouble getting rid of an appliance, allocate 30 days to consistently use it. If it becomes a habit, keep it. Organize Cabinet Spaces. Now that you’ve cut back on appliances, it’s time to organize what you have. Take time to wrap cords around appliances before storing them. This will decrease clutter and look more organized. Cut back on paper clutter by accessing manuals online or saving them to your computer. Gather all the smaller parts in your kitchen, such as appliance attachments, and organize them in bags with the proper labels. Store Less Used Appliances. The appliances you use infrequently like a waffle maker or slow cooker, should be stored in harder to reach places. Reserve optimal cabinet space for the appliances you use the most. You can also swap these around if your needs change over time. For example, an ice cream maker can be moved down from the top shelf when it’s summertime. Source: the Spruce

6 Tips for a Cleaner Refrigerator

There’s no need to dread cleaning out your fridge. Follow with these 10 easy tips to get your appliance back in top shape. Create an all purpose cleaner by combining 1 cup clear ammonia, ½-cup vinegar and ¼-cup baking soda into a gallon of hot water. Pour the solution into a bottle. This will act as a degreaser and prevent any mold or mildew. Wipe everything down with this solution, including your shelves and drawers. Clean out the dust from below your fridge by removing the grill and clearing out everything underneath. Check the pan of water under the unit which can contain unpleasant-smelling water. To fix odors, sprinkle vanilla extract on cotton balls and place in a shallow dish in your refrigerator. Orange extract also works. Check the insulating seam around the door for any cracks. This will help to pinpoint any leaks. You can test this by placing a flashlight inside your fridge and closing the door. Turn the lights off in the room and see if any light escapes through the seams. If your refrigerator is ever empty, place a large bottle of at least one gallon of water inside. It helps keep the refrigerator cool and running efficiently. Keep your refrigerator at 37 degrees. Looking for more ways to connect with us? Follow our Facebook and Instagram for more updates! Source: HGTV

How to Make the Perfect Mimosa

A mimosa is the refreshing combination of sparkling wine and juice that is best served cold. This combo allows for a crisp and sweet taste, perfect for any occasion. Here’s how to craft the perfect one, all the way from ingredients to serving. Any sparkling wine can work for a mimosa, but Cava and Champagne both have a bitterness that adds dry, crisp sips without the sugar. While orange juice is the most common choice, tangerine juice has a brighter color and a richer taste for an elevated cocktail. Yield: Serves 1Prep time: 3 minutes Ingredients: 2 cold medium tangerines or oranges 2 ½ ounces chilled sparkling wine Garnish options: pomegranate seeds, blackberries, or raspberries Equipment: 6-ounce champagne flute Knife and cutting board Cocktail measure Juicer Fine-mesh strainer and glass or measuring cup with spout (optional) Directions: Halve and juice 2 cold medium tangerines or oranges. If you’d like to remove the pulp, pour the juice through a fine-mesh strainer into a glass or measuring cup with a spout. Place the juice and a 6-ounce champagne flute in the refrigerator. Open the sparkling wine if needed: Using a napkin or towel, untwist the cage counterclockwise, putting pressure on the cork to keep it from popping out prematurely. Twist the bottle—not the cork. Once the bottle starts to loosen from the cork and is able to spin freely, begin to slowly pull the cork away from the bottle. The pressure of the bottle will loosen the cork out, you can control how quickly the cork separates itself from the bottle. Release slowly at a 45-degree angle to allow air to get out and not cause an eruption. Pour 2 1/2 ounces of the juice into the champagne glass. Add the sparkling wine. Fill the rest of the glass with the sparkling wine. Garnish the mimosa with pomegranate seeds, raspberries, or blackberries if desired. Source: the Kitchn

The Only Chocolate Brownies Recipe You’ll Need

Brownies made from scratch always beat box-made. These brownies are easy and simple to make for the perfect dessert. The secret? A bit of almond extract. Read more below. Prep time: 20 minutes Cook time: 25 minutes Yield: Makes 10 to 25 brownies Ingredients: 10 tablespoons (1 1/4 sticks, 140 g) unsalted butter 1 1/4 cups (250 g) granulated sugar 3/4 cup plus 2 tablespoons (85 g) unsweetened cocoa powder (natural) 1/4 teaspoon salt 1/2 teaspoon almond extract 2 cold large eggs 1/2 cup (65 g) all-purpose flour 2/3 cup (80 g) pecan pieces Directions: Preheat oven and line baking pan: Preheat oven to 325°F (160°C), with a rack in the lower third of the oven. Line the bottom of an 8-inch square baking pan with foil or parchment paper in such a way as there is an overhang on two opposite sides to make it easy to lift the brownies out when they’re done. Heat butter, cocoa, sugar, salt in a bowl over simmering water: Place the butter, cocoa, sugar, and salt in a medium-sized metal bowl. Fill a large skillet halfway with water and bring to a bare simmer. Set the bowl of the butter cocoa mixture in skillet of simmering water. Stir the butter cocoa mixture until the butter has melted and the mixture is smooth and hot to touch. Remove the bowl from the skillet and let it cool down a bit, from hot to warm. Stir in almond extract, eggs, flour, beat with spoon, add pecans: Stir in the almond extract. Stir in the eggs, one at a time, beating strongly after each addition. Once the batter is well mixed and shiny and thick, stir in the flour. Beat for 40 strokes with a wooden spoon. Mix in the pecans. Pour batter into lined pan: Pour the batter into the prepared lined pan and smooth the surface evenly. Bake: Bake 25 minutes at 325°F (160°C), or until a bamboo skewer or toothpick inserted into the center comes out still a little moist with the brownie batter. Cool completely on a rack. Cut: When the brownies have completely cooled, lift up the sides of the foil or parchment liner to remove them from the pan. Place the brownies on a cutting board and cut into squares or rectangles. Source: Simply Recipes

Fixing a Smelly Sink

A kitchen sink is the workhorse of the kitchen. Whether its grease, food or a plumbing issue, sinks are susceptible to smelly odors and potential health risks. Here’s a guide to help determine the problem. Food can rot and may be the culprit of unpleasant scents. Try cleaning out your drain with hot water and dish soap. Fill up the sink about halfway with hot water and squirt some soap in. After, pull the plug while turning the disposal on as it drains. You can also pour a cup of baking soda followed by the same amount of vinegar and let it sit for 10 minutes. Boil six cups of water and pour it down the drain to help move out any residual particles. If the smell persists, you may have a plumbing issue. A sewer smell can contain harmful gases and shouldn’t be inhaled for long periods of time. First, check the P-trap of your sink. This “p” or “u” shaped pipe can block or dry which would cause a sewage smell. There is a small cap at the lowest point of the curve which you can use to check for blockages. Clear the blockage and run the water for a few seconds to fill it back to optimal levels.Take some time to inspect the pipe for a leak and clean it out if you have to. If your P-trap isn’t the source you can have a clogged vent. Every house has a plumbing vent. This connects your main sewer line to the outside air. If this vent is clogged, sewer gas can get into your home. If you aren’t able to clean it out easily, a professional plumber can run a smoke test to find the obstruction. Source: The Spruce

The Times You Don’t Need to Mince Garlic

Minced garlic is a great way to infuse food with sweet, pungent garlic flavor. However, mincing is arduous and can often bring undesired smells. Follow this guide on when you should skip the mincing altogether even if a recipe calls for it. Smashing or slicing garlic will break down the cells inside the clove which starts a chemical reaction. This reaction is what gives a stronger flavor, so finely minced garlic will be more pungent than smashed cloves. However, minced garlic will also burn easier and often taste bitter if overcooked. Skip mincing garlic for soups, stews and braises. A stew will cook slowly, so there’s no need to mince garlic. The broth will break down the cloves. Maximize flavor by smashing the cloves before tossing them into the pot. Slice garlic for pastas and sautés. Cooking sliced garlic in olive oil or butter will caramelize, adding to the flavor of the base dish. Try frying the garlic in oil and use the oil to sauté vegetables. Minced garlic with these methods could easily burn, leaving a bitter taste. Grate for dressings and marinades. You can mimic the flavor of minced garlic by simply grating it on a fine grater. This is easy to overcook so save it for salad dressings and marinades. Source: The Kitchn

5 Vegan Swaps for Dairy Products

A plant-based diet doesn’t have to be a headache as long as you know what to swap and when. Most of these options you have in your pantry or can be achieved with a blender. Here are some non-dairy substitutions in common recipes. Almond Milk Probably one of the easiest swaps you can make is substituting dairy milk with almond milk. It’s a versatile ingredient for any recipe you may need such as coffee, smoothies or baking. Use unsweetened almond milk for the most neutral flavor when you are baking or cooking. Non-Dairy Butter Milk Combine any non-dairy milk with apple cider vinegar for a non-dairy buttermilk. For 1 cup of buttermilk, measure out ¾ cup + 2 tablespoons non-dairy milk and add 2 tablespoons vinegar. The acid from vinegar will behave in the same way the acid in buttermilk would. Nutritional Yeast A nutritional yeast is a savory “dust” that tastes similar to cheese. This yeast is considered deactivated as it is no longer alive after manufacturing, and is made specifically as a food product. You can use it generously as a seasoning with popcorn, scrambled eggs or salads. It’s extremely versatile for any recipe. Cashew Cream Blend cashes with water and a pinch of salt for a creamy sauce. Add a squeeze of lemon or smoked paprika for a delicious flavor. Spread this on subs or drizzle over nachos. Try folding in minced chives and garlic powder for a ranch-like dip. Banana Ice Cream Frozen bananas puréed taste creamy and sweet just like soft serve. Add a spoonful of cocoa powder or nut butter with a handful of frozen berries for a refreshing summer day snack. Source: Good Housekeeping

The Difference Between Slide-In vs Drop-In Ranges

If you’re in need of a new range, you’ve probably come across slide-in or drop-in variations. While they may be similar in build, each has their unique design features with different installation requirements. Freestanding ranges are among the most popular but a slide-in or drop-in model gives a unique integrated look. Here are the main differences between a slide-in and drop-in model. Features Slide-in ranges usually have a bottom drawer below to store cookware. A drop-in range has to fit with existing cabinetry so it typically doesn’t have a storage drawer. This should be considered since you’ll need additional cabinet space for your cookware and pans. It’s also important to note that a drop-in installation is typically more expensive to install since it requires custom cabinetry to drop into. Cabinetry A drop-in range is often placed in islands or on top of custom cabinets. A slide-in range on the other hand, has contoured sides to slide in between two adjoining cabinets and allows for the cooktop to rest on top of either side. This prevents food from falling in any spaces between the range and cabinetry. When deciding on a range, look for the kinds of cabinets available to you in your kitchen. There are many different models to fit your needs whether it’s freestanding, slide-in or drop-in variations. Source: The Spruce