Month: August 2021

How to Heat Your Grill to Cook a Steak

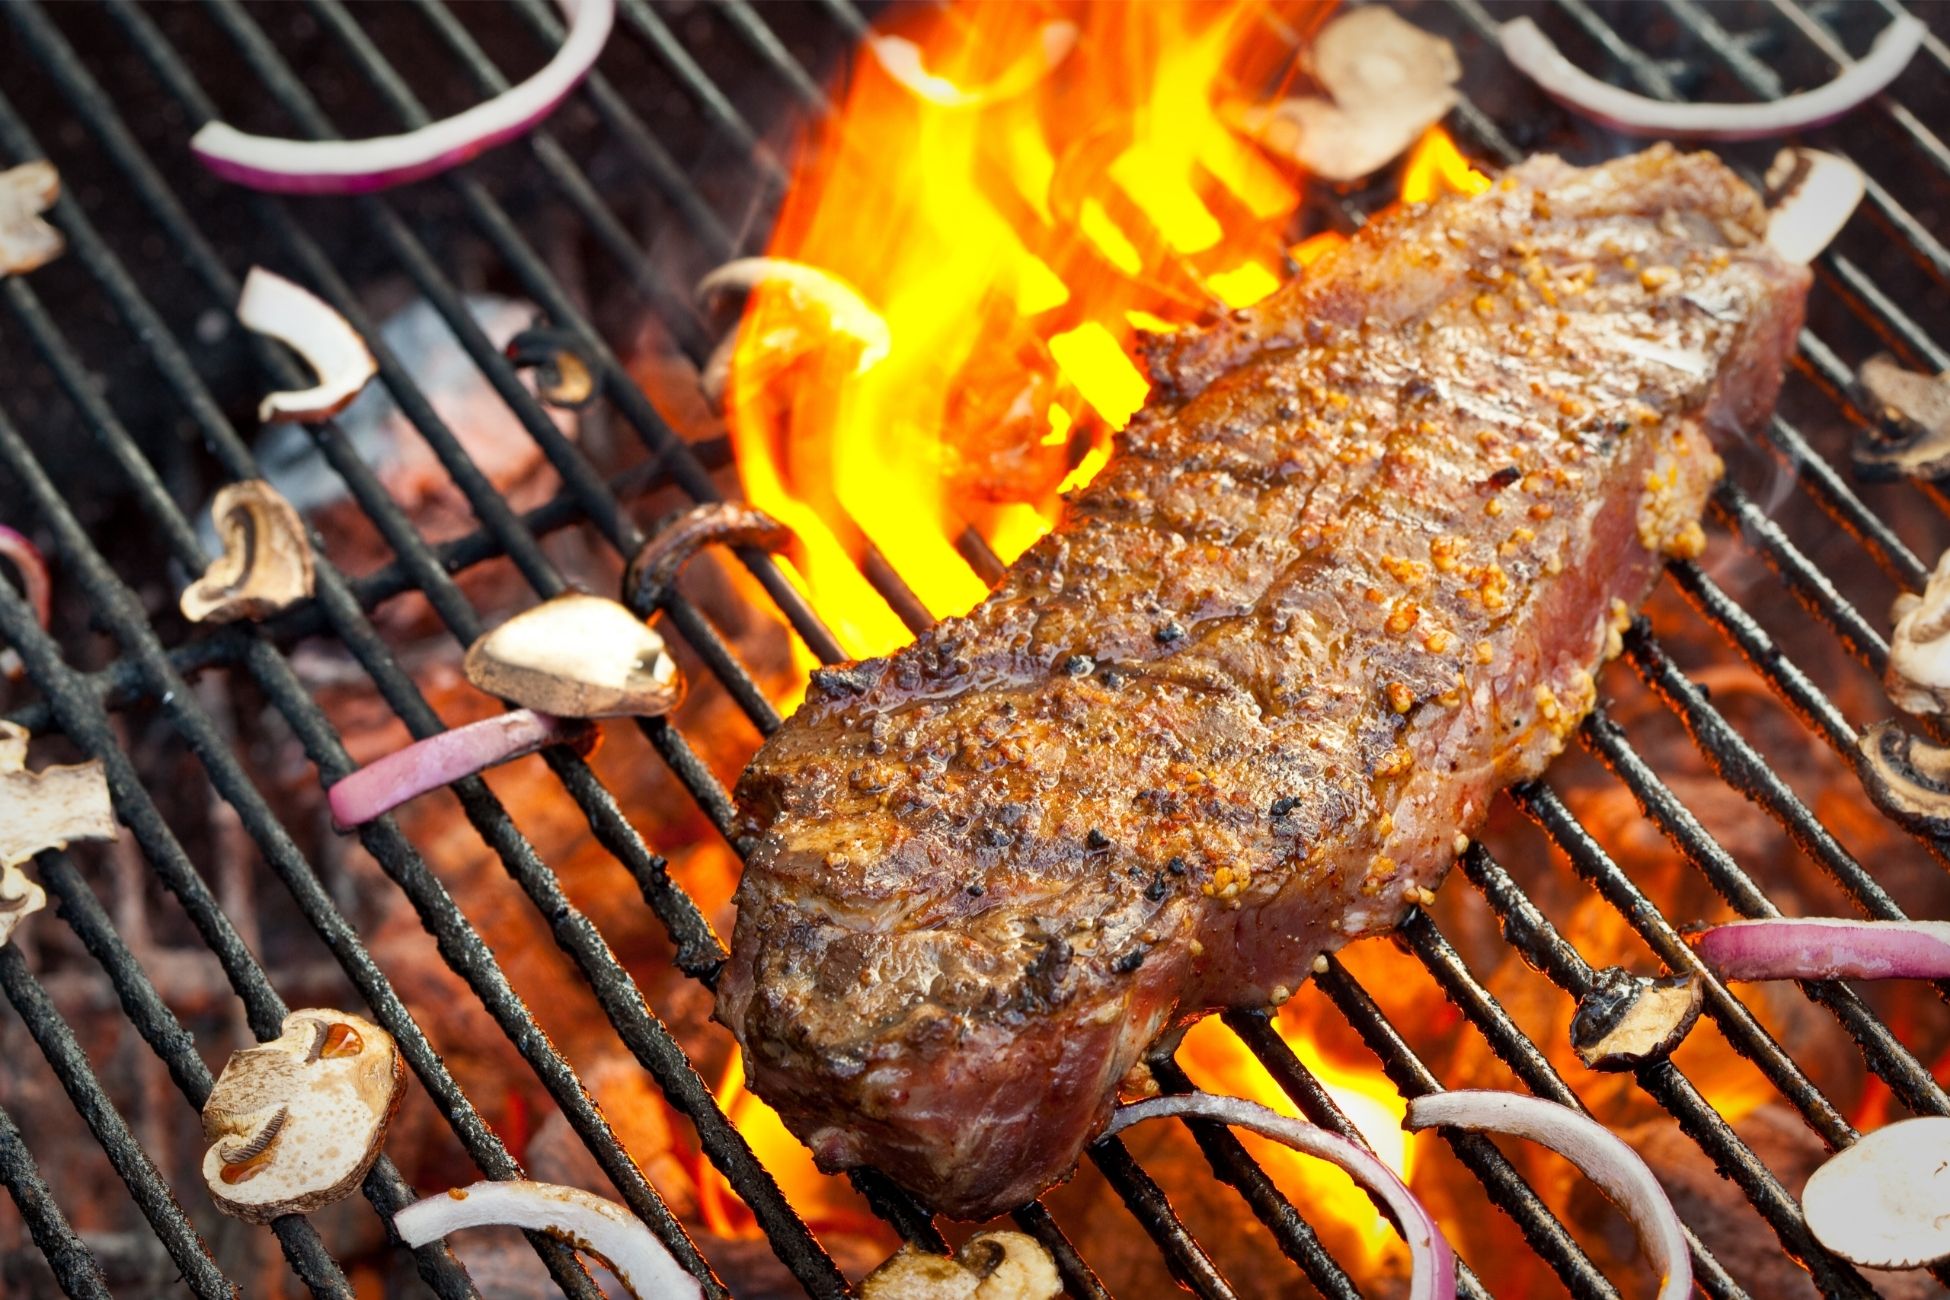
No matter what kind of grill you have, you’ll need two heat zones to cook a steak. A high heat area for searing and a medium heat area to finish it to the desired level. Here’s how to set it up. Searing is a technique where food is cooked at a high temperature until a browned crust forms due to the Maillard reaction. This high heat causes the molecules to rearrange themselves and set off multiple reactions that brown the steak and unlock the flavor and aroma. It’s about 500 degrees F for perfect seared steak. If the steak is left on this heat for too long the crust will burn and produce a bitter taste. Moving the steak to a medium side of the grill will maintain flavor and allow the steak to cook to the preferred doneness. When setting up your cooking zones on a charcoal grill, bank most of the hot coals to one side of the grill. This will serve as the high heat zone while the other side will be the medium heat zone. Open your vents wider to heat up the grill and close them to cool the grill down. If you have a gas grill, turn two knobs to high and let the grill heat for about 10 minutes. Once it reaches temperature, turn one knob down to medium to create the medium heat zone. You can test the cooking zones by holding your hand three inches about the hot zone. If you can hold your hand for two seconds, the grill is ready for searing. The medium zone is ready if you can hold your hand there for 5 to 7 seconds. Don’t forget that charcoal is the hottest 5 to 10 minutes after lighting. You may be tempted to sear right away but it could take about 25 minutes for the medium zone to reach temperature. Wait until almost all the charcoal is white and has stopped smoking. Source: Simply Recipes

Chocolate Ganache Recipe

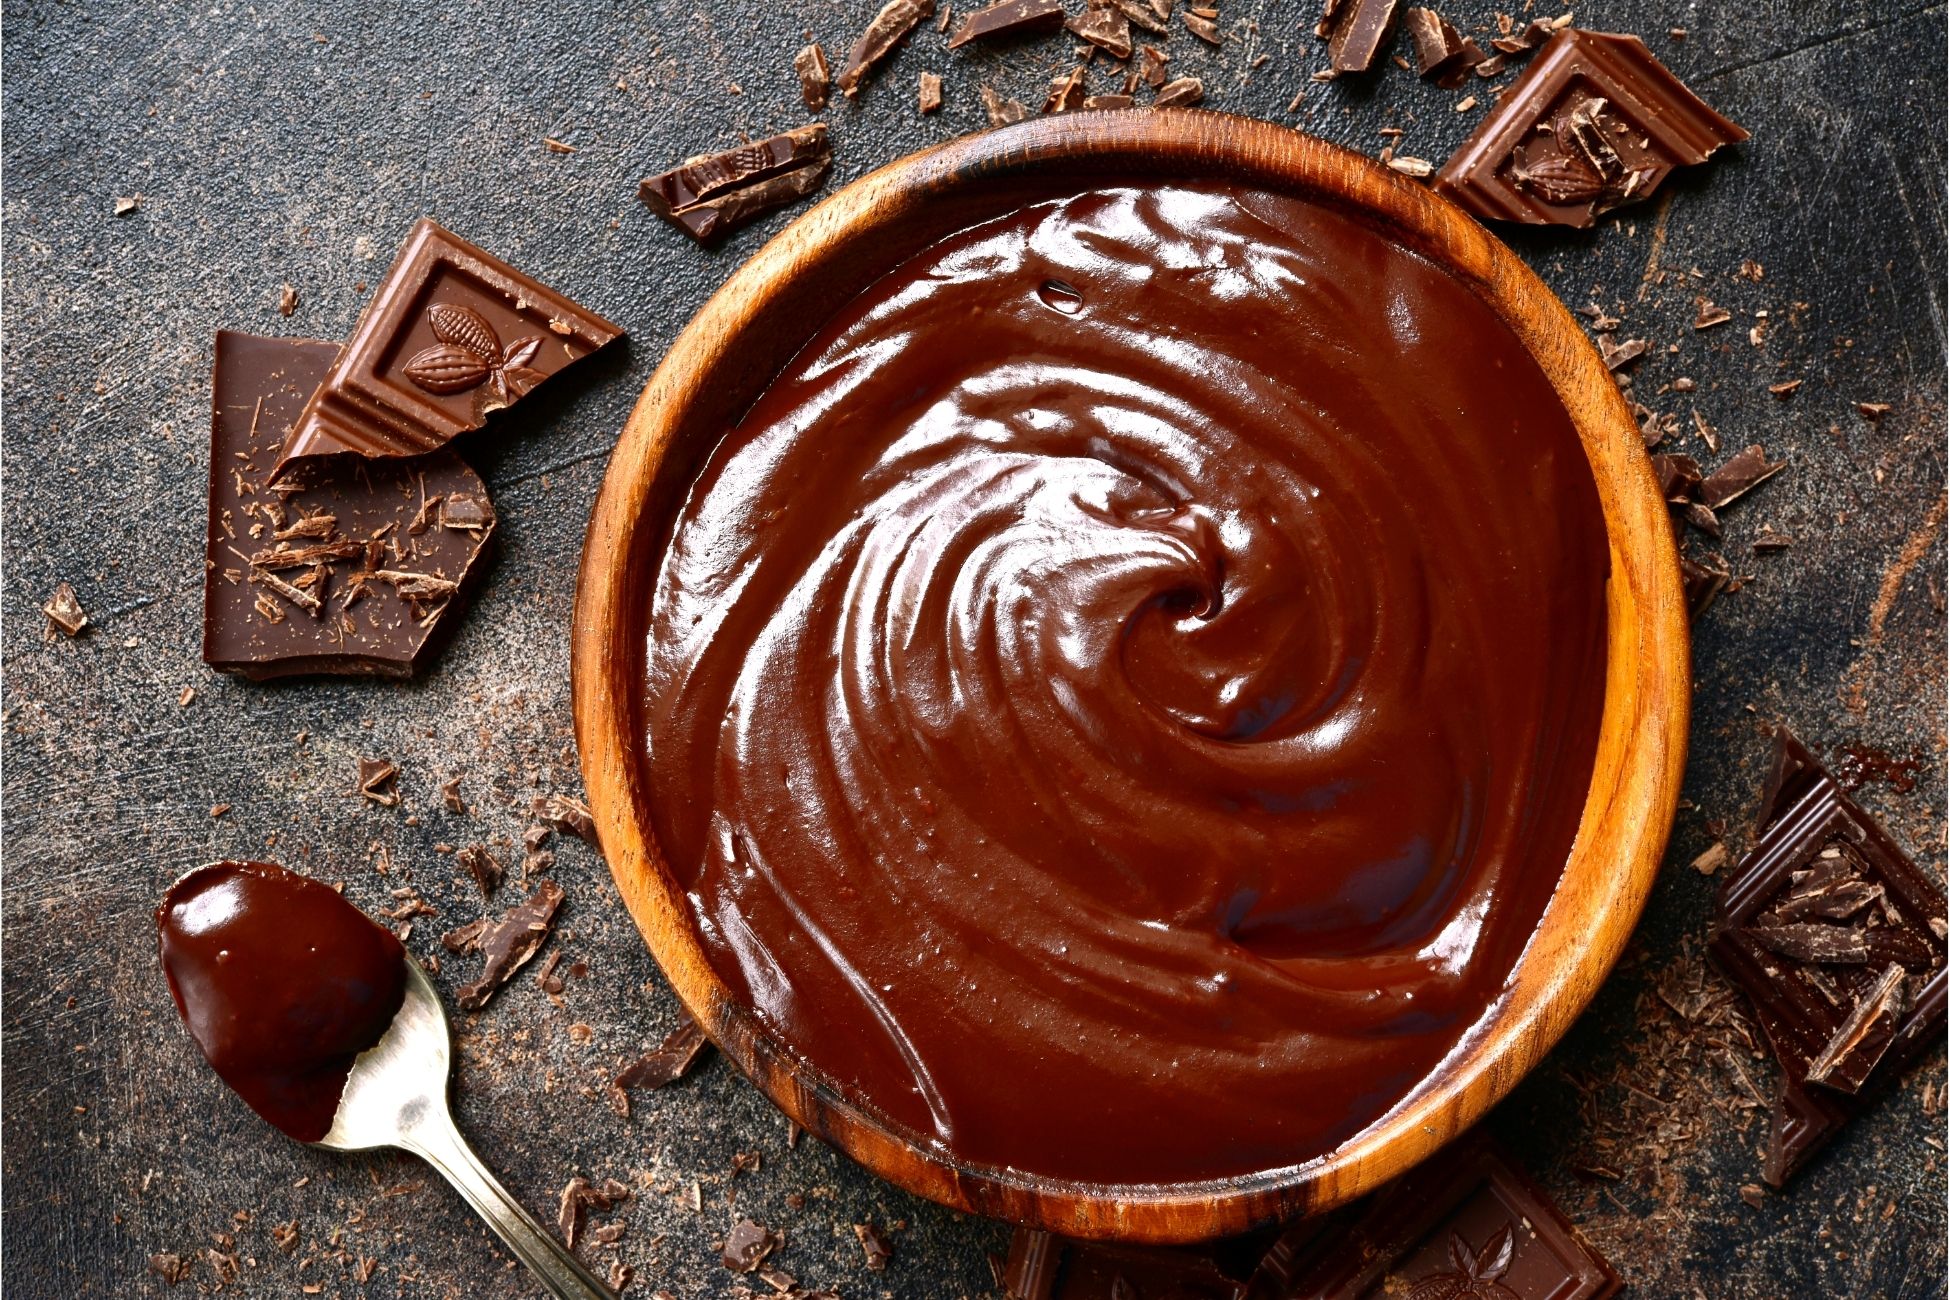
Chocolate ganache is a luxurious and rich frosting, used for anything from Bundt cakes to cupcakes. It’s super easy to make with just a few ingredients and minutes of hands-on time. A dark chocolate ganache at its core is a warm heavy cream and chocolate stirred together. The type of chocolate you use can be substituted depending on your preference. You can also alter the consistency by adding more or less cream to better suit the dessert you’re using it with. Prep time: 10 minsCook time: 3 minsRest time: 30 minsTotal time: 43 minsYield: 4 cups ganache Ingredients: 1 1/2 cups (12 ounces, 354 milliliters) heavy cream 16 ounces (453g) semi-sweet chocolate chips 2 tablespoons brandy, cognac, or vanilla extract Directions: Heat the heavy cream: Pour the heavy cream into a small saucepan set over medium heat, until steam begins to rise, 2-3 minutes. You want the cream to be hot, but do not allow the cream to boil.If it does happen to boil, make sure you cool the cream down for 5 minutes before adding it to the chocolate. Alternatively, use a microwave-safe measuring cup and microwave on high, until steaming, about 1 1/2 minutes. Pour the hot cream over the chocolate chips: Into a medium-sized mixing bowl, add the chocolate chips. Pour the warm cream over the chocolate chips and allow the cream to sit and melt the chocolate for 10 minutes. Do not stir it. Add the liquor (or flavoring): Add the brandy, cognac or vanilla extract to the bowl of chocolate and whisk the mixture until very smooth.If you find that chocolate lumps remain, pop the bowl into the microwave, and heat it for 30 seconds, 15 seconds at a time. Whisk the ganache until smooth. How to get a pourable glaze: Allow the ganache to sit for 15 minutes (or until it reaches 90°F) stirring every 5 minutes with a whisk, for a pourable, glaze consistency. How to get a pipeable frosting: Allow the ganache to cool for 25-30 minutes, stirring every 10 minutes, for a thicker, pipeable frosting. Once the ganache has reached this stage, it will hold a peak when you lift your spatula or whisk from it.At this point, you can also whip it with an electric hand mixer on high. It will go from a dark chocolatey-brown ganache to an airy, light brown color. Frost a cake: This recipe will frost a 3 tiered, 8-inch cake. If you have left over frosting stir it into warm milk for a cup of hot chocolate. Source: Simply Recipes

The Pros and Cons of Counter Depth Appliances

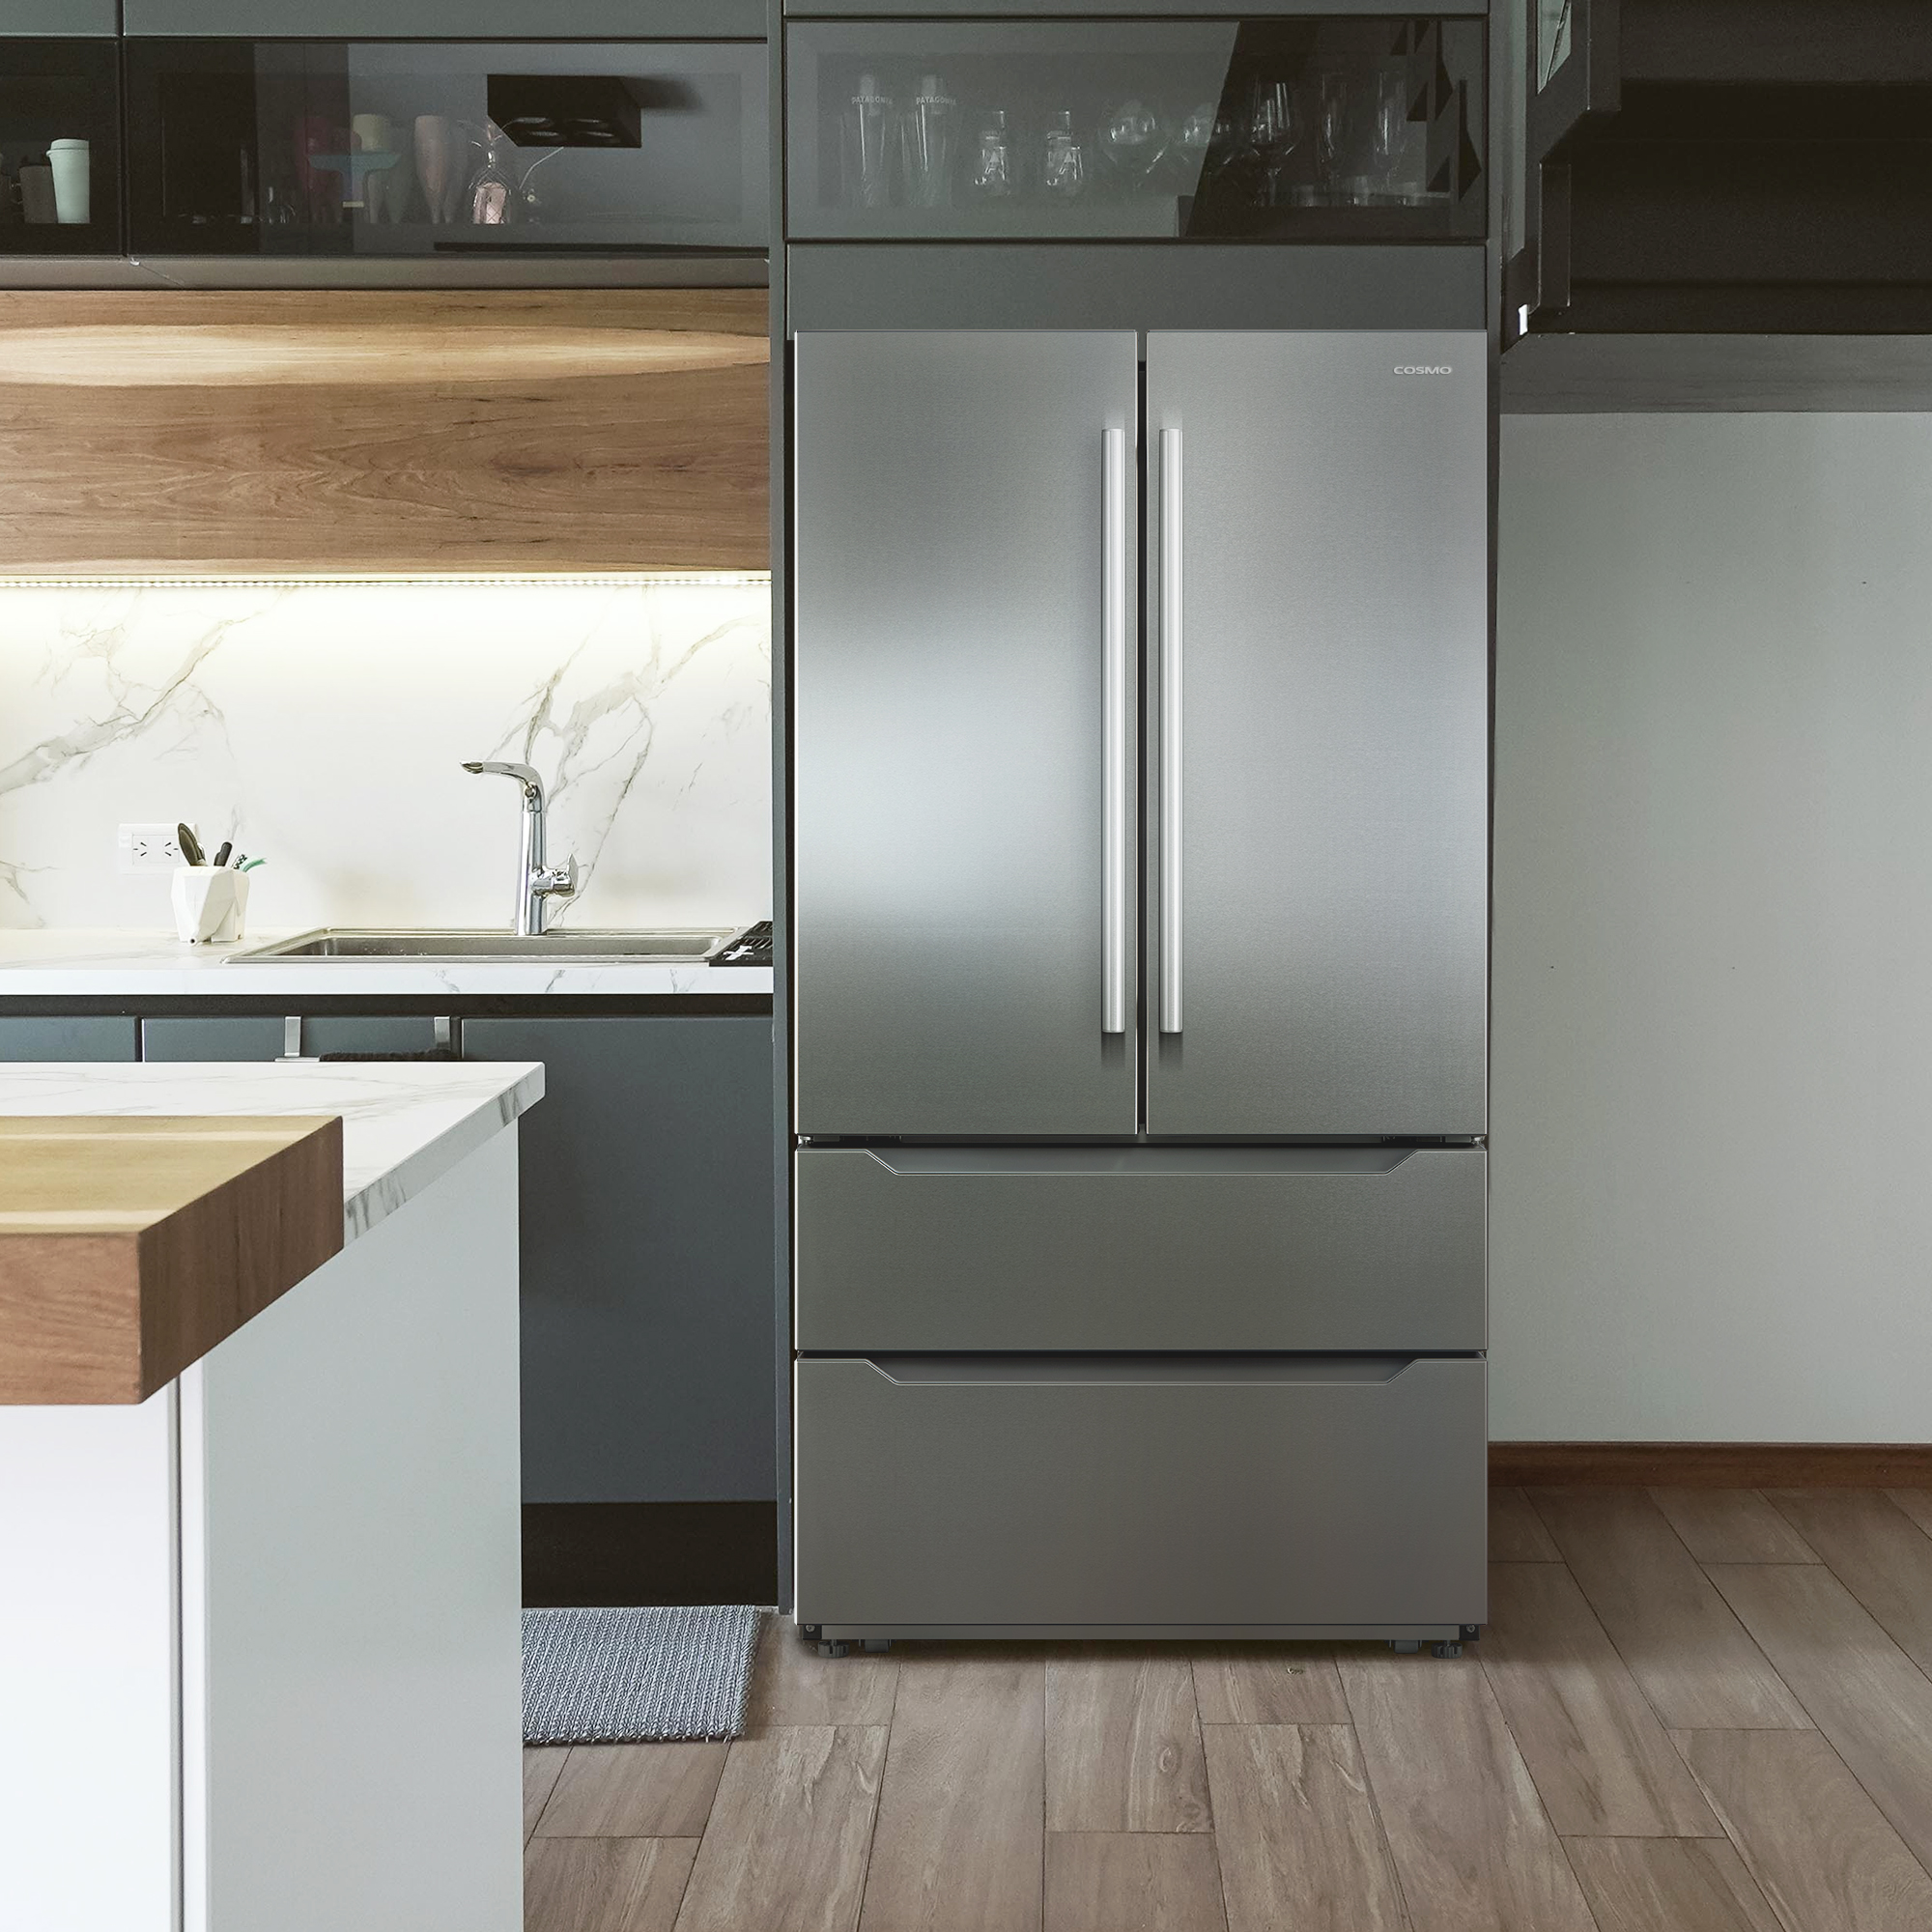
You may have come across appliances referred to as counter-depth or cabinet-depth. These kinds of appliances are designed to fit neatly in-line against countertops and base cabinets. It’s most common in refrigerators since these appliances most often come out further than countertops or cabinets. Other appliances such as dishwashers or wine coolers are already designed to fit under a countertop. A refrigerator can extend as far as 5 to 10 inches than cabinet faces which can make some designs look awkward or clumsy. The counter-depth design is a popular solution to keep the appliance’s profile low and aligned with cabinets or countertops. While these designs are more elegant and seamless, they are not without their drawbacks. Here’s a list of the most common pros and cons for a cabinet-depth appliance. Cost. Typically, a counter-depth appliance will cost more than a standard refrigerator with comparable features. It’s also not uncommon for the appliance to have slightly less capacity than their standard counterparts. Maintenance. A counter-depth appliance is typically repaired and maintained the same way as a standard appliance. The shallower design does require certain components such as water filters to be repositioned. This may make accessing them slightly more difficult. A repair will cost you about the same as a standard appliance. They’re also no more prone to problems than a standard appliance. Design. This design is favored for a modern and streamlined profile. A luxury kitchen will often make use of this design, since uninterrupted looks are essential. The counter-depth design is also useful in smaller kitchens where a standard appliance can come out much further and be a hindrance. Convenience. A counter-depth refrigerator is shallower in depth, meaning you have a shorter reach to access contents. Finding and retrieving foods is easier and requires less bending. The easier access does come with a cost of capacity. You can expect a smaller storage volume unless you opt for an even wider refrigerator. The shallow design can improve traffic flow since the appliance won’t get in your way as you move about. However, the doors are often wider meaning they will swing wider as you open and close them. In the market for a new refrigerator to add to your kitchen? Check out our product line here! Cosmo refrigerators come in a variety of designs including counter-depth and standard. Source: the Spruce

Avocado and Black Bean Quesadilla

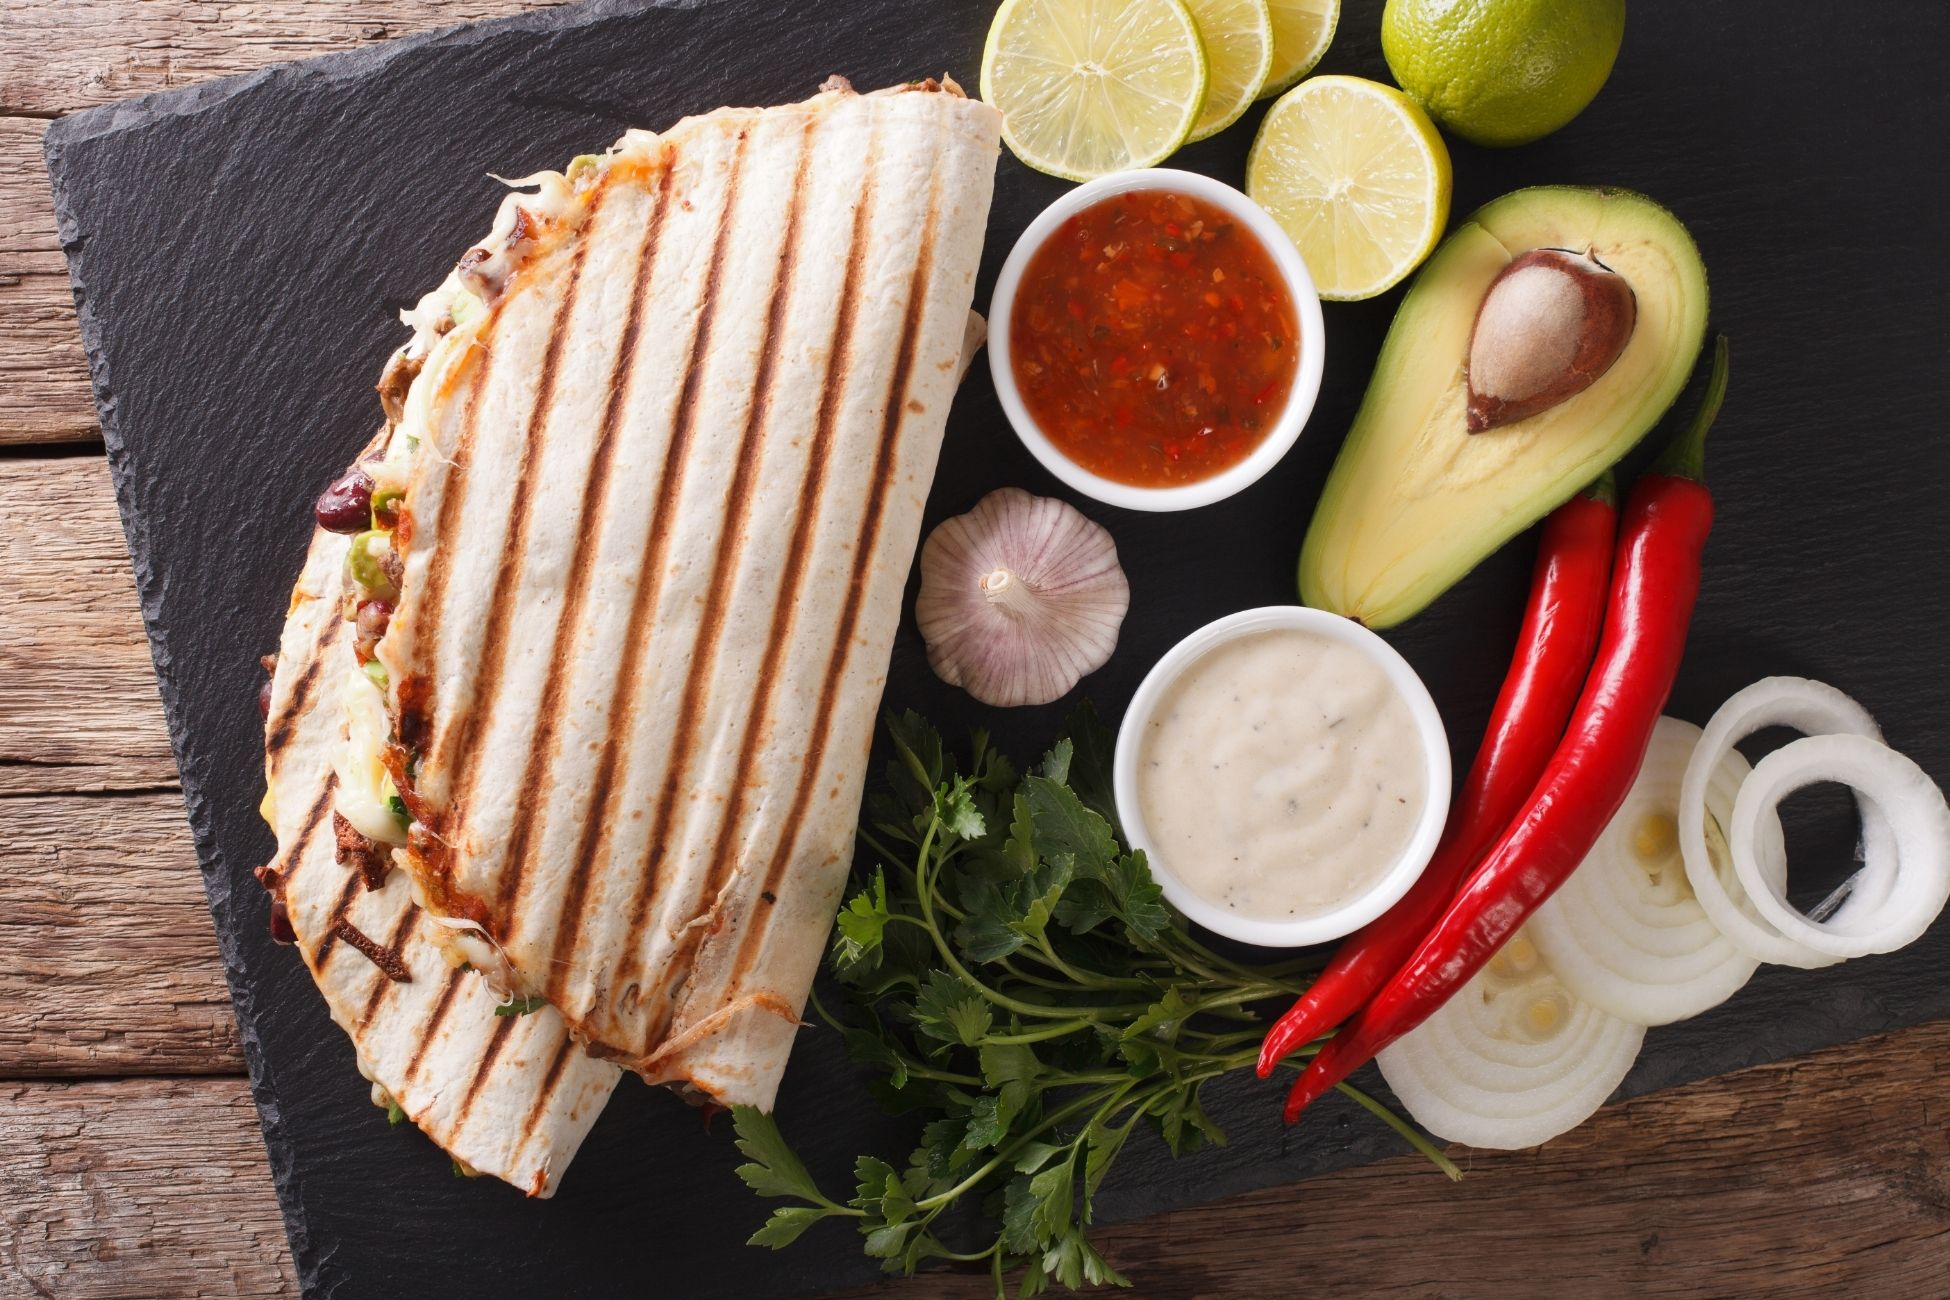
Quesadillas can be made in a variety of ways with practically anything in your refrigerator. Creamy avocado and savory black beans are a perfect combination. They’re easy to make and kid-friendly for a weeknight dinner. You can prepare the black beans, peppers and onions a night or day before. Just keep them covered in the refrigerator. Prep time: 10 minsCook time: 15 minsTotal time: 25 minsServings: 4 servings Ingredients: For the avocado mash: 2 large or 3 small avocados Juice of 1/2 lime Pinch of kosher salt For the quesadillas: 2 tablespoons olive oil, divided 1 cup red onion, sliced into 1/4-inch half moons 1/2 teaspoon kosher salt 1 1/2 teaspoons cumin 1 1/2 teaspoons dried oregano 3/4 teaspoon coriander 1/2 yellow, red, or orange bell pepper, deseeded and chopped into 1/2-inch pieces Juice of 1/2 lime 1 (15.5-ounce) can black beans, drained and rinsed 4 8-inch flour tortillas 1 cup queso fresco, crumbled or grated 1 cup sharp cheddar cheese, grated To serve: Sour cream Pico de gallo or salsa Directions: Make the avocado mash: In a small bowl, mash the avocado with a fork, and add a dash of kosher salt and the juice of half a lime. You want it to reach a consistency that feels close to guacamole—a little chunky, but still spreadable. Set aside. Cook the veggies and beans: In a cast iron skillet or other large, heavy skillet, heat 1 tablespoon of olive oil over medium heat. Add the red onion and cook, stirring every minute or so, until the onion starts to soften, about 3 to 4 minutes. Add the salt, cumin, oregano, and coriander, stirring until the onions are completely coated.Add the bell pepper and stir to combine. Cook for another 3 minutes, until the peppers just begin to soften. Add the lime juice and black beans and stir the whole mix together. Cook for about 2 minutes, just to warm the black beans through. Warm the tortillas: Heat the second tablespoon of olive oil in a separate skillet or grill pan over medium high heat. Add 1 flour tortilla and let it heat up for a minute or so. Using tongs, flip the tortilla over, and repeat the process for the other side, until you see a couple of bubbles welling up in the center of the tortilla. Assemble the quesadilla: Layer the filling, then the avocado, and then the cheese—about 1/4 cup of each, but if you want more go for it! Cook the quesadilla: Fold the tortilla over to seal the quesadilla. Cook for 2 to 3 minutes per side, until it’s crispy, and the cheese has melted. Repeat the process for the other quesadillas, although if your skillet is large enough you can make two at a time in the same skillet. Serve the quesadillas: Cut the quesadillas into triangular portions and serve with sour cream, avocado, and/or the pico de gallo, if desired. Quesadillas are best served and eaten immediately. Source: Simply Recipes

The Secret Ingredient to Better Burgers

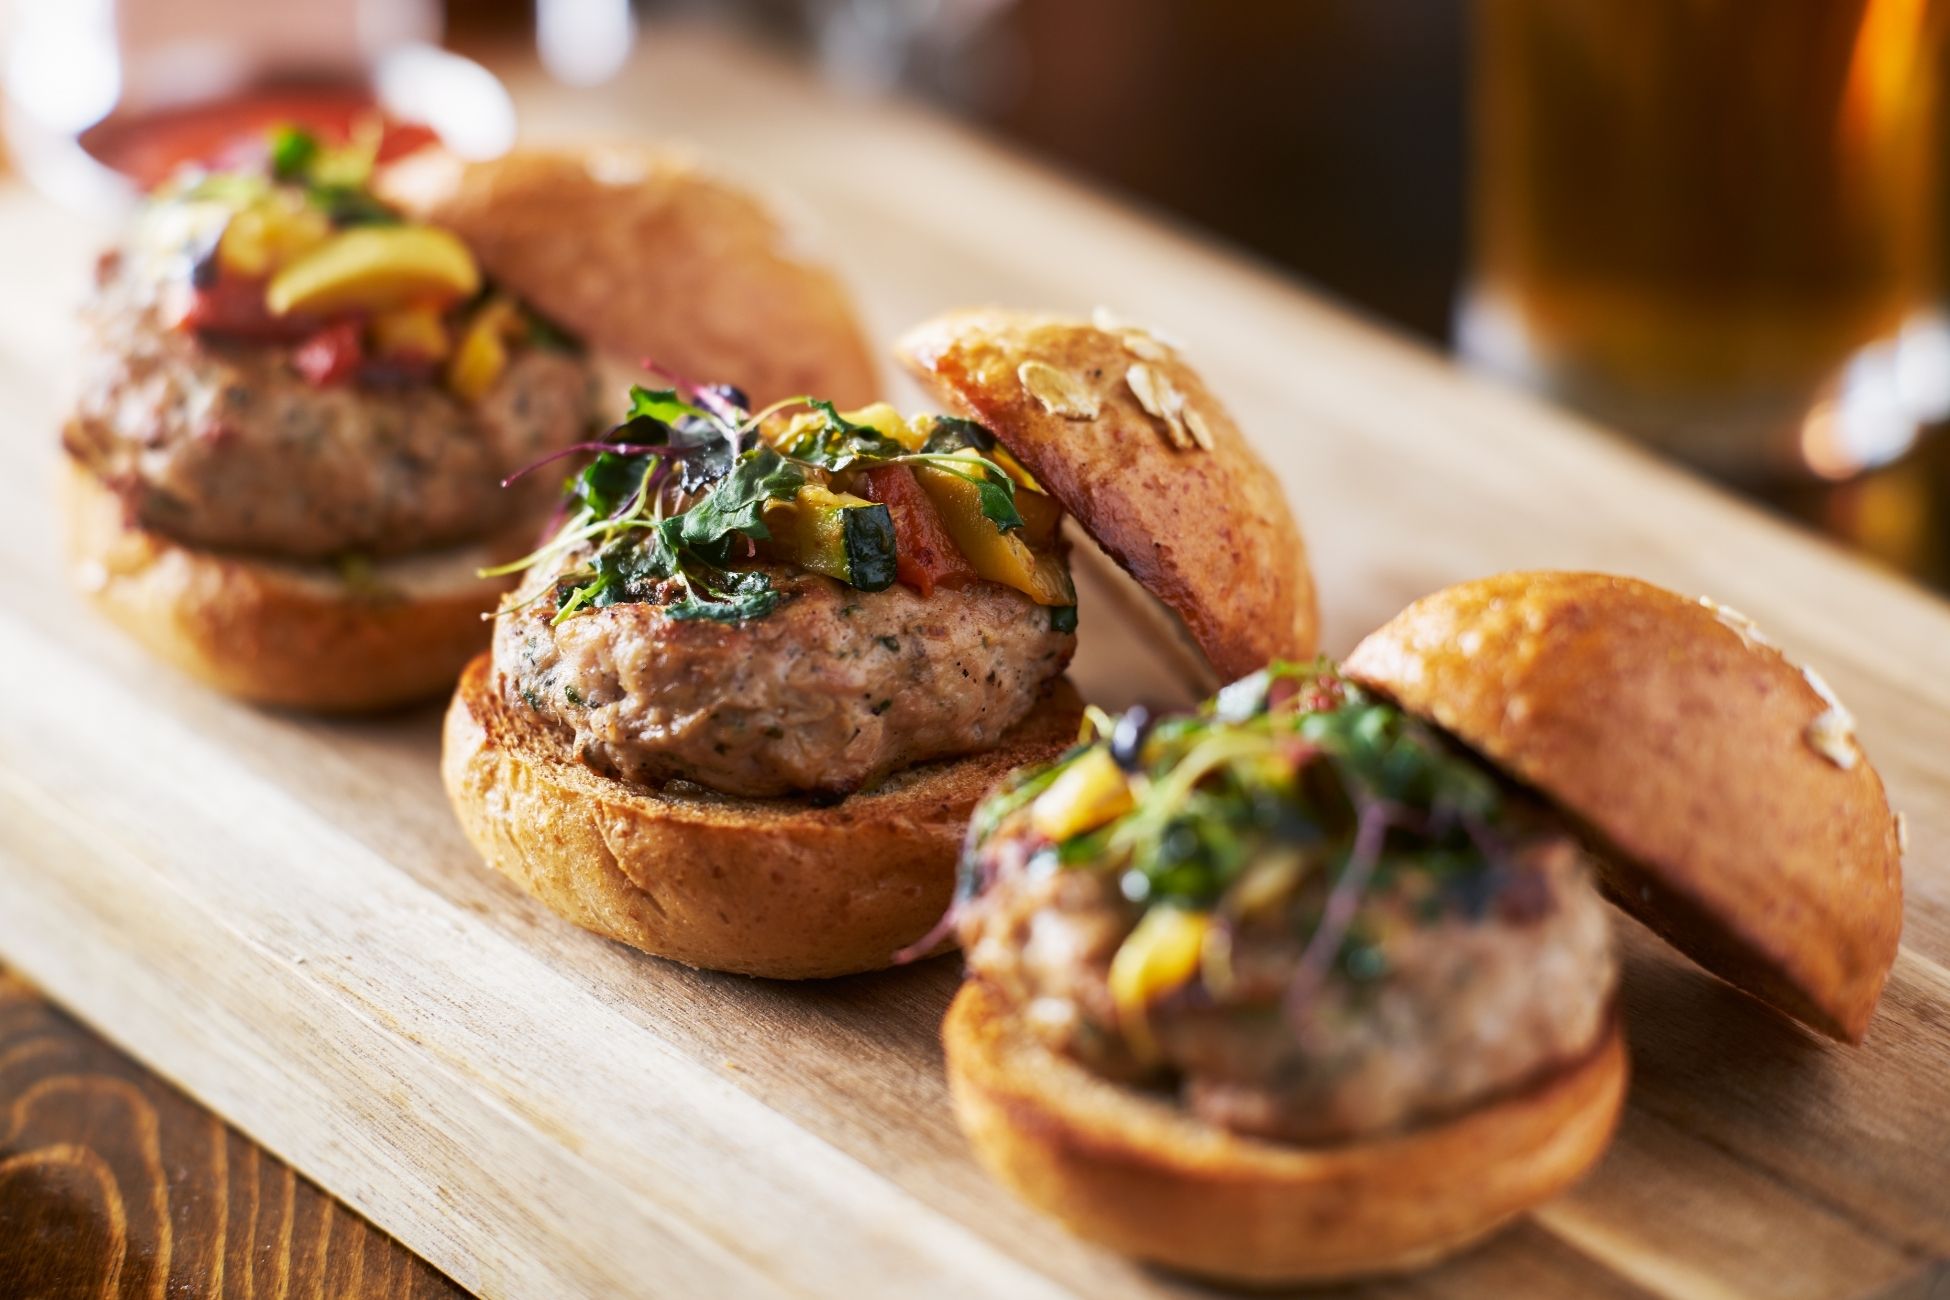
Burgers are a quintessential summer meal. There’s nothing like a classic burger for dinner with family or a backyard barbeque. They’re versatile, easy to prepare and always a crowd pleaser. But there’s one ingredient to make burgers even more flavorful without any fussy preparation, yellow mustard! This tip is used among chefs and popular burger chains. Just brushing a bit of mustard on an uncooked side of a patty after the initial sear yields satisfying results. The mustard method is common in barbecue in South Carolina, typically for meat while it slowly cooks. It’s also similar to adding mayonnaise to bread for a better grilled cheese. The mustard will melt on a hot burger, then the heat will caramelize the bite to complement the meat. It’ll also serve as another source of seasoning since mustard usually contains salt, sugar, vinegar and other seasonings. If yellow mustard isn’t your go-to, try out different mustards instead! You don’t need any special tools to get the same effect. Source: the Kitchn

Grilled Tofu Satay Recipe

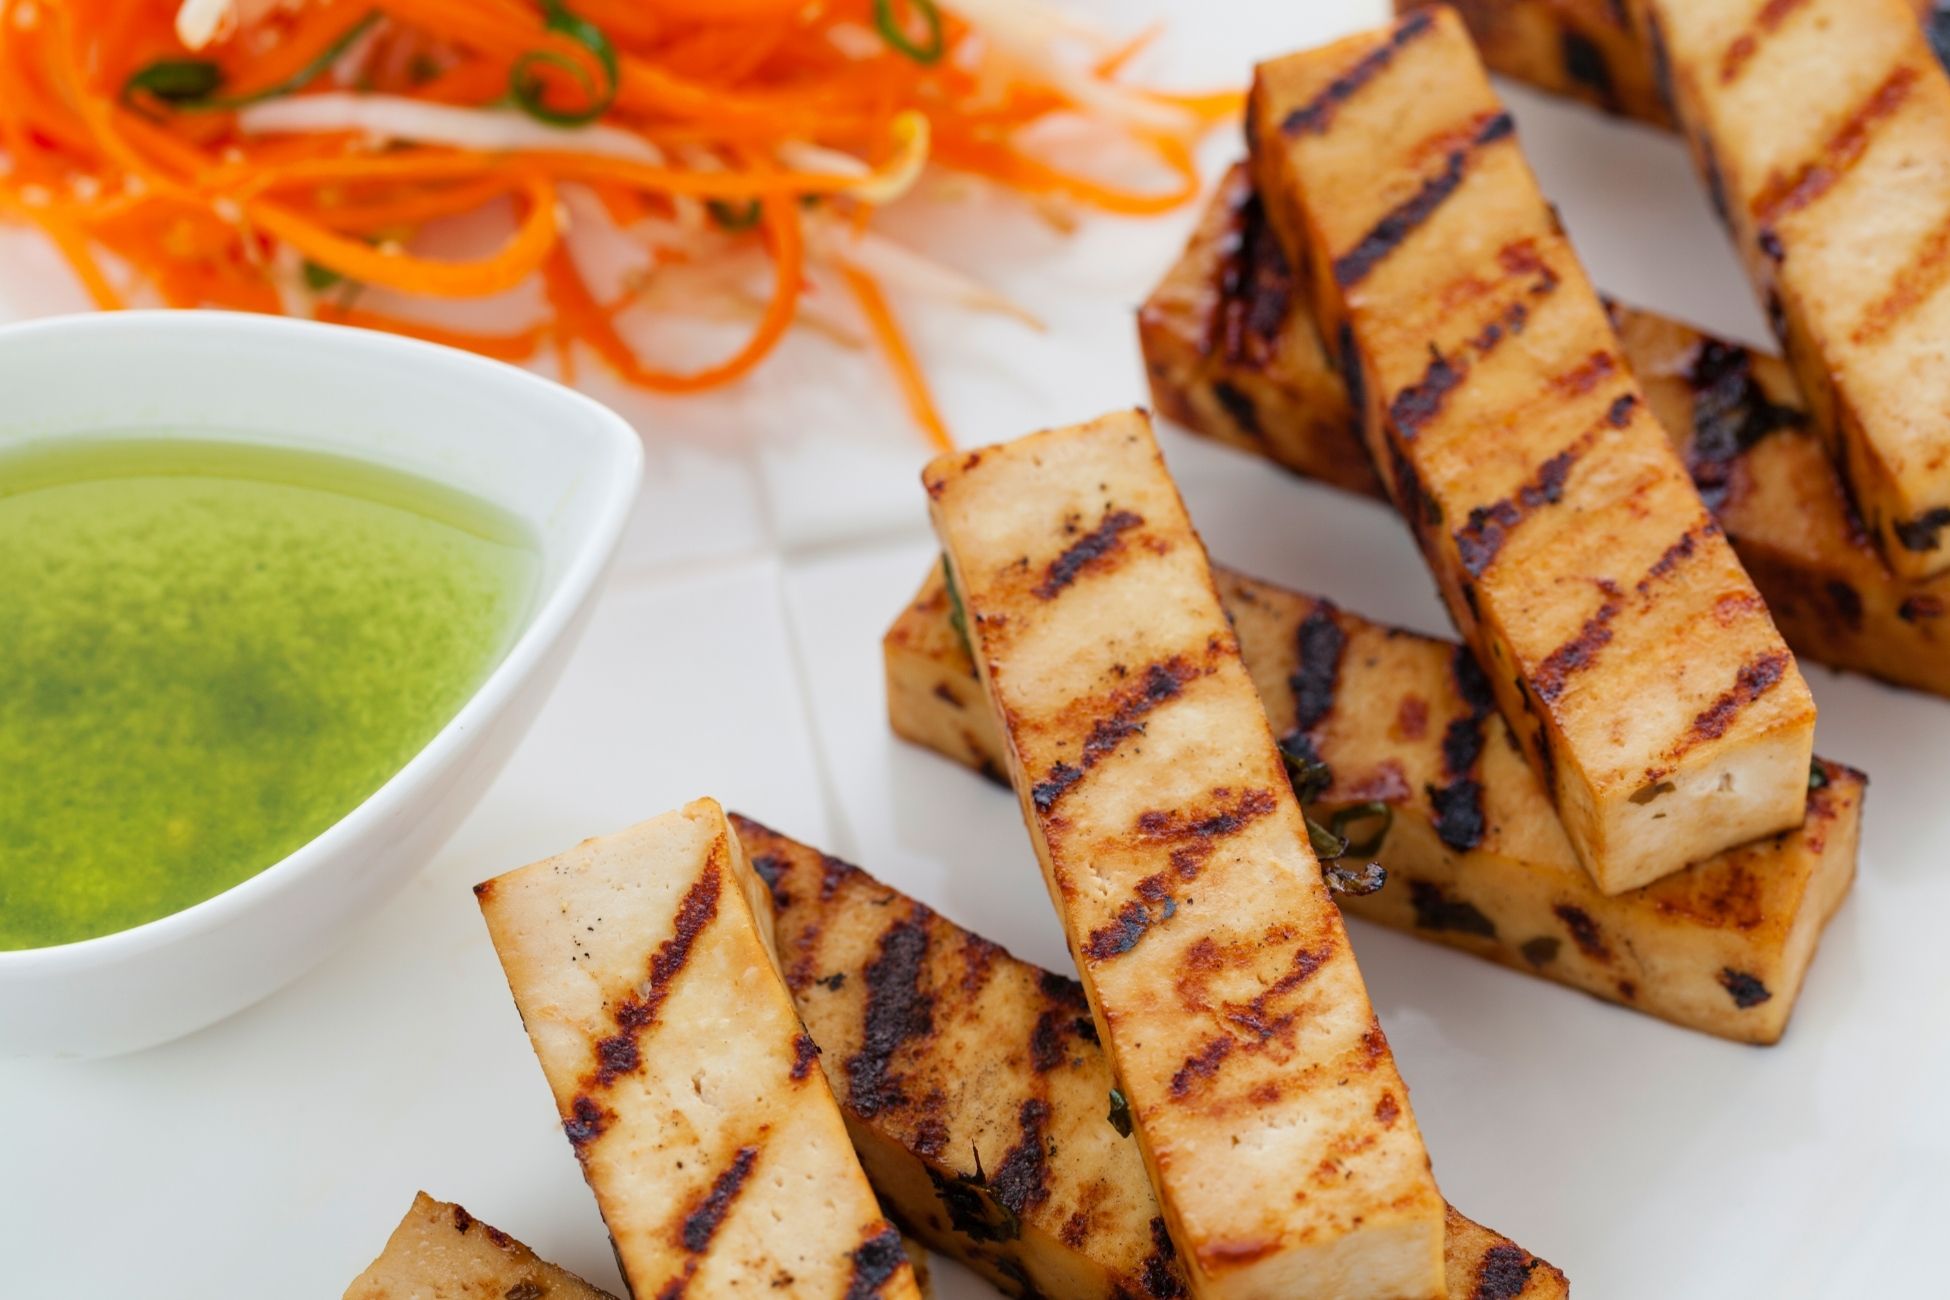
Satay or sate is typically a dish with marinated meat or poultry, threaded onto skewers and charred over a grill. This recipe is the vegetarian spin, featuring tofu rather than meat. The tofu absorbs the marinade and remains tender even on the grill. It’s served along with a spicy peanut sauce made of common ingredients. If you’d like a completely vegan recipe, replace the fish sauce with soy sauce in the marinade. Prep time: 25 minsCook time: 10 minsTotal time: 35 minsServings: 5 to 7 servingsYield: 20 skewers Ingredients: 1 (14-ounce) block extra-firm tofu 1-inch piece fresh ginger, grated on a microplane or minced 2 large cloves garlic, grated on a microplane or minced 1 1/2 teaspoons yellow curry powder 1 teaspoon ground turmeric 1 tablespoon fish sauce 1 1/2 tablespoons lime juice 2 tablespoons packed brown sugar 2 teaspoons sriracha 1 tablespoon toasted sesame oil 1/4 cup creamy peanut butter 1/4 cup coconut milk Salt, to taste Vegetable oil, for the grill 2 tablespoons roughly chopped cilantro (optional) 20 (10-inch) bamboo skewers Directions: Soak the bamboo skewers: Soak the bamboo skewers in water while preparing the tofu and peanut sauce. Drain, cut, and dry the tofu: Drain the tofu from its packaging and cut into 10 slices (about ⅓-inch thick) along the shortest edge so they look like little decks of cards. Cut each slab in half to create narrow strips of tofu.Lay the tofu in a single layer between two stacks of paper towels. Press down to absorb any remaining liquid. Transfer tofu strips to an 8×8-inch baking pan. Make the marinade: In a small bowl, whisk the ginger, garlic, curry powder, turmeric, fish sauce, lime juice, brown sugar, and sriracha until smooth. Pour half the marinade into a separate medium bowl and set aside. You will use it to make the sauce. Add sesame oil to marinade and coat tofu: Add the sesame oil into the small bowl with the marinade, whisk to combine. Drizzle the marinade with the sesame oil over the tofu, making sure to flip the tofu strips over to coat all the sides. While the tofu marinates, make the peanut sauce: Add the peanut butter and coconut milk to the marinade you set aside in the medium bowl and whisk until smooth. Add an extra 1/2 teaspoon or more sriracha if you want a spicier sauce. Prepare the grill: You always want to start with a clean grill. If using a charcoal grill, get the coals going until covered in ash and then spread them out.If using gas, open the lid and light it. Set it to medium heat. Close the lid and give it 10 minutes to preheat with the lid closed, aiming for 350 to 400° F. Spear tofu onto skewers and season: While the grill heats, carefully spear the skewers through the center of the tofu strips. Season all sides of the tofu skewers with salt to taste. Brush grates with vegetable oil: Just before putting the skewers on the grill, brush the grate with vegetable oil or rub with an oil-soaked paper towel using a pair of metal tongs. Grill the tofu skewers: Lay down the skewers, cover the grill, and cook until the tofu shows distinct grill marks and lifts off the grate with relative ease, about 5 minutes.Flip skewers, with the aid of a metal spatula if needed, and grill until well-marked and easy to lift, another 4 to 5 minutes. Garnish and serve: Transfer skewers to a platter. Garnish with cilantro, if desired, and serve with the peanut sauce. Source: Simply Recipes

How Often You Need to Clean Your Grill

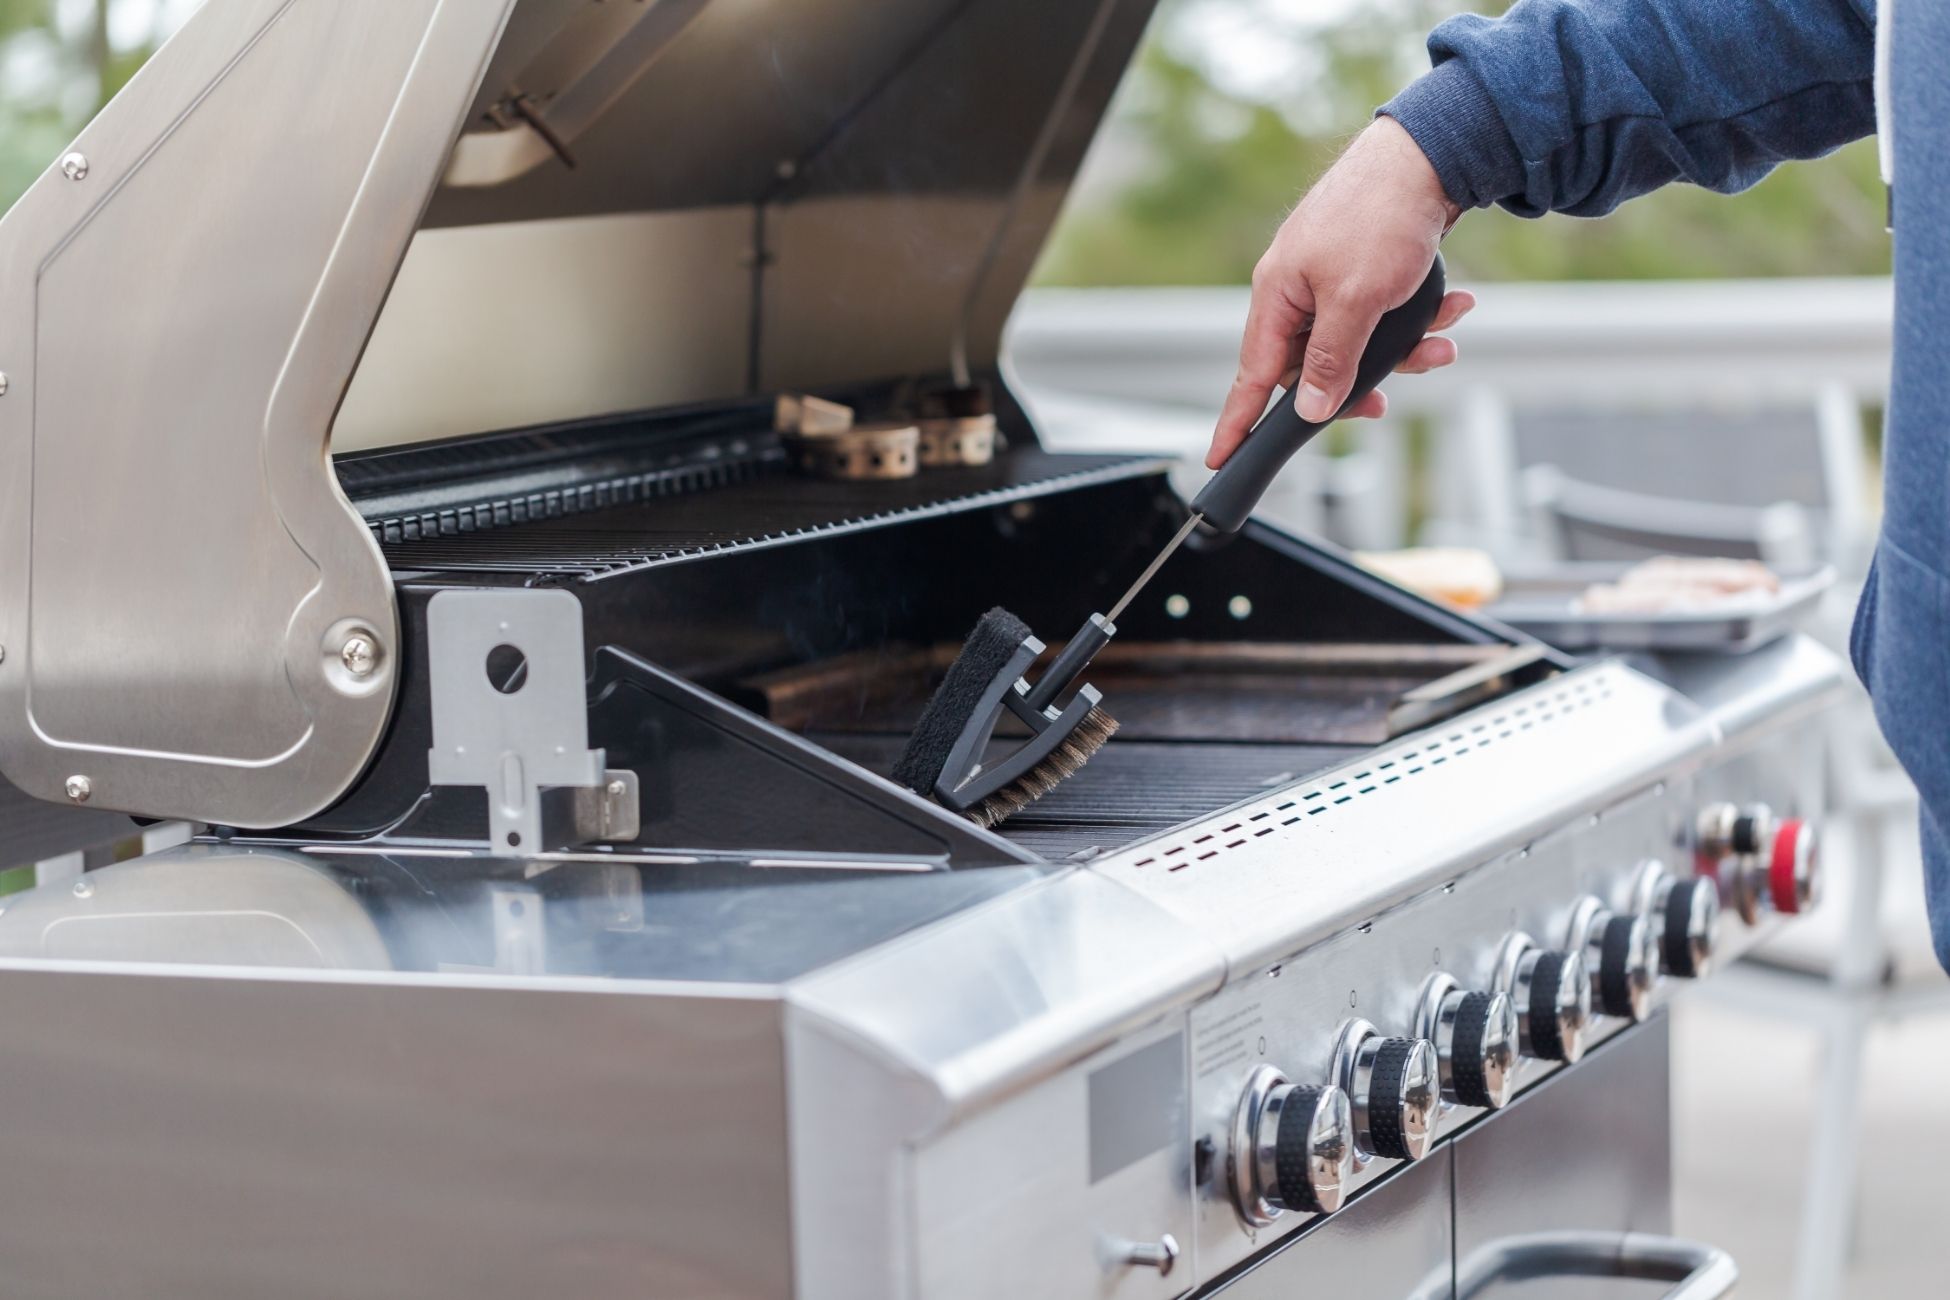
It’s the time of year again where those grills are fired up after months of staying dormant. There’s nothing better than delicious charred vegetables, seared steaks or classic BBQ chicken. Most grill recipes will call for a clean, oiled grill. You may think this requires extensive scrubbing and scouring. However, if you’re cleaning your grills more than twice a season, you’re cleaning it too much. You only need to deep clean your grill twice a year, at the beginning and the end of the grilling season. When it’s time to fire up your grill again, it has probably been sitting around for months collecting pollen, leaves, and even small bugs or spiders. Take the time to check all parts of your grill including propane connections, drip pans, heat shields and grates. Wipe down the inside and outside of the grill and make sure all connections are secure. Over time, grill grates will collect stuck-on grease and grime from all the grilling. A paste made of baking soda and soap can work wonders to break down heavy grime. Another option relies on the grease-busting power of an oven cleaner. However, when it comes to ongoing maintenance, you don’t need to bring out the scouring scrub after every session. A sturdy grill brush after each use will easily remove greasy debris. Source: the Kitchn

Ricotta and Berry Parfaits Recipe

These ricotta berry parfaits are easy to make and don’t taste too sweet, making them the perfect casual summer dinner treat. The cream cheese with honey and lemon adds an extra bit of creaminess to the ricotta. Use any glasses you have such as tumblers, champagne glasses or any clear dessert dish. You can make these in advance and refrigerate until needed. Prep time: 15 minsTotal time: 15 minsServings: 4 servings Ingredients: 4 ounces cream cheese, cut into chunks and softened to room temperature 2 tablespoons honey 2 teaspoons finely grated lemon zest 2 tablespoons fresh lemon juice 1 teaspoon vanilla 1 1/2 cups (12 ounces) whole milk ricotta cheese 3 tablespoons strawberry jam 4 cups mixed fresh berries, such as blueberries, raspberries, blackberries, and sliced strawberries 2 tablespoons chopped pistachios (for garnish) Mint leaves (for garnish) Directions: Make the ricotta cream: Combine the cream cheese, honey, lemon zest, 1 tablespoon of the lemon juice and vanilla in a mixing bowl, and beat with an electric mixer for 1 to 2 minutes on medium speed, until light and fluffy. Beat in the ricotta until smooth. Glaze the berries: Use a spatula to push the jam through a fine mesh strainer into a small mixing bowl; this will remove any tiny seeds in the jam. Add the remaining 1 tablespoon of the lemon juice to the strained jam and mix until smooth. Add the berries and stir to coat them. Assemble the parfaits: Into four dessert glasses or bowls, layer 1 to 2 tablespoon of the berries and 2 to 3 tablespoons ricotta mixture. Repeat, ending with berries on top. Sprinkle with chopped pistachios, and garnish with mint leaves.The fruit and ricotta can be layered into dishes and refrigerated for up to a day. Sprinkle with pistachios and mint until just before serving. Source: Simply Recipes

How to Get Lingering Smells Out of Bakeware

Silicone bakeware is naturally nonstick, making it easy and versatile in the kitchen. They are made of inert material, so storing is a breeze since they can be collapsed down to save space. A silicone cookware is only as good as its cleanliness. There’s nothing worse than having custom ice cubes taste like last week’s pesto bombs. They can leave behind a somewhat plastic-like taste and smell when they’re brand new. Here’s how to get any lingering smells out. What You’ll Need: An oven A sponge and dish soap A baking sheet Oven mitts Directions: Preheat your oven: Preheat your oven to 350 degrees. Wash your silicone bakeware: Give your bakeware a quick wash (with a sponge and warm, soapy water) to ensure there isn’t any lingering oil or bits of food left on your bakeware. “Bake” your bakeware: Put the pieces on a baking sheet (this will make things easier to get in and out of the oven) and bake your bakeware for one hour. Try the sniff test and let the pieces cool: Pull the baking sheet out of the oven and perform a careful sniff test. If you’re getting even the faintest whiff, return the sheet to the oven in increments of 20 minutes. Once they’re stink-free, let the pieces cool before you put them away. NOTE: Make sure your cookware is 100% silicone. Rubber could melt and fillers in your silicone could also pose a melting problem. Source: the Kitchn

How to Grill Pizza

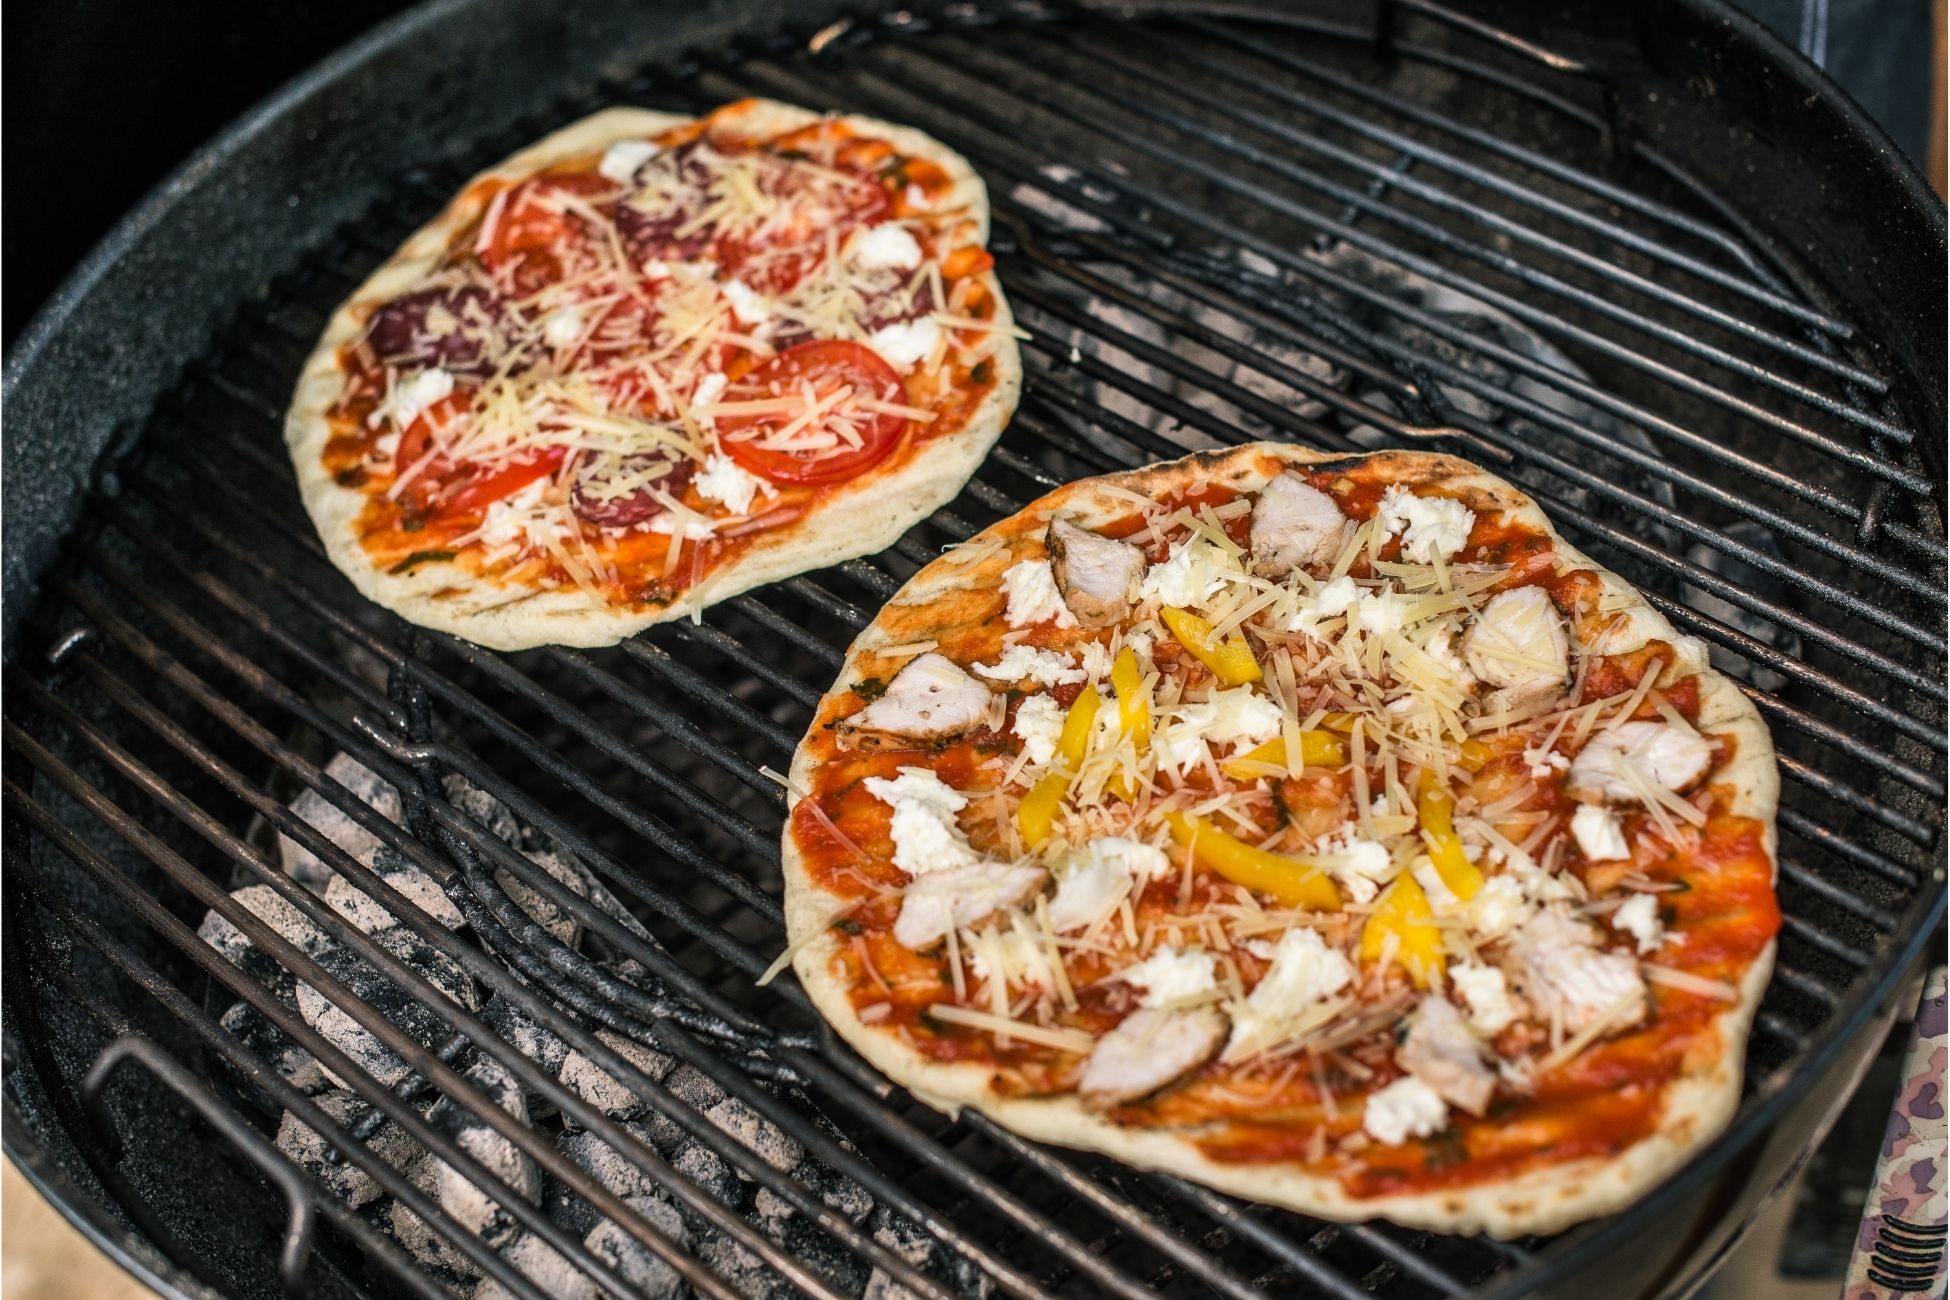
Grilling pizza might seem a bit confusing at first, but can offer you greater flavor than an oven normally would. The charcoal better mimics the wood fired ovens that pizzas are normally made in. It also leaves the heat outside during a hot summer day, no firing up an oven and making your home hotter than it should be! The dough doesn’t fall through the grates and will form a lightly browned crust if prepared correctly. Servings: 4 to 6 servingsYield: 2 Grilled Pizzas Ingredients: Pizza dough Extra virgin olive oil Pizza toppings: tomato sauce, herbs, mozzarella cheese, thinly sliced onions, tomatoes, mushrooms, or pepperoni All-purpose flour or corn meal to dust the cookie sheet or pizza peel Directions: Make the dough: You can either make pizza dough from scratch or use prepared pizza dough. Both will work. Prep grill and toppings: Prepare the grill for high direct heat. Prepare a small bowl with olive oil for greasing the grill grates and for brushing the pizza. Prepare the toppings so they are ready to go on the pizza—tomato sauce, cheese, and anything else you wish. Stretch and shape the pizza dough: Shape the pizza dough by flattening it with your hands on a lightly floured surface. Either use your fingers to stretch the dough out, or hold up the edges of the dough with your fingers, letting the dough hang and stretch, while working around the edges of the dough.Once you’ve stretched the dough, let it sit for 5 minutes and then push out the edges with your fingers again, until you have a nice round shape, about 12-inches in diameter. Do not make a raised rim, it will interfere with the grilling process.Note that if you are preparing the pizza dough for a party, you can make several pizza dough rounds, stack them separated by parchment paper, and keep them in the refrigerator for up to two hours before cooking. Grill one side of the pizza dough: Once the grill is hot (you can hold your hands an inch over the grates for no more than 2 seconds), dip a tightly folded up paper towel in olive oil and use tongs to wipe the grill grates.Then place a pizza dough round on a lightly floured (or you can use cornmeal) rimless cookie sheet (or pizza peel if you have one).Let the dough slide off the cookie sheet onto the hot grill grates.Close the lid of the grill and let cook for 2 minutes. Check the dough and look for air bubbles: After 2 minutes, open the grill and check underneath the dough to see if it is getting browned. If it is on one side, but not another, use a spatula or tongs to rotate the dough 90 degrees and cook for another minute.If it is not beginning to brown, cover the grill and continue to cook a minute at a time until the bottom has begun to brown.It should only take a couple minutes if you have a hot grill. The top of the pizza dough will start bubbling up with air pockets. Remove grilled dough and flip it over onto a cookie sheet: Once the pizza dough has browned lightly on one side, use your cookie sheet or pizza peel to remove it from the grill. Use a spatula to flip the dough over so that the grilled side is now up. Keep the grill covered so it retains its heat for the next step. Brush with olive oil, add toppings: Paint the grilled surface of the pizza with a little extra virgin olive oil, then cover with 1 ladle of sauce – no more, or you’ll end up with a soggy pizza.Sprinkle on your toppings, ending with Mozzarella cheese (if using), and if using meat, put that over the cheese.Remember to go light on the toppings, or your pizza will be heavy and soggy. Slide the topped pizza back onto the grill: If you are using a gas grill, reduce the heat. If working with a charcoal grill, close the vents on the cover almost all the way. Close the lid and cook for 2-3 minutes more, or until the bottom begins to char and the cheese is bubbly. Pull off the grate with a spatula onto a cutting board or other flat surface and let rest for a couple minutes before cutting into slices. Slice and serve! Source: Simply Recipes