Year: 2021

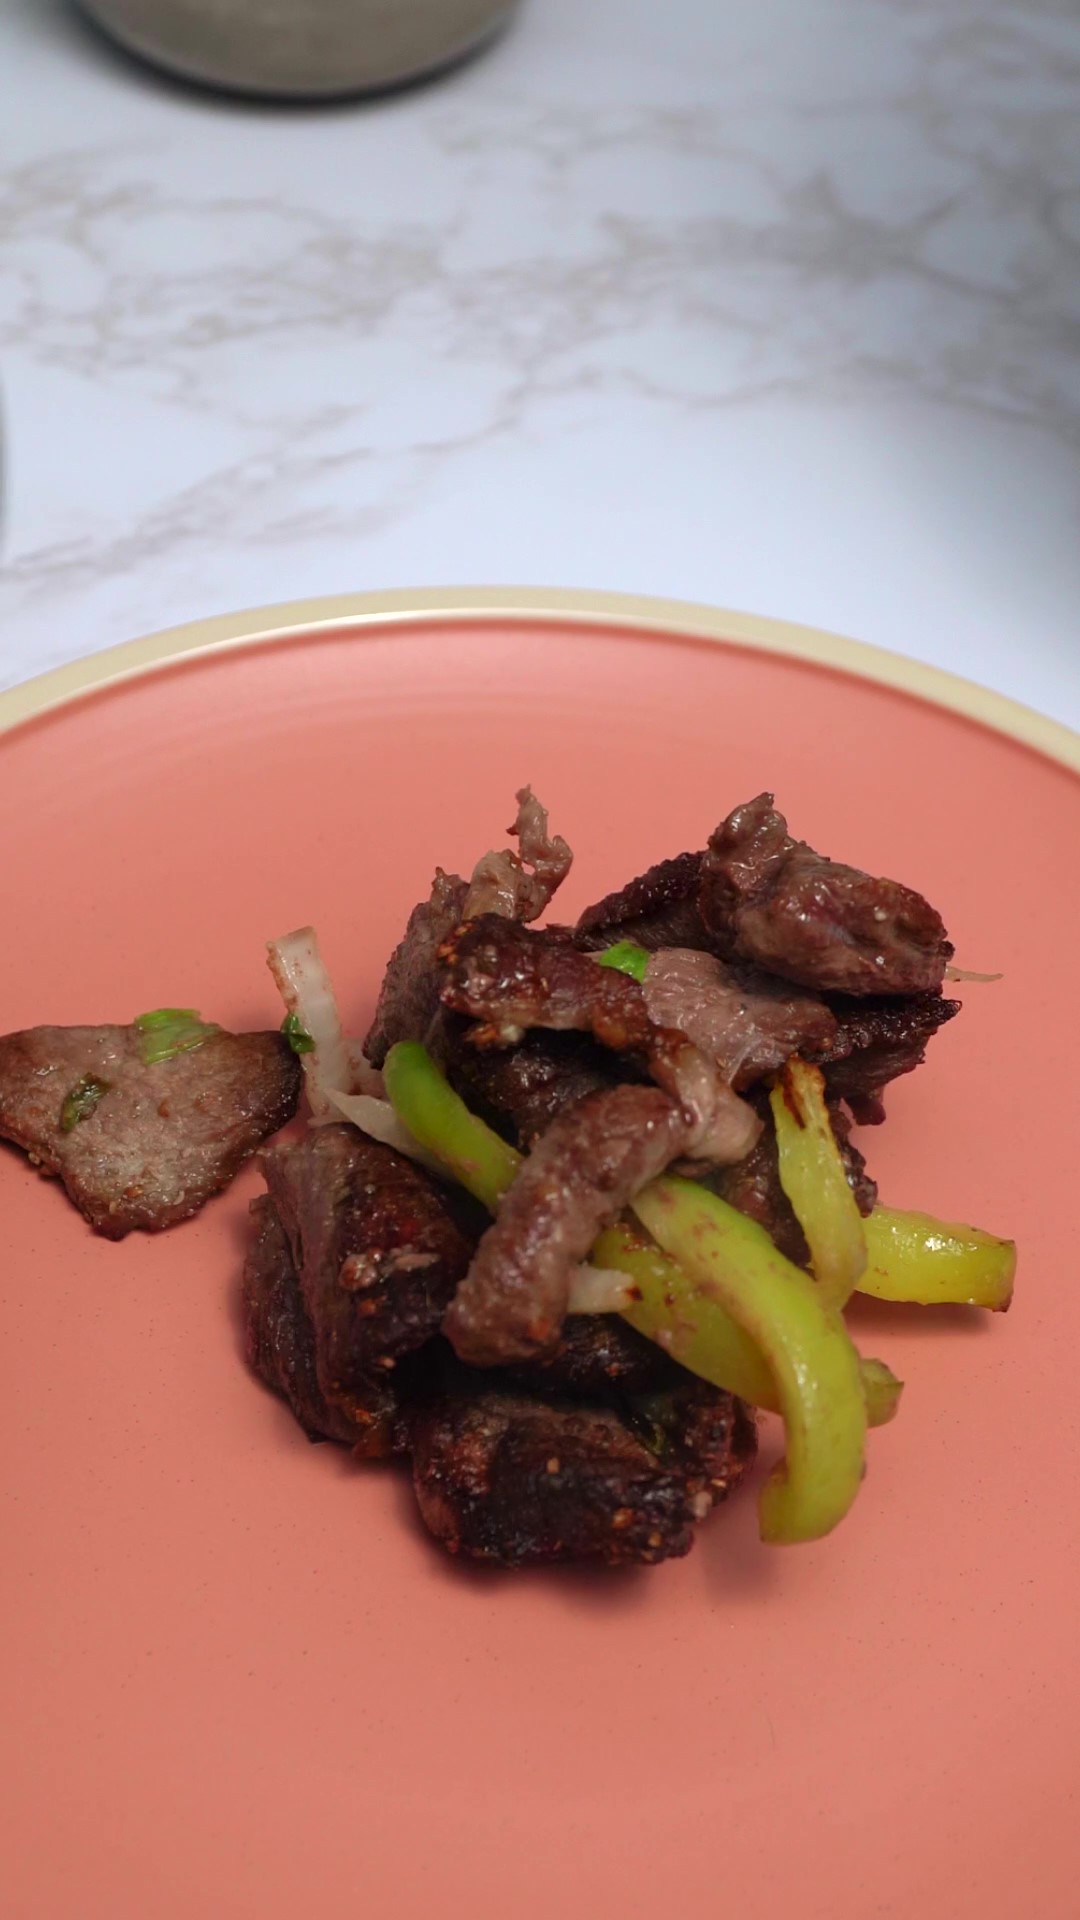
Air Fried Fajitas Recipe

Serve up classic and delicious fajitas in only a few minutes with the help of your air fryer. The combination of seasonings, chili, peppers and onions leave the fajitas packed with flavor. There’s no need to fire up an oven or spend more time waiting for these to cook. Just line your air fryer basket with aluminum foil and you’ll have fajitas ready to go in under 10 minutes. Serve them alone or along your favorite side dishes. Ingredients: 5 tablespoons olive oil 2 tablespoons garlic salt 2 tablespoons black pepper 2 tablespoons chili 1 lb meat 1/4 cup bell pepper 1/4 cup onion 1/8 cup green onions Directions: Mix olive oil, garlic salt, black pepper and chili in a bowl Mix in the meat, bell pepper, onions and green onions Line air fryer basket with aluminum foil and load the fajitas Cook at 400°F for 5 minutes. Mix and cook for another 5 minutes if needed

Tips for Moving Appliances

Planning a move in the near future? Follow along this guide to ensure your kitchen appliances are properly prepared for the transition. Skip out on extra mover fees and avoid any malfunctioning appliances after the move. With all major appliances, it’s best to contact the dealer for specific move instructions or refer to the owner’s manual. What You’ll Need: Household cleaner Cleaning and/or work gloves Packing tape Screwdriver and/or wrench Refrigerator. Unplug your refrigerator at least 24 hours prior to the move. Dispose of all perishables and make sure it is cleaned thoroughly. Once the freezer has defrosted, clean and dry all surfaces and removable containers. This will prevent mildew and odors forming. Either remove or secure all racks so they don’t shift around during the move. If your refrigerator has an icemaker, disconnect the water line and make sure it’s completely drained. Stove. Thoroughly clean the inside and outside of the stove. Be sure to remove the racks or securely fasten them so they don’t shift around. If you have a gas stove contact your gas company or where the stove was purchased from to find out if you can move it without a professional. Make sure the gas is turned off before you start disconnecting the line with care. These lines can be fragile and require special handling. Tape down the knobs and elements to make sure nothing is lost during the move. Dishwasher. The dishwasher needs to be emptied and the utensil holder/rack removed and packed separately. Run a cycle then let the unit dry before you tape the door closed. Finishing Touches. Secure all power cords so they don’t dangle or come loose. Make sure all the doors, extra nuts or screws are taped and secured before moving. Source: the Spruce

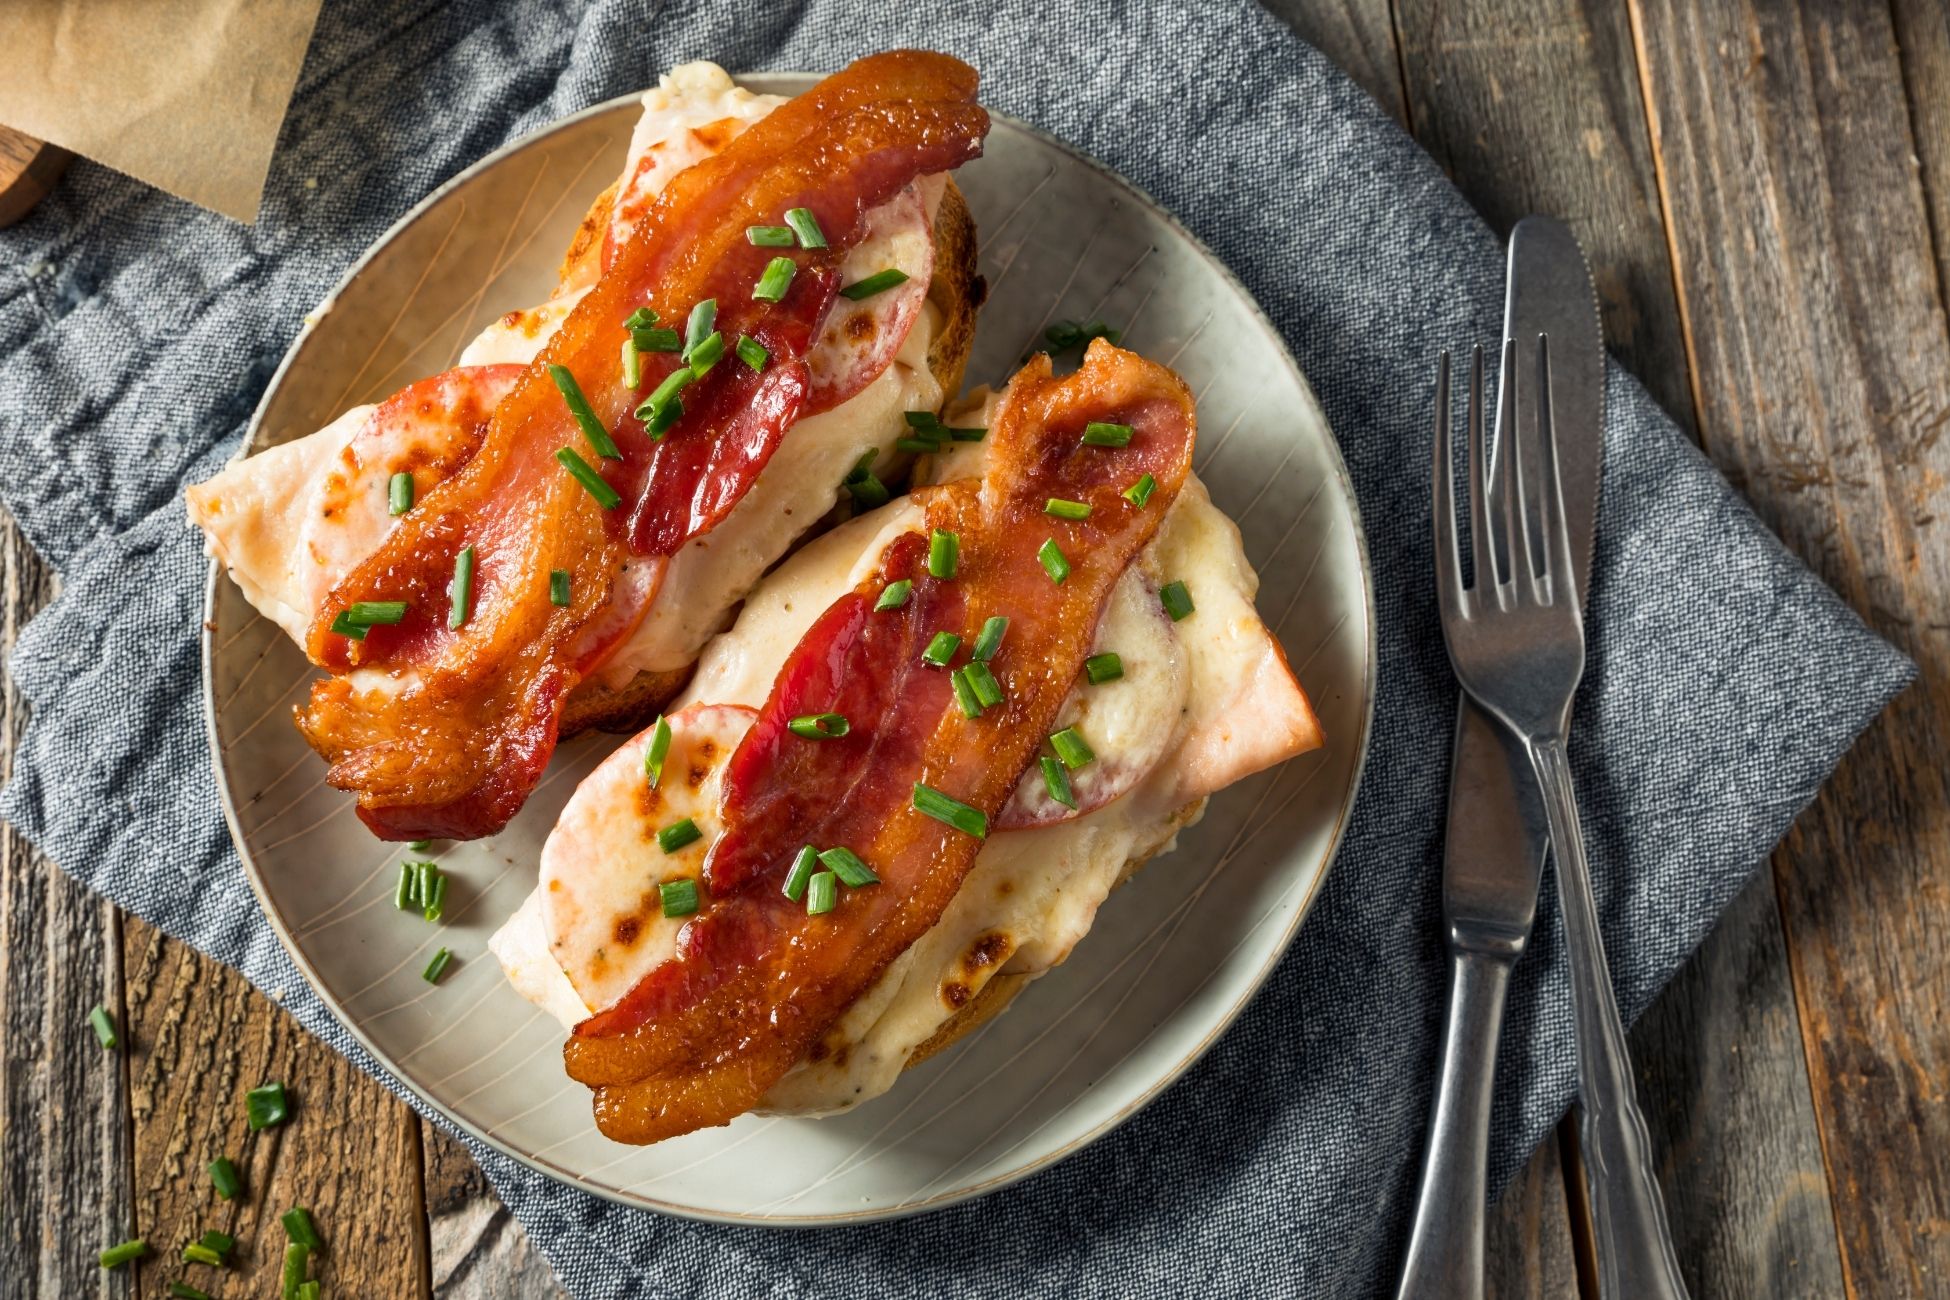
Kentucky Hot Brown Recipe

Indulge with this classic Kentucky Hot Brown recipe. If you like a hot turkey sandwich, you’ll definitely love this! The open-faced sandwich sits on toasted sliced bread piled high with roasted turkey, tomato and creamy mornay sauce. It’s topped off with crispy bacon and a sprinkle of parsley. The contrasting textures of crispness, creaminess and tang make it a perfect standalone meal. Prep time: 10 minsCook time: 20 minsTotal time: 30 minsServings: 2 servingsYield: 2 open-face sandwiches Ingredients: For the sandwich: 4 slices bacon 4 thick slices Texas toast or white sandwich bread 10 ounces deli-sliced roast turkey 1 tomato 1/8 teaspoon kosher salt (optional) 1/8 teaspoon freshly ground black pepper (optional) 1/2 teaspoon chopped fresh parsley, for garnish For the cheese sauce: 2 tablespoons unsalted butter 2 tablespoons all-purpose flour 1 cup whole milk, room temperature 1/2 cup heavy cream, room temperature 1/4 cup (1 ounce) grated Pecorino Romano 1/2 teaspoon kosher salt 1/8 teaspoon freshly ground black pepper 1/8 teaspoon ground nutmeg Directions Preheat the oven, prepare two baking sheets: Preheat the oven to 400°F. Line two rimmed baking sheets with heavy duty aluminum foil—one for the bacon and other to assemble the sandwiches, it should be large enough to set two slices of bread side by side. Cook the bacon: Lay the bacon slices on one of the baking sheets.Cook the bacon, until crispy and to your liking, rotating the pan halfway through cooking if necessary, and checking for doneness at about 12 minutes.Transfer bacon to a paper-towel lined plate to drain excess grease. Toast the bread and assemble the sandwiches: Toast 4 slices of bread in a toaster, toaster oven, or regular oven.On the remaining baking sheet place two slices of toast side by side in a single layer. Cut the other two slices of toast on a diagonal to form triangles and set those pieces aside.Cut four slices of tomato. Divide the turkey evenly between the slices of toast on the baking sheet. Top each stack of turkey with two slices of tomato. Season with salt and pepper. Make the cheese sauce: Set a small heavy-bottomed saucepan over medium heat. Add the butter. Once it melts, slowly whisk in the flour and continue to whisk until the mixture turns a shade darker and begins to smell slightly nutty, about 1 minute. This will allow the raw flour taste to cook out.Slowly pour in the milk and cream, whisking constantly, until the mixture is smooth and thick, about 3 minutes. When you first start pouring in the liquid, it will look ugly and grainy. Don’t worry! It will calm down, come back together and smooth itself out once all of the liquid is whisked in. Remove from heat and add the cheese: Remove the sauce from the heat and whisk in the cheese, salt, pepper, and nutmeg. Whisk to combine until the cheese melts. Taste and adjust seasonings as necessary, keeping in mind the saltiness of your turkey.Spoon half of the sauce over each sandwich. Broil the sandwiches: Set the oven rack about 5 inches from the broiler element. Preheat the broiler. Broil the sandwiches until the sauce is browned in spots and bubbling, 3 to 5 minutes. Serve the sandwiches: With a spatula, transfer each sandwich and two triangles of toast to a plate. Spoon the remaining sauce from the baking dish onto the plates.Crisscross 2 slices of bacon over top each sandwich and garnish with parsley. Serve while still hot. Source: Simply Recipes

Cream Cheese Peach Empanada Recipe

Add this recipe to your dessert to-do list! Cream cheese peach empanadas pack all the ingredient essentials to satisfy your sweet tooth. Try using ripe peaches for the best results. Involve your entire family for a fun and easy air fryer recipe this week. Ingredients: Peach 1/4 Cup Cornstarch 1 Tablespoon Cinnamon 1/8 Cup Brown Sugar Goya Empanada Disc Cream Cheese Non-stick Cooking Spray Directions: Peel and chop a ripe peach Mix the cornstarch, cinnamon, brown sugar and peaches in a bowl Spray air fryer pan with non-stick spray and load peaches Cook at 400°F for 3 to 4 minutes Stuff and seal the Goya empanada disc with the peaches and cream cheese Spray with cooking spray and sprinkle with cinnamon Cook at 350°F for 7 minutes on each side

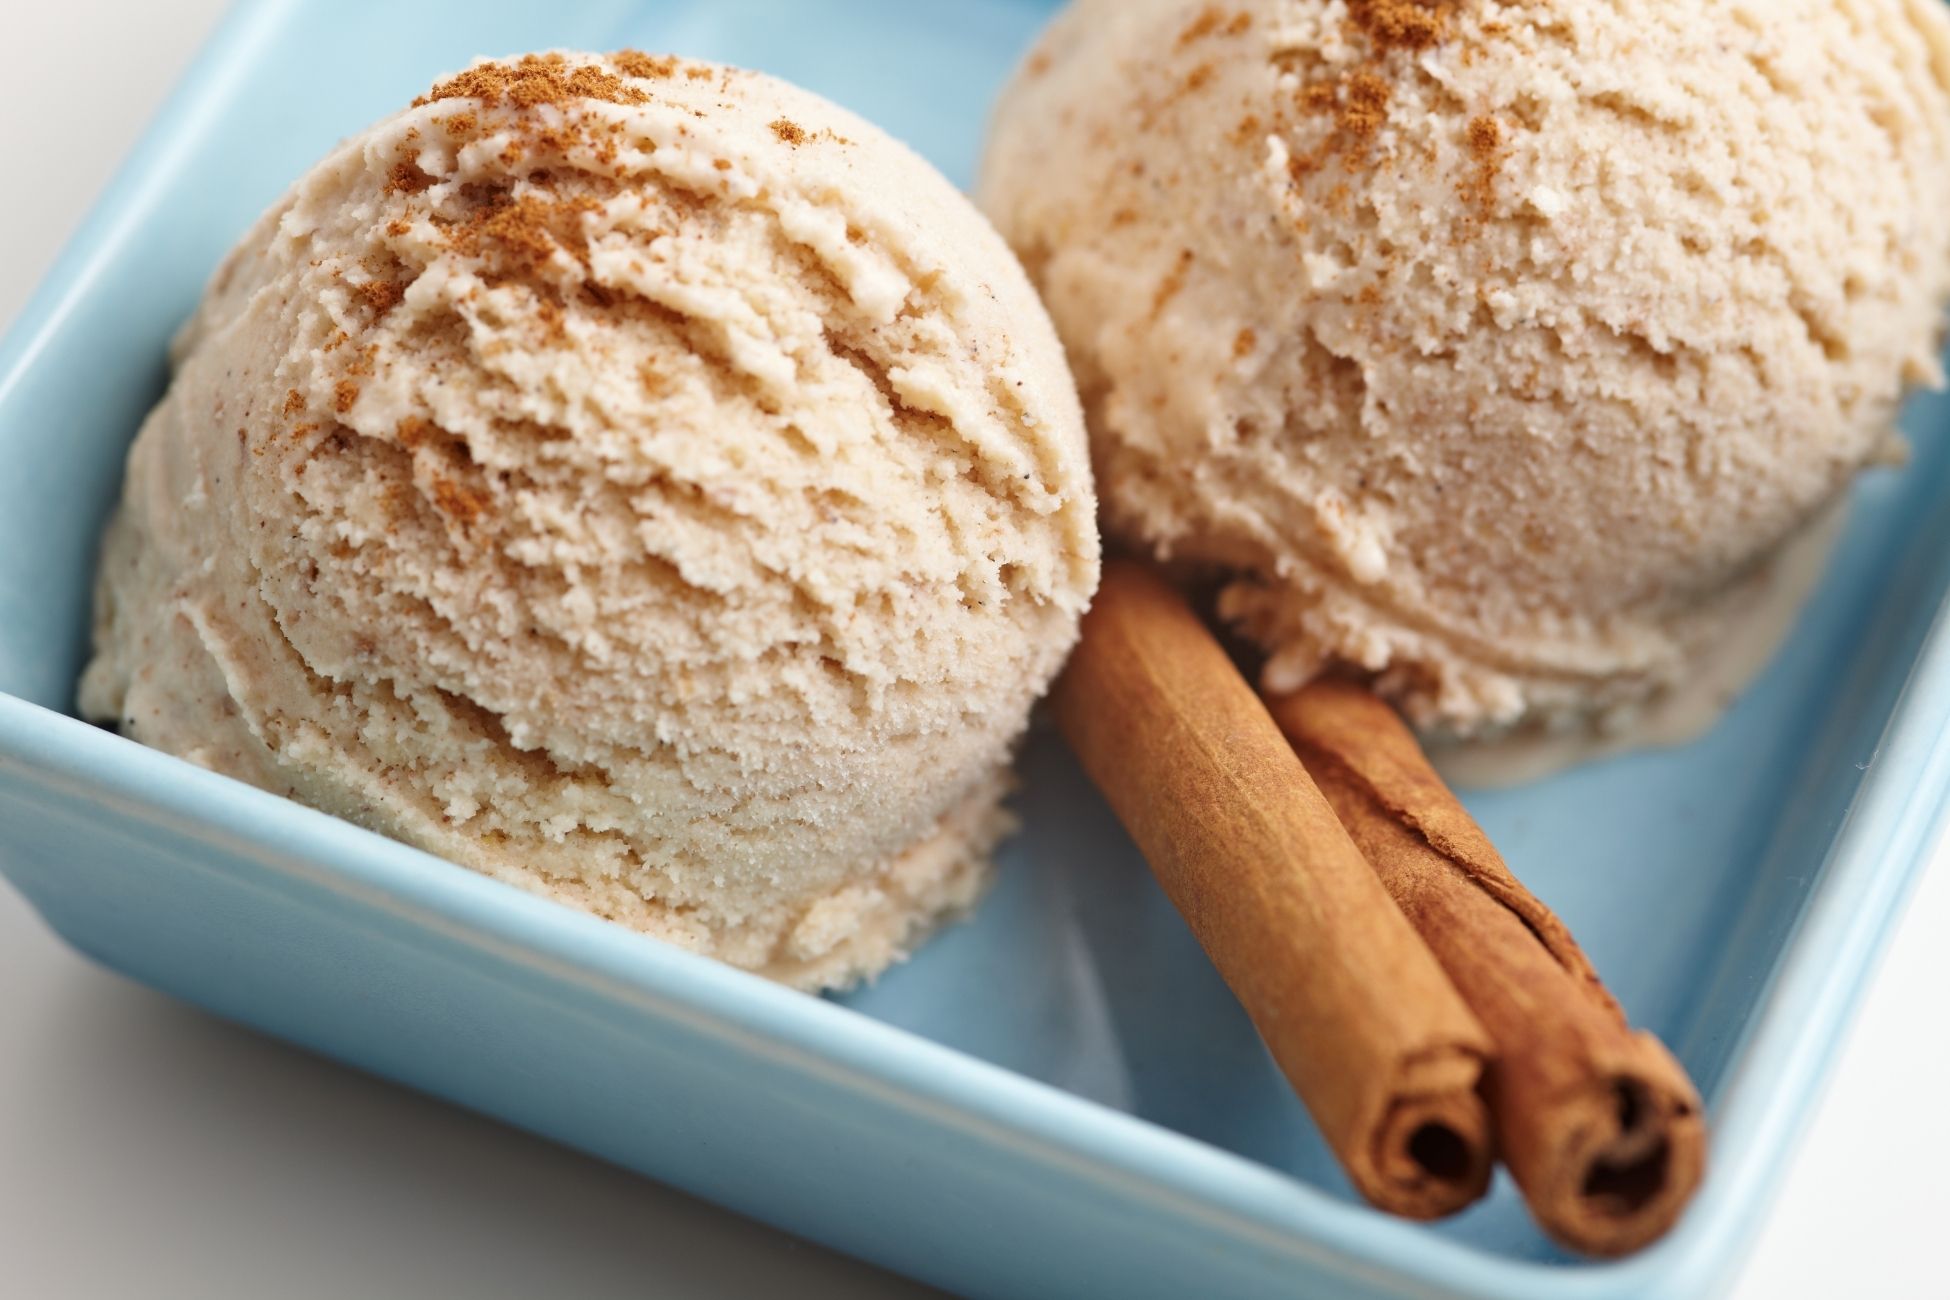
Cinnamon Ice Cream Recipe

Nothing is more refreshing than a rich and creamy cinnamon flavored ice cream during these hot summer days. It’s a great alternative to vanilla ice cream when served with pie, cake or fresh fruit. If you want a bit more flavor add a teaspoon of vanilla extract. Easily prepare this recipe with simple, everyday ingredients. Prep time: 8 minsCook time: 15 minsChurning time: 25 minsTotal time: 48 minsServings: 8 servingsYield: 1 quart Ingredients: 2 teaspoons of ground cinnamon1 cup of whole milk3/4 cup of sugar1/2 teaspoon of salt2 cups of heavy cream, divided6 egg yolks Directions: Heat the cinnamon until fragrant: Place the cinnamon in a small, dry skillet, over low heat. Keep the skillet moving just until the cinnamon becomes fragrant, just about a minute at the most. Remove from heat (note that too long in the pan will burn the cinnamon). Warm the milk, sugar, salt, cinnamon, and 1 cup of cream: In a medium saucepan over medium heat, heat the milk, sugar, cinnamon, and 1 cup of cream, whisking to incorporate the cinnamon into the liquid. Chill remaining cream over bowl of ice, and prepare strainer over bowl: While the milk mixture warms, set a bowl over another bowl filled with ice. Place the remaining cup of cream into the now-chilled bowl and set a mesh strainer on top. Temper the egg yolks, and add to cinnamon cream mixture: In a separate bowl, whisk together the egg yolks. Slowly, pour the warm milk mixture into the egg yolks, whisking constantly to keep the eggs from cooking. Pour the mixture back into the saucepan. Heat until mixture thickens: Stir the mixture constantly over medium heat with a wooden spoon or heat-proof spatula, scraping the bottom as you stir. Stir until the custard thickens and coats the back of a spoon. When you run your finger through the custard across the back of the spoon, the custard should not run. Pour the custard through the strainer into the chilled cream: Stir until combined and cooled over the ice bath. Chill the mixture thoroughly and then process in your ice cream maker: Process the ice cream mixture according to the manufacturer’s instructions. Source: Simply Recipes

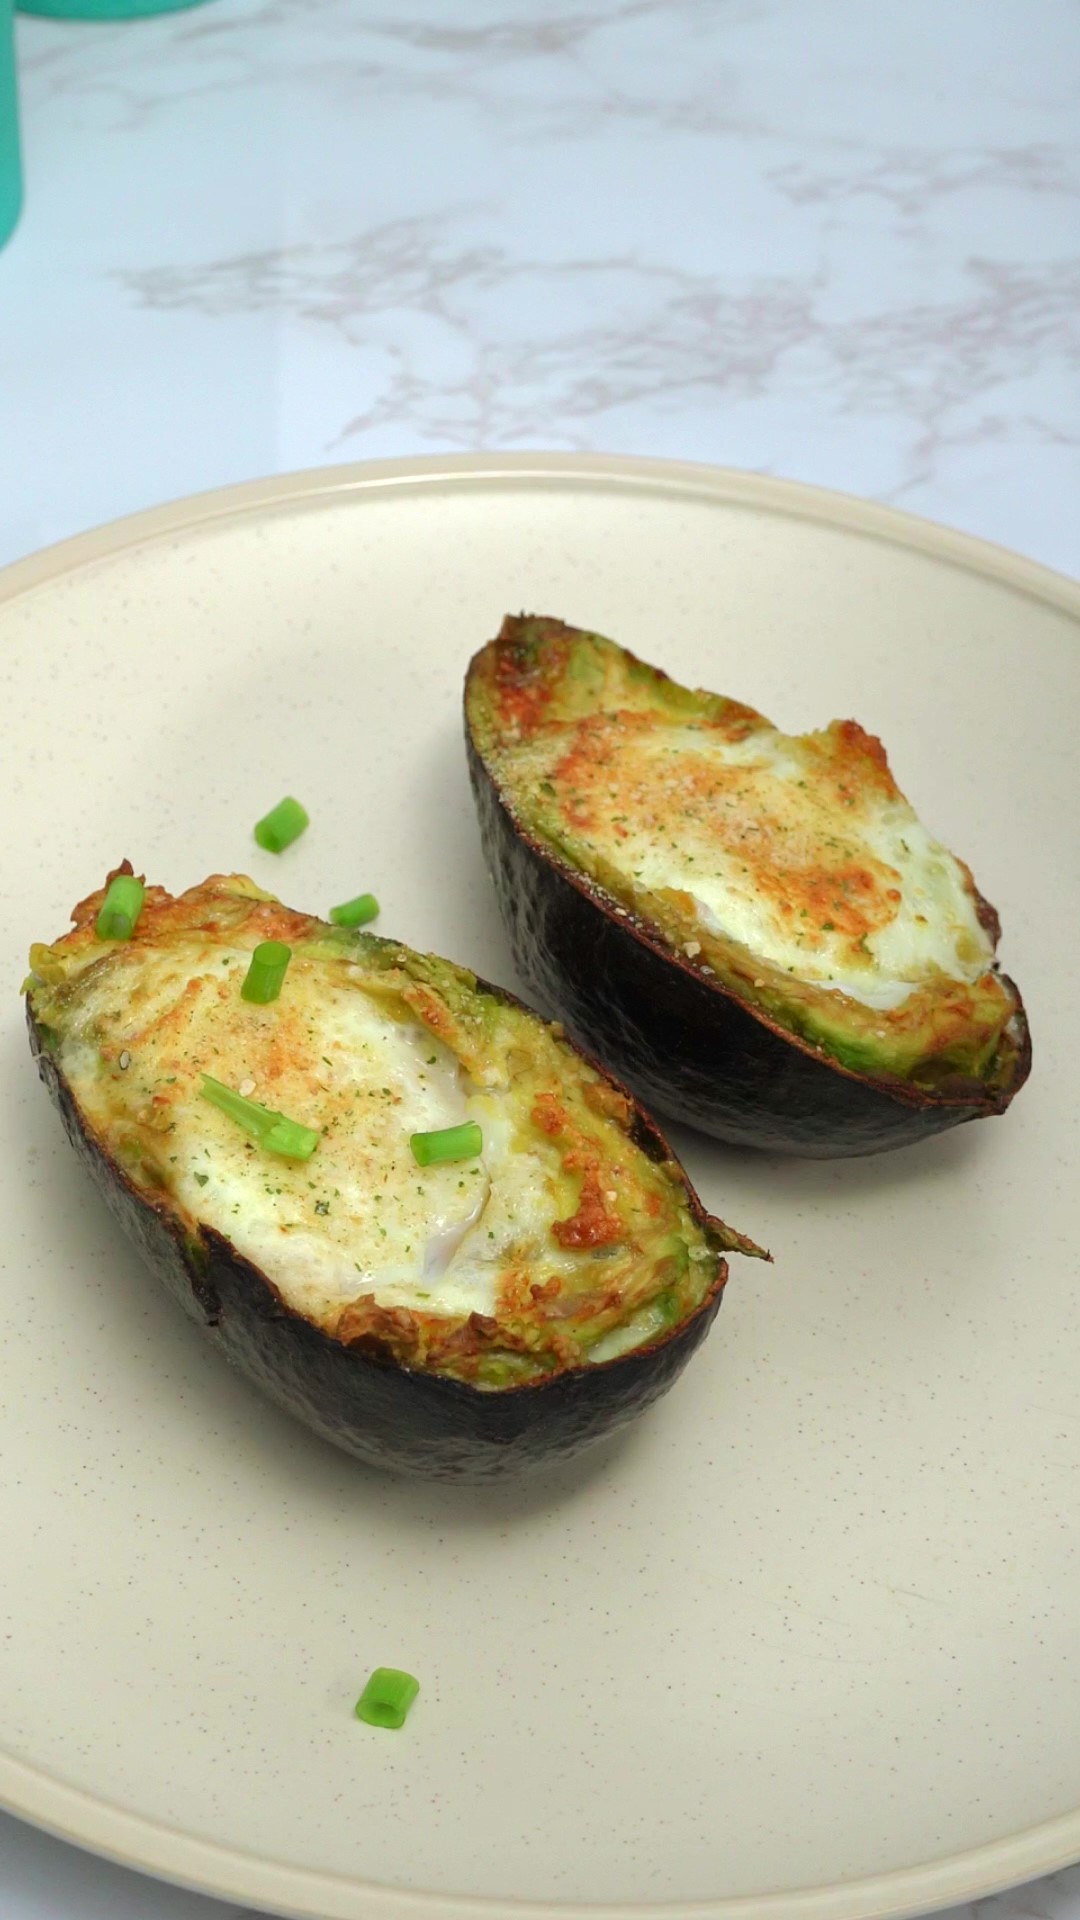
Avocado Egg Boat Recipe

Looking to mix up how you prepare avocados? Prepare them in an egg boat recipe instead! This recipe leaves the avocados delicious and flavorful with minimal effort needed. Pair these with your favorite breakfast dishes or on their own. Ingredients: Avocado 2 Eggs Garlic Salt Scallions Directions: Cut avocado in half and scoop out a bit from the center to make room for the eggs. Crack an egg in each side and season with garlic salt Cook at 350°F for 12 to 15 minutes. Top with scallions (optional).

An Easy Trick to Measuring Sticky Ingredients

If you’ve ever made a smoothie with peanut or almond butter then you’ve probably run into a common issue. After struggling to get the ingredient out of the jar and into a measuring cup, half of it sticks and stays there. You’ll be left with a mess and a slightly-less-than-accurate amount for your recipe. However, there’s an easy trick to avoid this issue altogether. Simply spray the measuring cup with a little oil or cooking spray before using it. Afterwards, the ingredient will slide right out. It works for many other sticky ingredients such as honey and corn syrup. You can apply this same cooking spray trick to other common kitchen hassles. If you ever need to grate cheese, apply some cooking spray to the grater before using it. Spray tupperware before using it to prevent colored stains. Source: the Kitchn

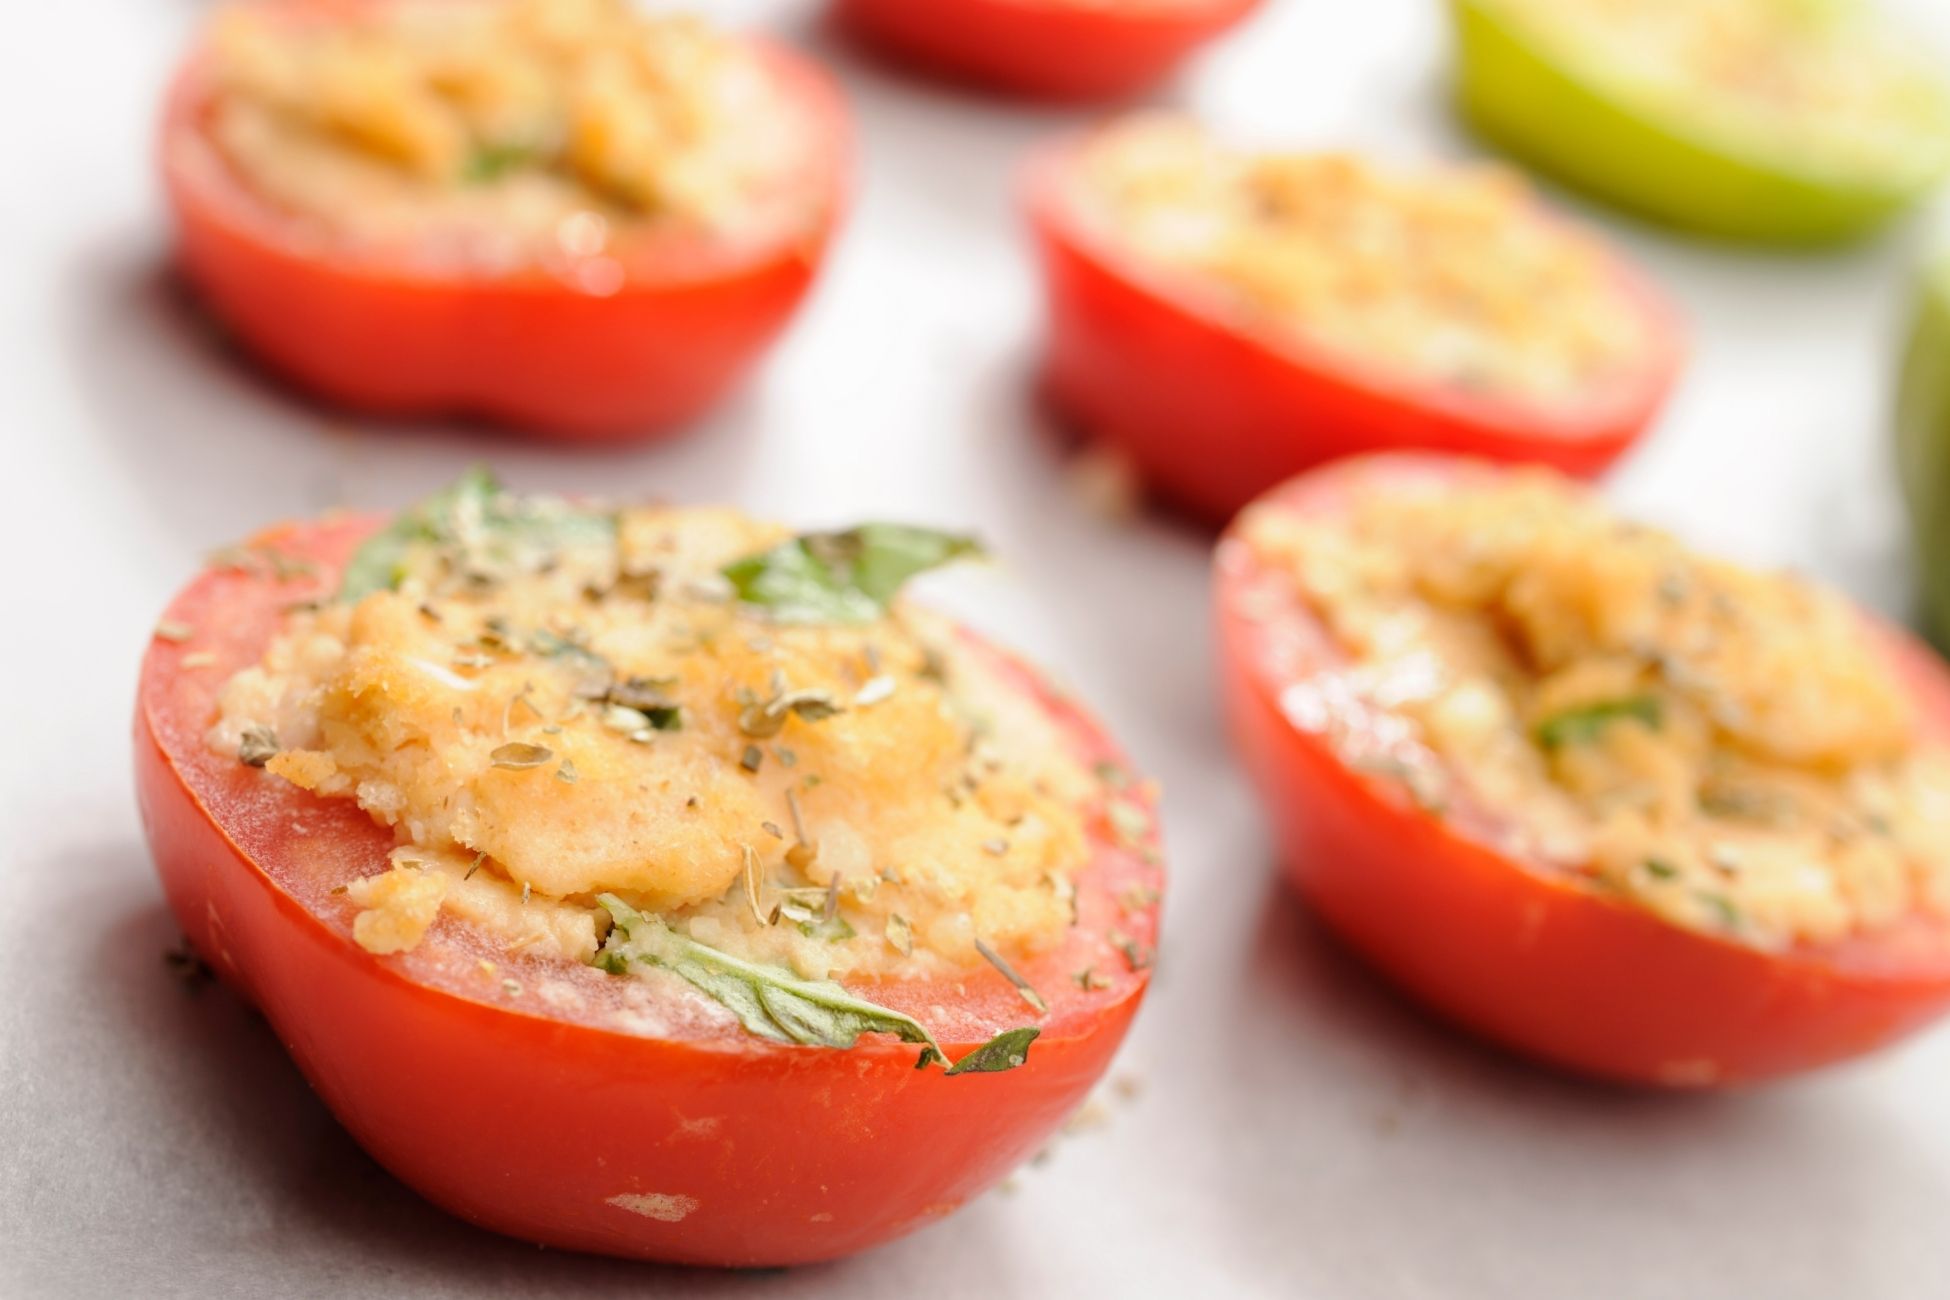
Mozzarella and Basil Stuffed Tomatoes Recipe

If you ever catch yourself with an abundance of tomatoes or just need a new appetizer recipe, try out these mozzarella and basil stuffed tomatoes. They’re reminiscent of margarita pizza with all the same ingredients. Serve these on their own or along breakfast eggs. Feel free to substitute the ingredients with other cheese and herb combos such as cheddar and cilantro. Prep time: 20 minsCook time: 15 minsTotal time: 35 minsServings: 4 servings Ingredients: 4 medium tomatoes with firm, fleshy walls, 2 1/2 inches wide 1 cup shredded mozzarella cheese 1/3 cup grated parmesan cheese, divided 1/4 cup packed fresh basil, chopped, plus more for garnish 1 slice of bread (enough to make 1/4 cup breadcrumbs) 1 tablespoon melted salted butter 1 teaspoon minced garlic 1/4 teaspoon salt 1/8 teaspoon pepper Olive oil for drizzling Directions: Preheat oven to 400°F. Make the soft breadcrumbs: To make the 1/4 cup soft breadcrumbs, remove the crust from 1 slice of bread (preferably stale) and either pulse in a small food processor or shred with a fork until the bread resembles fine, sand-like crumbs. Prepare the tomatoes: Slice the tomatoes in half horizontally around the equator and use a spoon to scoop out the flesh. Be careful not to puncture the walls of the tomato, but if you do, the filling will plug the hole. Place empty tomato halves in a casserole dish or oven-safe skillet, and season with salt and pepper.Using your hands or a spoon, separate the seeds from the scooped out tomato flesh and transfer the flesh to a cutting board. Discard the seeds and the tomato water. Chop the flesh and set aside for the stuffing. Make the stuffing: In a medium bowl, add the chopped tomato flesh, mozzarella cheese, 1/4 cup of the parmesan cheese, basil, breadcrumbs, butter, garlic, salt, and pepper and stir to thoroughly combine. Bake: Using two spoons, fill the tomato halves with the stuffing. Sprinkle filled tomatoes with the remaining parmesan cheese and drizzle with olive oil. Bake for 15 minutes, or until tomatoes are tender, then broil on high for 1 minute until the filling begins to bubble and brown. Serve: Garnish with a few torn basil leaves and serve hot. Source: Simply Recipes

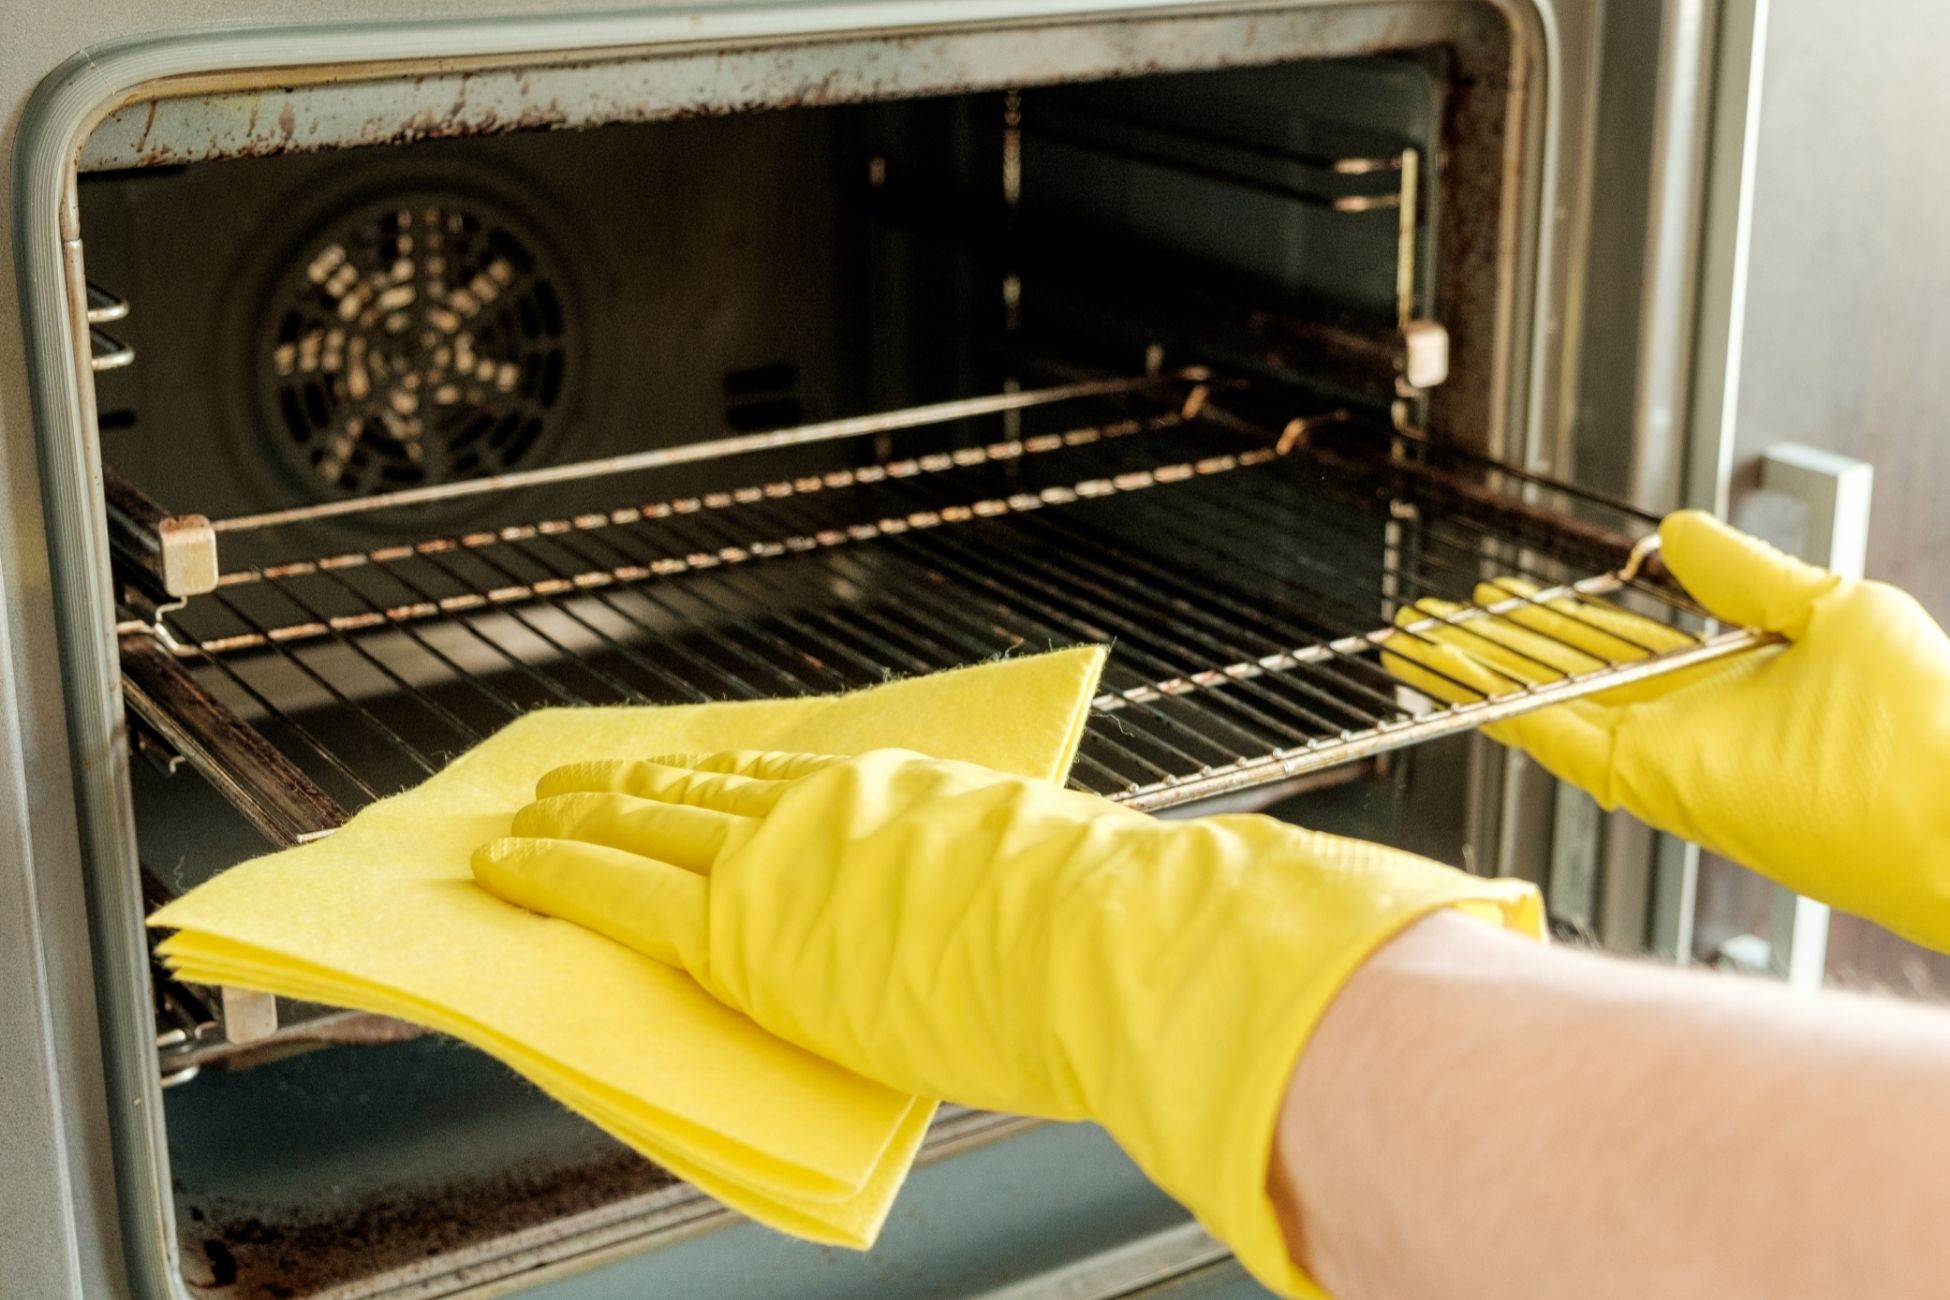
Things You Should Never Do with Oven Cleaner

Your oven is bound to build up some grime over time. An oven cleaner can be a great solution to cleaning grates, reviving baking sheets and even scrubbing white porcelain tubs. However, an oven cleaner should be handled with care since it is a harsh solution. Here are a few precautions you should take when handling oven cleaner. Don’t use it on a self-cleaning oven. The oven cleaner could corrode the oven’s special enamel coating. If you have a self-cleaning oven, check the product manual to find out which products are safe to clean with. Avoid some parts inside the oven. Take caution to avoid certain oven parts while using oven cleaner. The heating elements on the top or bottom of the unit and gaskets should be off limits. The cleaner could cause them to degrade and lose their airtight seal. Don’t use it without protection. Oven cleaner eats through tough build-up in your oven and can damage sensitive areas on your body like your skin. Wear rubber gloves to prevent the harsh chemicals in cleaners. It’s also wise to consider wearing goggles or another form of eye protection. Don’t use it without ventilation. Oven cleaner is irritating to the respiratory tract. This could cause issues if it’s inhaled. Turn on the vent hood in your kitchen and open windows to circle the air when exposed to fumes. Don’t expose others. Take precautions to not use the product around those who have asthma or other respiratory issues. These fumes can be especially dangerous to pets, especially birds. Be sure to always keep the oven cleaner somewhere safe where children cannot reach it. Source: the Kitchn

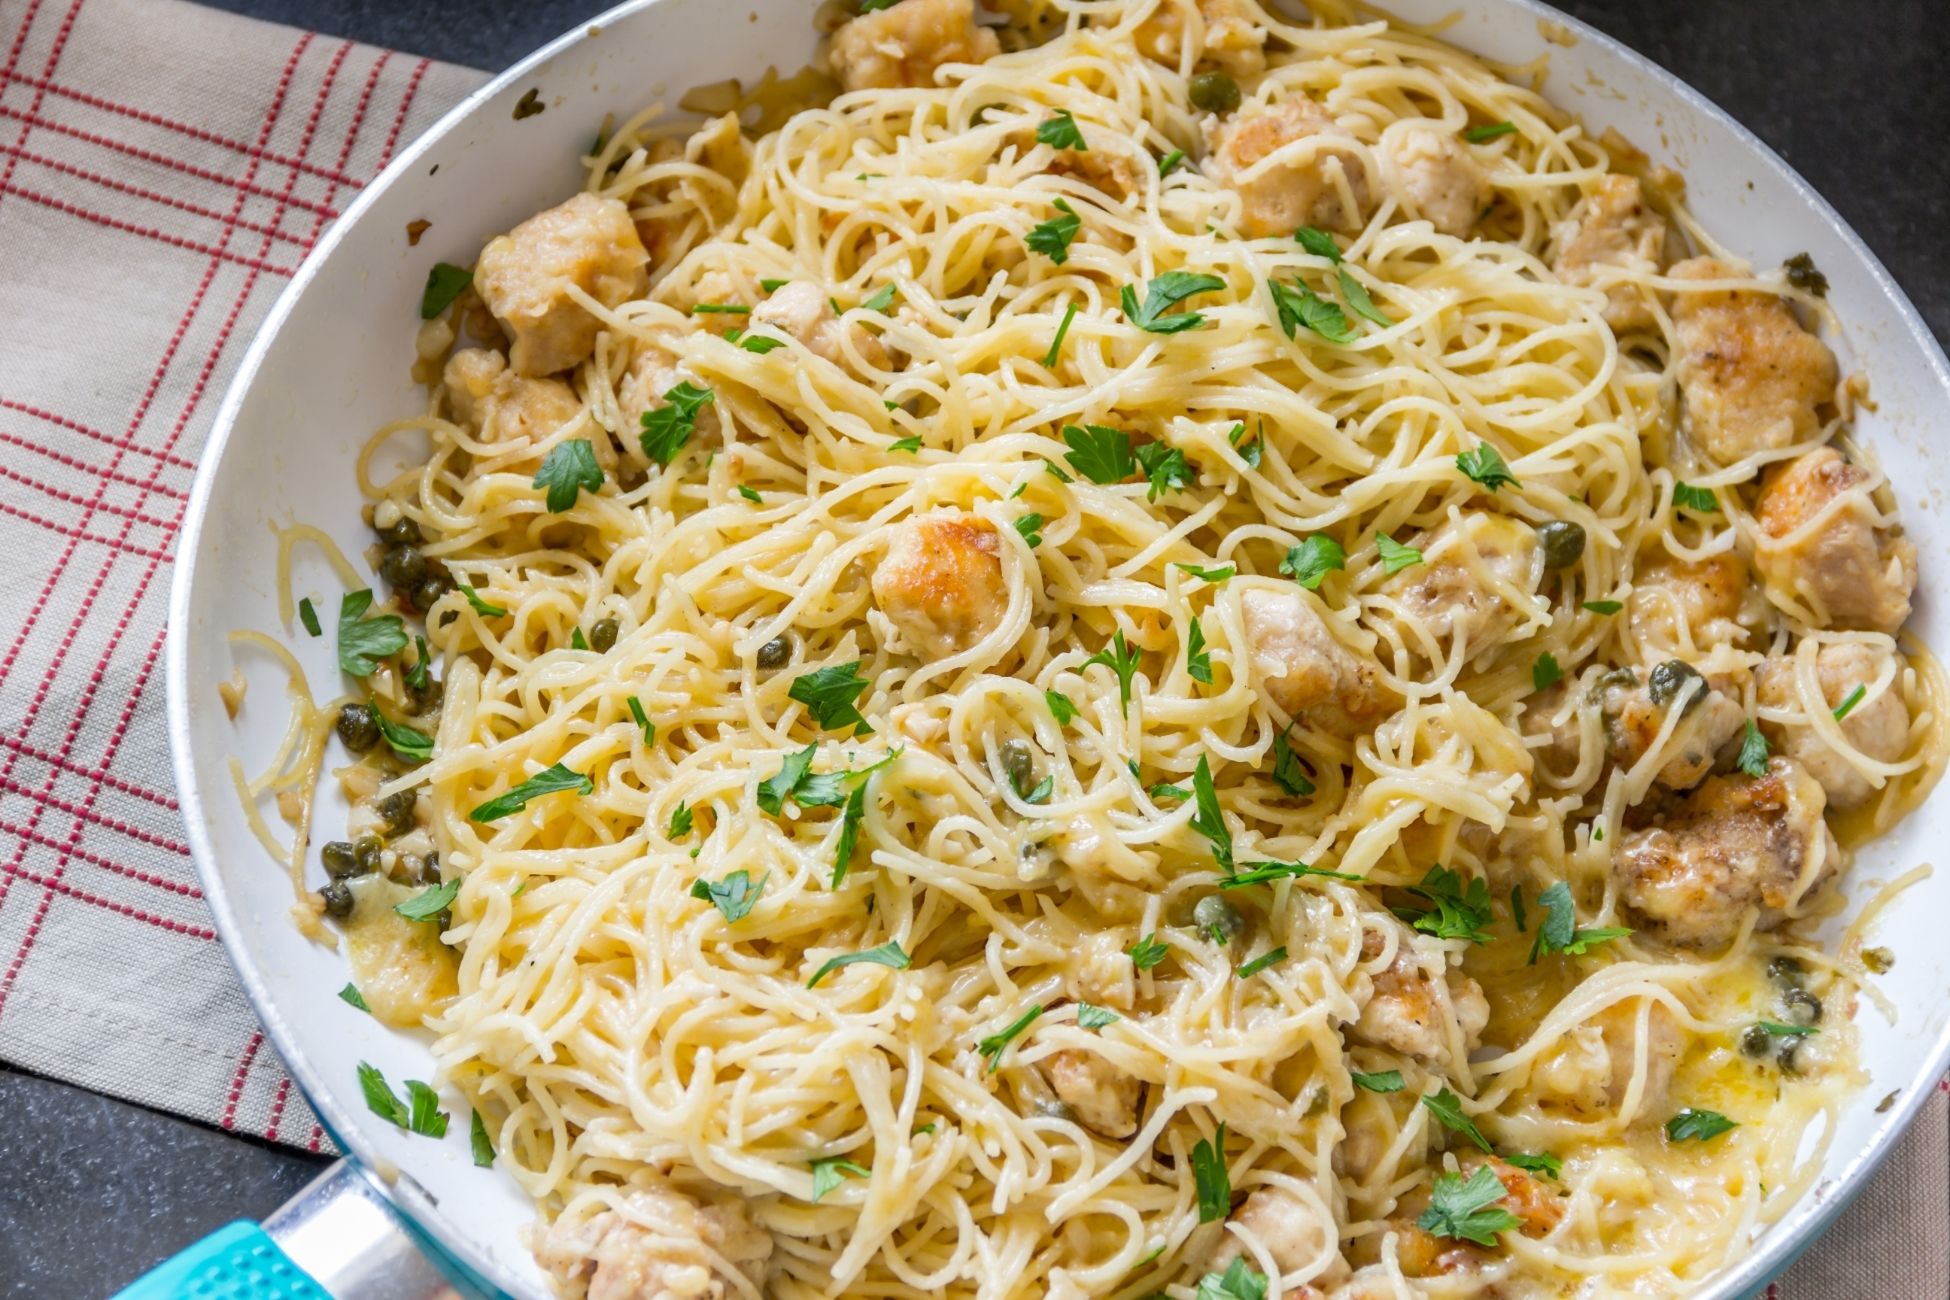
Chicken Scampi Angel Hair Pasta Recipe

Usually scampi is associated with shrimp or shellfish, but it works just as well with chicken. In this recipe the butter and olive oil balances the acidity of lemon juice and white wine. You’ll also get a bit more flavor with a hint of garlic, red pepper flakes and some fresh parsley. The most important thing to note is that you’ll need to reserve some of the pasta cooking water for a sauce that brings all the ingredients together. Prep time: 10 minsCook time: 15 minsTotal time: 25 minsServings: 2 to 4 servings Ingredients: 1/2 pound angel hair pasta 2 tablespoons unsalted butter 2 tablespoons olive oil 1/2 pound boneless, skinless chicken cutlets 1/2 teaspoon kosher salt 1/4 teaspoon freshly ground black pepper 4 cloves garlic, minced 1/8 teaspoon (a big pinch) crushed red pepper flakes 1/2 cup dry white wine, such as Sauvignon Blanc, Chardonnay, or Pinot Grigio Zest and juice of 1 lemon (about 1 tablespoon of zest and 3 tablespoons of juice) 1/4 cup chopped parsley Lemon wedges for serving Directions: Make the pasta: Cook the pasta in a large pot of salted boiling water, according to package instructions or until al dente. Scoop out about a cup of the pasta cooking water and set it aside. Drain the pasta. Cook the chicken: Meanwhile, melt the butter with the olive oil in a large skillet over medium heat. Pat the chicken dry and season both sides with the salt and a few grinds of black pepper. Add the chicken to the skillet and cook about 2 minutes per side, until golden brown and cooked through.Transfer the chicken to a cutting board to rest, leaving the fat in the pan. Make the sauce: Add the garlic and red pepper flakes to the skillet and cook until fragrant, about 1 minute. Add the wine and lemon juice, scraping up any browned bits from the bottom of the pan, and simmer until reduced by about half, 3 to 5 minutes. Finish the pasta and serve: Add the cooked pasta, lemon zest, parsley, and 1/2 cup of the reserved pasta water to the skillet and toss to combine. If it seems too dry or like the sauce isn’t coating the pasta, stir in some more of the reserved pasta cooking water.Cut the chicken into slices and toss with the pasta. Serve with extra lemon wedges for squeezing over the scampi. Source: Simply Recipes