Year: 2021

The Key to the Best Pie Crust

Baking a pie with the perfect flaky and tender crust is no easy feat. Ideally your dough should be assembled with cold ingredients and a gentle hand. The temperature in your kitchen is always a factor when you bake. If your kitchen is too hot and humid, dry ingredients tend to absorb the moisture in the air. On the other hand, when your kitchen is too cold, bringing ingredients to room temperature can take a while. Pie dough is no exception to these factors. Baking powder is the secret ingredient to a flaky pie dough. It lightens and expands your crust providing a flaky-like texture. It’ll also make the crust softer in a light and airy way. If your kitchen is too warm or too cold, the baking powder can save the pie. So the next time you run into a tricky weather situation or over handle the dough, reach for about ¼ to ½ teaspoon baking powder to every 1 ¼ cup of flour. Source: the Kitchn

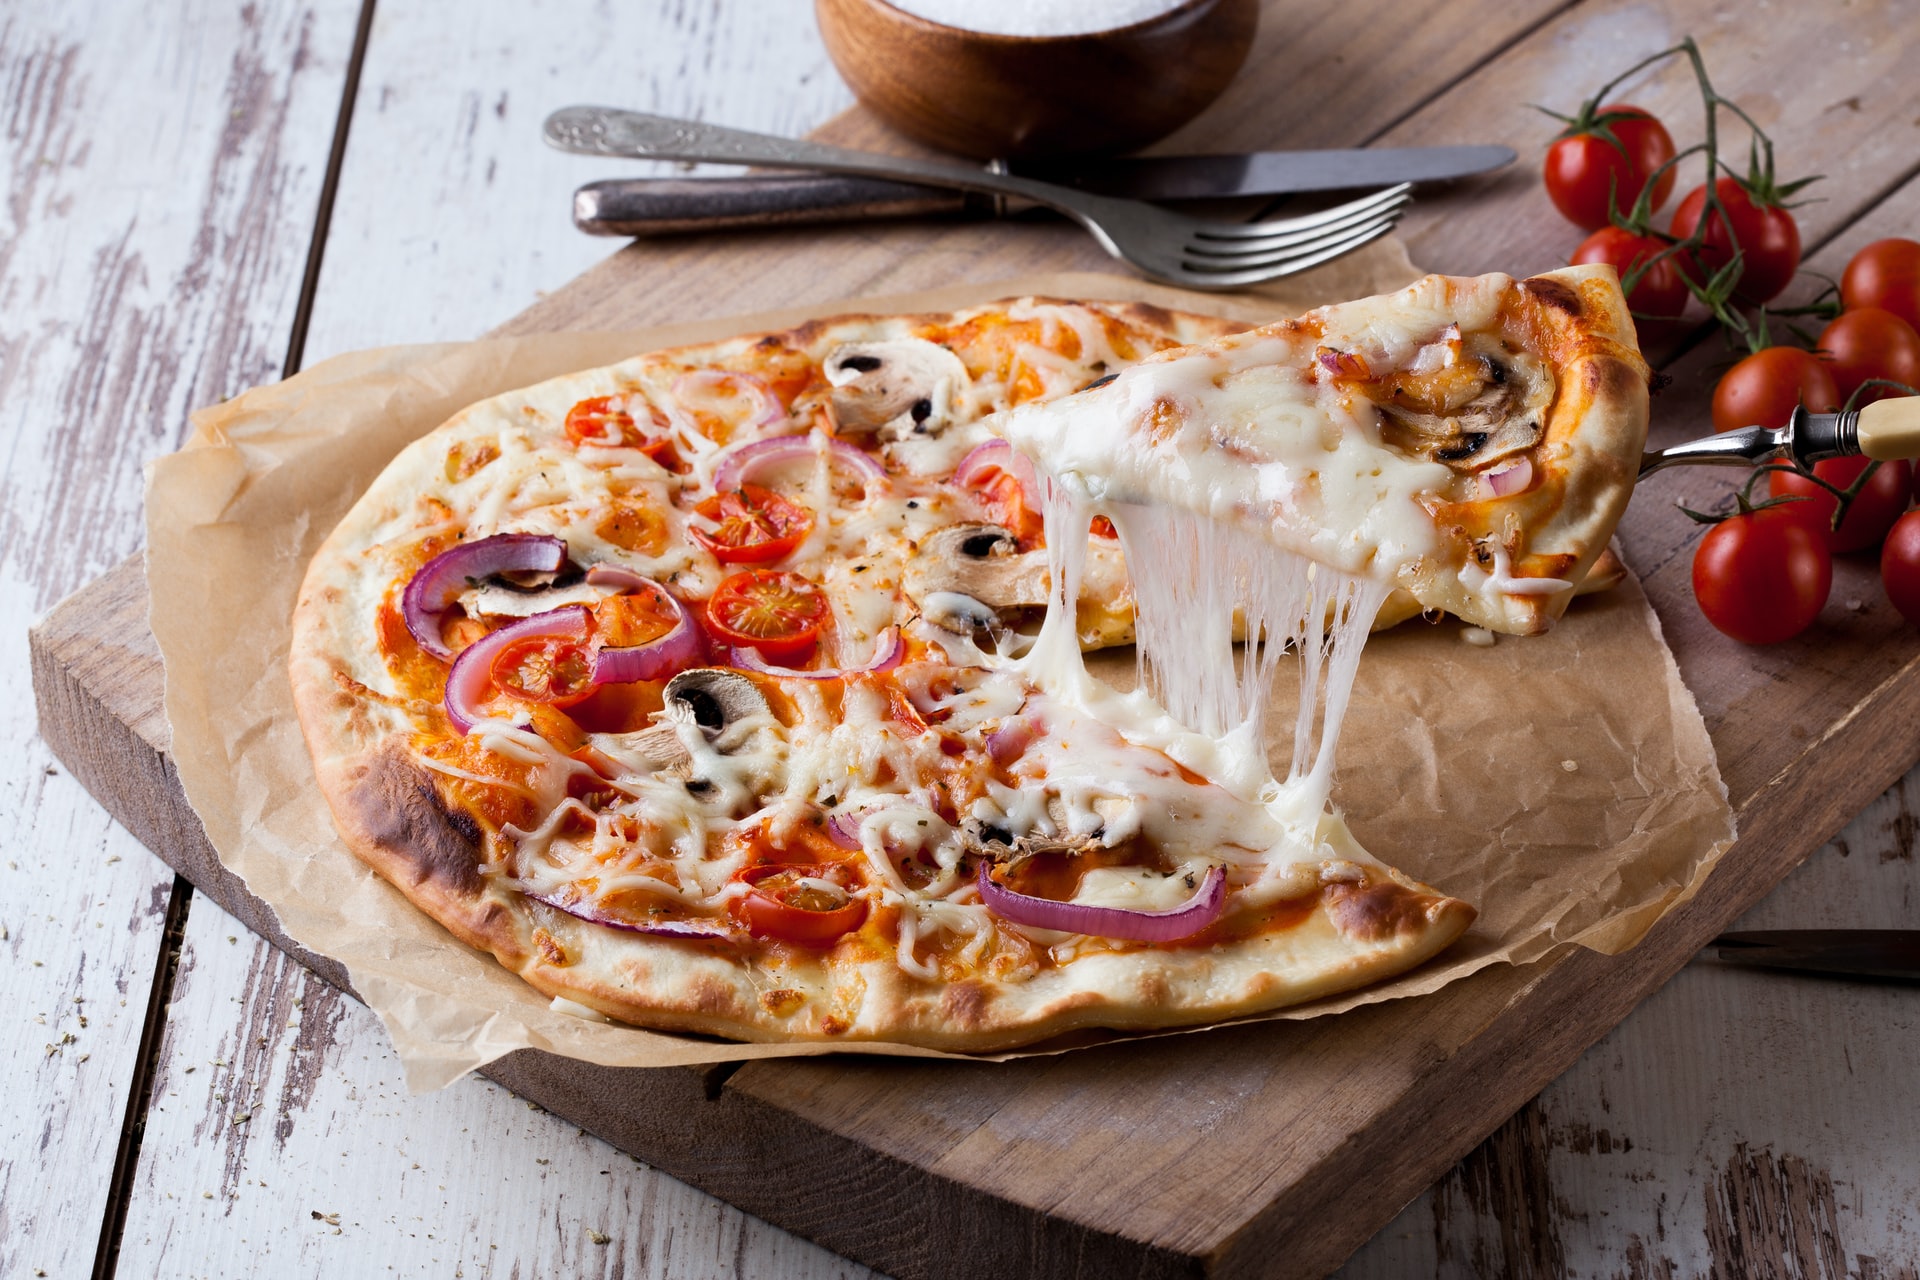
The Best Way to Reheat Leftover Pizza

Reheating a leftover pizza to the same level of crispiness can be difficult. The first step is to ditch the microwave. You’ll end up with a soggy pizza slice. Microwaves heat water that’s in food, so the pizza will end up steaming from the inside out. The better way to reheat a pizza is to use a skillet on the stove. This can be a nonstick skillet or a cast iron skillet. Any skillet tends to work so long as it has a lid. Heat up the skillet. Place the skillet over medium low heat and add a little oil to it. You can use nonstick spray to get an even layer. Put the pizza slices in the skillet and make sure they’re aren’t overlapping. You want them to be in full contact with the bottom of the skillet. Put the lid on. After a few minutes, the slices will begin to crisp. Pop the lid and let the slices steam on top. This will remelt the cheese and heat the rest of the toppings. Your pizza should be back to super crispy and delicious. Ovens can also reheat pizzas but it tends to be a waste of energy for a few slices that are already cooked. If needed, you can put the slices on parchment paper on a baking sheet, and let them cook for about 10 minutes. Source: Simply Recipes

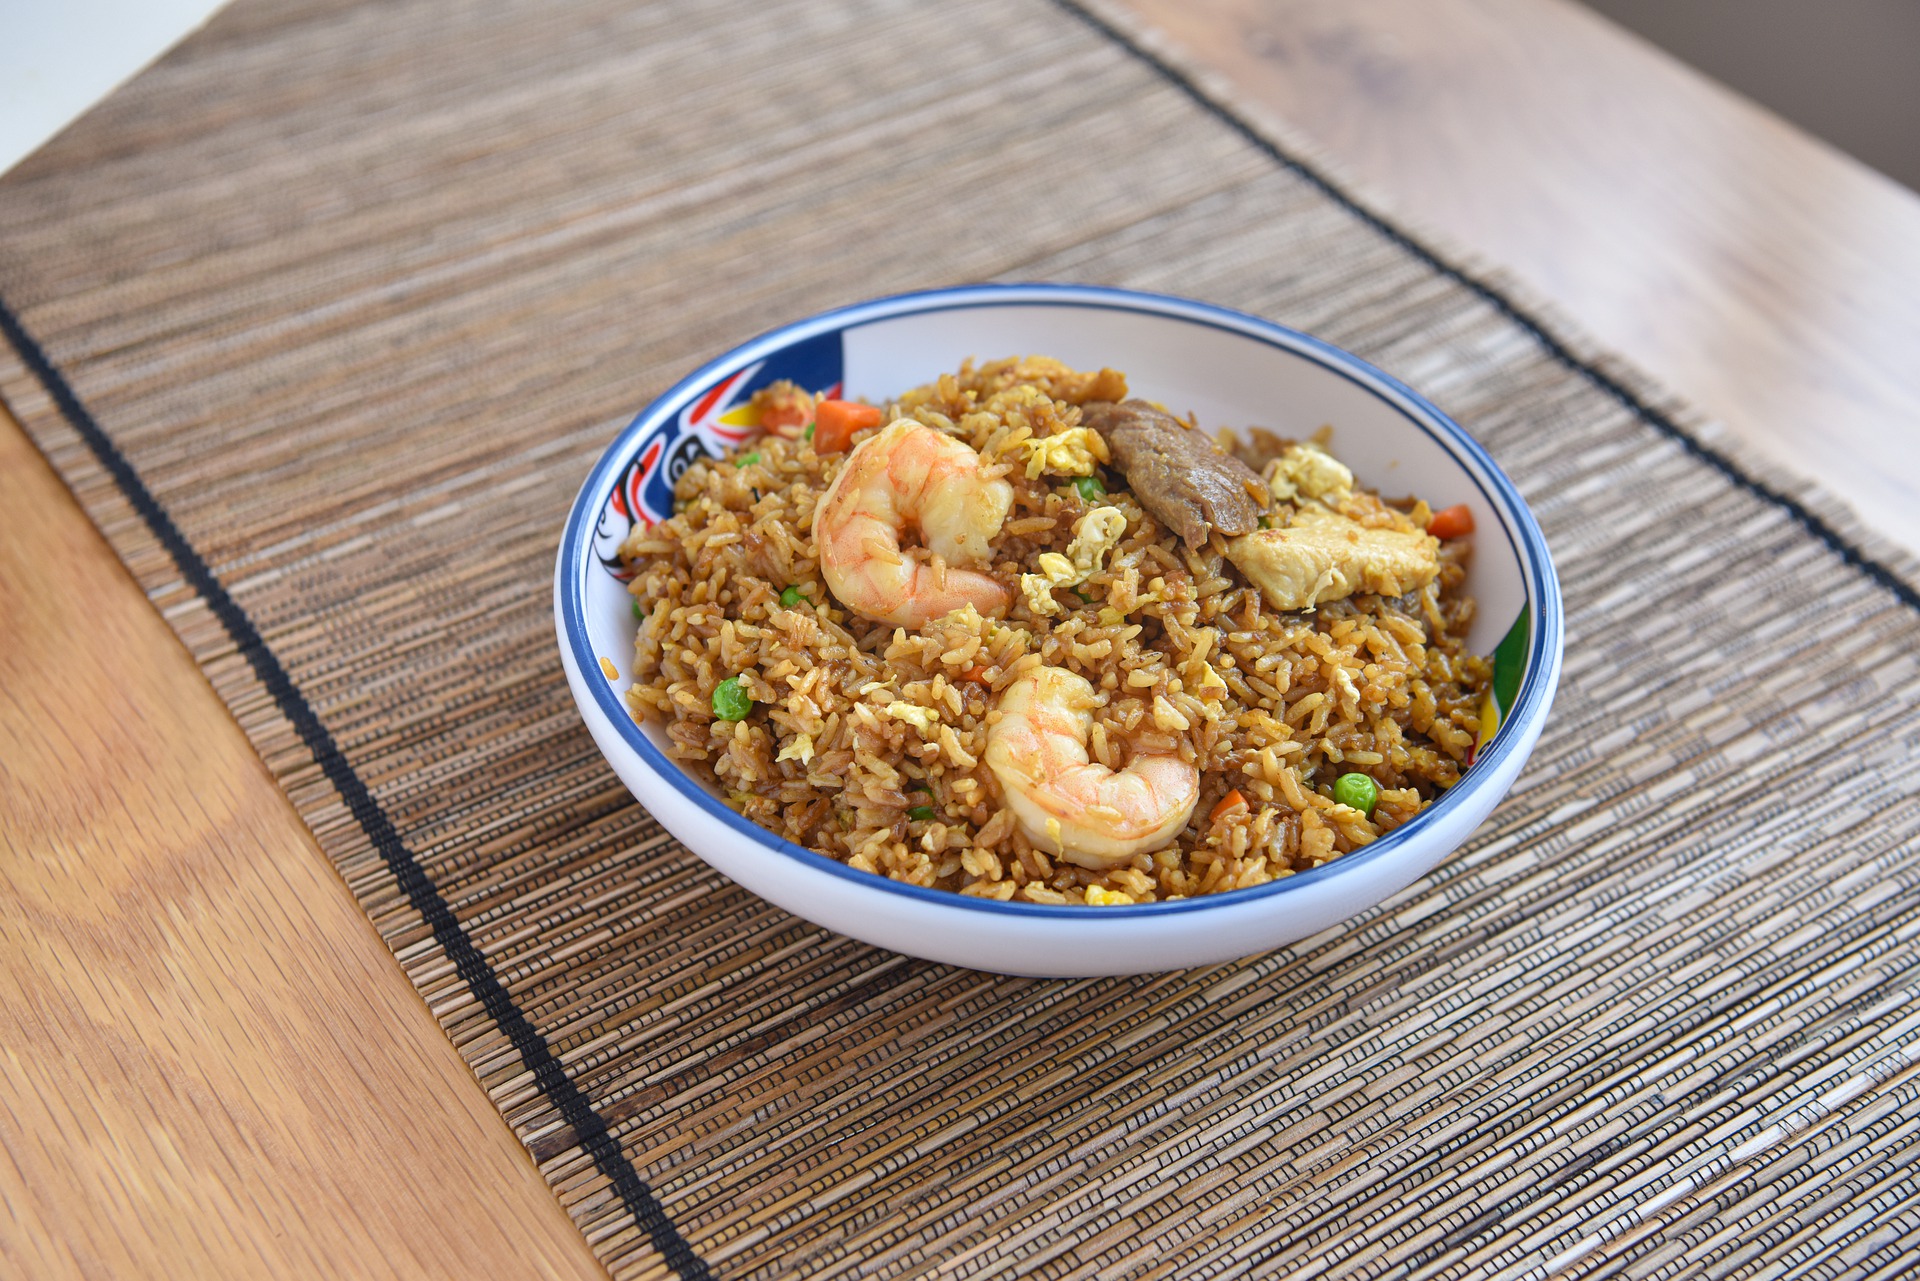
Shrimp Fried Rice Recipe

Fried rice is the perfect meal when you have any leftover rice in the fridge. The chilled rice works better than fresh rice. You can put anything in fried rice including veggies, beaten egg, and a protein such as shrimp or chicken. A hot pan will help everything fry quickly and prevent any ingredients from sticking. Try to fry everything separately in the same pan to preserve their flavors. Prep time: 15 minsCook time: 15 minsTotal time: 30 minsServings: 4 servings(NOTE: Make sure to use leftover, day old rice. Freshly made rice will make a fried rice mushy.) Ingredients: 8 ounces small raw shrimp, shelled and deveined 1/2 teaspoon kosher salt freshly ground black pepper 1/2 teaspoon cornstarch 3 tablespoons peanut oil, canola oil, or rice bran oil 3 eggs, beaten 2 stalks green onion, minced 4 cups leftover rice, grains separated well 3/4 cup frozen peas and carrots, defrosted 1 tablespoon soy sauce (use gluten-free soy sauce if you are making a gluten-free version), plus more to taste 1 teaspoon dark toasted sesame oil Directions: In a medium bowl, sprinkle the shrimp with salt, pepper, and cornstarch, and toss to coat. Set aside to sit for ten minutes at room temperature. Heat a large sauté pan or wok (a seasoned cast iron pan or hard anodized aluminum works well, they’re relatively stick free and can take the heat) on high heat.When the pan is very hot (a drop of water instantly sizzles when it hits the pan), swirl in one tablespoon of the cooking oil to coat the pan. Add the shrimp to the hot pan, spreading them out quickly in a single layer. Let them fry in the pan without moving them, for 30 seconds.Flip the shrimp over and let them fry on the other side for another 30 seconds or until they are mostly cooked through. (Do not cook them all the way!)Use a slotted spoon to scoop the shrimp out of the pan to a bowl. Return the pan to the burner and lower the heat to medium. Add a little more oil if the pan needs it. Add the beaten eggs and stir them quickly to scramble them while they cook.When the eggs are not quite cooked through, still a bit runny, transfer them from the pan to the bowl with the cooked shrimp. Clean out the pan or wok with paper towels and return it to the burner. Heat the pan on high and when it is hot, swirl in the remaining tablespoon or two of oil. When the oil is shimmering hot (almost smoking), add the green onions and sauté for 15 seconds.Then add the leftover cooked rice to the pan and stir with the green onions to mix well.Spread the rice onion mixture over the surface of the pan and let it fry, without moving it. You should hear the rice sizzle. Cook for about 1 to 2 minutes.Use a spatula to turn over the rice, and spread it over the pan again. Let cook for a minute longer. Sprinkle soy sauce on the rice and stir to combine.Add the carrots, peas, shrimp, eggs, and sesame oil, stirring to combine well.Heat everything until sizzling hot. Add more soy sauce to taste. Source: Simply Recipes

Testing Your Oven for Hotspots With Sugar

The exact temperature of your oven is important, but so is where the heat is located. If heat is uneven in an oven, you could end up with goods that are burnt in some places and still cooking in other places. A thermometer will tell you the temperature, but it won’t tell you where the hot or cold spots are. Luckily you can test your oven with just sugar and a pan to see what you’re dealing with. Set your oven rack to the middle (where it would be if you were baking) and crank the heat to 400°F. Line a baking sheet with parchment paper and sprinkle an even layer of granulated sugar onto it. Try using a cup of sugar, which would be enough to cover a 11×17-inch pan with a light dusting. Once preheated, place the pan in the center rack of the oven and set a timer for 10 minutes. Once the timer goes off, immediately remove the pan from the oven and inspect the sugar. With this method, you now have a map of your oven’s hot and cold spots. Where the temperature was exactly 400°F, the sugar should be melted without being burnt. Darker, burnt sugar indicate hot spots, while unmelted areas are cool spots. This will help inform where you should be placing goods in your oven. Source: the Kitchn

Oatmeal Cookies Recipe

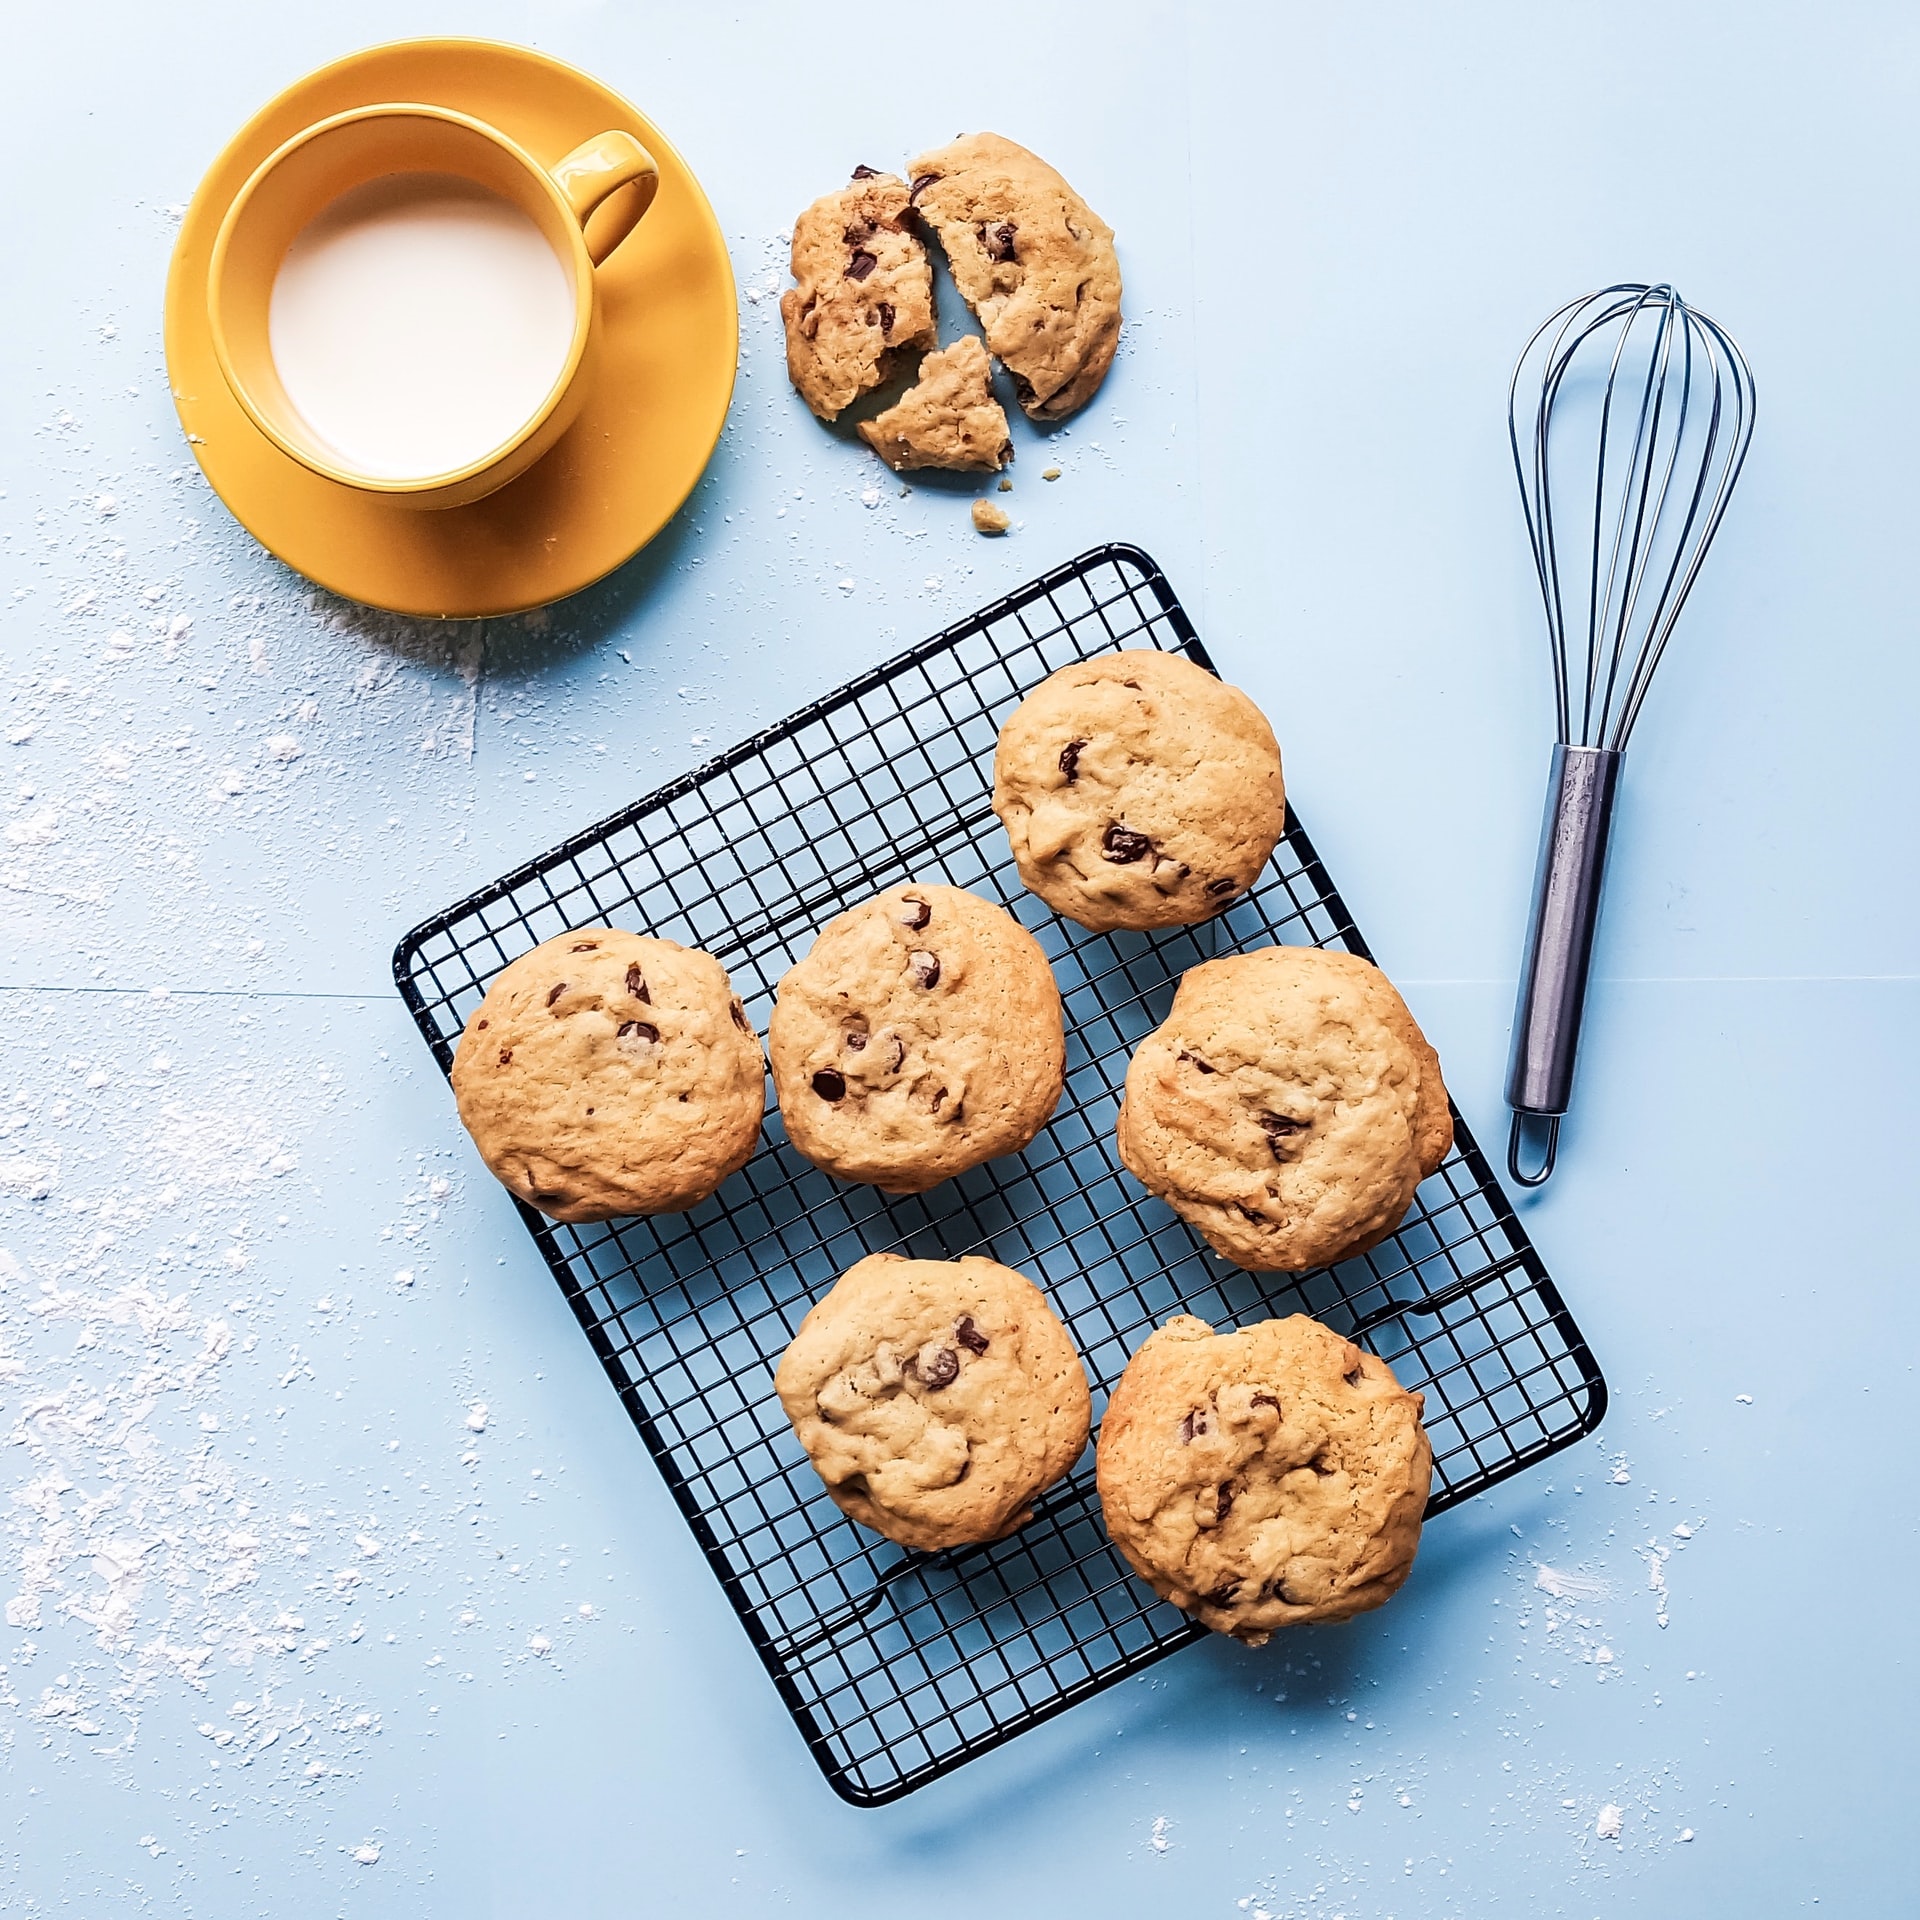
There’s nothing better than a classic, chewy oatmeal cookie. These include walnuts and raisins, but you can leave them out if you prefer. The cookies will keep for several days in an airtight container on the counter. They also freeze well. Prep time: 20 minsCook time: 10 minsTotal time: 30 minsServings: 24 servings Ingredients: 1 cup shortening 1 cup brown sugar 1 cup white sugar 2 large eggs, well beaten 1 tablespoon vanilla extract 1 1/2 cup all-purpose flour 1 teaspoon salt 1 teaspoon baking soda 1 tablespoon cinnamon 3 cups old-fashioned rolled oats (we use Quaker Quick or Old Fashioned. Do NOT use instant.) 3/4 cup chopped walnuts (use 1/2 cup if using raisins) 1 cup raisins (optional) Directions: Preheat the oven to 350°F Make the cookie dough: Beat together the shortening and sugars. Add the eggs and vanilla extract, and beat well.Whisk together the flour, salt, baking soda and cinnamon. Add to sugar and egg mixture and mix well. Add a tablespoon of water. Add raisins (if using) and nuts. Add oats last. Bake: Spoon out by heaping tablespoonfuls on to greased cookie sheets. Bake at 350°F. Bake for 10 minutes. Remove to a wire rack. Cool completely: Cookies will keep for several days in an airtight container on the counter. Are you looking to upgrade your kitchen? Cosmo appliances offers luxury range hoods, cooktops, ranges, refrigerators and more. Take a look at our complete product lines here. Source: Simply Recipes

The Difference Between Ale and Lager Beers

Beers are all made from a basic combination of water, malts, hops and yeast. The difference between ale and lager is yeast, more specifically the type. This brings a wide range of changes between the two beers. Here’s what you can expect from the two brews. Ale Beers Ales are brewed with a top-fermenting yeast that prefers mid-range room temperatures. These ales are typically stored between 60°F and 75°F during the fermentation stage. This process gives ales a fruitier and spicier flavor than lagers. They are generally more robust and complex. Lager Beers On the other hand, lagers are made with bottom-fermenting yeast which works best in cooler temperatures, between 35°F and 55°F. The fermentation will happen slower, making the beer more stable. Lagers can be stored longer than ales. The yeast will have less prominence in the finished beer, resulting in a cleaner and crisper quality. Source: the Kitchn

Air Fryer Grilled Cheese Recipe

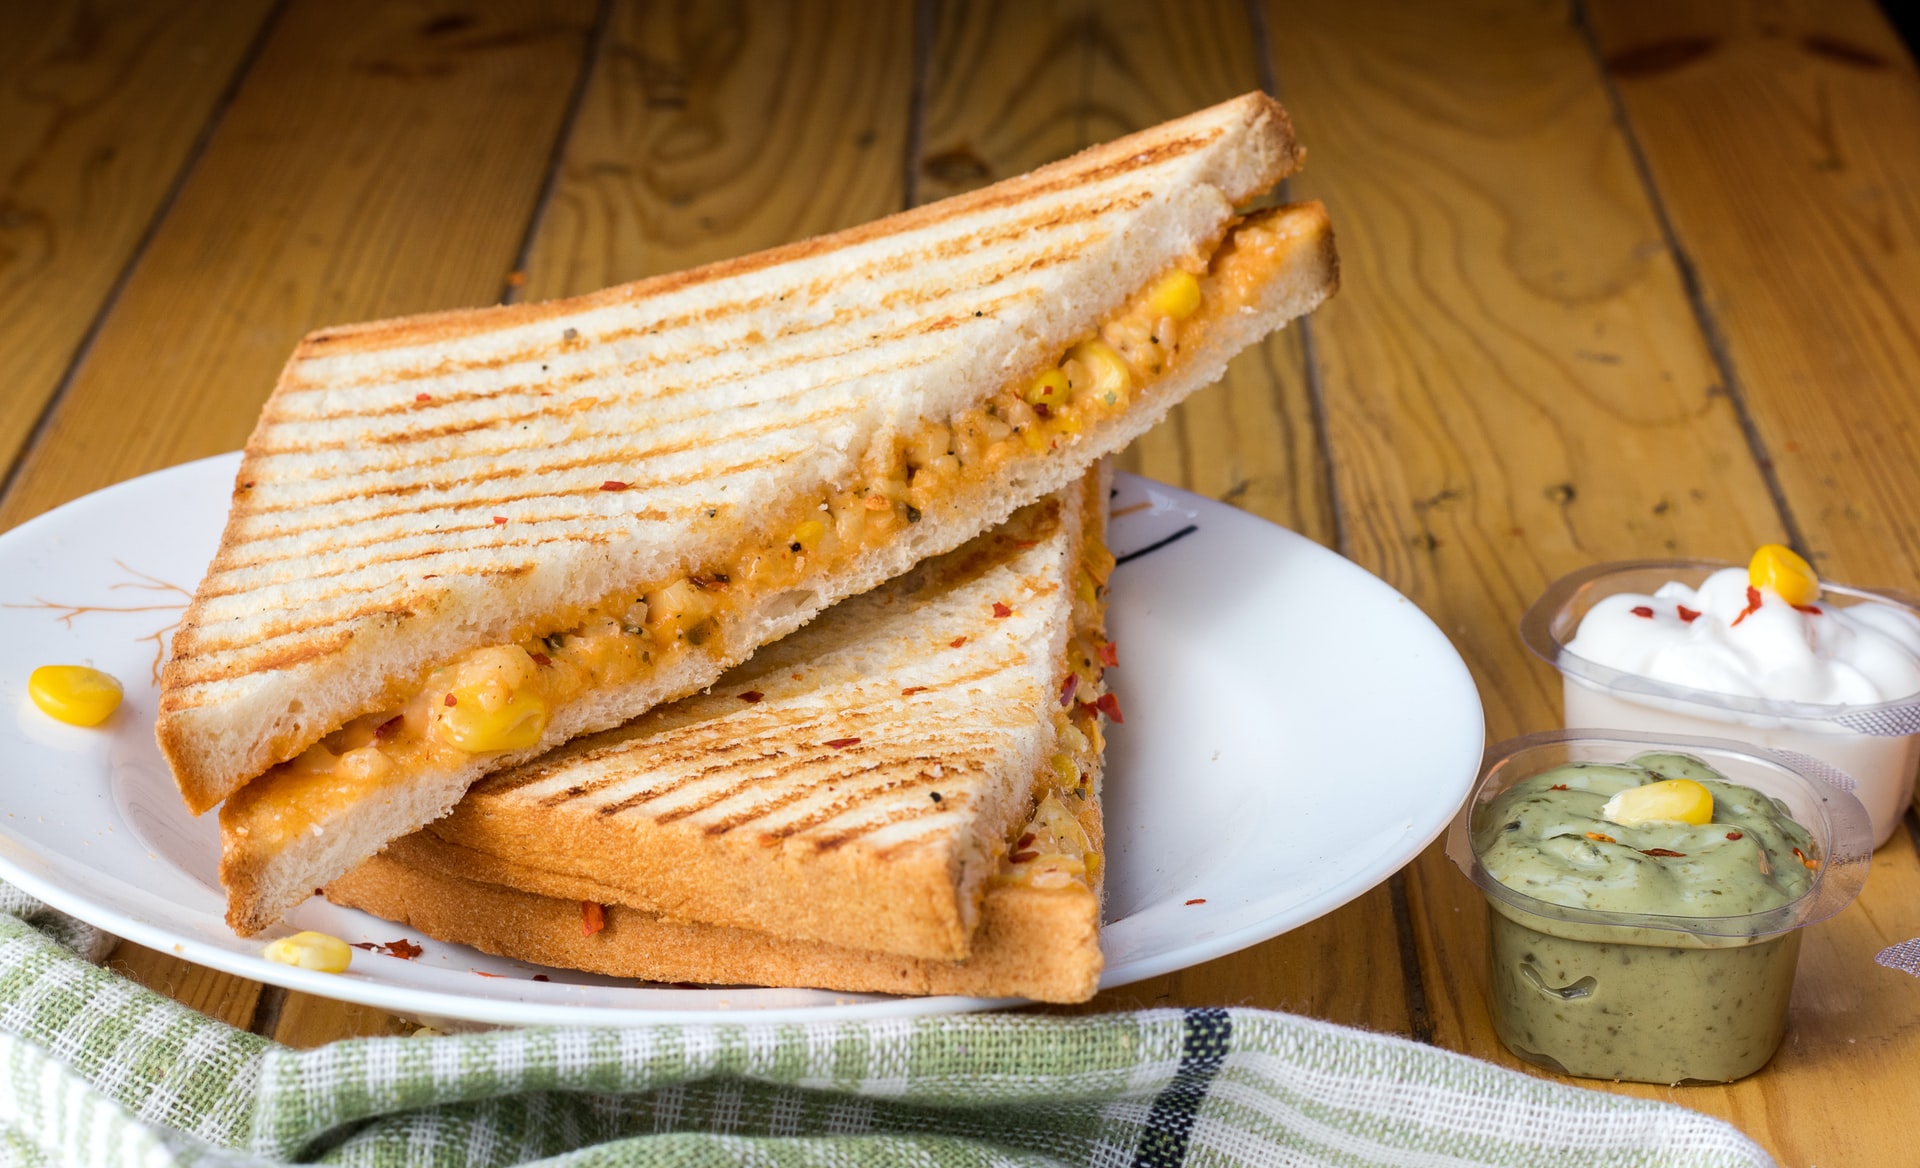
Your Air Fryer is the key to hands-off grilled cheese. You can set the timer, walk away and come back to perfectly crispy bread and melted cheese. The best combination for flavorful cheese is a combination of sharp cheddar and a nice melting cheese like Monterey Jack. You’ll prepare these in the usual way you do your ordinary melted cheese. Read how below. Yield: Serves 2Prep time: 5 minutesCook time: 15 minutes Ingredients: 2 tablespoons unsalted butter 4 ounces sharp cheddar cheese 4 ounces Monterey Jack, Gruyère, or low-moisture mozzarella cheese 4 slices rustic bread, or white or whole-wheat sandwich bread Instructions: Let 2 tablespoons unsalted butter sit at room temperature until softened. Heat an air fryer to 375ºF. Grate 4 ounces sharp cheddar cheese and 4 ounces Monterey Jack cheese on the large holes of a box grater (about 1 cup each). Toss together in a medium bowl. Spread the butter onto one side of each of 4 slices sandwich or rustic bread. Flip 2 of the slices over and divide the cheese evenly over these slices. Close the sandwiches with the remaining 2 bread slices butter-side up. Press the sandwiches slightly to close. Air fry the grilled cheeses: place in the basket (do one at a time if they will not fit in a single layer with some space around them) and air fry for 3 minutes. Flip the sandwich and air fry until golden brown, 3 to 4 minutes more. Source: the Kitchn

Browning Butter Like A Pro

Baked goods and savory treats made with brown butter give it an extra depth of flavor. It works some serious magic. It has a depth and an intensity that melted butter can lack. While brown butter isn’t hard to make on a stovetop, it can be more work. It requires an extra level of vigilance so the butter doesn’t overcook or burn. Simplify the process by browning the butter in a microwave instead! Cut the butter in roughly cut pieces and place in a microwave-safe bowl with a cover. Heat in a microwave on high for about 10 minute if you’re browning a cup of butter. This will be less if you’re browning less. Check the butter to see it has a nutty smell with browned bits and a deep amber color. If you haven’t achieved that quite yet, simply stick it back in the microwave for another minute or two. The most important part here is this is a completely hands-off experience. There’s no active time required. Brown butter will give your baked goods that extra bit of flavor, and with the microwave tip you’ll be sure to get the results you desire. Source: the Kitchn

Classic Tiramisu Recipe

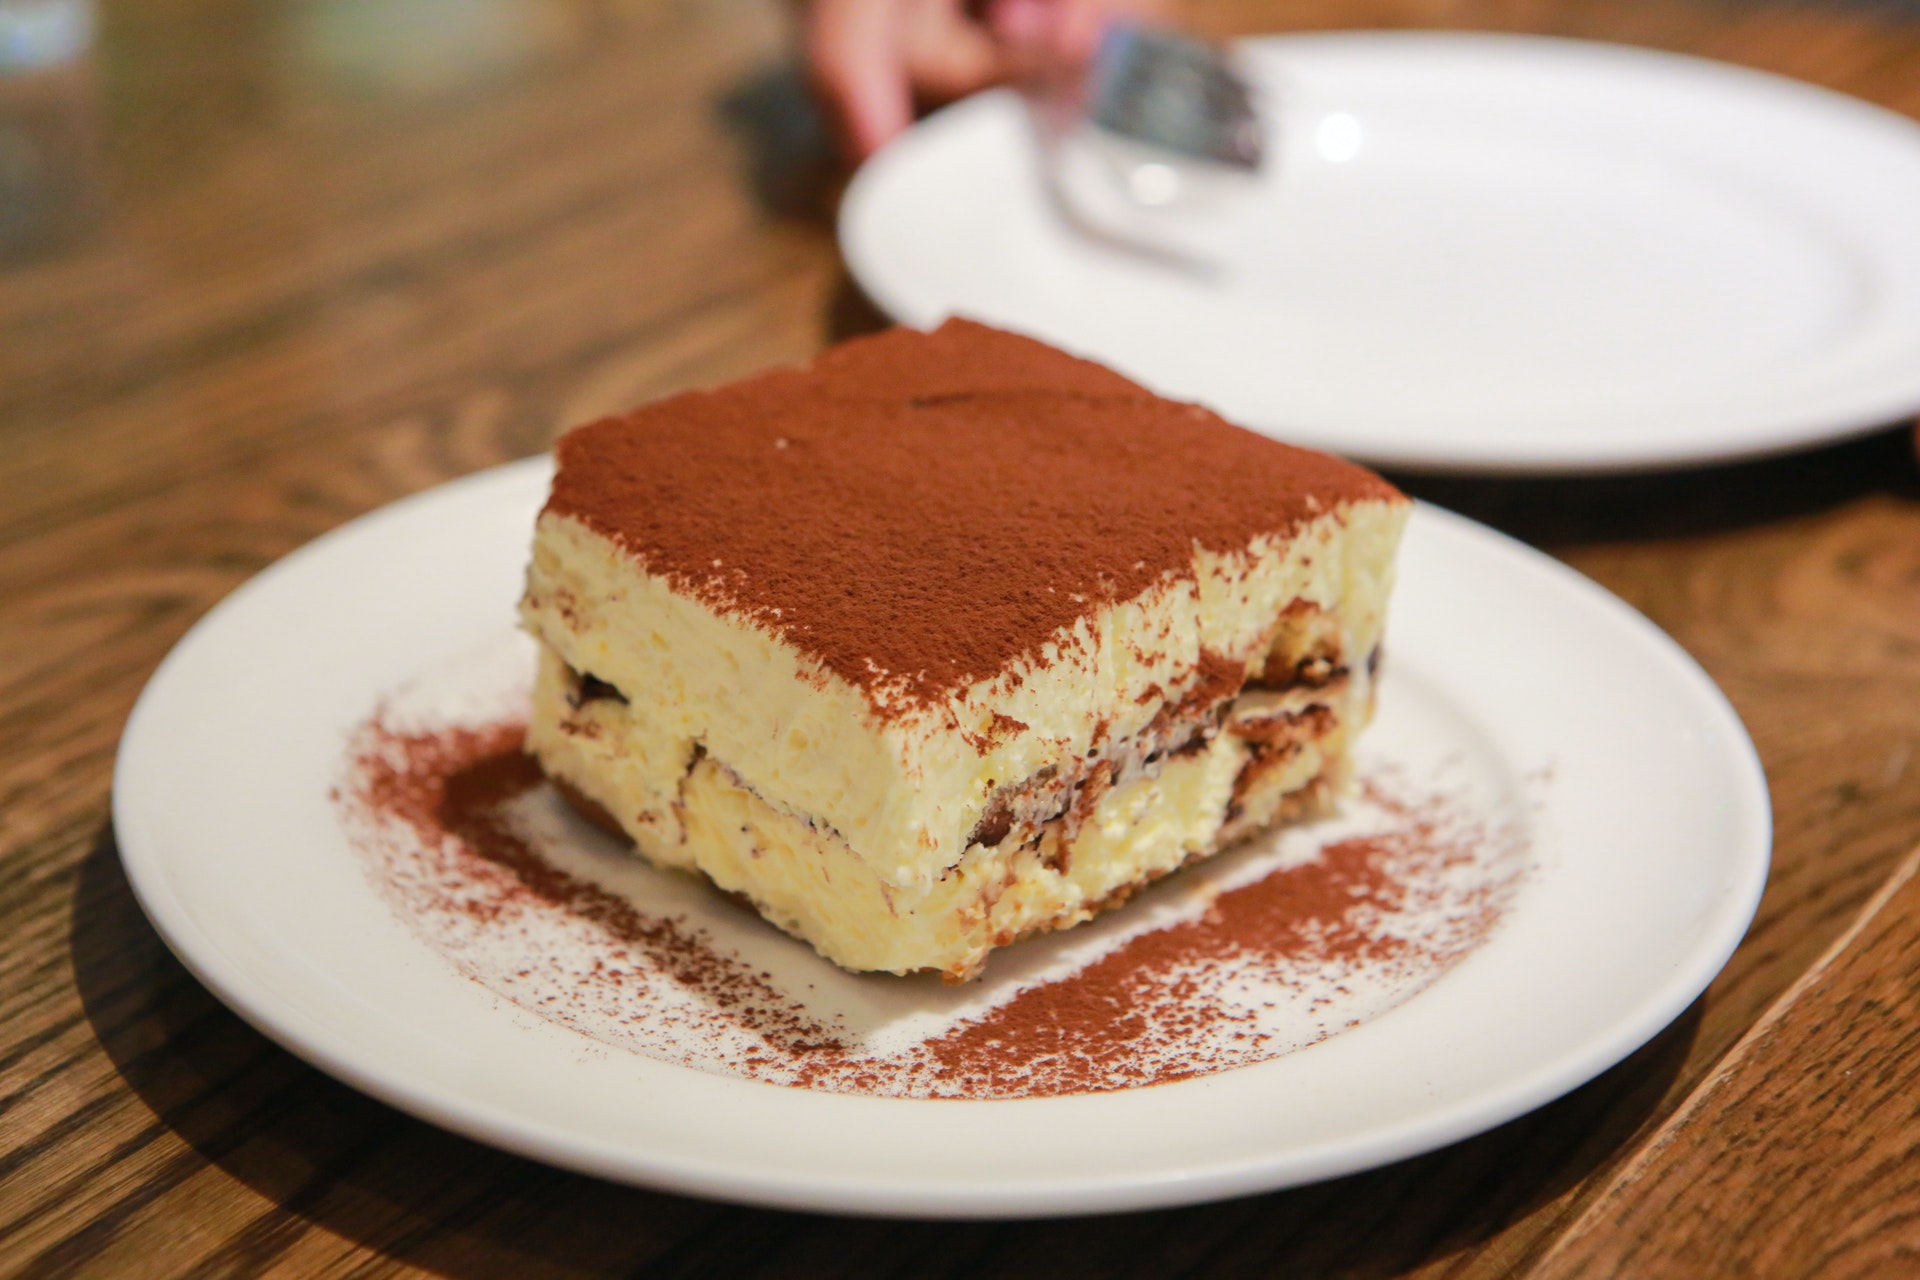
Tiramisu doesn’t have to be a dessert you only get at a restaurant. It’s not difficult at all to prepare at home, and with the proper technique you’ll be left with the perfect creamy filling. Try letting the zabaglione cool to room temperature before whipping the cream or you could melt it all together. Total time: 45 minsServings: 9 servings Ingredients: 6 large egg yolks 1 cup (200 grams) sugar, divided 3 ounces (6 tablespoons) dark rum, divided 1 1/2 cups (12 oz) mascarpone cheese, cold from the fridge 1 cup heavy whipping cream, cold from the fridge 1 cup boiling water 1 tablespoon instant espresso powder 1 (7-ounce) package ladyfingers Cocoa powder for dusting the top Directions: Prep the dish: Lightly oil an 8×8 inch baking dish. Whisk the yolks and sugar to make the zabaglione: Set a large heatproof bowl over a pan of simmering water to create a double boiler (the bowl should rest on the rim of the pan and the bottom should not touch the surface of the water).Whisk together the egg yolks and 3/4 cup of the sugar in the bowl. Continue whisking until the sugar has dissolved, the mixture has increased slightly in volume, and it looks light yellow color. Not sure? Rub a little of the mixture between two fingers (it will be warm, but not too hot to touch) – it should feel smooth and silky; if you feel any sugar granules, keep whisking. Add in the rum: Gradually whisk in 2 ounces (4 tablespoons) of the rum and continue whisking rapidly over the double boiler for about 10 minutes, until the mixture is thick, foamy, and very pale yellow. (You can also use a hand mixer for this step, if you prefer.)Remove the bowl from the double boiler and set aside until cooled to at least 90F or room temperature. Whip the mascarpone and cream: You can use either a hand mixer or a stand mixer with a whisk attachment for this step. If using a stand mixer, be very attentive and do not walk away while the mascarpone is whipping. Stand mixers are so powerful, that it’s easy to overwhip, which causes the mascarpone to separate. You have a little more wiggle room with a hand mixer.With a hand mixer or in the bowl of a stand mixer with a whisk attachment, beat the mascarpone on medium speed for 15 to 30 seconds, until it smooths out and softens. Be careful not to over-beat or else the mascarpone will separate and become grainy.With the mixer still on medium speed, gradually add the cream in a thin, slow stream until it’s all incorporated. This should take 1 to 2 minutes. Stop the mixer and scrape down the bowl. Continue beating with the mixer on medium-high speed for another 30 to 60 seconds, until the mixture holds firm, not-quite-stiff peaks. Mix the whipped cream and the zabaglione: Fold 1/3 of the whipped cream into the zabaglione to lighten it, then fold in the remaining whipped cream. Make the coffee dipping liquid for the ladyfingers: In a wide, shallow dish, whisk the remaining 1/4 cup sugar with the remaining 1 ounce (2 tablespoons) of rum, the boiling water, and the espresso powder. Stir to dissolve the sugar and espresso. Assemble the tiramisu: Dunk one ladyfinger at a time in the espresso liquid, turning it so that all sides are evenly moistened – a quick dunk is all you need; any more and the ladyfingers start to disintegrate. Arrange the dunked ladyfingers in rows on the bottom of the baking dish.Once you finish the layer, spread 1/2 of the mascarpone mixture over the top. Repeat dunking and arranging a second layer, and spread the remaining mascarpone over top. Chill the tiramisu: Cover the tiramisu and refrigerate for at least 8 hours or up to 24 hours to give the tiramisu time to firm up and for the ladyfingers to soften. Serve: Dust with cocoa before serving. Serve in wedges directly from the pan. Leftovers will keep for about 5 days. Source: Simply Recipes

Determining Wall Shelves Spacing and Spans

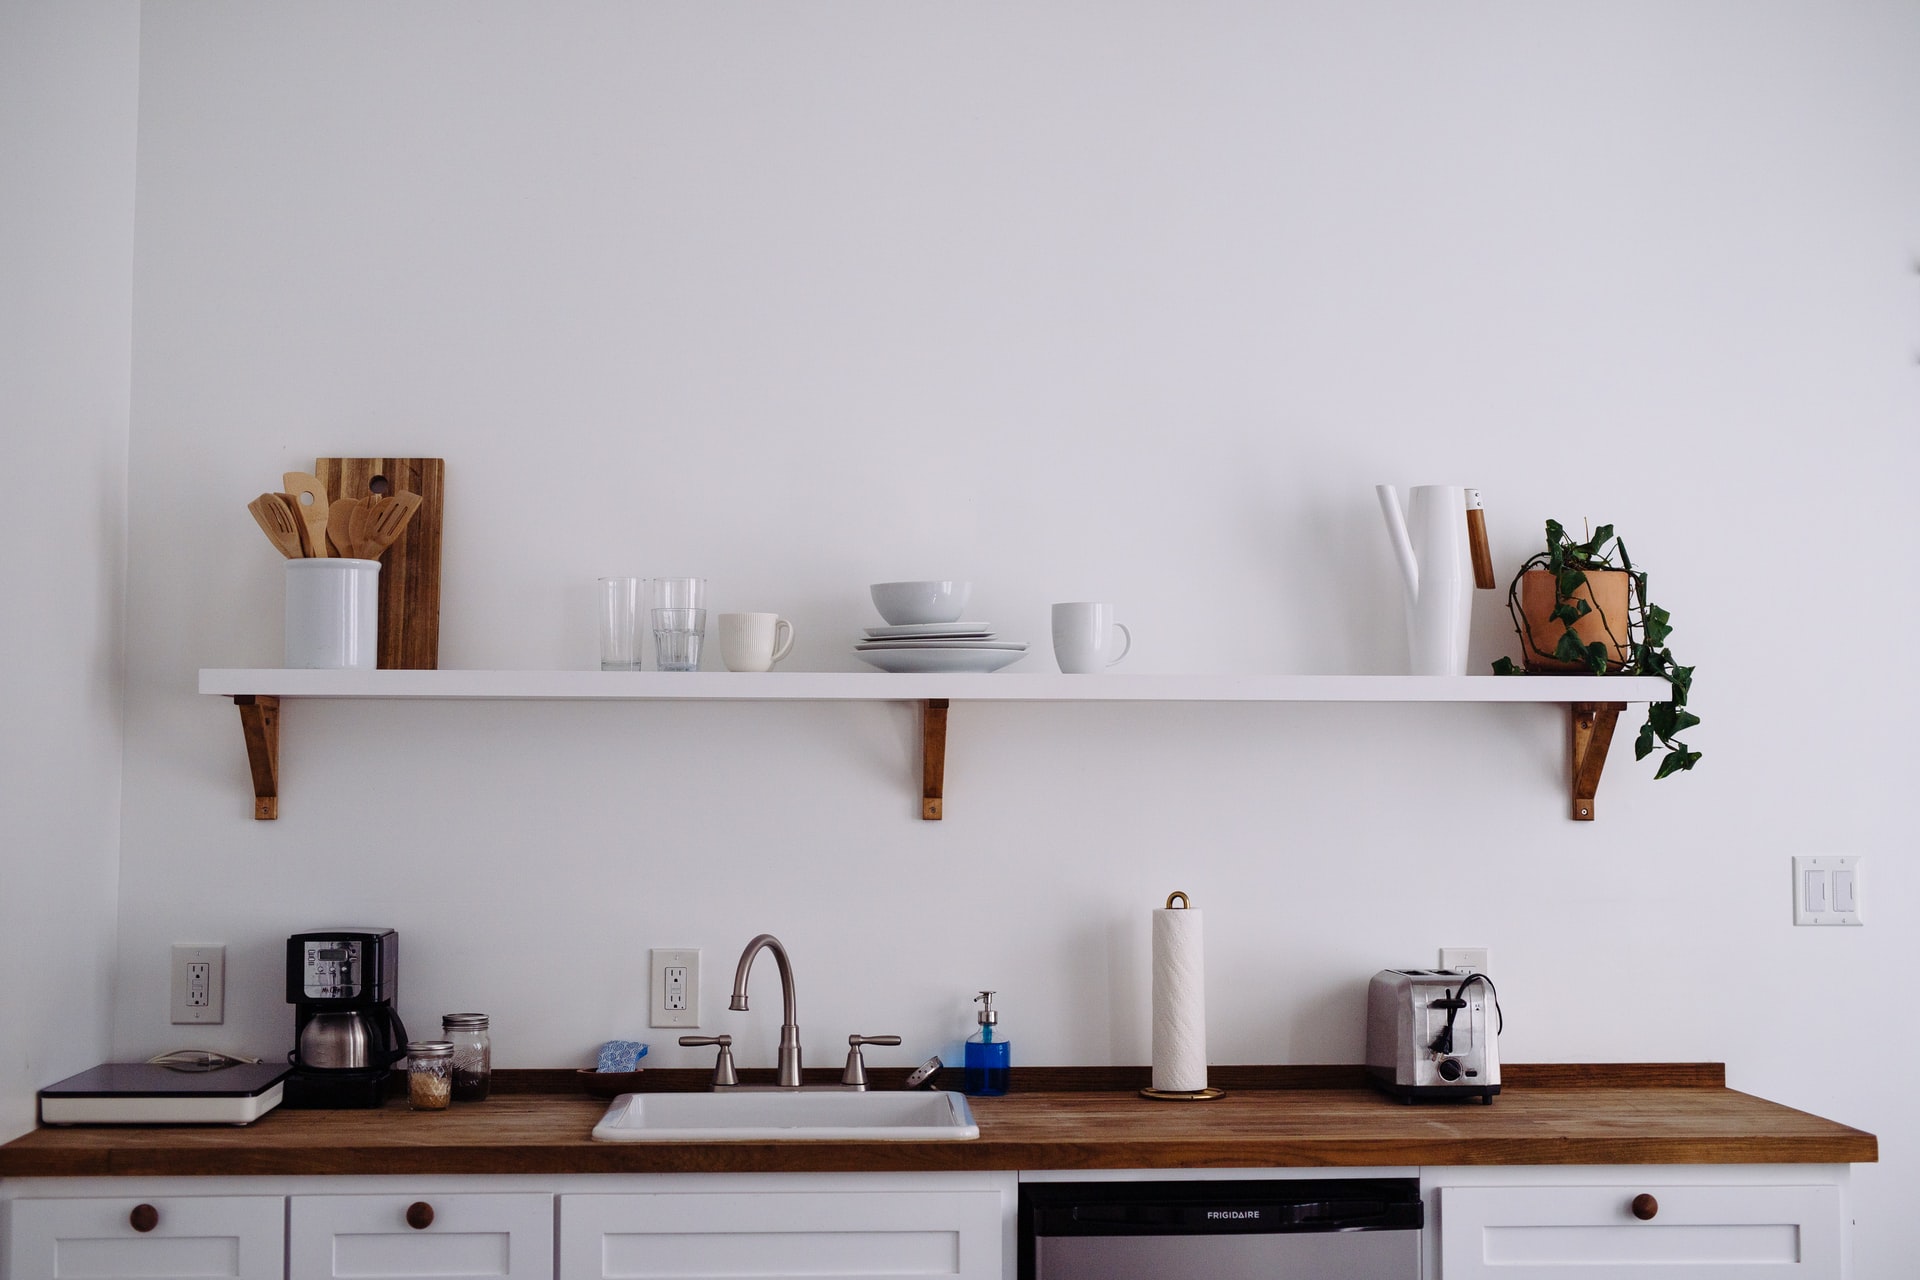
Wall shelves require a bit of planning before loading up your favorite dishes or plants. A shelf span is the distance between supports for the shelf. This span distance will vary based on the strength of the material of the shelf. In theory, the stronger the shelf the greater the distance you can put between wall supports. Shelf spacing will depend on preference and what you will store on the shelves. It’s important to fasten the shelf supports to wall studs whenever possible for maximum support. Span Limits The span limit will change depending on the material of the shelf as well as the load it will carry. For the following recommendations it’s assumed the shelf will support a full load of standard-sized hardback books. Plywood. Shelves should be ¾ inch thick or thicker. The longest recommended span is 36 inches between wall supports. Lumber. The longest recommended span between walls supports for 1×10 lumber is 24 inches. If the lumber is 1×12 then it is 28 inches. Particleboard. Single layer shelving made of particleboard should have a thickness of ⅝ inch. The recommended span for this would be 24 inches. If you have a thicker particleboard of ¾ inch then you can span wall supports by 28 inches. Spacing Recommendations The vertical spacing between shelves will ultimately be determined by the objects it will hold. Here’s a general clear shelf height depending on specific items. Paperback books: 8 inches Hardback books: 11 inches Large hardback catalogs: 14 inches Magazines: 14 inches DVDs: 8 inches Source: the Spruce