Kitchen

Freeze Ripe Bananas for Smoothies or Baking: A Handy Guide

Ripe bananas are a versatile and nutritious ingredient, perfect for smoothies, baking, and even snacking. However, they ripen quickly and can turn mushy if not used in time. Freezing ripe bananas is an excellent way to preserve them, reduce food waste, and always have them ready for your culinary needs. Here’s a step-by-step guide to freezing ripe bananas, along with tips on how to use them in smoothies and baking. Why Freeze Ripe Bananas? 1. Convenience Frozen bananas are a quick and easy addition to smoothies and baked goods. They eliminate the need for ice in smoothies, giving a creamy texture without diluting the flavor. 2. Reduce Waste Bananas can overripen quickly. Freezing them ensures you don’t have to throw them away, saving money and reducing food waste. 3. Nutritional Benefits Bananas are rich in potassium, vitamin C, and dietary fiber. Freezing them preserves these nutrients, making them a healthy addition to your diet. How to Freeze Ripe Bananas Step 1: Choose Ripe Bananas Select bananas that are fully ripe with brown spots. These are the sweetest and most flavorful. Step 2: Peel the Bananas Remove the peels, as they can be difficult to remove once frozen. Step 3: Slice or Mash Decide how you plan to use the bananas: Step 4: Arrange on a Baking Sheet Place banana slices or mounds of mashed banana on a parchment-lined baking sheet. Ensure they are in a single layer and not touching to prevent sticking. Step 5: Freeze Until Solid Place the baking sheet in the freezer for 2-3 hours or until the bananas are solid. Step 6: Transfer to a Storage Container Once frozen, transfer the banana pieces or mashed banana to a freezer-safe bag or container. Label with the date and type (sliced or mashed) for easy identification. Step 7: Store Properly Store the container in the freezer. Bananas can be kept frozen for up to 6 months. Using Frozen Bananas In Smoothies Frozen bananas add a creamy texture and natural sweetness to smoothies. Here’s a simple smoothie recipe: Ingredients: Instructions: In Baking Frozen bananas are excellent for baking banana bread, muffins, and pancakes. Here’s a basic banana bread recipe: Ingredients: Instructions: Tips for Freezing Bananas By freezing ripe bananas, you can enjoy their delicious flavor and nutritional benefits anytime. Whether you’re blending a quick smoothie or baking a batch of banana bread, frozen bananas are a convenient and versatile ingredient to have on hand.

Healthy Eating on a Budget: Nutritious and Affordable Meals

Eating healthily doesn’t have to be expensive. With a bit of planning and smart shopping, you can enjoy nutritious meals without breaking the bank. Here’s a guide to help you eat well on a budget, featuring affordable ingredients, budget-friendly recipes, and practical strategies for meal planning and batch cooking. Affordable Ingredients for Healthy Eating 1. Canned Beans Canned beans are a versatile, protein-rich, and budget-friendly ingredient. They can be used in salads, soups, stews, and as a meat substitute in various dishes. 2. Frozen Vegetables Frozen vegetables are just as nutritious as fresh ones and often more affordable. They’re pre-washed and pre-cut, making meal prep easier and faster. 3. Whole Grains Whole grains like brown rice, quinoa, and oats are inexpensive and packed with nutrients. They’re a great base for many meals and keep you feeling full longer. 4. Seasonal Produce Buying fruits and vegetables in season is cheaper and ensures you get the freshest produce. Farmer’s markets and local grocery stores often have the best deals on seasonal items. 5. Eggs Eggs are an excellent source of protein and very affordable. They can be used in a variety of meals, from breakfast to dinner. Budget-Friendly Recipes Hearty Bean Soup Ingredients: Instructions: Veggie Stir-Fry with Brown Rice Ingredients: Instructions: Quinoa Salad Ingredients: Instructions: Shopping Tips for Eating Healthy on a Budget 1. Plan Your Meals Planning your meals for the week can help you avoid impulse purchases and make the most of your ingredients. Create a shopping list based on your meal plan and stick to it. 2. Buy in Bulk Items like grains, beans, and spices are often cheaper when bought in bulk. They have a long shelf life, so you can stock up without worrying about them going bad. 3. Use Store Brands Store brands often offer the same quality as name brands but at a lower price. Compare labels to ensure you’re getting the same nutritional value. 4. Take Advantage of Sales and Coupons Keep an eye out for sales and use coupons to save on staples. Many stores have apps or loyalty programs that offer digital coupons and discounts. 5. Cook at Home Eating out can be expensive and often less healthy than homemade meals. Cooking at home allows you to control the ingredients and portion sizes, ensuring a healthier diet. Strategies for Meal Planning and Batch Cooking 1. Batch Cooking Prepare large quantities of meals and freeze portions for later. This saves time and ensures you always have a healthy meal ready to go. 2. Prep Ingredients in Advance Chop vegetables, cook grains, and portion out snacks at the beginning of the week. This makes it easier to throw together meals quickly. 3. Use Leftovers Wisely Transform leftovers into new meals. For example, use leftover roasted vegetables in a salad or stir-fry, or turn last night’s chicken into a hearty soup. 4. Make One-Pot Meals One-pot meals are simple to make, require fewer ingredients, and result in less cleanup. Soups, stews, and casseroles are great options. Eating healthily on a budget is entirely possible with a little planning and smart shopping. By incorporating affordable ingredients, trying out budget-friendly recipes, and employing meal planning and batch cooking strategies, you can enjoy nutritious meals without overspending. Start implementing these tips today and see the difference in both your health and your wallet.

Open Shelving vs. Cabinets: Pros and Cons for Kitchen Storage

Choosing the right storage solutions for your kitchen can greatly impact its functionality and aesthetic. Open shelving and cabinets are two popular options, each with its own advantages and drawbacks. To help you make an informed decision, we’ve outlined the pros and cons of both open shelving and cabinets for kitchen storage. Open Shelving Pros 1. Visual Appeal and Spaciousness Open shelving creates an airy and open feel in your kitchen, making it appear larger and more inviting. This style is perfect for showcasing your dishware, glassware, and decorative items, adding a personal touch to your kitchen decor. 2. Accessibility and Convenience With open shelving, everything is within easy reach. This convenience is ideal for frequently used items, allowing you to quickly grab what you need without rummaging through closed cabinets. 3. Cost-Effective Open shelving is generally more affordable than traditional cabinets. It requires less material and labor to install, making it a budget-friendly option for kitchen renovations. Cons 1. Dust and Maintenance Items on open shelves are exposed to dust and kitchen grease, requiring regular cleaning to maintain their appearance and hygiene. This can be a significant drawback if you’re looking for low-maintenance storage solutions. 2. Limited Storage Space Open shelves offer less storage space compared to cabinets, as they typically cannot hold as many items. This can be a challenge in smaller kitchens or for those with a large amount of kitchenware. 3. Cluttered Appearance If not organized meticulously, open shelving can quickly look cluttered and messy. It requires a commitment to maintaining an organized and aesthetically pleasing arrangement. Cabinets Pros 1. Ample Storage Space Cabinets provide ample storage space, helping to keep your kitchen organized and clutter-free. They can accommodate a wide range of items, from pots and pans to small appliances and pantry goods. 2. Protection from Dust and Grease Cabinets protect your kitchenware from dust, grease, and other contaminants, reducing the need for frequent cleaning. This makes them a practical choice for storing less frequently used items. 3. Streamlined and Neat Appearance Closed cabinets offer a clean and streamlined look, hiding away any mess and maintaining a tidy kitchen environment. This is particularly beneficial in modern and minimalist kitchen designs. Cons 1. Higher Cost Cabinets tend to be more expensive than open shelving due to the materials, hardware, and labor involved in their construction and installation. This can be a significant consideration if you’re working with a limited budget. 2. Accessibility Issues Items stored in cabinets, especially those at the back or on higher shelves, can be harder to access. This may require additional organizational tools, such as pull-out shelves or lazy Susans, to improve accessibility. 3. Visual Clutter In some kitchen designs, a row of upper cabinets can create a heavy and closed-in feeling. This can be counterproductive in smaller kitchens, making the space feel cramped and less inviting. When deciding between open shelving and cabinets, consider your kitchen’s size, style, and how you use your space. A combination of both might be the ideal solution, providing the benefits of each while mitigating their drawbacks. Hybrid Approach Ultimately, the choice between open shelving and cabinets depends on your personal preferences, lifestyle, and the overall design of your kitchen. By weighing the pros and cons of each option, you can create a kitchen that is both beautiful and practical, tailored to your unique needs.

Minimalist Kitchen Design: Embracing Simplicity and Functionality

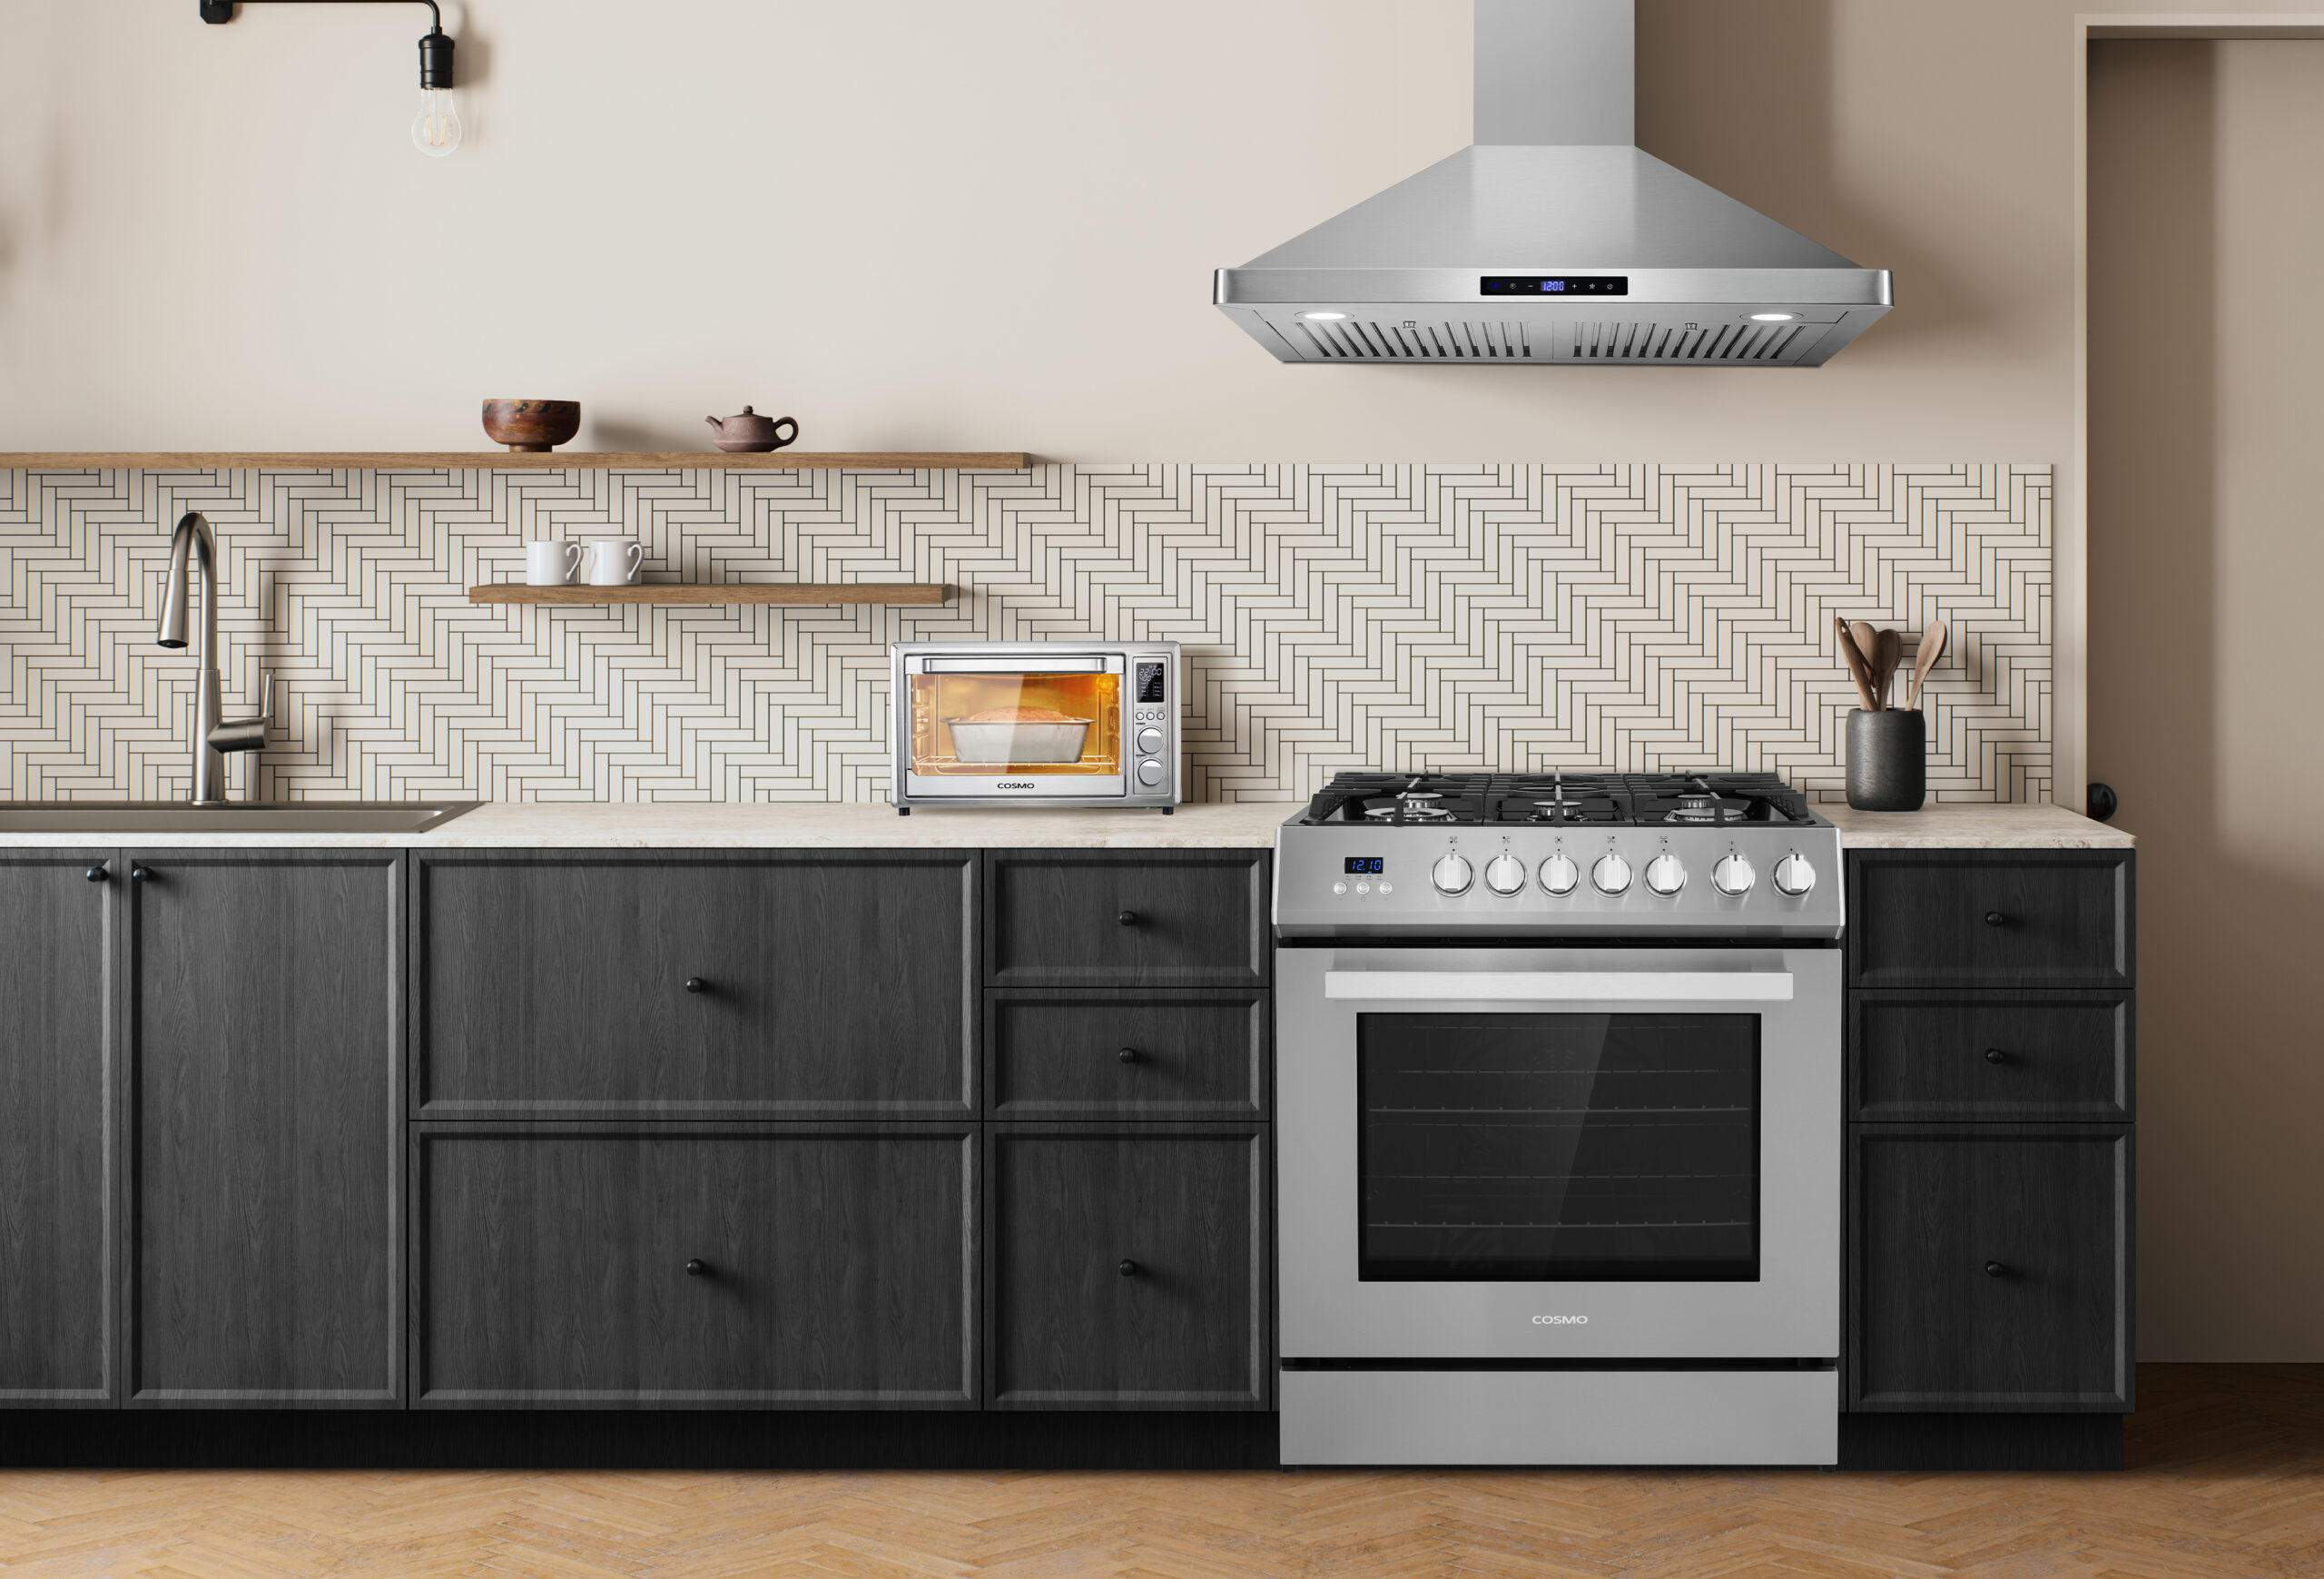
In an era where less is more, minimalist kitchen design has emerged as a timeless and highly sought-after trend. It’s a style that emphasizes simplicity, functionality, and a clutter-free environment, providing a perfect blend of aesthetics and practicality. Whether you’re renovating your kitchen or planning a new one from scratch, embracing minimalist design can transform your cooking space into a serene, efficient, and visually appealing hub of your home. The Essence of Minimalist Kitchen Design At its core, minimalist kitchen design is about stripping away the unnecessary and focusing on the essential. It’s characterized by clean lines, a monochromatic color palette, and a sleek, uncluttered look. This design philosophy isn’t just about creating a pretty space; it’s about crafting a kitchen that works seamlessly and makes daily tasks easier and more enjoyable. Key Elements of a Minimalist Kitchen Minimalist kitchens often feature neutral colors like white, gray, and black. These colors create a calm and cohesive look, allowing the space to feel open and airy. Natural wood tones and soft pastels can also be incorporated to add warmth and depth without overwhelming the simplicity of the design. Opt for flat-panel or handleless cabinets to maintain a sleek and modern appearance. The absence of ornate details and hardware keeps the look clean and unbroken. Integrated appliances that blend seamlessly with the cabinetry can further enhance the minimalist aesthetic. The layout of a minimalist kitchen prioritizes functionality. The classic work triangle (the optimal distance between the sink, stove, and refrigerator) is a fundamental principle, ensuring that everything you need is within easy reach. Open shelving can also be used strategically to keep frequently used items accessible while maintaining a tidy look. Invest in high-quality materials and appliances. Minimalist design emphasizes fewer, but better, items. Durable countertops, sturdy cabinetry, and reliable appliances ensure that your kitchen is not only beautiful but also built to last. This approach also reduces the need for frequent replacements, aligning with the minimalist ethos of sustainability. Keep countertops clear of unnecessary items. Store small appliances, utensils, and other kitchen tools out of sight when not in use. A few well-chosen accessories, such as a stylish fruit bowl or a sleek knife block, can add personality without compromising the clean look. Proper lighting is crucial in a minimalist kitchen. Natural light is ideal, so if possible, maximize the amount of sunlight your kitchen receives. Supplement with understated, modern light fixtures that provide ample illumination without drawing attention away from the simplicity of the design. Benefits of a Minimalist Kitchen Tips for Creating Your Minimalist Kitchen Minimalist kitchen design is more than just a trend; it’s a lifestyle choice that promotes simplicity, functionality, and peace of mind. By focusing on what truly matters and eliminating the excess, you can create a kitchen that is not only visually stunning but also a joy to use. Whether you’re a seasoned chef or an occasional cook, a minimalist kitchen offers a welcoming and efficient space that enhances the heart of your home.

Daily Kitchen Cleaning Routine: Keep Your Kitchen Tidy and Hygienic

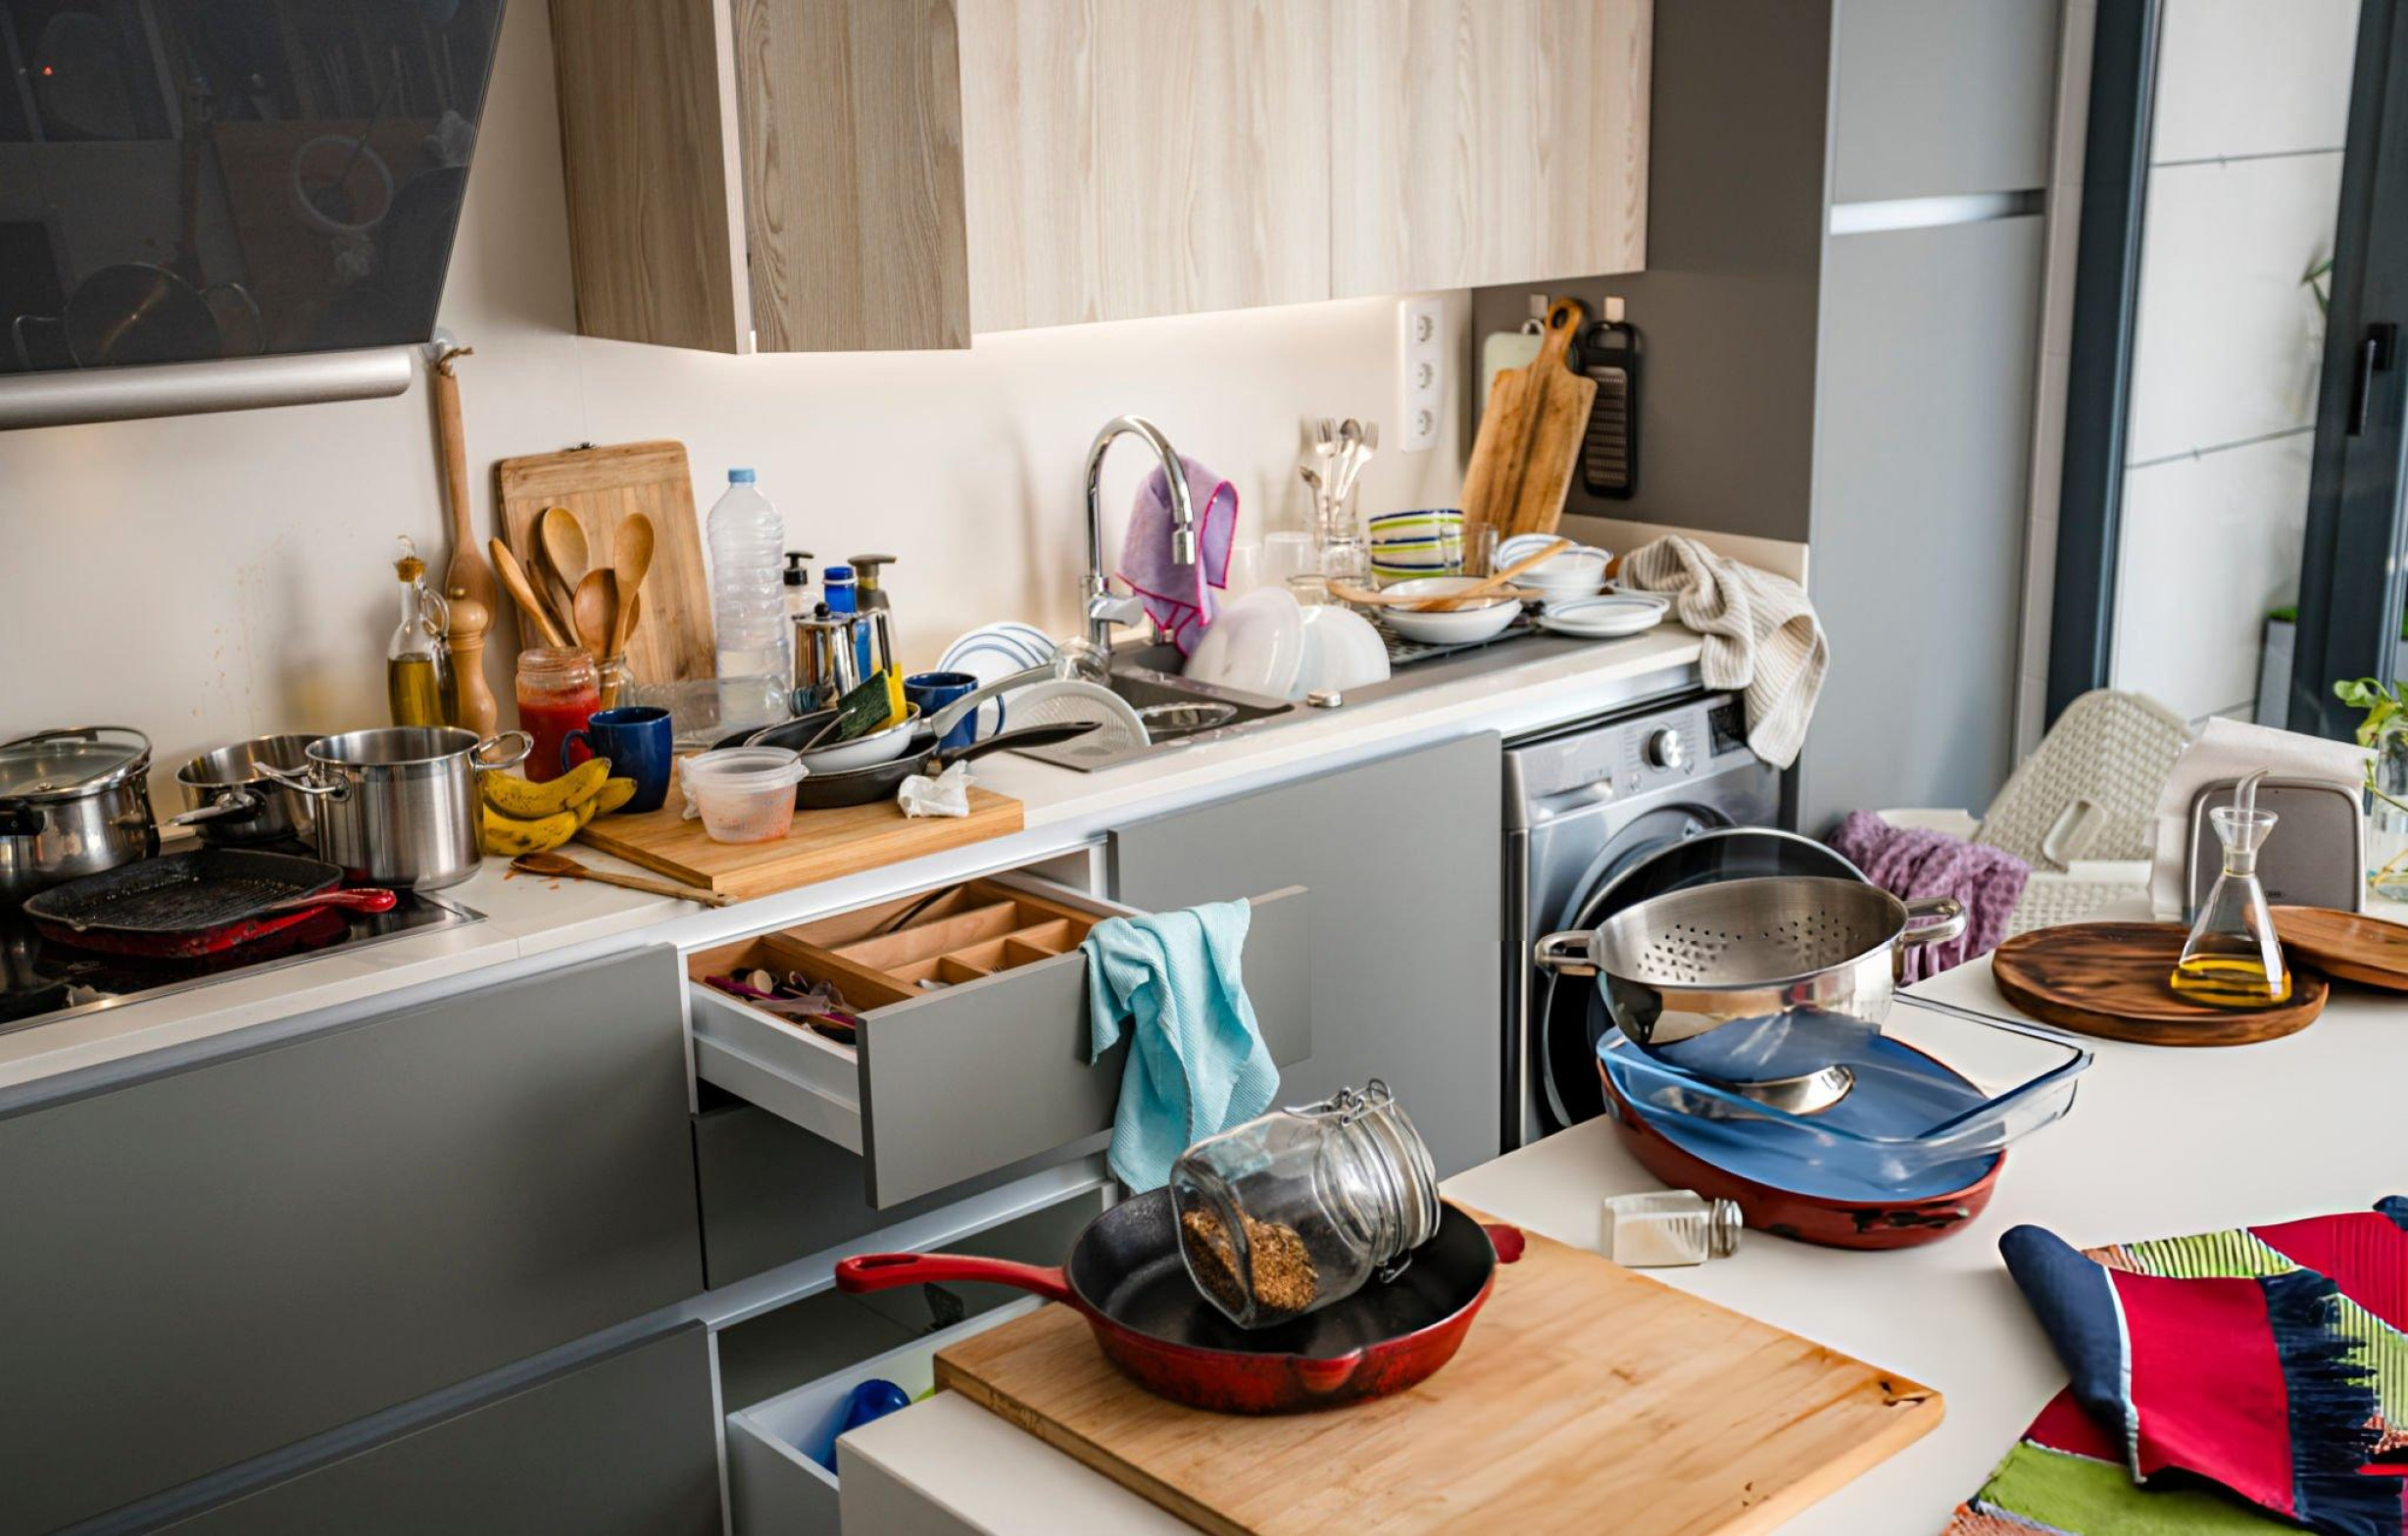
A clean kitchen is not just about aesthetics; it’s essential for health and safety. With food preparation comes the risk of bacteria and cross-contamination, making it crucial to maintain a spotless kitchen. Establishing an efficient daily cleaning routine can help ensure your kitchen remains both tidy and hygienic. Here’s a guide to streamline your daily kitchen cleaning tasks. Start with a Clean Slate: Clear the Clutter Before diving into cleaning, remove all items that don’t belong in the kitchen. Put away mail, keys, and other miscellaneous items that often find their way onto countertops. Having a clutter-free space makes cleaning more manageable and less time-consuming. Wipe Down Countertops and Surfaces Countertops are the heart of the kitchen, and they can quickly become a breeding ground for bacteria. After every meal preparation, wipe down all surfaces with a disinfectant or a homemade vinegar solution (1 part vinegar to 1 part water). Pay special attention to high-touch areas like handles and knobs. Pro Tip: Use Microfiber Cloths Microfiber cloths are highly effective in trapping dirt and bacteria. Keep a few on hand for different surfaces. Clean the Sink The kitchen sink is another hotspot for germs. After washing dishes, give the sink a thorough scrub with a non-abrasive cleaner. Don’t forget to clean the faucet and handles, as these are often touched with dirty hands. Pro Tip: Use Baking Soda Sprinkle baking soda in the sink and scrub with a sponge to remove stains and odors. Sweep and Mop the Floor Kitchens are prone to spills and crumbs, making daily floor cleaning essential. Sweep the floor to remove debris, then mop with a floor cleaner suitable for your flooring type. For a quick clean, spot-clean any spills as they happen. Pro Tip: Steam Mop for Deep Cleaning Once a week, use a steam mop for a deeper clean to sanitize the floor without harsh chemicals. Clean the Stove and Backsplash Cooking can leave your stove and backsplash splattered with grease and food residue. After cooking, wipe the stove and backsplash with a degreaser or a soapy cloth. For tougher spots, let the cleaner sit for a few minutes before wiping. Pro Tip: Use Lemon for Natural Degreasing Cut a lemon in half and rub it on greasy spots. The acidity helps break down grease, leaving a fresh scent. Handle the Dishes Don’t let dishes pile up. Wash them immediately after use or load them into the dishwasher. Running the dishwasher at the end of the day keeps your kitchen tidy and ready for the next day. Pro Tip: Rinse Dishes Immediately Rinse dishes as soon as you finish eating to prevent food from hardening, making them easier to clean later. Take Out the Trash Empty the trash daily to avoid unpleasant odors and prevent pests. Wipe down the inside of the trash can periodically to maintain cleanliness. Pro Tip: Use a Trash Bag with Odor Control Trash bags with built-in odor control can help keep your kitchen smelling fresh. Sanitize Frequently Touched Areas Items like the refrigerator handle, microwave buttons, and light switches are touched frequently.  Use a disinfectant wipe or spray on these surfaces daily to prevent the spread of germs. Final Touch: Freshen the Air A clean kitchen should also smell good. Open windows to let in fresh air or use natural air fresheners like a bowl of baking soda or a few drops of essential oil. Pro Tip: Simmer Spices Simmer a pot of water with cinnamon sticks, cloves, and citrus peels for a naturally fresh scent. Maintaining a clean kitchen doesn’t have to be overwhelming. By incorporating these simple daily tasks into your routine, you can ensure your kitchen stays clean, hygienic, and welcoming. A little effort each day goes a long way in keeping your kitchen a safe and pleasant space for cooking and gathering.

Creating a Functional Kitchen Layout

Designing a kitchen that is both functional and aesthetically pleasing can transform your cooking space into a haven of efficiency and comfort. Whether you’re planning a complete kitchen renovation or simply looking to improve your existing layout, understanding key design principles is essential. In this blog post, we’ll explore the work triangle concept, ergonomic considerations, and optimal placement for appliances and storage to help you create a kitchen layout that maximizes efficiency and ease of use. The Work Triangle Concept The work triangle is a time-tested kitchen design principle that enhances functionality by positioning the three primary work areas—the sink, stove, and refrigerator—at the points of an imaginary triangle. This layout minimizes unnecessary movement, making cooking and cleaning more efficient. Here’s a closer look at the components of the work triangle: For optimal efficiency, each side of the work triangle should measure between 4 and 9 feet, and the total distance around the triangle should be between 12 and 26 feet. This ensures that the kitchen is compact enough to minimize walking distances but spacious enough to prevent crowding. Ergonomic Considerations Ergonomics plays a crucial role in kitchen design by ensuring that the layout is comfortable and convenient for users. Here are some key ergonomic principles to consider: Optimal Placement for Appliances and Storage Strategic placement of appliances and storage solutions can significantly enhance kitchen efficiency. Here are some tips for optimal placement: Creating a functional kitchen layout involves thoughtful planning and consideration of key design principles. By incorporating the work triangle concept, ergonomic considerations, and optimal placement for appliances and storage, you can design a kitchen that is both efficient and enjoyable to use. Whether you’re cooking a quick weeknight dinner or preparing a feast for family and friends, a well-designed kitchen layout will make the experience more pleasant and productive. Remember, the goal is to create a space that works for you and your lifestyle, making cooking and cleaning an effortless and enjoyable part of your day.

Keep Ginger Fresh Longer by Storing It in the Freezer

Ginger is a versatile ingredient that adds a delightful zing to both savory and sweet dishes. However, it can spoil quickly if not stored properly. To keep ginger fresh for longer and make it more convenient to use, try storing it in the freezer. Here’s how to do it, along with the benefits of this simple hack. Why Store Ginger in the Freezer? 1. Extended Shelf Life: Fresh ginger can start to wilt and dry out within a week when stored at room temperature or in the refrigerator. Freezing ginger extends its shelf life for several months, ensuring you always have fresh ginger on hand. 2. Easy to Grate: Frozen ginger is much easier to grate than fresh. The fibrous texture of ginger becomes more manageable when it’s frozen, allowing you to grate it finely without the strings getting in the way. 3. Convenient Portions: Freezing ginger makes it easy to portion out exactly what you need for a recipe. You can freeze it in various forms to suit your cooking style, from whole pieces to pre-grated portions. How to Freeze Ginger 1. Freeze Whole Ginger: Simply place the whole, unpeeled ginger root in a freezer-safe bag or container. When you need some ginger, take it out of the freezer and grate the amount you need directly from the frozen piece. Return the remaining ginger to the freezer for future use. 2. Freeze Sliced or Chopped Ginger: Peel and slice or chop the ginger into desired sizes. Spread the pieces out on a baking sheet lined with parchment paper and freeze until solid. Transfer the frozen ginger pieces to a freezer-safe bag or container. This method allows you to grab pre-portioned pieces of ginger as needed. 3. Freeze Grated Ginger: Grate the ginger and place it in small mounds or portions on a baking sheet lined with parchment paper. Freeze until solid, then transfer the portions to a freezer-safe bag or container. This is perfect for adding a quick burst of flavor to your dishes without any prep work. 4. Use Ice Cube Trays: Grate or finely chop the ginger and place it into the compartments of an ice cube tray. Add a small amount of water to each compartment to cover the ginger. Freeze until solid, then pop the ginger cubes out and store them in a freezer-safe bag or container. This method is ideal for adding ginger to teas, soups, and stews. Tips for Using Frozen Ginger By freezing ginger, you ensure it stays fresh and flavorful, ready to enhance your favorite recipes. This simple storage hack not only reduces waste but also makes it easier to incorporate this healthy and aromatic root into your cooking. Give it a try and enjoy the convenience and extended freshness of frozen ginger!

Embark on a Culinary Adventure: The 30-Day Cooking Challenge

Are you ready to take your culinary skills to new heights? Whether you’re a seasoned home cook or a novice in the kitchen, embarking on a 30-day cooking challenge can be an exciting and rewarding experience. By committing to trying new recipes and techniques every day for a month, you’ll not only expand your culinary repertoire but also discover a newfound confidence and passion for cooking. Explore how to successfully navigate a 30-day cooking challenge, from planning and preparation to staying inspired and motivated along the way. Set Your Goals: Before diving into the challenge, take some time to reflect on what you hope to achieve. Whether it’s mastering a particular cuisine, learning new cooking techniques, or simply becoming more comfortable and confident in the kitchen, setting clear goals will help guide your journey and keep you focused throughout the 30 days. Plan Your Menu: Planning is key to success in any cooking challenge. Start by creating a list of recipes you’d like to try, taking into account different cuisines, cooking methods, and skill levels. Consider incorporating a mix of breakfast, lunch, dinner, and dessert recipes to keep things interesting and varied. Organize your recipes by week or theme to streamline meal planning and grocery shopping. Embrace Variety: One of the most exciting aspects of a 30-day cooking challenge is the opportunity to explore a wide range of flavors and cuisines. Don’t be afraid to step outside of your comfort zone and experiment with new ingredients and techniques. Challenge yourself to try dishes from different cultures or cuisines you’ve never explored before, pushing your culinary boundaries and broadening your palate along the way. Practice Time Management: With daily cooking commitments, time management is essential. Set aside dedicated time each day for meal preparation and cooking, taking into account any other obligations or commitments you may have. Look for recipes that fit into your schedule, opting for quick and easy meals on busy days and reserving more elaborate dishes for weekends or days when you have more time to spare. Stay Inspired: Keeping the momentum going throughout the 30-day challenge requires staying inspired and motivated. Draw inspiration from cookbooks, cooking shows, food blogs, and social media platforms like Instagram and Pinterest. Join online cooking communities or forums where you can connect with fellow participants, share recipe ideas, and exchange tips and advice. Embrace Imperfection: Remember that the goal of the 30-day cooking challenge isn’t perfection—it’s about growth, learning, and having fun in the kitchen. Don’t be discouraged by culinary mishaps or failed experiments along the way. Embrace imperfection as part of the learning process, and use setbacks as opportunities to learn and improve your skills. Celebrate Your Achievements: As you reach the end of the 30-day cooking challenge, take a moment to celebrate your achievements and reflect on how far you’ve come. Whether you’ve mastered a new cooking technique, discovered a newfound love for a particular cuisine, or simply gained confidence and proficiency in the kitchen, pat yourself on the back for your hard work and dedication. Embarking on a 30-day cooking challenge is an exhilarating journey that will push you out of your comfort zone, ignite your creativity, and deepen your appreciation for the culinary arts. By setting goals, planning your menu, embracing variety, practicing time management, staying inspired, embracing imperfection, and celebrating your achievements, you’ll emerge from the challenge with newfound skills, confidence, and a renewed passion for cooking. So roll up your sleeves, sharpen your knives, and get ready to embark on a culinary adventure of a lifetime!

Exploring Different Cuisines: Diving into the Culinary Traditions of Various Cultures

Food is more than just sustenance—it’s a window into the rich tapestry of cultures that make up our world. Exploring different cuisines allows us to experience the diverse flavors, ingredients, and culinary traditions of various cultures, providing us with a deeper understanding and appreciation of global gastronomy. In this blog post, we’ll dive into the culinary traditions of different cultures and discover the unique dishes and flavors that define them. Italian Cuisine: A Celebration of Fresh Ingredients Italian cuisine is beloved around the world for its simplicity, freshness, and bold flavors. At the heart of Italian cooking are fresh, high-quality ingredients such as tomatoes, olive oil, garlic, and basil. Classic Italian dishes like pasta, pizza, risotto, and bruschetta showcase the beauty of simple ingredients prepared with care and attention to detail. Whether you’re indulging in a hearty bowl of spaghetti carbonara or savoring a slice of Margherita pizza, Italian cuisine never fails to delight the taste buds. Mexican Cuisine: Spicy, Vibrant, and Full of Flavor Mexican cuisine is a vibrant tapestry of colors, flavors, and textures that reflects the country’s rich cultural heritage. From spicy salsas and tangy ceviche to savory tacos and hearty tamales, Mexican cuisine is known for its bold flavors and diverse ingredients. Staples like corn, beans, avocados, and chilies feature prominently in many Mexican dishes, while traditional cooking techniques like roasting, braising, and frying add depth and complexity to the flavors. Whether you’re enjoying a traditional mole sauce or indulging in a plate of street tacos, Mexican cuisine is a feast for the senses. Japanese Cuisine: A Symphony of Simplicity and Elegance Japanese cuisine is renowned for its emphasis on freshness, seasonality, and balance. With its focus on simple, minimalist presentation and pristine ingredients, Japanese food is a celebration of purity and harmony. From delicate sushi and sashimi to comforting bowls of ramen and udon, Japanese cuisine offers a wide range of flavors and textures to explore. Ingredients like rice, seafood, seaweed, and soybeans feature prominently in many Japanese dishes, while traditional cooking techniques like grilling, steaming, and simmering highlight the natural flavors of the ingredients. Whether you’re indulging in a bowl of miso soup or savoring a piece of melt-in-your-mouth sashimi, Japanese cuisine is a testament to the beauty of simplicity and elegance. Indian Cuisine: A Tapestry of Spices and Aromas Indian cuisine is a kaleidoscope of flavors, colors, and aromas that reflects the country’s rich cultural diversity and culinary heritage. With its bold use of spices, fragrant herbs, and diverse ingredients, Indian food is known for its complexity and depth of flavor. From fiery curries and aromatic biryanis to comforting dal and fluffy naan bread, Indian cuisine offers a wide range of dishes to suit every palate. Staples like rice, lentils, chickpeas, and spices like cumin, coriander, and turmeric are used to create rich, flavorful dishes that are both comforting and satisfying. Whether you’re indulging in a plate of butter chicken or savoring a bowl of spicy vindaloo, Indian cuisine is a feast for the senses that will leave you craving more. Exploring different cuisines allows us to experience the rich diversity of flavors, ingredients, and culinary traditions that make up our world. Whether we’re indulging in a hearty bowl of Italian pasta, savoring the spicy flavors of Mexican tacos, enjoying the simplicity of Japanese sushi, or diving into the complex spices of Indian curry, each cuisine offers a unique and delicious culinary experience. So why not embark on a culinary journey and explore the rich tapestry of flavors that our world has to offer?

Keep Your Salad Greens Fresh Longer: The Paper Towel Trick

Nothing is more disappointing than opening your refrigerator to find your salad greens wilted and soggy. Fresh, crisp greens are essential for a delicious and healthy salad, but they can be tricky to store. Fortunately, there’s a simple and effective method to extend the life of your leafy greens: storing them with a paper towel. This easy trick absorbs excess moisture and keeps your greens fresh and crunchy for days longer. Here’s how to do it. Why Do Salad Greens Wilt? Before diving into the method, let’s understand why salad greens wilt. The main culprit is moisture. While greens need some humidity to stay fresh, excess moisture can cause them to become soggy and encourage the growth of mold and bacteria. Proper storage is key to balancing the right amount of moisture and air circulation. The Paper Towel Method Here’s a step-by-step guide to keeping your salad greens fresh using paper towels: 1. Wash Your Greens: 2. Dry Completely: 3. Layer with Paper Towels: 4. Seal and Store: 5. Replace Paper Towels as Needed: Additional Tips for Fresh Greens Benefits of the Paper Towel Method Keeping your salad greens fresh doesn’t have to be a challenge. With the simple addition of a paper towel, you can significantly extend their lifespan and enjoy crisp, delicious salads every time. This easy and effective method is a game-changer for anyone looking to maintain the quality and freshness of their greens. So next time you stock up on salad ingredients, remember the paper towel trick and savor the benefits of longer-lasting, perfectly fresh greens.