How to Keep Sliced Apples from Browning: The Lemon Water Solution
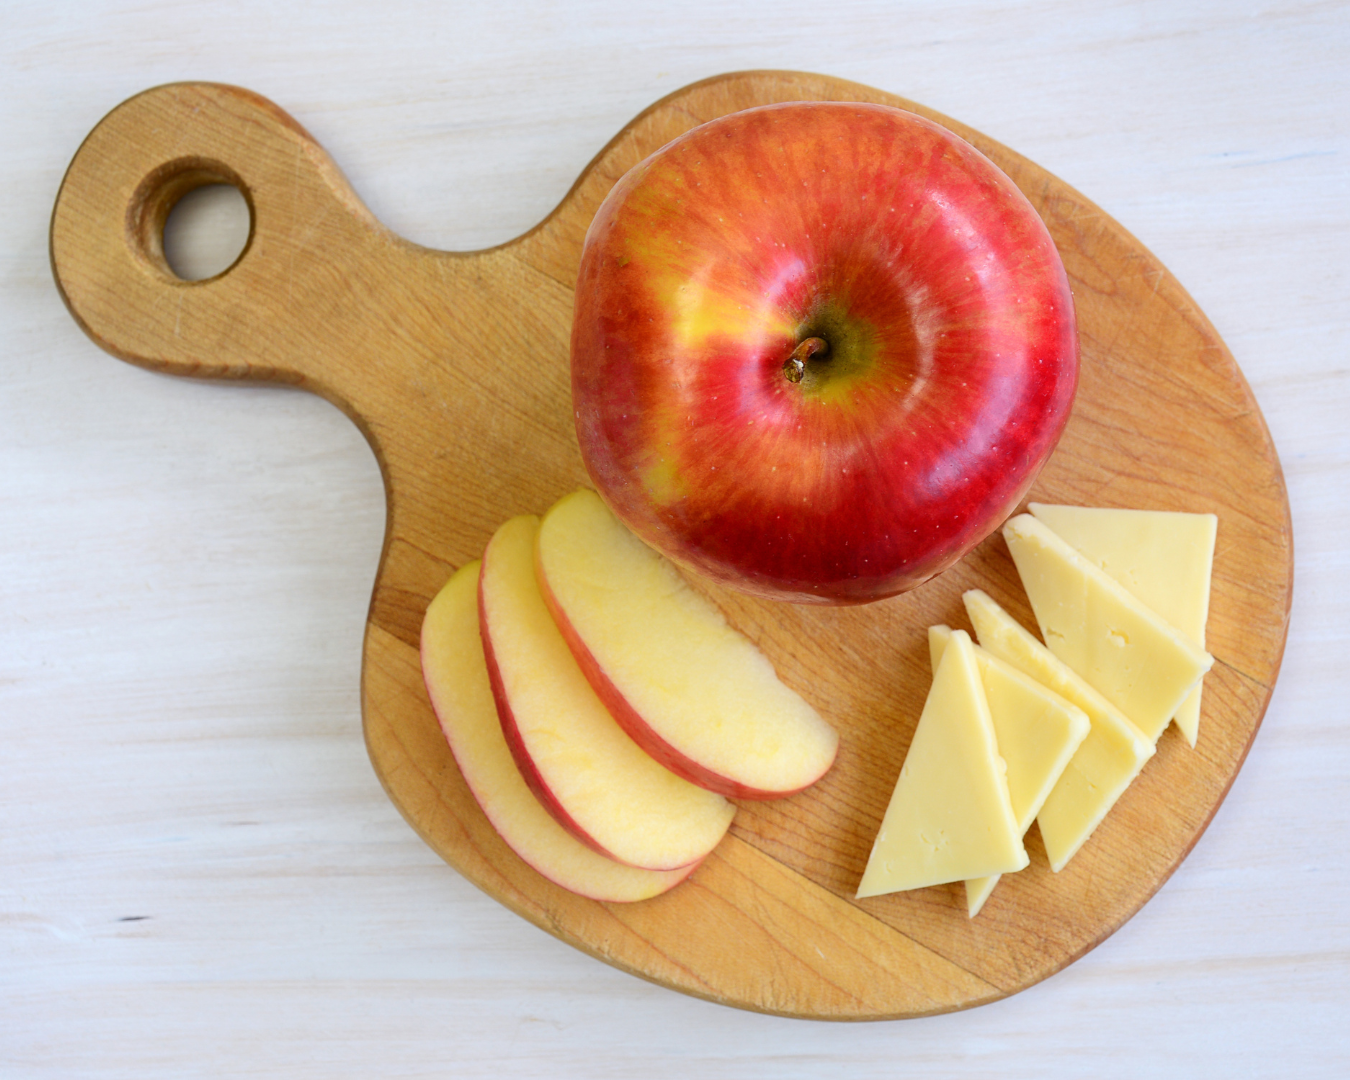
Sliced apples are a delicious and healthy snack, but they tend to brown quickly once exposed to air. This discoloration not only affects their appearance but can also make them less appealing to eat. Fortunately, there’s a simple and natural solution to keep your sliced apples looking fresh and appetizing: soaking them in lemon water. Here’s a step-by-step guide on how to do it. Why Do Apples Turn Brown? When an apple is cut, the exposed cells react with oxygen in the air in a process called oxidation. This reaction causes the apple slices to turn brown. While this doesn’t affect the taste or safety of the apples, it can be off-putting, especially if you’re serving them to guests or including them in a lunchbox. How Lemon Water Prevents Browning Lemon juice contains ascorbic acid (vitamin C) and citric acid, both of which help prevent the oxidation process. The acidic nature of lemon juice lowers the pH level on the surface of the apple slices, slowing down the enzymatic browning. Additionally, the vitamin C acts as an antioxidant, further protecting the apple from discoloration. Step-by-Step Guide to Using Lemon Water Ingredients: Instructions: Alternative Solutions If you don’t have lemon juice on hand, there are other methods you can use to prevent apple slices from browning: Keeping sliced apples from browning is easy with the lemon water solution. This simple and natural method helps maintain the fresh appearance of your apple slices, making them more appealing and enjoyable to eat. Whether you’re preparing a snack for yourself, packing a lunchbox, or serving guests, lemon water is an effective and convenient way to keep your apples looking their best. Give it a try and enjoy crisp, bright apple slices every time!