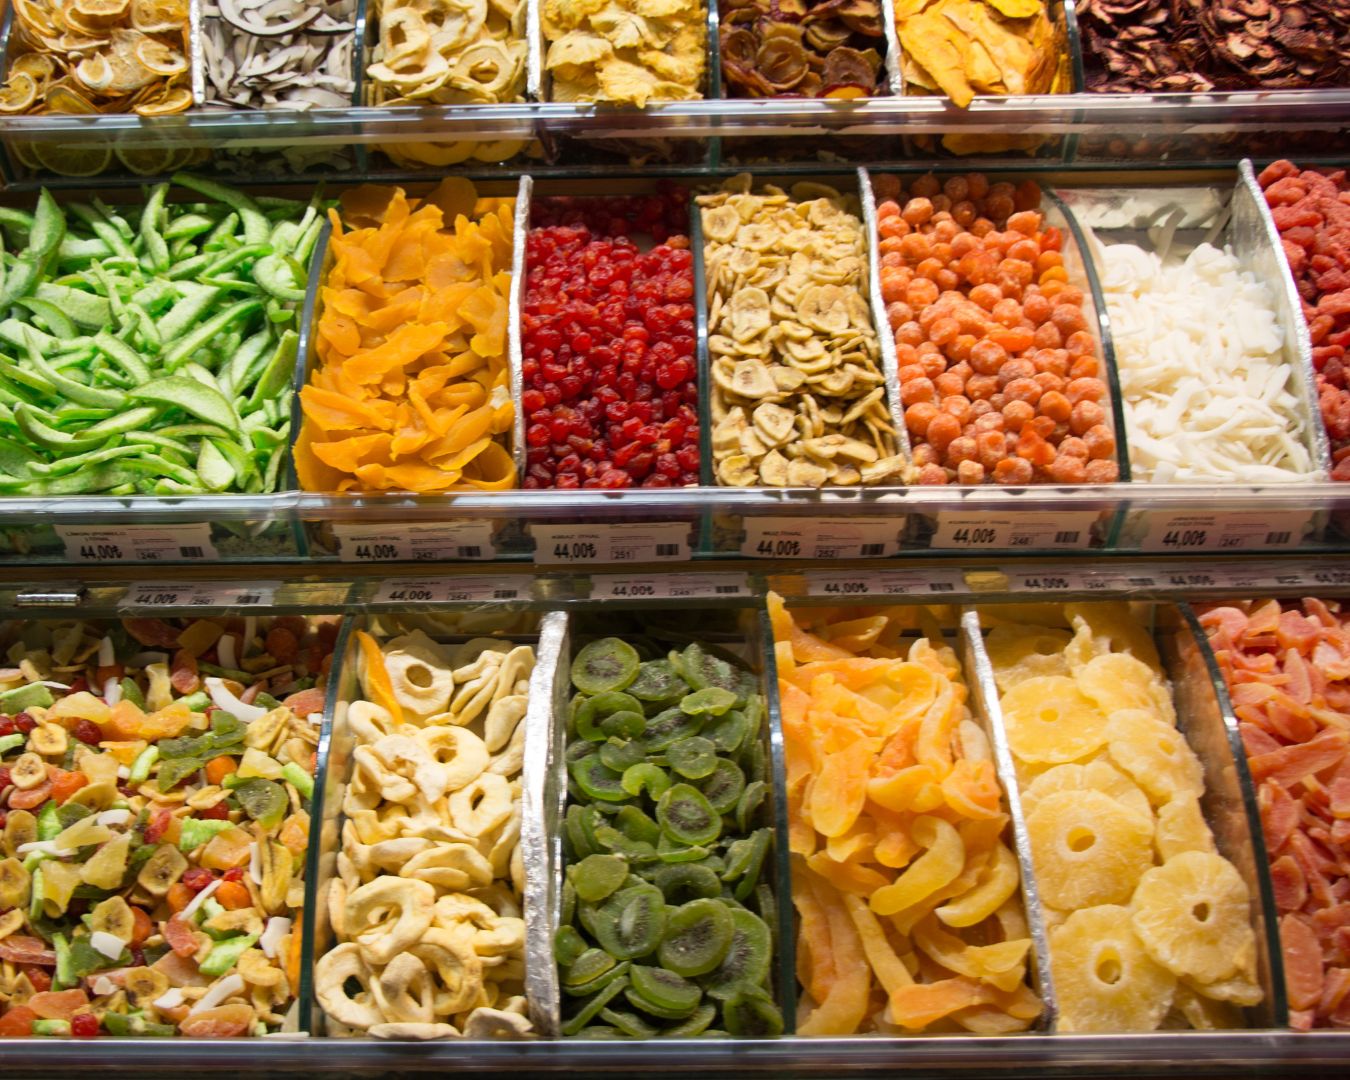
How to Make Your Own Dried Fruits at Home
Dried fruits are a delicious and nutritious snack that can be enjoyed year-round. They are perfect for adding to trail mixes, cereals, or baked goods, and they also make a healthy on-the-go snack. While store-bought dried fruits are convenient, they often contain added sugars and preservatives. Making your own dried fruits at home allows you to control the ingredients and create a healthier, more natural product. Plus, it’s a great way to preserve fruits when they are in season. In this blog post, we’ll guide you through the process of making your own dried fruits at home.
Why Make Your Own Dried Fruits?
- Control Over Ingredients: When you dry your own fruits, you have complete control over the process, ensuring that no unnecessary sugars or preservatives are added.
- Preserve Seasonal Produce: Drying is a great way to preserve fruits when they are in abundance, allowing you to enjoy them throughout the year.
- Cost-Effective: Making dried fruits at home can be more cost-effective than buying pre-packaged options, especially if you buy fruits in bulk or grow your own.
- Customizable Flavors: You can experiment with different fruits and even add spices or seasonings to create unique flavors.
Choosing the Right Fruits
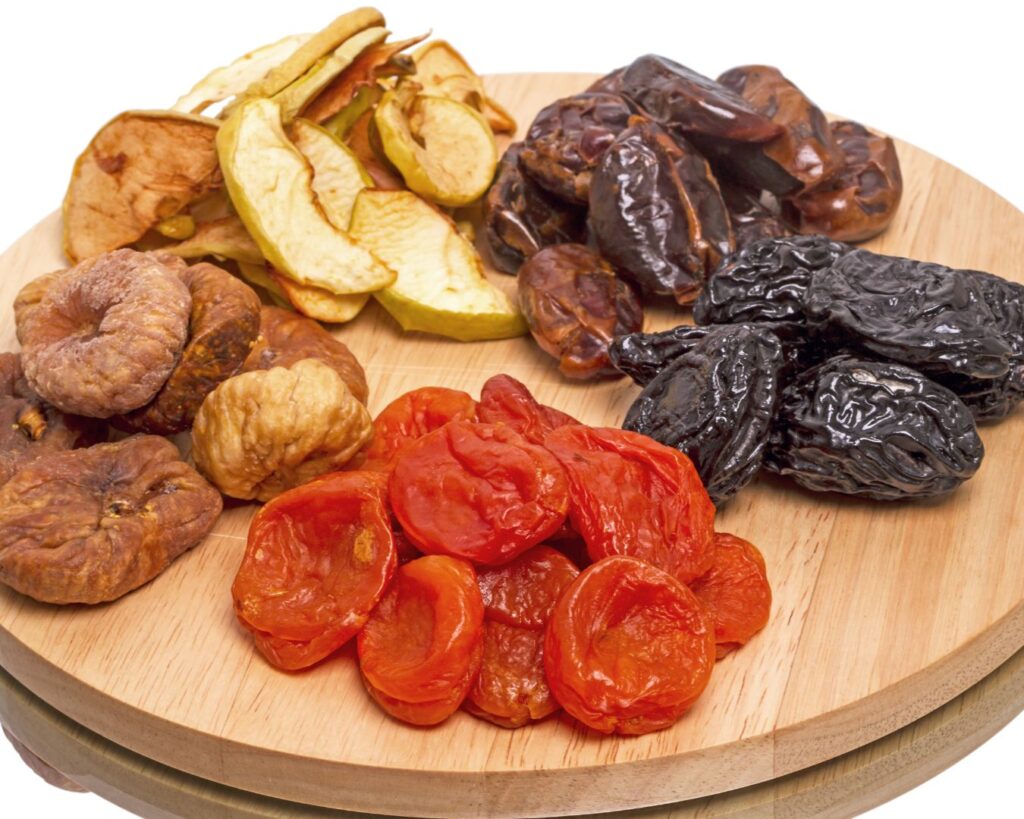
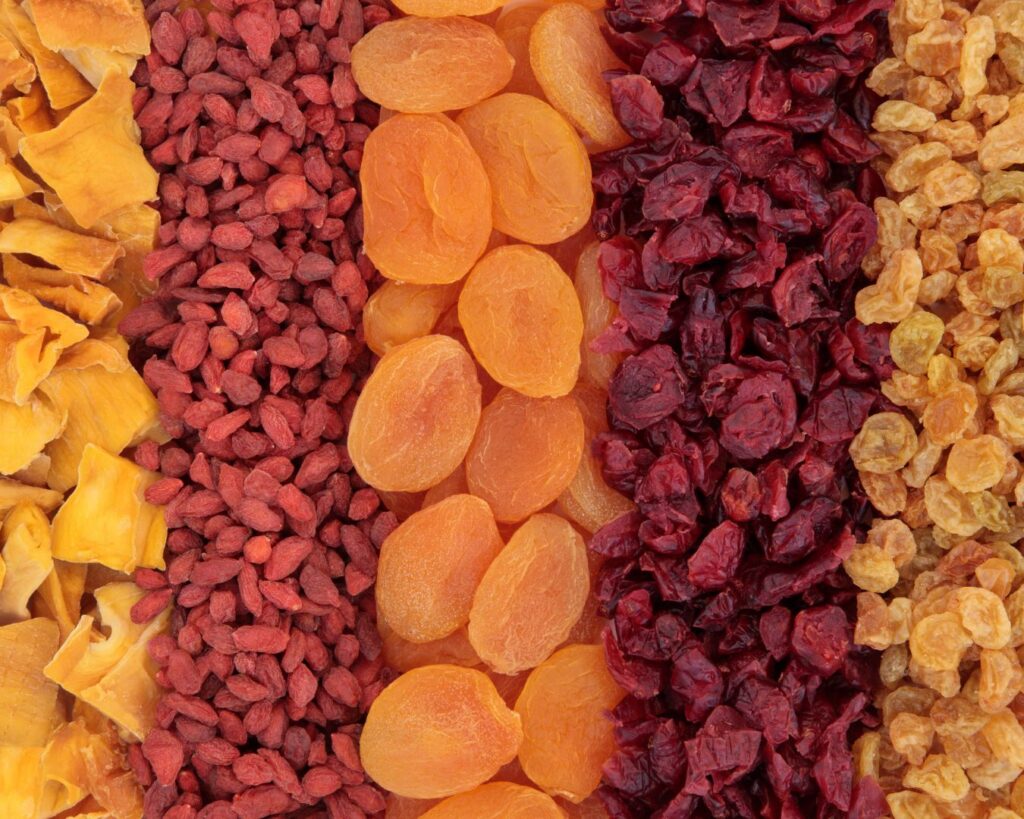
Not all fruits are created equal when it comes to drying. Some fruits dry better than others, and some may require more preparation. Here are some of the best fruits to dry at home:
- Apples: Slice thinly and soak in lemon water to prevent browning.
- Pears: Like apples, pears should be sliced thinly and soaked in lemon water.
- Bananas: Slice into thin rounds for chewy banana chips.
- Grapes: Grapes dry into raisins; use seedless varieties for the best results.
- Berries: Strawberries, blueberries, and raspberries are great options, though they take longer to dry.
- Mangoes: Slice thinly for delicious, sweet mango strips.
- Pineapples: Core and slice into rings or chunks.
- Peaches and Apricots: Pit and slice into thin wedges for dried peaches or apricots.
Preparation
- Wash the Fruit: Always start by thoroughly washing your fruits to remove any dirt, pesticides, or residues. Organic fruits are ideal for drying, as they are free from harmful chemicals.
- Peel (Optional): Depending on the fruit and your preference, you may choose to peel the fruit. For example, apples and pears are often peeled, while fruits like berries and grapes are not.
- Slice Evenly: For even drying, it’s important to slice the fruit evenly. Aim for slices that are about 1/4 inch thick. Thicker slices will take longer to dry, while thinner slices may become too crispy or brittle.
- Prevent Browning: Some fruits, like apples and pears, tend to brown when exposed to air. To prevent this, soak the slices in a solution of 1 part lemon juice to 4 parts water for about 10 minutes. This will keep the fruit looking fresh and vibrant.
- Pat Dry: After soaking, pat the fruit slices dry with a paper towel. Removing excess moisture will speed up the drying process.
Drying Methods
There are several methods you can use to dry fruits at home. The method you choose may depend on the equipment you have available and the type of fruit you’re drying.
1. Using a Dehydrator
A dehydrator is the most efficient and controlled method for drying fruits. It circulates warm air around the fruit, removing moisture while preserving nutrients.
Steps:
- Arrange the fruit slices in a single layer on the dehydrator trays, making sure they don’t overlap.
- Set the dehydrator to the appropriate temperature (usually between 135°F to 145°F for fruits).
- Allow the fruit to dry for 6-12 hours, checking periodically. The drying time will vary based on the fruit type, thickness of the slices, and the dehydrator model.
- The fruit is done when it feels leathery but still pliable.
Tips:
- Rotate the trays periodically to ensure even drying.
- If you’re drying different types of fruits simultaneously, try to group fruits with similar drying times together.
2. Oven Drying
If you don’t have a dehydrator, your oven can do the job. Oven drying is a bit less precise but still effective.
Steps:
- Preheat your oven to its lowest setting, typically between 140°F to 170°F. You want to avoid cooking the fruit, so low and slow is the way to go.
- Place the fruit slices on a baking sheet lined with parchment paper. Leave space between the slices to allow for airflow.
- Prop the oven door open slightly with a wooden spoon to allow moisture to escape.
- Bake for 6-12 hours, checking periodically. Flip the fruit slices halfway through the drying process to ensure even drying.
Tips:
- Use a fan to help circulate air if your oven doesn’t have a convection setting.
- Keep a close eye on the fruit, as it can quickly go from dried to burnt if the oven is too hot.
3. Sun Drying
Sun drying is the most traditional method, but it requires the right conditions: hot, dry weather with temperatures consistently above 85°F.
Steps:
- Place the fruit slices on a clean, raised screen or
- rack, ensuring they’re not touching.
- Cover with a thin cloth or mesh to keep insects away while allowing air circulation.
- Place the setup in direct sunlight and allow the fruit to dry for 2-4 days, bringing it inside at night to prevent moisture from dew.
- The fruit is ready when it feels dry and leathery.
Tips:
- Sun drying works best in areas with low humidity.
- Turn the fruit slices occasionally for even drying.
Storing Your Dried Fruits
Once your fruit is dried, it’s important to store it properly to maintain freshness.
- Cool Before Storing: Let the dried fruit cool to room temperature before storing it. This prevents condensation, which could lead to mold.
- Store in Airtight Containers: Place the dried fruit in airtight containers, such as glass jars, vacuum-sealed bags, or plastic containers with tight-fitting lids. Keep the containers in a cool, dark place, like a pantry or cupboard.
- Refrigerate or Freeze for Long-Term Storage: If you live in a humid area or want to keep your dried fruits for an extended period, consider storing them in the refrigerator or freezer.
- Label and Date: Always label your containers with the type of fruit and the date it was dried. This will help you keep track of freshness.
Enjoying Your Homemade Dried Fruits
Homemade dried fruits are incredibly versatile. Enjoy them as a snack on their own, mix them into granola or oatmeal, add them to baked goods, or rehydrate them for use in recipes like stews, sauces, or desserts.
Making your own dried fruits at home is a rewarding process that allows you to enjoy your favorite fruits year-round. With a little time and effort, you can create healthy, preservative-free snacks that are both delicious and nutritious. Whether you use a dehydrator, oven, or even the sun, the key to success is patience and attention to detail. Give it a try, and you’ll soon be enjoying the sweet taste of homemade dried fruits.