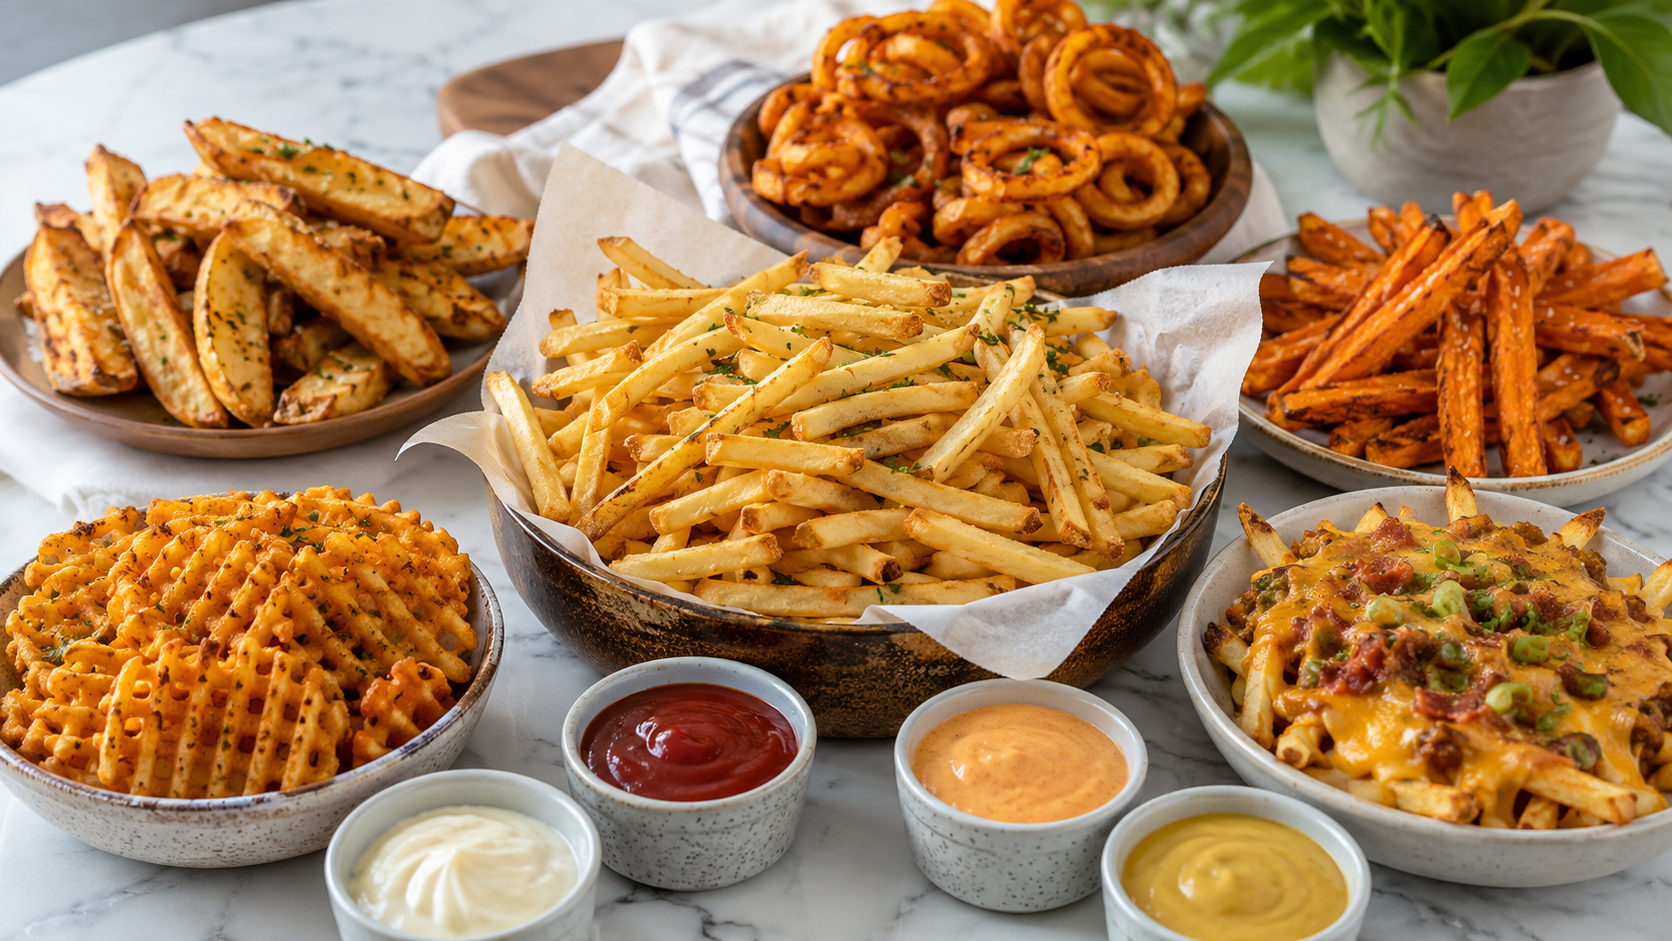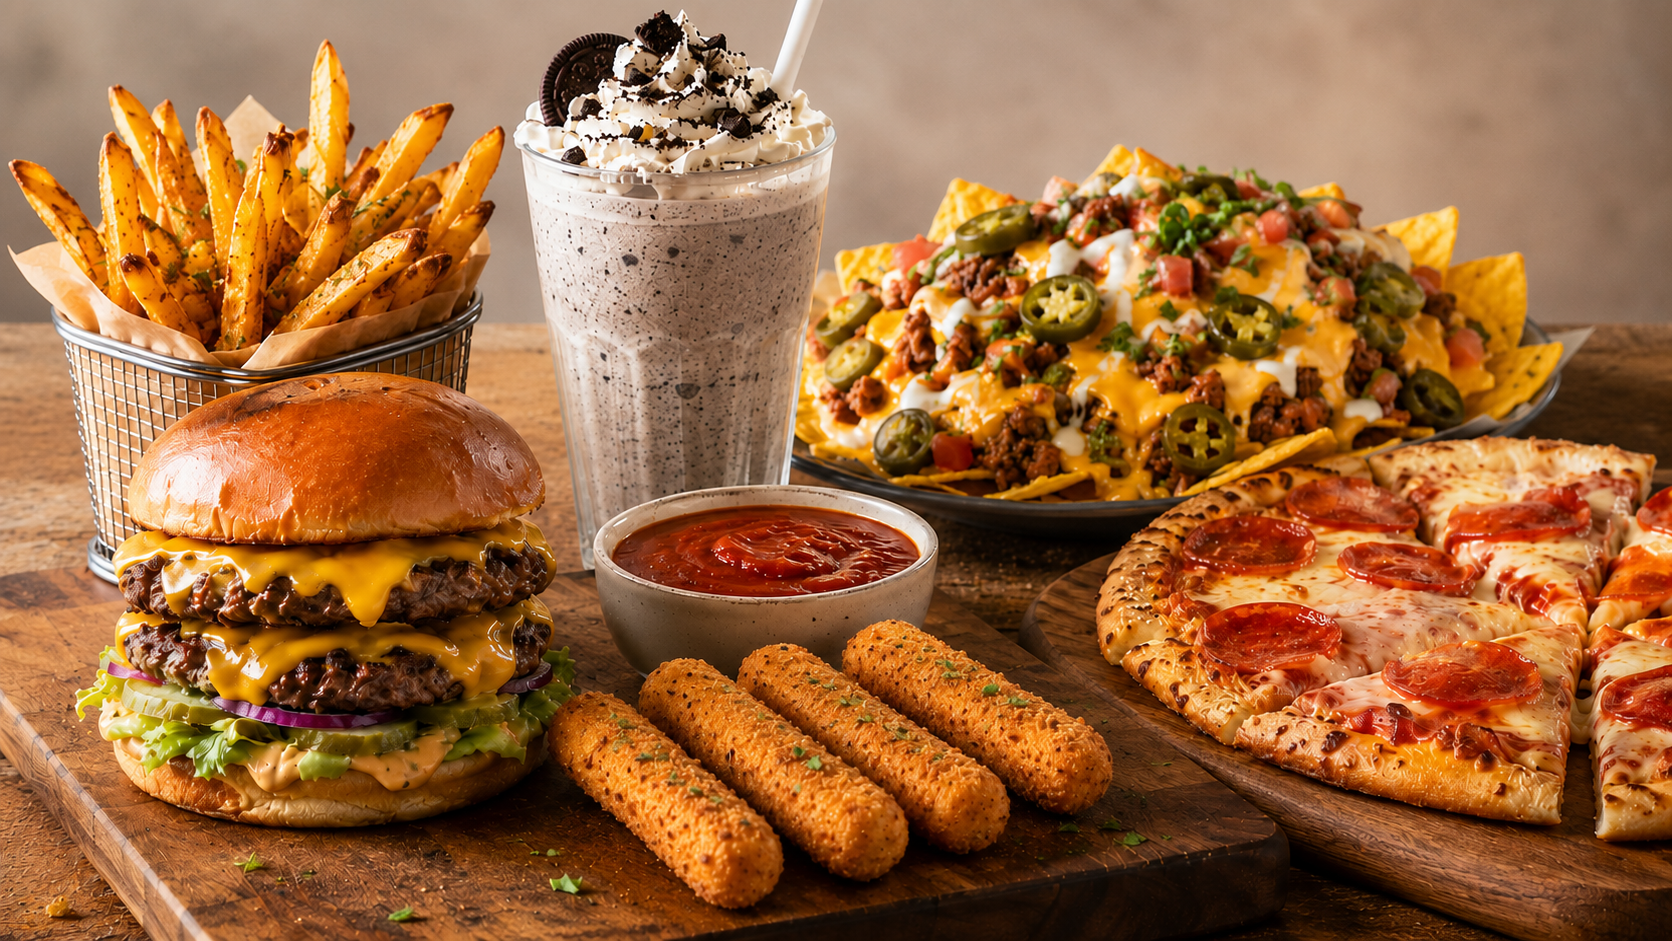
National Junk Food Day | Best Homemade Junk Food Recipes Worth Making
National Junk Food Day deserves a more interesting response than opening a bag of chips and calling it a celebration. The most satisfying version of junk food isn’t always the one that comes out of a package — it’s the one that tastes exactly like what you’re craving but made in your own kitchen with enough control over ingredients and technique that the result is genuinely better than the store-bought version it’s imitating. This isn’t health food dressed up in junk food clothing. These are real junk food recipes — the kind of food that exists purely to taste good, that you eat because you want it rather than because it’s good for you, and that hits the specific combination of fat, salt, sugar, and texture that defines the category. The difference is that made-at-home junk food lets you dial in exactly what you want, use better ingredients where they matter, and produce results that beat the packaged originals in ways that make the effort worth it. The air fryer, the oven, the stovetop, and the microwave all make appearances here — whatever gets the job done fastest for each specific recipe. Because on National Junk Food Day, efficiency is part of the point. Why Homemade Junk Food Hits Differently The argument for making junk food at home rather than buying it isn’t primarily about health — it’s about quality and satisfaction. Better Ingredients Where They Matter: The components in packaged junk food are optimized for shelf stability, cost, and mass production consistency rather than flavor maximization. Real cheese versus cheese powder. Fresh-cut potatoes versus extruded reconstituted potato product. Actual chocolate versus cocoa-adjacent compound coating. These differences are significant enough to taste, and in most cases the homemade version produces more intense satisfaction per bite than the packaged original because the ingredient quality actually delivers on what the cravings are asking for. Customization That Packaged Products Can’t Offer: Craving a specific heat level on your nachos, a particular ratio of toppings on a loaded fry, or a pizza with exactly the combination you actually want rather than the closest thing on a frozen shelf? Homemade junk food solves this directly. You’re making exactly what you want rather than compromising. The Freshness Factor: Most junk food is designed for shelf life — it’s formulated to taste good after months in a bag or box. The homemade version is made and eaten immediately, which changes the experience significantly. Fresh hot fries, a just-assembled nachos situation where the cheese is still bubbling, a burger where everything is at the right temperature simultaneously — these are qualitatively different from their packaged equivalents in ways that freshness explains almost entirely. The Experience of Making It: There’s something specifically satisfying about making junk food deliberately rather than consuming it passively from a package. Knowing exactly what went into it, controlling every element, and producing something that tastes genuinely good through actual cooking rather than industrial processing adds a dimension of satisfaction that passively eating a bag of chips doesn’t provide. Air Fryer Loaded Nachos Nachos are technically assembling rather than cooking, but the air fryer version produces something qualitatively different from microwave nachos or even oven nachos — cheese that bubbles and crisps at the edges of each chip, toppings that heat evenly, and a result that comes together in under 10 minutes. Ingredients: Tortilla chips (thick-cut hold up better than thin), shredded Monterey jack and sharp cheddar combined, black beans, pickled jalapeños, sour cream, guacamole, pico de gallo, hot sauce. Method: Layer chips in a single even layer in the air fryer basket. Top with the cheese mixture, distributing as evenly as possible so every chip gets coverage. Add black beans and jalapeños. Air fry at 350°F for 4-5 minutes until cheese is fully melted and beginning to bubble and crisp at the edges. Remove carefully and top immediately with cold ingredients — sour cream, guacamole, pico de gallo. The temperature contrast between hot cheesy chips and cold fresh toppings is part of what makes nachos specifically satisfying. The technique that separates good nachos from great ones is layering — add a middle layer of chips and cheese if the portion is large rather than piling everything on one layer and hoping heat penetrates to the bottom chips. Two thin layers beat one thick pile every time. Smash Burgers The smash burger’s rise to prominence over the past several years isn’t a trend — it’s the recognition that this technique produces a superior burger to the thick-patty approach that dominated home cooking for decades. A properly smashed burger has more exterior browning per bite than any other preparation, and exterior browning is where beef flavor lives. Ingredients: 80/20 ground beef, American cheese (the specific cheese matters here — American melts in a way that no other cheese replicates, covering the patty in a single smooth, creamy layer), soft potato buns, white onion finely diced, yellow mustard, pickles, ketchup, special sauce (mayo, ketchup, mustard, pickle brine in roughly equal parts). Method: Divide ground beef into 2.5-3oz balls — smaller than you think, because they spread during smashing. Heat a cast iron skillet or heavy stainless pan over high heat until it’s smoking. Place a beef ball in the pan, immediately cover with a piece of parchment paper, and smash flat with a heavy spatula using significant downward pressure. The patty should be thin enough to see the texture of the meat through the surface. Salt immediately after smashing. Cook undisturbed for 2-2.5 minutes — the bottom develops an aggressive crust while the top surface turns from pink to gray. Flip once, immediately add a slice of American cheese, and cook 30-45 more seconds. The thin patty means it’s done immediately after flipping. Toast the bun cut-side down in the same pan for 30-45 seconds. Assembly order matters: sauce on both bun halves, pickles on the bottom bun, onion on top of the patty before the cheese was added during cooking so they soften slightly, mustard