food

How to Cook for Gluten-Free Diets at Home: A Comprehensive Guide

Cooking for a gluten-free diet at home can seem challenging, especially if you’re used to incorporating wheat, barley, and rye into your meals. However, with a bit of knowledge and creativity, you can create delicious and satisfying gluten-free meals that everyone can enjoy. Whether you’re cooking for yourself or a loved one with gluten sensitivity or celiac disease, here’s a comprehensive guide to help you navigate the world of gluten-free cooking at home. 1. Understanding Gluten and Its Sources Gluten is a protein found in wheat, barley, and rye. It acts as a binding agent, giving bread and other baked goods their structure. For those with celiac disease or gluten intolerance, consuming gluten can lead to serious health issues. Here’s a list of common foods that contain gluten: 2. Stocking Your Gluten-Free Pantry The first step to cooking gluten-free meals is to ensure your pantry is stocked with gluten-free alternatives. Here are some essential items to include: 3. Reading Labels and Choosing Safe Products When shopping for gluten-free ingredients, it’s crucial to read labels carefully. Look for products that are certified gluten-free, as these undergo strict testing to ensure they contain no gluten. Be aware of cross-contamination, which can occur when gluten-free foods come into contact with gluten-containing items. 4. Cooking Techniques for Gluten-Free Meals Here are some cooking techniques to keep in mind when preparing gluten-free meals: 5. Creating Delicious Gluten-Free Meals With the right ingredients and techniques, you can create a variety of gluten-free meals. Here are some ideas to get you started: 6. Dessert Options Just because you’re cooking gluten-free doesn’t mean you have to skip dessert! Here are some gluten-free sweet treats: 7. Staying Informed and Getting Creative The world of gluten-free cooking is constantly evolving, with new products and recipes emerging regularly. Join gluten-free cooking groups, follow blogs, and attend cooking classes to learn new techniques and find inspiration. Cooking for a gluten-free diet at home doesn’t have to be daunting. With the right ingredients, techniques, and creativity, you can prepare delicious, satisfying meals that cater to gluten-free needs. By embracing the variety of gluten-free foods available and experimenting in the kitchen, you can make healthy and tasty meals that everyone can enjoy—gluten-free or not!
3 Ways to Cook the Perfect Turkey

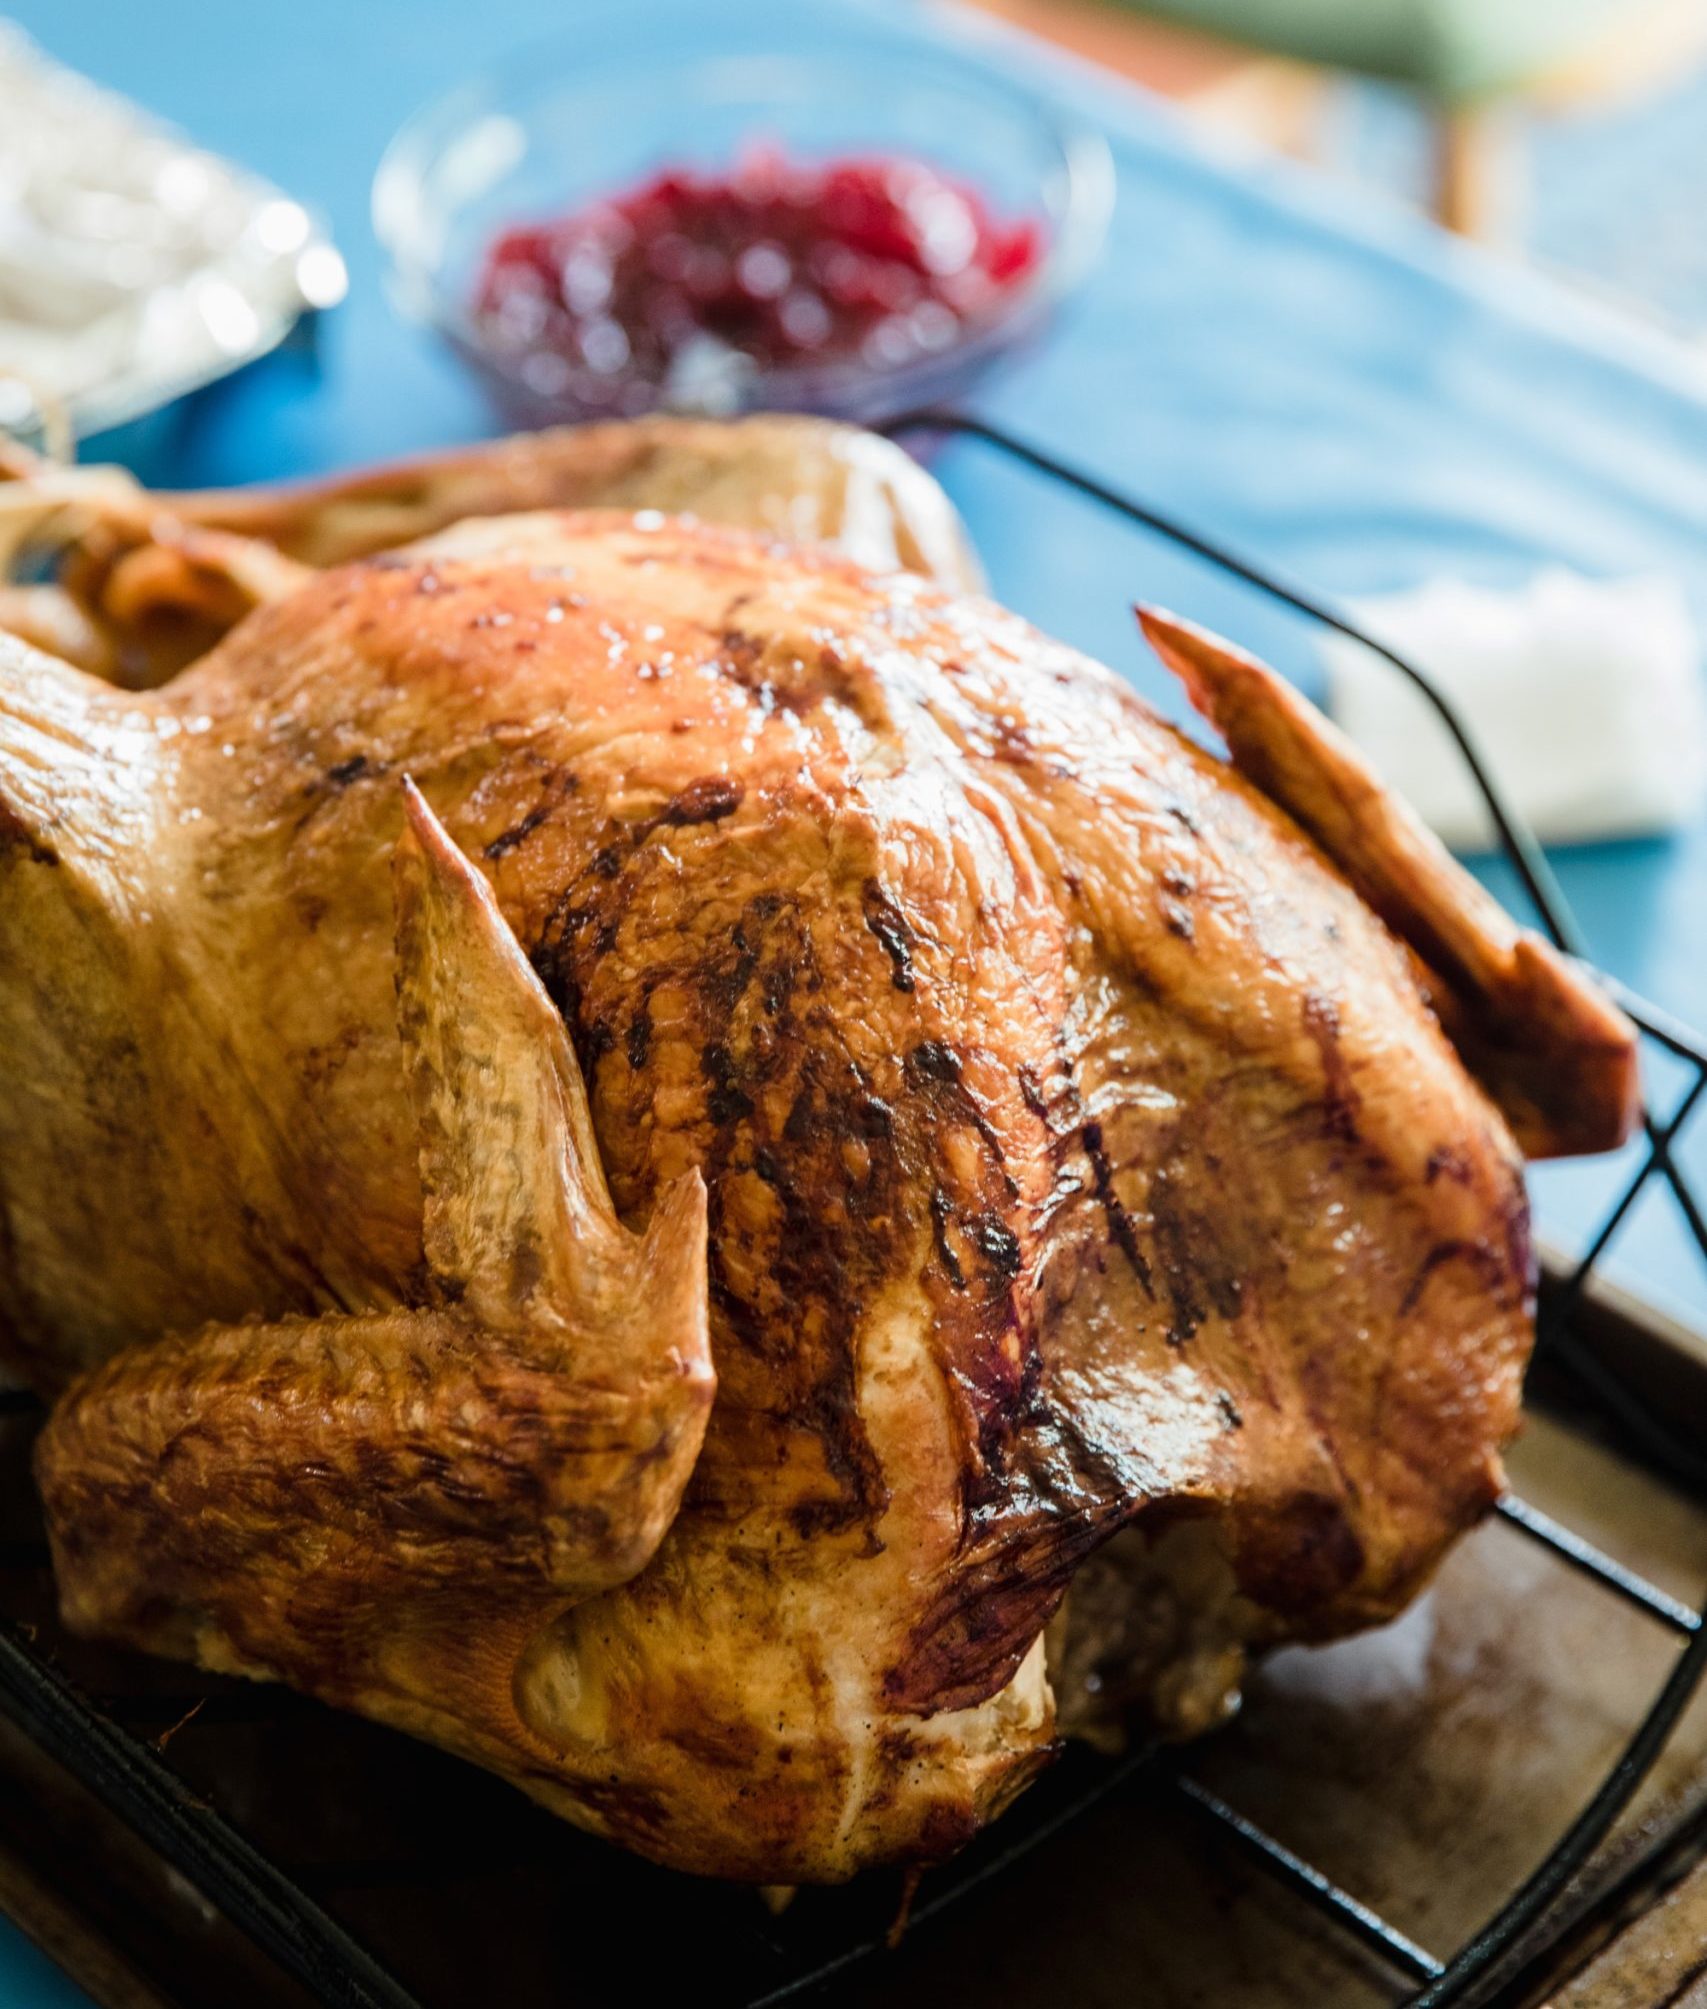
Cooking turkeys can be a daunting task. Instead of resorting to an old recipe, try something new this year if you’re up for the challenge, here are three different ways you can cook that perfect turkey. Smoke It Smoking turkey takes about the same amount of time as cooking it traditionally in an oven, however it requires more attention. You’ll need to truss your turkey to make it easier to flip in the smoker for an even cook. Cotton butcher’s twine is a must. You’ll need to have a slow and mellow fire. Be sure to keep your coals glowing and add some hardwood chunks for a unique flavor. Keep an eye on the turkey throughout the day and measure its temperature. Avoid a dry, hot smoker as this will make the turkey’s skin crack. Have a silicone brush on hand to keep the turkey basted. Grill It A gas grill can be ideal for cooking turkey with the right tools. You’ll need a roast rack to hold up your turkey upside down and away from the grill as it starts to cook. The breast will take the longest so start with the breast side facing the burners. After an hour or two you can flip it over directly on to the grate. Add some smokey flavor with a smoke box as gas doesn’t naturally do this. Keep track of the temperature of your turkey. Use a dual probe thermometer as the breast will take longer to cook. Fry It One of the quickest ways to cook a turkey is frying it. You can cook an average sized turkey in about an hour, making it a much more attractive method. It’s best to brine your turkey beforehand to maintain moisture in the turkey as frying can dry it out. Safety is key when it comes to frying a turkey. Be sure you have a thermometer to keep track of the oil’s temperature. Use proper equipment when lowering and lifting the turkey in the oil, such as heat resistant gloves. Turn off your fryer prior to lifting it out of the fryer and check the turkey’s temperature once it’s out. It’s only safe to fry a turkey outdoors and with the proper fryer. Keep flammable items away from the area. How are you going to cook your turkey this year? Let us know over on our Facebook and Instagram, or in the comments below. Have a happy and safe Thanksgiving this year! Sources: HGTV

Spice Up the Season With These Easy Recipes

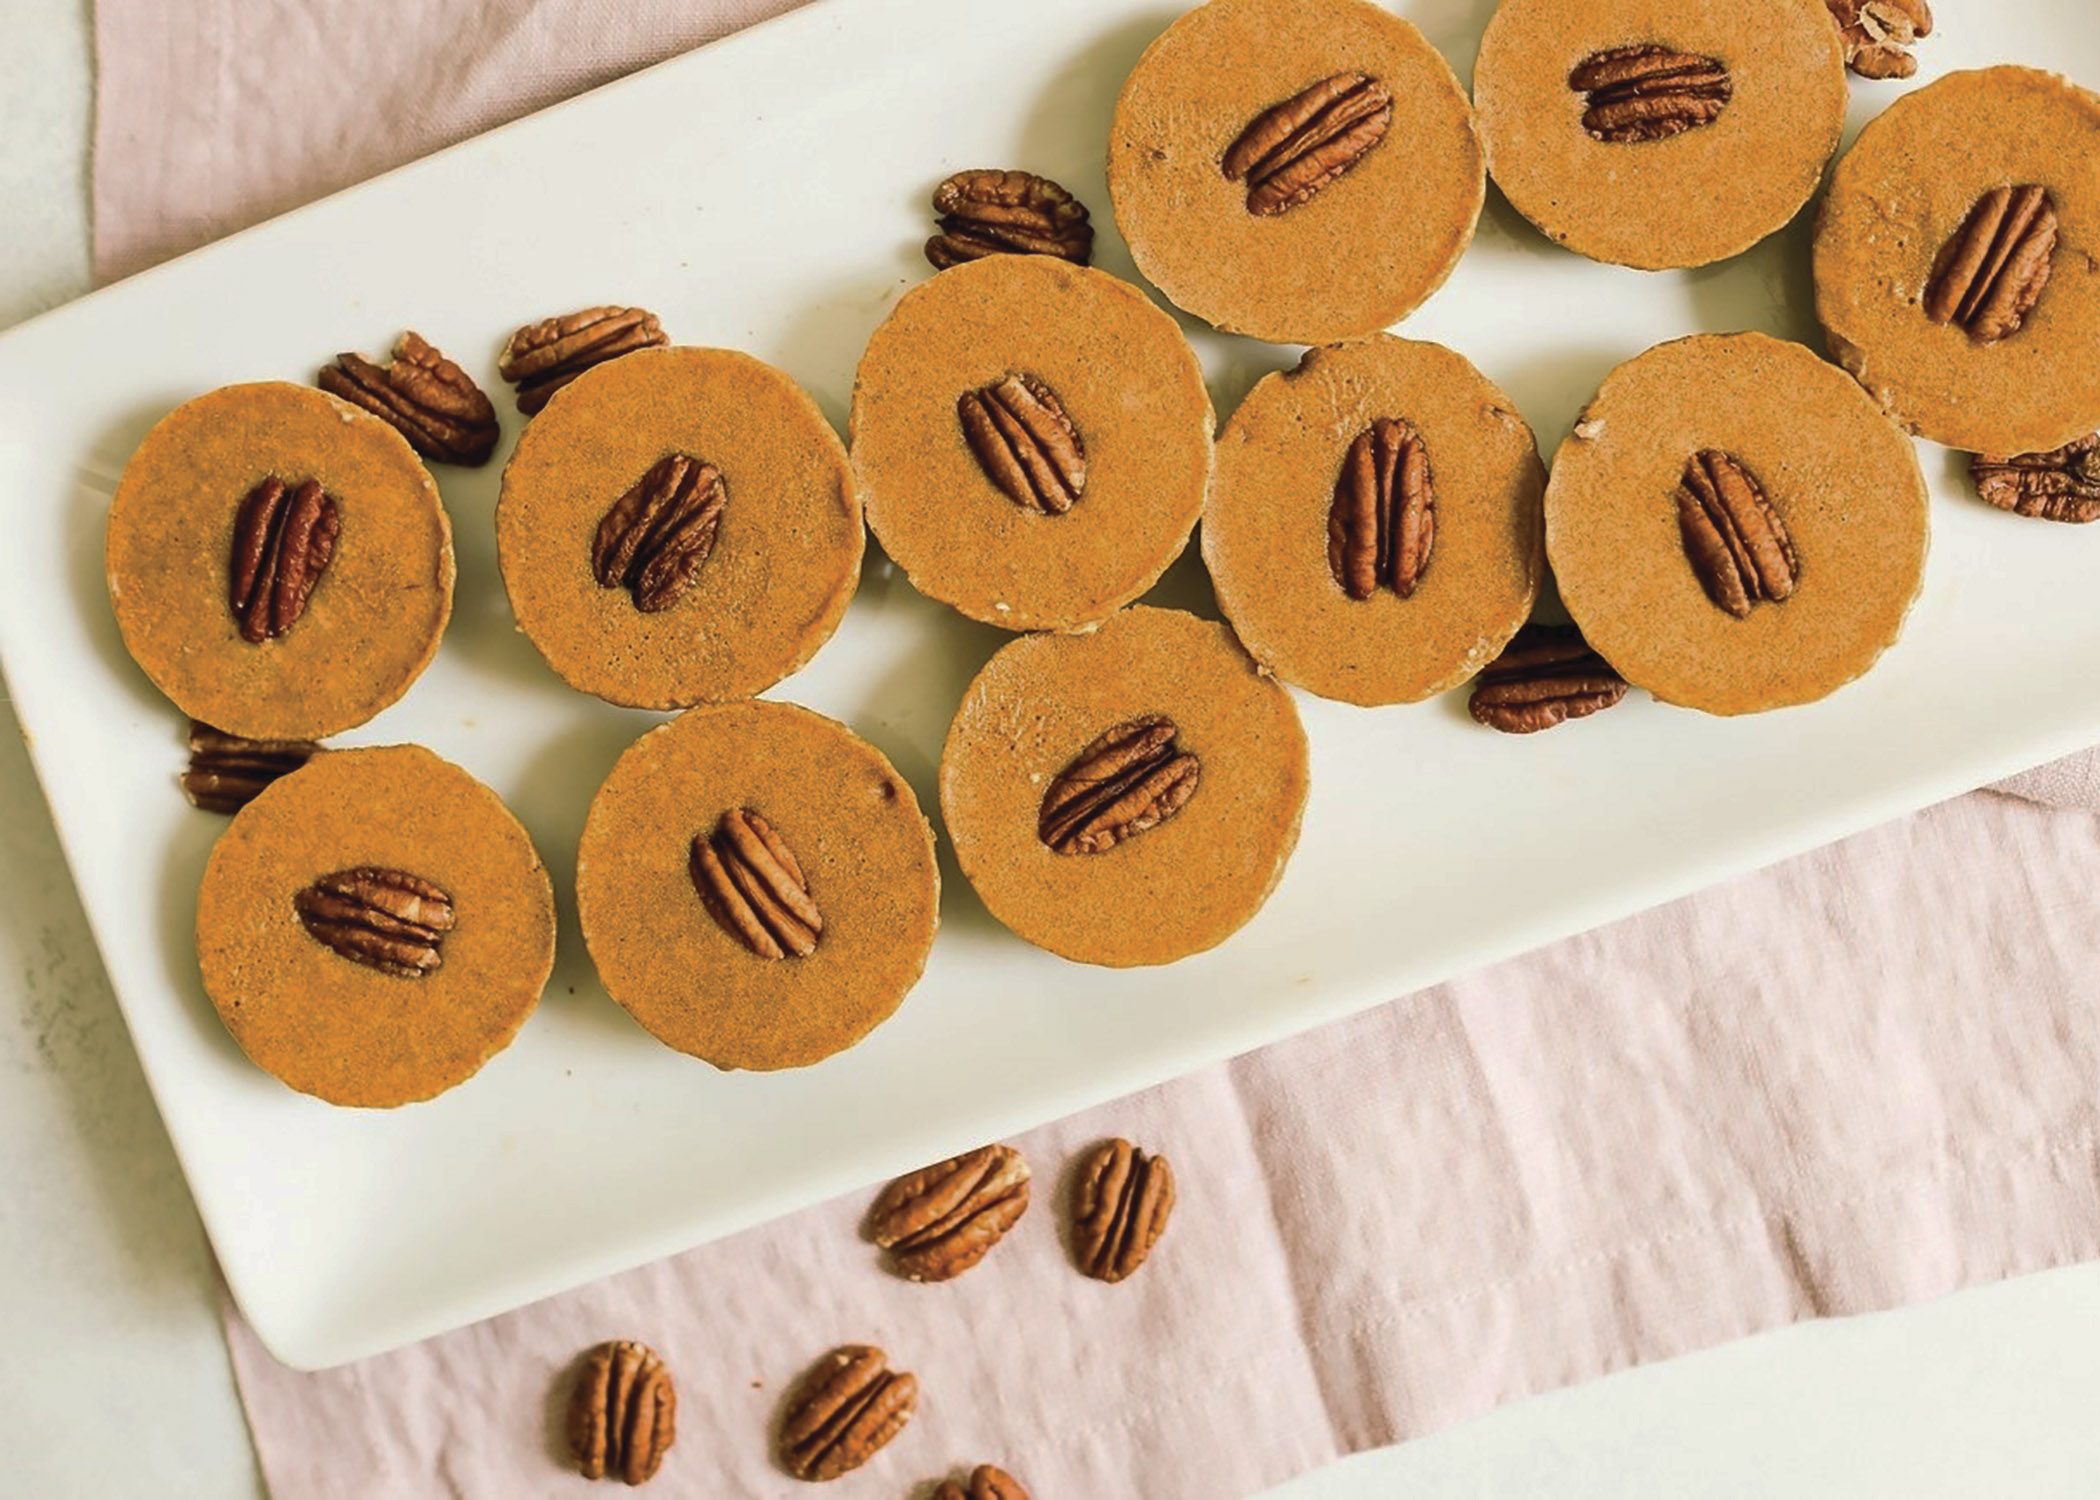
The holiday season is upon us, and with that comes delicious foods for the whole family! Snacks are a staple for any occasion but are often overlooked. Don’t miss the opportunity to bring a memorable experience when you impress your family with these recipes. Learn how to make these delicious treats below, courtesy of AmericanPecan.com Reindeer Pecan Brownies Prep time: 20 minutes Cook time: 15 minutes Yield: 20 brownies Nonstick cooking spray 1 stick (½ cup) unsalted butter, melted 1 tablespoon pecan or canola oil 1 cup, plus 2 tablespoons, granulated sugar 2 large eggs 1 teaspoon vanilla extract ½ cup all-purpose flour ½ cup cocoa powder 1 teaspoon espresso powder (optional) ¼ teaspoon kosher salt 20 raw pecan halves, cut in half 40 candy eyeballs 20 red chocolate candies ¼ cup chocolate chip Preheat oven to 350 F. Spray mini muffin tin with nonstick cooking spray. In large bowl, whisk melted butter, oil and sugar until well combined. Add eggs and vanilla extract; beat until mixture is thick and pale in color, about 1 minute. Sift in flour and cocoa powder. Add espresso powder, if desired, and salt. Using rubber spatula, fold dry ingredients into butter mixture until just combined. Batter should be thick. Using 1-tablespoon cookie scoop, transfer batter to prepared mini muffin tin. Bake 13-15 minutes until toothpick inserted in center comes out mostly clean, with some lingering crumbs. Add chocolate chips to heat-safe bowl; microwave until smooth and melted. Pour melted chocolate into sandwich bag and cut off small portion of one corner to use as tip. Use melted chocolate to “glue” on pecan antlers, candy eyeballs and red candy noses to brownies. Allow chocolate to set before transferring brownies to airtight container. Note: Brownies will stay fresh for up to three days. No-Bake Pumpkin Pecan Pie Bites Prep time: 15 minutes Chill time: 1 hour Yield: 12 bites (6 servings) Crust: 1 1/2 cups raw pecan pieces 3/4 cup pitted medjool dates (about 7 dates), soaked in hot water 10 minutes 1 pinch pink salt Filling: 1/3 cup pumpkin puree 1/3 cup full fat coconut milk 1 teaspoon pumpkin spice 1/4 cup maple syrup 1 pinch pink salt 1 scoop collagen peptides (optional) 12 raw pecan halves, for topping To make crust: In food processor, process pecan pieces, drained dates and salt until combined and “dough” starts to form into ball. To make filling: In bowl, combine pumpkin puree, coconut milk, pumpkin spice, maple syrup, pink salt and collagen peptides, if desired. Whisk until smooth. Line cupcake tin and evenly distribute crust mixture, about 1 1/2 tablespoons in each cupcake opening. Use fingers to press crust into even layer. Evenly disperse pumpkin pie filling among openings until tins are about half full. Top each with one pecan half and place in freezer at least one hour. Source: American Pecan Council

Essential Pantry Staples to Have on Hand

Keeping a well-stocked pantry ensures you can pull together a quality meal on a moment’s notice or when unexpected circumstances keep you from making it to the store. In many homes, the pantry is filled with mismatched odds and ends that may not fit together, but you can shop smart to gather basic ingredients you need for a wide range of recipes. Spices: A robust spice rack lets you customize all the other ingredients for dishes as simple or complex as you like. As you’re building a spice collection, start with basics like salt, pepper and garlic powder. Also add some of your favorite dried herbs like basil, thyme and ginger then build the rest of your supply around your favorite foods so you can easily create familiar dishes with what you have on hand. Protein: You may be surprised by how many protein options can be stored in your pantry. Aside from nuts, beans and peanut butter, keeping a selection of canned seafood can allow you to create well-balanced, protein-rich dishes whether you’re topping a salad, adding the finishing touch to your favorite pasta, filling a wrap or more. For example, wild-caught canned tuna or salmon can be the foundation for a multitude of recipes.   Oils: When used in moderation, oils are an essential cooking ingredient that add flavor and depth. Extra-virgin olive oil can be used for everything from sauteing proteins and drizzling over veggies to creating dips and dressings. Many home cooks also favor canola oil as a neutral cooking oil that can be used in a wide range of preparations. Grains and Pastas: Most pastas have a long shelf-life, making them a great addition to a well-stocked pantry. Pasta and grains can be the foundation of a meal when paired with sauce and protein or veggies, or as an easy side dish. Include your favorite styles of regular pasta along with options like couscous, quinoa and rice. Canned Vegetables: You can pack in plenty of healthy nutrients without a trip to the farmer’s market or produce section. Put your personal touch on canned veggies to enhance their flavor, like adding some onion (or onion powder or flakes), salt and pepper to cut green beans. Be sure to keep plenty of choices on hand for vegetables you enjoy eating on their own and ones you might use as ingredients. Broth or Stock: Whether you use it as the base for a delicious soup or to add flavor in countless other recipes, broth and stock can be found with both meat and vegetable bases so you can easily create sauces and more. Condiments: These sauces and accompaniments help perk up your favorite foods. There’s no standard list of right and wrong, but staples like ketchup, mustard, mayonnaise, barbecue, soy and hot sauce top many people’s must-have lists.  

Common Cooking Myths Busted

It isn’t just inexperienced home cooks who make mistakes in the kitchen. There are countless cooking myths that keep even the most competent chefs from reaching their full potential in the kitchen. Before you suffer through another less-than-stellar meal, make sure you’re not falling for these cooking myths. And start making every meal healthier and more delicious. Myth No. 1: Frozen isn’t as good as fresh Frozen food is just as—and in some cases more—nutritious than fresh varieties. Fresh food is often picked before the fruit or vegetable is ripe, then packaged, shipped, and stocked. The time from harvesting to your plate could be days, even more than a week. During that time, the food loses nutrients. Frozen food, however, is harvested at peak ripeness and flash-frozen within hours. Myth No. 2: Microwaving destroys nutrients in food Nutrients break down when exposed to heat, no matter the source. Cooking foods in water or other liquids can also make nutrients leach out of the food. Since microwaving is so quick and uses very little liquid, it preserves more nutrients than other cooking methods such as boiling or baking. Myth No. 3: Cooking removes nutrients from vegetables. Many people believe that eating vegetables raw is the best way to get their nutrients. Most vitamins are not too much affected by heat from boiling or steaming, and cooking vegetables might actually make some of them easier to digest. Boiling water-soluble vitamins (like vitamin C and B) does remove some n nutrients into the water, but most remain. Myth No. 4:  Cast-iron skillets work only on gas stoves; you can’t cook with them on an electric range. Cast iron works great on electric, although it may take a little longer to achieve the same results since cast iron is slightly slower to heat on an electric heating element. If you’re using a cast-iron skillet on an electric range, you may find that you need to cook things slightly longer. Myth No 5: It’s bad to refreeze previously-frozen food Food thawed on the counter (a serious no-no!) should never be returned to the freezer for safety reasons. In fact, you might want to consider throwing it out entirely. However, Frozen foods that were thawed in the fridge and not on the counter can be returned to the freezer. Myth No 6: Cooking with a Grill has limitations Think of your grill as basically a big oven with a lid, you can cook just about anything on it — providing you have the right vessel. There are a few “ungrillable” items that are great prepared over hot coals. Myth No. 7: Slow cookers are good for everything Slow cookers are wonderful but they can’t cook everything. There are some things that just aren’t going to turn out well in the slow cooker, no matter how hard you try. Since most types of fish and shellfish cook very quickly, the slow cooker is not advisable for most seafood dishes. Myth No. 8: Don’t Wash Cast Iron Pans You should definitely wash your pans. Coat the surface of the pan in cooking oil before soaping it down. This way the dish soap won’t damage the seasoning.

Cooking with a Range – Beginner’s Guide to Cooking like a Pro at Home

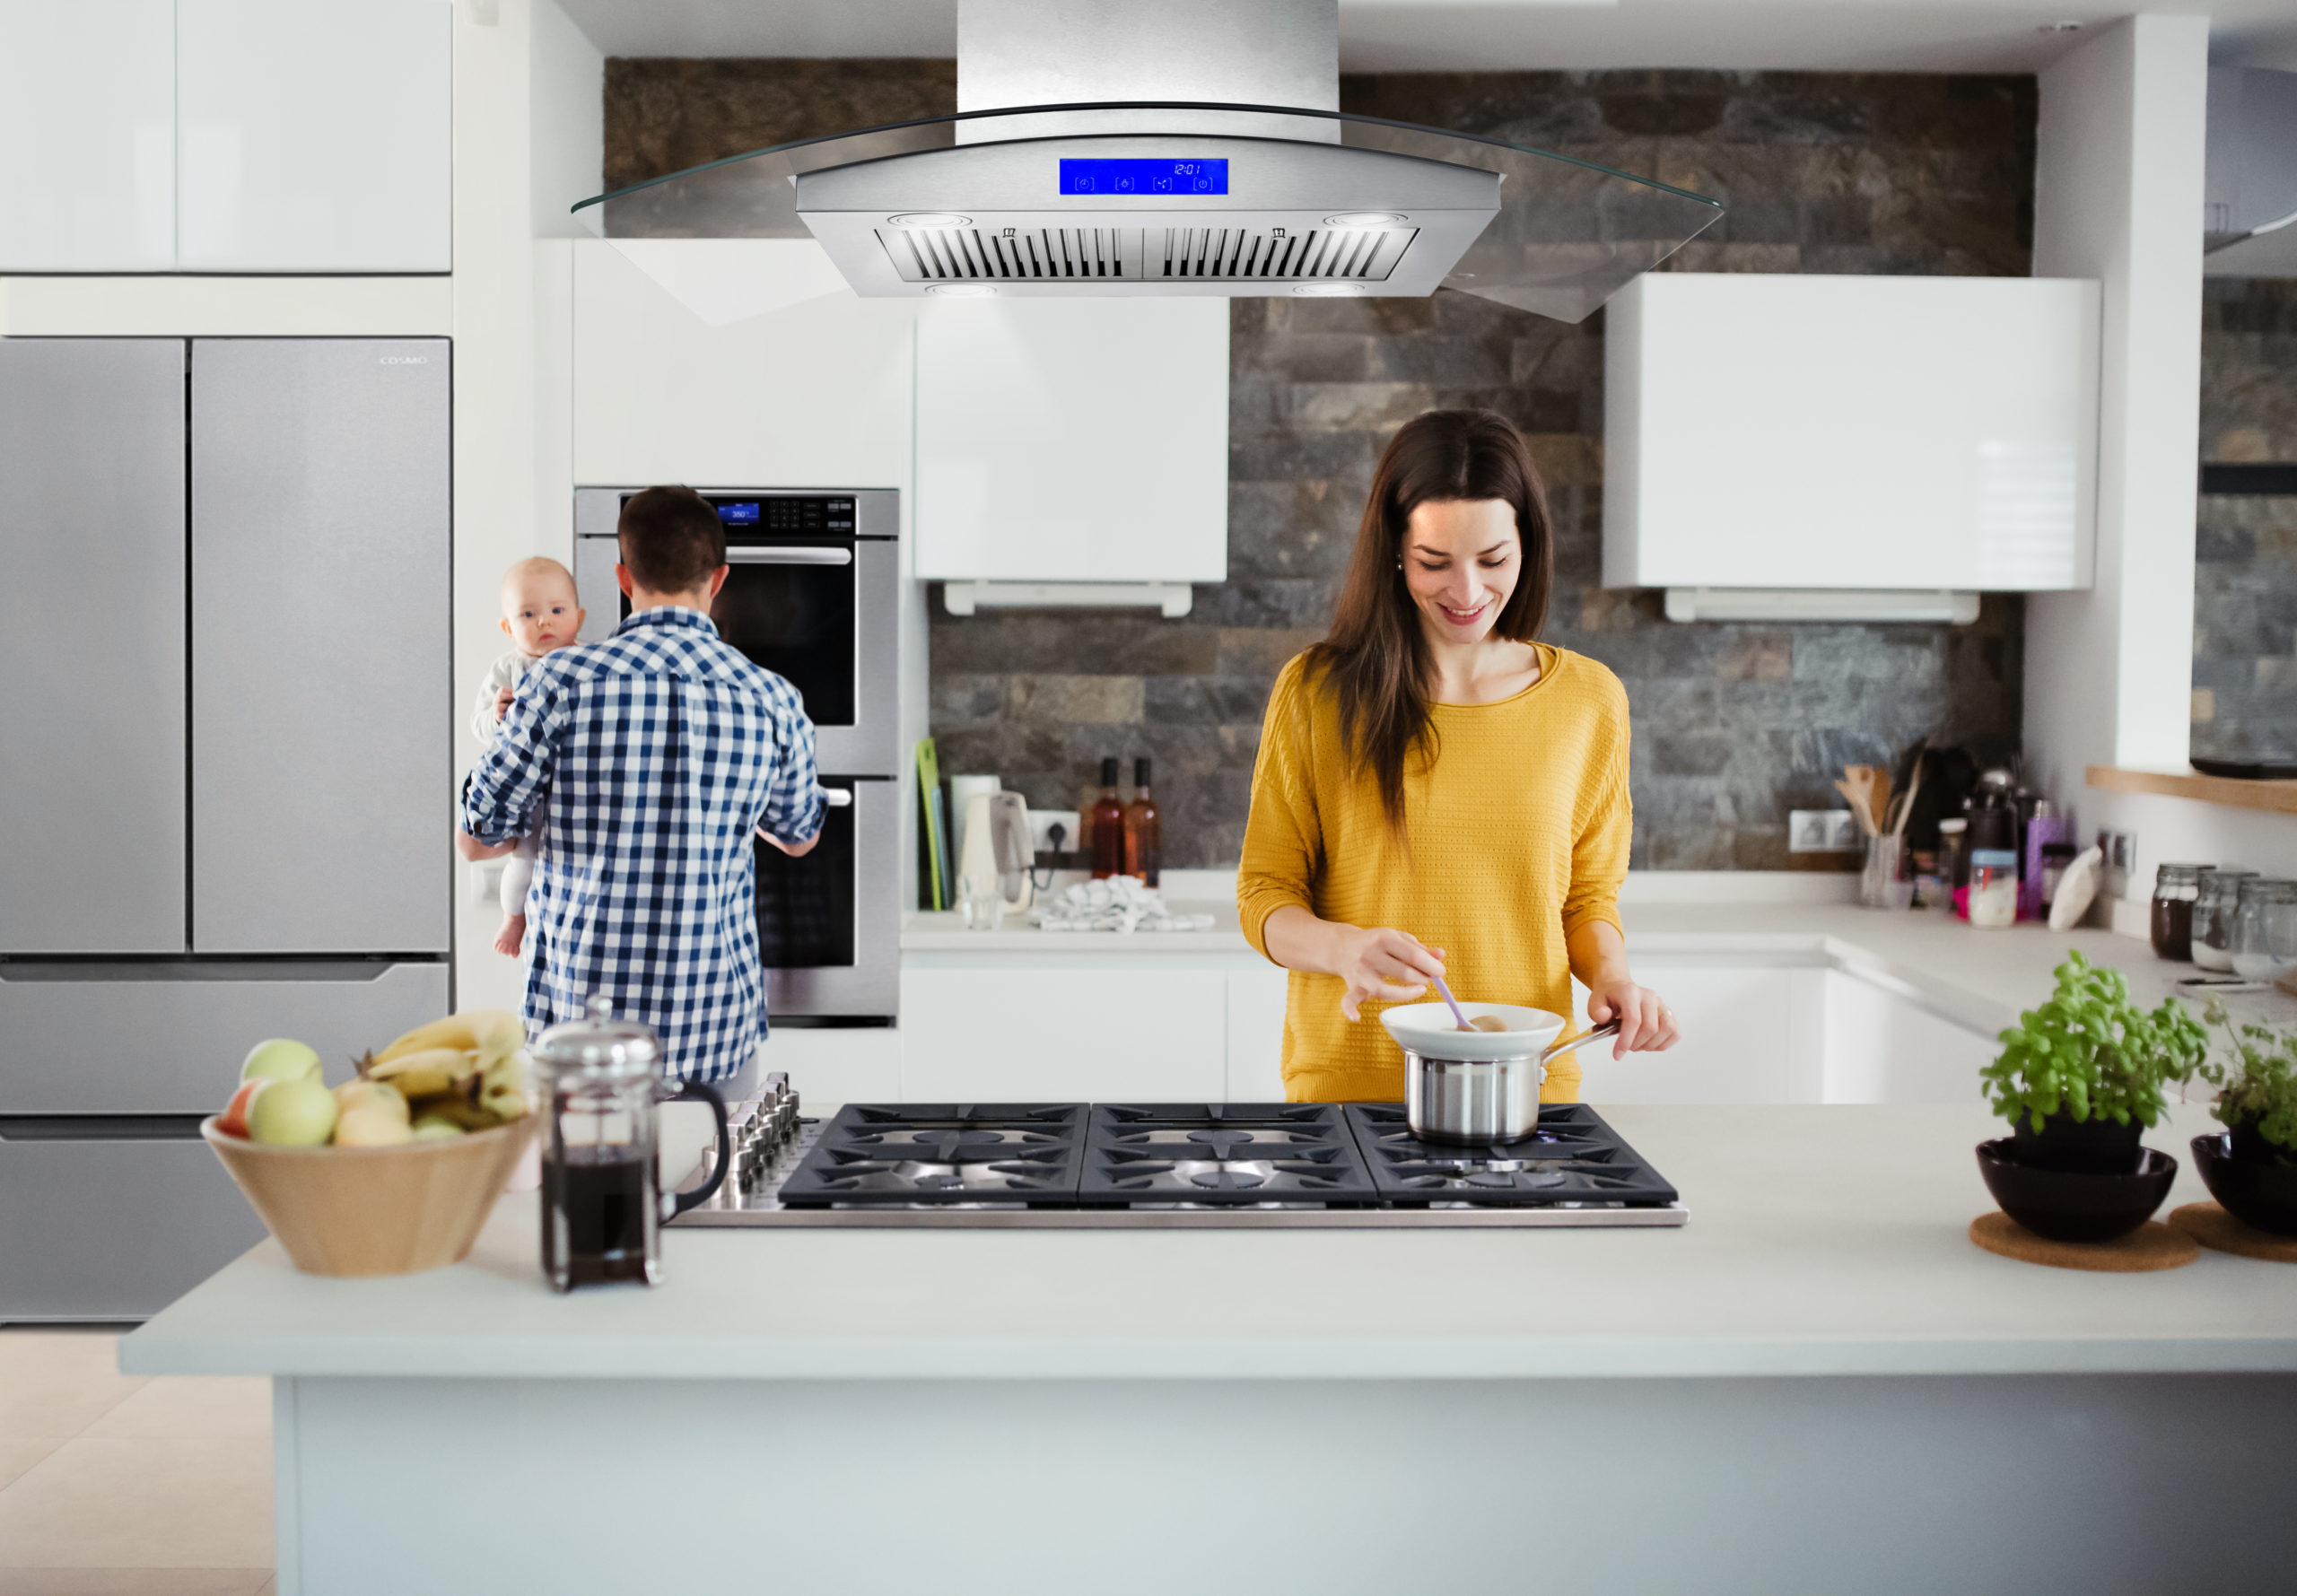
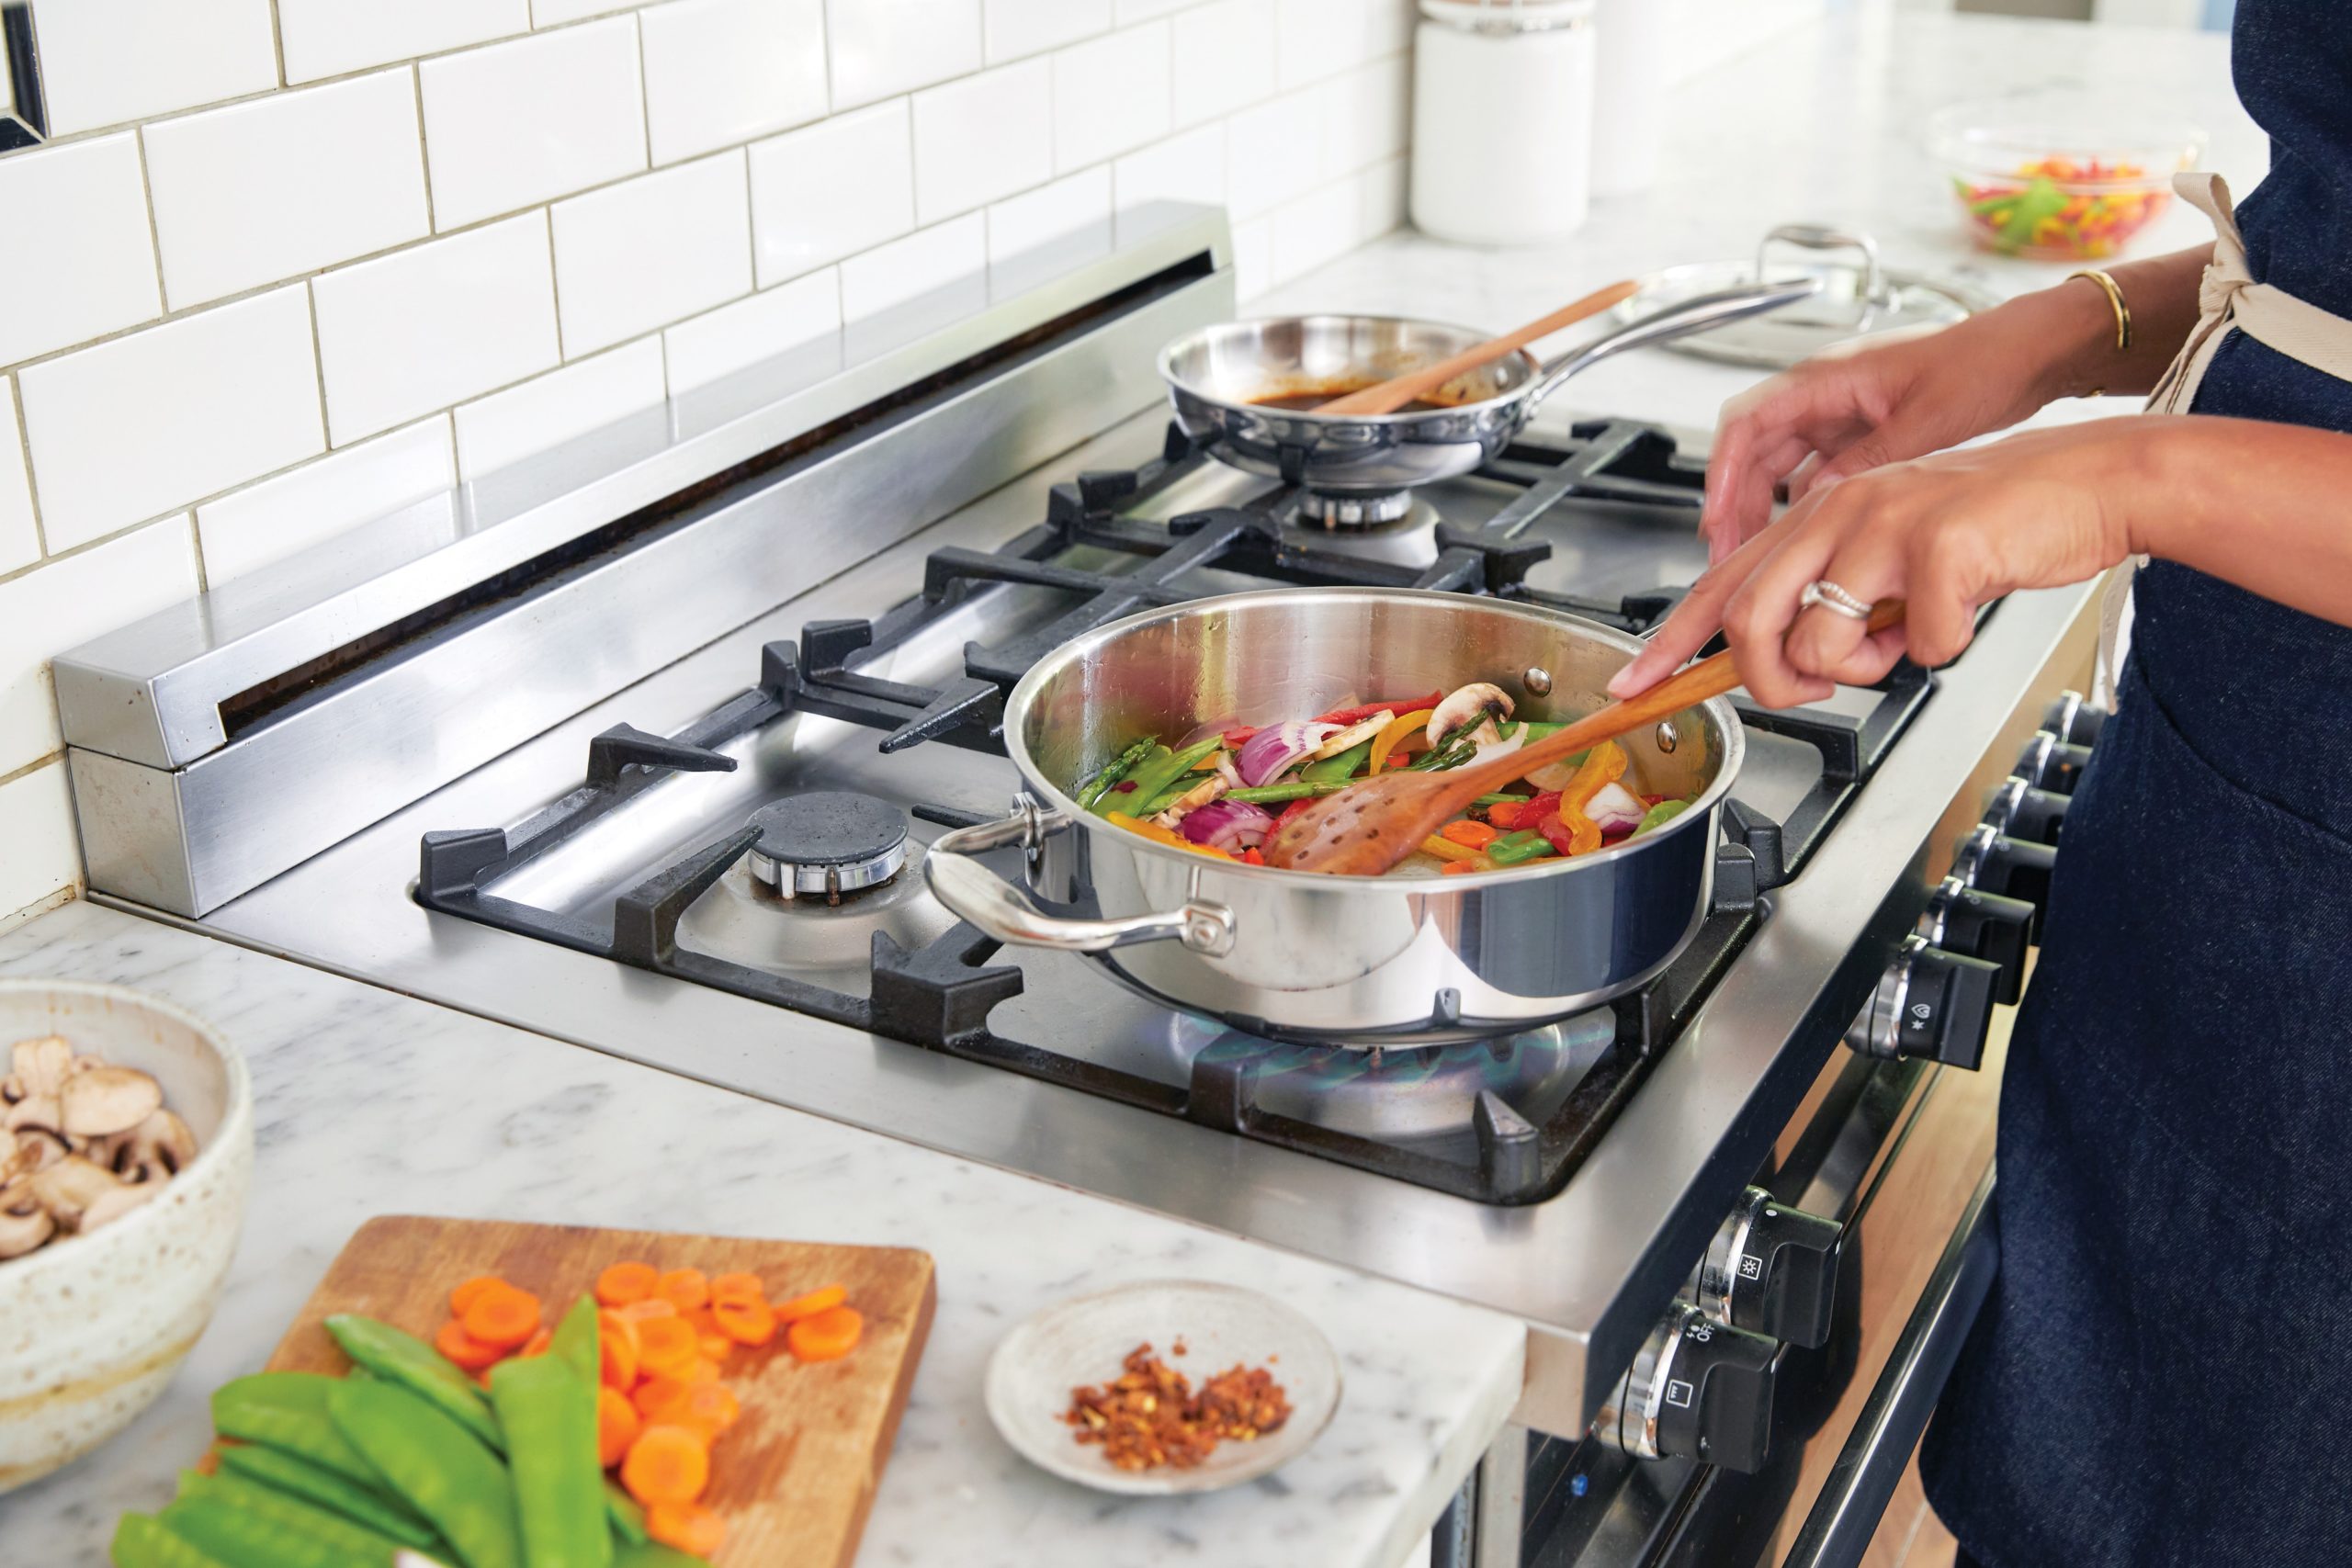
Everyone is entertaining at home these days, and whether it’s for a small group or large gathering, the trend of professional-grade kitchens in the home is here to stay.  A top chef’s kitchen adds lots of value to your home, and the focus is the appliances.  Here are some key factors to consider when choosing pro-style chef-grade Gas Range . Gas Heats up Faster Because the Flame Is the Source of Heat Gas stoves heat much faster than electric,  with gas stoves, the flame itself is the source of heat. This means you don’t need to wait on for the burner to get hot – your pan will instantly begin feeling the heat. When You Turn off the Burner, You Turn off the Heat  When you turn off the burner, you turn off the flame. And, when you turn off the flame, you turn off the heat. Simmering May Take Some Practice  When it comes to cooking on a gas range, there’s  one thing that many people have trouble with, and that’s how to simmer. It may take some practice. With a bit of practice, you will find the perfect setting for the simmer function.  Learn What Gas Smells Like and Know How to Turn the Gas Off  it’s very important to know what natural gas and propane (depending on which you have) smell like. While leaks are very rare, they are possible. For your safety, knowing how to turn off the gas is crucial. Take the time to learn where the valve switch is and how to use it before you even cook. Be Mindful of the Flame Remember that you are cooking with an open flame. With a gas range, the flame is the heat. So, if something comes in contact with it, a fire can start very quickly. Watch out for things such as kitchen towels, oven mitts, long hair, loose clothing, etc. And, get in the habit of turning a burner off the moment you remove a pan from it. Keep It Clean No matter how hard you try, cooking can get messy. Food splatters, drips, spills, and so forth. And while you may want to overlook this mess or believe that it will cook off the next time the oven or stove are turned on, you are leaving yourself with a potentially dangerous situation. The leftover debris from your cooking may actually catch fire the next time you go to light your burner. So make a point to clean after each use. When Baking, Consider Rotating Your Pans One of the biggest complaints from bakers is the uneven heating that occurs in a gas oven. Unless you have a convection fan, you may find that your food may bake faster on one side. To prevent any issue with over- or under-cooked food, consider rotating your pans throughout the baking time. This will help each side to be evenly exposed to the heat.

Delicious Microwave Recipes Made Ready in Minutes

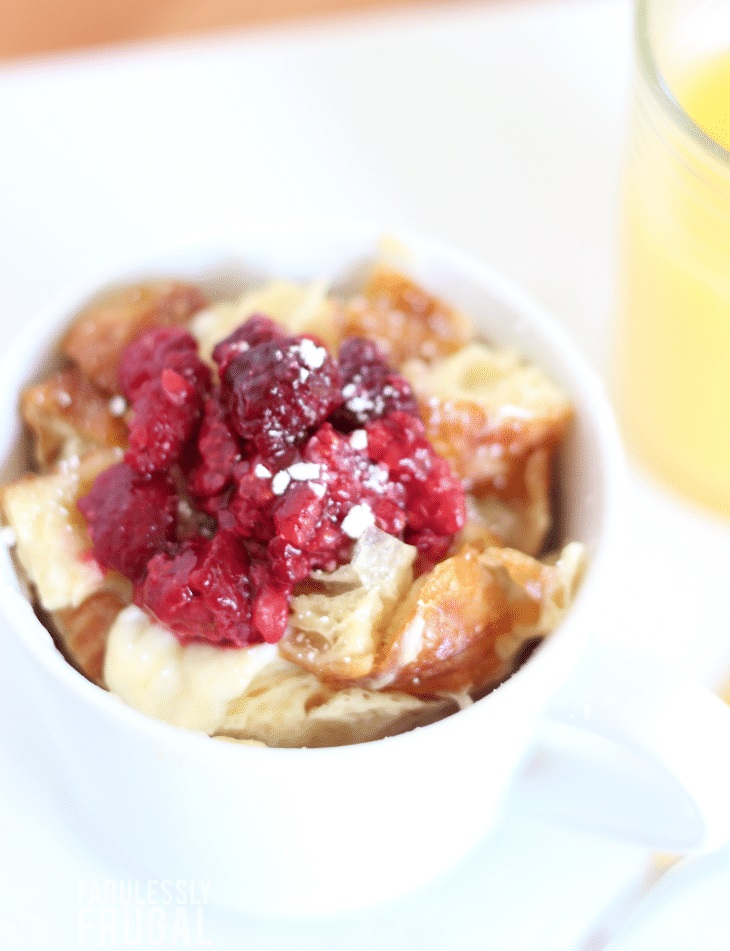
Cream Cheese French Toast In a Mug Recipe PREP TIME: 5 mins COOK TIME: 1 min 20 secs YIELD: 1 cup Recipe by fabulesslyfrugal.com Ingredients 1 ounce cream cheese 2 teaspoons granulated sugar 1 large egg 1/4 teaspoon vanilla 2 tablespoons milk 1 cup cubed bread or croissant (about 1 1/2 slices hearty bread cut into 1/2-inch pieces) 2 tablespoons raspberries (fresh or frozen), chopped Instructions Place cream cheese and sugar in mug, ramekin, or other microwave-safe small bowl. Use a fork to mash the cream cheese and sugar together until well combined. Add the egg, vanilla, and milk and use the fork to whisk until mixture is combined. It is ok if there are still small lumps of cream cheese. Add cubed bread or croissant pieces and gently fold them into the mixture without breaking them apart, until each piece is no longer dry. Let sit for about 1 minute, to allow bread to soak up the mixture. Microwave for 1 minute. If there is still liquid, microwave for another 10-30 seconds, depending on your microwave, until the mixture is solid. (1 minute and 20 seconds works well for me.) Careful, mug may be hot! Sprinkle chopped berries on top. If desired, sprinkle powdered sugar over top as well. Serve warm. 15-Minute Meat Loaf Prep:10 mins Cook:25 mins Yield:1 meatloaf (6 servings) Recipe by Thespruceeats.com Ingredients 1 tbsp. olive oil 1/3 cup minced onion Optional: minced garlic (to taste) 3 tbsp. quick cooking oats 1 (8 oz.) can tomato sauce 1/2 tsp. dried thyme leaves 1/4 tsp. dried marjoram leaves 1/4 tsp. garlic salt Dash white pepper 1 egg 1 lb. ground chuck 1 tbsp. brown sugar 1 tbsp. Worcestershire sauce 1 tbsp. prepared mustard Instructions Gather the ingredients. In a small microwave-safe bowl, combine oil, onion, and garlic; cook 3 to 4 minutes on high until soft. Combine with oats, 1/2 the tomato sauce, thyme, marjoram, garlic salt, pepper, and egg in a large bowl. Mix in meat with your hands. Gently shape into an 8×4 inch loaf. Place into a 9×5 inch glass loaf pan, making sure the meat mixture doesn’t touch the sides of the pan. Cover pan with microwave-safe waxed paper. Microwave at high power for 5 minutes, then carefully siphon off the juices using a turkey baster. Combine brown sugar, Worcestershire sauce and mustard with remaining tomato sauce. Spoon this mixture over the meatloaf, making sure to evenly coat top and sides. Return pan to the microwave, rotating one-half turn. Cover pan with microwave-safe waxed paper and cook at 50% for 15 to 20 minutes or until an instant-read meat thermometer inserted in the center of the loaf registers 160 F. Cover with foil and let stand 5 minutes on a solid surface before serving. (The temperature of the meatloaf will rise about 10 degrees during standing time.)   Microwave Risotto with Ham, Peas and Cheese Prep: 15 MINTotal: 40 MINServings: 4Recipe by -Tablespoon.com Ingredients • 4 tablespoons butter• 1/2 cup finely chopped onion• 2 cloves garlic, finely chopped• 1/4 teaspoon ground black pepper• 1 cup uncooked short-grain• Arborio rice• 2 1/2 cups chicken broth (from 32-oz carton)• 1 cup diced ham• 1 cup Cascadian Farm™ frozen organic peas (from 10-oz bag)• 1/2 cup shredded Parmesan cheese (2 oz) Instructions 1. In 2-quart microwavable bowl, place 2 tablespoons of the butter, the onion, garlic and pepper.2. Cover tightly with plastic wrap; microwave on High 2 to 4 minutes or until onion is soft. Add rice; stir to coat with butter. Cover; set aside.3. In 4-cup microwavable measuring cup, place broth. Microwave uncovered on High 5 minutes or until hot. Pour into rice mixture; stir. Cover tightly with plastic wrap; microwave on High 5 minutes.4. Stir mixture. Cover tightly; microwave on Medium (50%) for 12 minutes. Stir in ham and frozen peas; continue to cook on Medium (50%) 5 to 7 minutes longer or until rice is tender and liquid is absorbed.5. Stir in remaining 2 tablespoons butter and the cheese. Serve immediately.

Healthy Living: Steps to Take for a Healthier Lifestyle

There isn’t a better time than now to start getting fit with health information and products so easily accessible. Simply incorporate the basics into your daily routine – good nutrition, adequate exercise and a daily supplement – and start down the path toward better health. Plan a Nutritious Diet The Dietary Guidelines for Americans describes a healthy diet as one that emphasizes fruits, vegetables, lean meats, poultry, fish, beans, eggs, nuts, whole grains and fat-free or low-fat milk products. It should be low in saturated fat, trans fat, cholesterol, salt and added sugar. Warm weather makes fresh produce more easily accessible. Eat more fruits and vegetables by setting freshly washed and prepared produce on the kitchen counter or at eye level in the fridge. At every meal, make sure half your plate is made up of fruit and vegetable servings. One-fourth of your plate at every meal should be made up of grains, such as wheat, rice, oats, cornmeal or barley. People who eat whole grains as part of a healthy diet have a reduced risk of some chronic diseases. The remaining one-fourth of your plate should be lean or low-fat cuts of meat, plant-based protein or seafood. Get Regular Exercise The Department of Health and Human Services recommends an adequate amount of exercise every day. This guide can point to the right amount of exercise to add to your schedule: Get at least 150 minutes of moderate aerobic activity every week. For best results, spread the time out over several days.   Do strength training exercises at least twice a week. Lifting weights builds muscle, which means the body burns more calories – even at rest. It’s important to keep in mind that when people are active, they produce more free radicals. The antioxidants found in supplements can help buffer the negative effects of the workout. Improving your diet, exercising regularly, taking a daily supplement and getting enough restorative sleep are all important steps to overall wellness. Work to incorporate each step into your daily routine until you reach your goal of good health Source: eLivingToday.com For more great recipes, tips and appliance news, follow us on Facebook or Instagram.

Space Saving Places To Put Your Microwave

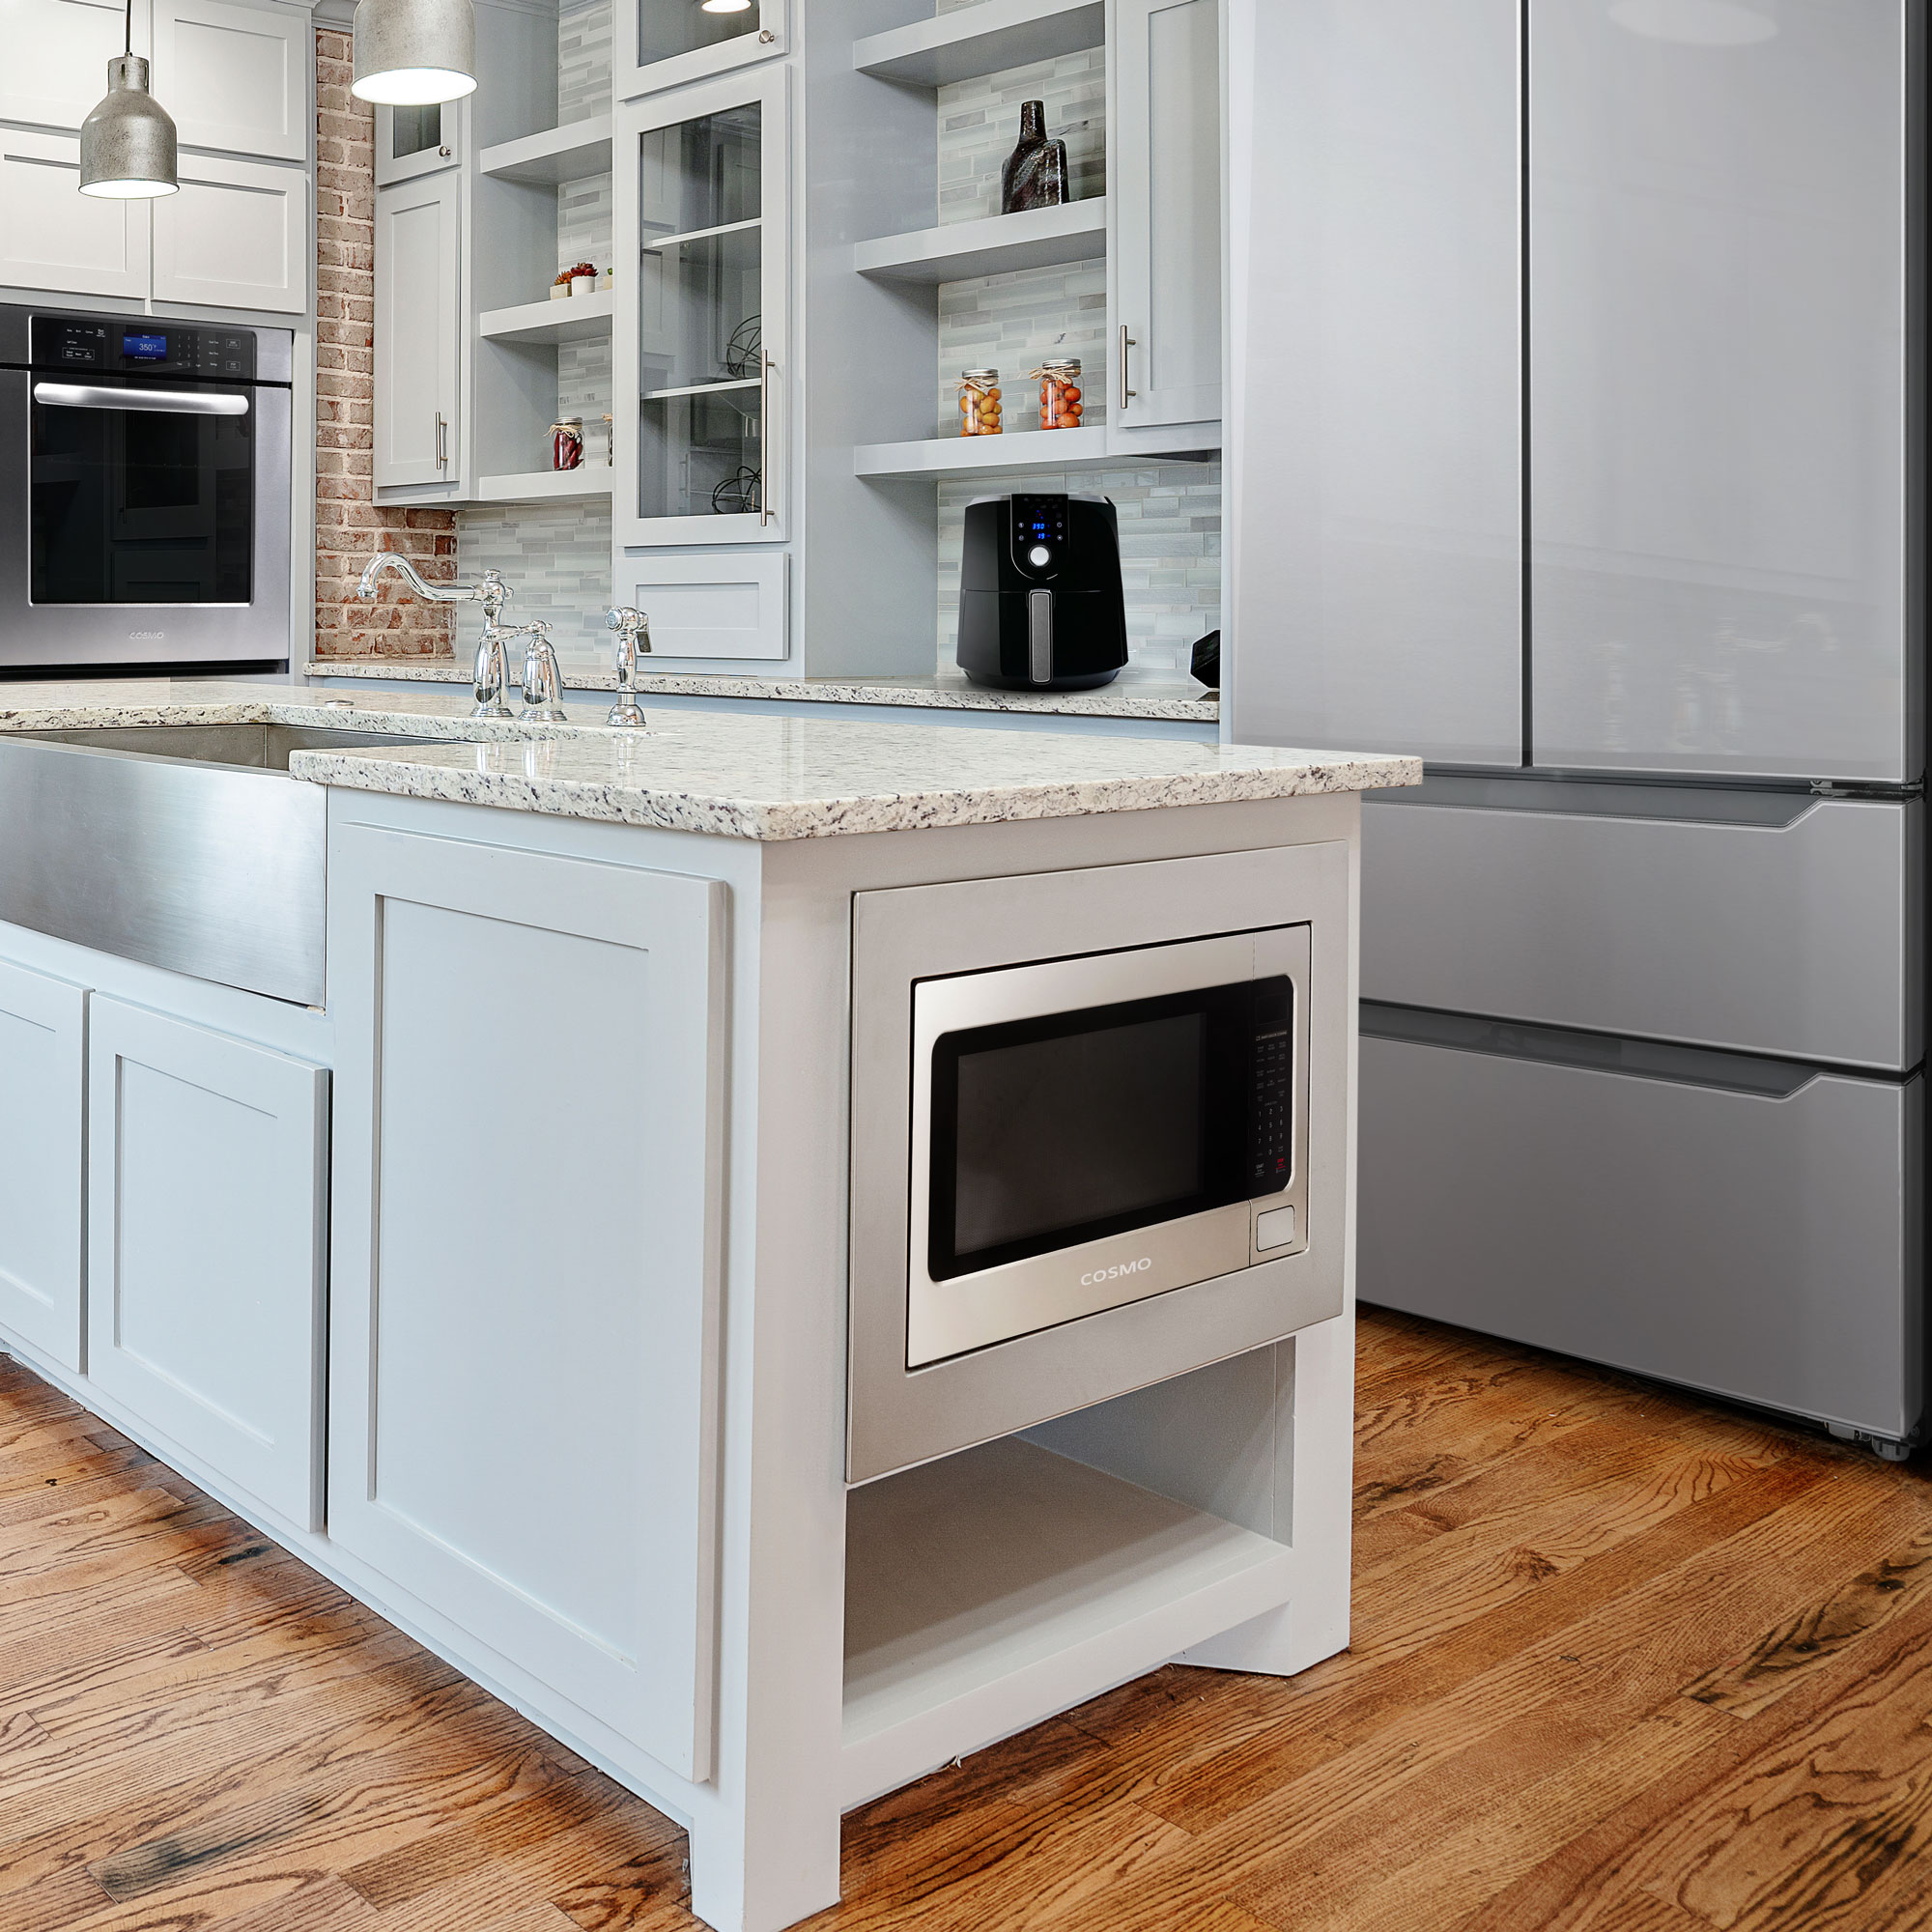
If there’s one kitchen appliance every home needs it’s a microwave but it’s one bulky appliance with a large footprint.   The typical location for a microwave oven is on the countertop, where it takes up so much precious counter space.  The second most common location is above the stove which is a popular option for smaller kitchens. The Over the Range microwave (OTR microwave) doubles as a vent hood.  Here are some great  OTR microwave options to choose from. 1. 24″ Over The Range Microwave Oven in Black/Stainless Steel  2. 30″ Stainless Steel Over the Range Microwave Oven  We know you want your microwave and you want your space too!? So here are six smart ways to get it off the countertop and out of the way. Under The Countertop  Stash the microwave on a lower shelf or in a cabinet shelf of an island, or in a specially-built cupboard nook. This has become a popular option in many kitchens lately. Just be aware of placing the microwave too low, which can become a nuisance if you use the microwave a lot. If you have curious small children, you want to make sure that the microwave is out of reach. Cosmo COS-BIM22SSB Built-in Microwave Oven with Smart Sensor, Touch Presets, 1200W & 2.2 cu. ft. Capacity, 24 inch, Stainless Steel 1200 WATTS OF POWER: With 10 power levels, cook meals with precise control and delicious results  CONVENIENT TOUCH PRESETS: Pre-programmed buttons for popcorn, potato, pizza, frozen veggies, beverages, and dinner plates  SMART SENSOR: Smart sensor cooking measures when food is hot  BUILD INTO CABINETRY: Incorporate the microwave into your kitchen cabinets using our Trim Kit (Part # COS-30BIMTK, purchased separately)  DIMENSIONS: Exterior dimensions (WxDxH): 24. 4 x 13. 6 x 19. 6 in; Turntable diameter: 16. 5 in. Over the Wall Oven.  You can also install a microwave in the wall, like an oven. If you have a wall oven, then the ideal microwave placement is above it. Installing your microwave oven in the wall means you’re not giving up any cabinet, island, or counter space. Plus, you’ll be able to install a slightly larger microwave because walls can bear more weight. On an Upper Shelf  If you can make do with a smaller microwave, then you can tuck it onto a shelf as part of your upper cabinets. Depending on the model you choose you may find that you need the shelf the microwave sits on to protrude out a little further than your upper cabinets, and you’ll want to plan ahead so that your electrician puts the required outlet on the wall in the space where the microwave will live. In A Drawer  This is a twist on the under-countertop option, but with a drawer microwave. This is installed under the counter and slides open like a drawer. This is one of the more space-efficient options especially for very small kitchens. Recess into a Wall Depending on the kitchen floor plan, you may be able to recess the microwave into a space taken from a closet or garage. Before cutting into a wall, ask a builder or remodeler to check the structure of the wall and add reinforcement if necessary. For more great recipes, tips and appliance news, follow us on Facebook or Instagram.

Let Kids Get Hands-On with Healthy Treats

Snacks are a way of life for people of all ages, but especially children, who consume about 25% of their daily calories from snacks, according to research published in the “Journal of Nutrition Education and Behavior.” Providing nutritionally balanced snacks for your children at home can make for a happy and healthy day. Planning snacks that are as delicious as they are healthy is a winning solution, and snacks are a simple way to add more nutrition to your child’s diet. Red, White and Blue Greek Yogurt Bark Prep time: 5 minutesServings: 12 3 cups plain non-fat Greek yogurt 1/3 cup honey, plus additional for drizzling (optional) 1 teaspoon vanilla 1/2 cup strawberries, sliced into rounds 1/2 cup blueberries 1/2 cup raspberries, halved In medium mixing bowl combine Greek yogurt, 1/3 cup honey and vanilla. On parchment paper-lined baking sheet, spread Greek yogurt mixture to 1/4-inch thickness. Press strawberries, blueberries and raspberries into yogurt. Freeze at least 3 hours. Break into pieces upon removing from freezer. Peanut Butter Yogurt Dip Prep time: 5 minutesServings: 4 3/4 cup vanilla Greek yogurt 1/4 cup peanut butter 1 dash cinnamon apples, graham crackers or other dipper of choice In bowl, six Greek yogurt, peanut butter and cinnamon until smooth. Serve with apples, graham crackers or another dipper of choice. Good Morning Yogurt Parfait Prep time: 5 minutesServings: 1 1/2 cup sliced or diced fruit, any variety 6 ounces low-fat or fat-free vanilla yogurt 1/4 cup granola or other cereal (optional) In small bowl or cup, layer fruit and yogurt, starting with fruit on bottom. Top with cereal or granola, if desired. Note: This recipe can be made using low-fat or non-fat cottage cheese sweetened with honey and cinnamon. Frozen Banana Pops Prep time: 2 hoursServings: 8 4 large bananas, peeled 8 wooden ice pop sticks 2 cups vanilla non-fat Greek yogurt 1/2 cup creamy natural peanut butter Cut each banana in half and carefully insert wooden ice pop stick in bottom of each, about one-third into banana. Place bananas on large baking sheet lined with parchment paper. Freeze bananas until partially frozen, about 30 minutes. Carefully dip each banana in tall pint glass of vanilla yogurt to coat, leaving 1/2-inch at bottom of banana uncoated. Return yogurt-coated bananas to parchment paper-lined baking sheet and freeze until completely firm, about 1 hour. Microwave peanut butter until smooth and creamy, about 30-45 seconds. Drizzle peanut butter evenly over bananas then place on baking sheet to freeze until peanut butter is firm, about 30 minutes. Serve immediately or wrap each banana in plastic wrap and store in freezer up to 3 months.