food

Making Homemade Berry Preserves and Jams: A Sweet Delight

There’s something incredibly satisfying about making your own berry preserves and jams. The process not only fills your kitchen with delicious aromas but also allows you to enjoy the vibrant flavors of fresh berries all year long. Whether you’re looking to make a gift for someone special or just want to stock up on homemade goodies, this guide will walk you through the steps to create your own berry preserves and jams. Choosing Your Berries 1 Selecting Fresh Berries For the best results, use fresh, ripe berries. Common choices include strawberries, raspberries, blueberries, blackberries, and a mix of these. Opt for berries that are free from mold and bruising. 2 Frozen Berries If fresh berries are not available, frozen berries work well. Just be sure to thaw them completely and drain any excess liquid before using. Essential Equipment 1 Canning Jars Choose canning jars with new, clean lids. Pint or half-pint jars are ideal for preserves and jams. 2 Large Pot and Utensils You’ll need a large pot for cooking the fruit mixture and a ladle for transferring the hot jam into jars. A canning funnel can help pour the jam into jars without spills. 3 Canning Tools Invest in a canning kit that includes tongs for handling hot jars, a magnetic lid lifter, and a jar lifter to safely remove jars from the hot water bath. Preparing the Berries 1 Washing and Sorting Rinse the berries thoroughly under cold water. Remove any stems, leaves, and damaged berries. 2 Mashing or Chopping Depending on the type of jam or preserve you want, mash the berries with a fork or potato masher for a smoother texture, or chop them if you prefer chunkier preserves. Making the Jam Basic Berry Jam Recipe Preserves vs. Jam 1 Preserves have larger pieces of fruit and a chunkier texture. To make preserves, cook the fruit with less pectin and allow the mixture to thicken with larger fruit chunks remaining. 2 Jam has a smoother texture and is made with more fruit pectin, resulting in a thicker consistency. For jam, mash the fruit to a finer consistency before cooking. Flavor Variations 1 Spiced Berry Jam Add spices like cinnamon, cloves, or nutmeg to your berry mixture for a unique twist. 2 Citrus Twist Incorporate orange or lime zest along with the lemon juice for an extra burst of citrus flavor. 3 Mixed Berry Blend Combine different types of berries for a complex, multi-layered flavor in your preserves and jams. Storage and Shelf Life Store homemade berry preserves and jams in a cool, dark place. Properly canned jars can last up to a year. Once opened, refrigerate and use within a few weeks. Making your own berry preserves and jams is a rewarding and enjoyable activity that allows you to savor the taste of summer all year long. With a bit of time and effort, you can create delicious, homemade treats that are perfect for breakfast, snacks, or gifts. Enjoy the process and the delightful results of your homemade berry preserves!

The Health Benefits of Legumes and Pulses: Nutritional Powerhouses for a Healthier You

Legumes and pulses, often referred to as “the meat of the vegetable world,” are nutritional powerhouses that offer a range of health benefits. From improving heart health to aiding digestion, these versatile foods are a fantastic addition to any diet. Here’s a deep dive into the health benefits of legumes and pulses and how they can enhance your overall well-being. Nutrient-Rich Powerhouses 1 Packed with Protein Legumes and pulses, such as lentils, chickpeas, black beans, and peas, are excellent sources of plant-based protein. This makes them an ideal option for vegetarians and vegans looking to meet their protein needs. Protein is essential for muscle repair, immune function, and overall growth. 2 High in Fiber One of the standout benefits of legumes is their high fiber content. Fiber aids in digestion, helps maintain a healthy weight, and can lower cholesterol levels. A diet rich in fiber from legumes can support a healthy gut and reduce the risk of developing certain chronic diseases. 3 Rich in Essential Nutrients Legumes and pulses are loaded with essential vitamins and minerals, including: Heart Health 1 Lower Cholesterol Levels The soluble fiber in legumes helps lower LDL (bad) cholesterol levels, which can reduce the risk of heart disease. Studies have shown that regular consumption of legumes can lead to a significant reduction in cholesterol levels. 2 Blood Pressure Regulation Legumes are rich in potassium, which helps balance sodium levels in the body. Maintaining a proper potassium-to-sodium ratio is crucial for managing blood pressure and reducing the risk of hypertension. Blood Sugar Control 1 Low Glycemic Index Legumes have a low glycemic index (GI), meaning they cause a gradual rise in blood sugar levels rather than a sharp spike. This helps in managing blood sugar levels and can be particularly beneficial for individuals with diabetes or those at risk of developing diabetes. 2 Improved Insulin Sensitivity Regular consumption of legumes has been linked to improved insulin sensitivity, which helps the body use glucose more effectively and can prevent or manage type 2 diabetes. Digestive Health 1 Enhanced Digestive Function The fiber in legumes promotes regular bowel movements and helps prevent constipation. Additionally, fiber acts as a prebiotic, feeding beneficial gut bacteria and supporting a healthy microbiome. 2 Prevention of Digestive Disorders A diet high in fiber from legumes may reduce the risk of developing gastrointestinal disorders, including diverticulitis and irritable bowel syndrome (IBS). Weight Management 1 Satiety and Fullness Legumes are known for their ability to increase feelings of fullness and satiety. Their high protein and fiber content can help control appetite, making it easier to manage weight and reduce overall calorie intake. 2 Nutrient-Dense and Low in Calories Legumes are nutrient-dense, providing a high amount of vitamins and minerals without a high calorie count. Incorporating them into meals can help ensure you’re getting essential nutrients while keeping calorie intake in check. Culinary Versatility 1 Easy to Incorporate Legumes and pulses are incredibly versatile and can be used in a variety of dishes, from soups and stews to salads and veggie burgers. Their mild flavor makes them a perfect base for many recipes. 2 Budget-Friendly Legumes are often more affordable than animal-based proteins, making them a cost-effective option for those looking to eat healthily on a budget. Sustainability Environmentally Friendly Growing legumes and pulses has a lower environmental impact compared to animal farming. They require less water and contribute to soil health by fixing nitrogen, making them a sustainable choice for eco-conscious eaters. Incorporating legumes and pulses into your diet offers a myriad of health benefits, from improved heart health and blood sugar control to enhanced digestive function and weight management. Their versatility, nutritional value, and sustainability make them an excellent choice for anyone looking to improve their overall health and well-being. Whether you’re a seasoned cook or just beginning to explore plant-based options, legumes and pulses are a fantastic addition to your meals. Enjoy their rich flavors and reap the benefits of these nutritional powerhouses!

How to Temper Chocolate for Baking and Confectionery

Tempering chocolate is an essential skill for any baker or confectioner aiming to create glossy, smooth, and perfectly set chocolate treats. Properly tempered chocolate has a professional finish, a satisfying snap, and a smooth texture that melts beautifully. Whether you’re making chocolates, dipping fruits, or coating cakes, understanding how to temper chocolate can elevate your confections to the next level. Here’s a step-by-step guide to tempering chocolate for baking and confectionery. What is Tempering Chocolate? Tempering chocolate is the process of heating and cooling chocolate to stabilize the cocoa butter crystals, ensuring that the chocolate has a smooth texture and a glossy finish when it sets. Proper tempering helps prevent chocolate from becoming dull or developing unsightly streaks and ensures it has a satisfying snap when broken. Why Temper Chocolate? Ingredients and Tools Needed Methods for Tempering Chocolate There are three common methods for tempering chocolate: the Seeding Method, the Tabling Method, and the Microwave Method. Here’s how to use each method effectively. 1. Seeding Method Steps: 2. Tabling Method Steps: 3. Microwave Method Steps: Tips for Success Tempering chocolate may seem like a delicate process, but with a bit of practice and the right technique, you can achieve beautifully finished confections every time. Whether you’re creating elegant chocolate candies, coating fruits, or decorating cakes, mastering the art of tempering will help you create treats with a glossy finish, satisfying snap, and smooth texture. So grab your chocolate, gather your tools, and start tempering! Have you tried tempering chocolate before? Share your tips and experiences in the comments!

Unique Recipes Featuring Exotic Fruits: A Culinary Adventure

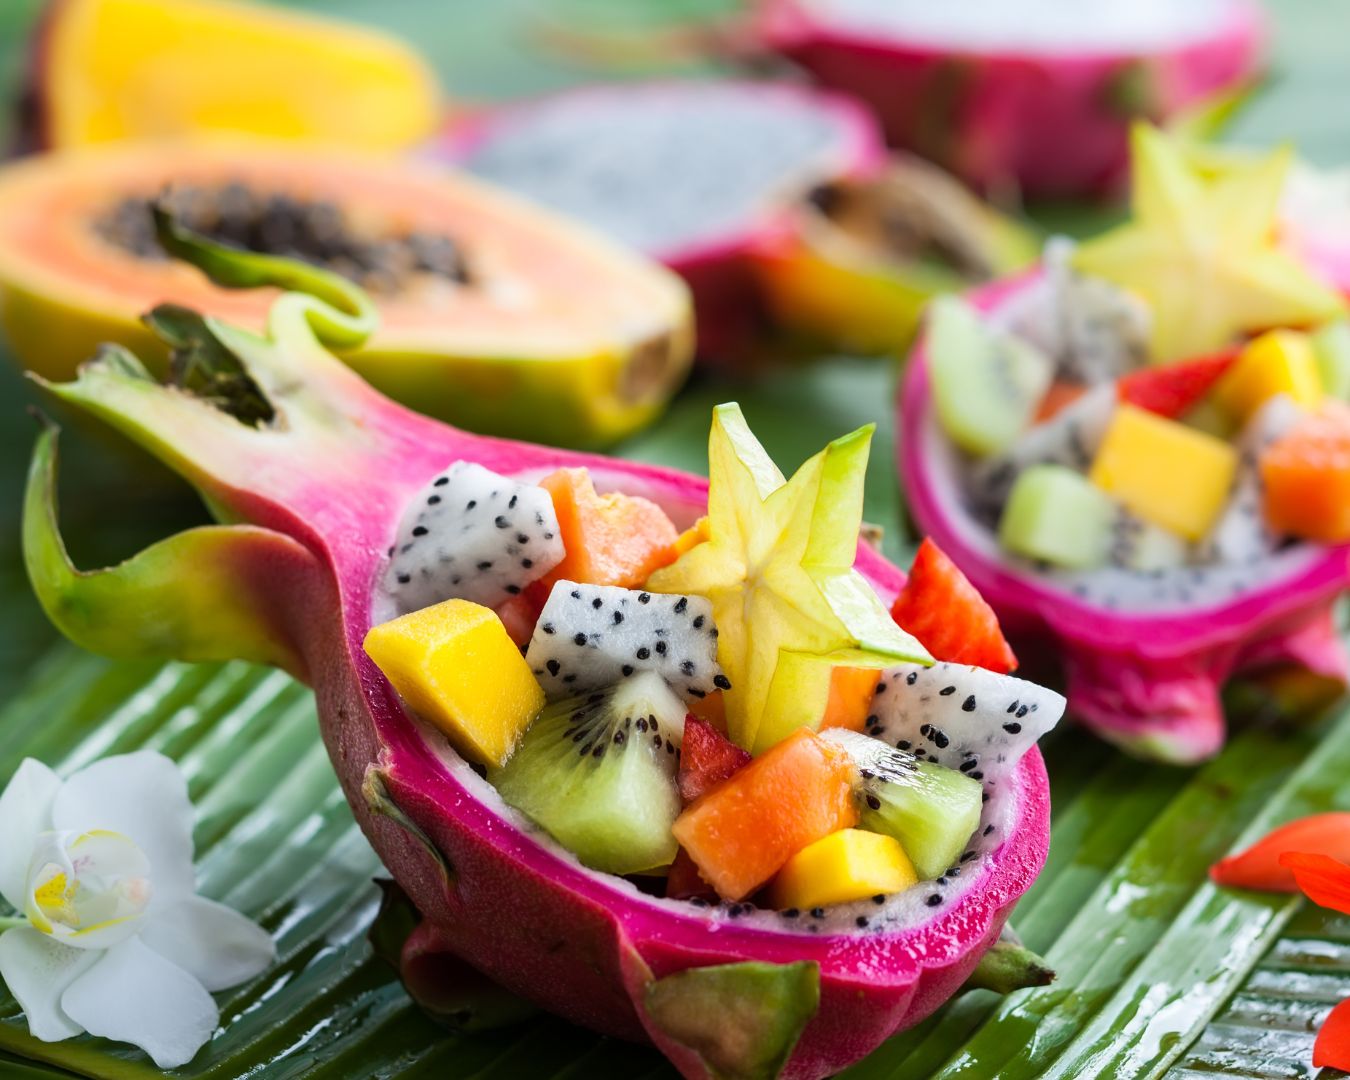
Exotic fruits bring a touch of the extraordinary to your kitchen, offering unique flavors, vibrant colors, and nutritional benefits that can transform ordinary dishes into extraordinary ones. From tangy to sweet, these fruits can be used in a variety of recipes to add a new dimension to your meals. If you’re ready to explore the world of exotic fruits, here are some unique recipes that highlight their delightful flavors and textures. Dragon Fruit Smoothie Bowl Dragon fruit, also known as pitaya, is a visually stunning fruit with a mildly sweet taste. Its vibrant pink or white flesh is dotted with tiny black seeds and has a texture similar to kiwi. Ingredients: Instructions: Papaya and Lime Chicken Salad Papaya adds a tropical twist to a classic chicken salad. Its sweetness complements the tangy lime dressing and crunchy vegetables. Ingredients: Instructions: Mango and Avocado Salsa Mango’s sweet and juicy flavor pairs beautifully with creamy avocado, making it a perfect complement to grilled meats or as a standalone dip. Ingredients: Instructions: Starfruit and Ginger Chutney Starfruit, also known as carambola, has a crisp texture and a tangy flavor that works well in a sweet and spicy chutney. It’s an excellent accompaniment to curries or grilled meats. Ingredients: Instructions: Passion Fruit Sorbet Passion fruit’s tangy, aromatic flavor makes it an ideal choice for a refreshing sorbet. This dessert is perfect for hot summer days or as a light finish to a meal. Ingredients: Instructions: Kumquat Marmalade Kumquats are small citrus fruits with a sweet-tart flavor. Their entire peel is edible, making them ideal for marmalade. Ingredients: Instructions: Exploring exotic fruits can add excitement and variety to your cooking. Whether you’re making a refreshing smoothie bowl, a zesty salsa, or a tangy chutney, these fruits offer unique flavors that can elevate your dishes and impress your taste buds. So don’t be afraid to step out of your culinary comfort zone and experiment with these exotic fruits. Your taste buds will thank you! Have you tried cooking with exotic fruits? Share your favorite recipes and experiences in the comments!

Blending Your Own Herb Mixes: A Fresh Approach to Flavor

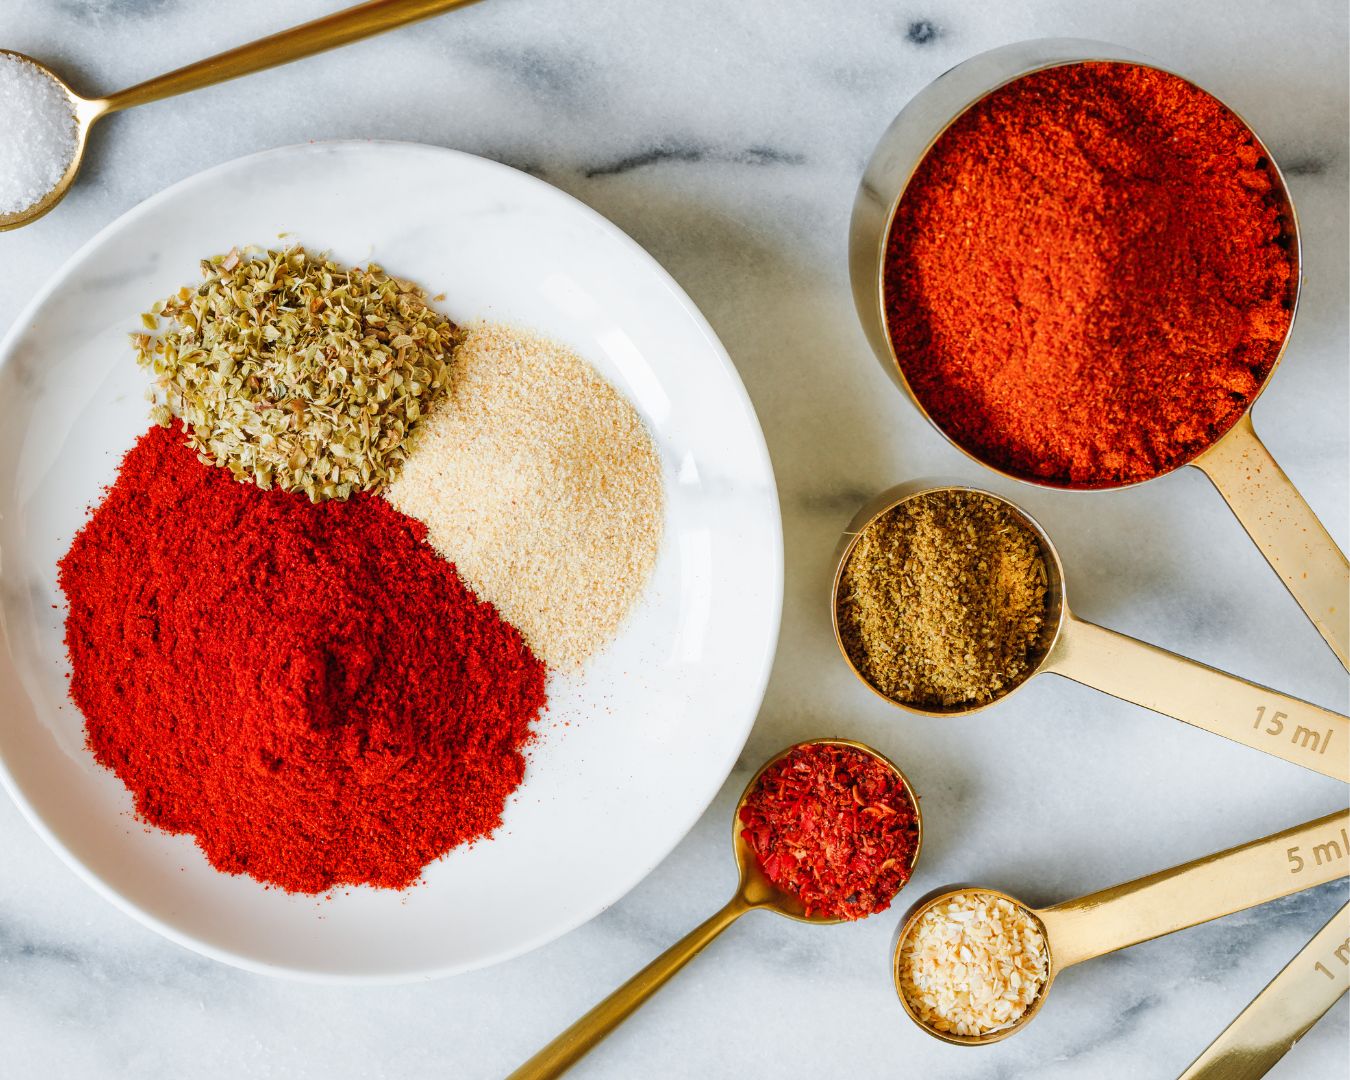
Herbs are the unsung heroes of the kitchen, elevating dishes with their vibrant flavors and aromatic profiles. While pre-made herb mixes are convenient, blending your own can be a game-changer, allowing you to customize flavors to suit your taste and dietary preferences. Whether you’re a seasoned cook or a kitchen newbie, creating your own herb mixes is a fun and rewarding way to enhance your culinary creations. Here’s a guide to help you get started with blending your own herb mixes at home. Why Blend Your Own Herb Mixes? Essential Herbs to Start With When creating your own herb blends, it’s important to choose high-quality, fresh herbs. Here are some versatile herbs to consider: Basic Steps to Blend Your Own Herb Mixes Popular Herb Mixes to Try Tips for Success Blending your own herb mixes is a simple yet impactful way to elevate your cooking. With a little experimentation and creativity, you can create personalized blends that enhance your favorite dishes and bring new dimensions of flavor to your kitchen. So gather your herbs, start mixing, and enjoy the fresh, vibrant flavors of your homemade herb blends! Have you tried blending your own herb mixes? Share your favorite combinations in the comments!

Discover the Health Benefits of Different Culinary Oils: Olive, Avocado, Coconut, and More

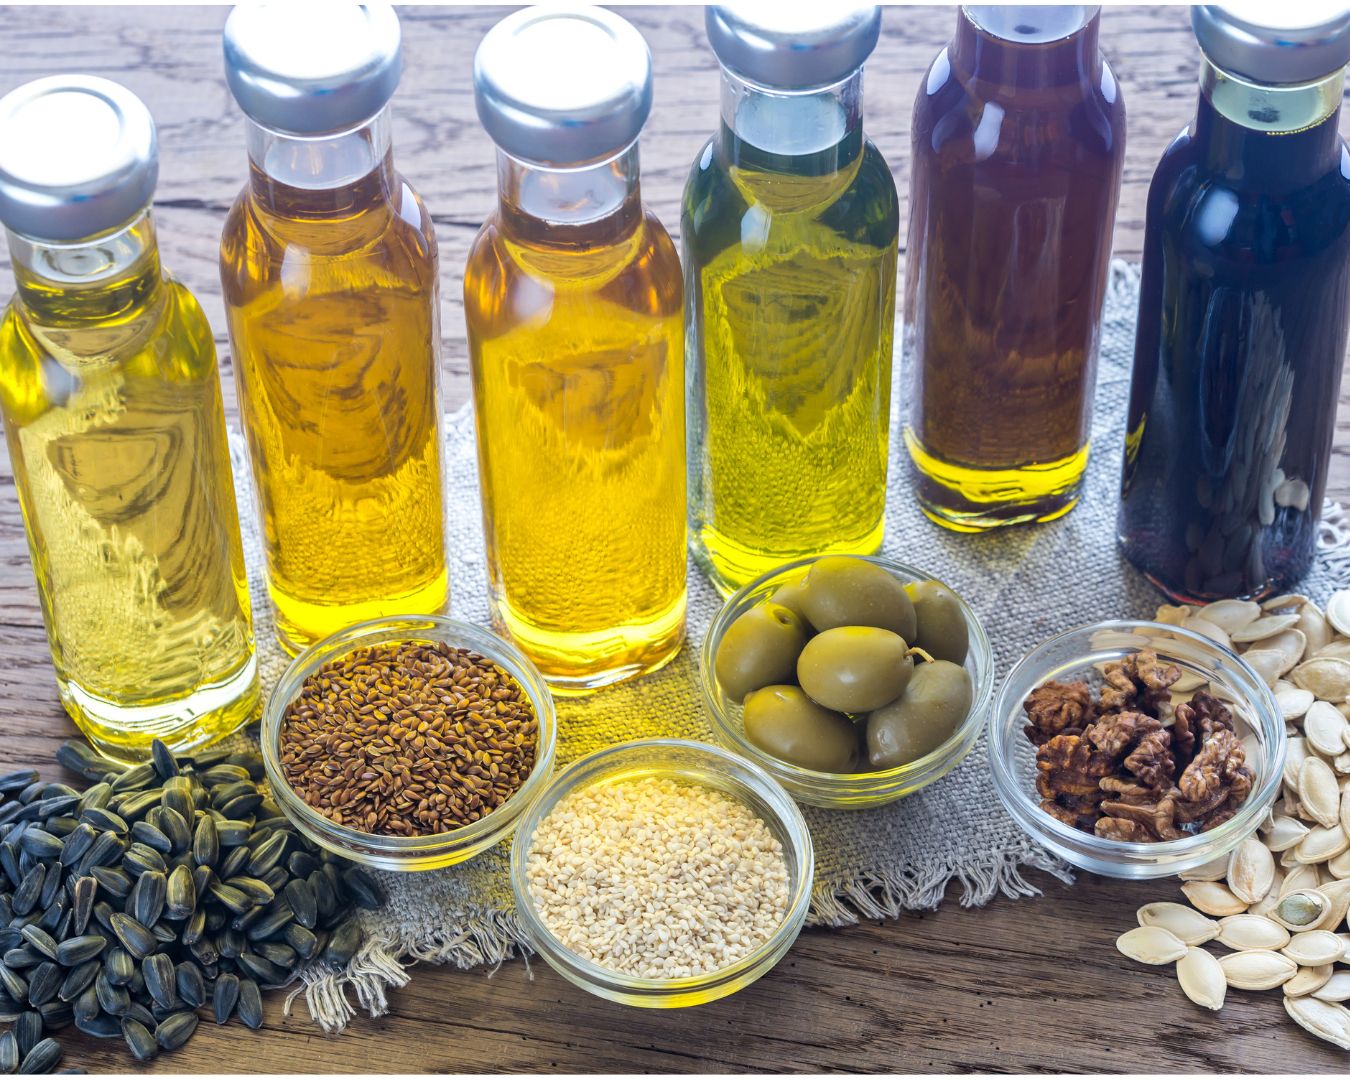
Choosing the right oil for cooking can have a big impact on the flavor and nutritional value of your meals. While some oils are known for their heart-healthy benefits, others can add unique flavors and specific health advantages to your dishes. In this blog post, we’ll explore the health benefits of some of the most popular culinary oils, including olive, avocado, coconut, and others, to help you make informed choices for your kitchen. Olive Oil: The Heart-Healthy Classic Olive oil, especially extra virgin olive oil (EVOO), is a staple of the Mediterranean diet and has been celebrated for its health benefits for centuries. Health Benefits: Best Uses: Olive oil is ideal for salad dressings, drizzling over vegetables, or low- to medium-heat cooking. Use extra virgin olive oil for its robust flavor in cold dishes and light sautéing. Avocado Oil: Nutrient-Dense and Versatile Avocado oil is another excellent oil that’s growing in popularity due to its nutritional profile and versatility. Health Benefits: Best Uses: Avocado oil has a high smoke point, making it ideal for high-heat cooking, such as grilling, roasting, and frying. Its mild flavor also makes it a great option for salad dressings or drizzling over vegetables. Coconut Oil: A Unique Source of Medium-Chain Triglycerides (MCTs) Coconut oil has garnered attention for its distinctive composition, particularly its high content of medium-chain triglycerides (MCTs), which provide unique health benefits. Health Benefits: Best Uses: Coconut oil works well in baking, sautéing, and frying due to its high smoke point and rich flavor. It can also be used in curries or added to smoothies for an energy boost. However, use it in moderation due to its high saturated fat content. Flaxseed Oil: A Plant-Based Source of Omega-3s Flaxseed oil is prized for its high concentration of alpha-linolenic acid (ALA), a plant-based omega-3 fatty acid, which is essential for heart health. Health Benefits: Best Uses: Flaxseed oil should not be heated, as it has a low smoke point. Use it in salad dressings, drizzled over cooked vegetables, or mixed into smoothies. Store flaxseed oil in the refrigerator to prevent it from going rancid. Sesame Oil: Flavorful and Rich in Antioxidants Sesame oil is a flavorful oil commonly used in Asian and Middle Eastern cuisines. It comes in two varieties: light sesame oil and toasted sesame oil, each with distinct uses. Health Benefits: Best Uses: Light sesame oil is good for stir-frying and sautéing due to its higher smoke point. Toasted sesame oil has a strong, nutty flavor and is best used as a finishing oil or in dressings and marinades. Grapeseed Oil: A Mild and Heart-Healthy Option Grapeseed oil is a byproduct of winemaking and is known for its light, mild flavor and high polyunsaturated fat content. Health Benefits: Best Uses: Grapeseed oil has a high smoke point, making it great for frying, sautéing, and roasting. Its mild flavor makes it a good choice for salad dressings or as a base for homemade mayonnaise. Walnut Oil: Nutty Flavor and Omega-3s Walnut oil is less commonly used in cooking but is highly valued for its omega-3 content and rich, nutty flavor. Health Benefits: Best Uses: Walnut oil is best used as a finishing oil in salads, drizzled over vegetables, or added to baked goods. It has a low smoke point, so it’s not ideal for high-heat cooking. The right culinary oil can enhance not only the flavor of your dishes but also your health. Whether you’re looking for heart-healthy options like olive or avocado oil, energy-boosting coconut oil, or omega-3-rich flaxseed and walnut oils, each oil brings unique benefits to the table. By choosing a variety of oils and using them appropriately in your cooking, you can optimize both the taste and the nutritional value of your meals.

Boost Your Health by Easily Incorporating Superfoods into Your Diet

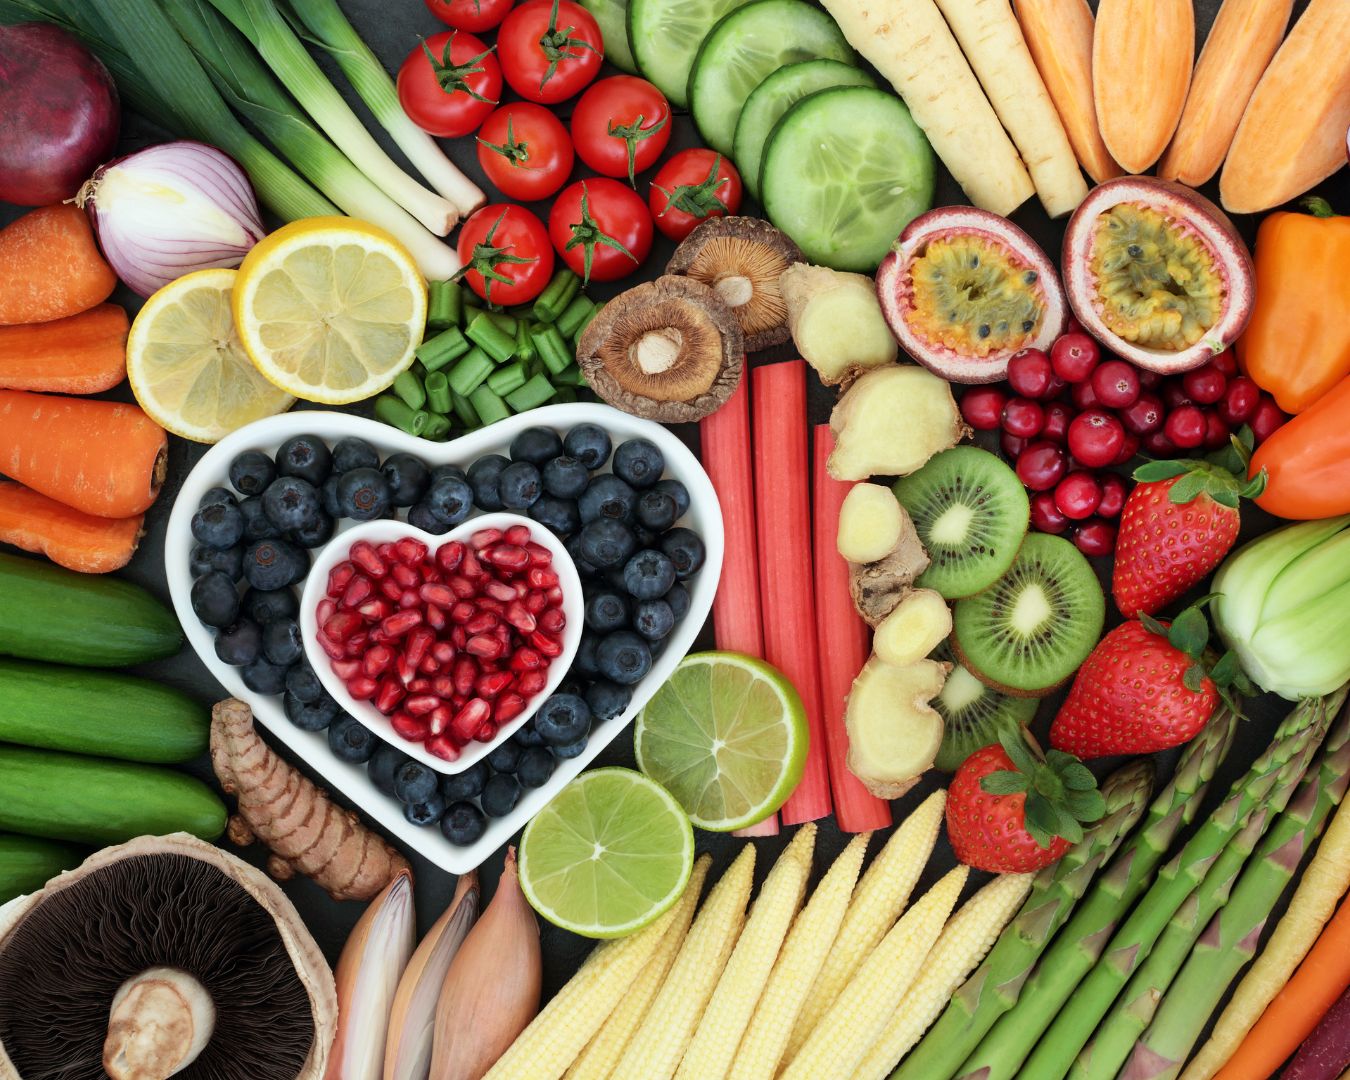
Superfoods are nutrient-dense foods packed with vitamins, minerals, and antioxidants that can significantly benefit your health. From leafy greens like kale to seeds like chia, these foods provide essential nutrients that can support your immune system, improve digestion, and enhance overall well-being. But how do you seamlessly add these powerful foods to your everyday diet? In this post, we’ll explore easy and delicious ways to incorporate superfoods into your meals without overwhelming your routine. Start Your Day with Superfoods at Breakfast Breakfast is a great opportunity to infuse your meal with superfoods, giving your body a healthy head start. Upgrade Your Snacks with Superfoods Snacks are an excellent way to sneak more superfoods into your diet. Supercharge Your Salads Salads are a natural home for superfoods and can be customized with a wide range of nutrient-dense ingredients. Power Up Your Lunch and Dinner Incorporating superfoods into your main meals is easier than you think with a few simple swaps. Supercharge Your Soups and Stews Soups and stews provide the perfect opportunity to incorporate superfoods without much effort. Drink Your Superfoods Superfoods don’t have to be limited to solid foods. Beverages can also be a great way to boost your nutrient intake. Incorporate Superfoods into Your Desserts Yes, even your desserts can be supercharged with nutrients without sacrificing flavor! Incorporating superfoods into your diet doesn’t have to be complicated. By making small, intentional changes, you can gradually increase the amount of nutrient-dense, health-boosting foods you consume. Whether it’s adding a handful of spinach to your smoothie or using quinoa as a base for your salad, these small adjustments can have a big impact on your overall health and well-being. So start experimenting with these simple ideas and give your meals a nutritional upgrade today!

Cooking Techniques to Enhance the Flavor of Fungi

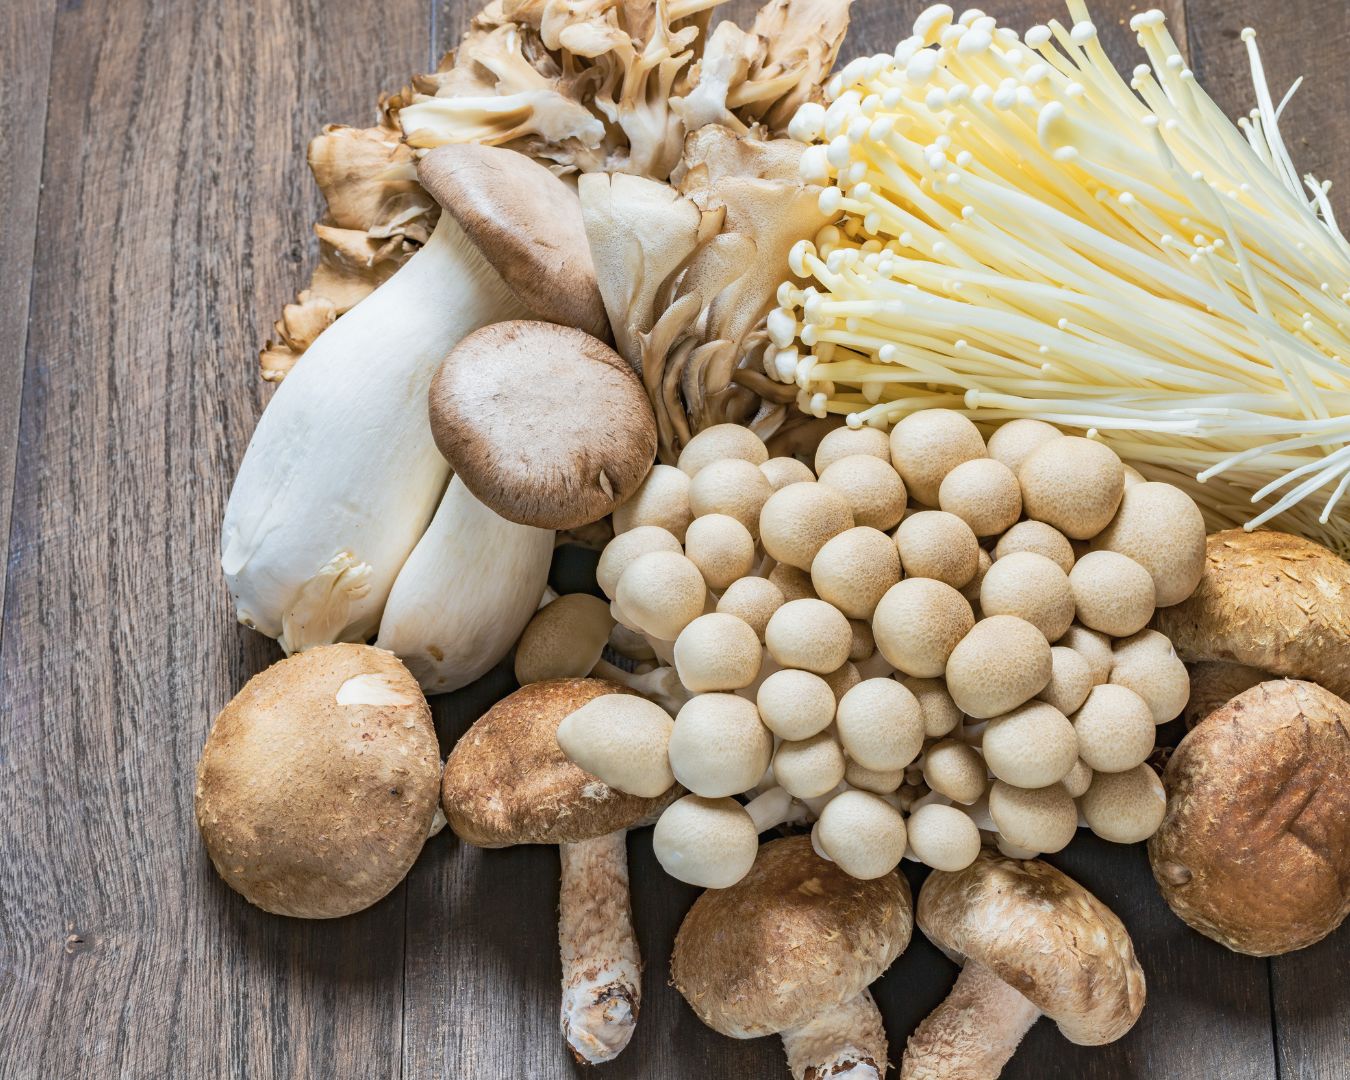
Mushrooms, a favorite in kitchens around the world, are packed with earthy, umami-rich flavors that can elevate any dish. Whether you’re working with common varieties like button mushrooms or more exotic types like shiitake or oyster, cooking techniques can significantly enhance their flavor and texture. In this post, we’ll explore some of the best methods to bring out the deliciousness of fungi and take your culinary creations to the next level. Sautéing: A Simple Yet Effective Technique Sautéing is one of the most straightforward ways to cook mushrooms, but the key is to do it properly to bring out their deep, savory flavors. How to Do It: Why It Works: Mushrooms are over 80% water, and sautéing helps to evaporate excess moisture while caramelizing the surface. This browning enhances their natural umami flavor, resulting in a more intense taste. Roasting: Intensifying Flavors Through High Heat Roasting mushrooms is another excellent method to concentrate their flavors. The high, dry heat of the oven brings out their natural sweetness and adds a subtle crispiness. How to Do It: Why It Works: Roasting dehydrates mushrooms slightly, concentrating their flavor and creating a meatier, more robust texture. Grilling: A Smoky Flavor Boost Grilling mushrooms is a fantastic way to add a smoky, charred flavor that complements their natural earthiness. Larger mushrooms, like portobellos or king oysters, are particularly well-suited for the grill. How to Do It: Why It Works: The grill imparts a smoky depth to the mushrooms, while the direct heat caramelizes their natural sugars, enhancing their richness and texture. Braising: Rich, Savory Flavor Infusion Braising involves cooking mushrooms in a flavorful liquid over low heat, infusing them with additional aromas and complexity. This method is perfect for dishes like stews or risottos, where you want the mushrooms to take on the flavor of the cooking liquid. How to Do It: Why It Works: Braising infuses the mushrooms with additional flavors while breaking down their fibers, making them tender and deeply flavorful. Dry Searing: Maximizing Umami Dry searing is an unusual but highly effective way to maximize the umami flavor of mushrooms. This technique involves cooking mushrooms without any oil or fat to allow them to release and concentrate their natural juices. How to Do It: Why It Works: By drawing out the mushrooms’ moisture through dry searing, you concentrate their umami flavor, leading to an incredibly rich and intense taste. Marinating: Enhancing Flavor Before Cooking Marinating mushrooms is a fantastic way to add depth before cooking. The porous nature of mushrooms allows them to absorb flavors from marinades, adding complexity to their natural taste. How to Do It: Why It Works: The marinade permeates the mushrooms, infusing them with complementary flavors that enhance their umami profile. Using Dried Mushrooms for a Flavor Boost Dried mushrooms, such as porcini or shiitake, are incredibly potent and can be used to intensify the flavor of dishes. Rehydrating them in hot water releases their concentrated flavor, which can be used both in the mushrooms and the soaking liquid. How to Do It: Why It Works: Dried mushrooms have an intensified flavor compared to fresh ones. When rehydrated, they add a depth of flavor that can transform simple dishes into something extraordinary. Mushrooms are incredibly versatile and can be transformed through various cooking methods, each enhancing their natural umami flavor in different ways. Whether you’re sautéing, roasting, grilling, or braising, experimenting with these techniques can help you discover new depths of flavor and texture in this humble ingredient. So the next time you’re cooking with fungi, try out one of these methods and enjoy the rich, earthy flavors that mushrooms bring to your meals!

Tips for Efficiently Using Your Kitchen Timer and Thermometer: Precision for Perfect Cooking

A kitchen timer and a thermometer are two of the most essential tools for any home cook or baker. They help ensure that your meals are cooked to perfection by providing precise control over cooking times and temperatures. However, using these tools efficiently can make all the difference between a deliciously moist roast and an overcooked one, or perfectly baked cookies versus burnt edges. Here are some tips to help you make the most out of your kitchen timer and thermometer for flawless results in the kitchen. Know When to Use a Timer and When to Use a Thermometer While both the timer and thermometer help with cooking accuracy, they serve different purposes, and knowing when to rely on each one is key. Pro Tip: For dishes like roasts, cakes, or custards, use both tools: the timer as a general guide and the thermometer to ensure the dish reaches the perfect internal temperature. Set Multiple Timers for Different Tasks When cooking multiple dishes at once, it’s easy to lose track of time and overcook or undercook an item. Using multiple timers can help you keep everything on track, ensuring all components of your meal are ready at the same time. Pro Tip: To prevent forgetting a timer, place a sticky note near the stove or oven with labels that remind you which timer belongs to which dish. Place the Thermometer Properly for Accurate Readings Using a thermometer correctly is crucial for ensuring accurate readings, especially with meat and poultry. Incorrect placement can lead to misleading results, which can result in undercooking or overcooking your dish. Pro Tip: Always clean your thermometer before and after each use to prevent cross-contamination, especially when working with raw meat. Use Rest Times Wisely Resting is crucial for meats and baked goods to finish cooking and settle after being removed from the heat. Your kitchen timer and thermometer can help you make the most of this process. Pro Tip: For meats, aim to remove them from the heat 5-10 degrees below your target internal temperature and let carryover cooking bring it up to the final desired temperature. Program Your Timer for Prep Steps Timers aren’t just for cooking—they’re also helpful during preparation. Many recipes require timed tasks, such as letting dough rise, marinating meat, or allowing batter to rest. Set your timer for each of these steps to ensure you’re not rushing through important prep tasks. Pro Tip: Use different sound alarms or labels to distinguish between prep timers and cooking timers. Stay Hands-On with Cooking Thermometers Digital and instant-read thermometers are fantastic tools, but they require active attention. You can’t just stick them in and leave them like a timer. Here’s how to get the most accurate readings: Pro Tip: Invest in a probe thermometer that stays in the meat while it cooks, giving you a real-time temperature reading without having to open the oven. Use Alarms for Thermometer Targets Some thermometers come with built-in alarms that alert you when your food reaches the desired temperature. This feature ensures that you don’t have to keep opening the oven or grill to check. Pro Tip: If your thermometer doesn’t have an alarm, set a separate timer as a reminder to check the temperature at regular intervals during cooking. Keep Batteries and Accuracy in Check A dead battery or an inaccurate reading can lead to cooking disasters. Regularly check your thermometer and timers to ensure they’re functioning correctly. Mastering the use of your kitchen timer and thermometer can elevate your cooking from good to great by ensuring precise timing and temperature control. Whether you’re baking cookies, roasting meats, or deep-frying, these tools help you cook with confidence, ensuring your food is cooked safely and to perfection. By following these tips, you’ll avoid overcooked meals and undercooked disasters, making your time in the kitchen more efficient and enjoyable.

Cooking and Baking with Seeds: Unlocking Flavor, Texture, and Nutrition

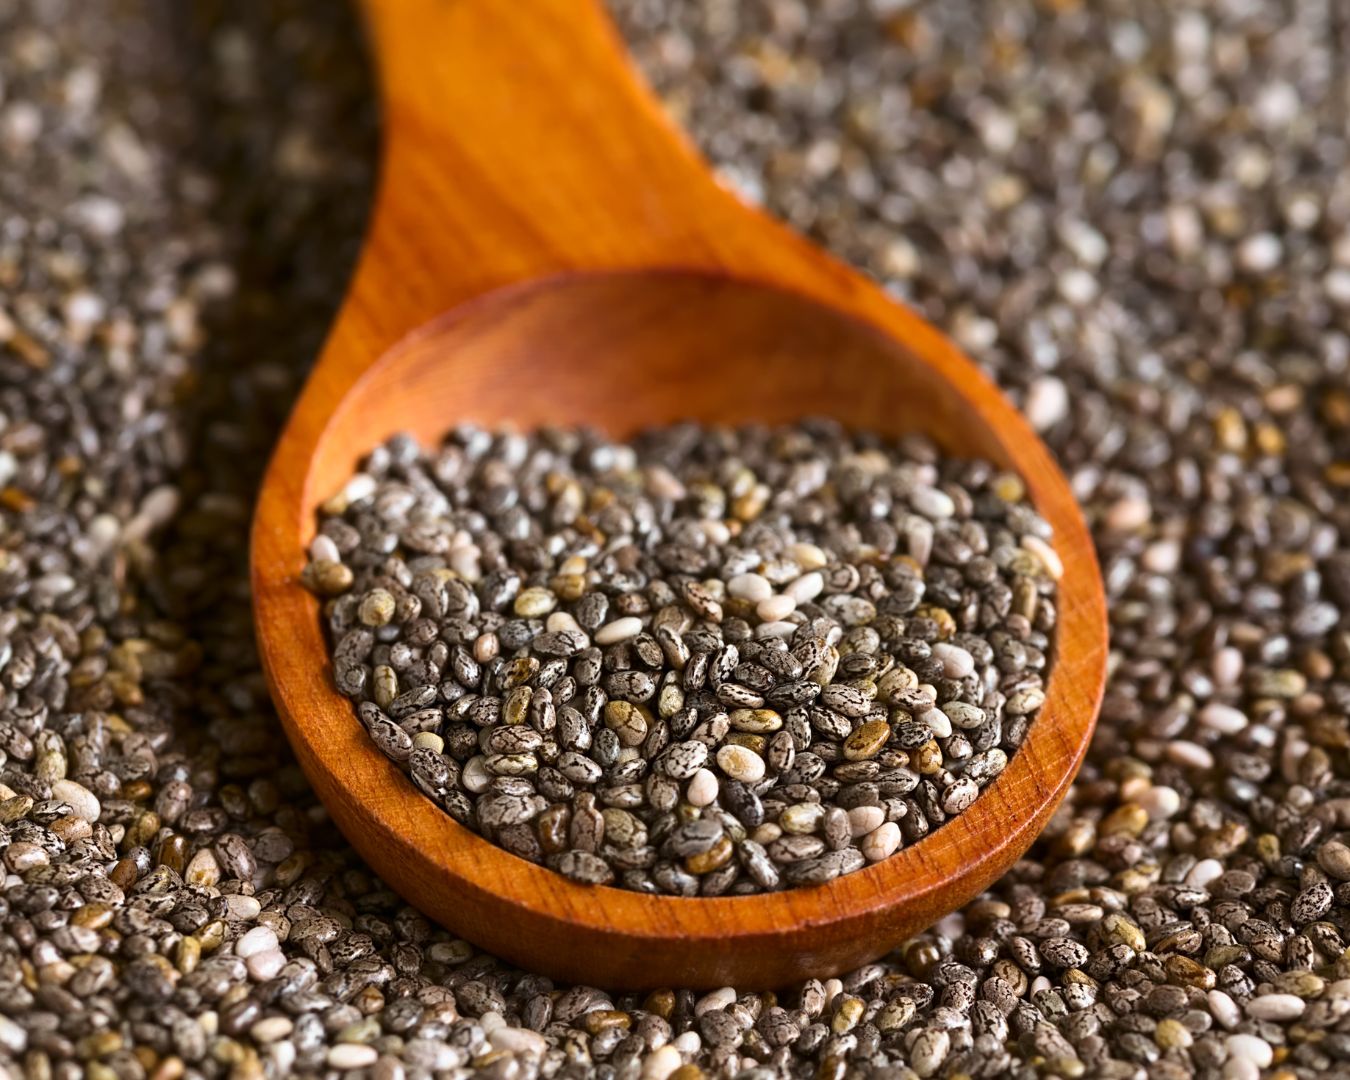
Seeds are tiny powerhouses of flavor, texture, and nutrition that can elevate your cooking and baking in exciting ways. From sprinkling chia seeds over your morning yogurt to adding a crunch of sunflower seeds to your salads, seeds are versatile, nutrient-rich ingredients that deserve a starring role in the kitchen. Whether you’re making savory dishes or sweet treats, incorporating seeds can boost the taste, nutritional value, and visual appeal of your meals. Let’s dive into the world of seeds and explore how you can start cooking and baking with them. Why Use Seeds in Cooking and Baking? Seeds are packed with essential nutrients like healthy fats, protein, fiber, vitamins, and minerals. They are particularly rich in omega-3 fatty acids, antioxidants, and phytochemicals, making them excellent for heart health, digestion, and overall wellness. But beyond their health benefits, seeds bring a unique combination of flavors and textures to your dishes. They can be crunchy, nutty, or mildly sweet, depending on the variety and how they’re used. Here’s a look at some of the most popular seeds you can incorporate into your recipes. Common Types of Seeds Chia Seeds Chia seeds are small, but they pack a powerful nutritional punch. When soaked, they form a gel-like consistency, making them a fantastic addition to smoothies, puddings, and jams. In baking, chia seeds can be used as a substitute for eggs (just mix 1 tablespoon of chia seeds with 3 tablespoons of water to create a chia “egg”). They are also great for adding a subtle crunch to granola bars, muffins, and breads. Try this: Flaxseeds Flaxseeds are another nutrition powerhouse, rich in fiber and omega-3 fatty acids. Similar to chia seeds, ground flaxseeds can be used as an egg substitute in baking. Their nutty flavor works well in breads, muffins, and pancakes. Flaxseeds are also excellent when added to smoothies, oatmeal, or homemade granola. Try this: Sunflower Seeds Sunflower seeds bring a rich, nutty flavor to both savory and sweet dishes. They are fantastic roasted and added to salads, soups, or grain bowls for added texture. In baking, you can use sunflower seeds to top breads, muffins, or cookies for a crunchy contrast. You can also grind them to create a smooth sunflower seed butter, which can be used in place of peanut butter in cookies, sauces, or spreads. Try this: Pumpkin Seeds (Pepitas) Pumpkin seeds, also known as pepitas, are a fantastic source of magnesium, iron, and zinc. They have a mild, earthy flavor and can be used in both savory dishes and baked goods. Toasted pepitas are perfect for adding a crunchy element to soups, salads, and even tacos. In baking, you can toss them into quick breads, cookies, or granola. Try this: Sesame Seeds Sesame seeds are known for their rich, nutty flavor and are often used to garnish breads, crackers, and pastries. They are a staple in many Middle Eastern and Asian cuisines, adding texture and flavor to dishes like tahini, hummus, and stir-fries. Toasting sesame seeds enhances their flavor, making them a perfect topping for salads, sushi, or noodles. Try this: Poppy Seeds Poppy seeds are small but pack a delightful crunch and subtle nuttiness, commonly used in baking. They are a great addition to muffins, cakes, and breads, particularly when paired with citrus flavors like lemon. Poppy seeds also work well in savory dishes like salad dressings or sprinkled over bagels. Try this: How to Use Seeds in Baking Seeds can be incorporated into your baking recipes in multiple ways, whether mixed into the batter or used as toppings. Here are a few tips for baking with seeds: Savory Cooking with Seeds Seeds aren’t just for baking—they can also enhance savory dishes. Use them to add texture, flavor, and nutrition to everything from salads to main courses. Cooking and baking with seeds not only enhances the texture and flavor of your dishes but also boosts their nutritional value. Whether you’re looking to create healthy snacks, hearty breads, or indulgent desserts, seeds offer endless possibilities in the kitchen. From chia to sunflower, every seed brings something unique to the table. So, grab a handful of seeds, and start exploring their potential in your next meal!