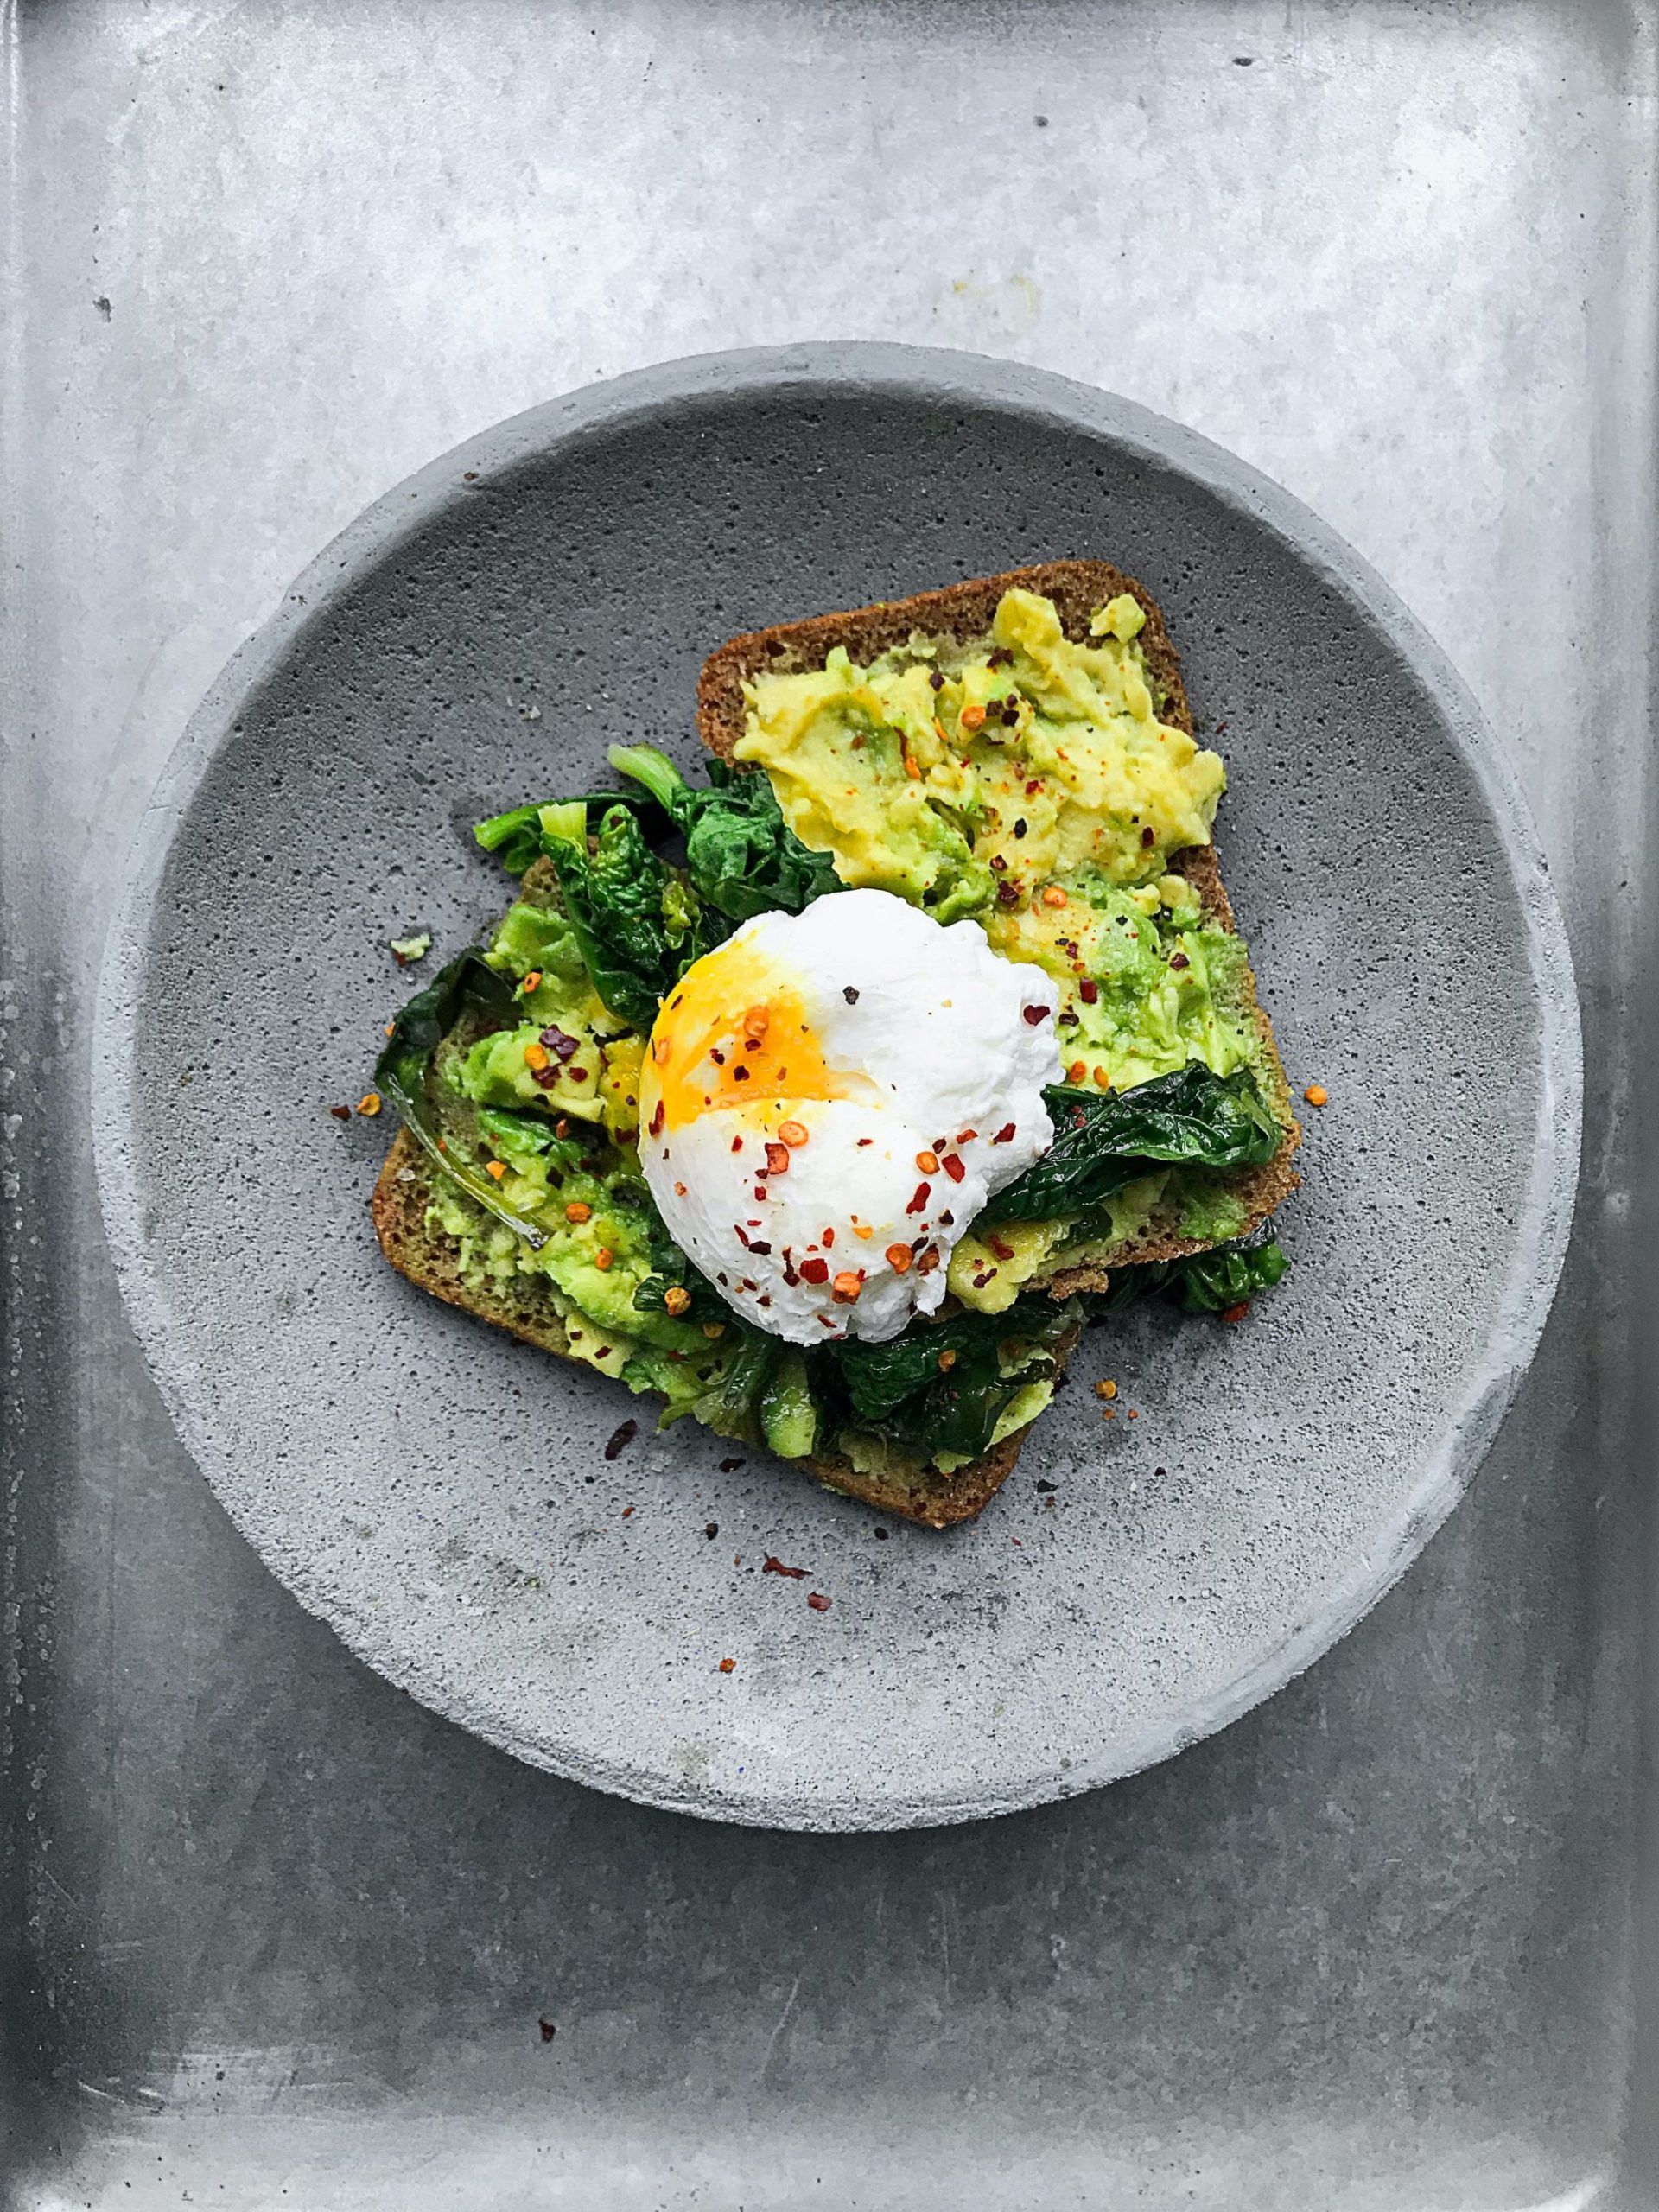
Month: January 2021

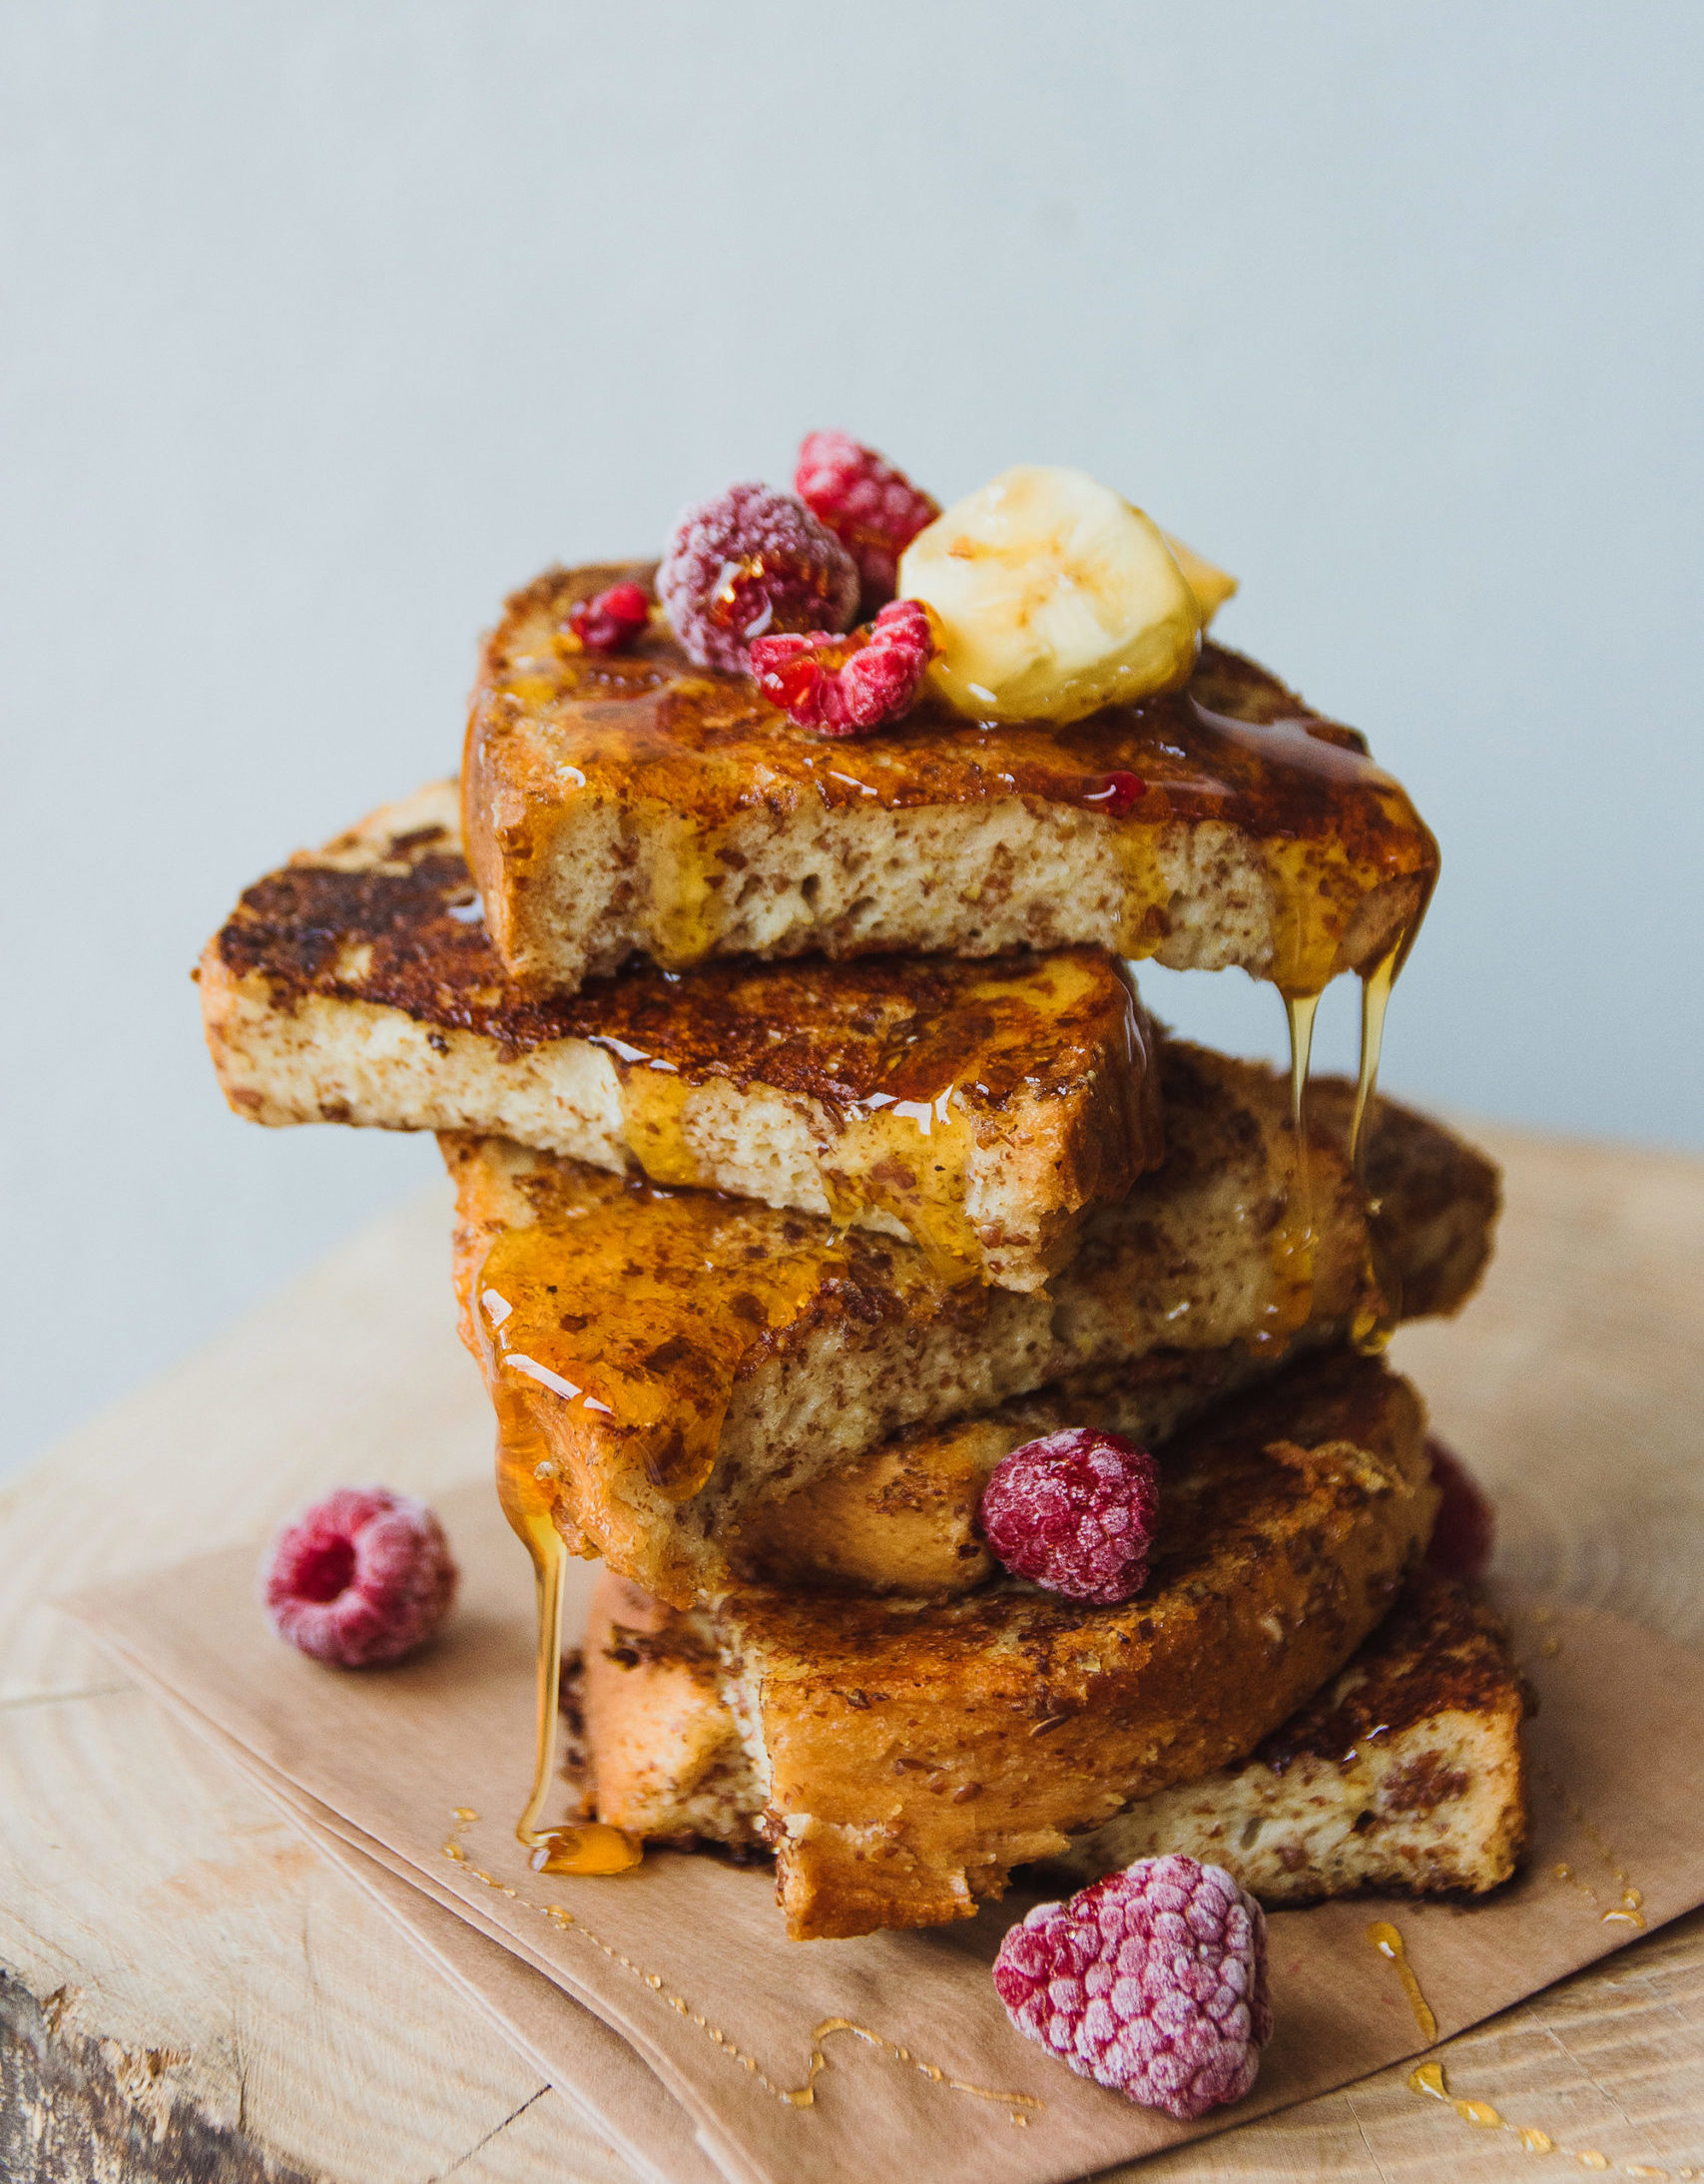
French Toast Casserole Recipe

Skip standing by the stove and let your oven do the work with this french toast casserole recipe. You get all the best parts of a classic french toast with less effort. Try this out for this weekend’s breakfast, just make it and refrigerate overnight. Ingredients: For the Casserole: 1 large loaf good-quality French loaf, sourdough, ciabatta, or challah (enough to yield 10 cups of chunks of bread) 1/2 cup (45g) chopped pecans 5 large eggs 1 1/2 cups whole milk 1/4 cup (50g) granulated sugar Zest from one medium orange (optional) 1/2 teaspoons ground cinnamon 1/4 teaspoon salt For the topping: 4 tablespoons unsalted butter, melted 3 tablespoons (40g) dark brown sugar 1 teaspoon ground cinnamon Pinch of salt Optional topping for serving: Dried cranberries Powdered sugar Maple syrup Directions: Preheat the oven to 375F (190C). Place an oven rack in the center position. Slice the bread into 1-inch slices and then cut them into 1-inch cubes. You can also tear the bread apart with your hands. Leave the crusts on. Layer the bread and pecans in a baking dish: Lightly grease a 2-quart (if you want thicker slices) or 3-quart baking dish (if you want thinner slices) with cooking spray or butter. Add enough bread cubes to cover the bottom. Sprinkle a few tablespoons of pecans on top. Continue layering the bread chunks and pecans. Prepare and add the custard: In a small bowl, whisk the eggs together. Add the milk, sugar, orange zest, 1/2 teaspoon of cinnamon, and salt, and mix well. Pour the egg and milk mixture evenly over all the bread chunks. (I found it easier to pour the mixture into a large measuring cup with a spout first before pouring the mixture over the bread.)At this point, the casserole can be baked right away, or covered and refrigerated overnight. Drizzle with topping: In another bowl, mix the melted butter with the brown sugar, 1 teaspoon cinnamon, and a pinch of salt. Using a spoon, drizzle the mixture evenly over all the bread chunks. Bake the casserole for 35 to 45 minutes. I baked mine for about 38 minutes. Leave the casserole in the oven longer if you want the chunks of bread on the top to be more brown and crunchier. Remove the casserole from the oven and let it cool for about 10 minutes before serving. Sprinkle dried cranberries and dust powdered sugar on top, if you like. Serve with maple syrup at the table. Source: Simply Recipes

Launch of the Cosmo YouTube Channel

Our YouTube channel is finally up and we’re excited to connect with our community in more ways than ever before. Our channel will consist of product showcase videos, company information, announcements and much more. You can even enter an air fryer giveaway on our most recent videos (just a heads up). Make sure to subscribe to be notified as soon as we post something new and let us know in the comments below what you’d like to see. About Us Video Subscribe Here

How Does an Air Fryer Work?

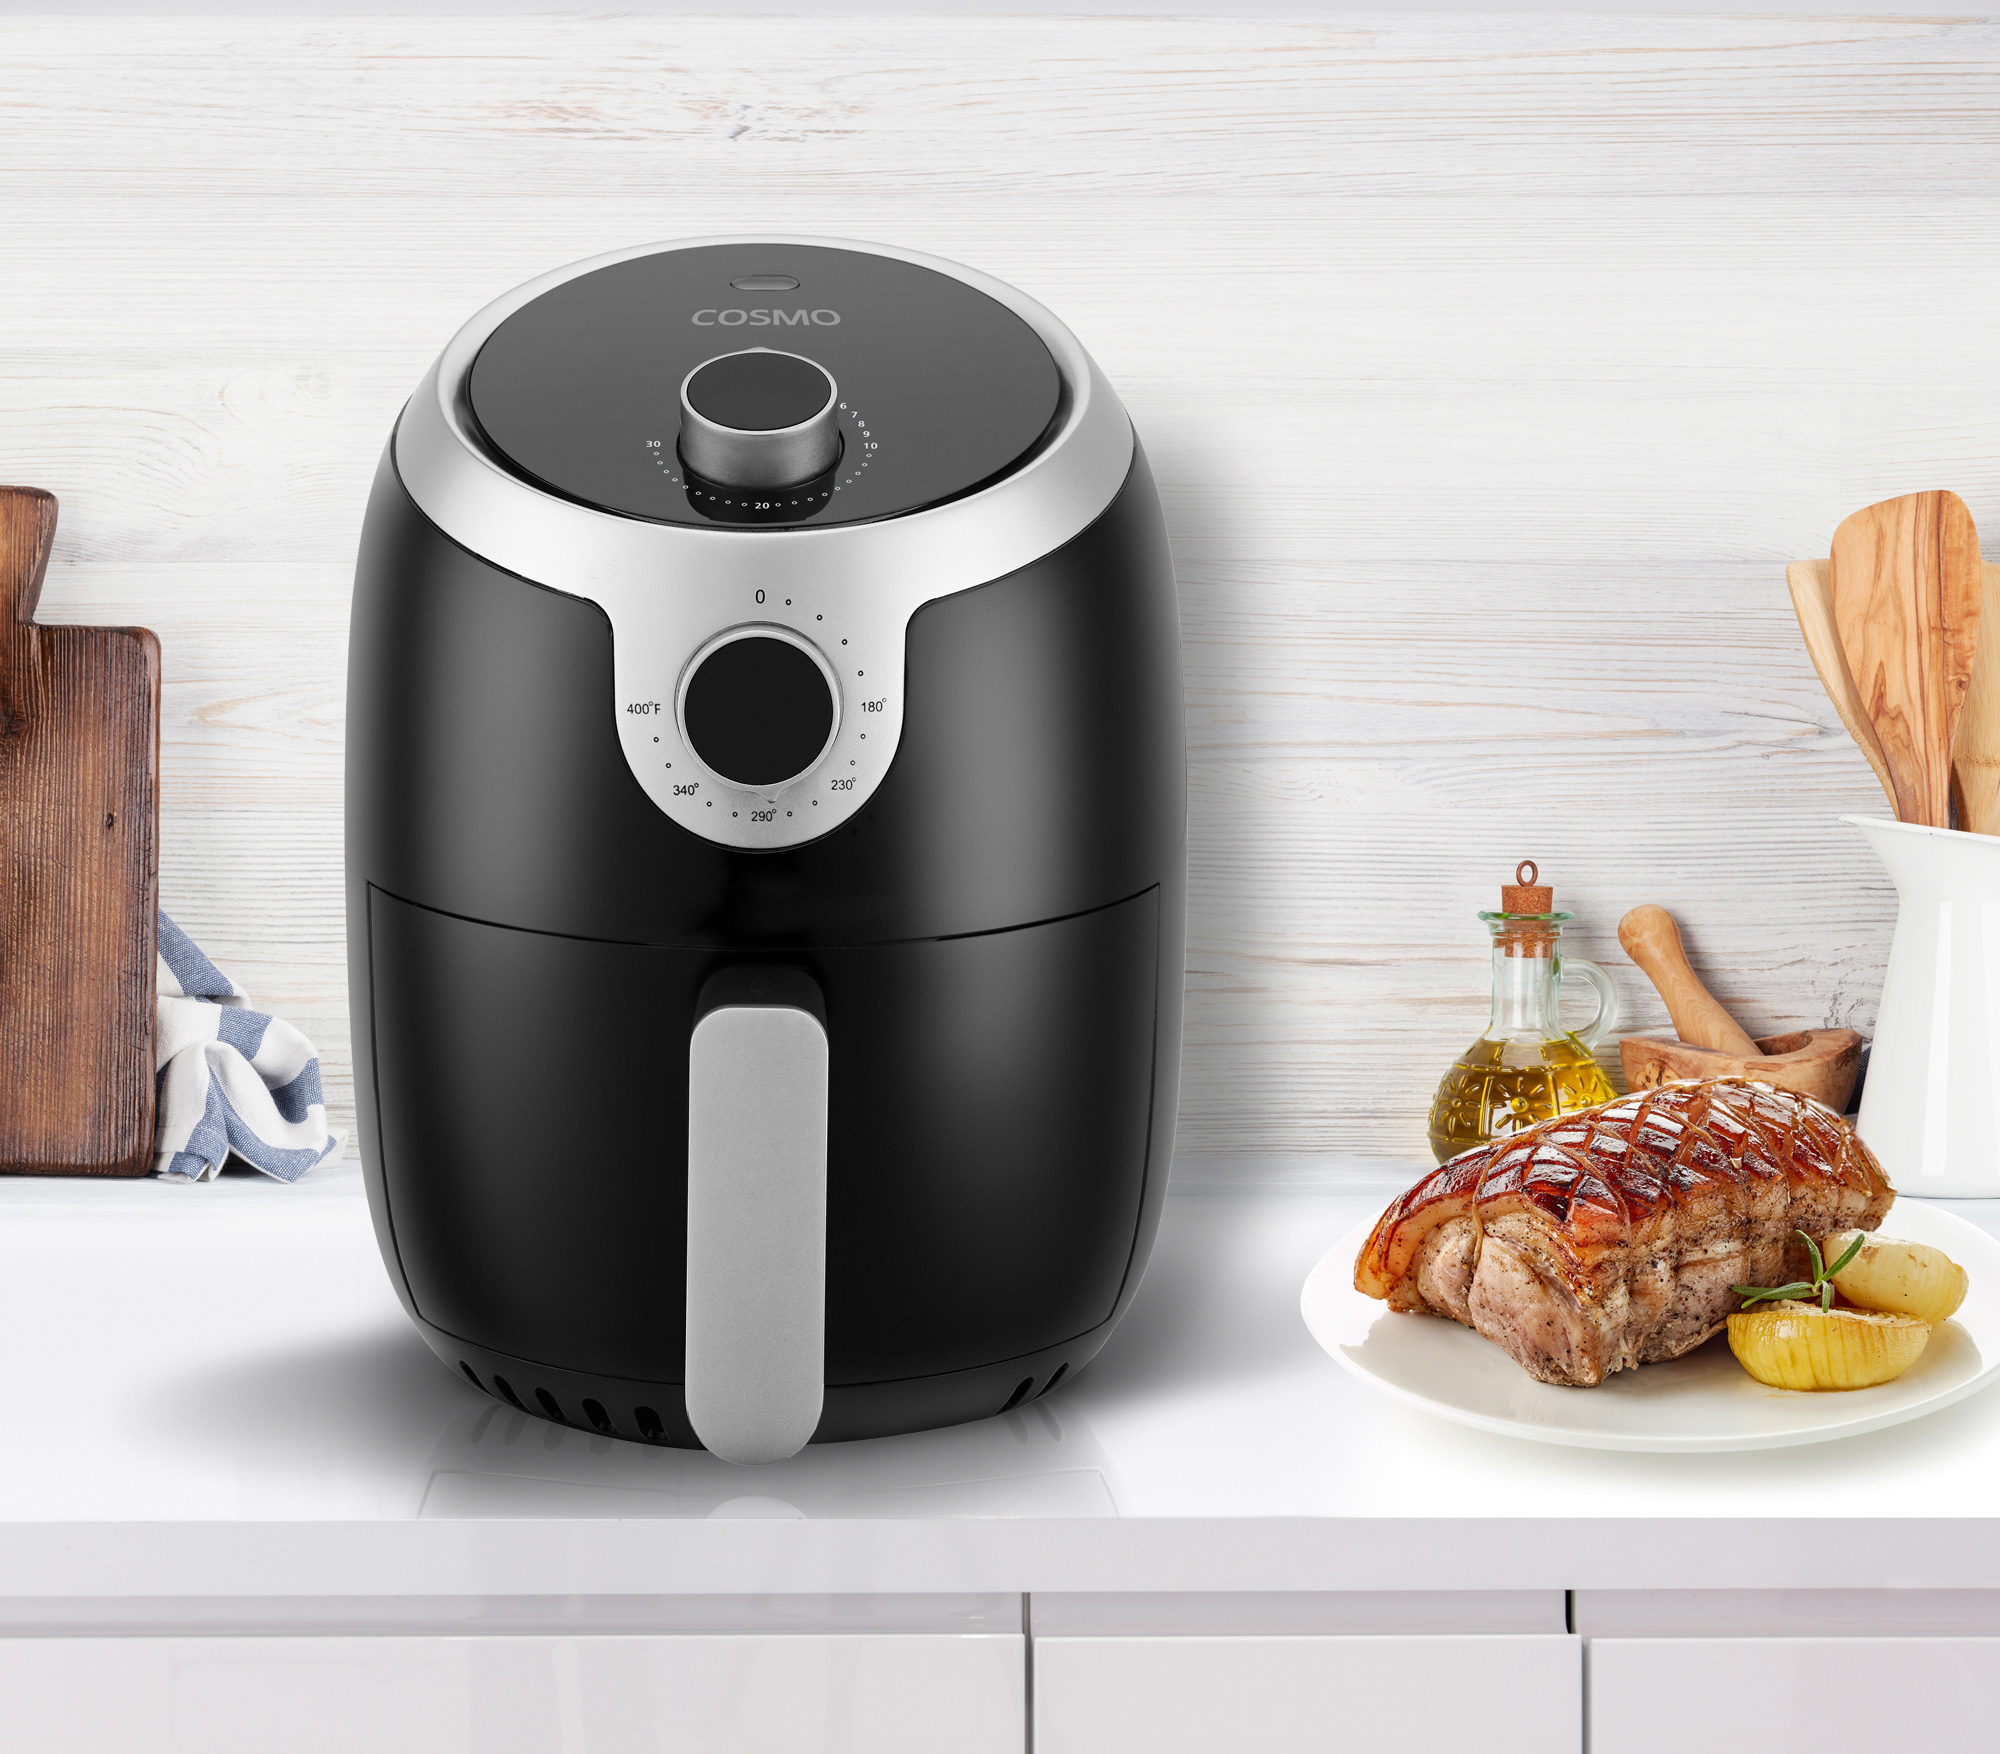
Although you’re not technically frying, since that involves submerging something in oil, air frying is a great alternative to reducing fat. An air fryer actually works very similarly to a countertop convection oven in that it has a heating element with a fan to blow air around a cooking chamber. The difference is an air fryer swirls the air around very quickly in a circular fashion to reach all of the surfaces of the food to create a crisp crust. An air fryer also takes advantage of a perforated basket which increases the food’s contact with the hot moving air. You won’t need to toss or shake fries during cooking for the perfect crisp. Conveniently sized to sit on a countertop, air fryers can help save valuable space in a kitchen as opposed to full sized ovens. Oil Content Many air fryers will need far less oil than typical frying would. However, a small amount of oil or spray can still prove beneficial to help with crisping. It’s best to go by the recipe and the type of air fryer you have. Non-Frying An air fryer can actually be used for many other things besides just creating a delicious crisp. Try roasting and baking in an air fryer for delicious desserts. It’s important to note that pastries won’t rise in the same way it would in a full-size oven. Source: The Kitchn

Breakfast Acai Bowl Recipe

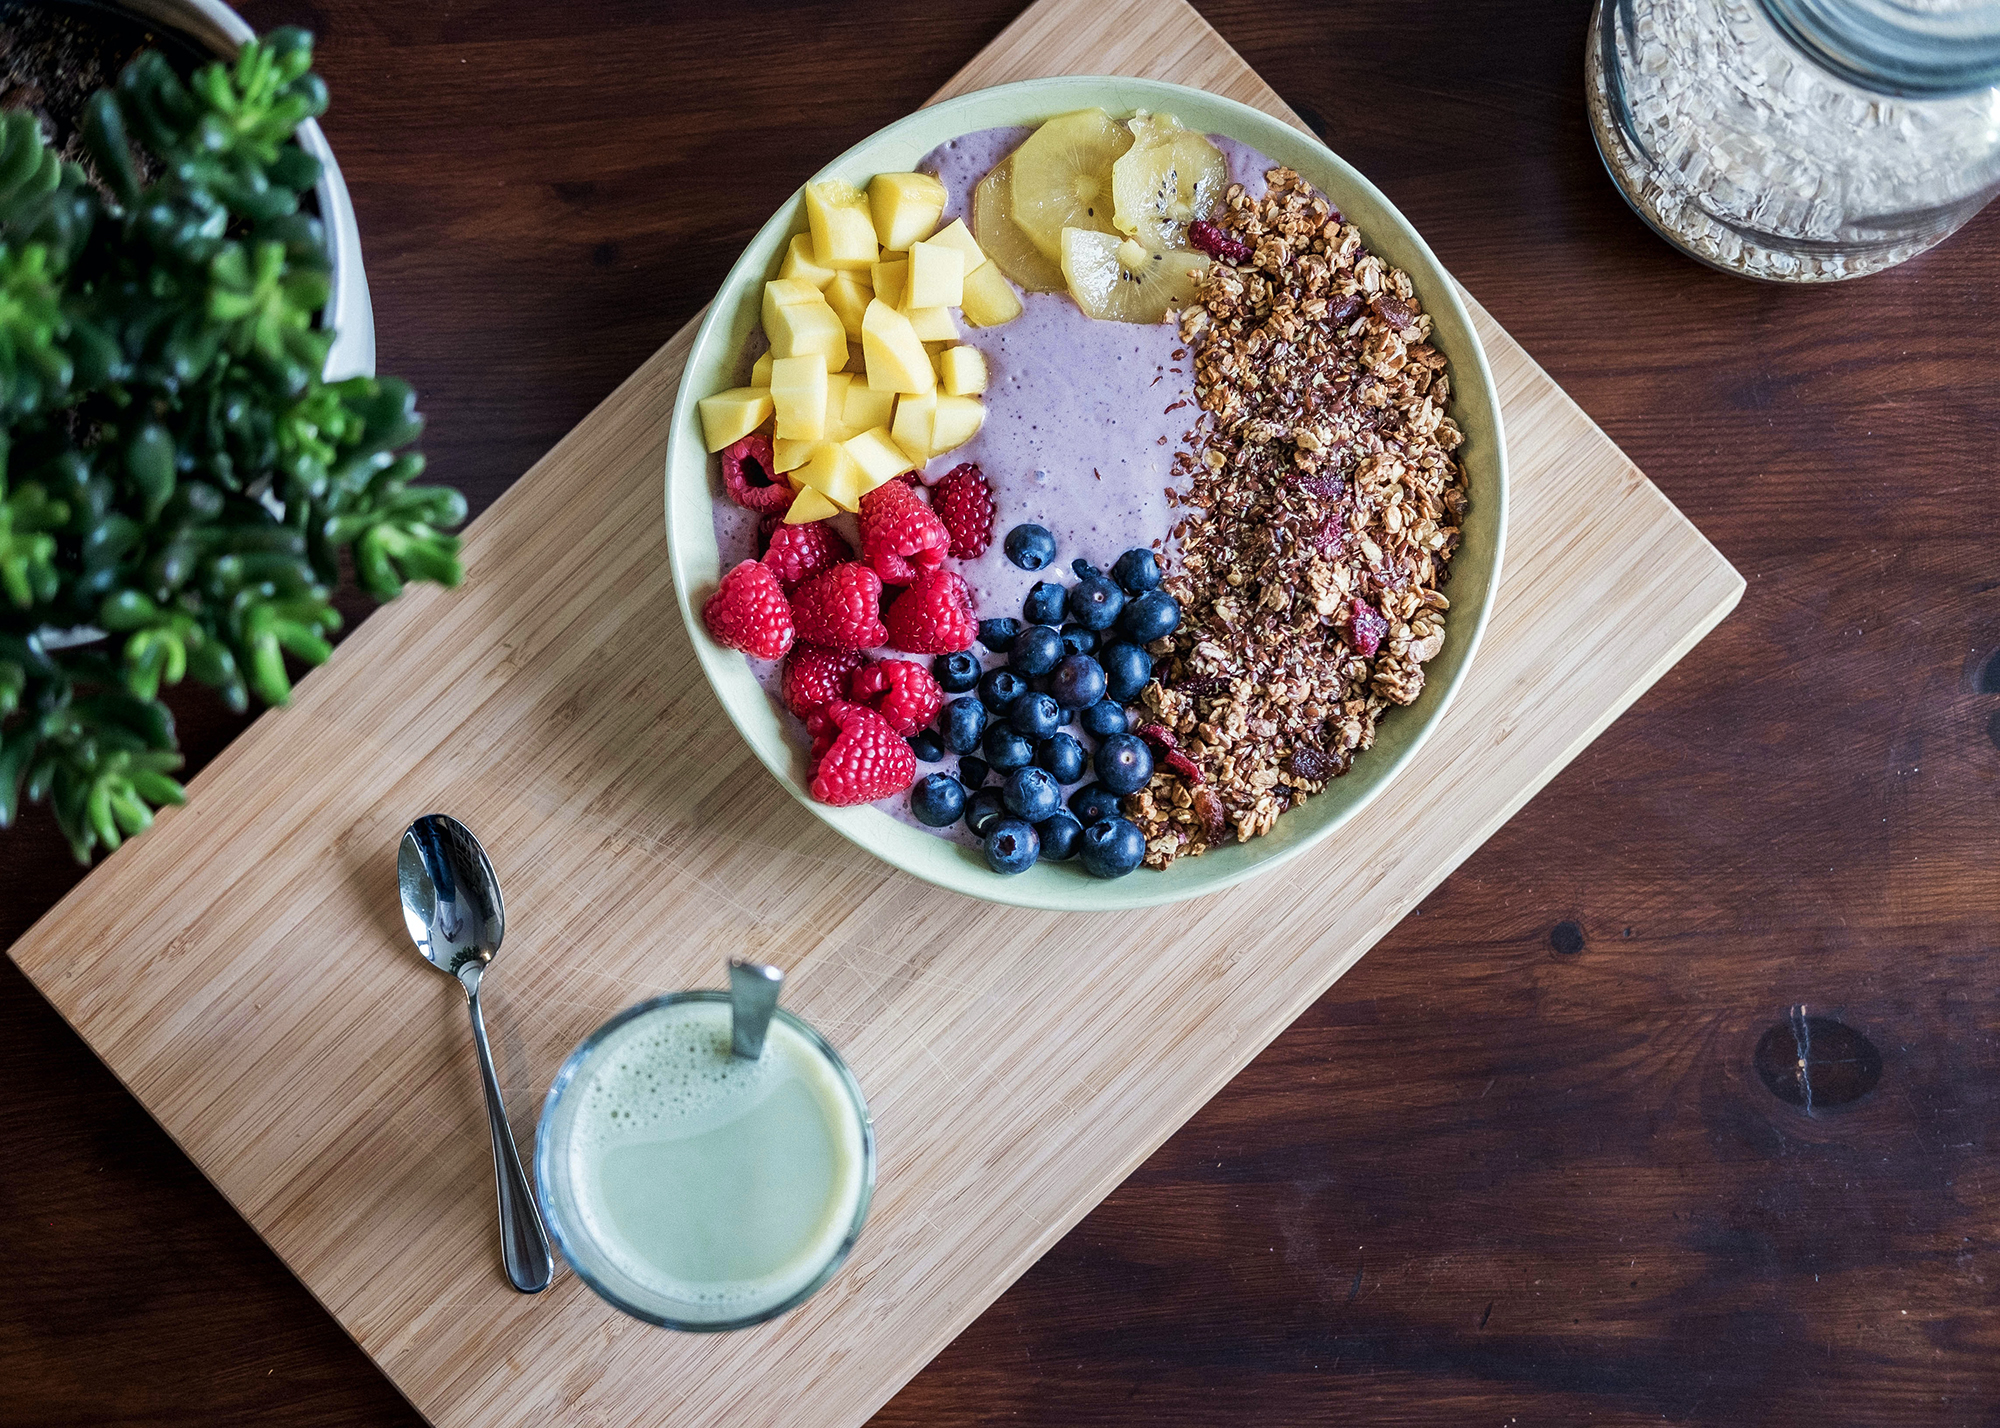
Acai is a great fruit packed with antioxidants and omega-3 fatty acids. Try this recipe containing unsweetened frozen puree for a delicious flavor with slight olive oil notes. Add the classic toppings for a bowl loaded with fiber. Ingredients: Two 4-ounce packets unsweetened frozen acai puree 1 medium banana 1/2 cup blueberries 1 tablespoon honey 3 tablespoons granola 2 tablespoons pomegranate seeds 1 tablespoon unsweetened coconut flakes Directions: Break the frozen acai up a little by slapping the sealed packets on the countertop or hitting them with a meat mallet. Blend the berries with 1/2 the banana, 1/4 cup of the blueberries and the honey in the blender, stopping to stir and break up the mixture as needed, until it’s the consistency of a thick smoothie; transfer to a cereal bowl. Slice the remaining 1/2 banana. Arrange the slices, the remaining 1/4 cup blueberries, granola, pomegranate seeds and coconut flakes in neat piles or rows on top of the acai. Source: Food Network

How to Properly Work With Yeast

Yeast may be intimidating if you ever find yourself baking bread and are new to baking. Overworking it can leave you with a stone hard loaf and a ruined dinner. Here’s everything you should know about getting started with dry yeast. Activating vs. Proofing Yeast An active dry yeast is a form of yeast that has been dehydrated to give it a longer shelf life. This yeast requires adding some liquid and sometimes sugar to ensure it’s alive enough for baking. A recipe may call for “proving” the yeast which can be confused with proofing the bread. Activating Yeast To activate yeast you’ll sprinkle the dry yeast into a bit of water and let it sit until it’s slightly foamy. This water does not need to be hot–room temperature or slightly warm water works best. After the foam is visible, stir it with a spoon or fork until the yeast is completely dissolved. The yeast should be smooth and silky. Proofing Yeast Yeast proofs when the gluten has been developed through kneading the dough. The yeast will feed off of sugars in the starch and expel gas into the gluten. You’ll most likely want the dough to rise double its size before shaping. This ensures the yeast and gluten will have enough time to proof and develop. Baking the yeast will cause the gas inside to rapidly expand and any water to turn into steam. Properly activating the yeast, kneading the dough and letting it rise in a warm area will allow for the yeast to proof itself. Source: The Kitchn

Strawberry Mascarpone Tart Recipe

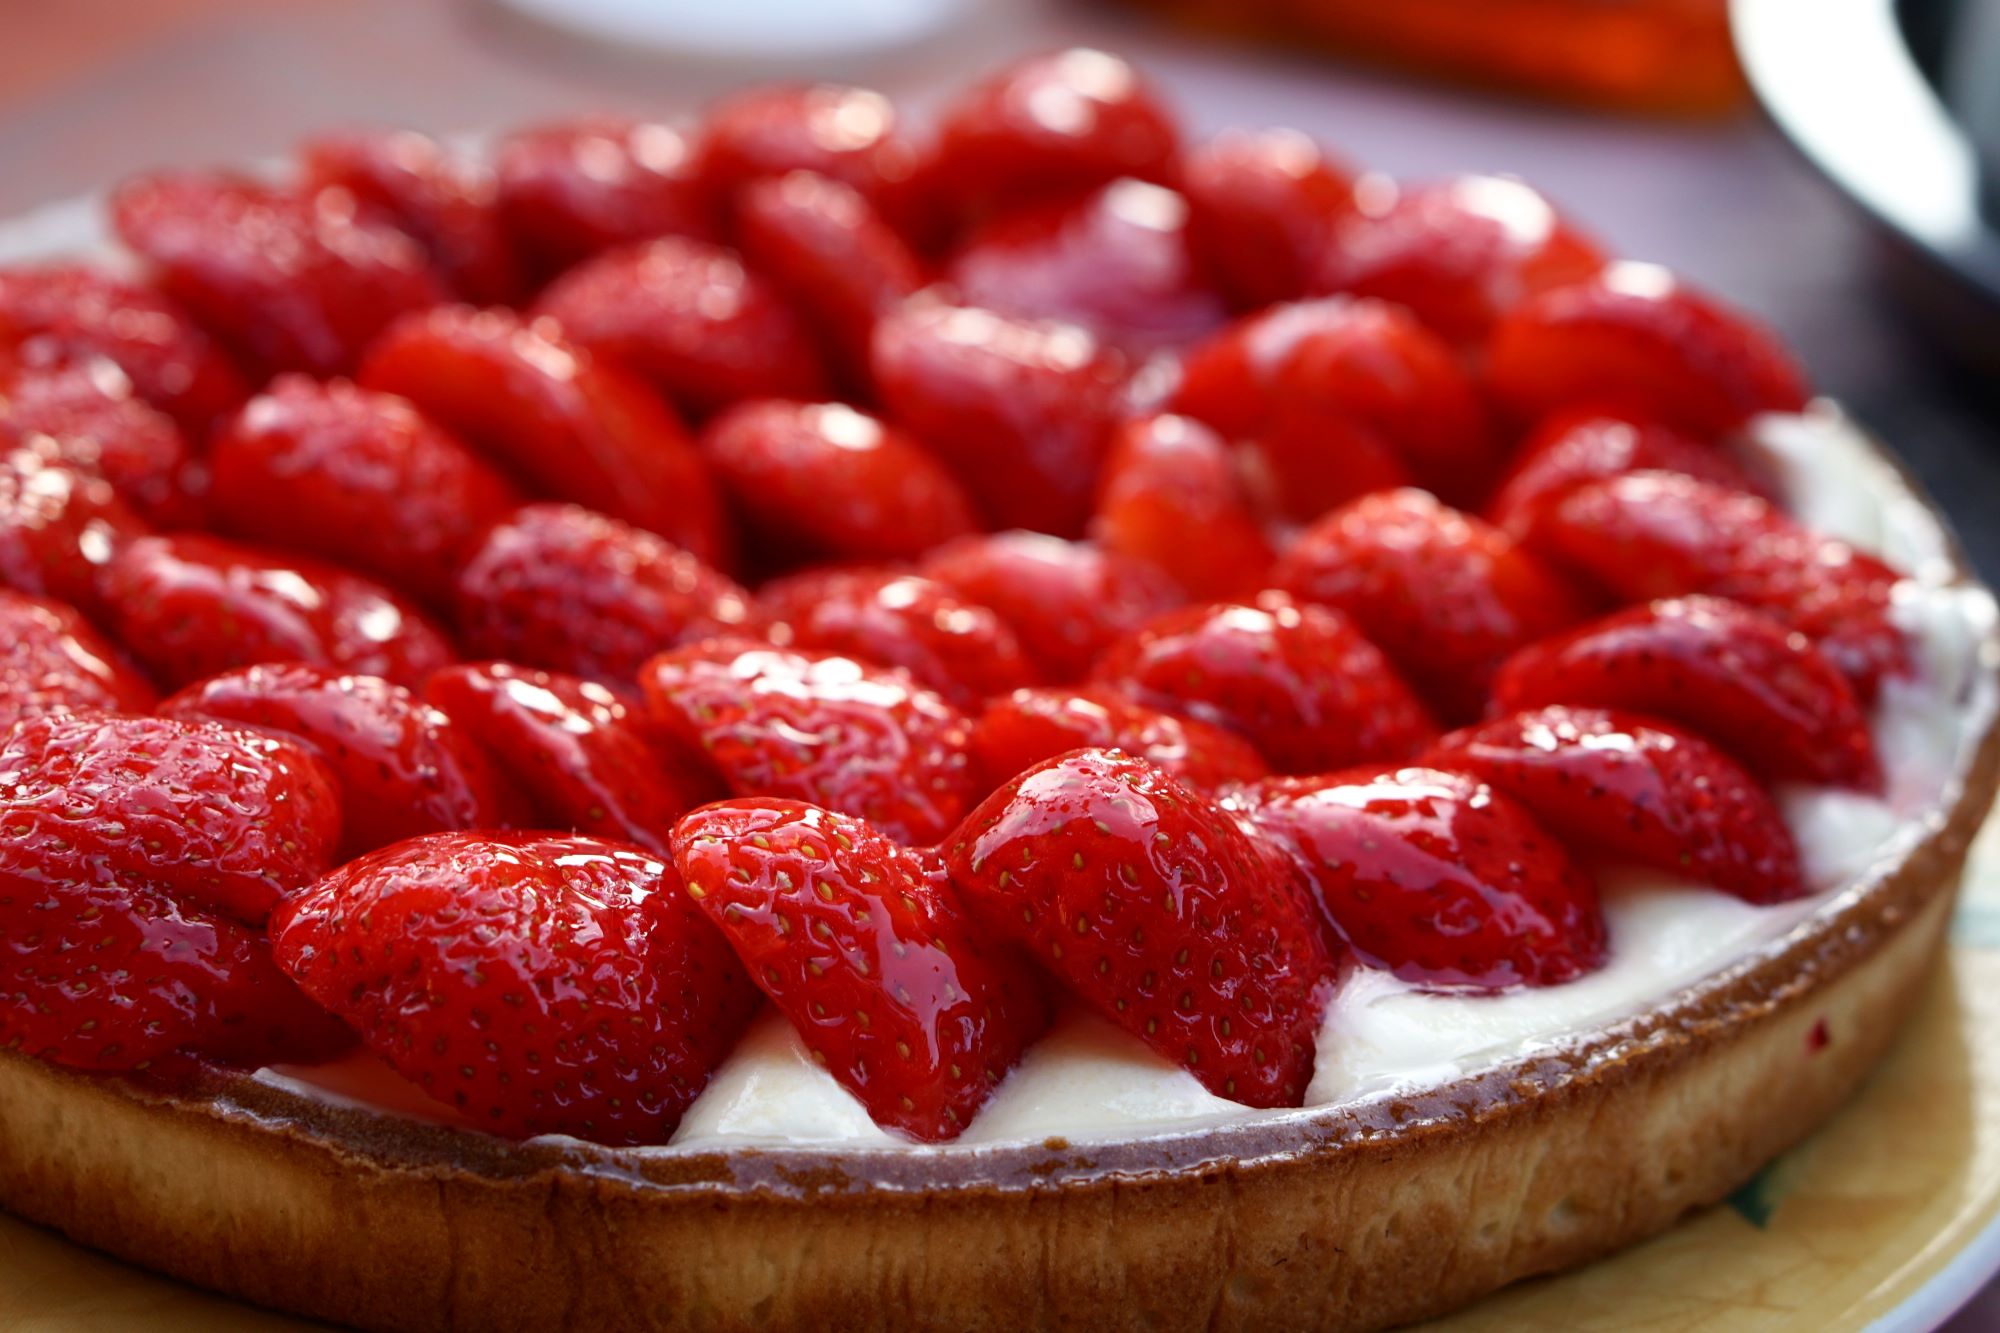
Bake a delicious strawberry tart with a sweetened mascarpone base. The combination of balsamic vinegar and sweetened strawberries is a perfect match for those who haven’t tried it. Learn how below. Prep time: 1 hour 30 minutes Cook time: 35 minutes Yield: serves 6 to 8 Ingredients: Tart Shell 1 sheet of puff pastry, thawed 1 egg whisked Filling and Glaze 2 lbs strawberries, stemmed and quartered 1/2 cup granulated sugar 1 Tbsp orange zest, divided 1 teaspoon lemon juice 12 ounces mascarpone cheese (can also use 8 ounces mascarpone mixed in with 4 ounces of ricotta or 4 ounces of whipped cream) 1/2 teaspoon vanilla 1/3 cup confectioner’s sugar (powdered sugar) 1 Tbsp balsamic vinegar (substitute a teaspoon of lemon juice if you don’t have balsamic) Directions: Roll out puff pastry sheet to 15×5 inches or 12×12 inches. Place on a baking sheet. Fold the edges over to form a border. Prick bottom of pasty with tines of a fork. Chill for 20 minutes. Preheat oven to 400°F. Use a pastry brush to brush on egg wash over exposed surfaces. Place in hot oven and cook until nicely browned all over, about 15 minutes. Remove from oven to a rack, let cool completely. Macerate strawberries in sugar: Gently combine strawberries, half of the orange zest, and the granulated sugar in large bowl so that the strawberries are coated with sugar. Let sit to macerate for 30 minutes. Make mascarpone base: Mix together the mascarpone cheese, confectioner’s sugar, the remaining orange zest, lemon juice and the vanilla in a medium bowl until well combined. Refrigerate until needed. Make strawberry balsamic glaze: After the strawberries have macerated for 30 minutes, place a sieve over a bowl and drain the liquid out of the strawberry mixture into the bowl. Take that strawberry liquid and put it in a small saucepan. Add a tablespoon of balsamic vinegar to the saucepan, and bring to a boil on medium high heat. Boil until the liquid has reduced to the consistency of syrup, remove from heat and let cool. Assemble the tart: Spread the mascarpone mixture over the bottom of the tart shell. Arrange the strawberries on top of the mascarpone mixture. Use a pastry brush to brush on the balsamic glaze. Sources: Simply Recipes

Grow Your Savings in 2021

2020 was tough. A massive economic fallout left many people with additional debt and economic anxiety. Increasing your savings in the new year can be easier with the right strategies. Try these effective ways to build up or replenish your savings account. Unsubscribe Start off by hitting unsubscribe from all those store email lists. Even if we have the intentions to save, seeing an email for 70 percent off at our favorite store will always be tempting. It’s better to eliminate all those risks. Next, unsubscribe from any phone apps and subscription services that are hardly in use. Check with your monthly bank statements to see what you’re paying for and track all your subscriptions. Take it a step further and set up automatic monthly transfers for the same amount of the subscriptions you’re cancelling. Even a $15 monthly streaming service can turn into a $180 for your savings account by the end of the year. The 50-30-20 Budget Take a new approach to your budget with the 50-30-20 rule. With this formula, take 50 percent of your take-home pay and use it for needs like housing, food, utilities and other must-haves. Use the thirty percent towards any wants, like meals out or monthly subscriptions. The final 20 percent goes towards savings and debt payments, prioritizing high-interest debt or emergency funds. Bulk Buying Next time you’re out shopping for groceries or essentials consider buying in bulk. This will ultimately reduce the cost per unit and limit the trips to the store. You’ll also cut back on any impulse purchases when out shopping. Sign Up Bonuses Many credit cards offer bonuses when signing up for the first few months. The key here is to take advantage while limiting actual spending with the card. If you do decide to spend, only use it for purchases you can afford at the moment and will be able to pay off by the end of the month. Source: Apartment Therapy

Easy Lemon Pudding Recipe

A lemon pudding is probably one of the easiest desserts you can make. The key is a thick cream, reduced slightly, and combined with tart lemon juice. Use fancy glasses for a memorable presentation. Prep time: 5 minutes Cook time: 10 minutes Chilling time: 2 hours Yield: 4 servings Ingredients: 2 cups heavy whipping cream 2/3 cup granulated sugar Finely grated zest of 1 lemon 6 tablespoons lemon juice 1 cup blueberries, raspberries, sliced strawberries or blackberries, to garnish Directions: Warm the cream and sugar: In a medium saucepan over medium heat, stir together the cream, sugar and lemon zest. Bring to a boil. Adjust the heat to a gentle boil, and cook, stirring often, for 5 minutes. Watch carefully and stir frequently to keep the cream from boiling over. Add the lemon juice and continue to simmer for 5 more minutes. Stir frequently. Take the pan off the heat and let the cream cool for 5 minutes. Strain and chill. Strain the mixture through a fine-mesh strainer into a 4-cup liquid measuring cup or other container for easy pouring. Pour into 4 four-ounce ramekins or pretty stemmed glasses. Refrigerate, uncovered, for 2 to 3 hours, or until set. This pudding can also be prepared and refrigerated up to 2 days in advance. Top each glass with berries just before serving. Source: Simply Recipes

How to Install Cabinet Hardware

A new set of cabinet hardware is a quick and easy way to upgrade the look of your kitchen. Hardware is typically a low expense with little effort required. If you’d like knobs where none existed, it’ll take a little longer to locate and drill new holes. Here’s how to install new cabinet hardware. What You’ll Need: Ruler or tape measure Hammer Drill with 3/16-inch twist bit Straightedge Screwdriver Materials: Cabinet knobs Cardboard Finishing nail Instructions: Measure: Typically knobs are placed 2 ½ to 3 inches from the top or bottom of a door and centered across the width of the stile. Simply measure the width of the stile and divide by 2 to find the center. If your cabinets have slab doors without rails or stiles, you can plan on positioning the knobs 2 ½ to 3 inches from the bottom or top edge of the door, and an equal distance from the side edge of the door. Create a Template: Measuring each door one by one can take a long time, if you’re looking to speed up your workflow consider creating a cardboard template. Measure 2 ½ or 3 inches from one edge of a squared-off cardboard and from the adjacent edge, measure in half the width of the cabinet stile. Poke a finishing nail throughout the cardboard where the two measurements intersect. Remove the nail. Mark Locations: Take the template and place it flush with the side and the top or bottom edge of the door. Push the finishing nail through the hole and give it a tap with a hammer to mark the door. Using a nail instead of drilling through the template will preserve the template. If you were to drill through the template the hole will get larger and cause inaccuracies. Drill: Most knob screws require a 3/16-inch-diameter hole but it’s advised to test a hole in a scrap piece of wood to make sure of the size. Drill the hole at the marked point. Hold the door open as you drill to prevent accidentally drilling into the cabinet. Install the Knob: Knobs come with two different screws of different lengths. The shorter screw is meant for cabinet doors of standard thickness, while the longer screw is for “false front” drawers attached to drawer boxes. Insert the shorter screw through the drilled hole from the back and tighten to the knob while gripping it from the other side. Marking and Installing Knobs on Drawers: Knobs on drawers are typically installed in the center of the faces of drawers. You could take a similar approach with a template for the drawers but it might be easier to mark the center by finding the intersection of the diagonals. Place a straight edge across one set of opposing diagonal corners and make a light pencil mark near the center. Repeat the process with the other diagonal and mark where the two lines intersect. Drill and use the longer screw to install a knob. If you are using a handle-style pull you will need to measure horizontally from the marked center point to mark two holes for the handle. Source: The Spruce

Vegetarian Eggs Benedict

Eggs benedict is a brunch favorite. If you’re trying to cut back on the meat, try this veggie packed version for a meal the whole family will love. Prep time: 15 minutes Cook: time: 10 minutes Yield: Makes 4 one-egg servings Ingredients: For Hollandaise Sauce: 2 egg yolks 1 tablespoon lemon juice 1/4 teaspoon salt Pinch of cayenne pepper 8 tablespoons melted unsalted butter For the Eggs Benedict: 1 tablespoon olive oil 5 ounces baby spinach 1 clove garlic, minced Pinch of salt and pepper 1 avocado, thinly sliced 4 large eggs 1 tablespoon white vinegar or apple cider vinegar 2 English muffins Chopped scallions, for garnish (optional) Directions: Make the hollandaise sauce: Add egg yolks, lemon juice, salt, and cayenne to a blender or food processor and pulse until combined. The mixture should be frothy and light yellow in color. Slowly drizzle in the butter and continue to run the blender until the sauce thickens. Cook the spinach: In a large skillet over medium heat, add the olive oil and warm until shimmering. Add the spinach and sauté until it wilts and cooks down, about 2-3 minutes. Then add the garlic and season with a pinch of salt and pepper. Keep spinach warm over very low heat until serving. Poach the eggs: Bring a large pot with a few inches of water to a slight simmer. Add a dash of vinegar (like apple cider vinegar) to the pot. Swirl the water with a spoon and gently roll in the cracked eggs. Let eggs poach in not-quite-boiling water for 2-3 minutes, or until the whites of the eggs are set and the centers are still soft. Remove the eggs with a slotted spoon and let them drain on a few paper towels. Assemble the benedicts: Toast the English muffins. Blend the hollandaise sauce one final time to smooth it out. Top English muffins with sliced avocado, then spinach, and finally a poached egg. Right before serving, spoon hollandaise sauce over each Benedict and sprinkle with minced scallions. Serve immediately. Share your masterpieces with us over on our Facebook and Instagram. Sources: Simply Recipes