Month: May 2021

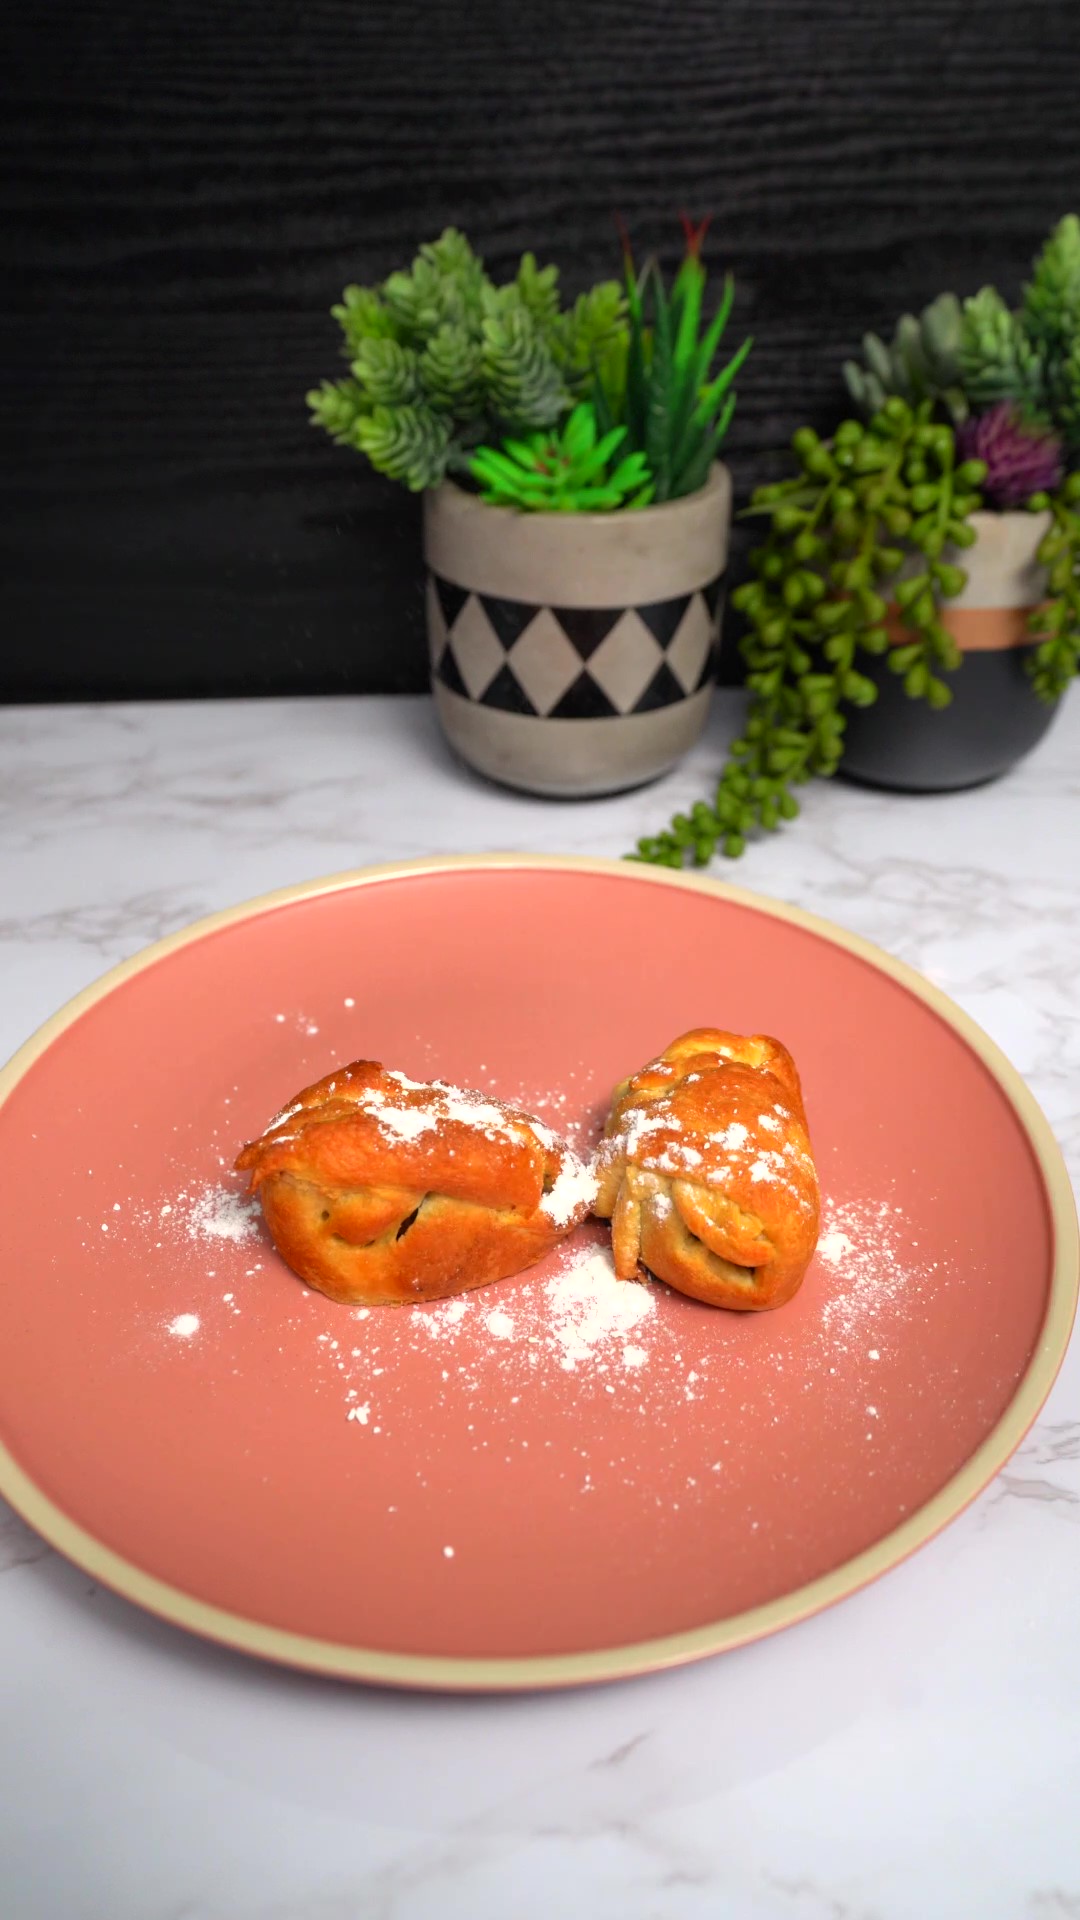
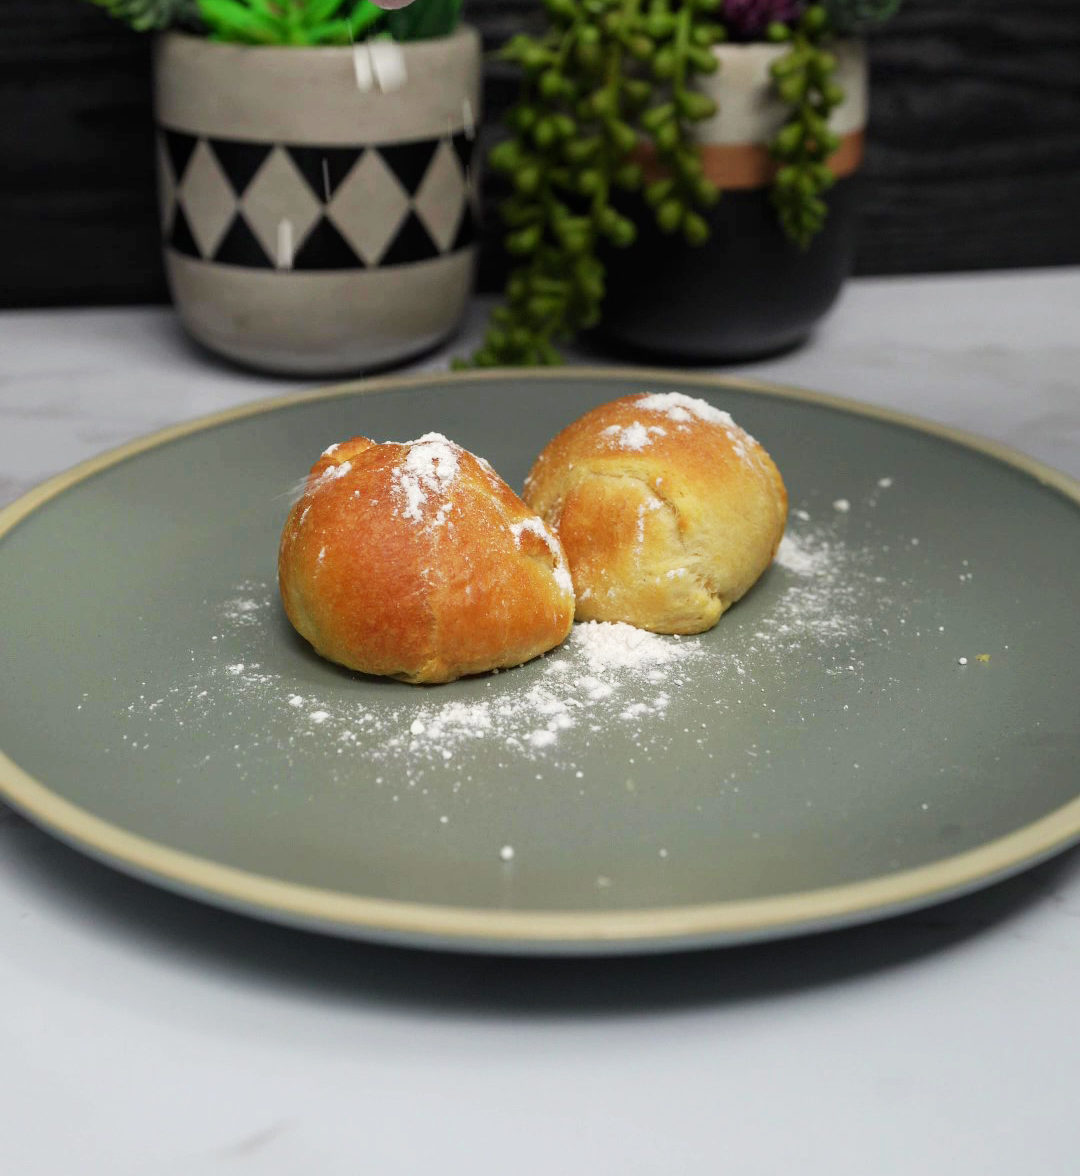
Apple Turnovers Recipe

Apple turnovers are simple to make. The biggest decision you have to make is how to do the pastry crust. Already-prepared frozen puff pastry will be the easiest to make, with plenty of buttery layers. A homemade butter crust will be flaky but not filled with puffy layers. If you make your own homemade puff pastry dough you’ll have a truly delicious pastry. Prep time: 20 minsCook time: 20 minsTotal time: 40 minsServings: 4 to 6 servings Ingredients: 1 large tart baking apple (such as Granny Smith), peeled, cored, cut into 1/4-inch dice 3 tablespoons dried currants 2 tablespoons chopped walnuts 1/4 cup sugar 1/4 teaspoon cinnamon 1/2 teaspoon cornstarch 1/4 cup applesauce 1/8 teaspoon vanilla 1 frozen puff pastry sheet, thawed, OR 2 pâte brisée doughs (enough for a double crust pie) 2 tablespoons butter, cut into bits 1 large egg, lightly beaten 1 teaspoon milk Directions: Get ready: Put oven rack in lower third of oven and pre-heat oven to 400°F. Butter a large baking sheet Make filling: In a medium bowl, mix together apples, currants, and walnuts with the sugar, cinnamon, and cornstarch, making sure the fruit and nuts are well coated. Mix in the apple sauce and vanilla. If using puff pastry: Unfold the thawed pastry sheet on a lightly floured surface. Depending on the size of your puff pastry sheet you are going to want to cut the sheet into either four 5-inch-by-5-inch or six 4-inch-by-4-inch squares. If using pie dough: Roll out your pie dough on a lightly floured surface to a 16×11 inch rectangle. Trim the edges to 15×10 inches and cut into six 5×5-inch squares. Add filling to pastry squares: Divide the apple mixture among the squares, leaving a 1-inch border. If you are using an already prepared puff pastry sheet, dot the mixture in each pastry with a little butter. (If you are using a butter pie dough, you can skip adding the extra butter.) Brush egg mixture on pastry edges: In a small bowl mix the beaten egg with a teaspoon of milk. Use a pastry brush to brush the egg mixture on the border of the pastry. This will help the pastry seal. Fold and crimp, add steam vents: Fold each pastry into a triangle, enclosing the filling, and crimp edges with a fork. Brush the tops of the pastries with more of the egg wash. Cut 2 or 3 small steam vents in the top of each turnover. Bake: Place the pastries in the oven and bake at 400°F for 20 minutes, or until puffed and golden. Cool turnovers to warm before serving. Source: Simply Recipes

Air Fryer Crab Rangoon Recipe

Skip out on the takeout with these air fryer crab rangoons! Wontons are made with cream cheese and crab and are super crispy. These are more easily prepared in an air fryer. Look for square wonton wrappers since they’re bigger and easier to crimp closed. You can also make these without the crab, plain cream cheese wontons are equally delicious. Here are a few tips before you start. Don’t overfill them: Do at max one tablespoon of filling per wonton. Any more and you’ll end up with exploded wontons while frying. Seal with water: Water works just as well as egg wash. Paint the edge before crimping the corners in the center. Press out the air: Try to get rid of as much air as possible when sealing. Too much air inside while frying will cause the wonton to burst open. Prep time: 15 mins Cook time: 25 mins Total time: 40 mins Servings: 27 to 30 wontons Ingredients: 30 square wonton wrappers 8 ounces cream cheese, at room temperature 4 ounces lump crab meat or imitation crab 2 tablespoons minced scallions 2 teaspoons soy sauce Nonstick spray for air fryer For the dipping sauce: 1/4 cup soy sauce 1 tablespoon sesame oil 1 tablespoon rice wine vinegar Sesame seeds, for garnish Red pepper flakes, for garnish Directions: Make the filling: In a small bowl, stir together cream cheese, crab, scallion, and soy sauce. Mix well so the filling is a single consistency, and the crab is evenly distributed. Make the wontons: Working with one square wrapper at a time, add a 1/2 tablespoon of filling to the direct center of the wonton. Use your finger to paint the edges of the wonton with warm water, and then crimp the corners up to meet in the center, forming a dumpling. Use your fingers to press out as much air as you can along the edges as you seal the dumpling. Fry the wontons: Spray the air fryer basket with nonstick spray. Place as many wontons as possible, without touching, into the air fryer basket. You should be able to fit 7-8 wontons. Air fry the wontons at 350 ̊F for 6 minutes until they are crispy and golden brown. Serve the wontons: Let the wontons cool briefly, then serve with the dipping sauce. Cooked wontons don’t keep very well (they get soggy), so cook only as many as you intend to eat right away! Source: Simply Recipes

Air Fried Ding Dongs Recipe

Dessert with a twist. Deep fried Ding Dongs adds an extra layer to the sweet treat. Be sure to sprinkle some powdered sugar on top for the final touch. Ingredients: Ding Dongs Pillsbury crescent dough Powdered sugar Non-stick cooking spray Directions: Cut Ding Dongs in half Wrap each piece in the Pillsbury crescent dough Coat air fryer pan with non-stick cooking spray Cook at 350 degrees F for 8 minutes. Sprinkle with powdered sugar

The Best Cheese for Grilled Cheese

A grilled cheese sandwich at its most basic, consists of three ingredients. Choosing the right cheese will give you the exact flavor, crunch and melt you desire. Make sure that the cheese will compliment the bread and vice versa. Texture is key, you’ll want to go for a cheese that is somewhat soft and moist. If your cheese is too cold, it may not melt before the bread is toasted. Always have it at room temperature, or if you’re short on time, cover the pan or griddle. Top Cheese Choices Cheddar. The most popular choice. Pick one that’s medium to sharp for a good melt-to-flavor ratio.American. Pairs perfectly with white bread. It’s mild, salty, a little sweet and has a major melting component. A deli slice will be thicker than the plastic-wrapped versions.Gruyère. This cheese has a nutty flavor and melts easily. It has a nice kick without being overpowering.Gouda. The Dutch cheese is creamy, nutty and slightly sweet. A younger version will melt better.Muenster. Popular among kids for the typically mild taste.Parmesan. While not meant for the filling, parmesan sprinkled on the outside of your sandwich will transform it into an extra crunchy snack. Source: Good Housekeeping

How to Hang Floating Wall Shelves

If you’re looking for the minimal look in your home, try floating shelves. These shelves have no brackets giving them the appearance they’re floating on your walls. Installation isn’t as hard as you may think. Here’s how to hang them in six easy steps. Select Shelves. There are many types of floating shelves on the market. Each has their own signature mechanism, but they all have some sort of wall-mounted bracket which holds the shelves in place. This will remain hidden once installed. Select the Placement. Decide where you’d like the shelves to go. Be sure to measure, and then, using a level, hold the shelves in place while you draw a marking line on the wall. Trace Brackets. Place the shelf bracket up against the marking line as a guide. Trace the screw holes for the bracket. Attach Brackets. Using the traced marks as a guide, drill screws through the brackets and into the wall. Start with the middle screw and ensure it is level before you attach the other screws. Attach Shelves. Slide the shelves over the bracket and attach any remaining securing screws. Decorate your shelves with anything you’d like such as artwork, plants or books! Source: House Beautiful

Crispy Air Fried Cauliflower Recipe

Need a new appetizer idea? Try crispy cauliflower, prepared right in your air fryer! Elevate the taste with spices, a little egg and a coating of breadcrumbs. Serve it with a side of blue cheese dip and a protein dish such as chicken or pork chops. Prep time: 5 minsCook time: 12 minsTotal time: 17 minsServings: 6 servings Ingredients: For the blue cheese dip: 1/4 cup Greek yogurt 1/4 cup mayonnaise 1/4 cup crumbled blue cheese Pinch of ground black pepper Dash of hot sauce For the cauliflower: 1 head cauliflower 1 teaspoon kosher salt 1/2 teaspoon chili powder 1/2 teaspoon garlic powder 2 large eggs + 1/4 cup water 1 cup breadcrumbs Nonstick spray, for air fryer Directions: Make the blue cheese dip: Stir together ingredients in a medium bowl. Keep in fridge until needed. Prepare the cauliflower: Cut the cauliflower into florets. It’s okay to have a few different sizes, but try to make sure there are no florets bigger than about 1 1/2 inches. Bread the cauliflower: In a medium bowl toss florets with salt, chili powder, and garlic powder. In a separate small bowl, add eggs and water and whisk together. Add the egg mixture to the bowl with the cauliflower and toss to coat. Once the cauliflower is coated with the egg mixture, toss with breadcrumbs and coat well. Air-fry the cauliflower: Spray the basket of an air fryer with nonstick spray and place as many cauliflower florets in the basket as will fit in a single layer. Return the basket to the fryer and cook at 350 ̊F for 7 minutes. Then flip the florets and fry for another 7 minutes.Repeat until all cauliflower is done. Serve: Serve cauliflower immediately once all batches are done, or serve on a rolling basis as the batches come out of the fryer. Cauliflower is best right out of the fryer! Serve with the blue cheese dip as an appetizer or side dish. Source: Simply Recipes

The Pros and Cons to Black Kitchen Appliances

Black stainless steel appliances have been on trend for quite some time now. It has a timeless appeal that holds up well with various different kitchens. Like any other trend, there are pros and cons for this kitchen design choice. Here’s what you should know before you invest in one. Pros Black is a universal color that works well with many different styles. It’s nearly trend-proof as it can be the prominent statement color or a background color. Black matches with all other shades and works especially well with warm and cool neutrals. It fits with gray, brown, white beige and navy. A black appliance is nearly smudge-proof thanks to its color. A matte sheen can hide most fingerprints and even smoke damage. A metallic-finish stainless steel requires special cleaners. Since black appliances are coated, they can be cleaned with warm water and a soft rag or non-abrasive cleaners. Cons Not all appliances are the same black. Different manufactures use different shades or sheens which can cause a clash in a kitchen. Two differing appliance shades can be more noticeable than a completely different color. A stainless steel appliance is a solid surface, meaning a scratch will reveal the same material underneath. Since black stainless steel is coated, a scratch will show the material underneath. This will be very obvious since the surface underneath will be a shiny steel. A lighter colored smudge or mark will easily show against the dark surface, meaning regular maintenance is necessary. Source: the Spruce

Air Fried Twinkies Recipe

Indulge in some air fried twinkies in your air fryer. The twinkies are left delicious and sweet. Be sure to sprinkle some powdered sugar on top for the final touch. Ingredients: Twinkies Pillsbury crescent dough Powdered sugar Non-stick cooking spray Directions: Chop a twinkie into small pieces. Wrap each piece in the Pillsbury crescent dough. Coat air fryer pan with non-stick cooking spray and load the twinkies. Cook at 350 degrees F for 8 minutes. Sprinkle with powdered sugar.

Homemade Horchata Recipe

Horchata is a classic agua fresca (fresh water) drink made of rice, cinnamon and vanilla. The sweetness isn’t overpowering like other flavored milks and should leave you craving more! It’s always served cold and over ice, to help water it down. Stir before serving to ensure the milk and cinnamon are blended into each other. Prep time: 10 minsCook time: 10 minsInfusion: 3 hrsTotal time: 3 hrs 20 minsServings: 8 Servings Ingredients: 6 cups water, divided 1 3-inch cinnamon stick or 1 teaspoon ground cinnamon 1 1/2 cups long-grain white rice 1 (14 ounce) can sweetened condensed milk 1 teaspoon vanilla extract Directions: Steep the cinnamon in water: You can skip this step if you’re using ground cinnamon. In a small pot, cover the cinnamon stick with 1 cup of water. Bring the water to a boil over medium-high heat. Once the water comes to a rolling boil, turn the stove off and let the cinnamon stick steep for 10 minutes. Rinse the rice: While the cinnamon is steeping, give the rice a quick rinse under cold water. This will remove excess starch from the surface of the grains. Strain off any excess water before adding the rice to your blender. Blend the rice and cinnamon together: Pour the steeped cinnamon water, along with the cinnamon stick (or add the ground cinnamon), into the blender with the rice and the remaining 5 cups of water. Blend just until the grains of rice begin to break up, or about 1 minute. Transfer the rice water to a container: Pour most of the mixture into a large bowl. Swish around the remaining rice water in the blender carafe to try and remove any rice that may remain after the first pour. Add it to the container with the rest of the rice water. Try to retrieve as much of the rice as possible from the blender. Do not add fresh water to try and remove any remaining rice. It will dilute the flavor of your drink. Soak the rice: Allow the rice mixture to soak for at least 3 hours at room temperature. Stir the Horchata periodically throughout the soak time. You can stir it on the hour, but that’s not a hard and fast rule. Strain the horchata: Set a fine-mesh strainer over a large bowl. Place a layer of cheesecloth or a thin tea towel over the strainer. Pour the rice mixture through the lined strainer. Squeeze out any excess liquid from the rice then discard the solids. Sweeten the horchata: Transfer the strained rice liquid to a serving pitcher. Add the sweetened condensed milk and vanilla extract into the pitcher and whisk vigorously to break up the thick milk. Chill and serve: The horchata can now be served over ice. Try chilling until very cold before pouring it over ice and enjoying. Drink as it is or add spiced rum! Source: Simply Recipes

Lemon Yogurt Cake Recipe

A bright lemon Bundt cake with a sweet-tart glaze and ultra-moist crumb will be sure to bring a bit of sun to even the gloomiest days. Yogurt cake is perfect for a tender, sweet cake with a lighter and fluffier texture. Lemon is one of the most popular ingredients to add in. Serve this along your favorite cup of tea and enjoy. Make this for an upcoming special occasion like Mother’s Day! Prep time: 10 minsCook time: 45 minsTotal time: 55 minsServings: 12 to 16 servings Ingredients: For the cake: 1 cup vegetable oil, canola oil, or olive oil, plus more for coating the pan 3 cups (384 grams) all-purpose flour, divided 1 1/2 cups (300 grams) granulated sugar 1/4 cup finely grated lemon zest (from about 4 medium lemons) 4 large eggs 2 cups (452 grams) plain whole-milk yogurt (regular or Greek) 1 1/2 teaspoons vanilla extract 1 tablespoon plus 1 teaspoon baking powder 1 teaspoon kosher salt For the glaze: 1 cup powdered sugar 1 1/2 tablespoons freshly squeezed lemon juice 1 tablespoon freshly grated lemon zest (optional) Directions: Arrange oven rack, preheat the oven, prepare Bundt pan: Arrange a rack in the middle of the oven. Preheat the oven to 350°F.Generously coat a 12-cup Bundt pan with olive oil. Dust with 2 tablespoons of the flour and tap out any excess; set aside. Mix sugar and lemon zest together: Place the sugar and lemon zest in a large bowl and rub together with your fingertips until the sugar is moist and the mixture is fragrant, about 30 seconds. Add wet ingredients to the sugar: Crack the eggs into the bowl with the sugar and lemon zest and whisk vigorously until pale yellow and frothy, about 1 minute. Whisk in the yogurt, olive oil, and vanilla extract. Add the dry ingredients: To the bowl with the wet ingredients, whisk in the baking powder and kosher salt. Add the flour and stir with a rubber spatula until just combined and all the flour is incorporated. (A few small lumps in the batter are fine, be sure to not overmix.) Transfer to prepared pan and bake: Transfer the batter to the prepared pan and use a spatula to spread it out evenly. Bake until the cake is lightly browned and a cake tester inserted into the center comes out clean with just a few crumbs, about 45 minutes. Cool the cake and release from Bundt pan: Cool on a wire rack for 15 minutes. Carefully flip it out of the pan onto a wire rack. Cool completely before glazing. Make the glaze, drizzle and serve: Whisk together the powdered sugar and lemon juice in a medium bowl until smooth. Drizzle the glaze over the cooled cake and sprinkle the top with lemon zest, if desired.Let stand for at least 10 minutes to allow the glaze to set before slicing and serving. Source: Simply Recipes