Installing a Wall Oven: What You Need to Know Before You Begin
Installing a wall oven can be a fantastic upgrade for your kitchen, offering a sleek, modern look and saving valuable counter space. However, it’s a project that requires careful planning and consideration to ensure everything goes smoothly. Whether you’re an experienced DIY enthusiast or a first-time installer, this guide will walk you through what you need to know before you begin.
A wall oven is a great addition to any kitchen, providing convenience and enhancing the aesthetic appeal. Unlike traditional ovens, wall ovens are installed at eye level, making them easier to access and reducing the need to bend over. However, installing one involves more than just plugging it in. From choosing the right model to ensuring proper electrical connections, there are several important factors to consider.
Step-by-Step Guide to Installing a Wall Oven
1. Choose the Right Wall Oven
Consider Size and Capacity
- Measure Your Space: Wall ovens come in various sizes, typically 24, 27, or 30 inches wide. Measure the space where you plan to install the oven to ensure you select the correct size.
- Oven Capacity: Consider the oven’s capacity based on your cooking needs. If you frequently cook for large groups, opt for a larger capacity model.
Features and Functions
- Single vs. Double Oven: Decide whether you need a single or double oven. A double oven is ideal for those who need to cook multiple dishes at different temperatures simultaneously.
- Self-Cleaning: Many modern wall ovens come with self-cleaning options, which can save you time and effort.
- Smart Features: Some models offer smart features, such as Wi-Fi connectivity, allowing you to control the oven remotely.
2. Prepare for Installation
Gather Tools and Materials
- Tools Needed: Screwdrivers, drill, level, tape measure, and a stud finder.
- Materials Needed: Mounting brackets (if required), screws, and electrical wiring supplies.
Ensure Proper Electrical Supply
- Electrical Requirements: Wall ovens typically require a dedicated 240-volt circuit. Check your home’s electrical panel to ensure it can handle this additional load.
- Hire an Electrician: If you’re not comfortable working with electrical wiring, it’s best to hire a licensed electrician to install the appropriate outlet and ensure everything is up to code.
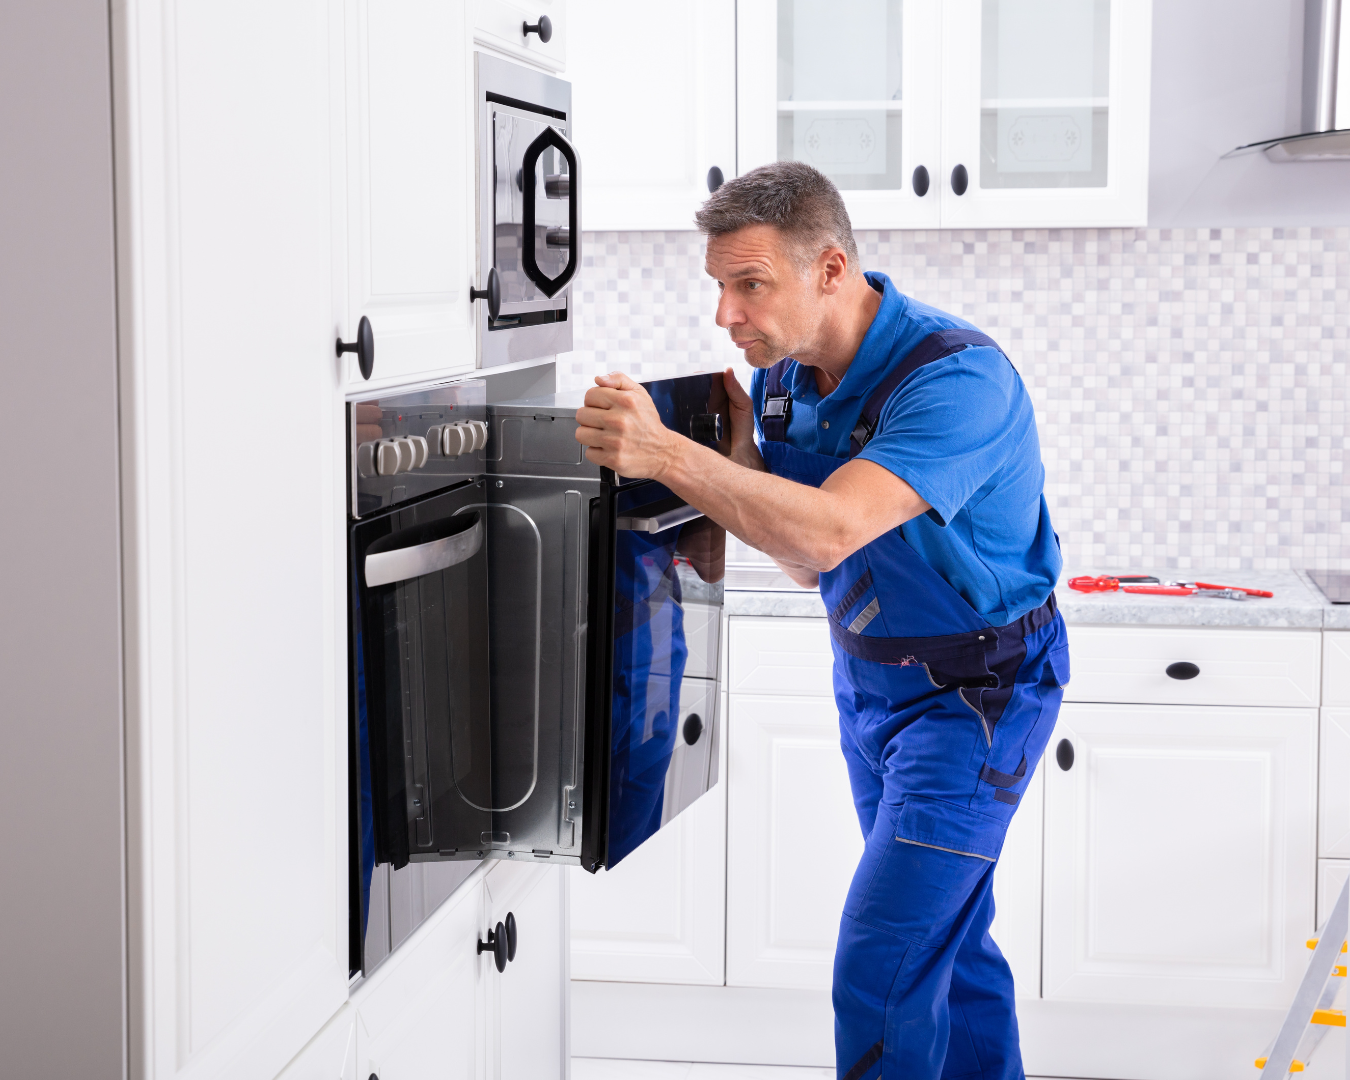
3. Installation Process
Remove the Old Oven
- Safety First: Turn off the power to the oven at the circuit breaker.
- Disconnect and Remove: Carefully disconnect the electrical wiring and remove the old oven. You may need assistance due to the weight of the appliance.
Install the New Wall Oven
- Position the Oven: With the help of another person, lift the wall oven into place. Use a level to ensure it’s properly aligned.
- Secure the Oven: Depending on the model, you may need to secure the oven to the cabinet using mounting brackets and screws. Follow the manufacturer’s instructions for this step.
- Connect Electrical Wiring: Connect the oven to the electrical outlet. Ensure all connections are secure and double-check for any exposed wires.
4. Final Steps
Test the Oven
- Power On: Turn the power back on at the circuit breaker and test the oven to ensure it’s working correctly.
- Check for Issues: Make sure the oven heats up properly and that all features function as expected. Address any issues immediately.
Clean Up
- Secure Cables: Tidy up any loose cables or wires behind the oven.
- Final Adjustments: Make any necessary adjustments to the oven’s alignment and secure any remaining screws.
Installing a wall oven can enhance your kitchen’s functionality and appearance, but it requires careful planning and execution. By choosing the right oven, preparing your space, and following the proper installation steps, you can ensure a successful project. Whether you decide to tackle this installation yourself or hire a professional, taking the time to understand the process will help you achieve the best results. Happy cooking with your new wall oven!