Author : Cosmo

Everything You Need to Know About Self-Cleaning Ovens

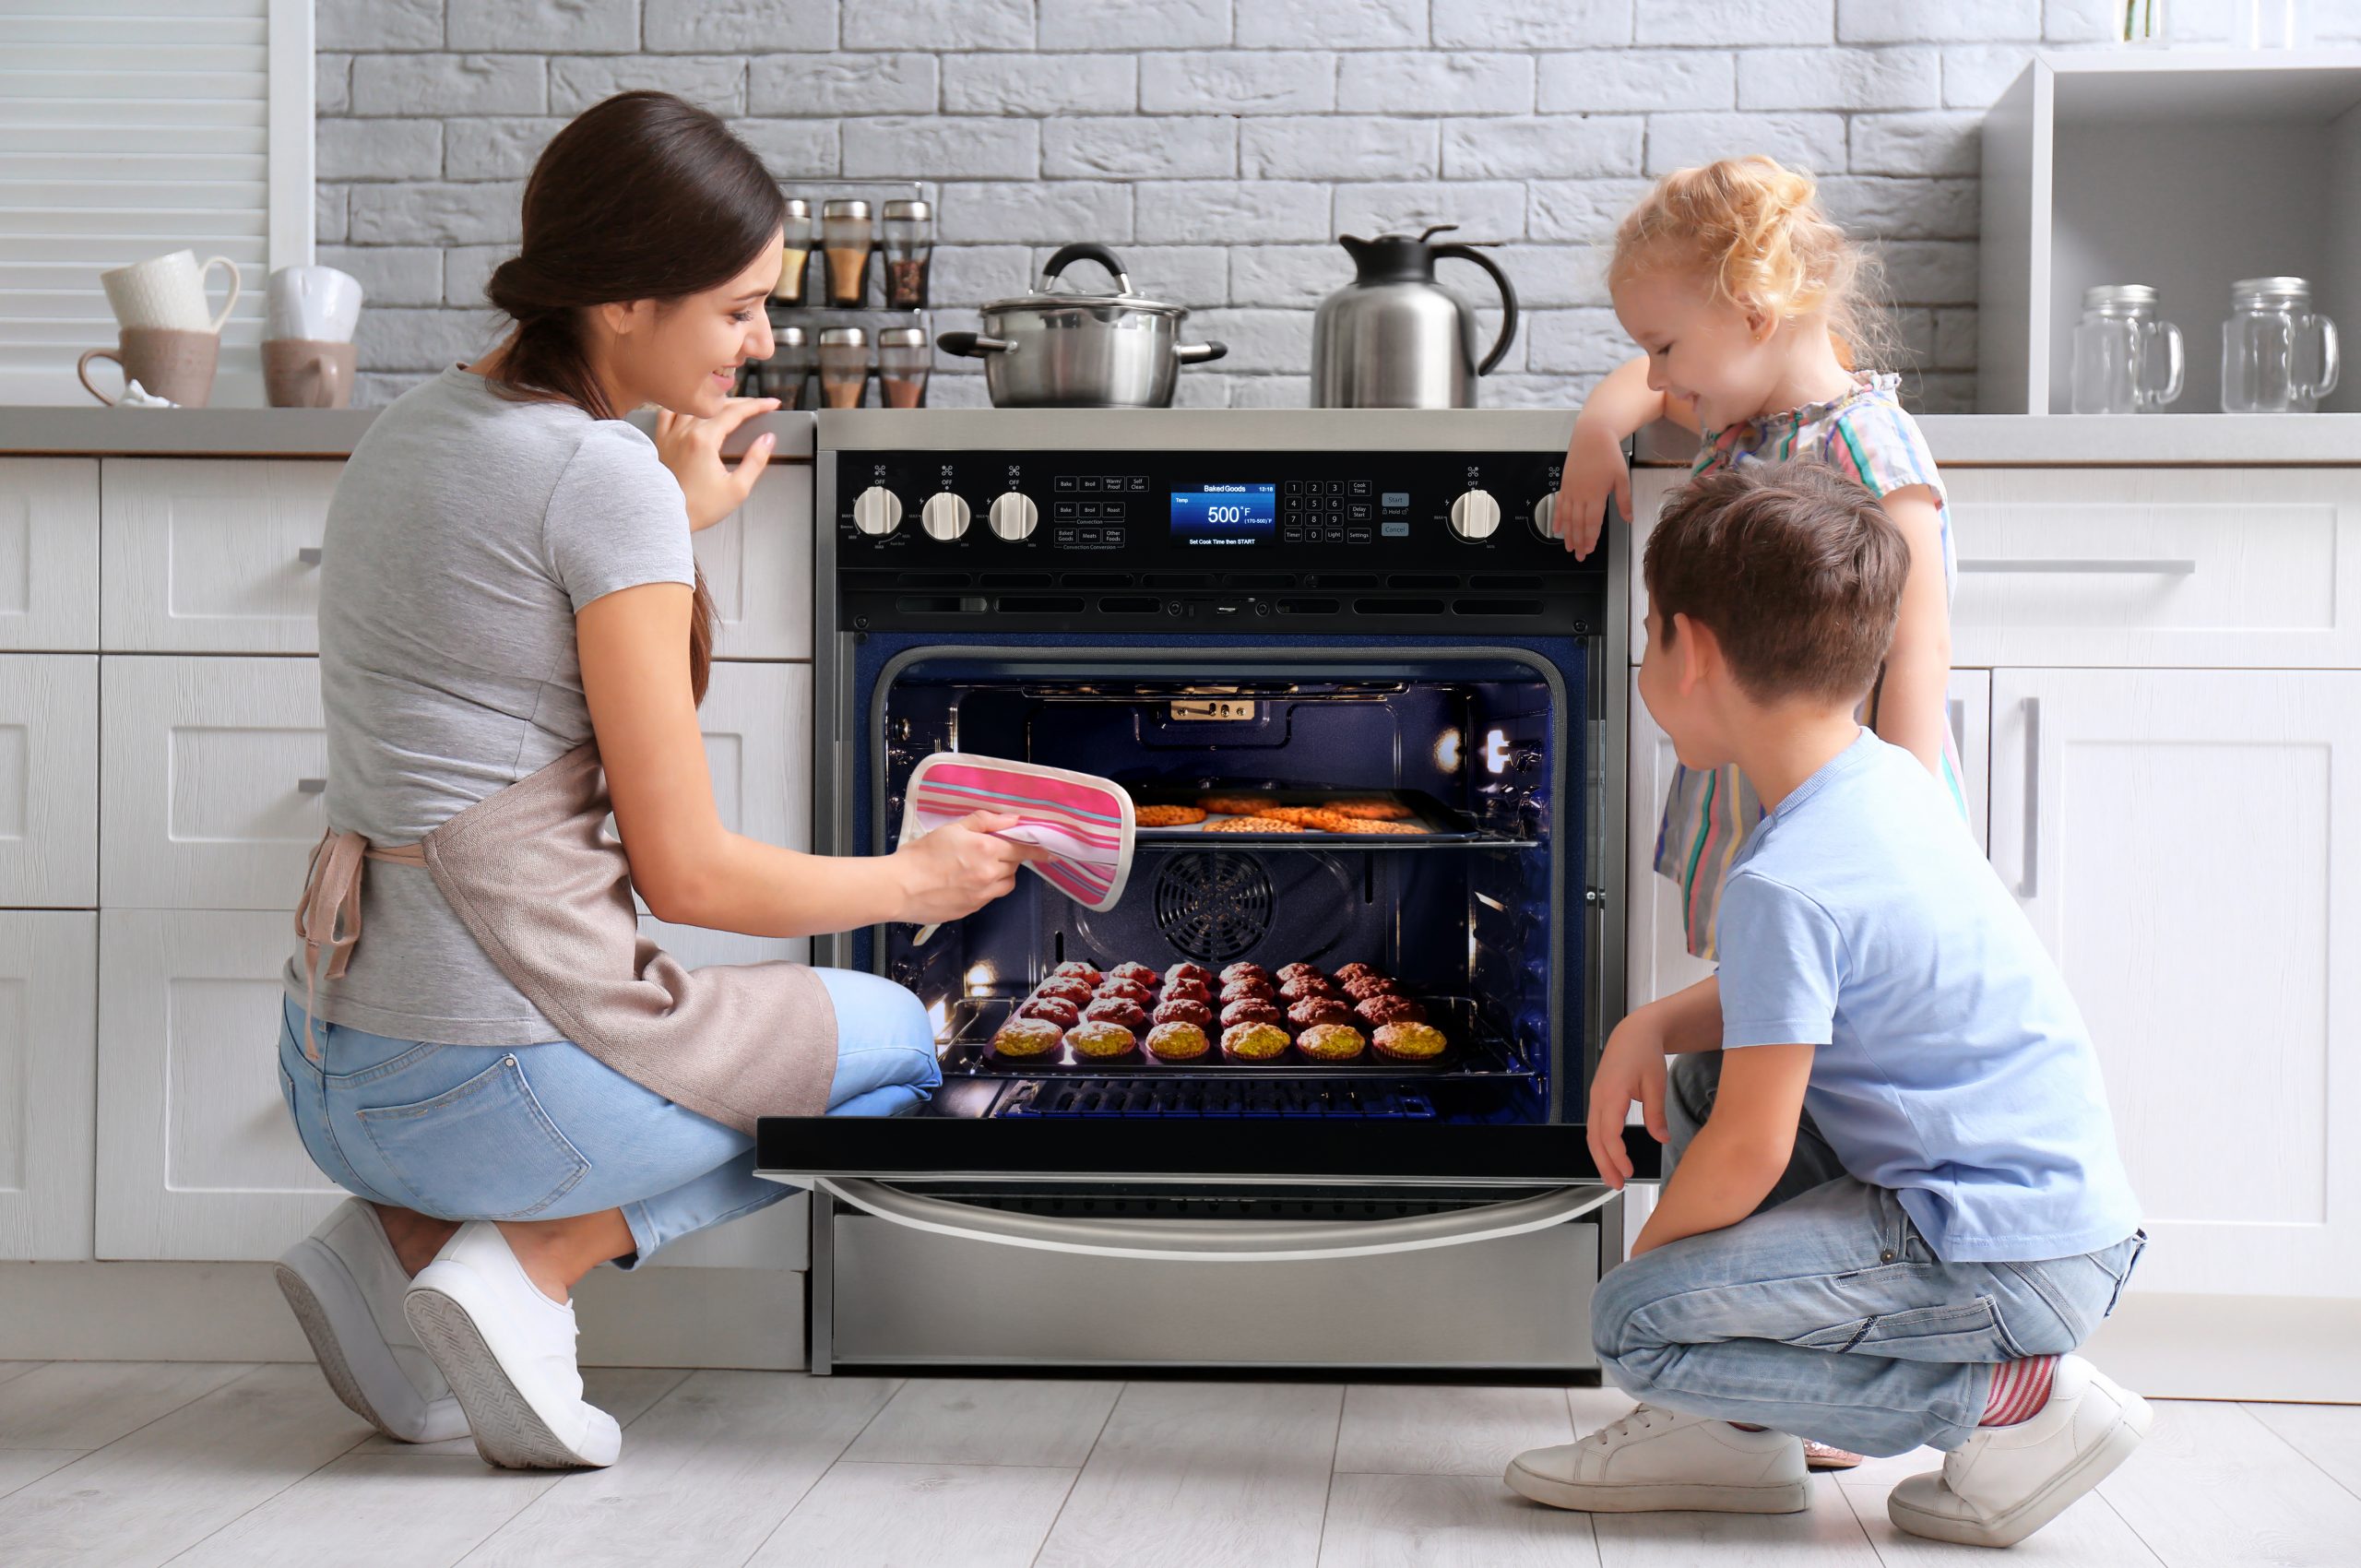
No need to strain yourself scrubbing away at these ovens. Self-cleaning ovens are an easy alternative to get a shiny interior all from the press of a button. Mistakes happen in the kitchen, learn everything you need to know about this function to save yourself from extra work next time. These ovens come in two types, high heat or steam cleaning. A high heat cleaning oven will greatly increase its temperature to burn away any residue inside. It essentially turns any bits to ash. On the other hand, steam cleaning works with heat and water to loosen soils. However it usually requires a manual clean afterwards. A steam clean may require more work than high heat, but it offers no burn off, lower temperatures and no odors. Each oven varies, but usually a self-clean should be performed every four to six months. This will fluctuate depending how often the oven is used and the frequency of spills. A self-clean cycle will take a few hours depending on the brand and type of oven you own. Before starting a self-clean cycle, here are the steps you should follow: Make sure any major spills are cleaned up. Unless otherwise noted in an owner’s manual, remove the racks to prevent discoloration and potential warping. Double check that the oven door is locked. Most ovens will lock themselves. The oven will cause odors while it’s cleaning. Ensure there is proper ventilation throughout your home. A hood or fan is ideal to remove any heat and odors caused by the burning. Perform the self-clean. Once everything is done and completely cool, take a damp towel and wipe down everything inside to clean up any remaining residue. If you’d like to stay on top of things and reduce the need for a self-clean, follow these steps to keep your oven in working condition. Clean up spills immediately. Use a damp sponge or a brush to get rid of any loose food bits. Always wait until everything is completely cool to work on an oven to prevent accidentally shattering any untempered glass. Remove racks for a more effective and comfortable cleaning. Use warm sudsy water or a quality oven cleaner. Rinse and dry before sliding back into place. The exterior oven door can be cleaned with warm, sudsy water and a sponge. You can also use a multi-purpose glass cleaner with a scrub to achieve a spotless finish. Rinse and dry afterwards. Sources: Good House Keeping

How to Install Hardwood Flooring in a Kitchen

Hardwood flooring in a kitchen is not only a great look, but also a smart choice for its durability. Follow these steps on how to install hardwood flooring into your kitchen. Materials and Tools You’ll Need: Laminate flooring Transition fitting Carpet pad Roofing felt Scissors Finish nailer Tape measure Rubber mallet Miter saw Instructions: Use fold and lock laminate floor. Run the hardwood boards perpendicular to floor joists to prevent them from sagging in the future. Be sure to leave a ⅜ inch gap between the walls and the flooring. You can cover this later on with trim. Minimize the amount of natural expanding and contracting from the flooring by allowing it to sit in the home for 10 to 14 days. This will allow it to acclimate to the environment. Check to see if the original floor is level. If it’s not, take self-leveling liquid and pour it in the part of the floor that dips. Once this dries you can begin the installation. Roll out the roofing felt. This will prevent any water damage to pass through to the subfloor. Begin by laying the composite flooring. The planks will easily lock together. It can be helpful to begin laying the flooring along a wall first and take note of any cuts that will be needed. Stagger the boards to give them extra strength and beauty. Take a rubber mallet to tap them into place. Finally, install the transition piece using a finish nailer.

What to Keep and Throw Out in Your Fridge After a Power Outage

You may live in an area that could have power outages from natural disasters such as thunderstorms, hurricanes or earthquakes. It’s important to understand the foods in your refrigerator or freezer, and how long you should keep them if you lose power. Follow this guide to stay prepared in case you find yourself without electricity. First, look to see the temperature in your refrigerator. This will be critical to monitor in case of a power outage. It’s worth investing in a refrigerator thermometer. The temperature should be set to 35 to 38°F. If the power goes out keep track of how long it’s out. Keep the door to your refrigerator closed as much as possible to keep it colder longer. Once you pass four hours without power and the temperature inside your refrigerator increases past 40°F, your perishable foods will only be good for two more hours. Foods you should toss: Soups, stews, and casseroles Meat, poultry, and seafood Dairy: milk, cream yogurt, sour cream Eggs Sweets: Cheesecake, cream or custard pies, cream-filled pastries Vegetables: pre-washed greens, cooked vegetables, vegetable juice Pasta: Fresh pasta, salads Tofu Food you can keep: Cheese: hard, processed, grated hard cheeses Dairy: butter, margarine Fruit: fruit juice, canned fruit, fresh whole fruits Vegetables: raw Herbs Breads: Bread, rolls, cakes, muffins, tortillas Sweets: Fruit pies Your freezer also has a recommended temperature you’ll want to keep track of. This is a bit easier as you just want to be sure the food inside stays frozen. A full freezer will keep its temperature for about 48 hours, while a half-full freezer will keep its temperature for about 24 hours. Once the power comes back on check foods to see if they have ice crystals. If they do, you’re safe to refreeze it again. Sources: Apartment Therapy

A New Way to Get Rid of Those Shipping Labels

During these times online shopping has skyrocketed for many of us. Whether it’s due to working from home or avoiding stores all together, we have a larger influx of shipping packages. These packages often have information we want to dispose of before recycling it, such as our name or address. Try out this method to get rid of that label before you toss it or if you want to preserve the box for use later on. The key ingredient here is nail polish remover. Simply take a cotton ball or a cotton pad and soak it in the nail polish remover. Then, wipe over the label. It may take a few passes to fully dissolve the ink but once it dries you’ll be left with a completely blank box. Doing this can help protect yourself from anyone who may want to rummage through your trash later on. Better yet, it can serve as a great base to work from if you’d like to reuse the box for another shipment later. While you may just be using a sharpie or ripping the label, try out this method for a simple and clean way to dissolve personal information from your shipping labels next time. Sources: Apartment Therapy

Make the Perfect Mac and Cheese

You can never go wrong with a classic mac and cheese for the cold winter days ahead. Try out this quick and simple recipe to indulge in a childhood favorite the entire family will love. Recipe courtesy of Culinary.net . Servings: 4-6 Ingredients: 12 ounces dry elbow macaroni ¼ cup butter ¼ cup flour 2 cups milk 1 cup heavy whipping cream ½ teaspoon dry mustard 1 teaspoon onion powder ½ teaspoon salt ⅛ teaspoon pepper 4 cups shredded sharp cheddar cheese, divided 1 cup shredded Parmesan cheese Directions: Heat oven to 425 F. Cook macaroni according to package directions. Drain and set aside. In large saucepan, melt butter over medium heat. Whisk in flour and cook 2 minutes, stirring continuously. Slowly whisk in milk, cream, mustard, onion powder, salt and pepper. Whisk and cook until thickened. Remove from heat and stir in cheeses until melted. In large bowl, add cooked macaroni and cheese sauce. Mix well and pour into greased 9-by-13-inch baking pan. Bake 18-24 minutes, or until bubbly. Cool slightly before serving. For more from Cosmo be sure to follow us on our Facebook and Instagram.

The Different Types of Ovens You Should Know About Before Buying

There are many terms regarding ovens you may be unfamiliar with, such as convection, conventional, or True European convection. These are the different ways an oven heats food as it bakes. Looking for all the info you need before making your next purchase? We’ve got you covered. Conventional. A conventional oven typically has two heating elements inside–one at the bottom and one at the top. The bottom element usually is the main source of heat, while the top element is reserved for broiling. The heat inside a conventional oven rises to the top as it bakes. This results in uneven cooking. For instance, cookies you bake in a conventional oven can come out half-burnt and half-blonde due to the various hot and cold spots inside. Convection. A convection oven includes an extra element to provide a solution to the conventional oven. A fan system located at the back of the oven creates a flow of air inside the oven to get rid of any uneven hot spots. This provides more even cooking while removing any excess moisture in foods. A convection oven will bake foods faster which is important to note in recipe instructions. While convection ovens may seem like an easy pick, it’s not suited for foods that are naturally light or airy, since they can be disturbed by the fan. True European Convection. The third oven type are True European Convection ovens. These ovens differ from standard convection in that the fan has an additional third heating element. Instead of just moving air inside the oven, the fan will provide heated air. This will distribute heat more efficiently and evenly than standard convection. A True European oven fan won’t just push around cold air inside since it’s also providing heat. This will in turn reduce the need for cooking time and temperature furthermore than standard convection. This is important to note in your recipes to prevent overcooking. Are you looking to upgrade your oven? Check out our product line here. Sources: Reviewed

New Air Fryer Recipes

It’s time to whip out the air fryer again to enjoy these delicious and healthy foods. Air frying is among the most popular trends at the moment for its quick cooking and lesser oil content compared to traditional frying. You can never go wrong with these recipes for the whole family. Photo By: Renee Comet Air Fryer Chicken Tenders Yield: about 8 pieces Time: 1 hr 45 min Active: 25 min Ingredients Chicken: ¾ cup buttermilk 2 teaspoons Worcestershire sauce ½ teaspoon paprika 1 pound chicken tenders 1 ½ cups panko ¼ cup grated Parmesan 1 tablespoon olive oil Kosher salt Dipping Sauce: ¼ cup mayonnaise 3 tablespoons yellow mustard 2 tablespoons honey 1 tablespoon Dijon mustard Directions: For the chicken: Combine the buttermilk, Worcestershire sauce and paprika in a resealable plastic bag. Add the chicken, making sure it is completely coated. Seal the bag and place in a bowl. Let marinate at room temperature for 1 hour. Meanwhile, stir together the panko with the Parmesan, olive oil and 1 teaspoon salt in a shallow baking dish or pie plate. For the dipping sauce: Stir together the mayonnaise, yellow mustard, honey and Dijon in a small bowl and set aside. Preheat a 3.5-quart air fryer to 390 degrees F. Remove 1 piece of chicken at a time from the bag, shaking off excess buttermilk. Place in the panko and press gently with your hands to adhere the panko evenly. Gently shake to remove the excess and place in the air fryer basket. Repeat with enough chicken to fill the basket (about 4 pieces) and cook until golden brown and cooked through, about 7 minutes on each side. Repeat with the remaining chicken and serve warm with the dipping sauce. Photo By: Renee Comet Air Fryer French Fries Yield: 2 servings Total: 25 min Active: 10 min Ingredients: Nonstick cooking spray, for the basket 1 medium russet potato (about 6 ounces), unpeeled 1 teaspoon olive oil Kosher salt and freshly ground black pepper Directions: Preheat an air fryer to 380 degrees F and spray the basket with nonstick spray. Cut the potato in half lengthwise, then into 1/4-inch slices. Cut the slices into 1/4-inch sticks. Put the fries in a medium bowl and rinse them well with cold water, then drain and pat dry with paper towels. Toss the fries with the oil in a medium bowl, then sprinkle with 1/2 teaspoon salt and several grinds of pepper. Working in batches if necessary, put the fries in an even layer in the air fryer basket with no overlapping and cook, turning them halfway through, until golden brown and crisp, 14 to 16 minutes. Remove and season with salt. Sources: Food Network

The Grilling Mistakes You Should Avoid

Grilling may be a summer pastime, but it’s never the wrong time to brush on your skills. Be ready the next time the warm weather rolls around by correcting these mistakes you may not be aware you’re making. The Grill. Lighting a fire with lighter fluid may get everything blazing faster, but it’s better to start things slow. Build your fire with charcoal and newspaper until they’re fully gray. Give your grates time to heat up as you need these to be hot before you start laying anything down. If your grates aren’t hot enough you may end up steaming your steaks instead of building a crust on them. This will let all the juices escape. The Food. A common practice in restaurants is to allow grilling meats time to come up to room temperature. If you place meat onto a grill directly from the fridge you’ll get an uneven cooking process. The outside will char while the inside will be more rare than it should be. When planning out your cooking process, consider cutting back on the amount of foods on your grill. Take those burgers, hot dogs or kabobs in smaller batches to prevent overcooking some and undercooking others. This will also help avoid cross-contamination. Grilling. If you are looking to char your meats with direct heat, it should only be for a moment. You want to cook around the open flame. Once you have everything on your grill it’s best to leave it alone until you see a crust. Putting pressure on meat with tongs or a spatula disrupts the meat without need. After you’ve gotten everything grilled, let it sit on a pan for about 10 minutes before slicing into it. This will allow any juices inside to redistribute properly. Sources: House Beautiful

Bake the Perfect Cinnamon Rolls

Bake this delicious cinnamon roll recipe with a caramel glaze for a traditional dessert the whole family will love. Be sure to add this to your holiday to-do list. Recipe courtesy of Wilton. Servings: 1 dozen rolls Rolls: 1 1/3 cups warm milk (105°F) 2 packages (1/4-ounce each) active dry yeast 1/4 cup granulated sugar, divided 1/2 cup (1 stick) butter, softened 2 egg yolks 1 teaspoon Vanilla Extract 3/4 teaspoon salt 4 cups bread flour, plus more for dusting Filling: 1/2 cup (1 stick) butter, softened 1/3 cup granulated sugar 2 tablespoons bread flour 2 tablespoons ground cinnamon Glaze: 1/4 cup (1/2 stick) butter 1/2 cup lightly-packed light brown sugar 1/2 cup heavy whipping cream 1 teaspoon vanilla extract 1/4 teaspoon salt 1 cup confectioners’ sugar (about 1/4 pound) Instructions For rolls, stir together warm milk, yeast and 1 tablespoon sugar in large bowl. Let stand 5-10 minutes or until foamy. Add butter, remaining 3 tablespoons sugar, egg yolks, vanilla and salt. Mix with electric mixer using dough hook on medium speed until combined. Gradually add flour, 1 cup at a time, and mix on medium speed until smooth, elastic dough forms, about 5 minutes. Spray large bowl with vegetable pan spray. Form dough into ball, place into bowl and cover with plastic wrap. Let stand in warm place for 45 minutes or until doubled in size. For filling, stir together butter, sugar, flour and cinnamon in medium bowl until well-combined. Prepare 13-by-9-inch pan with vegetable pan spray. Punch dough down and roll out to 18-by-14-inch rectangle on floured surface. Spread filling onto dough and roll up from long end, like a jelly roll. Pinch seam to seal, trim ends and cut into 12 equally-sized pieces. Place rolls into prepared pan; cover with plastic wrap and let rise 25-30 minutes or until doubled in size. Meanwhile, heat oven to 350°F. Remove plastic wrap from rolls and bake 25-29 minutes or until golden brown. Cool in pan on wire rack while preparing glaze. For glaze, melt butter in saucepan over medium heat. Add brown sugar and cream. Cook over medium-high heat until mixture reaches a simmer; cook for 1 minute, stirring constantly. Remove from heat and stir in vanilla and salt. Whisk in confectioners’ sugar until smooth. Pour glaze over warm rolls. Serve warm. Source: Wilton

How to Get the Most Out of Your Broiler

Broilers are like upside-down grills inside your oven. You can expose your foods to very high heat to effectively cook, like on a grill. Broilers are best used for thin cuts of meat, vegetables or foods that are fairly tender. Here’s everything you need to know for the best results from your broiler. First, it’s important to understand where the broiler is located inside your oven. Usually it’s the same element inside that is used for baking and roasting. Often the broiler is located at the top, meaning you’ll have to place your oven rack at the highest position possible, typically three to four inches away from the broiler. The broiler can also be located at the bottom of the oven or in another compartment underneath. You would need to place your food closer to this side, but there may be more limitations on how you broil with it. Preheat. You’ll need to test your broiler a few times to see what settings would be ideal. Treat it similar to a grill in that you should turn it on for about five minutes before cooking to give it time to heat up. Take a look to see how the broiler behaves, your broiler may have a rod with flames coming out either side. In this scenario placing food directly underneath the line would cook food evenly. Time. Broiling is meant to be done fairly quickly, usually in five or ten minutes. Anything longer can take your nice sear to a burn. You’ll only be really cooking the outer surfaces, so pick foods that are quick to cook like vegetables or thin cuts of meat. If your food isn’t cooked enough at the end, you can put it in the oven to finish. On the other hand, you can cook with the oven first and then broil at the end to give a nice crust or sear to the surface. Pans. Grated broiling pans may allow greater airflow, but aren’t always necessary when using a broiler. You can achieve a similar effect by periodically flipping your food as it cooks. Try using a preheated cast iron skillet or even heavy duty sheet pans as an alternative. Sources: The Kitchnn