How to Install Hardwood Flooring in a Kitchen
Hardwood flooring in a kitchen is not only a great look, but also a smart choice for its durability. Follow these steps on how to install hardwood flooring into your kitchen.
Materials and Tools You’ll Need:
- Laminate flooring
- Transition fitting
- Carpet pad
- Roofing felt
- Scissors
- Finish nailer
- Tape measure
- Rubber mallet
- Miter saw
Instructions:
Use fold and lock laminate floor. Run the hardwood boards perpendicular to floor joists to prevent them from sagging in the future. Be sure to leave a ⅜ inch gap between the walls and the flooring. You can cover this later on with trim. Minimize the amount of natural expanding and contracting from the flooring by allowing it to sit in the home for 10 to 14 days. This will allow it to acclimate to the environment.
Check to see if the original floor is level. If it’s not, take self-leveling liquid and pour it in the part of the floor that dips. Once this dries you can begin the installation.
Roll out the roofing felt. This will prevent any water damage to pass through to the subfloor.
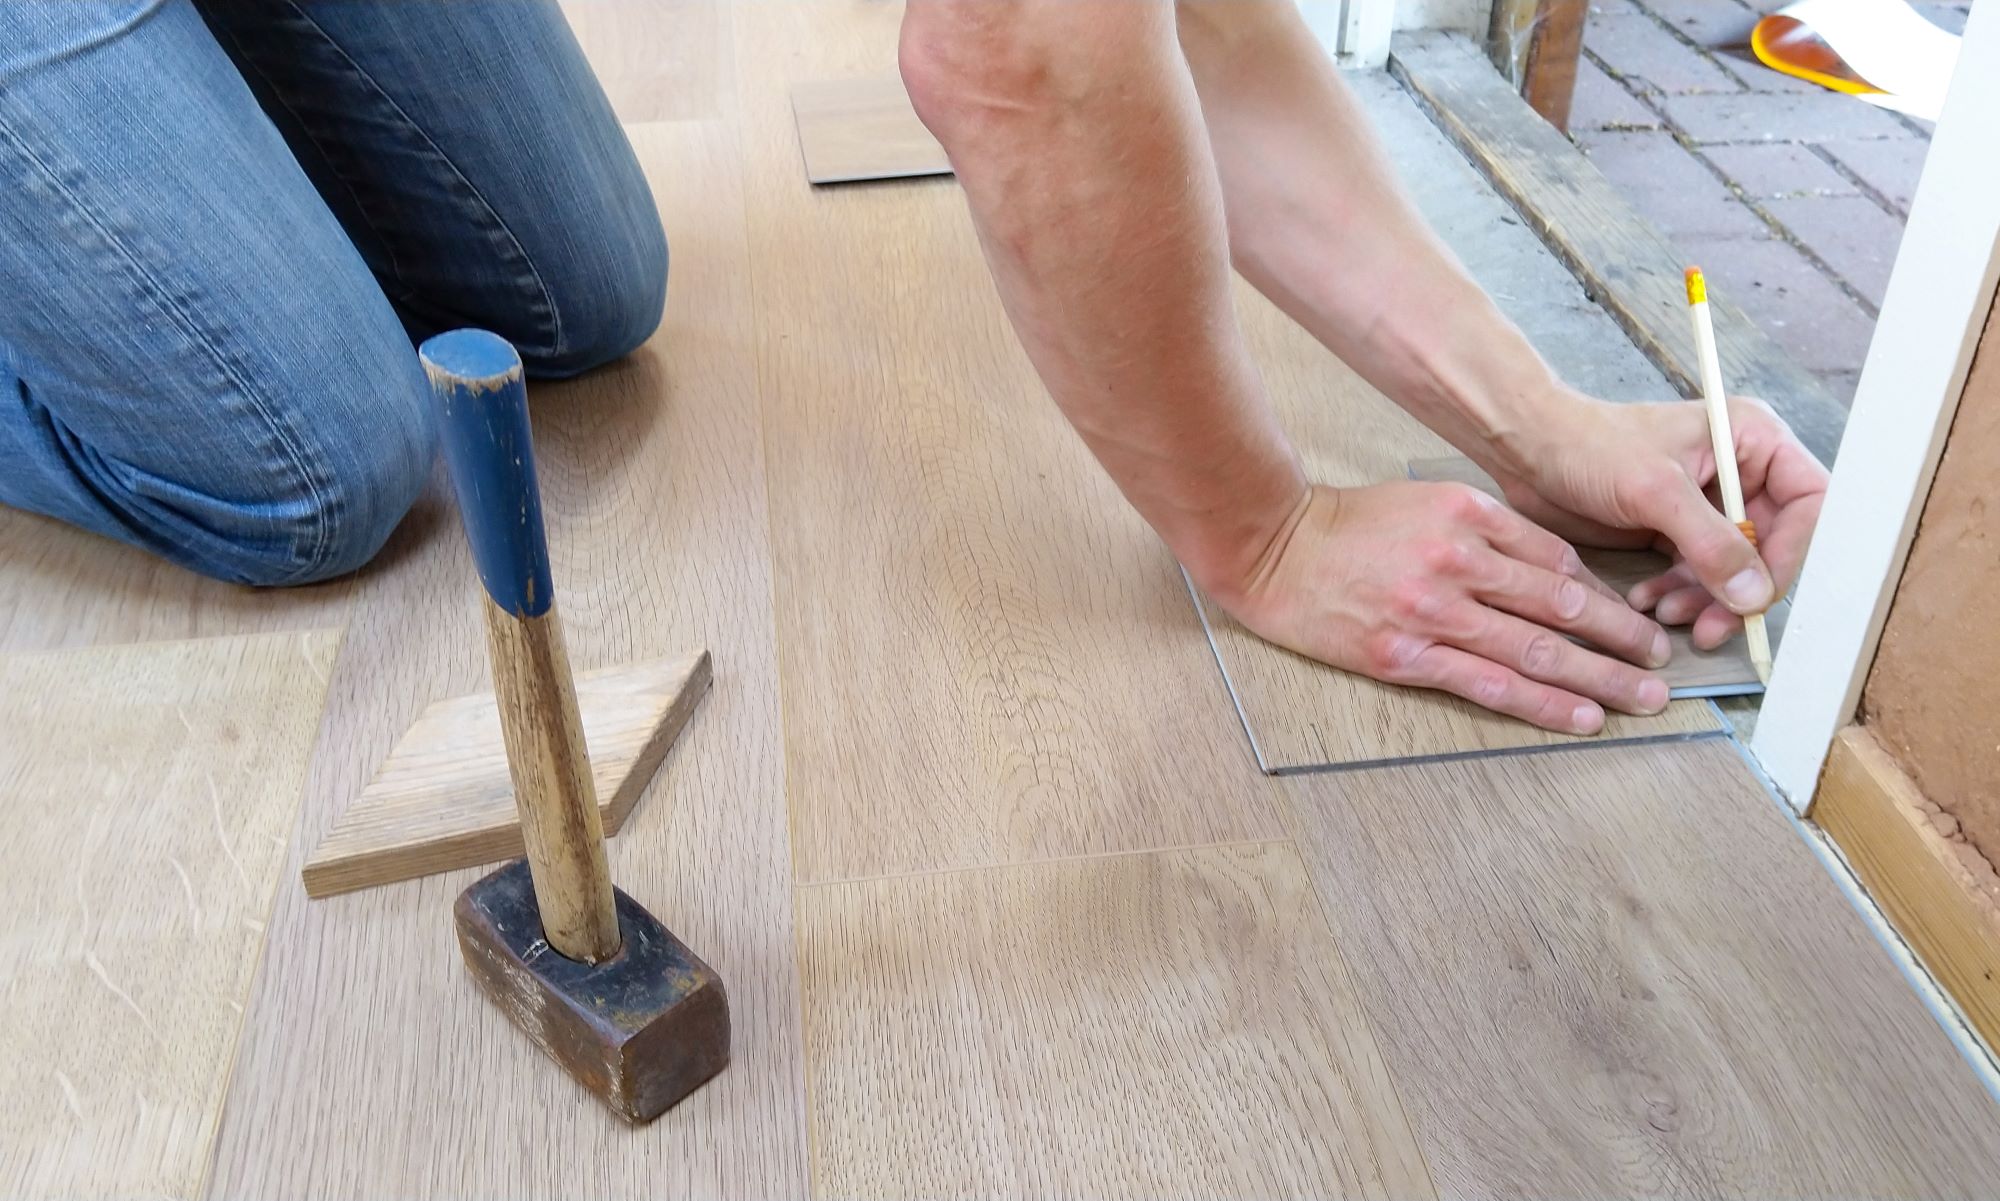
Begin by laying the composite flooring. The planks will easily lock together.
It can be helpful to begin laying the flooring along a wall first and take note of any cuts that will be needed.Stagger the boards to give them extra strength and beauty. Take a rubber mallet to tap them into place.
Finally, install the transition piece using a finish nailer.