Kitchen Ventilation: Downdraft vs. Island Hood
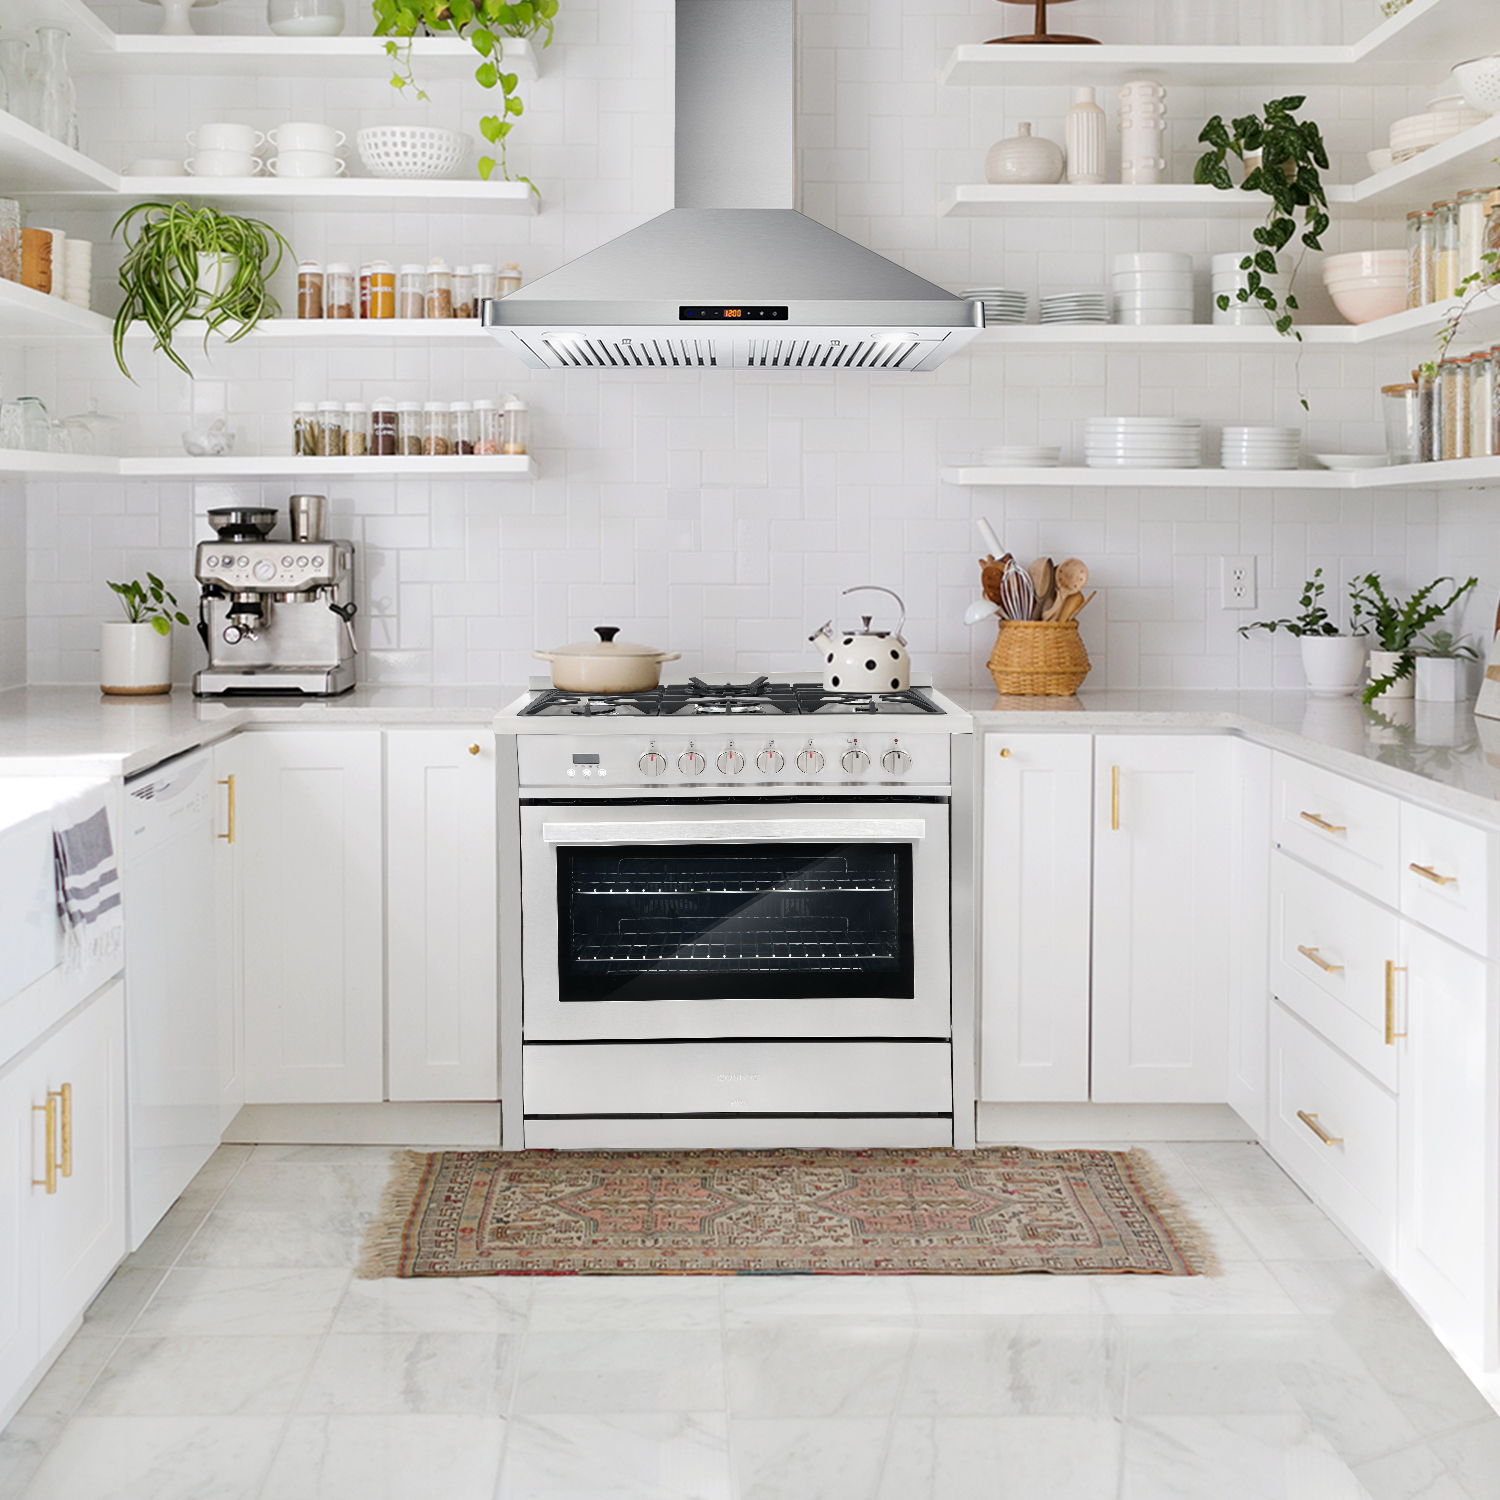
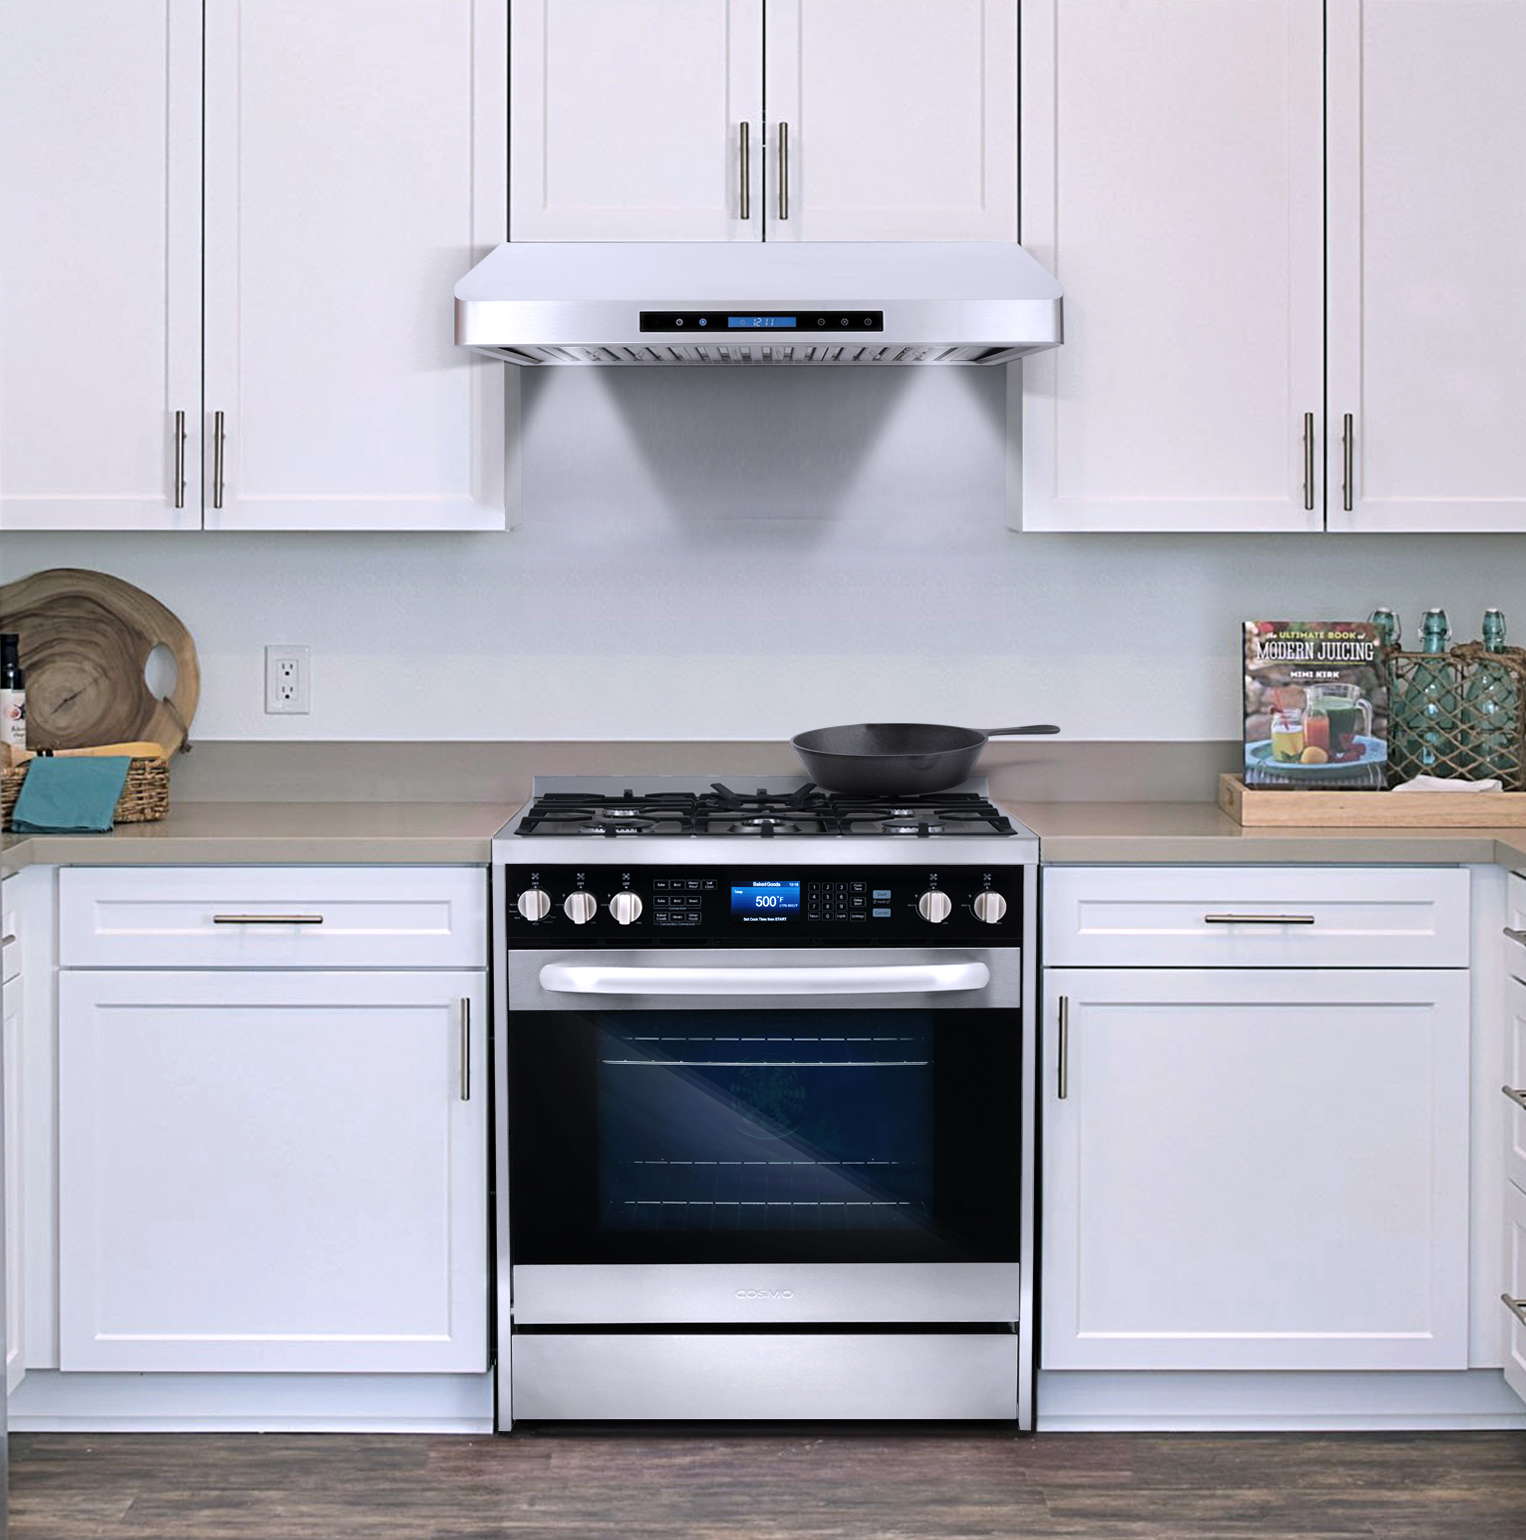
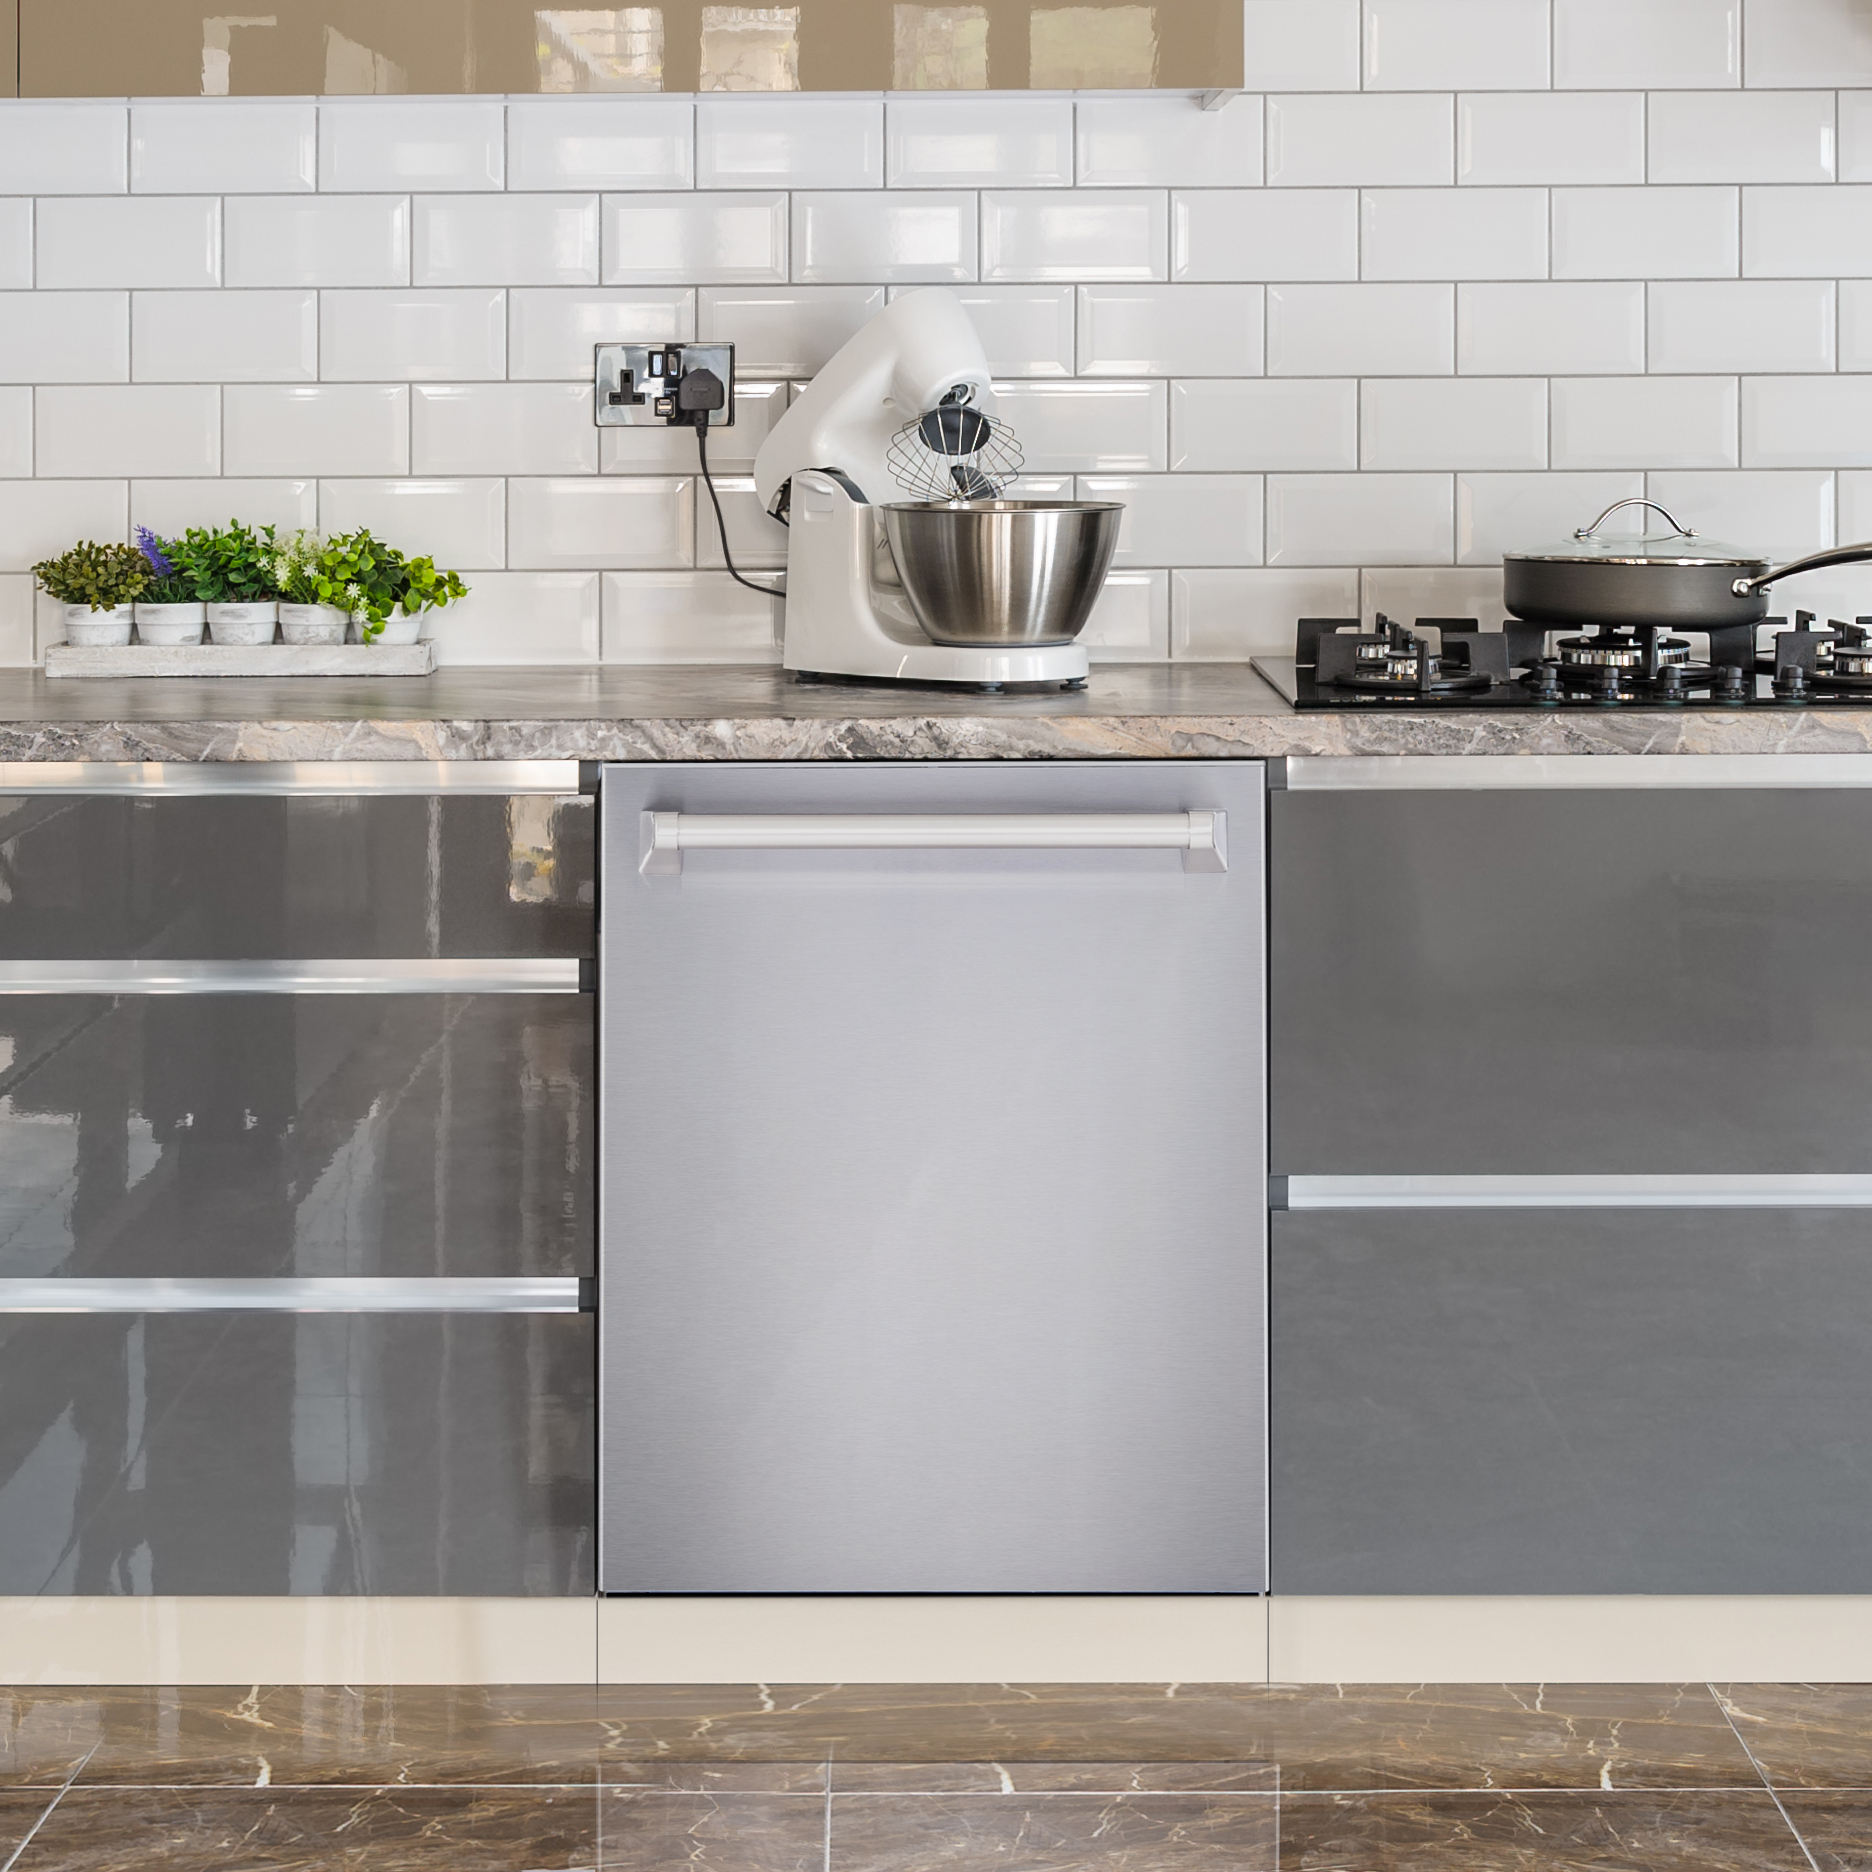
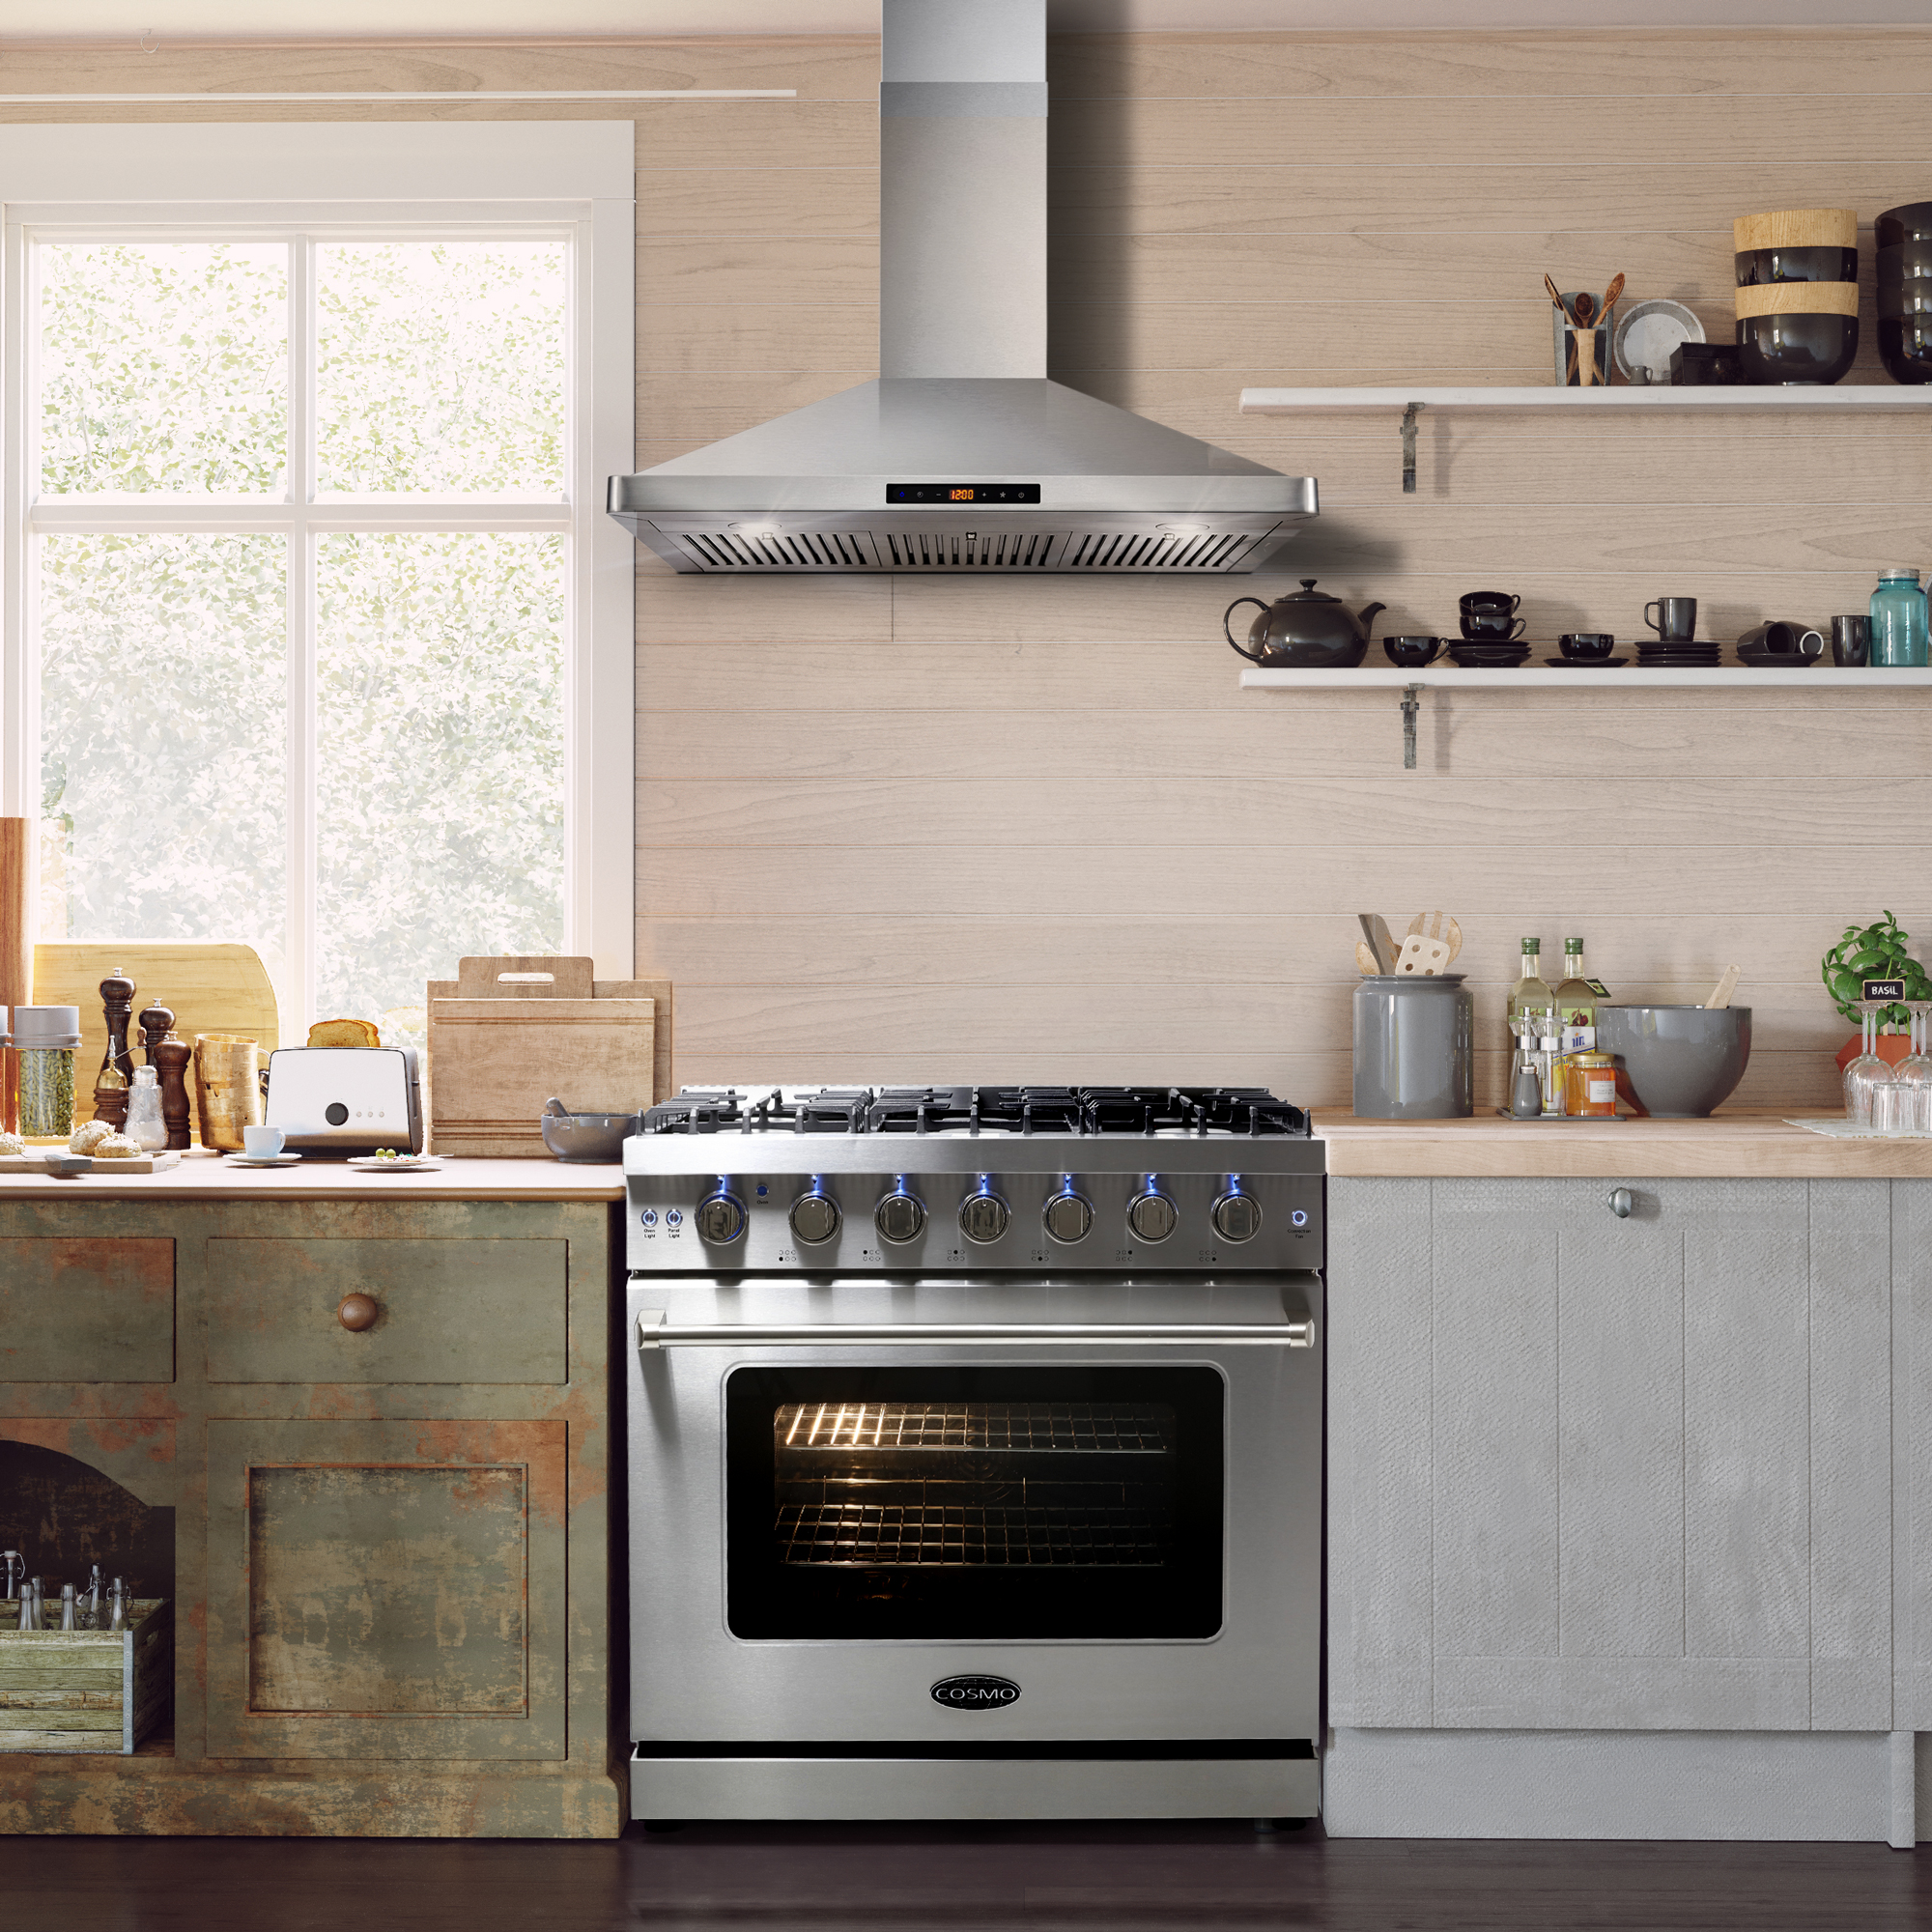
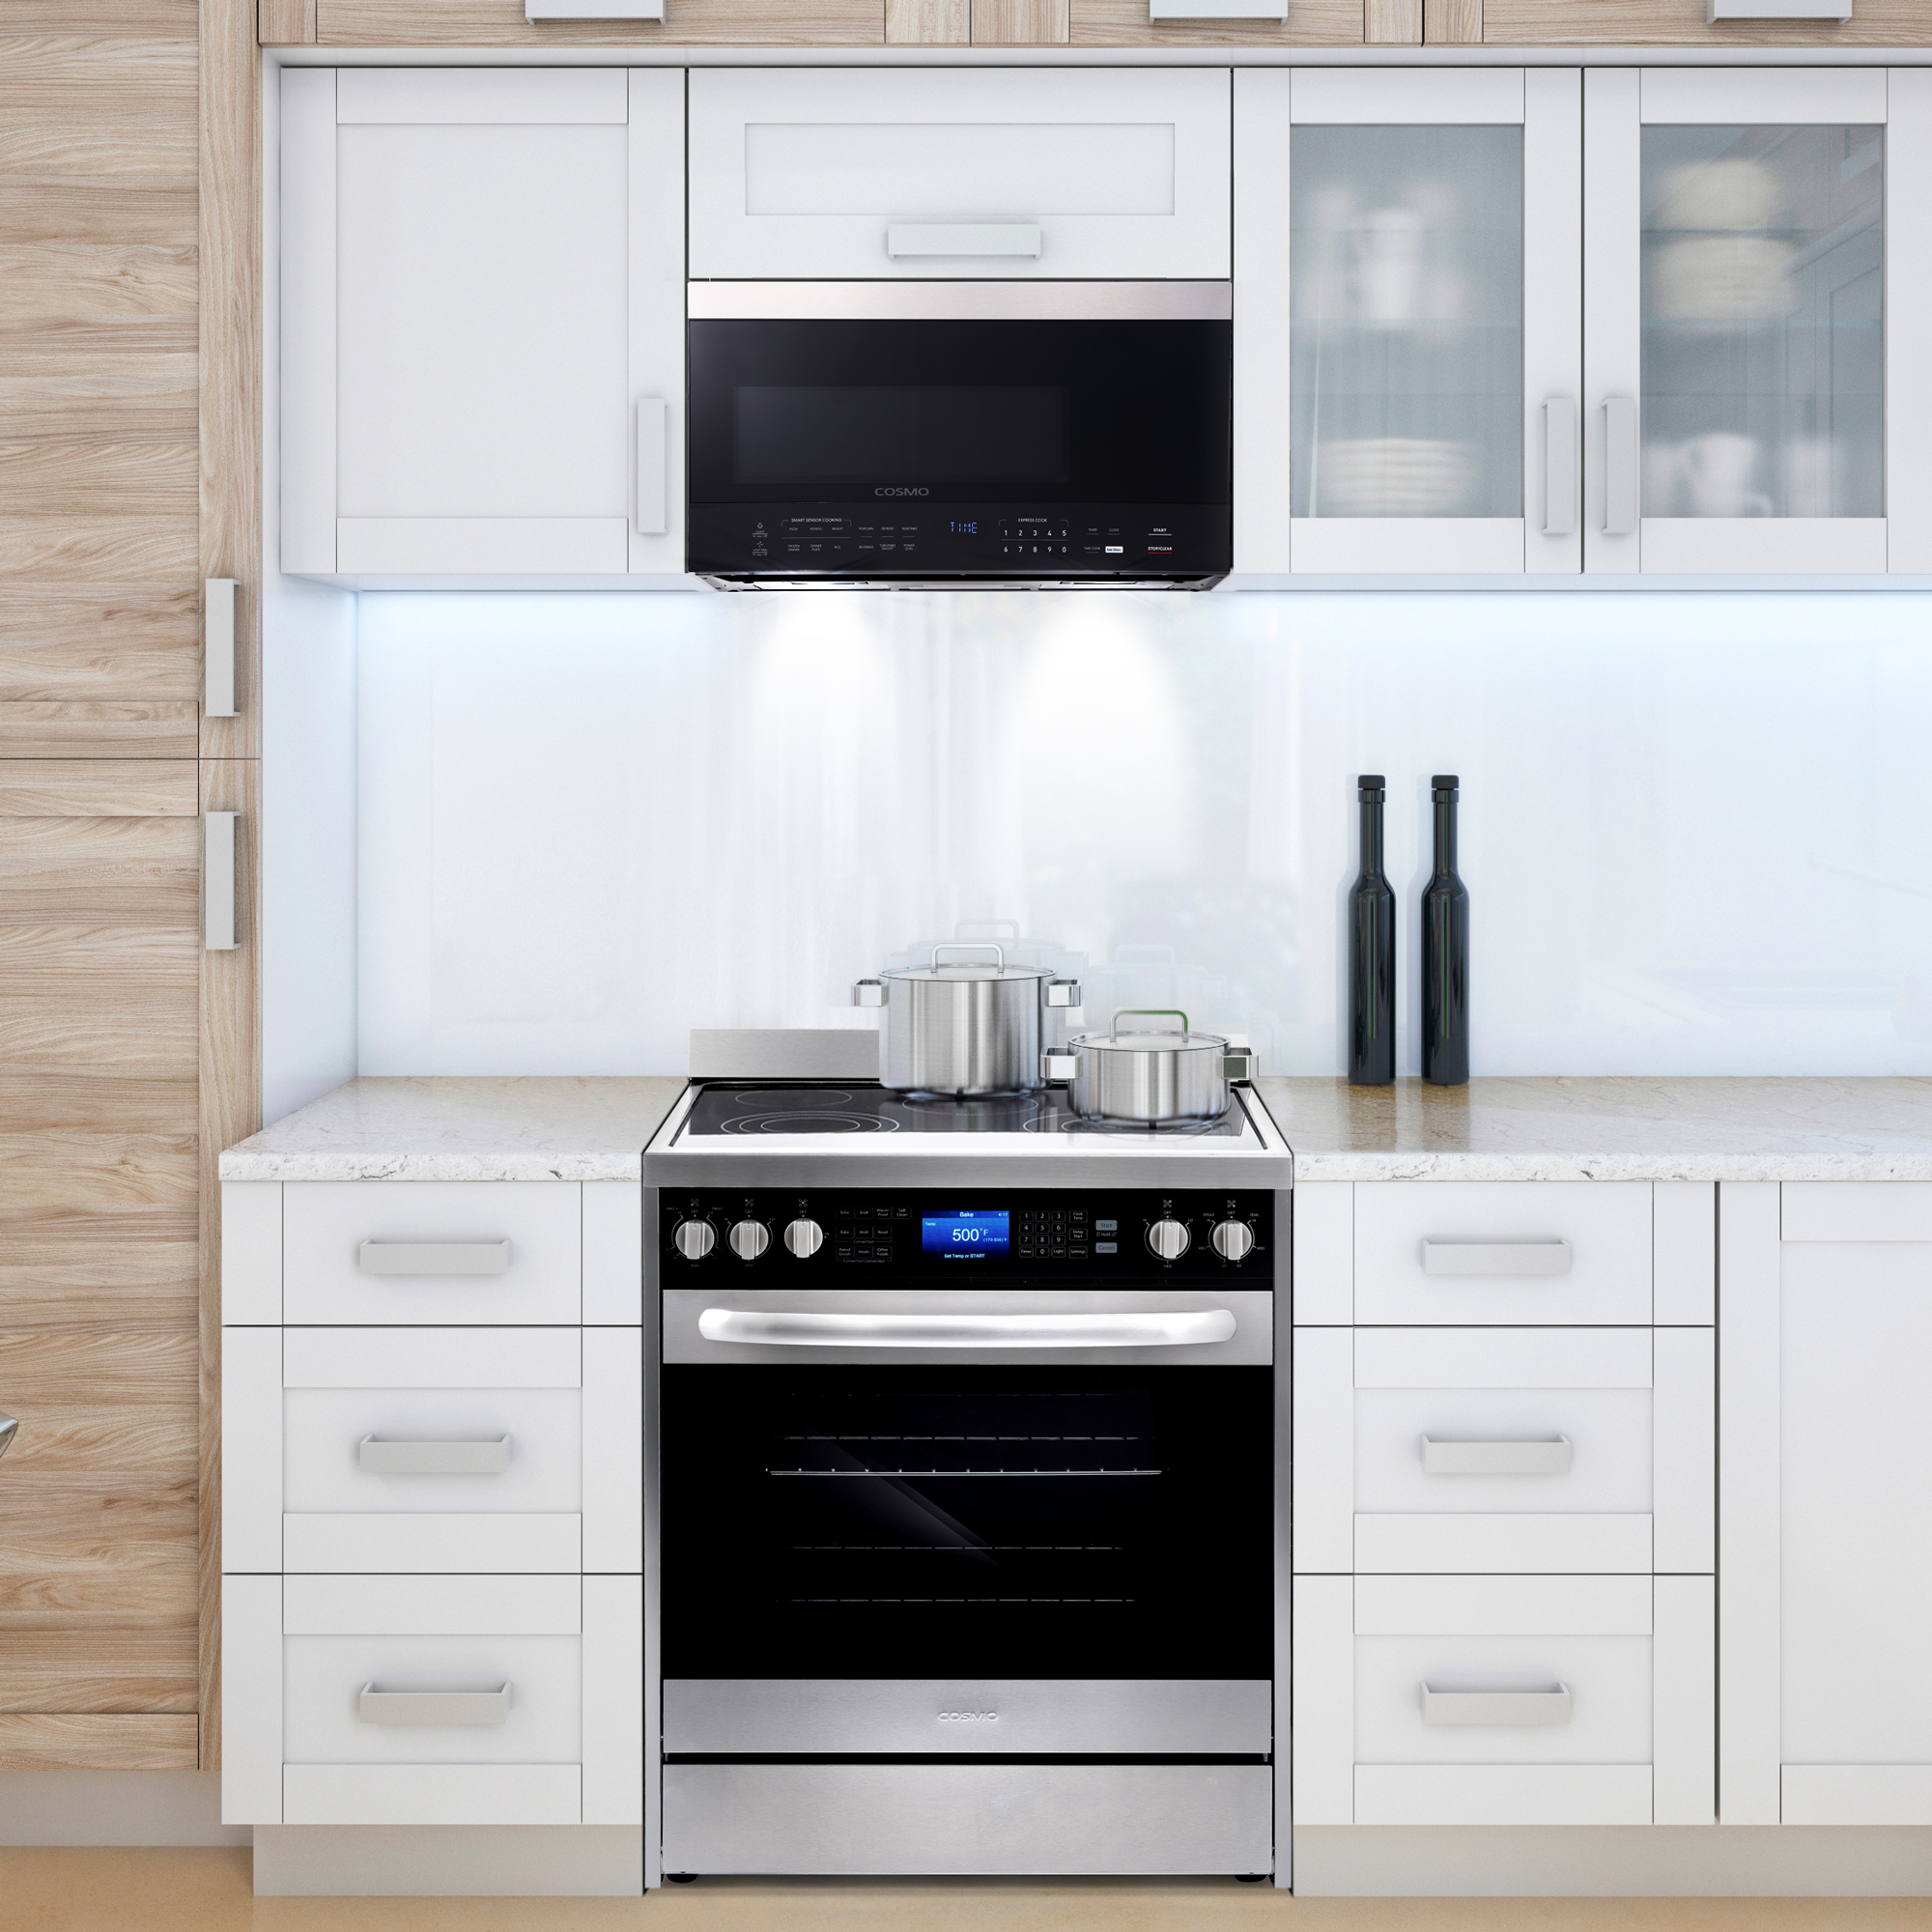
Before you decide which type is best for your home it is important to learn about the difference between downdraft vs. hood fan ventilation. Island Hoods Island hoods are installed in a space where the stove does not have any adjacent walls. The vent is connected to a duct that is fixed to the ceiling — thereby transferring the smoke away. If you have an island layout for a kitchen, these are the best options. They look good and give your space an aesthetic appeal. There are different styles like these units by Cosmo Downdrafts A downdraft ventilation system, or pop-up vents use proximity ventilation to pull smoke and grease downward, versus traditional ventilation which captures exhaust as it goes up. Downdrafts look different than a larger hood aesthetically. You can see the whole kitchen. Downdraft vs. Island Hood Functionally, island hoods are considered to be better for a few reasons. What are the pros of an Island hood fan? More effective: Island Hoods are generally larger and more powerful and clean the air better, especially if you cook large meals often. Keep in mind, smoke rises so it simpler to redirect where it is already headed Visual interest: Today’s range hoods are not only functional, but they are beautiful as well. Oftentimes, a stylish, stainless-steel range hood can be the focal point of your kitchen. CFM: The max power on a downdraft is 1,000 CFM versus 1,500-1,800 on an island hood. There are limitations because Downdraft vents only work for cooktops unless you specifically buy a downdraft range. Capture area: Smoke is first channeled, filtered and then exhausted. An island hood has plenty of capture area, but there is almost none in a downdraft. If you grill or wok, the downdraft will not be able to handle the smoke and grease. What are the pros of downdraft ventilation? While downdraft vents aren’t the ideal ventilation system for all kitchens, they can be an effective solution for certain situations. People like downdraft ventilation ranges for these reasons: No ductwork needed: You simply install the range and you’re done. Downdraft ventilation is invisible: Except when in use, a simple push of a button makes the vent rise and fall. Those looking for a sleek, minimal kitchen vibe will enjoy this feature. Pop-up vents take up less space: In a small kitchen, they can make room for more upper cabinets. Easy to Clean: Downdraft vents are easier to clean than full range hoods. In conclusion, adequate ventilation helps to remove excess heat and moisture from the room for superior comfort and temperature control. Downdraft ventilation is discreet, sophisticated, and effective in some instances. It’s perfect for those looking for an uncluttered seamless kitchen, and for providing ventilation for kitchens where traditional ventilation isn’t possible. There’s no denying that Island Range Hoods provide many important benefits like protection from toxins and unpleasant odors. An Island hood is an important asset to your home and your health. Shop Island Hood