Bakers Edition: How to Create a Better Kitchen
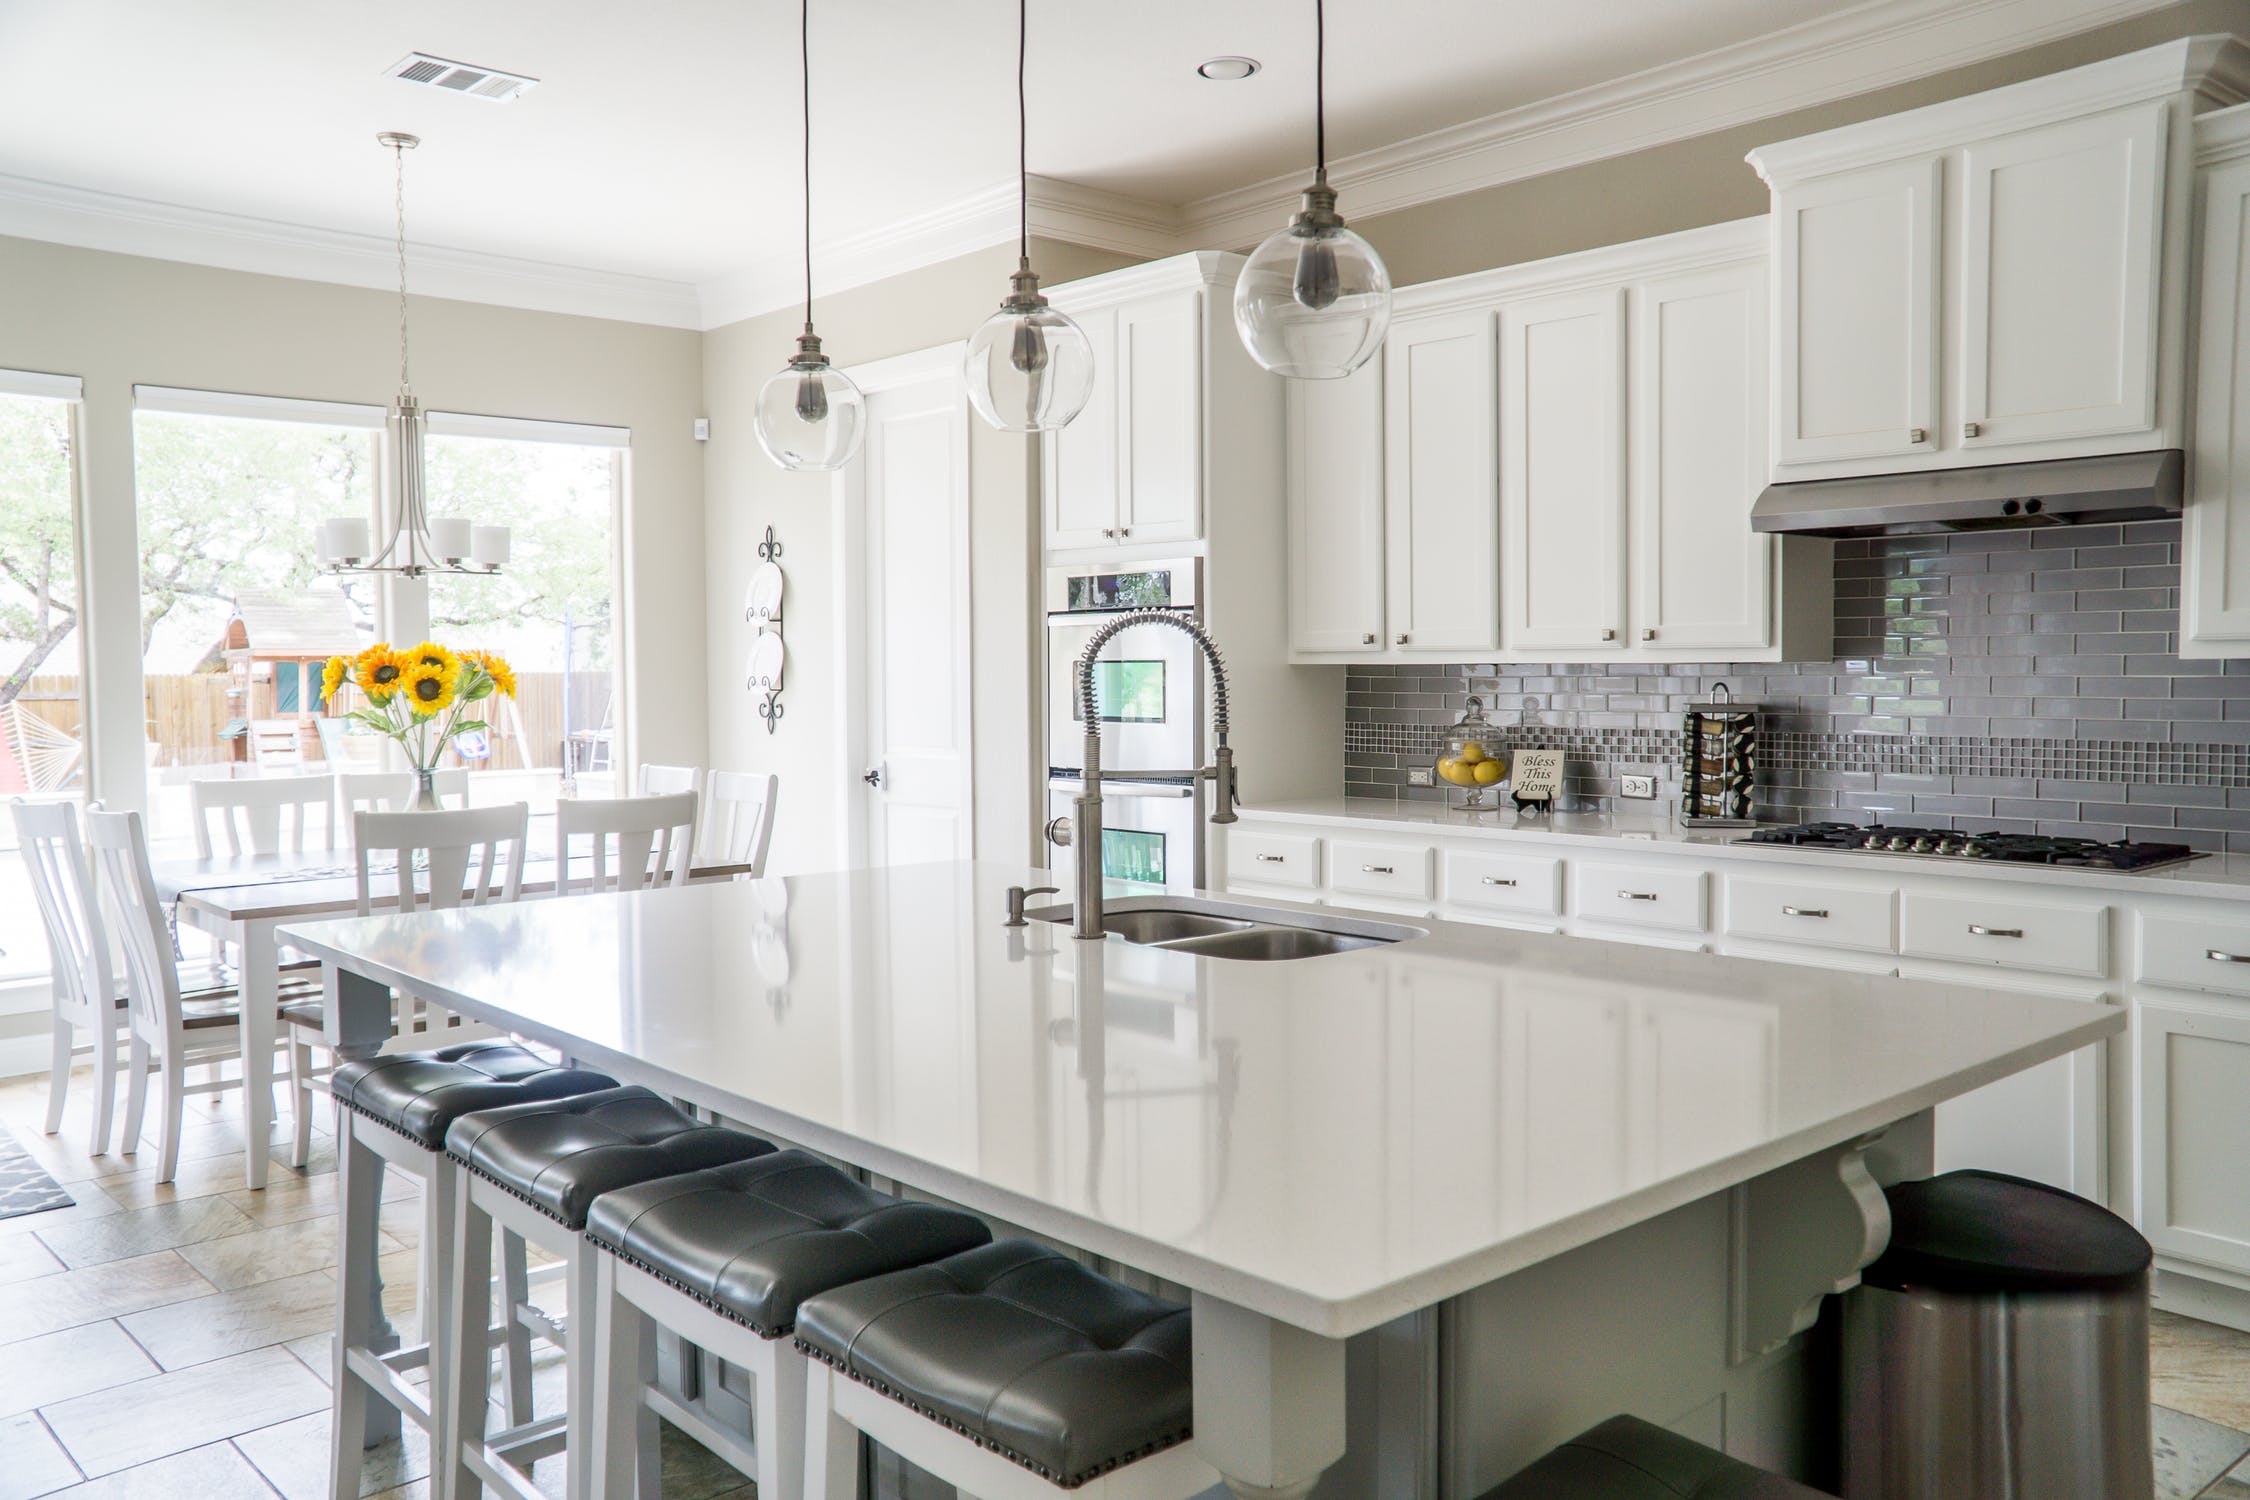
Whether you’re whipping up a big batch of extra fudgy brownies for a school bake-sale or crafting a delicate three-tier Orange Cardamom Cake with Rose Buttercream for a special occasion, we have practical tips and advice for the ultimate kitchen layout, tools, and equipment so you can turn your kitchen into a bakers dream. Do you love to bake? Here are some great ways to make your kitchen work for you. Custom Counter Heights Different tasks call for different countertop heights. Home cooks serious about baking may want to consider custom countertop heights to achieve the most comfortable height. A counter-height surface works fine when mixing or assembling recipes. For kneading or rolling out dough, most bakers prefer a lower surface to get the right amount of leverage. To achieve this, you can Install countertops at a custom height or lower a section of an island so it’s the right height. For a simpler solution, stand on a step stool and use a counter or use a kitchen table to achieve the most comfortable height. Previous Next Turn to Your Pantry Baking often requires lots of ingredients and bulky countertop equipment, so pantry organization is the key to maintain a pristine kitchen. Install pull-out and horizontal pantry drawers that help you easily access your baking supplies. If you have enough space, consider putting your baking station inside your pantry. Also consider extra shelving for mixer storage. Organizing the pantry into specific sections and using bins with airtight lids allow for easier access when you need the basics – flour, sugar, brown sugar, chocolate chips, etc. Previous Next The Right Work Station Granite and marble stay cool, making pastry dough easy to roll and clean up easily. Other baker-friendly countertops that can accommodate rolling, cutting and direct heat with no fuss are Quartz and Corian. If you can’t afford to install a whole slab, purchase a small marble section specifically for baking, or place marble on the kitchen island. Previous Next Double Ovens If what you are looking for is more baking and less waiting, double ovens are a bakers dream. They’re Spacious and versatile enough to accommodate your needs and allow a baker to cook two dishes at different temperatures at the same time. The double ovens, with convection are a must as the Convection ovens work with fans that recirculate heat, which evenly bake cookies and crusts. Even baked goods such as croissants develop a crispy, even texture with convection heat. An oven with a warming drawer or built-in Proof mode create the perfect oven environment for proving dough, you can also cook a variety of dishes in the warming drawer like meringues or melt chocolate. Extra Deep Sink The sink is an essential element to keep the kitchen clean. Clean-up will be a whole lot easier with a deep, wide more functional kitchen sink since baking often involves using odd-shaped pans, oversized cookie sheets and large mixing bowls – many of which can’t go in the dishwasher. Previous Next Stand Mixer Serious bakers have more than one, and double or triple up on the bowl attachments so they don’t have to stop to wash them before moving on to the next phase of a baking project. Previous Next Baking Supply Cart It’s easy to run low on countertop space and having your supplies within reach is essential when baking. With a rolling cart you can move around your kitchen more easily and have your baking essentials wherever you’re working. Tech Corner There are thousands of recipes and how-to videos online to access these you can wire in a TV, desktop or laptop computer or an iPad in a small corner next to your countertop. A kitchen desk area works well for multi-tasking bakers so you can monitor the oven when working or catching up on emails and social media.