Kitchen

The Difference Between Ale and Lager Beers

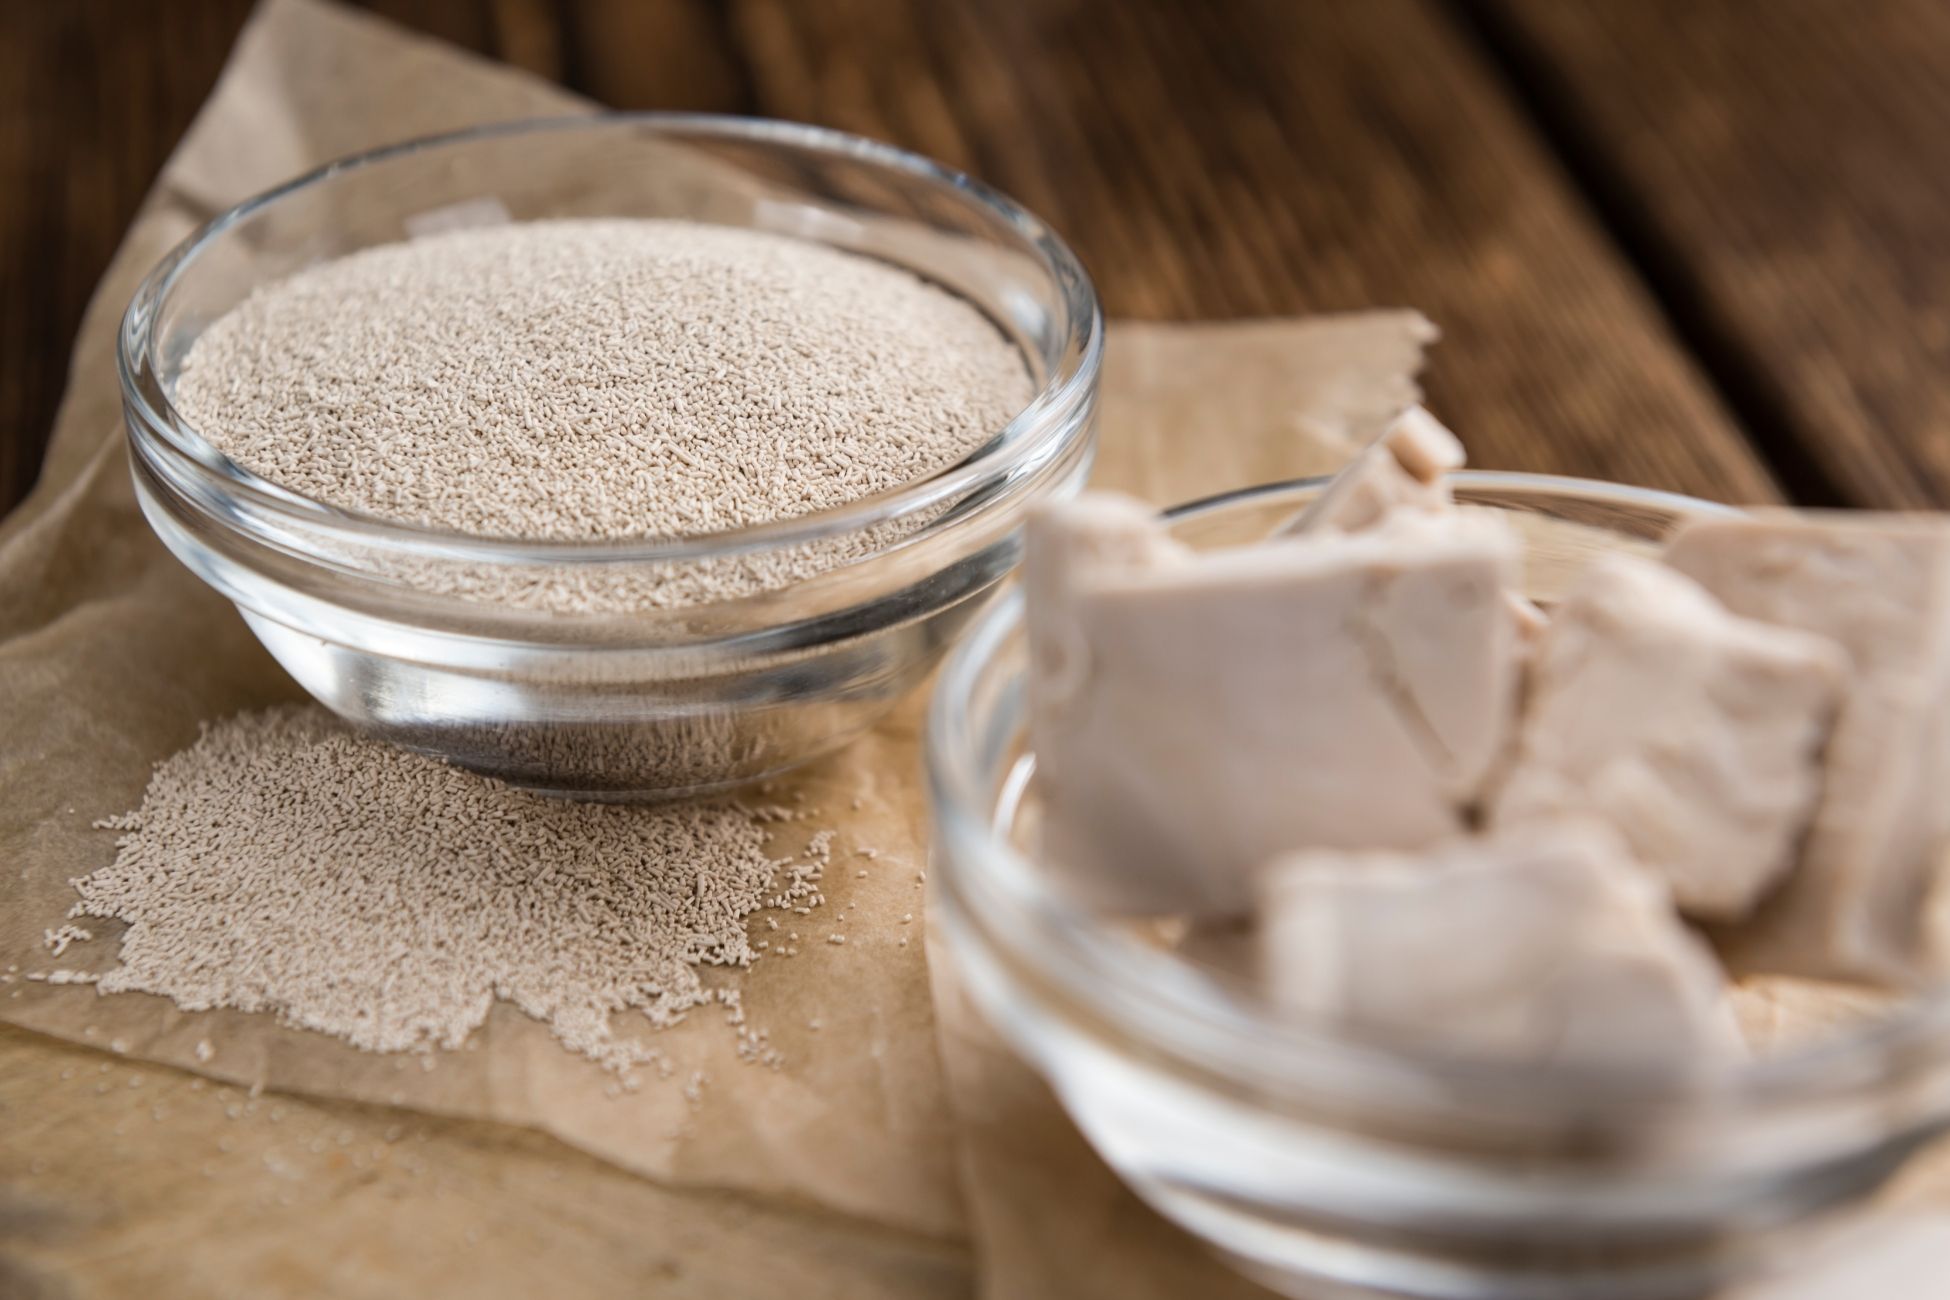
Beers are all made from a basic combination of water, malts, hops and yeast. The difference between ale and lager is yeast, more specifically the type. This brings a wide range of changes between the two beers. Here’s what you can expect from the two brews. Ale Beers Ales are brewed with a top-fermenting yeast that prefers mid-range room temperatures. These ales are typically stored between 60°F and 75°F during the fermentation stage. This process gives ales a fruitier and spicier flavor than lagers. They are generally more robust and complex. Lager Beers On the other hand, lagers are made with bottom-fermenting yeast which works best in cooler temperatures, between 35°F and 55°F. The fermentation will happen slower, making the beer more stable. Lagers can be stored longer than ales. The yeast will have less prominence in the finished beer, resulting in a cleaner and crisper quality. Source: the Kitchn

Determining Wall Shelves Spacing and Spans

Wall shelves require a bit of planning before loading up your favorite dishes or plants. A shelf span is the distance between supports for the shelf. This span distance will vary based on the strength of the material of the shelf. In theory, the stronger the shelf the greater the distance you can put between wall supports. Shelf spacing will depend on preference and what you will store on the shelves. It’s important to fasten the shelf supports to wall studs whenever possible for maximum support. Span Limits The span limit will change depending on the material of the shelf as well as the load it will carry. For the following recommendations it’s assumed the shelf will support a full load of standard-sized hardback books. Plywood. Shelves should be ¾ inch thick or thicker. The longest recommended span is 36 inches between wall supports. Lumber. The longest recommended span between walls supports for 1×10 lumber is 24 inches. If the lumber is 1×12 then it is 28 inches. Particleboard. Single layer shelving made of particleboard should have a thickness of ⅝ inch. The recommended span for this would be 24 inches. If you have a thicker particleboard of ¾ inch then you can span wall supports by 28 inches. Spacing Recommendations The vertical spacing between shelves will ultimately be determined by the objects it will hold. Here’s a general clear shelf height depending on specific items. Paperback books: 8 inches Hardback books: 11 inches Large hardback catalogs: 14 inches Magazines: 14 inches DVDs: 8 inches Source: the Spruce

Kitchen Items You Can Put in Your Dishwasher

We may think dishwashers are only useful for plates and utensils, however there are plenty of larger items it can clean as well. It leaves them cleaner than you might achieve normally. Here’s a list of the items that are generally okay to run through the dishwasher. As with any product, always follow your user manual first to see if there are any specific cleaning requirements. Stove Grates and Caps. As long as your grates and caps are coated in enamel they’re fine to put in a dishwasher. Check to see if they look or feel like raw uncoated metal. If so, skip the dishwasher and wash these manually. Microwave Tables. Depending on their size, these tables are often a pain to clean in a sink. If you’re worried these aren’t as clean as they should be, toss them in the dishwasher. Refrigerator Shelves and Drawers. Some of these may be too big to fit in a dishwasher, but you may be able to stack a few in the same place you normally stack plates. Others you might be able to lay across the top. Sink Drain Cover. This one may be relatively easy to clean by hand compared to the previous ones, but they’re generally covered in stuff you may not want to touch. Give it a wash in your dishwasher for a quick and effortless clean. Select Cosmo Range Hoods come with ARC-FLOW permanent stainless steel filters. These are designed to be washed as many times as you need in your dishwasher. They’re also conveniently sized to fit! Find our entire catalog of Wall Mount, Under Cabinet, or Island Range Hoods here. Source: Food Network

How to Clean Stainless Steel Pots and Pans

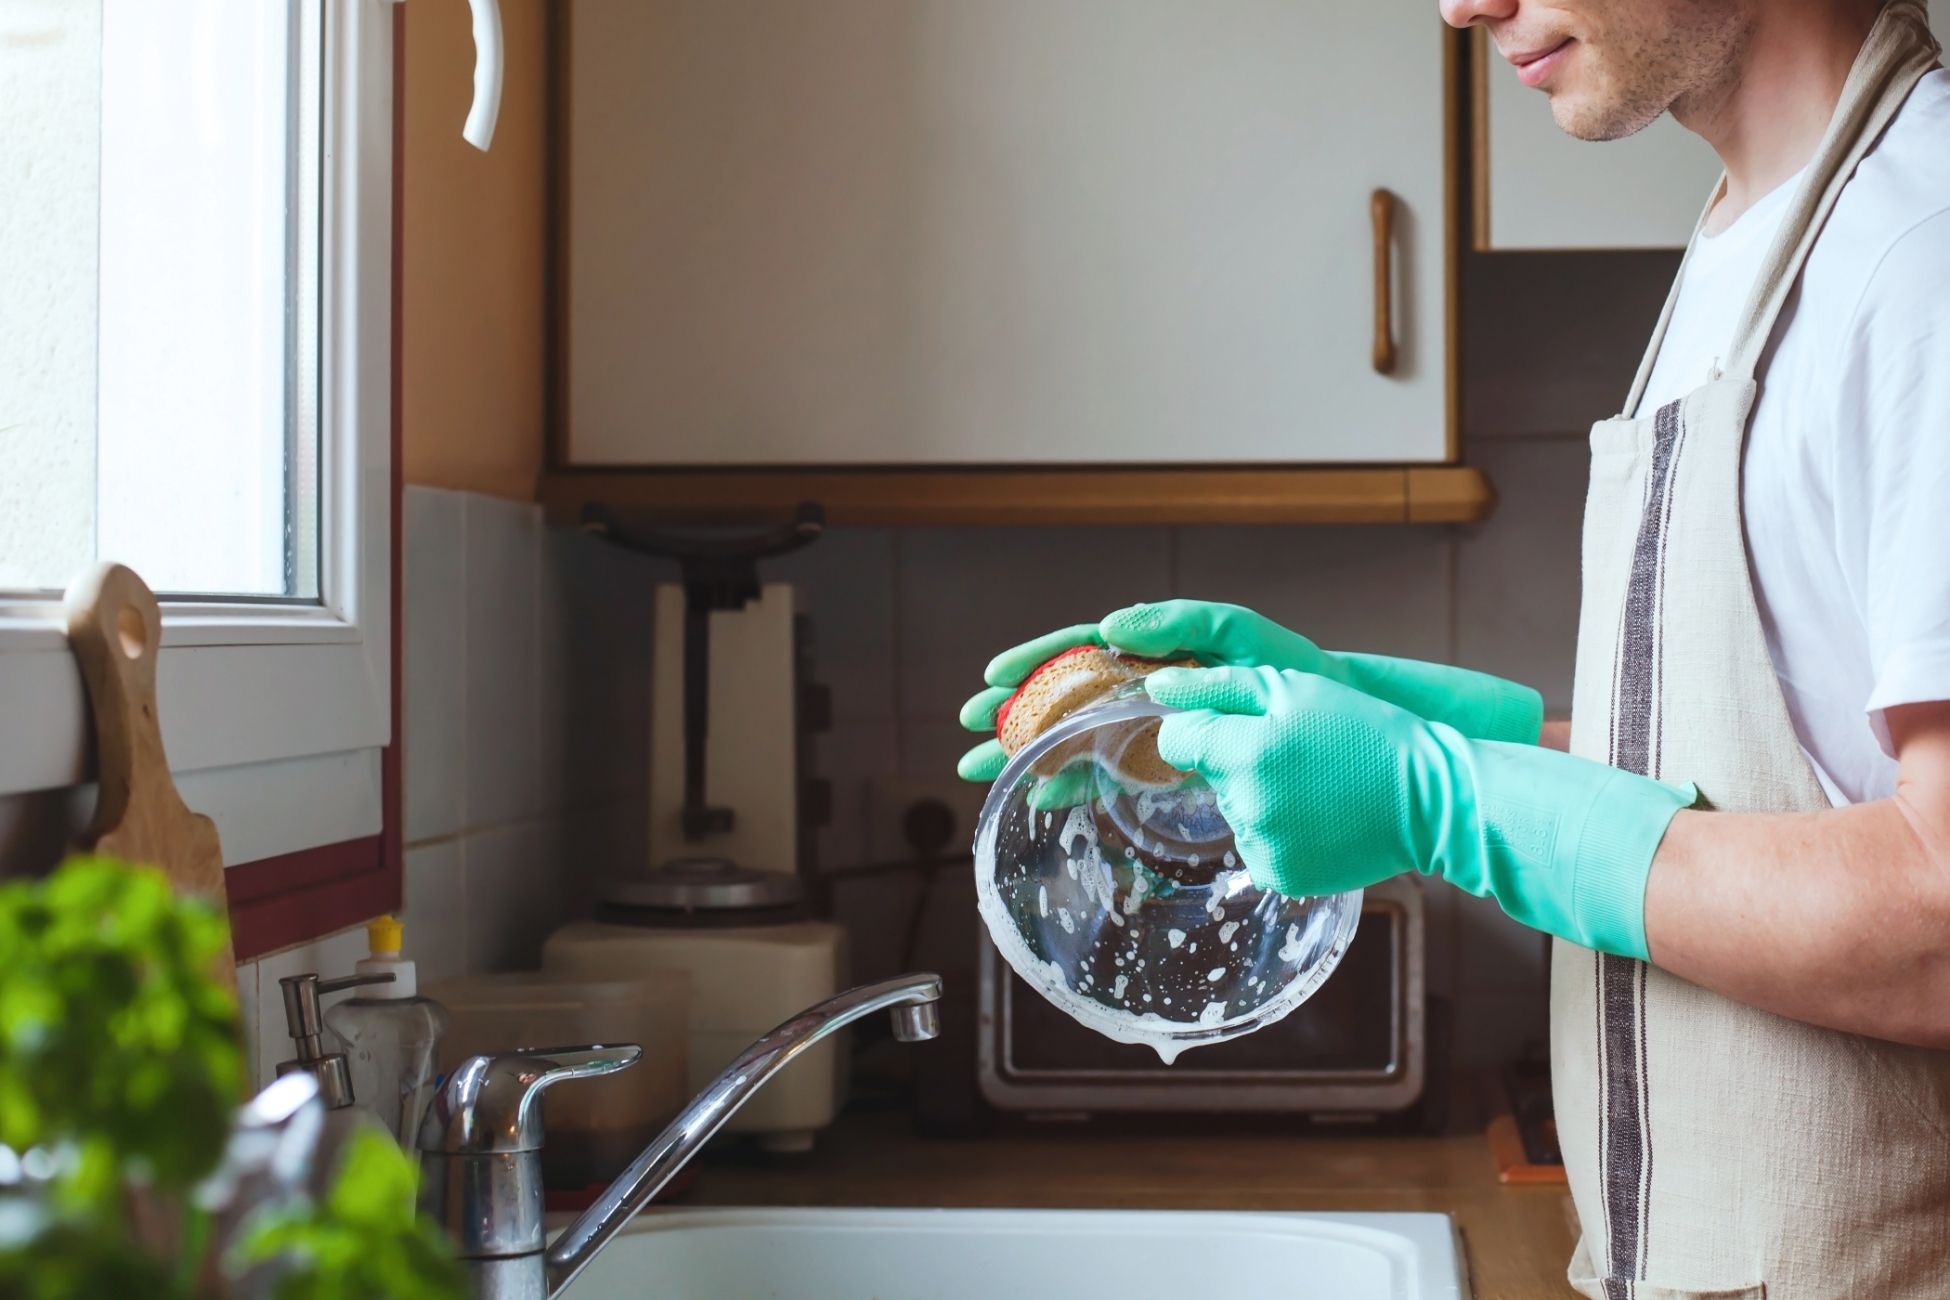
These pans can often carry a hefty price tag, so it’s important to keep them in pristine condition. Luckily, it’s easy to shine up these pots and pans if you have all the necessary ingredients. Read how below. What You’ll Need: Stainless steel cleaning powder or baking soda Water A non-abrasive scrubbing pad (a Dobie pad or non-abrasive sponge is ideal to minimize scratches) A detail brush, like a toothbrush, to clean crevices A toothpick Rubber gloves (optional, but recommended, to protect your hands) Instructions: Add a small amount of tap water into the pot, followed by generous shakes of powdered cleaner. With the sponge, mix the water and powder to form a paste-like texture. With the sponge, spread the mixture around the pot. Make sure to cover the sides or walls. If you need more, add more powder and water. Scrub away at the stains. Make more paste as needed to clean out any pesky pots or crevices. Repeat the process for the outside of the pain. Rinse and dry the pan with a lint-free towel. Source: the Kitchn

Managing Wood Utensils in a Kitchen

Wood utensils have been used for centuries and are still one of the most common tools found in kitchens today. Wood is great to prevent scratching pots or pans, and won’t react chemically with hot food. Here are the few do’s and don’ts when it comes to handling your wood utensils. DON’T put the wood utensils in a dishwasher. The intense heat and steam will make the wood crack. DON’T let utensils sit in water for prolonged periods of time. DO wash the utensils in hot soapy water fairly quickly after use. DO pat the utensils dry with a cloth and let them air dry. DO rub with a slice of lemon and let air dry for any strong flavors that have seeped into the wood. DO apply a mineral oil every once in a while to the wood to prevent it from drying out and cracking. Source: Apartment Therapy

3 Cabinet Design Trends That Make Reselling Harder

Since a kitchen gets so much use day in and day out, it’s no surprise that it’s usually the biggest selling point in a home. A kitchen remodel gets expensive fast, so it’s even more incentive for a potential buyer to love the kitchen right away. Those looking to sell their home should be conscious of the design elements that may ultimately affect the sell price. Here’s three to avoid. Open shelving. An open shelf is a great concept in theory, but can be a lot more hassle for homeowners. While it does open up a space, the dishware placed on it can easily gather dust. If a potential buyer doesn’t have the means to close off the shelves, it could have them feeling overwhelmed to constantly maintain the look. Dark cabinets. These are very big commitments to homes. A white kitchen will usually sell faster than a dark blue one. A darker kitchen with dated hardware can feel old, and especially unattractive to millennials. The cost to repaint kitchen cabinets will hit a lot harder than a simple wall recolor. Intricate millwork. A younger buyer prefers transitional looks, where lines are clean and geometric. Simplicity is the key here. A neutral kitchen with light countertops and brass hardware is typically a good option. Source: the Kitchn

How to Clean a Cloudy Blender

If you’ve been hard at work cleaning your blender, the last thing you want to see is a cloudy surface that just doesn’t go away. The minerals from fruits, produce and leafy greens can cause a film on your container which may leave you feeling like your blender is still dirty. Here’s how to get that blender back to crystal clear. What You’ll Need: Baking soda Water Bowl for mixing Scrub pad Distilled White Vinegar Instructions: Create a paste of baking soda and water. You want it to be thin enough to be spreadable, but not so thick that it will stick to the interior without dripping. Spread the paste all around the inside in an even coat. Let it sit for about 20 minutes, then take a scrub pad and scrub the container. Take your time with this and work in small sections. Rinse out the paste a few times to flush out all the baking soda. If the cloudiness remains, fill the container with a cup of white vinegar and water. Pour the cup of white vinegar and fill the rest with warm water. Let this sit for several hours or overnight. Rinse clean and enjoy your crystal clear blender again. Source: the Kitchn

Fixing a Smelly Sink

A kitchen sink is the workhorse of the kitchen. Whether its grease, food or a plumbing issue, sinks are susceptible to smelly odors and potential health risks. Here’s a guide to help determine the problem. Food can rot and may be the culprit of unpleasant scents. Try cleaning out your drain with hot water and dish soap. Fill up the sink about halfway with hot water and squirt some soap in. After, pull the plug while turning the disposal on as it drains. You can also pour a cup of baking soda followed by the same amount of vinegar and let it sit for 10 minutes. Boil six cups of water and pour it down the drain to help move out any residual particles. If the smell persists, you may have a plumbing issue. A sewer smell can contain harmful gases and shouldn’t be inhaled for long periods of time. First, check the P-trap of your sink. This “p” or “u” shaped pipe can block or dry which would cause a sewage smell. There is a small cap at the lowest point of the curve which you can use to check for blockages. Clear the blockage and run the water for a few seconds to fill it back to optimal levels.Take some time to inspect the pipe for a leak and clean it out if you have to. If your P-trap isn’t the source you can have a clogged vent. Every house has a plumbing vent. This connects your main sewer line to the outside air. If this vent is clogged, sewer gas can get into your home. If you aren’t able to clean it out easily, a professional plumber can run a smoke test to find the obstruction. Source: The Spruce

The Water Test You Should Do Once a Year

Taking care of your kitchen may not be as obvious as you think. Your granite countertops or other natural stone surfaces require regular sealing. Leaving counters unsealed will result in etching and staining, especially from dark-colored greasy spills. Sealing ensures protection and leaves them with a reflective sheen to elevate your entire kitchen. Here’s a test you can perform to see if your counters need sealing. Drip a small amount of water on your surface and check on it again in half an hour. If the water is still beaded up at the surface, your counters are sealed and safe. If the water stays splotchy or seeps into the granite with visible dark spots, it’s time to seal. Sealing a counter is simple and more like cleaning. You’ll spray it on the counter and leave it for a minute or two, and buff it into the counter with a soft lint, free rag. Source: Apartment Therapy

Taking Care of Cast Iron

Your cast iron pans need special attention when it comes to maintenance. There are many novice mistakes you can make like using a lot of dish soap when cleaning them. Here are some of the best tips to get the most out of your cast iron, no matter your experience level. Clean With a Nylon Pan Scraper You’ll need some scouring power when taking off burnt bits from your pan. Be careful not to use any harsh products like steel wool, which can damage your skillet. Opt for nylon pan scrapers which can take the bulk of stuck-on residue. Use a stiff brush and hot water afterwards. Boiling Water Simply pour a cup of fresh water onto a skillet and turn on the burner. Boil the water for a minute or two to clean it. After you pour out the water, carefully wipe the hot skillet with a paper towel, then pour a teaspoon of vegetable oil. Rub it around with another paper towel so it’s ready for the next time you need it. Water, Salt and Olive Oil First, rinse your pan with warm water and sprinkle a few shakes of table salt onto the surface. Then, add a couple spoonfuls of olive oil and rub the pan with a clean paper towel. Rinse out the salt and wipe dry. If your oven is still warm, place your cast iron inside to keep it seasoned properly. Bring Oil to its Smoke Point To get the most out of your oil, spread it on your pan after you clean it and heat the skillet until it smokes. Once the oil reaches its smoke point, it will begin making long-chain molecules to leave you with a well-seasoned pan. Source: The Kitchn