Why Restaurant Pasta Tastes Better (It’s Not the Sauce)
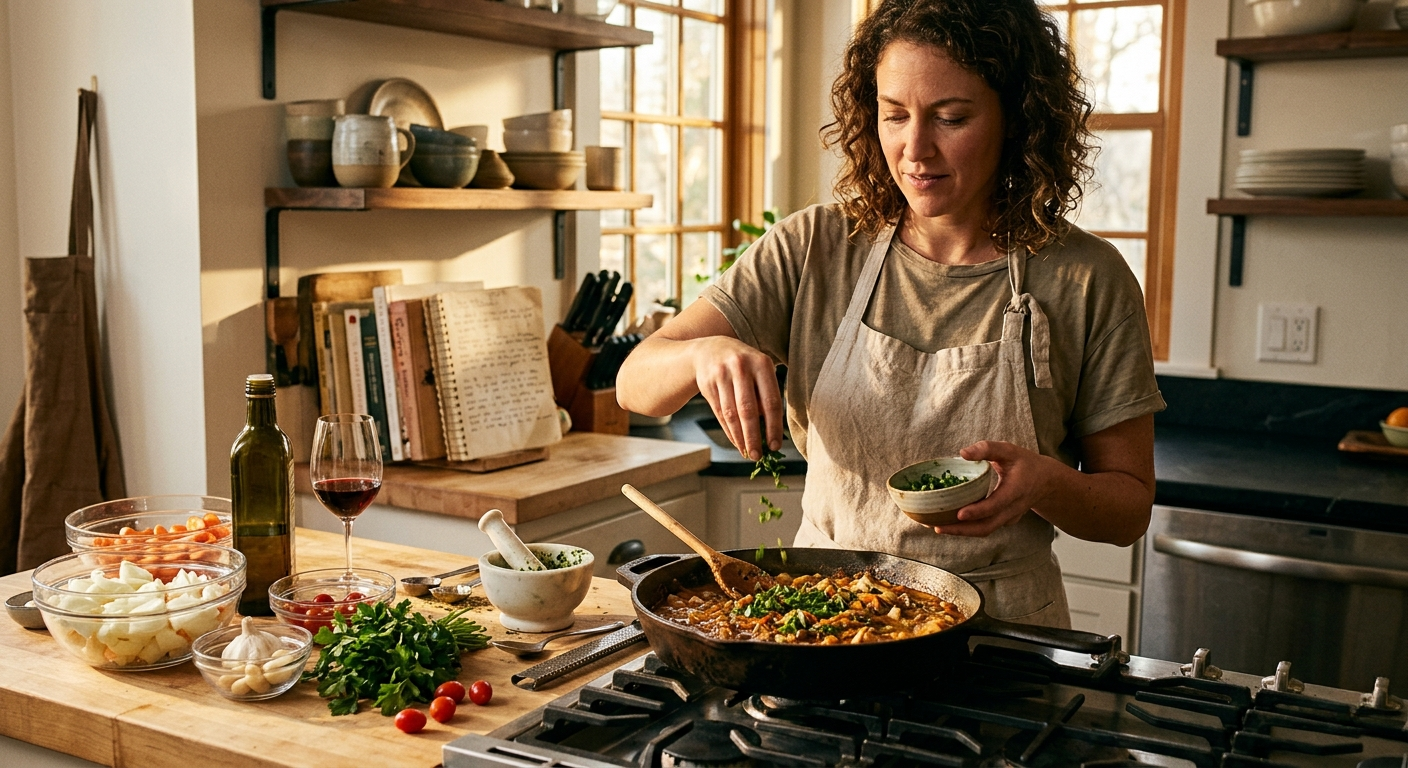
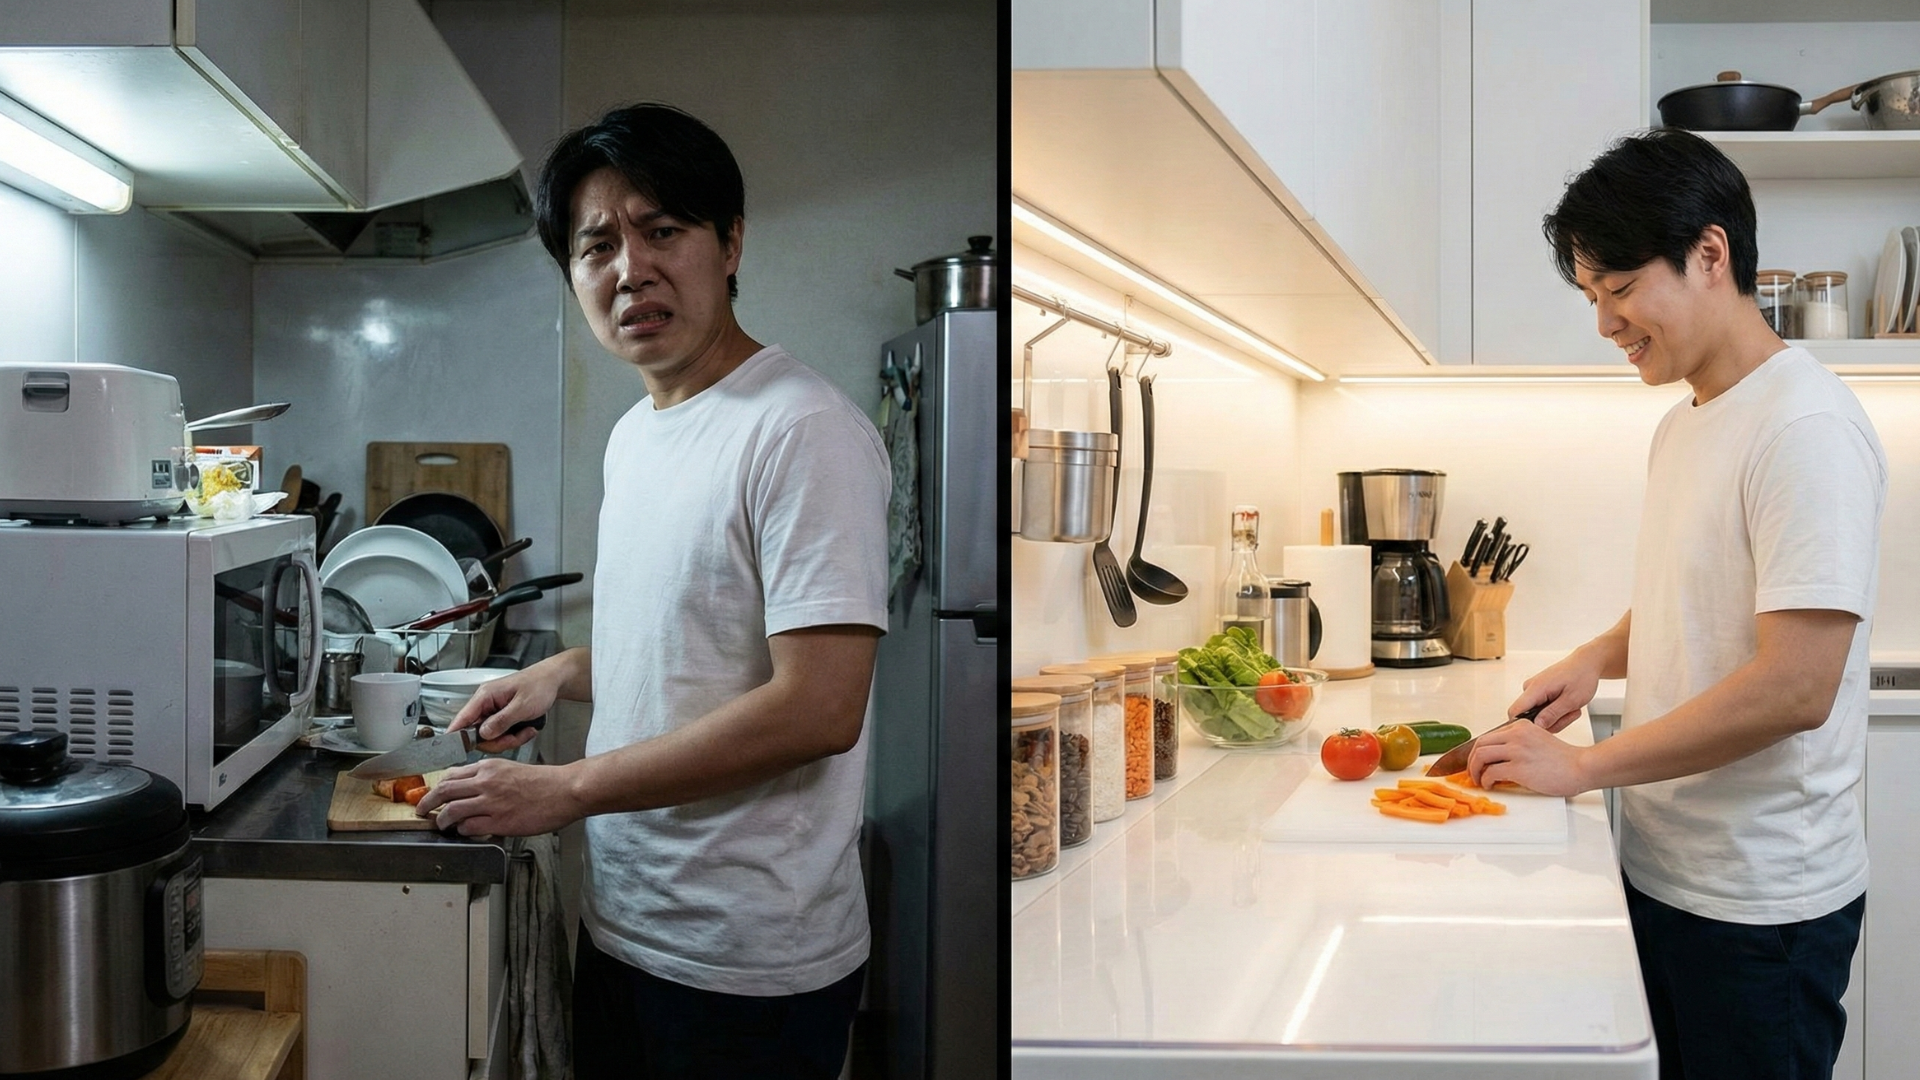
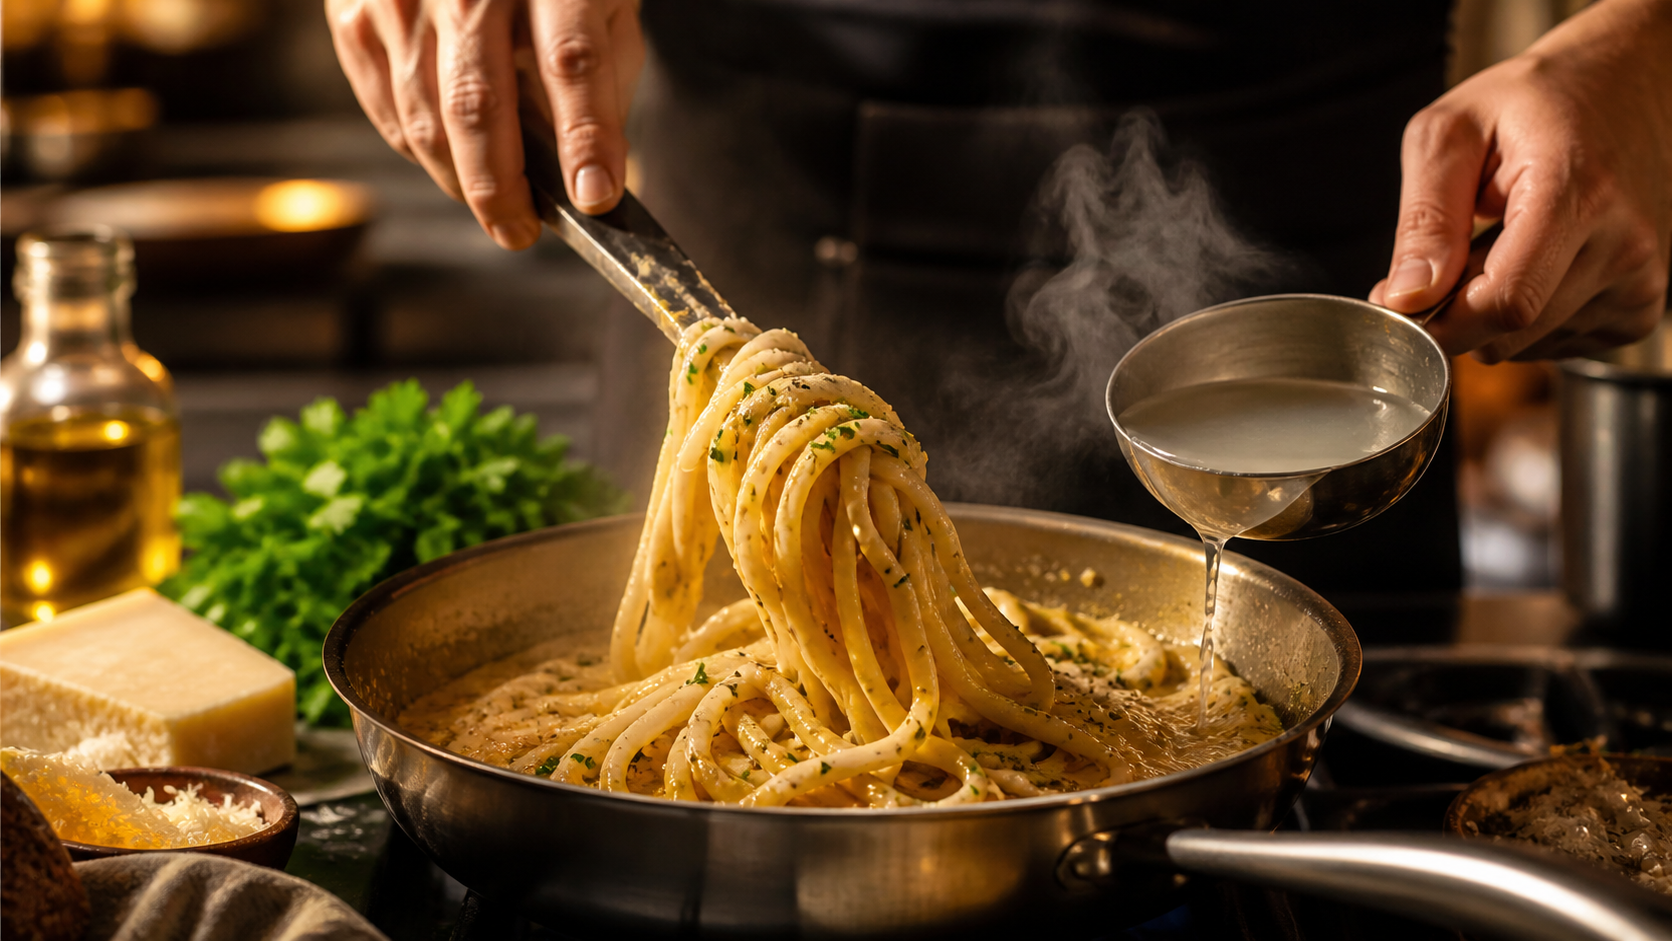
You follow the same recipe restaurants use. You buy quality pasta and good ingredients. Your pasta still tastes flat compared to what restaurants serve. The difference isn’t the sauce recipe or fancy ingredients. It’s the pasta water, the timing, and techniques that happen in the final thirty seconds before plating. Restaurants finish pasta differently than home cooks, and these differences create the gap between good pasta and restaurant pasta. Most home cooks treat pasta like a side dish that happens separately from the sauce. Restaurants treat pasta and sauce as ingredients that finish cooking together. This fundamental difference in approach produces completely different results. Here’s what restaurants do differently with pasta, why it matters, and how to replicate restaurant results without industrial equipment or culinary training. They Salt the Water Like the Ocean Home cooks add a pinch of salt to pasta water. Restaurants add amounts that seem excessive until you taste the results. Properly salted pasta water should taste like seawater. If you wouldn’t want to drink it because it’s too salty, it’s probably right. Most home pasta water could be drinking water—barely salted at all. Undersalted water produces bland pasta that tastes like nothing. The pasta absorbs whatever water surrounds it during cooking. Plain water makes plain-tasting pasta regardless of how good your sauce is. Salt penetrates pasta during cooking in ways that adding salt later can’t replicate. Surface salt and absorbed salt taste different. Pasta cooked in salted water tastes seasoned throughout. Pasta cooked in plain water with salt added after tastes like bland pasta with salty coating. The amount matters. For one pound of pasta in four quarts of water, restaurants use 2-3 tablespoons of salt. Home cooks typically use one teaspoon or less. This isn’t a small difference—it’s a massive difference producing noticeably different results. Salted water also raises the boiling point slightly, though this effect is minimal. The real benefit is flavor absorption, not temperature change. Salt your pasta water generously. It should taste aggressively salty before the pasta goes in. They Undercook the Pasta Intentionally Al dente doesn’t mean “cooked until tender.” It means “cooked until almost done, with a firm bite remaining.” Restaurants pull pasta from water earlier than home cooks think is right. Package cooking times represent fully-cooked pasta. Restaurants subtract 2-3 minutes from package times because the pasta continues cooking in the sauce. This early removal looks wrong. The pasta seems undercooked when drained. It feels too firm, too chewy. But pasta’s final cooking happens in the sauce, not in the water. Overcooked pasta can’t be fixed. Once it goes mushy, it stays mushy. Slightly undercooked pasta finishes perfectly when combined with sauce over heat. The texture difference between properly al dente pasta and fully-cooked pasta is significant. Al dente pasta has structure and chew. Fully-cooked pasta is soft and mushy. Testing doneness by tasting is essential. Start testing 2-3 minutes before package time suggests. When pasta still has firm resistance but no longer tastes raw or chalky in the center, it’s ready to drain. Pull your pasta earlier than feels right. It finishes cooking in the sauce. They Save the Pasta Water (And Actually Use It) Every restaurant kitchen keeps pasta cooking water. Home cooks drain it down the sink, then wonder why their sauce won’t emulsify properly. Pasta water contains starch released from pasta during cooking. This starchy water is a cooking ingredient, not waste water. The starch in pasta water acts as an emulsifier helping oil and water-based sauce components combine into cohesive sauce. Without it, oil and tomatoes separate creating greasy sauce with watery liquid. Restaurant technique involves finishing pasta in sauce with pasta water added gradually. The starchy water thins the sauce to proper consistency while helping it cling to pasta. Adding pasta water also extends cooking time in the sauce. The pasta finishes cooking while absorbing sauce flavors and the sauce reduces to proper consistency. Everything happens simultaneously in the pan. Plain water doesn’t work as substitute. Tap water lacks the starch that makes pasta water functional. Adding plain water just dilutes your sauce without the emulsification benefit. Before draining pasta, scoop out 1-2 cups of pasta water and set aside. You’ll use it during finishing. This one step separates home cooking from restaurant results more than almost anything else. They Finish Pasta in the Sauce Home cooks drain pasta, plate it, and spoon sauce on top. Restaurants combine pasta and sauce in a pan over heat for the final minute of cooking. This finishing step is where restaurant pasta comes together. The pasta absorbs sauce flavor, the sauce reduces to proper consistency, everything becomes cohesive instead of separate components. The technique involves adding drained pasta to sauce in a large pan. Add pasta water by quarter-cups. Toss everything over medium-high heat for 1-2 minutes. During this minute, several things happen simultaneously. The pasta finishes cooking from al dente to perfect. The sauce thickens from the pasta starch. The pasta absorbs sauce flavor instead of just getting coated with it. The water and oil emulsify creating glossy cohesive sauce. Vigorous tossing during finishing distributes sauce evenly. The pasta gets coated completely rather than having sauce sitting on top of plain pasta underneath. Cheese added during finishing melts into the sauce creating creamy consistency. Cheese sprinkled on plated pasta just sits on top without integrating. This finishing process requires a pan large enough to toss pasta and sauce together. A 12-inch skillet works for one pound of pasta. Too-small pans make tossing impossible. The finishing step transforms separate ingredients into unified dish. Skip it and you’re eating pasta topped with sauce. Do it and you’re eating restaurant-quality pasta. They Use More Fat Than You Think Restaurant pasta glistens. Home pasta looks dry. The difference is fat quantity—butter, olive oil, or both. Fat carries flavor. Many pasta flavors are fat-soluble, only releasing when dissolved in fat. Minimal-fat pasta tastes muted even with good ingredients. Fat also creates glossy appearance characteristic of restaurant pasta. The shine