How to Clean Kitchen Light Fixtures and Ceiling Fans: A Step-by-Step Guide
Keeping your kitchen light fixtures and ceiling fans clean is essential not only for maintaining their appearance but also for ensuring they operate efficiently. Dust, grease, and grime can accumulate quickly in these areas, affecting the quality of light and airflow. Here’s a comprehensive guide to help you clean your kitchen light fixtures and ceiling fans effectively.

Cleaning Light Fixtures
1. Safety First
Before starting any cleaning, ensure safety:
- Turn Off Power: For your safety, switch off the power to the light fixture at the circuit breaker or light switch. This prevents accidental electrical shocks.
- Let Fixtures Cool: If the light fixture has been on, allow it to cool completely before handling.
2. Gather Your Supplies
You’ll need:
- A step ladder or sturdy stool
- Soft cloths or microfiber cloths
- Mild dish soap
- A bucket of warm water
- A soft brush (optional)
- Glass cleaner (for glass fixtures)
3. Dust and Remove Debris
- Dust Off: Use a soft cloth or a duster to remove loose dust from the light fixture. For high or intricate fixtures, a step ladder may be necessary.
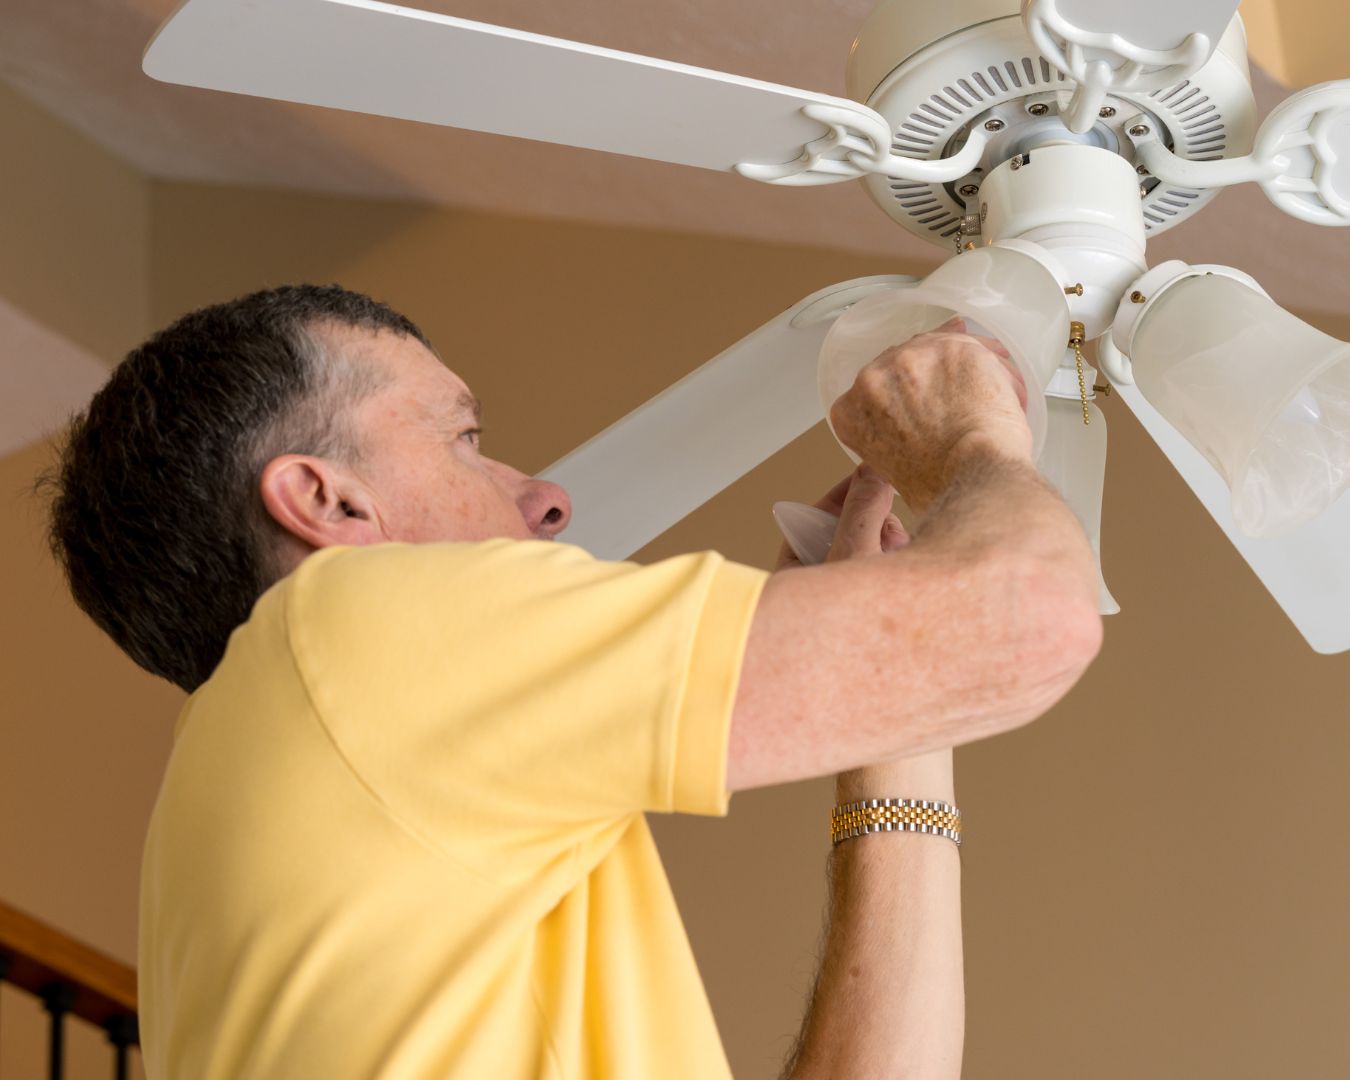
- Remove Covers: If your fixture has a cover or shade, gently remove it according to the manufacturer’s instructions.
4. Clean the Fixture
- Wash Non-Electrical Parts: Dip a cloth in warm, soapy water (mild dish soap works well) and wipe down the non-electrical parts of the fixture. For glass covers, you can use glass cleaner to remove any smudges or spots.
- Rinse and Dry: Rinse any soapy residue with a clean, damp cloth and then dry thoroughly with a soft cloth to prevent water spots.
5. Reassemble and Test
- Reattach Covers: Once the fixture and covers are completely dry, reattach them carefully.
- Restore Power: Turn the power back on and test the light to ensure everything is working properly.

Cleaning Ceiling Fans
1. Safety Precautions
Before cleaning your ceiling fan:
- Turn Off Power: Switch off the fan and ensure the power is off at the switch or circuit breaker.
- Use a Step Ladder: For easy access, use a step ladder or sturdy stool to reach the fan blades.
2. Gather Your Supplies
You’ll need:
- A step ladder or stool
- A duster or microfiber cloth
- A ceiling fan cleaning brush (optional)
- Mild dish soap
- A bucket of warm water
3. Dust the Blades
- Dust Off: Use a duster or a microfiber cloth to remove loose dust from the fan blades. A ceiling fan cleaning brush can help reach into crevices.
- Clean Blade Surfaces: If the blades are particularly dirty, dampen a cloth with warm soapy water and gently wipe each blade. Be cautious not to get the motor or electrical components wet.
4. Clean the Fan’s Housing
- Dust the Housing: Wipe down the fan’s housing and pull chain (if applicable) with a dry or slightly damp cloth.
- Remove Grease: For kitchen fans that may have grease buildup, use a cloth dampened with a mild degreaser or soapy water. Be sure to wipe off any excess moisture promptly.
5. Reassemble and Test
- Check Components: Ensure that all parts are dry and securely fastened.
- Restore Power: Turn the power back on and test the fan to ensure it operates smoothly.
Additional Tips
- Regular Maintenance: Clean light fixtures and ceiling fans every few months to prevent dust and grease buildup. Regular maintenance also helps maintain their efficiency and appearance.
- Use a Dusting Kit: For hard-to-reach areas, consider using a specialized ceiling fan dusting kit with an extendable handle.
- Avoid Harsh Chemicals: Stick to mild cleaning solutions to avoid damaging the finish or components of your fixtures and fans.
Cleaning your kitchen light fixtures and ceiling fans may seem like a daunting task, but with the right techniques and tools, it can be straightforward and effective. Regular cleaning not only enhances the look of your kitchen but also ensures that your fixtures and fans operate efficiently. By following these steps, you can maintain a clean, bright, and well-ventilated kitchen environment.

