
How to Make Homemade Dairy Products: A Guide to Crafting Cheese and Butter
Making your own dairy products at home is a rewarding process that allows you to enjoy fresher, more flavorful options than store-bought varieties. Whether you’re looking to craft artisanal cheese or whip up creamy butter, the basics of homemade dairy production are surprisingly simple. Here’s a guide to help you get started with making cheese and butter in your own kitchen.
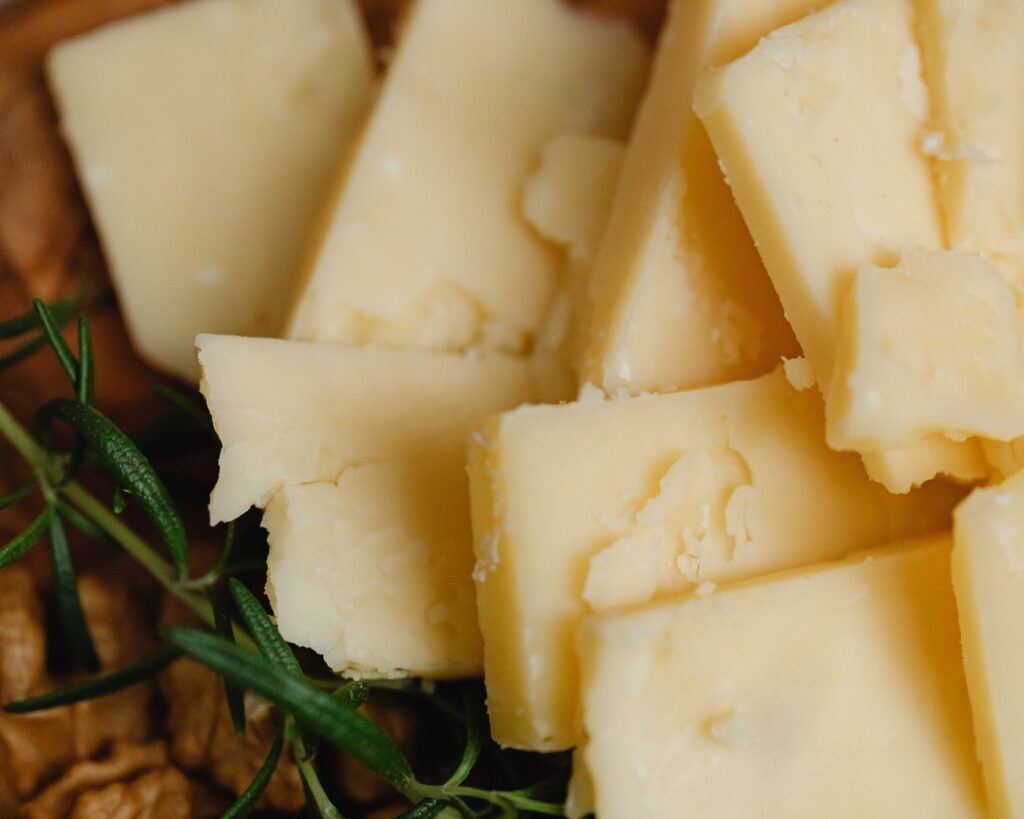
Homemade Cheese
Ingredients and Supplies:
- Milk: Use whole milk for the best results. For a richer flavor, consider using raw milk if it’s available.
- Rennet: A natural enzyme used to curdle the milk. Available in liquid or tablet form.
- Acid (e.g., lemon juice or vinegar): Helps to acidify the milk.
- Salt: Enhances flavor and helps with preservation.
- Cheesecloth: For draining the curds.
- Thermometer: To monitor milk temperature.
- Large Pot: For heating the milk.
Basic Cheese-Making Process:
- Heat the Milk:
- Pour milk into a large pot and heat it gently over medium heat. Use a thermometer to ensure the milk reaches the desired temperature (usually around 85-90°F or 29-32°C for most cheeses).
- Add Acid:
- Stir in an acid like lemon juice or vinegar. This helps the milk to curdle. Allow the mixture to sit for a few minutes.
- Add Rennet:
- If using rennet, dissolve it in a small amount of water and add it to the milk. Stir gently and let it sit undisturbed for about 30 minutes until the curds have formed.
- Cut and Cook the Curds:
- Once the curds have set, cut them into small pieces using a knife. Gently cook the curds at a low temperature while stirring occasionally.
- Drain and Mold:
- Pour the curds into a cheesecloth-lined colander to drain the whey. Gather the corners of the cheesecloth and form a pouch, allowing the curds to drain further.
- Press and Salt:
- Place a weight on the cheesecloth pouch to press out excess whey. After pressing, unwrap the cheese and sprinkle with salt to enhance flavor and help with preservation.
- Aging (Optional):
- Depending on the type of cheese, it may need to age for a few days to several weeks. Store the cheese in a cool, dry place, or refrigerate it if necessary.
Tips:
- Experiment with different types of milk and acids to create unique flavors.
- For a variety of cheeses, try adding herbs, spices, or other flavorings to the curds.
Homemade Butter
Ingredients and Supplies:
- Heavy Cream: Use fresh cream for best results.
- Salt (Optional): For flavor, if desired.
- Mixer or Food Processor: For whipping the cream.
- Cold Water: For rinsing the butter.
Basic Butter-Making Process:
- Chill the Cream:
- Start with cold heavy cream for easier whipping. Pour the cream into a mixer or food processor.
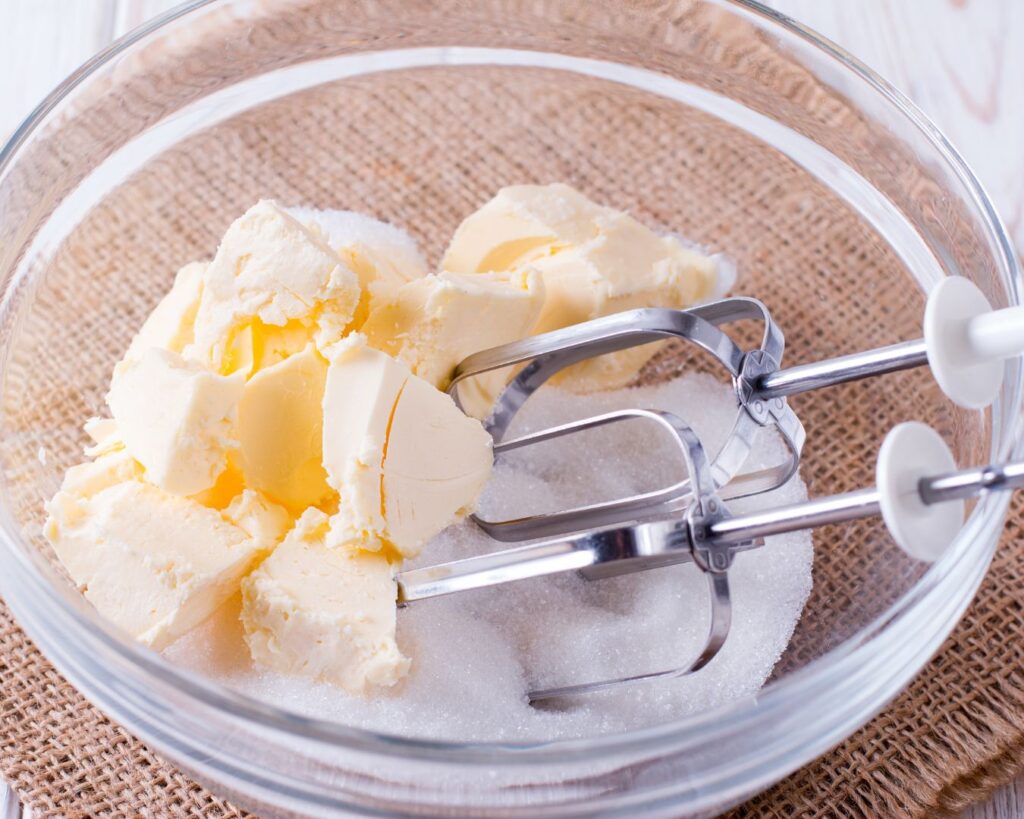
- Whip the Cream:
- Begin whipping the cream at a medium speed. As it thickens, it will first turn into whipped cream. Continue whipping until the cream separates into butter and buttermilk. This process usually takes about 5-10 minutes.
- Separate and Rinse:
- Once the butter has formed, pour off the buttermilk and set it aside. Rinse the butter under cold water to remove any remaining buttermilk, which helps it stay fresh longer.
- Knead and Salt:
- Knead the butter to remove excess water. If desired, add salt to taste and mix thoroughly.
- Store:
- Place the butter in an airtight container and refrigerate. Homemade butter can be stored for up to a week in the refrigerator or longer in the freezer.
Tips:
- For a flavored butter, consider adding herbs, garlic, or other seasonings.
- Ensure all equipment is clean to avoid contamination.
Making homemade dairy products like cheese and butter is not only satisfying but also allows you to control the ingredients and flavors. By following these basic steps, you can enjoy fresh, homemade cheese and butter that adds a special touch to your meals. Whether you’re a culinary enthusiast or simply looking to try something new, crafting your own dairy products is a fun and rewarding experience.