How to Make Your Own Pickles: A Simple Guide to Pickling
Pickling is an ancient culinary art that not only preserves the bounty of your garden but also enhances the flavors of your produce. Whether you’re a seasoned cook or a kitchen novice, making your own pickles is a fun and rewarding process. Here’s a simple guide to help you get started on your pickling adventure.
Before you begin, gather the following ingredients and supplies:
- Fresh cucumbers (preferably pickling cucumbers)
- White vinegar or apple cider vinegar
- Water
- Pickling salt or kosher salt
- Sugar (optional)
- Fresh dill (or other herbs and spices)
- Garlic cloves
- Whole peppercorns
- Bay leaves
- Pickling jars with lids
- A large pot
- A funnel (optional)

Step-by-Step Guide to Pickling
1. Prepare the Cucumbers
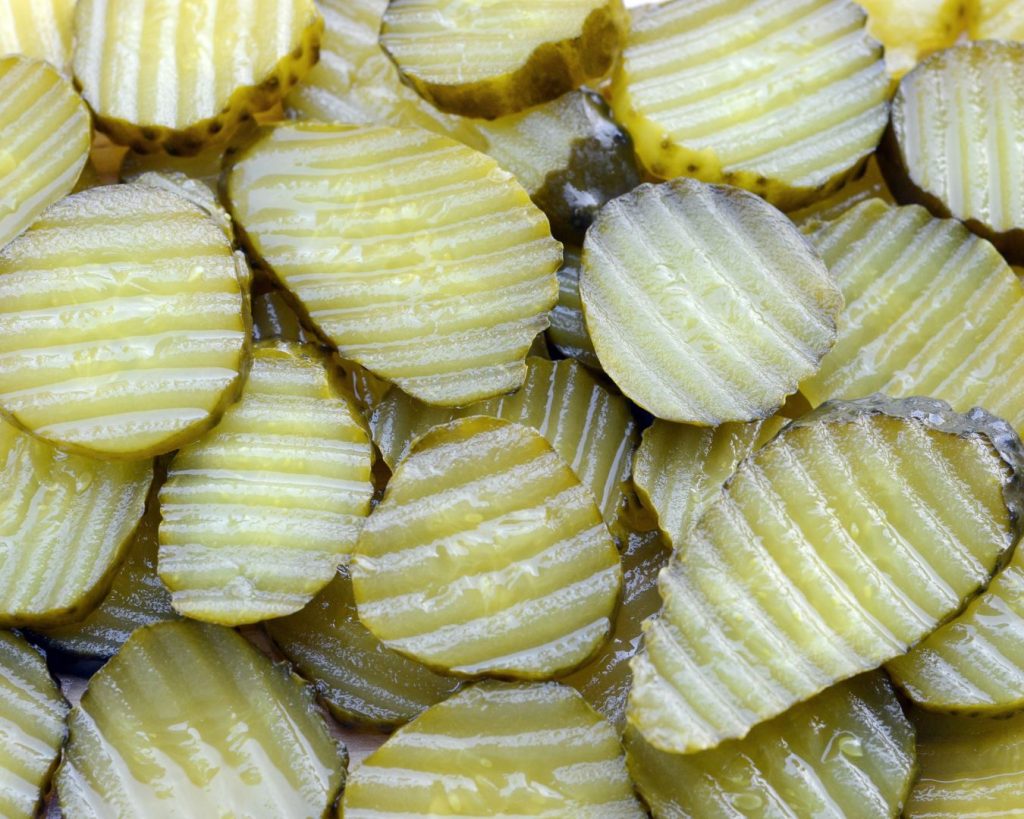
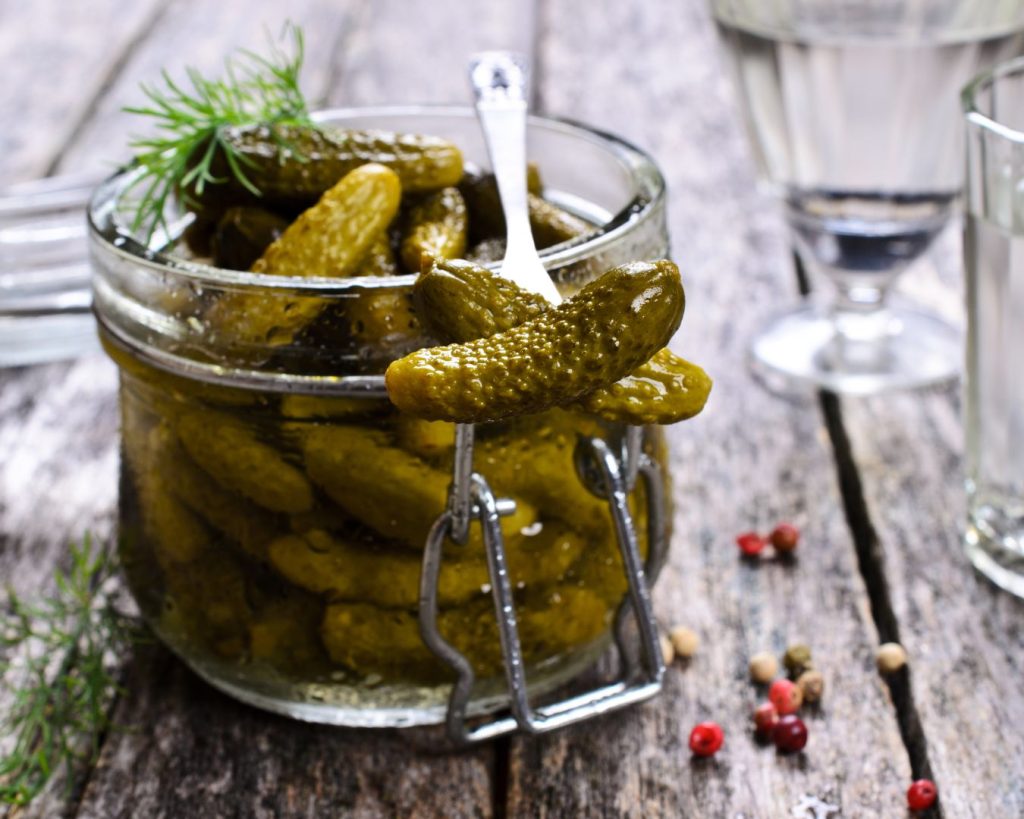
Start by selecting fresh, firm cucumbers. Wash them thoroughly to remove any dirt or debris. Depending on your preference, you can slice the cucumbers into rounds, spears, or leave them whole. If using whole cucumbers, it’s a good idea to trim the ends to ensure even pickling.
2. Sterilize Your Jars
To prevent contamination, sterilize your pickling jars and lids by boiling them in water for about 10 minutes. Carefully remove them with tongs and let them air dry on a clean towel.
3. Make the Brine
In a large pot, combine the following ingredients to create your pickling brine:
- 1 cup of vinegar
- 1 cup of water
- 1 tablespoon of pickling salt
- 1 tablespoon of sugar (optional)
Bring the mixture to a boil, stirring until the salt and sugar are fully dissolved. You can adjust the ratios based on the quantity of pickles you plan to make.
4. Pack the Jars
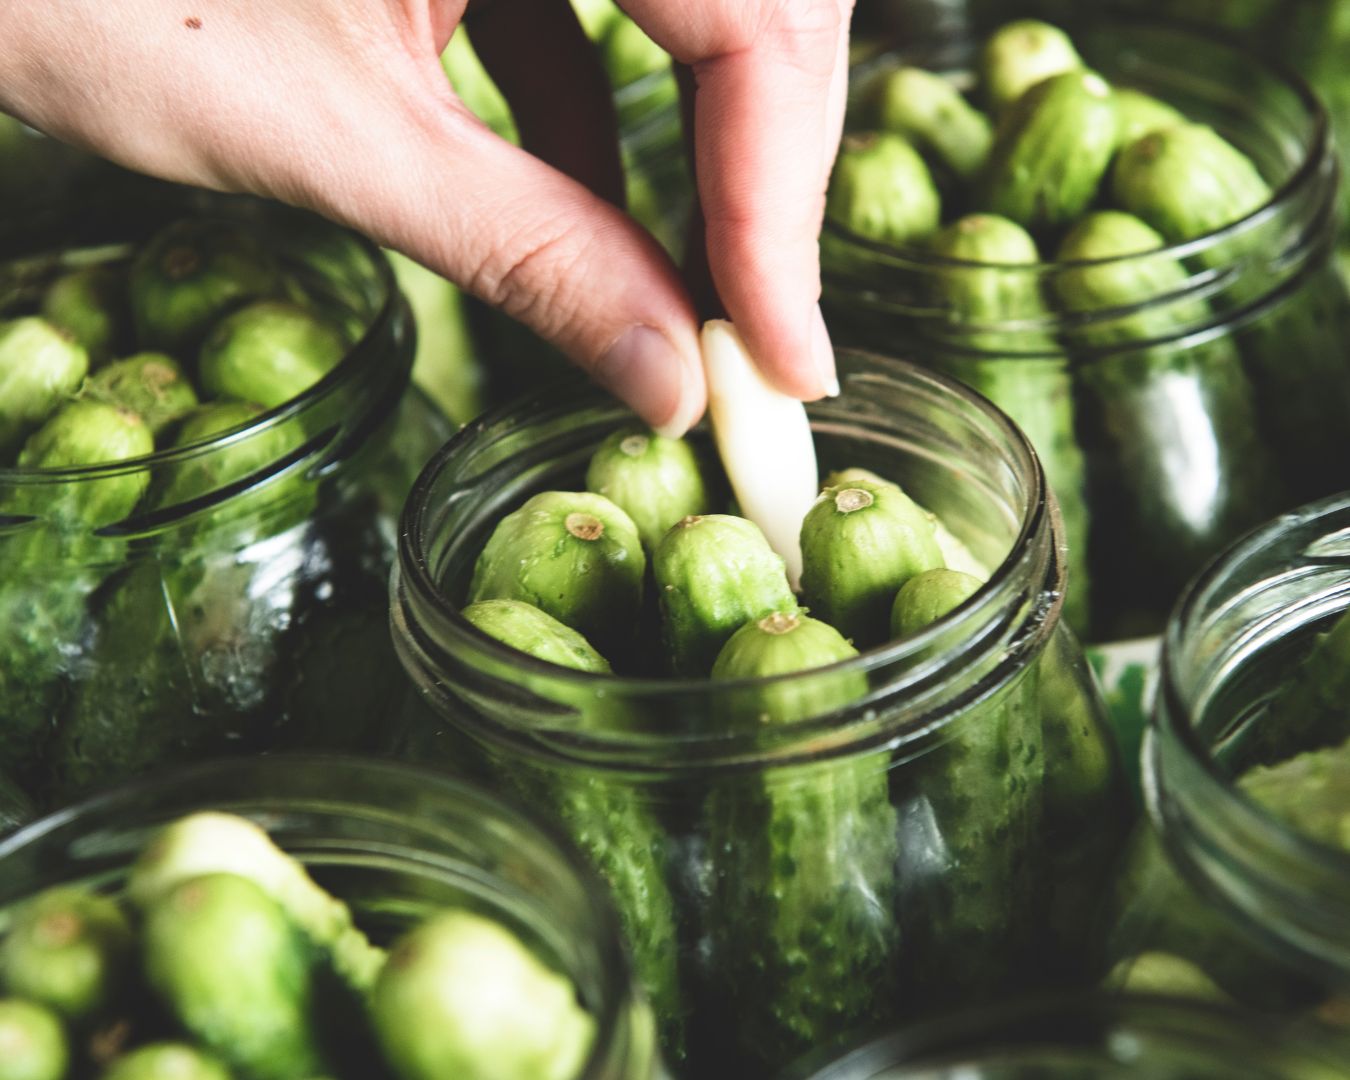
While the brine is heating, pack your sterilized jars with cucumbers, garlic cloves, dill, peppercorns, and bay leaves. You can also add other spices or herbs to customize the flavor, such as mustard seeds, coriander seeds, or red pepper flakes.
5. Add the Brine
Once the brine has come to a boil, carefully pour it over the cucumbers in the jars, leaving about 1/2 inch of headspace at the top. Use a funnel if necessary to avoid spills. Make sure the cucumbers are fully submerged in the brine.
6. Seal the Jars
Wipe the rims of the jars with a clean, damp cloth to ensure a good seal. Place the lids on the jars and screw on the bands until they are fingertip tight.
7. Process the Jars
To extend the shelf life of your pickles, you can process the jars in a water bath. Place the sealed jars in a large pot of boiling water, ensuring they are fully submerged. Process for 10-15 minutes, then carefully remove the jars and let them cool on a towel. You should hear a popping sound as the jars seal.
8. Store and Enjoy
Once the jars have cooled completely, check the seals by pressing the center of each lid. If it doesn’t pop back, the jar is properly sealed. Store your pickles in a cool, dark place for at least a week to allow the flavors to develop. Once opened, keep them refrigerated.

Tips for Perfect Pickles
- Use Fresh Ingredients: The fresher the cucumbers, the crunchier the pickles.
- Experiment with Flavors: Try different herbs and spices to create unique pickle flavors.
- Keep it Clean: Sterilization is key to preventing spoilage and ensuring safety.
- Be Patient: Allow time for the flavors to meld together. The longer the pickles sit, the better they taste.
Making your own pickles is a delightful and straightforward process that allows you to preserve the flavors of the season. With this simple guide, you can enjoy delicious homemade pickles that are perfect for snacking, adding to sandwiches, or gifting to friends and family.

