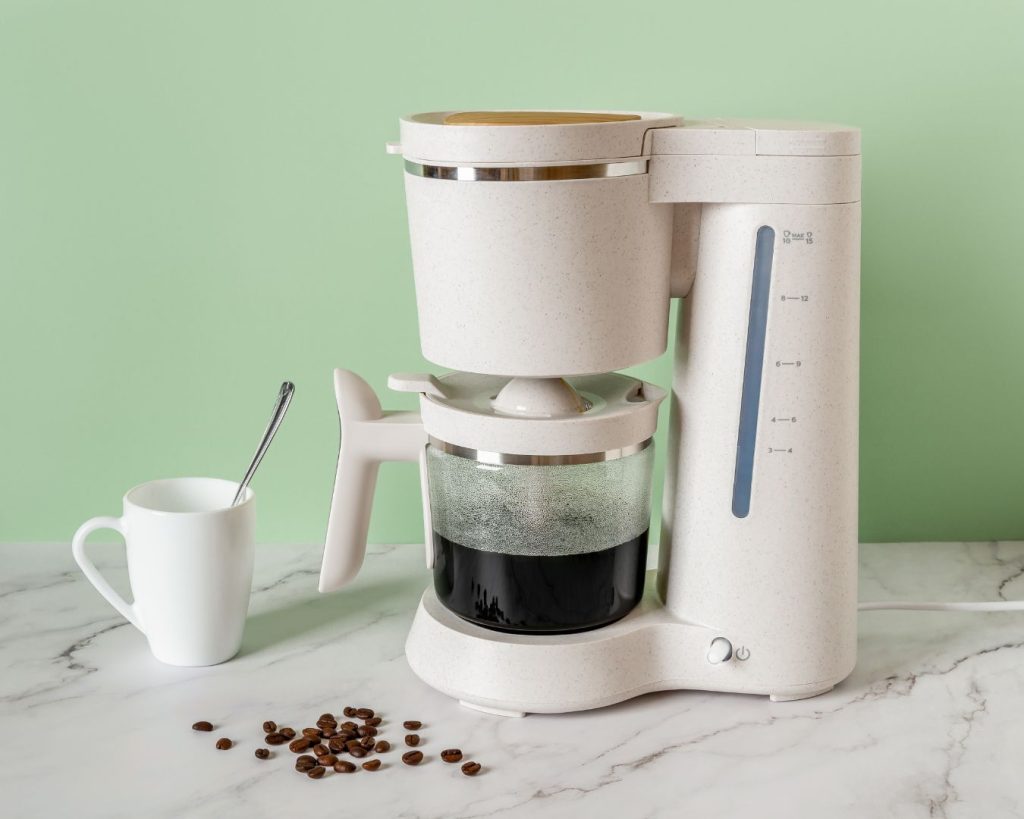
Simple Steps to Clean a Coffee Maker: Keep Your Brew Fresh and Tasty
A coffee maker is an essential appliance for many of us, providing that much-needed boost to start the day. However, if not cleaned regularly, it can become a breeding ground for mold, mildew, and coffee residue, which can affect the taste and quality of your brew. Fortunately, cleaning your coffee maker is a straightforward process. In this blog post, we’ll walk you through simple steps to keep your coffee maker in top shape and ensure every cup tastes as fresh as the first.
Why Regular Cleaning is Important
Regular cleaning of your coffee maker is crucial for several reasons:
- Prevent Mold and Bacteria Growth: Coffee makers can harbor mold and bacteria, especially in the water reservoir and carafe. Regular cleaning helps prevent these health hazards.
- Maintain Flavor: Coffee oils and residues can build up and become rancid, affecting the taste of your coffee. Cleaning ensures a fresh, clean taste in every cup.
- Ensure Proper Function: Mineral deposits and coffee grounds can clog your machine and affect its performance. Cleaning helps maintain its efficiency and longevity.

Materials You’ll Need
Before you begin, gather the following items:
- White vinegar or citric acid
- Water
- Dish soap
- A sponge or soft cloth
- A clean, dry towel
Step-by-Step Cleaning Guide
- Turn Off and Unplug Your Coffee Maker:
- Safety first! Ensure your coffee maker is turned off and unplugged before you start cleaning.
- Remove and Wash Removable Parts:
- Take out the carafe, filter basket, and any other removable parts.
- Wash these parts with warm, soapy water. Use a sponge or brush to remove any coffee grounds or residue.
- Rinse thoroughly and let them dry completely.
- Clean the Carafe and Lid:
- If your carafe and lid have stubborn stains or coffee residue, use a mixture of baking soda and water to scrub them clean. Rinse well and dry.
- Descale the Coffee Maker:
- To remove mineral deposits (scale) that can build up over time, you’ll need to descale your coffee maker. Here’s how:
- For Vinegar: Fill the water reservoir with equal parts white vinegar and water. Run a brewing cycle without coffee grounds. Once the cycle is complete, let the solution sit in the reservoir for about 30 minutes.
- For Citric Acid: Dissolve 1-2 tablespoons of citric acid in the water reservoir. Run a brewing cycle and let it sit for about 30 minutes.
- Afterward, run several cycles of clean water through the coffee maker to flush out any remaining vinegar or citric acid.
- To remove mineral deposits (scale) that can build up over time, you’ll need to descale your coffee maker. Here’s how:
- Clean the Exterior:
- Wipe down the exterior of your coffee maker with a damp cloth. Be sure to avoid any electrical components or areas where water can seep in.
- Check and Clean the Brew Basket:
- The brew basket can accumulate coffee grounds and oils. Use a soft brush or damp cloth to clean it thoroughly. Ensure it is completely dry before reassembling.
- Reassemble and Run a Final Rinse:
- Once all parts are clean and dry, reassemble your coffee maker. Run a full cycle with just water to ensure all cleaning agents are flushed out.

Additional Tips
- Frequency: Clean your coffee maker at least once a month. If you use it daily, you might want to do a more frequent deep clean.
- Use Filtered Water: Using filtered water can help reduce mineral buildup and improve the taste of your coffee.
- Avoid Harsh Chemicals: Stick to natural cleaning agents like vinegar and citric acid to avoid any potential damage to your coffee maker or lingering chemical tastes.
Cleaning your coffee maker is a simple but essential task that ensures every cup of coffee is brewed to perfection. By following these easy steps, you can keep your coffee maker in excellent condition, enjoy fresh-tasting coffee, and extend the life of your appliance. So, make cleaning your coffee maker a regular part of your kitchen routine, and savor the perfect cup every time!

