
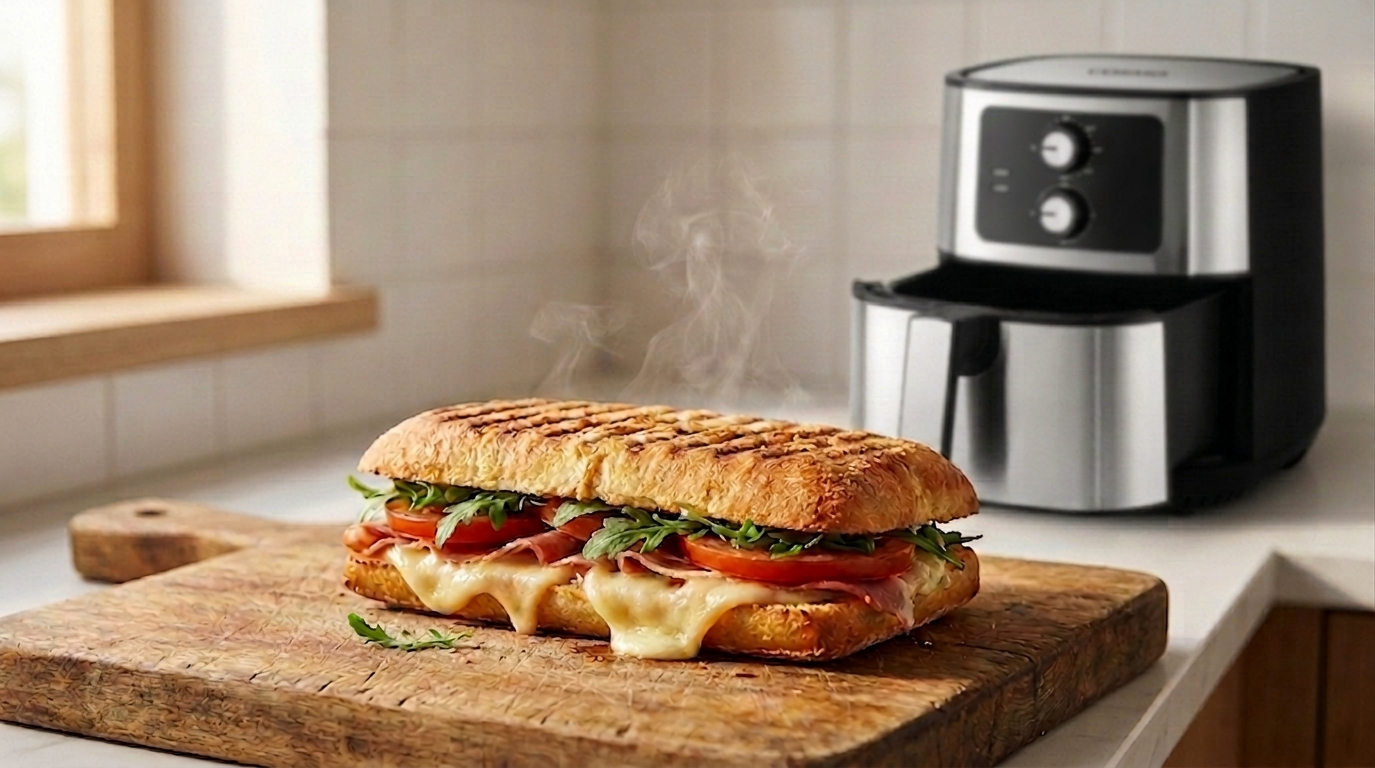
Cosmo air fryer

Pressed, Packed, and Perfect: A Toast to National Panini Day

Once a year, on August 11th, a modest but beloved culinary tradition gets its moment in the spotlight. National Panini Day honors the pressed, grilled sandwich that has become a staple on lunch menus, coffee shop counters, and home kitchens alike. It is a day that invites us to slow down, appreciate craftsmanship in something as simple as bread and filling, and recreate that signature crisp, golden crust at home. But behind the crunch of the crust and the pull of melted cheese lies a story that spans centuries, crosses continents, and reflects the evolution of how people eat on the go without sacrificing quality or flavor. A Sandwich Rooted in Italian Tradition The word “panini” is the plural of “panino,” Italian for “small bread roll.” In casual English, it describes a pressed sandwich, though purists note the linguistic error. The sandwich’s origins date back to the sixteenth century, with Italian cookbooks referencing pressed bread-based dishes. However, the modern panini emerged in the twentieth century, particularly in Italy’s Lombardy region, especially Milan, during the 1970s and 1980s. Office workers needed a quick, tasty lunch option, and the panino, filled with cured meats, cheeses, and vegetables, pressed and warmed, filled that gap. It offered speed without feeling like fast food, spreading from Milanese cafes to global menus. By the 1980s and 1990s, the panini reached the United States, embraced by coffee shops and delis. The electric panini press allowed restaurants and home cooks to recreate its signature crisp exterior and gooey interior without traditional methods. How National Panini Day Came to Be National Panini Day, observed annually on August 11th, is part of National Panini Month, which spans the month of August. Established in 2008 by Sargento Foods, an American cheese company known for promoting creative cheese use in cooking, the month celebrates cheese’s role in paninis. National Panini Day, first observed on August 11, 2016, was created by John-Bryan Hopkins, the food enthusiast behind Foodimentary. Unlike National Panini Month, which provided a full month of recognition, National Panini Day offers a more focused celebration, similar to how many broader food months have a signature day. While seemingly lighthearted, such days serve a purpose for the food industry and consumers. They encourage experimentation in restaurants, grocery stores, and homes, foster social sharing and community engagement, and provide an accessible entry point for learning about the history and craftsmanship of foods. What Makes a Panini a Panini A panini is defined by its method, not a strict recipe. Two slices of bread or a split roll are filled with ingredients and pressed under steady heat until golden and crispy, while the interior warms and the cheese melts. This distinguishes it from cold sandwiches or grilled cheeses, which lack the ridged press marks and even heat distribution. Bread choice is crucial. Ciabatta, focaccia, baguette, and rustic Italian loaves are popular choices. They must be sturdy enough to hold up to pressing without becoming soggy, yet tender enough to bite through easily. Fillings range from traditional Italian combinations to modern interpretations. A classic Milanese-style panini might include prosciutto, mozzarella, arugula, and olive oil. Other popular combinations include mortadella with provolone, roasted vegetables with fontina, or turkey with brie and cranberry. The unifying thread is a cheese that melts beautifully, as that gooey, stretchy quality is often what people imagine when they picture a well-made panini. The Rise of the Panini Press, and What Has Replaced It The panini press, a tool responsible for its widespread popularity, revolutionized the process of making paninis. In its traditional Italian form, pressing was done with simple equipment like a heavy pan, a brick wrapped in foil, or a specialized cast-iron press. These tools relied on direct contact and weight to flatten the sandwich and transfer heat evenly, creating the signature ridged crust that remains a visual hallmark of the panini today. The modern electric panini press, available to home cooks since the 1990s, transformed sandwiches from specialty items to mainstream menu staples. Countertop air fryers, with circulating hot air and top-mounted grill elements, can crisp bread and melt cheese as effectively as dedicated presses, offering the added convenience of handling fries, vegetables, and other meals. In our own test kitchen, a batch of paninis came out of a Cosmo air fryer with the same golden crust and melted center as one made on a traditional press, just with a bit less cleanup afterward. It is a quiet, practical shift, less about replacing tradition and more about finding it a new home in kitchens where counter space and versatility both matter. Today, tools for making a great panini range from simple stovetop setups to elaborate commercial-grade presses used in cafes and restaurants. What unites them is the same basic principle: even heat, applied with a bit of pressure, turns an ordinary sandwich into something worth celebrating. Panini Around the World Paninis, with their Italian roots, have spread globally, leading to regional adaptations. In the US, they often feature hearty fillings like grilled chicken with pesto and mozzarella or roast beef with caramelized onions and provolone, catering to a culture that values substantial lunches. In France, similar sandwiches may include brie, fig jam, or Dijon mustard, blending Italian technique with French flavors. In Latin America, a related tradition exists, notably the Cuban sandwich, which shares the pressing method but has a distinct filling of roast pork, ham, Swiss cheese, pickles, and mustard on Cuban bread. While not technically a panini in the strict Italian sense, its shared technique highlights how pressing a filled sandwich for improved texture and flavor has emerged independently across different cultures. This global patchwork of pressed sandwich traditions underscores the universal appeal of a warm, crisp, melty sandwich, even if the specific ingredients and names vary. Celebrating National Panini Day at Home For those looking to mark the occasion, National Panini Day offers plenty of ways to participate, regardless of culinary skill level. The simplest approach is to visit a local cafe or deli and
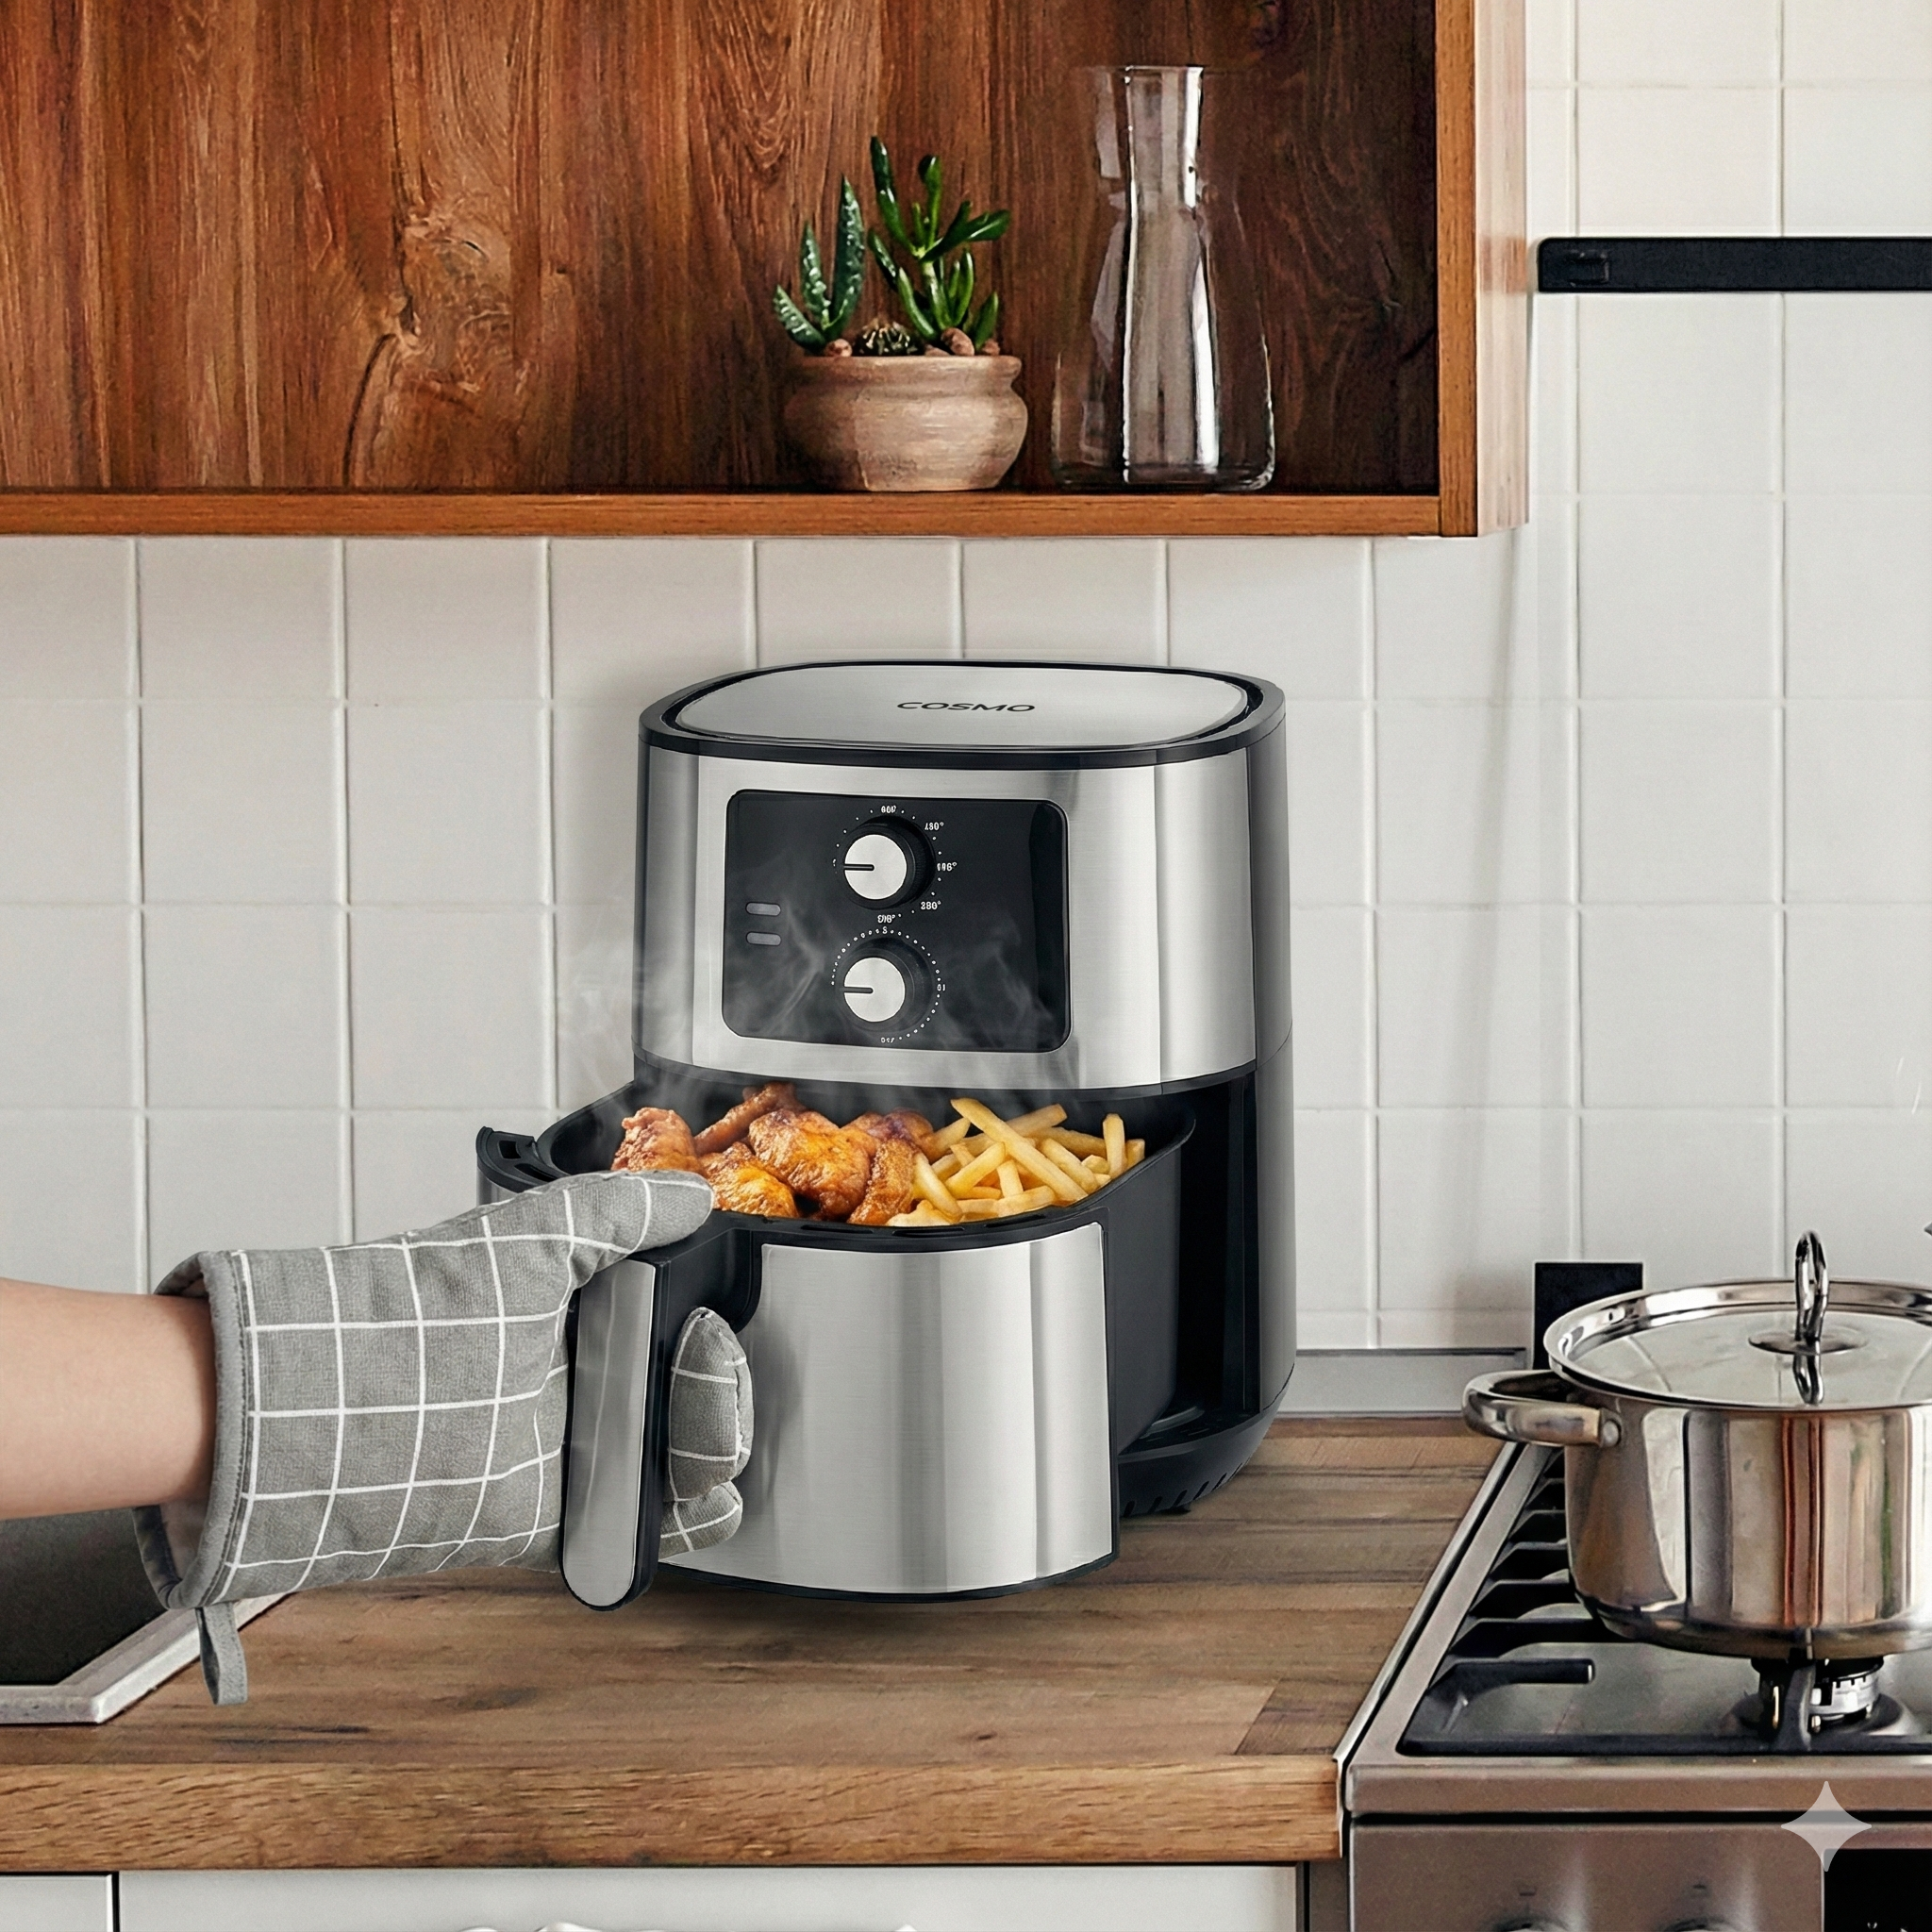
The COS-58AFAKSS Air Fryer: 5.8 Quarts of Crispy, Healthy Cooking

Air fryers have transformed home cooking by delivering the crispy, golden textures of deep frying without submerging food in oil. The COS-58AFAKSS 5.8-quart air fryer brings this technology to your countertop in a size that’s perfect for families while remaining compact enough for typical kitchen storage. With simple knob controls, a wide temperature range from 180°F to 400°F, and non-stick coated parts, this air fryer makes healthier cooking accessible without complicated interfaces or extensive cleanup. The 5.8-quart capacity represents the sweet spot for many households – large enough to cook a whole chicken or make sides for 4-6 people, but not so oversized that it dominates your counter or becomes difficult to store. The stainless steel finish adds a modern, clean look while the straightforward operation means anyone in your family can use it confidently without consulting the manual every time. Why 5.8 Quarts Is the Perfect Size Capacity in air fryers significantly affects what you can cook and how many people you can serve. The 5.8-quart size of the COS-58AFAKSS provides genuine versatility without the bulk of larger models. Family meal preparation becomes practical with 5.8 quarts of cooking space. You can make chicken breasts for four people, cook enough french fries for the family, or prepare a full pound of wings without crowding. This capacity eliminates the need for batch cooking that smaller 3-quart models require while avoiding the excess size of 7+ quart units. Whole chicken cooking fits comfortably in a 5.8-quart basket, opening up one of air frying’s most impressive capabilities. A 4-5 pound chicken cooks beautifully, developing crispy skin while staying juicy inside – something that’s impossible in smaller air fryers. Side dish preparation for family dinners works excellently at this size. Roasted vegetables for 4-6 people, a full pound of frozen fries, or several servings of chicken tenders all fit without excessive stacking that prevents proper air circulation. Counter space requirements remain reasonable with the 5.8-quart size. The unit is substantial enough to be useful but not so large that it becomes a permanent fixture taking up excessive counter real estate. Storage flexibility improves compared to larger models. Most cabinet spaces accommodate a 5.8-quart air fryer, while 7+ quart models often become too bulky for convenient storage when not in use. Single-layer cooking becomes possible for most foods, ensuring the even crisping and browning that makes air fryers so appealing. Overcrowded baskets in smaller air fryers compromise results, while 5.8 quarts provides adequate space for proper air circulation. Simple Knob Controls That Work The COS-58AFAKSS uses straightforward knob controls for both temperature and time, eliminating the learning curve of digital interfaces while providing all the control you actually need for successful air frying. Temperature control knob adjusts from 180°F to 400°F in a continuous dial, giving you precise control over cooking heat. The wide range handles everything from dehydrating at low temperatures to achieving crispy exteriors at maximum heat. Timer knob sets cooking duration from 0 to 30 minutes with easy-to-read markings. The mechanical timer counts down audibly, providing a clear alert when cooking completes without requiring you to monitor a digital display. No confusing presets or programs means you simply set the temperature and time based on what you’re cooking. This simplicity makes the air fryer accessible to everyone in your household without memorizing button sequences or navigating menus. Visual feedback from knob positions lets you see settings at a glance from across the kitchen. You don’t need to be right next to the unit to check whether it’s on or what temperature it’s set to. Reliable mechanical operation means the controls continue working even if electronic systems fail. The simple mechanism is proven, durable, and unlikely to require replacement or repair. The tactile operation of knobs provides satisfying feedback and precise adjustment. You can make small temperature or time changes easily without the frustration of buttons that require multiple presses to reach desired settings. 180°F to 400°F Temperature Range The wide temperature range of the COS-58AFAKSS supports diverse cooking applications beyond just making things crispy, expanding the air fryer’s usefulness in your kitchen. Low temperature settings from 180°F to 250°F work excellently for dehydrating fruits, vegetables, or making jerky. The gentle heat removes moisture without cooking foods, creating concentrated flavors and preserved foods. Moderate temperatures from 250°F to 325°F suit reheating leftovers, warming bread, or cooking delicate foods that burn easily at high heat. These mid-range settings provide versatility that many air fryer recipes require. High heat from 325°F to 375°F represents the core air frying range where most recipes perform best. This temperature zone creates the crispy exteriors and properly cooked interiors that make air frying so appealing. Maximum heat at 400°F delivers the intense cooking that produces deeply browned, crispy results on foods like wings, fries, and breaded items. This high heat mimics deep frying conditions while using minimal oil. Temperature flexibility allows you to adapt recipes from various sources. Whether a recipe calls for 350°F, 375°F, or 385°F, you can dial in the exact temperature needed rather than being limited to preset options. The ability to adjust temperature mid-cook gives you control over browning and cooking progression. Start high to crisp exteriors, then lower temperature to finish cooking through without burning. Auto Shut-Off Safety Feature The built-in auto shut-off provides peace of mind by ensuring the air fryer stops cooking when the timer completes, preventing overcooking and potential safety hazards. Automatic shutoff when the timer reaches zero means you don’t need to rush back to the kitchen the moment cooking completes. The unit safely stops heating while the timer alerts you audibly. Burn prevention becomes automatic since the heating element deactivates when time expires. Foods won’t continue cooking and potentially burn if you’re delayed getting back to the kitchen. Energy efficiency improves since the air fryer doesn’t continue consuming power after cooking completes. The auto-shutoff prevents unnecessary energy use while protecting your food from overcooking. Safety during busy cooking sessions benefits from auto-shutoff that prevents the unit from

Chicken and Cheese Air Fryer Dumplings: Crispy, Cheesy Comfort Food Made Easy

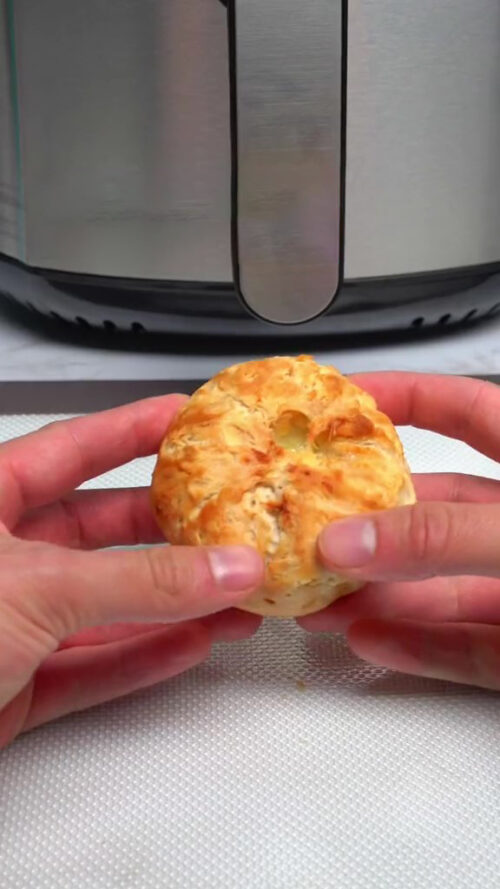
Air fryer dumplings have become incredibly popular for good reason – they deliver the crispy, golden exterior of deep-fried dumplings without the oil, mess, or guilt. These chicken and cheese air fryer dumplings take the concept even further by using convenient Pillsbury biscuit dough to create tender, flaky pockets filled with savory chicken and melted cheese. The result is a satisfying snack or appetizer that’s ready in just 10-12 minutes. What makes this recipe so appealing is its simplicity and accessibility. You don’t need specialized dumpling wrappers, complicated folding techniques, or hours of preparation. With just a few basic ingredients and your air fryer, you can create restaurant-quality dumplings that will impress family and friends while keeping your kitchen clean and your cooking stress-free. Why Air Fryer Dumplings Work So Well Air fryer technology revolutionizes dumpling preparation by using rapid hot air circulation to create crispy exteriors without submerging food in oil. This method produces results that rival traditional frying while being significantly healthier and more convenient. Crispy texture develops through the air fryer’s intense heat and air circulation that creates golden, crunchy exteriors on all sides. The circulating air reaches every surface, ensuring even browning that’s difficult to achieve with oven baking alone. Reduced oil consumption makes air frying appealing to health-conscious cooks who want crispy textures without excess calories from deep frying. These dumplings achieve satisfying crunch with minimal fat while maintaining all the flavor appeal. Quick cooking time of just 10-12 minutes makes these dumplings perfect for busy weeknights or last-minute appetizer needs. The air fryer preheats quickly and cooks efficiently, getting food on the table faster than conventional methods. Easy cleanup represents a major advantage over traditional frying, which requires dealing with large amounts of used oil and greasy cookware. Air fryers typically need only a quick wipe-down after use. Consistent results come from the air fryer’s controlled temperature and even heat distribution. Once you find the right timing for your specific air fryer, you can expect reliable results every time. Versatile applications mean you can use this same technique for various fillings and flavor combinations, making it a valuable cooking method to master for creating different dumpling styles. Choosing the Right Ingredients Simple ingredients make these dumplings accessible to everyone, but making smart choices about each component can significantly improve your results while accommodating different preferences and dietary needs. Pillsbury biscuit dough provides the perfect wrapper that’s easy to work with while creating tender, flaky layers when cooked. The pre-made dough saves time while producing consistent results that work beautifully in the air fryer. Cooked chicken offers protein and substance to the filling. Rotisserie chicken works excellently for convenience, while leftover cooked chicken breast or thighs provide economical options. Shredded or finely diced chicken distributes evenly throughout the filling. Cheese selection affects both flavor and melting properties. Mozzarella provides excellent stretch and mild flavor, while cheddar adds sharpness. Monterey Jack, pepper jack, or cheese blends can create different flavor profiles based on your preferences. Additional filling options can include diced vegetables like bell peppers or green onions, herbs like parsley or cilantro, or seasonings like garlic powder and Italian herbs. These additions customize flavors while maintaining the simple preparation method. Quality ingredients matter even in simple recipes. Fresh cheese that you shred yourself often melts more smoothly than pre-shredded varieties, while high-quality chicken provides better flavor and texture. Step-by-Step Preparation Technique Success with these dumplings comes from proper preparation and handling of the biscuit dough, which needs gentle treatment to create the best texture while sealing the filling securely. Dough Preparation: Separate individual biscuits from the tube and gently flatten each one into a circle large enough to hold filling and seal properly. Avoid overworking the dough, which can make it tough rather than tender and flaky. Filling Assembly: Place a small amount of shredded or diced cooked chicken in the center of each flattened biscuit. Add shredded cheese on top of the chicken, being careful not to overfill, which can prevent proper sealing. Sealing Technique: Gather the edges of the biscuit dough around the filling and pinch firmly to seal completely. Ensure there are no gaps or openings where filling might leak during cooking. The sealing is crucial for keeping the filling inside while the dumplings cook. Shaping: Gently roll the sealed dumplings between your palms to create smooth, round balls. This shaping helps ensure even cooking while creating an attractive finished appearance. Air Fryer Preparation: Preheat your Cosmo air fryer to 360°F. Proper preheating ensures immediate cooking when dumplings are added, helping achieve the crispy exterior texture. Arrangement: Place the prepared dumplings in the air fryer basket with adequate spacing between each one to allow proper air circulation. Overcrowding prevents even cooking and browning. Cooking: Air fry at 360°F for 10-12 minutes until the dumplings are golden brown and crispy on the outside. The biscuit dough should be cooked through and the cheese inside melted and gooey. Cooling: Allow the dumplings to cool for a few minutes before serving to prevent burns from the molten cheese filling. This brief rest also allows the structure to set for easier handling. Recipe Variations and Flavor Combinations The basic chicken and cheese dumpling recipe serves as an excellent foundation for numerous variations that can accommodate different tastes, dietary preferences, and ingredient availability. Buffalo Chicken Style: Mix cooked chicken with buffalo sauce before adding to the dumplings, then serve with blue cheese or ranch dressing for dipping. This variation provides spicy, tangy flavors that appeal to buffalo wing lovers. Italian-Inspired: Add Italian seasonings, garlic powder, and mozzarella cheese to the filling, then serve with marinara sauce for dipping. Include fresh basil or oregano for authentic Italian flavor. BBQ Chicken: Toss chicken with barbecue sauce before filling the dumplings, and use cheddar cheese for a classic barbecue flavor combination. Serve with additional BBQ sauce or ranch dressing. Tex-Mex Version: Season chicken with taco seasoning, add pepper jack cheese, and include diced jalapeños or green chiles. Serve with