food

Energy-Saving Tips for Range Cooking

Cooking at home is not only a fulfilling experience but also a great way to ensure you’re eating nutritious meals. However, kitchen appliances, particularly ranges, can consume a significant amount of energy. With rising energy costs and an increased focus on sustainability, it’s essential to explore ways to reduce energy usage without compromising the quality of your meals. In this blog post, we’ll share practical energy-saving tips for range cooking, helping you make the most of your kitchen while keeping your energy bills in check. Use the Right-Sized Burner Utilize Residual Heat Cook with Lids On Preheat Only When Necessary Use the Oven Light Instead of Opening the Door Batch Cooking and Multitasking Use Convection Mode Maintain Your Range and Oven Invest in Energy-Efficient Cookware Embrace Small Appliances Cooking at home is an excellent way to ensure healthy and delicious meals, but it doesn’t have to come at the cost of high energy bills. By implementing these energy-saving tips for range cooking, you can reduce your kitchen’s energy consumption, save money, and contribute to a more sustainable lifestyle. Whether it’s using the right-sized burner, taking advantage of residual heat, or investing in energy-efficient cookware, these simple changes can make a big difference. Happy cooking!

How to Incorporate Leafy Greens into Your Meals: A Guide to Delicious and Nutritious Dishes

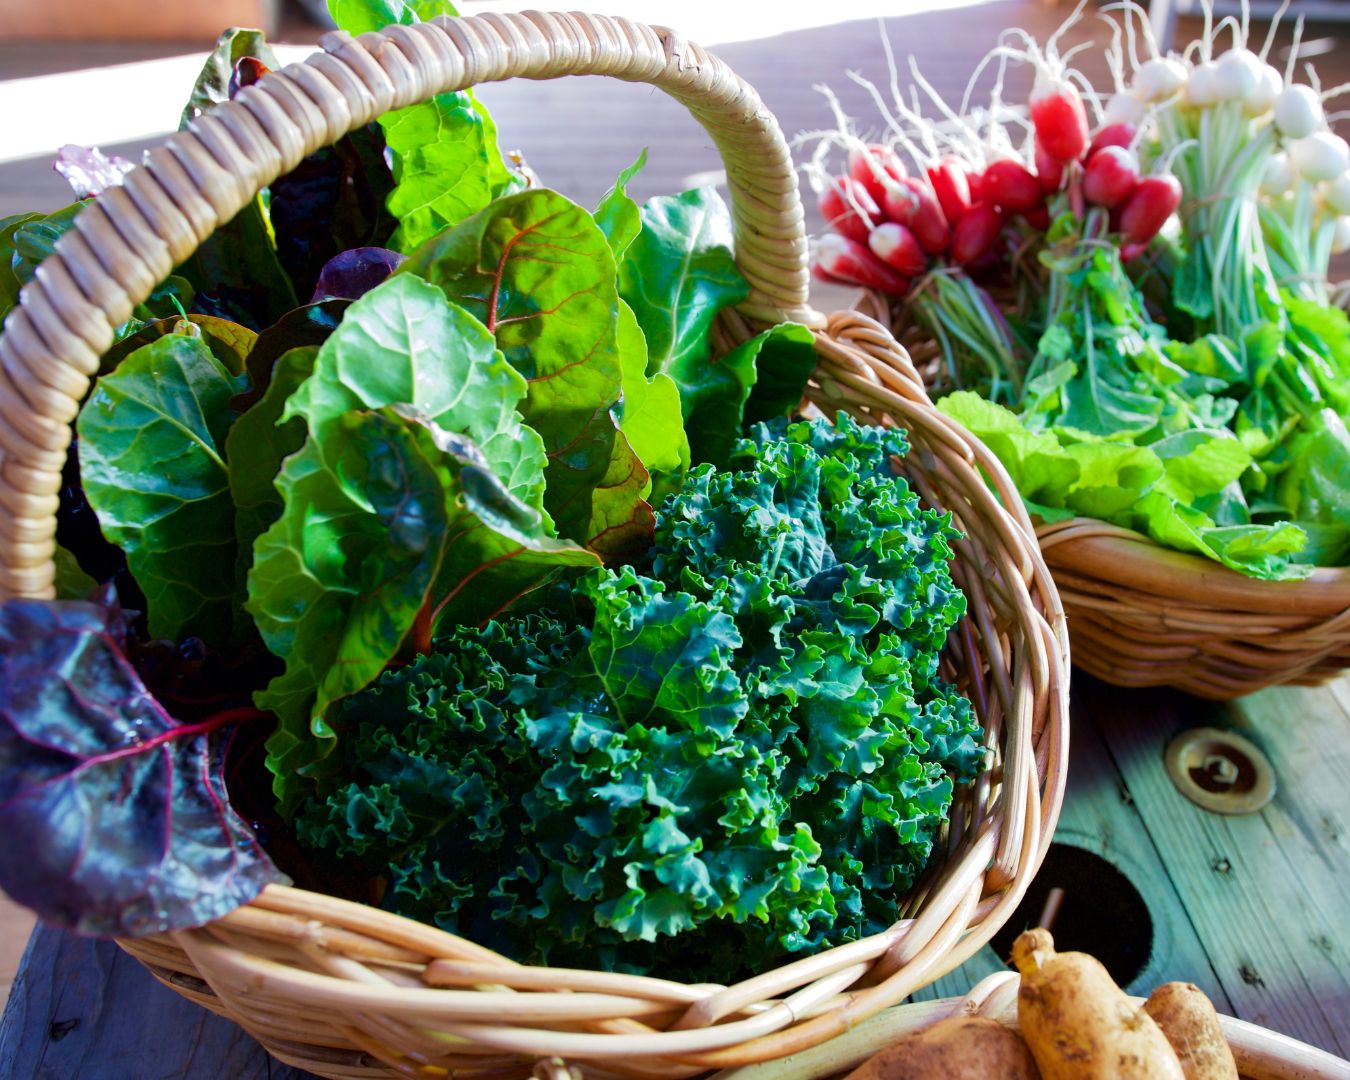
Leafy greens are packed with essential vitamins, minerals, and antioxidants, making them a valuable addition to any diet. From boosting your nutrient intake to adding vibrant flavors and textures, there are countless ways to incorporate leafy greens into your meals. In this blog post, we’ll explore creative and tasty methods to enjoy leafy greens in your daily cooking. Add Them to Smoothies Leafy greens are a fantastic addition to smoothies. They blend seamlessly with fruits and other ingredients, providing a nutrient boost without overpowering the flavor. Suggestions: Tip: Start with a small amount of greens if you’re new to adding them to smoothies. As you get used to the flavor, you can gradually increase the quantity. Toss Them into Salads Leafy greens form the base of many delicious salads. Mixing different types can add variety and texture to your salads. Suggestions: Tip: For extra flavor, add a variety of toppings like roasted nuts, fruit, or a protein source such as grilled chicken or chickpeas. Incorporate Them into Soups and Stews Leafy greens can enhance the flavor and nutritional profile of soups and stews. They add a subtle earthiness and a burst of color. Suggestions: Tip: Add greens towards the end of cooking to preserve their color and texture. They only need a few minutes to wilt and integrate into the dish. Use Them in Stir-Fries Leafy greens can be a great addition to stir-fries, adding both flavor and nutrients to your dish. Suggestions: Tip: Cook leafy greens quickly over high heat to maintain their vibrant color and crisp texture. Make Green Pesto Pesto doesn’t have to be made with just basil. You can use leafy greens to create a flavorful and versatile pesto. Suggestions: Tip: Use pesto as a sauce for pasta, a spread for sandwiches, or a topping for roasted vegetables. Incorporate into Baked Goods Leafy greens can also be added to baked goods for a hidden nutritional boost. Suggestions: Tip: For baked goods, finely chop or blend the greens to ensure they incorporate well into the batter. Create Leafy Green Wraps Leafy greens can be used as a low-carb, gluten-free alternative to traditional wraps or tortillas. Suggestions: Tip: Blanch the collard greens briefly to make them more pliable and easier to fold. Include in Breakfast Dishes Leafy greens can add a nutritious punch to your breakfast dishes, making them a great way to start the day. Suggestions: Tip: Sauté the greens briefly before adding them to scrambled eggs or an omelette to reduce their volume and enhance their flavor. Incorporating leafy greens into your meals is a delicious and nutritious way to boost your diet. From smoothies and salads to soups and baked goods, there are endless ways to enjoy these versatile vegetables. Experiment with different types of leafy greens and cooking methods to find your favorite combinations and make them a regular part of your culinary repertoire. Your taste buds and your body will thank you!

How to Select and Pair Cheeses with Wines and Other Foods in Your Kitchen

Cheese is a culinary delight that can elevate any dish, snack, or meal. Pairing cheese with the right wines and foods, however, can be a bit intimidating for even the most seasoned home cooks. Whether you’re hosting a dinner party, preparing a cheese board, or simply enjoying a cozy evening at home, understanding the art of pairing cheeses with wines and other foods can enhance the flavors of both. In this blog post, we’ll explore how to select the right cheeses, pair them with complimentary wines, and match them with other foods to create a perfect harmony of tastes. Understanding Cheese Varieties Before you can start pairing cheeses with wines and foods, it’s important to understand the basic categories of cheese. Cheese can range from soft and creamy to firm and crumbly, each with its own unique flavor profile. Here’s a quick overview: Pairing Cheese with Wine The classic combination of cheese and wine is all about balance. You want the flavors of both to complement each other rather than overpower. The general rule of thumb is to pair wines and cheeses that are either similar in intensity or contrast in a balanced way. Soft, Mild Cheeses Examples: Brie, Mozzarella, Goat CheeseWine Pairing: Light, crisp white wines like Sauvignon Blanc or sparkling wines like Champagne.Why It Works: The acidity and lightness of the wine help cut through the creaminess of the cheese without overpowering its delicate flavors. Semi-Soft, Mellow Cheeses Examples: Gouda, Havarti, FontinaWine Pairing: Medium-bodied white wines like Chardonnay or light red wines like Pinot Noir.Why It Works: These cheeses have enough flavor to stand up to richer whites or softer reds, creating a well-rounded combination. Firm, Aged Cheeses Examples: Cheddar, Manchego, GruyereWine Pairing: Bold reds like Cabernet Sauvignon or rich whites like oaked Chardonnay.Why It Works: The complexity of aged cheeses pairs well with the tannins in red wines or the fuller body of aged whites, making for a robust and satisfying match. Blue Cheeses Examples: Roquefort, Stilton, GorgonzolaWine Pairing: Sweet wines like Port, Sauternes, or a bold Zinfandel.Why It Works: The sweetness of the wine balances the strong, salty flavors of the blue cheese, creating an indulgent pairing. Pairing Cheese with Other Foods While wine is a classic pairing for cheese, there are plenty of other foods that complement cheese beautifully. Whether you’re building a cheese board or incorporating cheese into a dish, consider these pairing suggestions: Fresh Fruits Cured Meats Crackers and Bread Nuts Honey and Jams Creating the Perfect Cheese Board If you’re looking to showcase a variety of cheeses, creating a cheese board is the perfect way to display a range of flavors and textures. Here’s a simple guide to building the perfect cheese board: 1. Select a Variety of Cheeses Aim for a balance of soft, semi-soft, firm, and blue cheeses to provide different textures and flavors. Include 3-5 varieties for a well-rounded selection. 2. Add Complementary Foods Include fresh fruits, nuts, cured meats, crackers, and bread to accompany the cheese. Adding a sweet component like fig jam or honey will help balance the savory elements. 3. Pair with Wines Offer a selection of wines that match the cheeses on the board. For example, pair soft cheeses with white wine, firm cheeses with red wine, and blue cheeses with sweet wines. 4. Presentation Matters Arrange the cheeses in a visually appealing way. Group each cheese with its respective pairing food, such as placing figs near brie or crackers near cheddar. Label each cheese so guests can easily identify them. Experimenting in the Kitchen Don’t be afraid to experiment with cheese pairings in your everyday cooking. You can add soft goat cheese to salads, melt gruyere into a quiche, or top pizza with mozzarella and fresh basil. The key is to think about balance—match mild cheeses with bold flavors and strong cheeses with sweet or refreshing counterparts. Cheese pairing is as much an art as it is a science. The goal is to balance flavors and textures so that both the cheese and the wine or food are enhanced. By understanding the basic categories of cheese and how to pair them with wines and complementary foods, you’ll create mouthwatering combinations that will impress your guests and elevate your culinary creations. So the next time you’re in the kitchen, don’t hesitate to experiment and find your own perfect cheese pairings!

Exploring Different Cooking Methods for Roots and Tubers

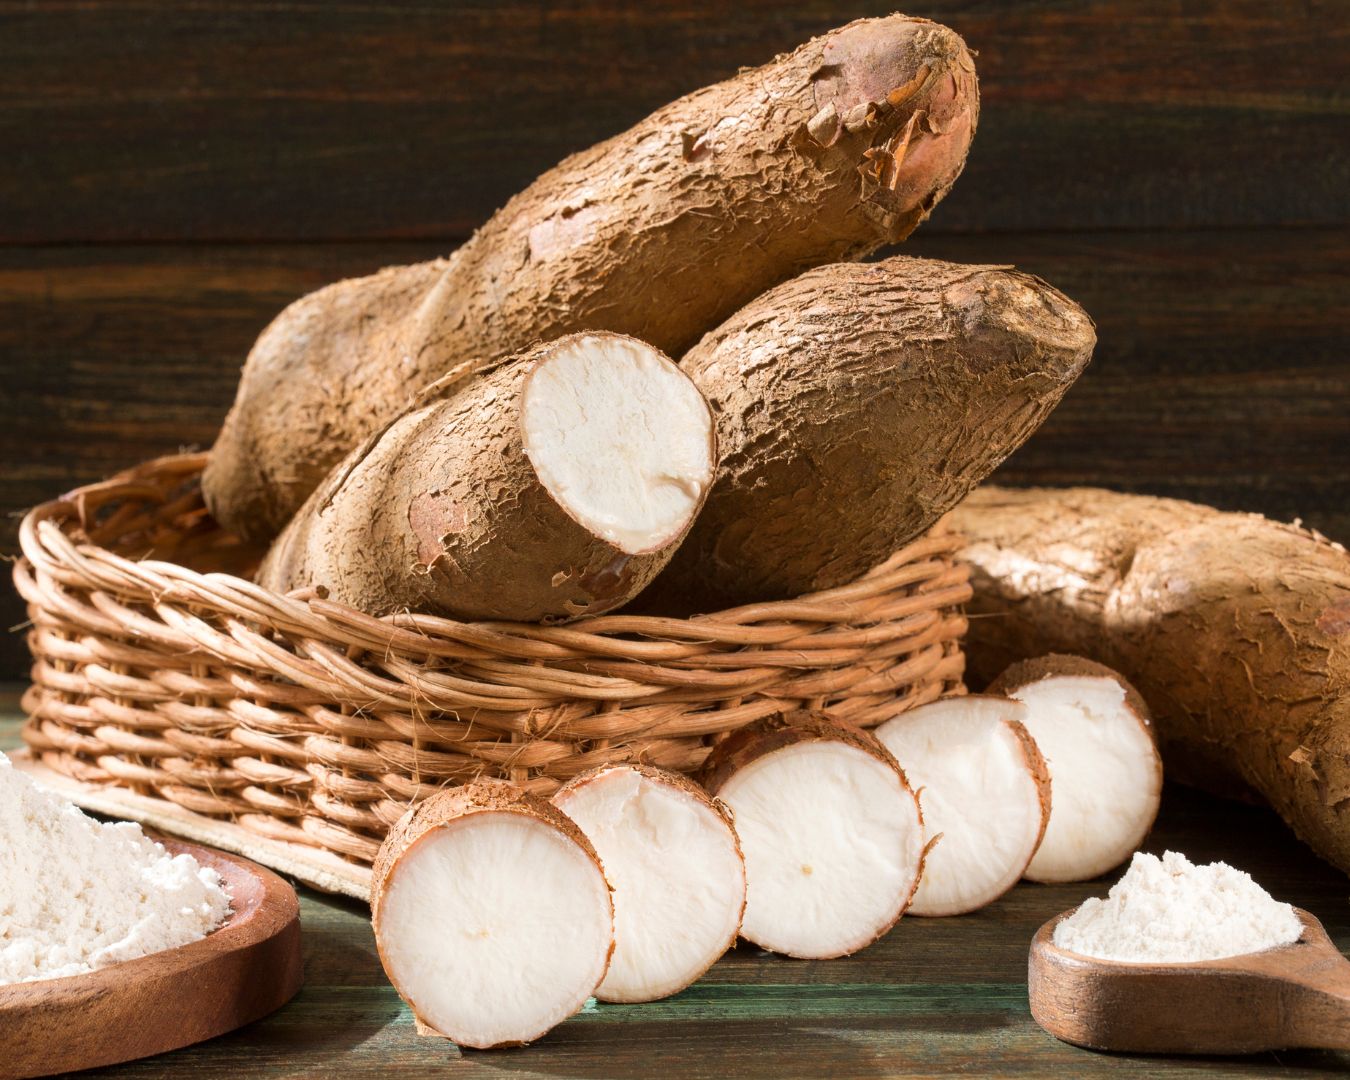
Roots and tubers are some of the most versatile ingredients in the kitchen. From potatoes and sweet potatoes to carrots, beets, and parsnips, these starchy and nutritious vegetables are staples in many cuisines around the world. The way you cook them can significantly change their texture, flavor, and overall appeal. In this blog post, we’ll dive into the various cooking methods for roots and tubers and when to use each for the best results. Boiling Boiling is one of the simplest methods for cooking roots and tubers. It’s ideal for creating soft, easily mashable vegetables like potatoes or carrots, making it a go-to technique for soups, stews, and purees. How to Boil: Best For:Potatoes, sweet potatoes, beets, and carrots. Pro Tip:Save the nutrient-rich cooking water to use as a vegetable broth or to add moisture to mashed roots. Roasting Roasting brings out the natural sweetness in roots and tubers by caramelizing their exterior while keeping the insides tender. The high heat gives them a crispy texture that is hard to resist, making it a popular choice for side dishes and salads. How to Roast: Best For:Sweet potatoes, carrots, parsnips, beets, and turnips. Pro Tip:For an extra layer of flavor, toss your roasted roots with a drizzle of honey or balsamic vinegar during the last 5 minutes of cooking. Steaming Steaming is a gentle cooking method that helps retain the nutrients in roots and tubers while keeping their natural flavors intact. It’s ideal for making soft, tender vegetables without the need for added oils or fats. How to Steam: Best For:Carrots, beets, parsnips, potatoes, and sweet potatoes. Pro Tip:For a burst of flavor, sprinkle the steamed vegetables with fresh herbs or a squeeze of lemon juice just before serving. Frying Frying roots and tubers can create crispy exteriors with soft, fluffy interiors, making it a popular method for making fries, chips, or fritters. Though not the healthiest option, it’s a delicious treat when done occasionally. How to Fry: Best For:Potatoes, sweet potatoes, yams, and cassava. Pro Tip:Double-fry your potatoes for the crispiest fries. Fry once at a lower temperature to cook through, and then again at a higher temperature to crisp up the exterior. Sautéing Sautéing is a quick and easy way to cook smaller pieces of roots and tubers, allowing them to soften while retaining a slight crunch. This method is perfect for stir-fries, hash, or as a base for vegetable medleys. How to Sauté: Best For:Potatoes, carrots, parsnips, and radishes. Pro Tip:Add a splash of vegetable broth or water halfway through cooking to help soften the veggies and prevent burning while keeping the dish light. Grilling Grilling roots and tubers adds a smoky, charred flavor to their natural sweetness, making it a great option for outdoor cooking. Grilled root vegetables can be served as a side dish or tossed into salads for extra texture. How to Grill: Best For:Sweet potatoes, potatoes, beets, and turnips. Pro Tip:Parboil denser vegetables like potatoes or beets before grilling to ensure they cook through evenly. Baking Baking is a slower cooking process that results in tender, fluffy textures, especially for tubers like potatoes and sweet potatoes. It’s perfect for making baked potatoes, casseroles, or gratins. How to Bake: Best For:Potatoes, sweet potatoes, parsnips, and turnips. Pro Tip:To achieve crispy skin on baked potatoes, rub them with oil and salt before baking. Mashing Mashing is the perfect way to turn boiled or steamed roots and tubers into a creamy, comforting dish. It’s most commonly associated with potatoes, but other roots like sweet potatoes, carrots, and parsnips also make excellent mash bases. How to Mash: Best For:Potatoes, sweet potatoes, parsnips, and carrots. Pro Tip:For an extra smooth texture, use a potato ricer instead of a traditional masher. Roots and tubers are incredibly versatile and can be transformed in countless ways depending on the cooking method you choose. Whether you prefer the crispy crunch of roasted sweet potatoes, the creamy comfort of mashed parsnips, or the smoky flavor of grilled beets, there’s a cooking method for every taste and occasion. Experiment with different techniques to discover your favorite ways to enjoy these nutritious and delicious vegetables!


Christmas in the Kitchen: A Celebration of Flavor and Festivity

The holiday season is upon us, and there’s no better place to embrace the Christmas spirit than in the heart of the home: the kitchen. Whether you’re baking cookies with loved ones, preparing a grand feast, or crafting edible gifts, the kitchen is where cherished holiday memories come to life. Let’s dive into ways to make your kitchen the coziest, most festive spot this Christmas. Deck the Halls (and the Counters) Transform your kitchen into a winter wonderland with holiday decor: Bake the Season Bright Christmas baking is a tradition that fills the home with the irresistible aroma of cinnamon, nutmeg, and vanilla. Try these ideas: Create a Festive Feast The Christmas meal is a highlight of the season. Here are some tips to make it memorable: Savor the Moments with Edible Gifts Homemade treats make thoughtful and personal Christmas gifts: These gifts are not only delicious but also a joy to prepare and share. Warm Drinks for Cold Nights What’s Christmas without a cozy beverage? Consider these options: Involve the Whole Family Make the kitchen a gathering place this Christmas: These moments of togetherness are what make the holidays truly special. Clean-Up Made Merry While cooking and baking bring joy, the clean-up can be daunting. Turn it into a festive activity: Reflect on the Year As you prepare your holiday meals, take a moment to reflect on the year gone by. The kitchen is more than a place for cooking; it’s a space for connection, laughter, and love. Use this time to count your blessings and create new traditions that will carry through the years. This Christmas, let your kitchen become a hub of holiday cheer: The magic of the season starts here. Merry Christmas, and may your kitchen be filled with joy, love, and delicious memories!

How to Properly Store and Cook Seafood: Ensuring Freshness and Flavor

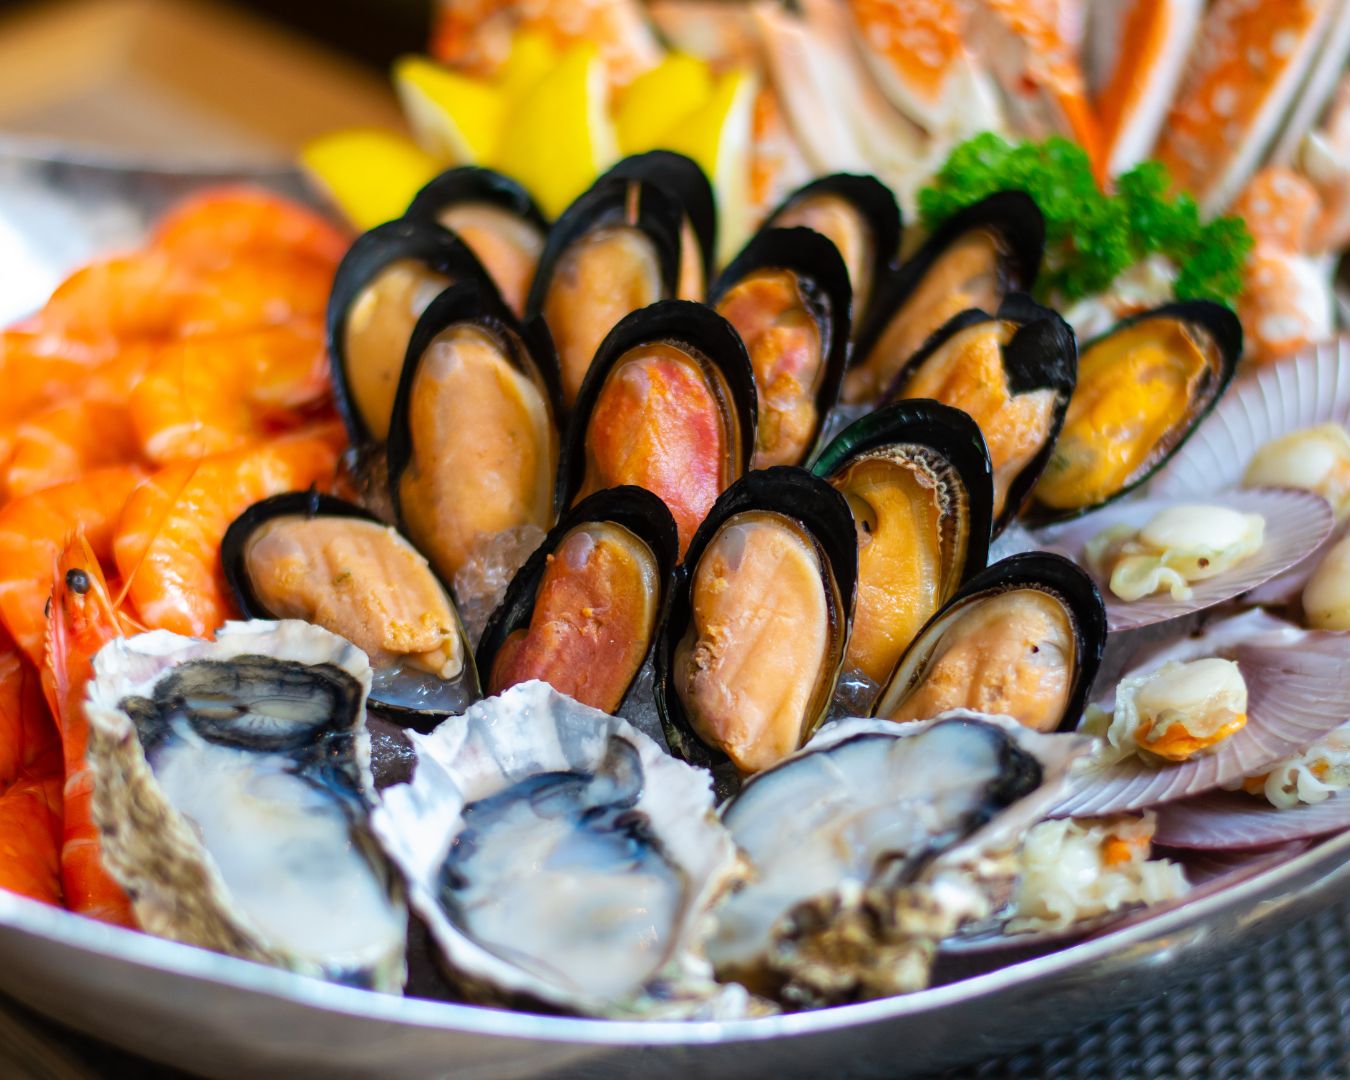
Seafood is a delicious and nutritious source of protein, but it’s also highly perishable. Whether you’re working with fish, shrimp, scallops, or shellfish, it’s important to handle and store seafood correctly to maintain its freshness and ensure it’s safe to eat. In this blog post, we’ll explore the best practices for storing seafood and how to cook it to bring out its best flavor and texture. Why Proper Seafood Storage Matters Seafood spoils quickly due to its high water content and delicate proteins. Improper storage can lead to spoilage, loss of flavor, and even foodborne illnesses. Therefore, maintaining the right temperature and conditions is key to keeping your seafood fresh and safe to eat. How to Store Seafood Properly 1. Buy Fresh Seafood The journey to properly storing seafood starts at the market. When buying fresh seafood, look for the following indicators: 2. Keep Seafood Cold Seafood should be kept cold at all times to prevent bacterial growth. Once you bring seafood home, store it in the coldest part of your refrigerator at 32°F (0°C). Most home refrigerators are set between 35°F to 40°F, so to achieve optimal coldness, place seafood on a bed of ice in a shallow pan and cover it with a lid or plastic wrap. Replenish the ice as it melts. 3. Refrigerating Fresh Seafood 4. Freezing Seafood If you’re not planning to use your seafood within a day or two, freezing is the best option for long-term storage. Proper freezing techniques ensure that seafood retains its quality and flavor. Seafood can generally be frozen for up to 3-6 months. Thaw frozen seafood by transferring it to the refrigerator the night before you plan to use it, allowing it to defrost slowly. Best Practices for Cooking Seafood Once your seafood is properly stored, it’s time to cook it to perfection. Different types of seafood require different cooking methods, but the following tips will help you get the best results. 1. Thaw Seafood Properly If cooking frozen seafood, it’s important to thaw it properly to avoid affecting the texture and taste. The safest method is to thaw seafood overnight in the refrigerator. For faster thawing, place the seafood in a sealed plastic bag and submerge it in cold water, changing the water every 30 minutes until it’s thawed. 2. Avoid Overcooking Seafood cooks quickly, and overcooking can lead to dry, rubbery textures. Use the “10-minute rule” as a guide: cook fish fillets for 10 minutes per inch of thickness at a temperature of around 400°F (200°C). Shellfish and shrimp are done when they turn opaque and firm to the touch. 3. Check for Doneness 4. Use the Right Cooking Methods Here are a few popular cooking methods for different types of seafood: Storing Cooked Seafood Once cooked, seafood should be refrigerated within two hours to prevent bacteria growth. Store cooked seafood in an airtight container in the refrigerator for up to 3 days. If you have a large batch, freeze it for longer storage, but keep in mind that freezing may slightly alter the texture of cooked seafood. Handling seafood with care from purchase to plate ensures that you enjoy the freshest and safest meals possible. Proper storage, whether refrigerating or freezing, is crucial to maintaining the quality of seafood, while cooking it to the right temperature brings out the best flavor and texture. By following these best practices for storing and cooking seafood, you can savor the full experience of this delicious and healthy protein, all while keeping your kitchen safe and your meals full of flavor.

The Role of Vinegar in Food Preservation: A Kitchen Staple for Longer-Lasting Foods

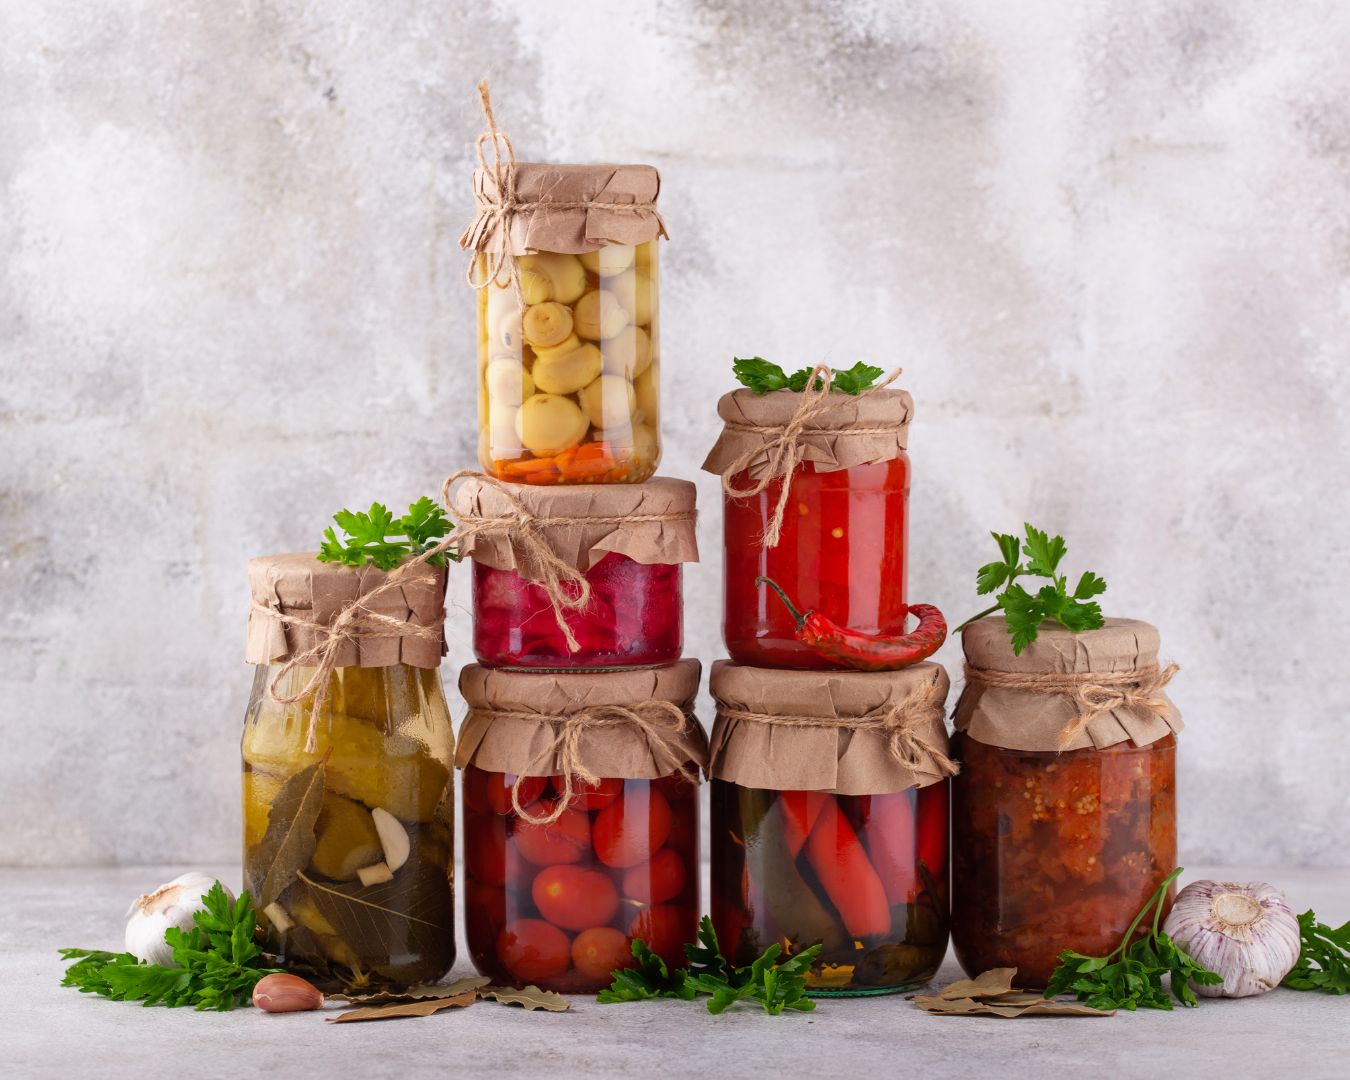
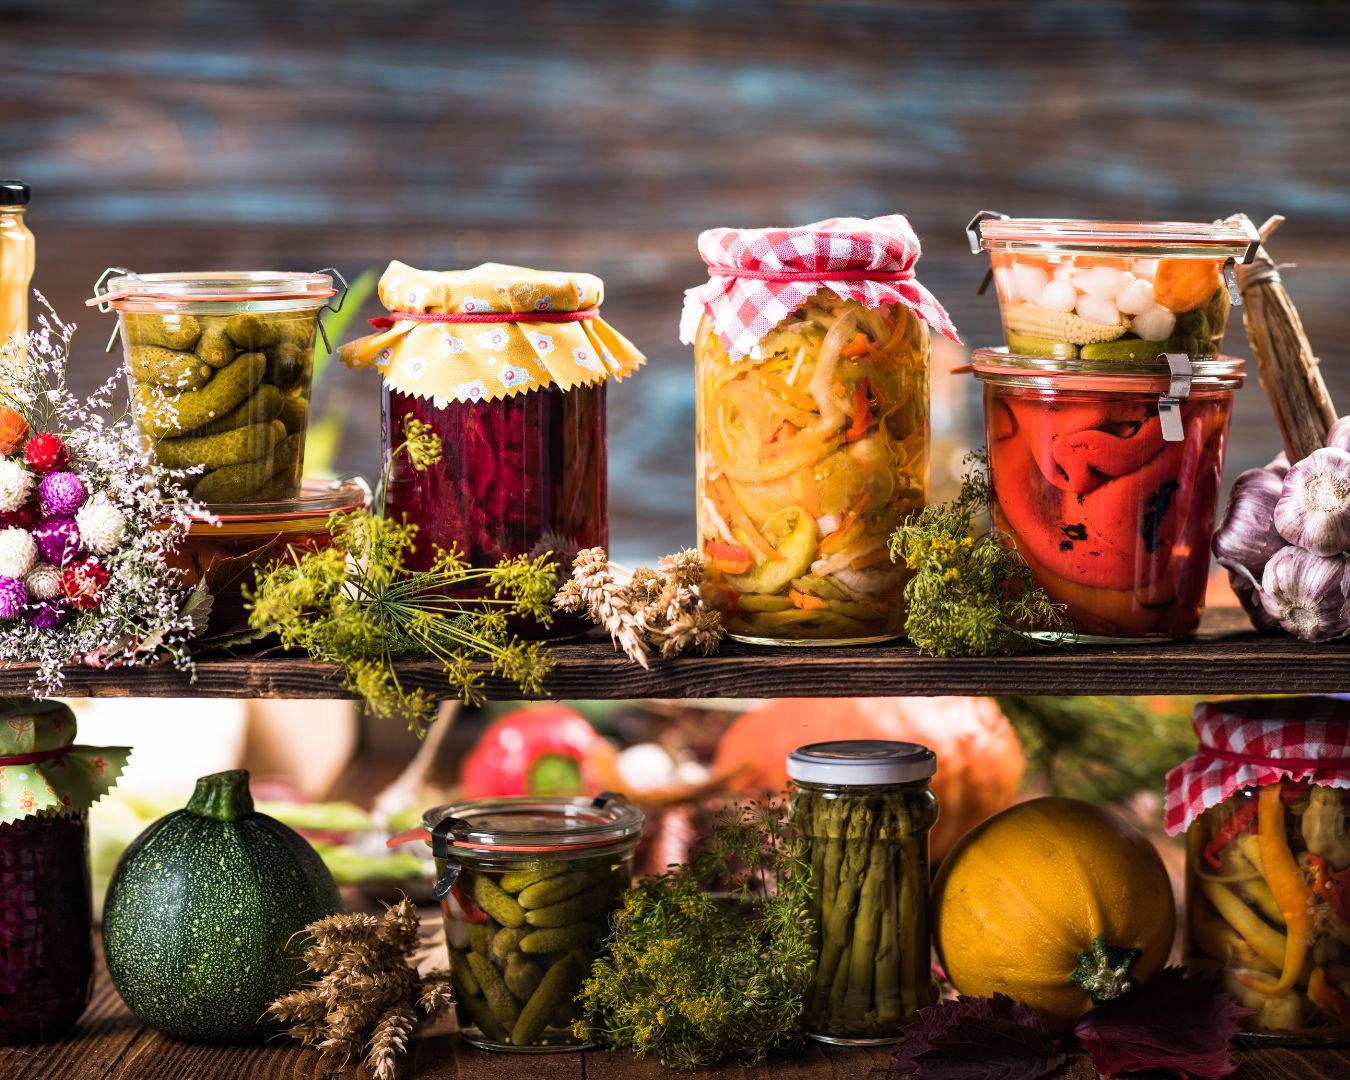
Vinegar has long been a trusted kitchen ingredient for food preservation, dating back centuries to when our ancestors used it to extend the shelf life of fruits, vegetables, and even meats. Today, vinegar remains one of the most effective and natural methods of preserving food while enhancing its flavor. This versatile liquid, which comes in various forms like apple cider, white, and wine vinegar, not only adds tangy zest to recipes but also plays a vital role in the preservation process. Let’s explore how vinegar works its magic and why it should be a staple in every kitchen. How Vinegar Preserves Food The secret to vinegar’s preserving power lies in its acidity. Vinegar typically contains 4-7% acetic acid, which lowers the pH level of foods, creating an environment that inhibits the growth of harmful bacteria, molds, and yeasts. When foods are submerged in vinegar, the acidic environment slows down the decomposition process, allowing the food to stay fresh for longer periods without refrigeration. This process is commonly used in techniques like pickling, marinades, and fermenting, where vinegar not only preserves the food but also enhances its flavor. Key Methods of Food Preservation with Vinegar 1. Pickling Pickling is perhaps the most well-known method of food preservation using vinegar. In this process, fruits, vegetables, and even some proteins are submerged in a brine made from vinegar, water, salt, and sometimes sugar or spices. The acidity of the vinegar prevents the growth of harmful microorganisms, keeping the food safe to eat for weeks or even months. Examples of popular pickled foods: In addition to preserving, pickling adds a tangy, tart flavor to foods, making them a delicious addition to salads, sandwiches, and charcuterie boards. 2. Canning with Vinegar Vinegar is also used in home canning, particularly with acidic fruits and vegetables. When foods are canned with vinegar, they are sealed in airtight containers, ensuring long-term preservation. The vinegar in the canning liquid prevents bacteria from growing, especially the bacteria responsible for botulism, which can be dangerous in improperly canned foods. Canning examples using vinegar: Using vinegar for canning is a natural, safe method to preserve seasonal produce so you can enjoy it year-round. 3. Marinades and Meat Preservation Vinegar is often used in marinades for meats and fish, not only to tenderize but also to preserve them for a short period. The acidic properties of vinegar slow down the spoiling process and help maintain the freshness of proteins before cooking. For example, meats that are marinated in vinegar-based sauces or dressings can be kept fresher longer. Vinegar also prevents bacterial growth on the surface of meats while adding flavor. 4. Fermentation Fermentation is another method of food preservation that sometimes involves vinegar. Although the fermentation process primarily relies on natural bacteria, vinegar can be added to speed up the acidification of foods. This method is commonly used in making kombucha, a fermented tea, as well as in fermented vegetables like sauerkraut and kimchi. Vinegar not only enhances the tanginess of these fermented products but also contributes to their longer shelf life and nutritional benefits, such as providing probiotics that promote gut health. Benefits of Preserving Food with Vinegar 1. All-Natural and Chemical-Free Vinegar is an all-natural preservative, free from artificial additives or chemicals. Unlike many store-bought preserved foods that use synthetic preservatives, vinegar offers a clean and safe way to keep foods fresh longer. 2. Longer Shelf Life Foods preserved in vinegar can last significantly longer than those stored using other methods. For example, properly pickled vegetables can be stored in the pantry for several months, offering a way to enjoy seasonal produce year-round. 3. Enhanced Flavor One of the added bonuses of preserving food with vinegar is the burst of flavor it imparts. Vinegar adds a tangy, sour note to foods, making them more interesting and complex. Pickled cucumbers, for instance, take on a sharp and refreshing bite, while pickled fruits develop a sweet and tangy complexity that complements both savory and sweet dishes. 4. Low-Cost and Accessible Vinegar is one of the most affordable and widely available food preservation ingredients. It doesn’t require specialized equipment or expensive ingredients, making it accessible for home cooks who want to try their hand at pickling or preserving food at home. 5. Safe and Reliable Vinegar has been trusted for centuries as a reliable method for preserving food safely. Its high acidity makes it a formidable opponent to harmful bacteria, ensuring that your preserved foods remain safe to eat for extended periods. Best Types of Vinegar for Preservation There are several types of vinegar that can be used for preserving food, each bringing a different flavor and acidity level. Here are a few of the best: Vinegar is much more than a kitchen condiment; it’s a powerful and natural preservative that extends the life of your food while adding rich, tangy flavors. From pickling to canning, marinades to fermentation, vinegar offers numerous ways to preserve food and maintain its freshness. Whether you’re looking to enjoy summer’s harvest throughout the winter or enhance your favorite recipes with bold flavors, incorporating vinegar into your food preservation practices is an easy, cost-effective, and healthful choice. So, next time you find yourself with an abundance of fresh produce, consider turning to vinegar as your go-to preservation tool. Your pantry and your taste buds will thank you!

Unique Recipes Featuring Pickled and Fermented Foods: A Tangy Twist for Your Kitchen

Pickled and fermented foods have been enjoyed for centuries, not just for their bold flavors but also for their health benefits. Rich in probiotics, these foods support gut health, aid digestion, and add a zesty touch to any dish. From tangy pickles to spicy kimchi, fermented and pickled ingredients can elevate your meals in surprising ways. Below are some unique recipes that bring out the best in pickled and fermented foods, offering creative twists on everyday dishes. Pickled Beet and Goat Cheese Salad Bright, earthy pickled beets pair beautifully with creamy goat cheese and fresh greens in this vibrant salad. Ingredients: Instructions: Kimchi Fried Rice Kimchi’s spicy, tangy flavor turns a simple bowl of fried rice into a bold, flavor-packed meal. This Korean-inspired dish is perfect for using up leftover rice and vegetables. Ingredients: Instructions: Pickled Red Onion and Avocado Tacos Give your tacos a tangy twist with quick-pickled red onions and creamy avocado. These plant-based tacos are fresh, flavorful, and perfect for a quick meal. Ingredients: Instructions: Fermented Dill Pickle Potato Salad Swap out regular pickles for fermented dill pickles in this refreshing take on a classic potato salad. The fermented pickles add a deeper, tangy flavor to the dish. Ingredients: Instructions: Miso-Marinated Grilled Eggplant Miso, a fermented soybean paste, adds an incredible umami depth to grilled vegetables. In this recipe, eggplant soaks up the savory miso marinade and develops a caramelized finish when grilled. Ingredients: Instructions: Incorporating pickled and fermented foods into your cooking adds layers of complexity and flavor while delivering health benefits. Whether you’re whipping up a simple salad or a hearty fried rice dish, these unique recipes offer creative ways to enjoy tangy, fermented ingredients. Give them a try, and discover how pickled and fermented foods can transform your meals!

How to Incorporate Gourmet Ingredients into Everyday Cooking in the Kitchen

Elevating your daily meals with gourmet ingredients doesn’t have to be reserved for special occasions. By incorporating high-quality, flavorful ingredients into your everyday cooking, you can transform simple dishes into culinary delights. Here’s how to infuse a touch of gourmet into your daily routine without breaking the bank. Start Small: Upgrading Basics 1 Use High-Quality Oils and Vinegars 2 Fresh Herbs and Spices Upgrade Your Proteins 1 Premium Meats and Seafood 2 Specialty Cheeses Enhance Vegetables and Grains 1 Specialty Vegetables 2 Gourmet Grains Experiment with Gourmet Condiments 1 Flavored Mustards and Sauces 2 Specialty Jams and Preserves Elevate Your Baking 1 High-Quality Chocolate 2 Specialty Flours Creative Ways to Use Gourmet Ingredients 1 Infused Oils and Butters 2 Elegant Presentations 3 Unique Pairings Budget-Friendly Tips 1 Buy in Bulk 2 DIY Infusions Incorporating gourmet ingredients into everyday cooking doesn’t require a complete overhaul of your kitchen or diet. By making small, thoughtful changes and experimenting with high-quality ingredients, you can enhance the flavor and sophistication of your meals. Whether it’s a splash of extra-virgin olive oil or a sprinkle of artisan cheese, these touches can make your daily dishes feel special and satisfying.

Cooking and Baking with Sugar Alternatives: A Guide to Healthier Sweetening

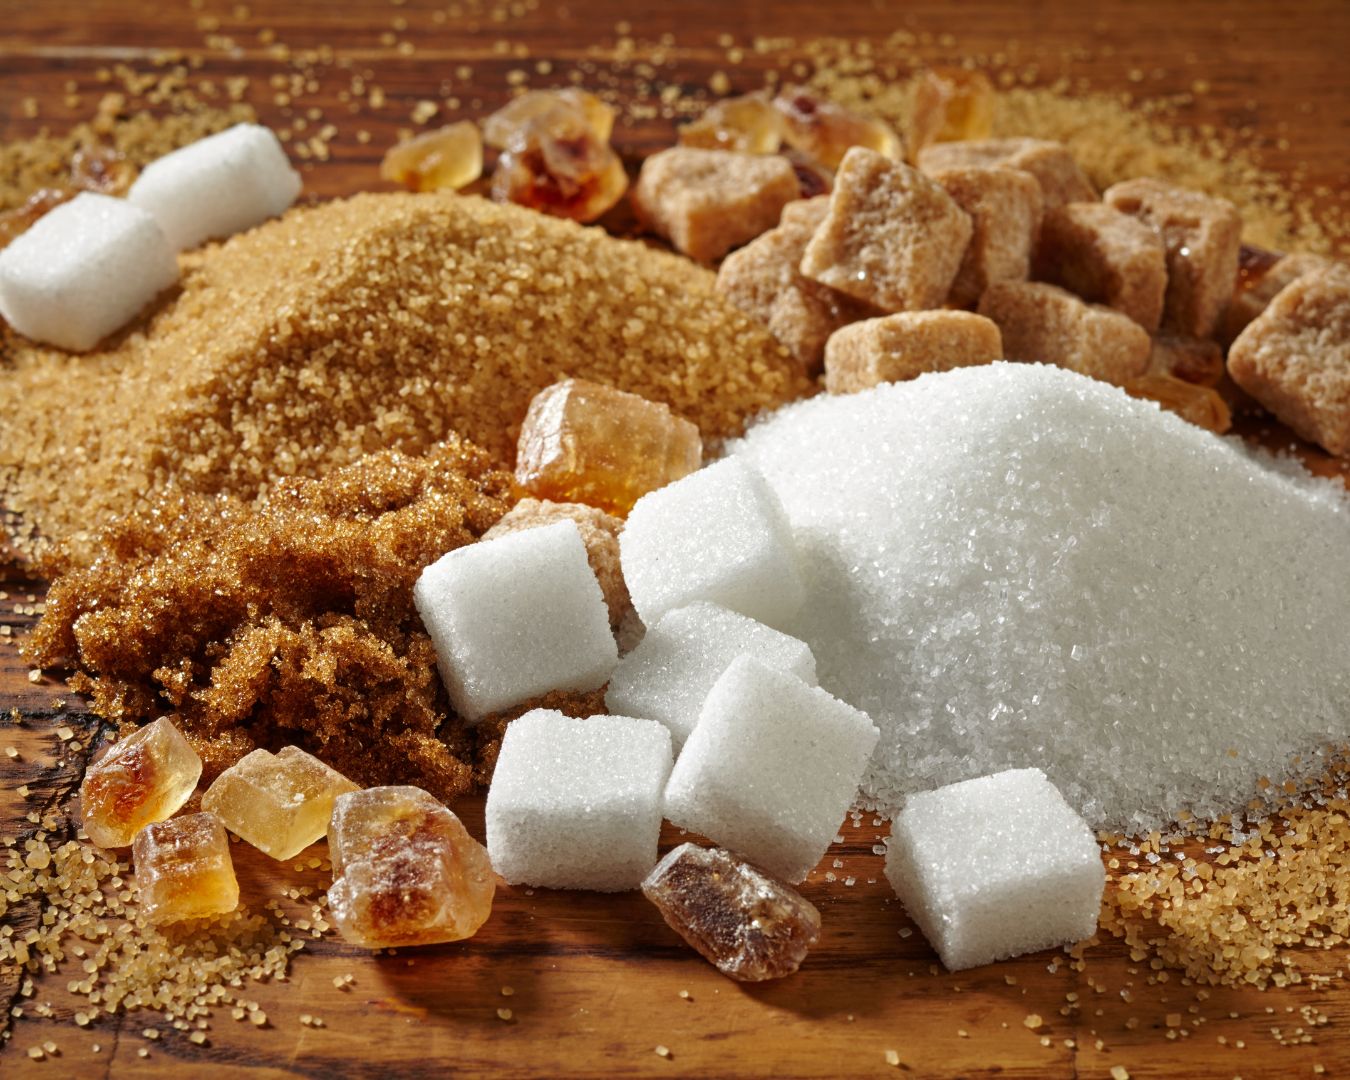
Sugar alternatives can be a game-changer in your kitchen, offering a way to reduce refined sugar intake while still enjoying the sweet flavors you love. Whether you’re baking, cooking, or simply looking to cut back on sugar, exploring these alternatives can lead to healthier and equally delicious results. Here’s a comprehensive guide to cooking and baking with sugar alternatives! Understanding Sugar Alternatives Before diving into recipes, it’s important to understand the various types of sugar alternatives available. They fall into several categories: Choosing the Right Alternative The choice of sweetener depends on the recipe and your personal preferences. Here’s a rundown of popular alternatives and how they work in cooking and baking: Baking with Sugar Alternatives When baking, sugar alternatives can affect texture, color, and taste. Here are some tips for successful baking: Cooking with Sugar Alternatives When cooking with sugar alternatives, the method can vary depending on the sweetener: Health Considerations Recipes to Try Here are a few recipe ideas to get you started with sugar alternatives: Cooking and baking with sugar alternatives can be a fun and rewarding way to enjoy your favorite treats while making healthier choices. Experiment with different sweeteners to find the perfect balance for your recipes and preferences. With these tips and a bit of creativity, you can create delicious, sweet dishes that fit your dietary needs!