Tips for Efficiently Using Your Kitchen Timer and Thermometer: Precision for Perfect Cooking
A kitchen timer and a thermometer are two of the most essential tools for any home cook or baker. They help ensure that your meals are cooked to perfection by providing precise control over cooking times and temperatures. However, using these tools efficiently can make all the difference between a deliciously moist roast and an overcooked one, or perfectly baked cookies versus burnt edges. Here are some tips to help you make the most out of your kitchen timer and thermometer for flawless results in the kitchen.
Know When to Use a Timer and When to Use a Thermometer
While both the timer and thermometer help with cooking accuracy, they serve different purposes, and knowing when to rely on each one is key.
- Timers are best used for cooking tasks that require a specific amount of time, such as baking bread, simmering sauces, or boiling pasta. These tasks rely on consistent timing to ensure the right texture and doneness.
- Thermometers are essential for tasks that depend on internal temperature rather than just time, such as roasting meat, grilling, or deep-frying. Even if a recipe suggests a cooking time, factors like the thickness of meat or the heat of your oven can vary, so using a thermometer gives you more precise control over doneness.
Pro Tip: For dishes like roasts, cakes, or custards, use both tools: the timer as a general guide and the thermometer to ensure the dish reaches the perfect internal temperature.
Set Multiple Timers for Different Tasks
When cooking multiple dishes at once, it’s easy to lose track of time and overcook or undercook an item. Using multiple timers can help you keep everything on track, ensuring all components of your meal are ready at the same time.
- Smartphone Timers: Many modern phones allow you to set multiple timers with labels. For example, label one as “boil pasta” and another as “check roast,” making it easier to keep track.
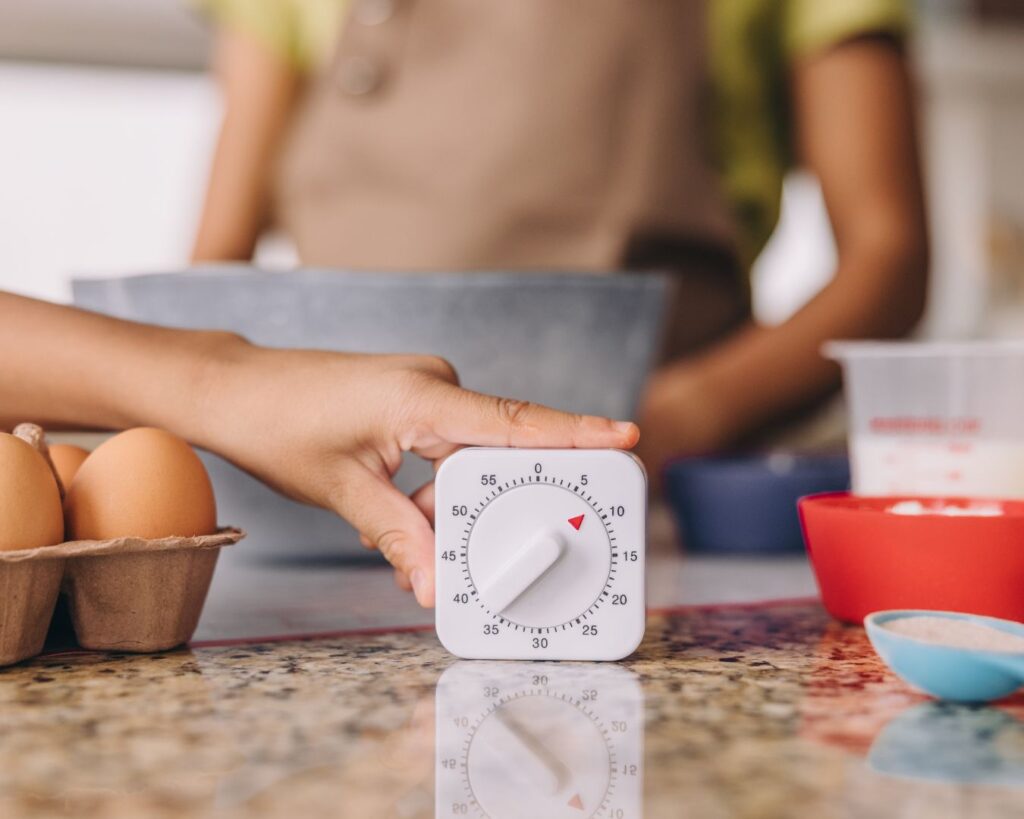
- Dedicated Timer for Baking: If you do a lot of baking, invest in a dedicated kitchen timer that you can keep near your oven. This allows you to quickly adjust time without fumbling with multiple tasks.
- Staggering Timers: If cooking multiple dishes with different cooking times, stagger your timers. Start the longest one first, and set the next timer for the following task. This prevents dishes from being ready too early or late.
Pro Tip: To prevent forgetting a timer, place a sticky note near the stove or oven with labels that remind you which timer belongs to which dish.

Place the Thermometer Properly for Accurate Readings
Using a thermometer correctly is crucial for ensuring accurate readings, especially with meat and poultry. Incorrect placement can lead to misleading results, which can result in undercooking or overcooking your dish.
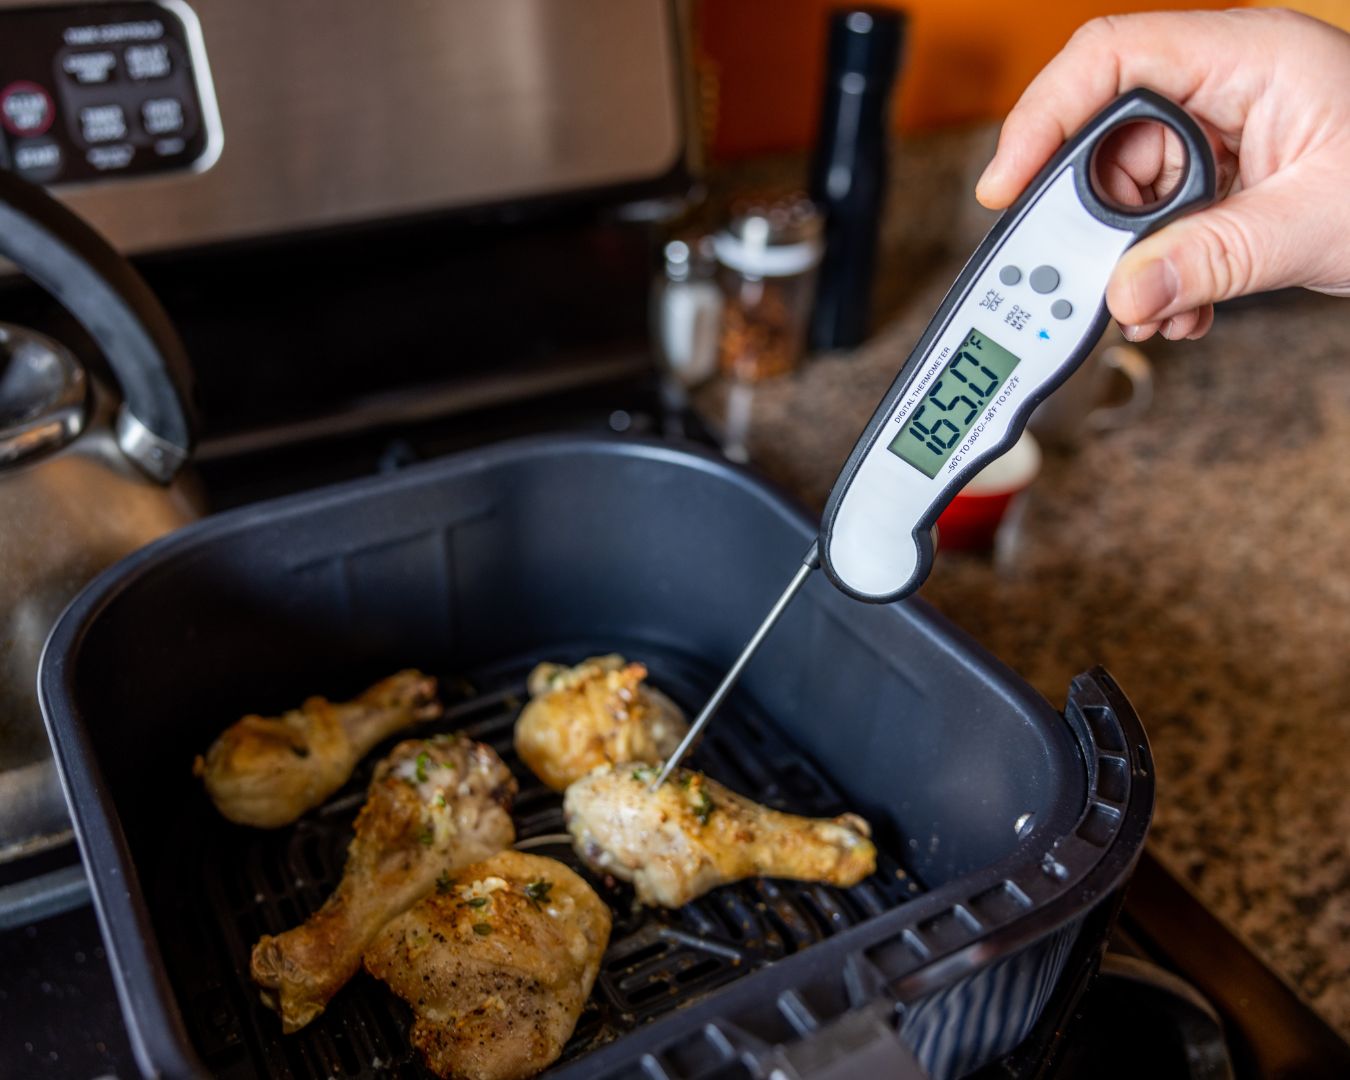
- For Meat: Insert the thermometer into the thickest part of the meat, avoiding bones and fat. For large cuts like a whole chicken or turkey, insert the thermometer into the thigh, ensuring it doesn’t touch bone, which can give false readings.
- For Thin Foods: When grilling thinner cuts of meat like steaks or chicken breasts, use an instant-read thermometer. Insert it sideways into the meat to get an accurate internal temperature without cutting into the food too much.
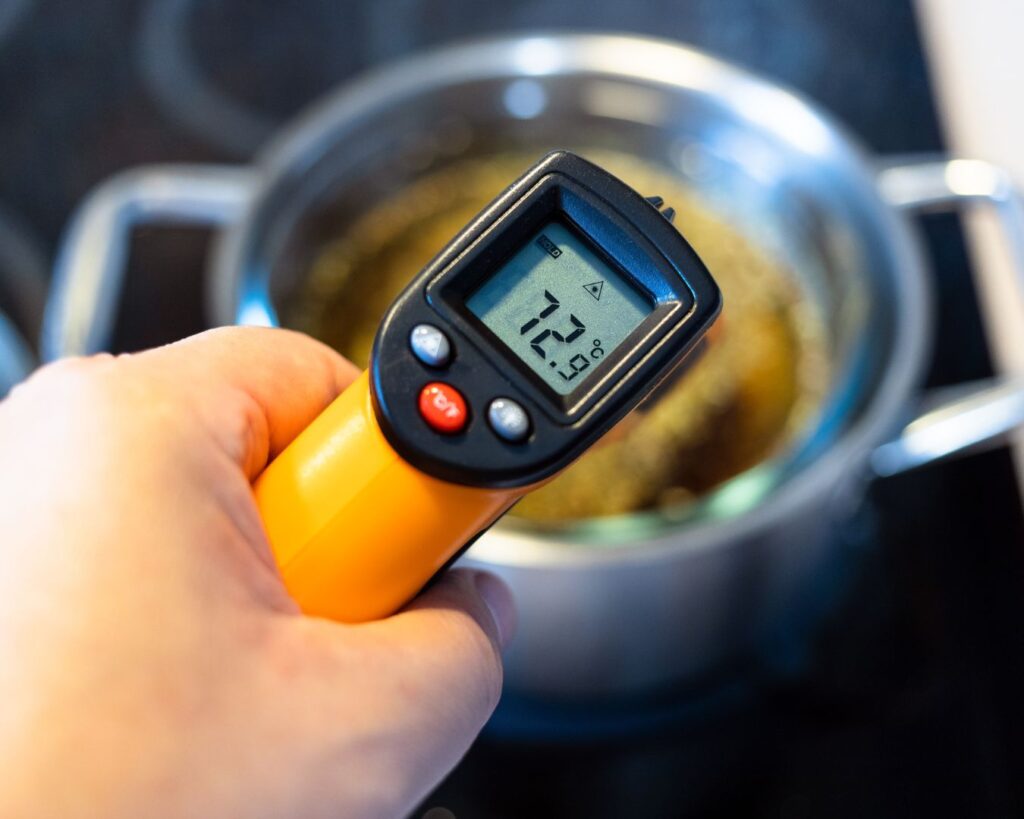
- For Liquids: If using a thermometer for soups, sauces, or frying oil, ensure the probe is fully submerged without touching the bottom of the pan. This will give an accurate reading of the liquid’s temperature rather than the heat from the cookware.
Pro Tip: Always clean your thermometer before and after each use to prevent cross-contamination, especially when working with raw meat.
Use Rest Times Wisely
Resting is crucial for meats and baked goods to finish cooking and settle after being removed from the heat. Your kitchen timer and thermometer can help you make the most of this process.
- For Meats: Once you’ve reached the desired internal temperature, remove the meat from the heat source and let it rest. Meats like steak or roast will continue to cook from residual heat, known as “carryover cooking.” Set a timer to ensure the meat rests for the recommended time (usually 5 to 10 minutes for smaller cuts and up to 20 minutes for larger roasts).
- For Baking: Certain baked goods, like cookies or brownies, continue to cook after being removed from the oven. Use your kitchen timer to monitor the rest time before cutting into them, ensuring they set properly for the best texture.
Pro Tip: For meats, aim to remove them from the heat 5-10 degrees below your target internal temperature and let carryover cooking bring it up to the final desired temperature.
Program Your Timer for Prep Steps
Timers aren’t just for cooking—they’re also helpful during preparation. Many recipes require timed tasks, such as letting dough rise, marinating meat, or allowing batter to rest. Set your timer for each of these steps to ensure you’re not rushing through important prep tasks.
- Dough Rising: When making bread or pizza dough, use your kitchen timer to ensure you give the dough the proper time to rise.
- Resting Marinades: Set a timer for marinating meat to get the full flavor without over-marinating, which can affect texture.
Pro Tip: Use different sound alarms or labels to distinguish between prep timers and cooking timers.

Stay Hands-On with Cooking Thermometers
Digital and instant-read thermometers are fantastic tools, but they require active attention. You can’t just stick them in and leave them like a timer. Here’s how to get the most accurate readings:
- Check at the Right Time: Take the temperature about 5-10 minutes before your estimated cooking time is up. This allows for any adjustments and ensures you don’t miss the optimal cooking point.
- Double-Check in Multiple Spots: For large roasts or whole poultry, test the temperature in a few different spots (e.g., in the thickest part of the meat and near the bone) to ensure even cooking.
Pro Tip: Invest in a probe thermometer that stays in the meat while it cooks, giving you a real-time temperature reading without having to open the oven.
Use Alarms for Thermometer Targets
Some thermometers come with built-in alarms that alert you when your food reaches the desired temperature. This feature ensures that you don’t have to keep opening the oven or grill to check.
- Pre-Set Thermometers: These digital thermometers allow you to program the desired temperature for your meat or dish. Once it reaches that temperature, the thermometer will beep, signaling that the food is ready.
- Wireless Thermometers: Wireless models allow you to monitor cooking progress without hovering over the oven or grill. You can carry the receiver around the kitchen or even outside while your food cooks.
Pro Tip: If your thermometer doesn’t have an alarm, set a separate timer as a reminder to check the temperature at regular intervals during cooking.
Keep Batteries and Accuracy in Check
A dead battery or an inaccurate reading can lead to cooking disasters. Regularly check your thermometer and timers to ensure they’re functioning correctly.
- Calibrate Your Thermometer: To ensure your thermometer is accurate, calibrate it by testing it in ice water (it should read 32°F or 0°C) or boiling water (it should read 212°F or 100°C, adjusting for altitude). Most digital thermometers come with instructions on how to recalibrate them.
- Change Batteries Regularly: If your timer or thermometer is battery-operated, make sure to replace the batteries before they run out. Keeping a few spares on hand can prevent mid-recipe frustrations.
Mastering the use of your kitchen timer and thermometer can elevate your cooking from good to great by ensuring precise timing and temperature control. Whether you’re baking cookies, roasting meats, or deep-frying, these tools help you cook with confidence, ensuring your food is cooked safely and to perfection. By following these tips, you’ll avoid overcooked meals and undercooked disasters, making your time in the kitchen more efficient and enjoyable.

