Author : Cosmo

How to Clean Brass

Before starting, check if your brass is solid or brass-plated. You can test this by using a magnet. If your magnet sticks, your item is brass-plated. It’s important to note this since scrubbing brass-plated items can remove the plating. Clean these items with hot, soapy water instead and dry properly. Cleaning Brass First, check how tarnished your brass is. If it’s only lightly tarnished you can use hot water with soap for sufficient results. Use a toothbrush to get in small crevices. If the brass is heavily tarnished you can use commercial cleaners but use these sparingly as they are abrasive and can scratch the surface with frequent use. Natural Cleaners You can clean brass naturally and more gently with common ingredients. Check out these ingredients below. Ketchup and Tomato Juice. The mild acid in tomatoes removes tarnish and dirt from brass. Use a soft cloth and rub the ketchup into your brass item. Rinse with warm water after and dry properly. You can also soak items in tomato juice if they are small enough. Place them in the juice for 5 minutes or longer depending how dirty they are, then rinse and dry thoroughly. Lemon Juice. Another mild acid is found in lemon juice which can effectively clean brass. If your items are lightly tarnished, cut a lemon in half and sprinkle with table salt. Rub the lemon over the brass surface then wipe with a soft cloth and buff until it shines. If your item has a heavier tarnish, create a paste with two parts cream of tartar to one part lemon juice. Apply the paste and let sit for at least 30 minutes. Be sure to rinse with warm water, and buff with a dry cloth after. You can prevent your brass from tarnishing by applying a thin coat of mineral oil. Avoid touching it as much as possible as your hands’ natural oils will increase tarnishing. Sources: HGTV

Using Essential Oils in Your Bath the Right Way

Adding essentials oils to your bath can relieve stress and relax your body, but there’s a chance you’re doing it wrong. There are plenty of essential oils out there and using the wrong ones in the wrong way can spill disaster. Get the most out of your bath time with these tips. Combine with a Carrier Oil Oil and water don’t mix. The last thing you want is for the essential oils to just sit on top of the water instead of dispersing throughout. You should always combine the essential oil with a carrier oil first. Carrier oils include coconut, olive or jojoba. Mix three to 12 drops of an essential oil with a tablespoon or 15 ml of carrier oil. This will create the best solution to mix in your bath. Don’t Use Any Essential Oil Just because an essential oil smells good does it mean it’ll be safe on your skin. Be careful to avoid oils known to irritate the skin and natural mucous membranes. Some oils you should avoid are cinnamon, clove, oregano, savory, spearmint and wintergreen. Use some lavender, chamomile and rose instead. Apply to a Bath Properly It may be tempting to drop a few drops as your hot bath water runs, but this can actually cause the oil to escape and scent your bathroom instead. Fill your tub first and turn the water off before adding any essential oils. This will give you the best aromatic effect. An essential oil paired with a carrier oil helps to hydrate your skin but can also make your bath a greasy hazard. Be sure to wash your tub properly after to avoid any slips. You can use baking soda to help de-grease your tub. What’s your favorite essential oil? Let us know in the comments. For more from Cosmo be sure to follow us on our Facebook and Instagram. Sources: GoodHouseKeeping

Nutritional Recipes to Start the New Year Right

As we approach the end of 2020, we can look forward to what we want to do differently for 2021. Eating healthy may have been on your to-do list for this year, but we want to make it easy on you with these new recipes. Don’t let healthy eating stop at just foods, learn how to make nutritional drinks too, courtesy of Zevia. Quinoa Salad with Orange Cilantro Salad Dressing Yield: 2 cups Dressing:  1/2 cup Zevia Orange Soda 1/4 cup lime juice 1/2 cup olive oil 1 cup fresh cilantro 1/2 avocado 1 teaspoon garlic Quinoa Salad: 1 cup quinoa leafy greens (optional) 1 orange, cut into pieces (optional) 1 grapefruit, cut into pieces (optional) 1 lime, juice only 1/2 avocado, diced (optional) 1/4 cup feta cheese (optional) 1/4 cup diced red onion (optional) Tools needed: Food processor To make dressing: In food processor, pulse orange soda, lime juice, olive oil, cilantro, avocado and garlic until consistency is smooth. To make quinoa salad: Cook quinoa according to package directions and let cool. Once quinoa is cool, add to bowl with orange pieces, if desired; grapefruit pieces, if desired; lime juice; avocado, if desired; feta cheese, if desired; and diced onion, if desired. Top with orange cilantro salad dressing. Spiced Citrus Ginger Mocktail Yield: 1 mocktail Concentrate: 1 cup fresh-squeezed orange juice 1/2 cup fresh-squeezed lime juice 1 orange peel 1 lime peel 1/2 teaspoon black peppercorns, lightly crushed 5 cardamom pods, lightly crushed 2 cinnamon sticks, lightly crushed Mocktail: 1/3 cup concentrate 1 can Zevia Ginger Ale ice lime wedge, for garnish (optional) orange wedge, for garnish (optional) To make concentrate: In small saucepan, combine orange juice, lime juice, orange peel, lime peel, black peppercorns, cardamom pods and cinnamon sticks. Bring to boil over high heat then turn to low; simmer until liquid has reduced by half, 3-4 minutes. Let cool and strain out solids. Transfer to glass jar and store until ready to use. To make mocktail: Combine concentrate with ginger ale over ice. Garnish with lime wedge or orange wedge, if desired. Sources: Zevia

4 Night Routines for a Good Night’s Sleep

Sleep hygiene consists of the various habits we engage in before bedtime. These habits can have a significant impact on the quality and the quantity of your rest. It’s important to have a consistent nighttime routine which allows for at least an hour before sleep to wind down, whether it’s drawing a warm bath or drinking your favorite cup of tea. Here’s 4 routines you can try out for a good night’s rest. Set an Alarm You may already be setting an alarm every night, but what’s most important is that you’re setting it to the same time every day. This includes days off such as the weekends. Getting up every morning at the same time will help you get regulate your sleeping pattern for a consistent good night’s sleep. It’ll also help you sleep better in the long run. Dim Lights Light affects melatonin production which is the hormone responsible for helping you fall asleep. Installing dimmers in your home can help mimic the level of natural light outside as it gets darker. It’s best to get as much light outside during the day and then keeping your lights as dim as possible after dusk. Listen to Music Spending some time before bed to listen to music can help relax your body and calm your mind. Be sure the music you listen to is personally relaxing to you. If music tends to amp you up, try something different like nature sounds or white noise. Put Screens Away You may have heard this already, but blue light emitted from screens negatively impacts your melatonin production. This can keep you up longer than intended and makes it harder for you to fall asleep naturally. If you absolutely need to use a phone or a tablet before bed, try switching the screen to a “night shift” mode or dimming it significantly. What’s your favorite nighttime routine? Let us know in the comments. For more from Cosmo be sure to follow us on our Facebook and Instagram. Sources: GoodHouseKeeping

The Best Dishwasher Hacks

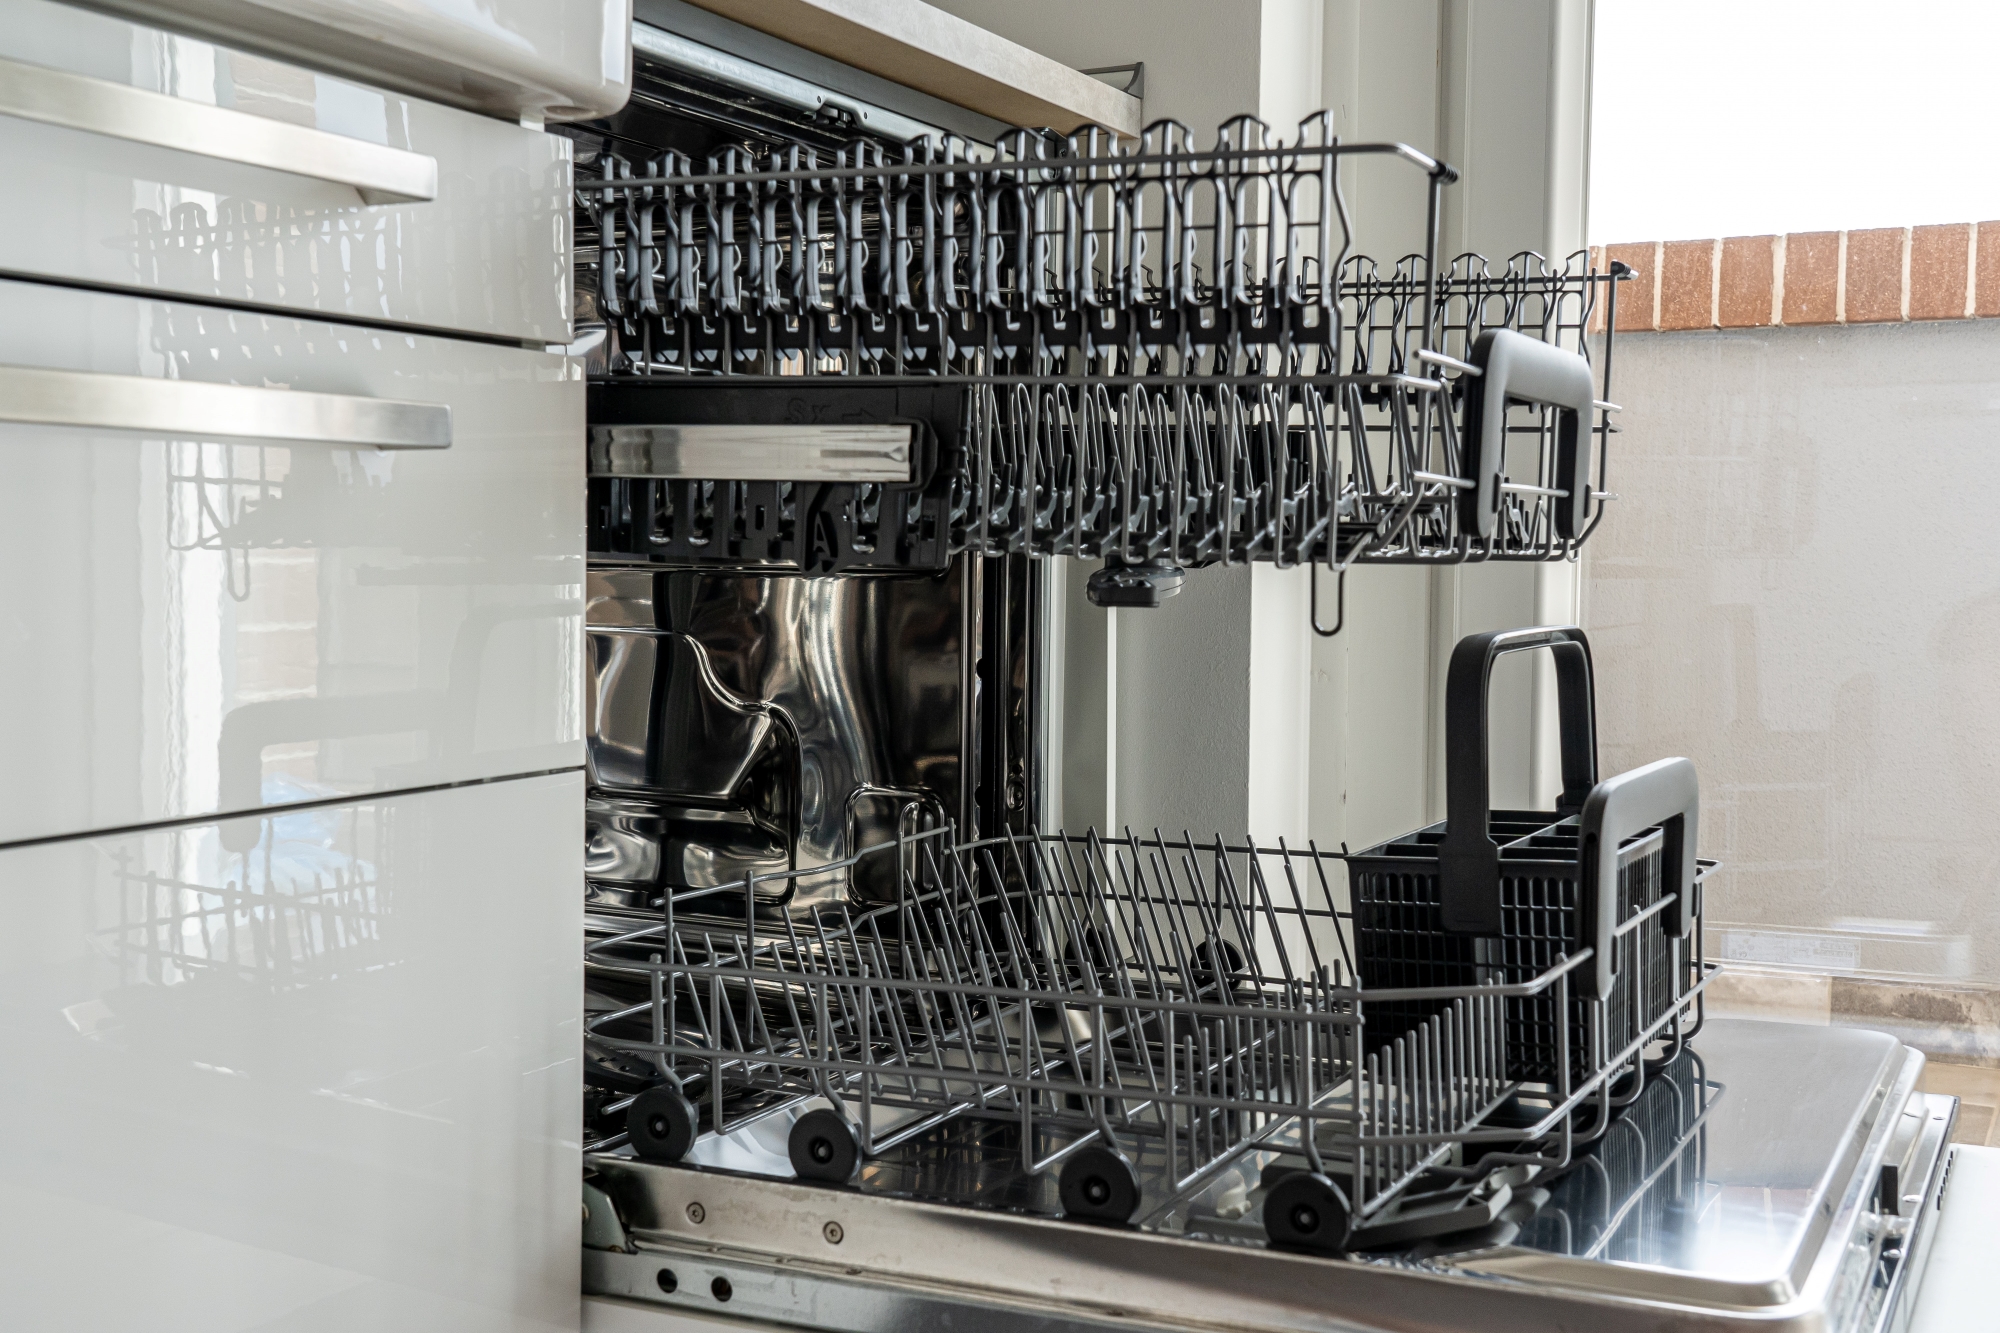
Dishwashers can save you valuable time in the kitchen. Who doesn’t want to skip out on the extra work after cooking a meal? While it may be tempting to just throw your dishes in, there are some key tricks you should implement to get the most out of your dishwasher. The last thing you want is to have to clean those dishes again after. Rinse Before Washing Modern dishwashers on the market are powerful enough to de-grime your dishes, but it’s best to give your dishes a rinse before loading them in. This will prevent any larger bits to remain stuck on your dishes. Take some time to scrape off any residue from your meals in the trash beforehand. Overloading Your Dishwasher Filling your dishwasher to max capacity will diminish its performance. It may seem easier to load everything at once for one wash, but this can lead to more work if the dishes are half clean after. Packed bowls or plates at the bottom of a washer can block the sprayers, preventing your other dishes from getting clean. The Right Detergent Powder detergents usually contain bleach which prevents build up in your washer over time, but it’s best to pay attention to the recommended amount of detergent. An excess can result in a film like residue on your dishes. Clean Your Dishwasher If your dishwasher is giving off a smell or there’s visible buildup, it’s time to clean it. Remove the dishwasher trap if you can and wash it in your sink. Clean the seals regularly throughout the dishwasher with a microfiber cloth. You can also place a cup of white vinegar at the bottom of the dishwasher and run a normal cycle to clean out food bits. Sources: Apartment Therapy

How to Personalize Your Kitchen

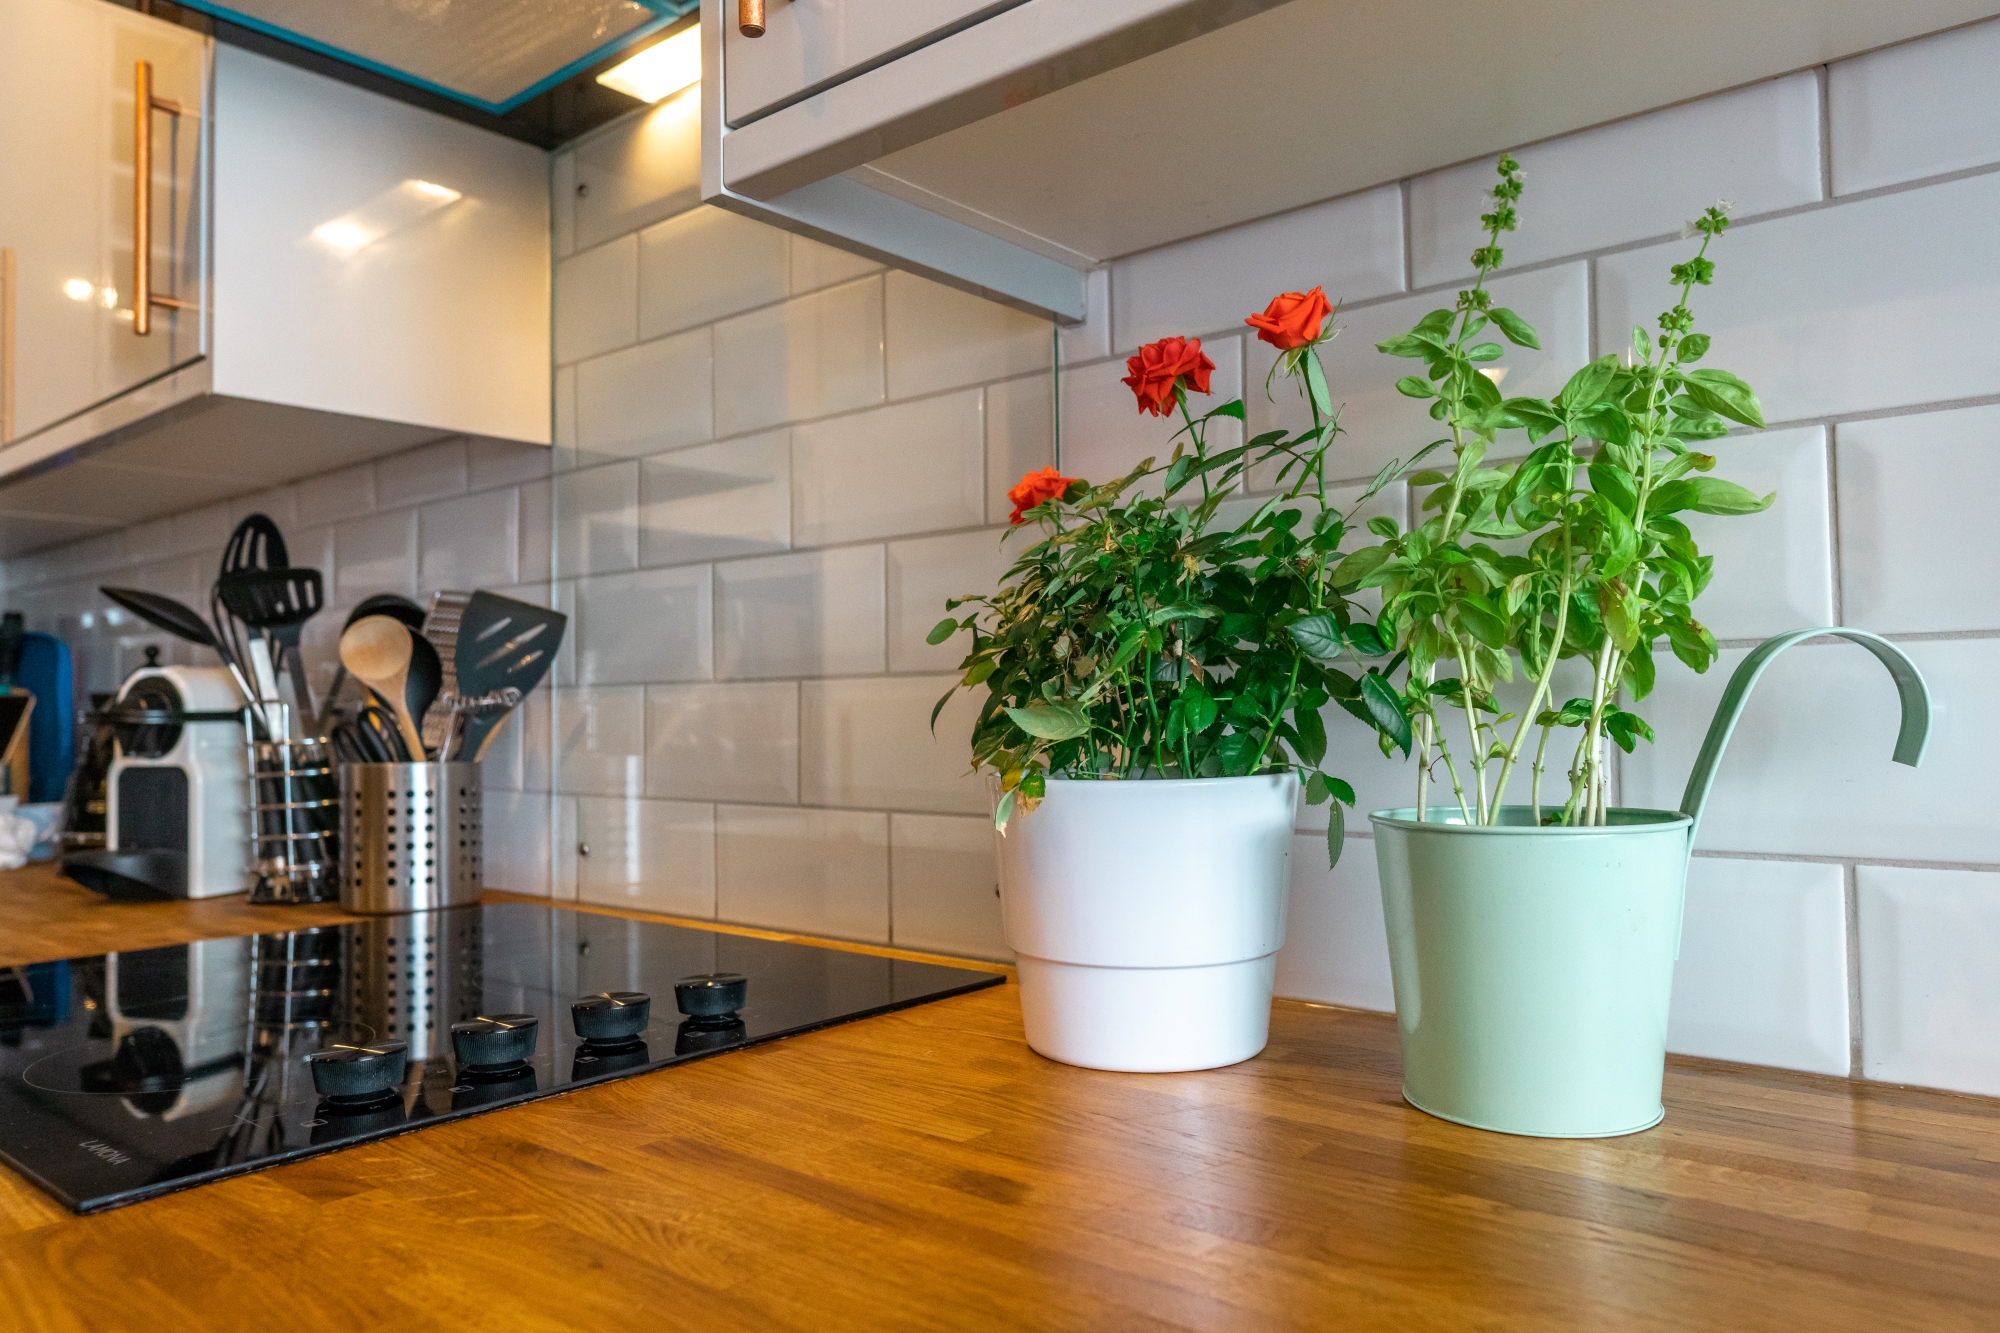
Plants may seem like just a decorative piece in a kitchen, but if growing the right ones, they can offer tastier meals and fresher cocktails. Consider adding low maintenance herbs to brighten up your kitchen space. Here’s some tips on how to start your plant collection. Pots. Plant pots can add the most character to a plant and speak to your style. Choose pots with interesting colors and shapes. Combine earthy clay pots and soothing natural sandstone for a dynamic look to your kitchen. You can also add a modern flair with classic black and white ceramic. Variety. Add a few different herbs to your kitchen that vary shape and texture. This can also make cooking easier with less runs to the grocery store. Try rosemary for an even more delicious roast chicken, or oregano for your favorite tomato sauce recipes. If you have cocktails in mind, consider easy growing mint for the most refreshing drinks. Space. If you’re short on counter space try out some hanging garden options. There are many pots on the market that will easily match your taste. It’s important to have your plants in a sunny spot in your kitchen, make sure you have a window spot that offers lots of natural light. Did you learn something new? Sound off in the comments. If you’re looking for more from Cosmo be sure to follow us on Facebook and Instagram. Sources: Apartment Therapy

What You Shouldn’t Clean with Baking Soda

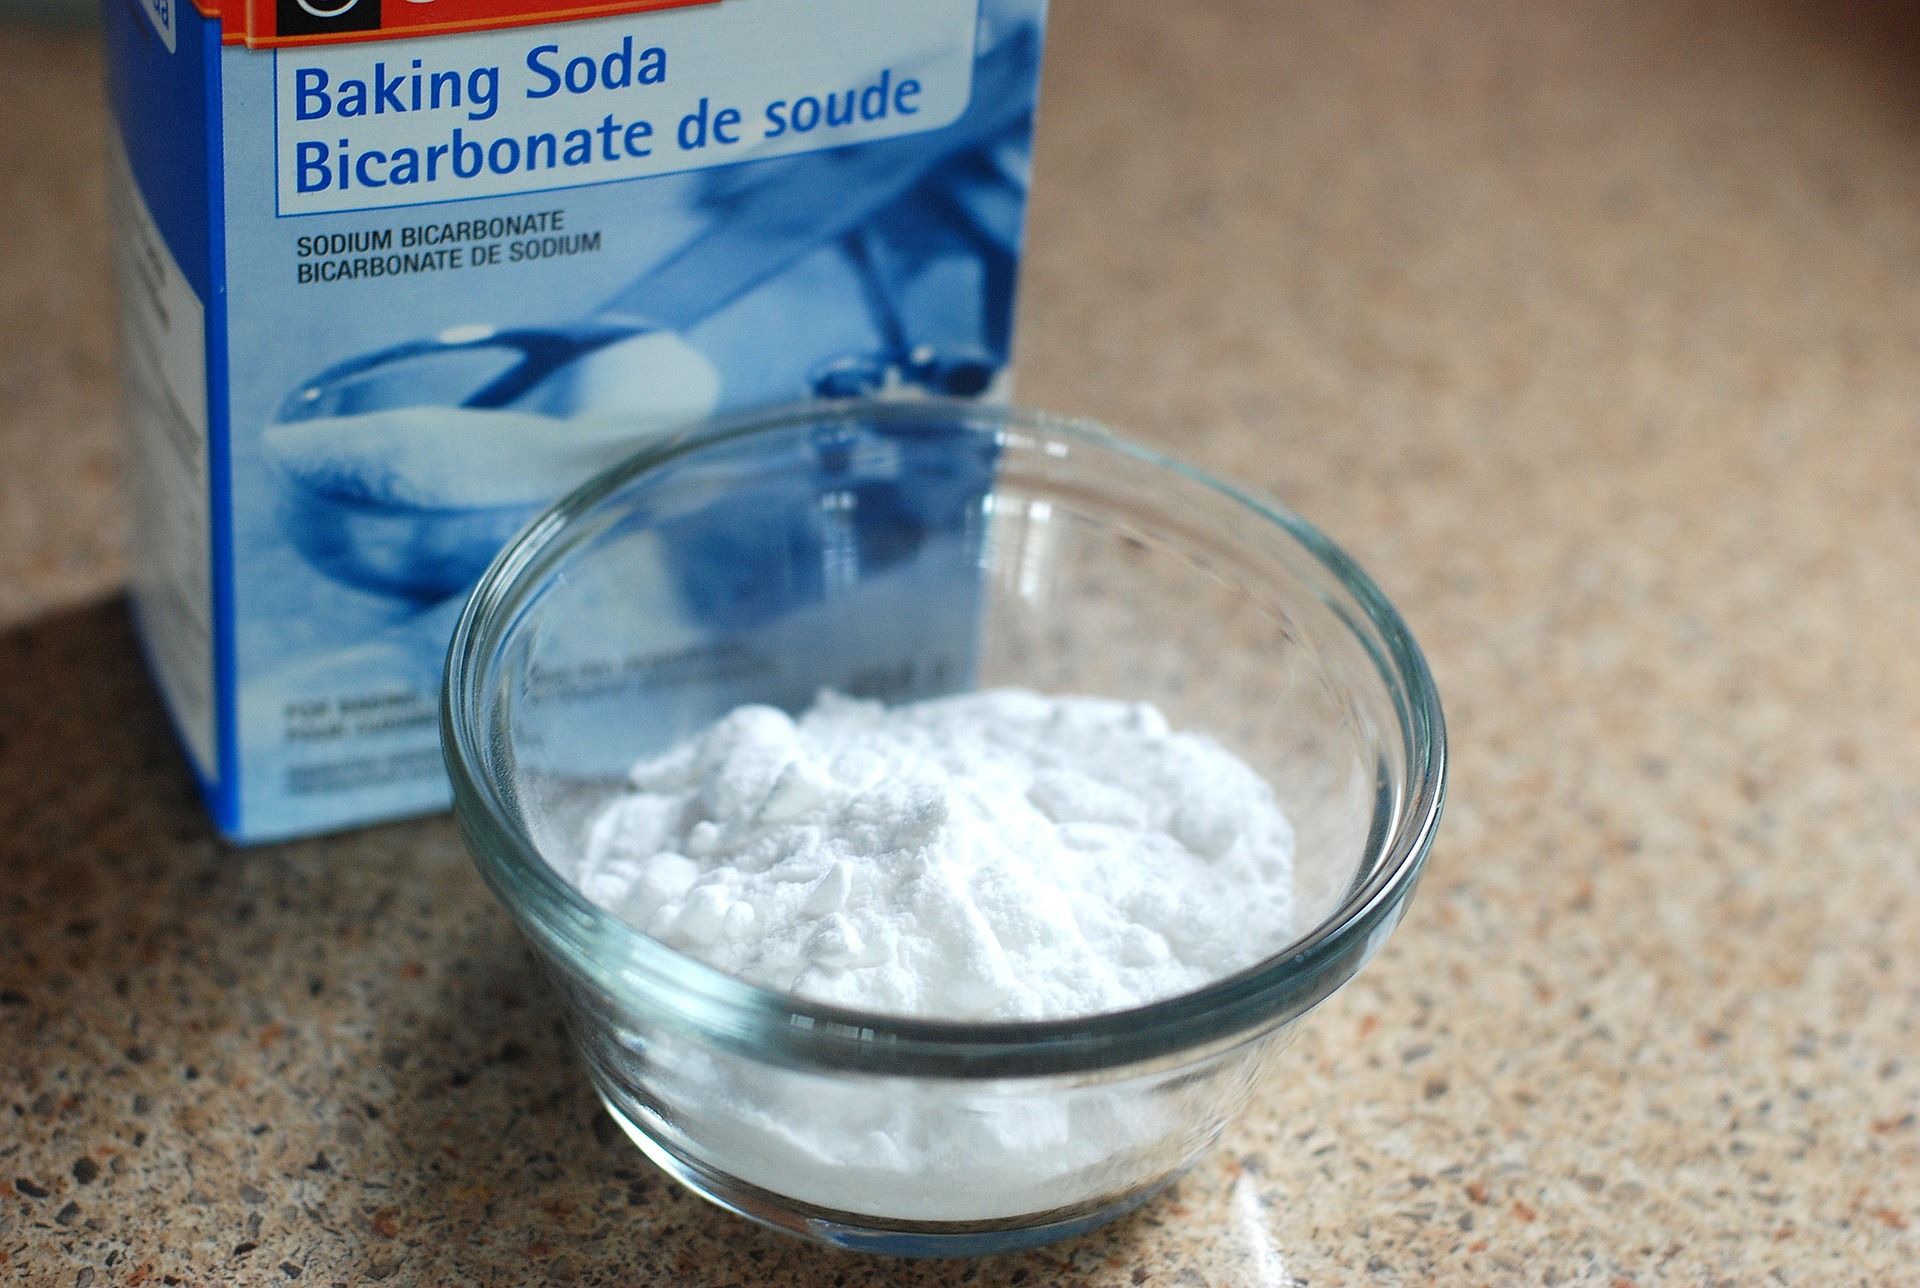
Baking soda is a staple for cleaning when it comes to your kitchen. While it may be tempting to use it everywhere, there’s some places you should absolutely steer clear from. Baking soda is abrasive which means it can damage lightly sealed surfaces or discolor some metals. Here’s a list of some places you should avoid using it. Aluminum cookware. Baking soda can usually be used on many metal surfaces but take caution with aluminum. You may be able to get away with using it if you quickly apply it and rinse it off. Leaving it on can cause it to oxidize which would change the aluminum’s surface color. Gold-plated service pieces. While 24k plated gold may be uncommon in a kitchen, some decorative wedding china may have some true gold accents. Baking soda can easily scratch gold since it’s a soft metal. Marble surfaces. Stone manufacturers advise against cleaning marble with baking soda. The repeat abrasive cleaning from baking soda can deteriorate the sealant. It’s best to use proper marble cleaners to avoid damage. Antique silver. While baking soda can be used to remove tarnish from silverware, be careful with antique silver. It may be too abrasive and ruin the finish, especially if you are unsure of the provenance and may not actually be sterling silver. Avoid pieces that contain decorative insets all together. It’s best to take these pieces to a professional who knows how to properly clean them. Did you learn something new? Follow our Facebook and Instagram for more from Cosmo. Source: Kitchn

Single Door vs. French Door Refrigerators

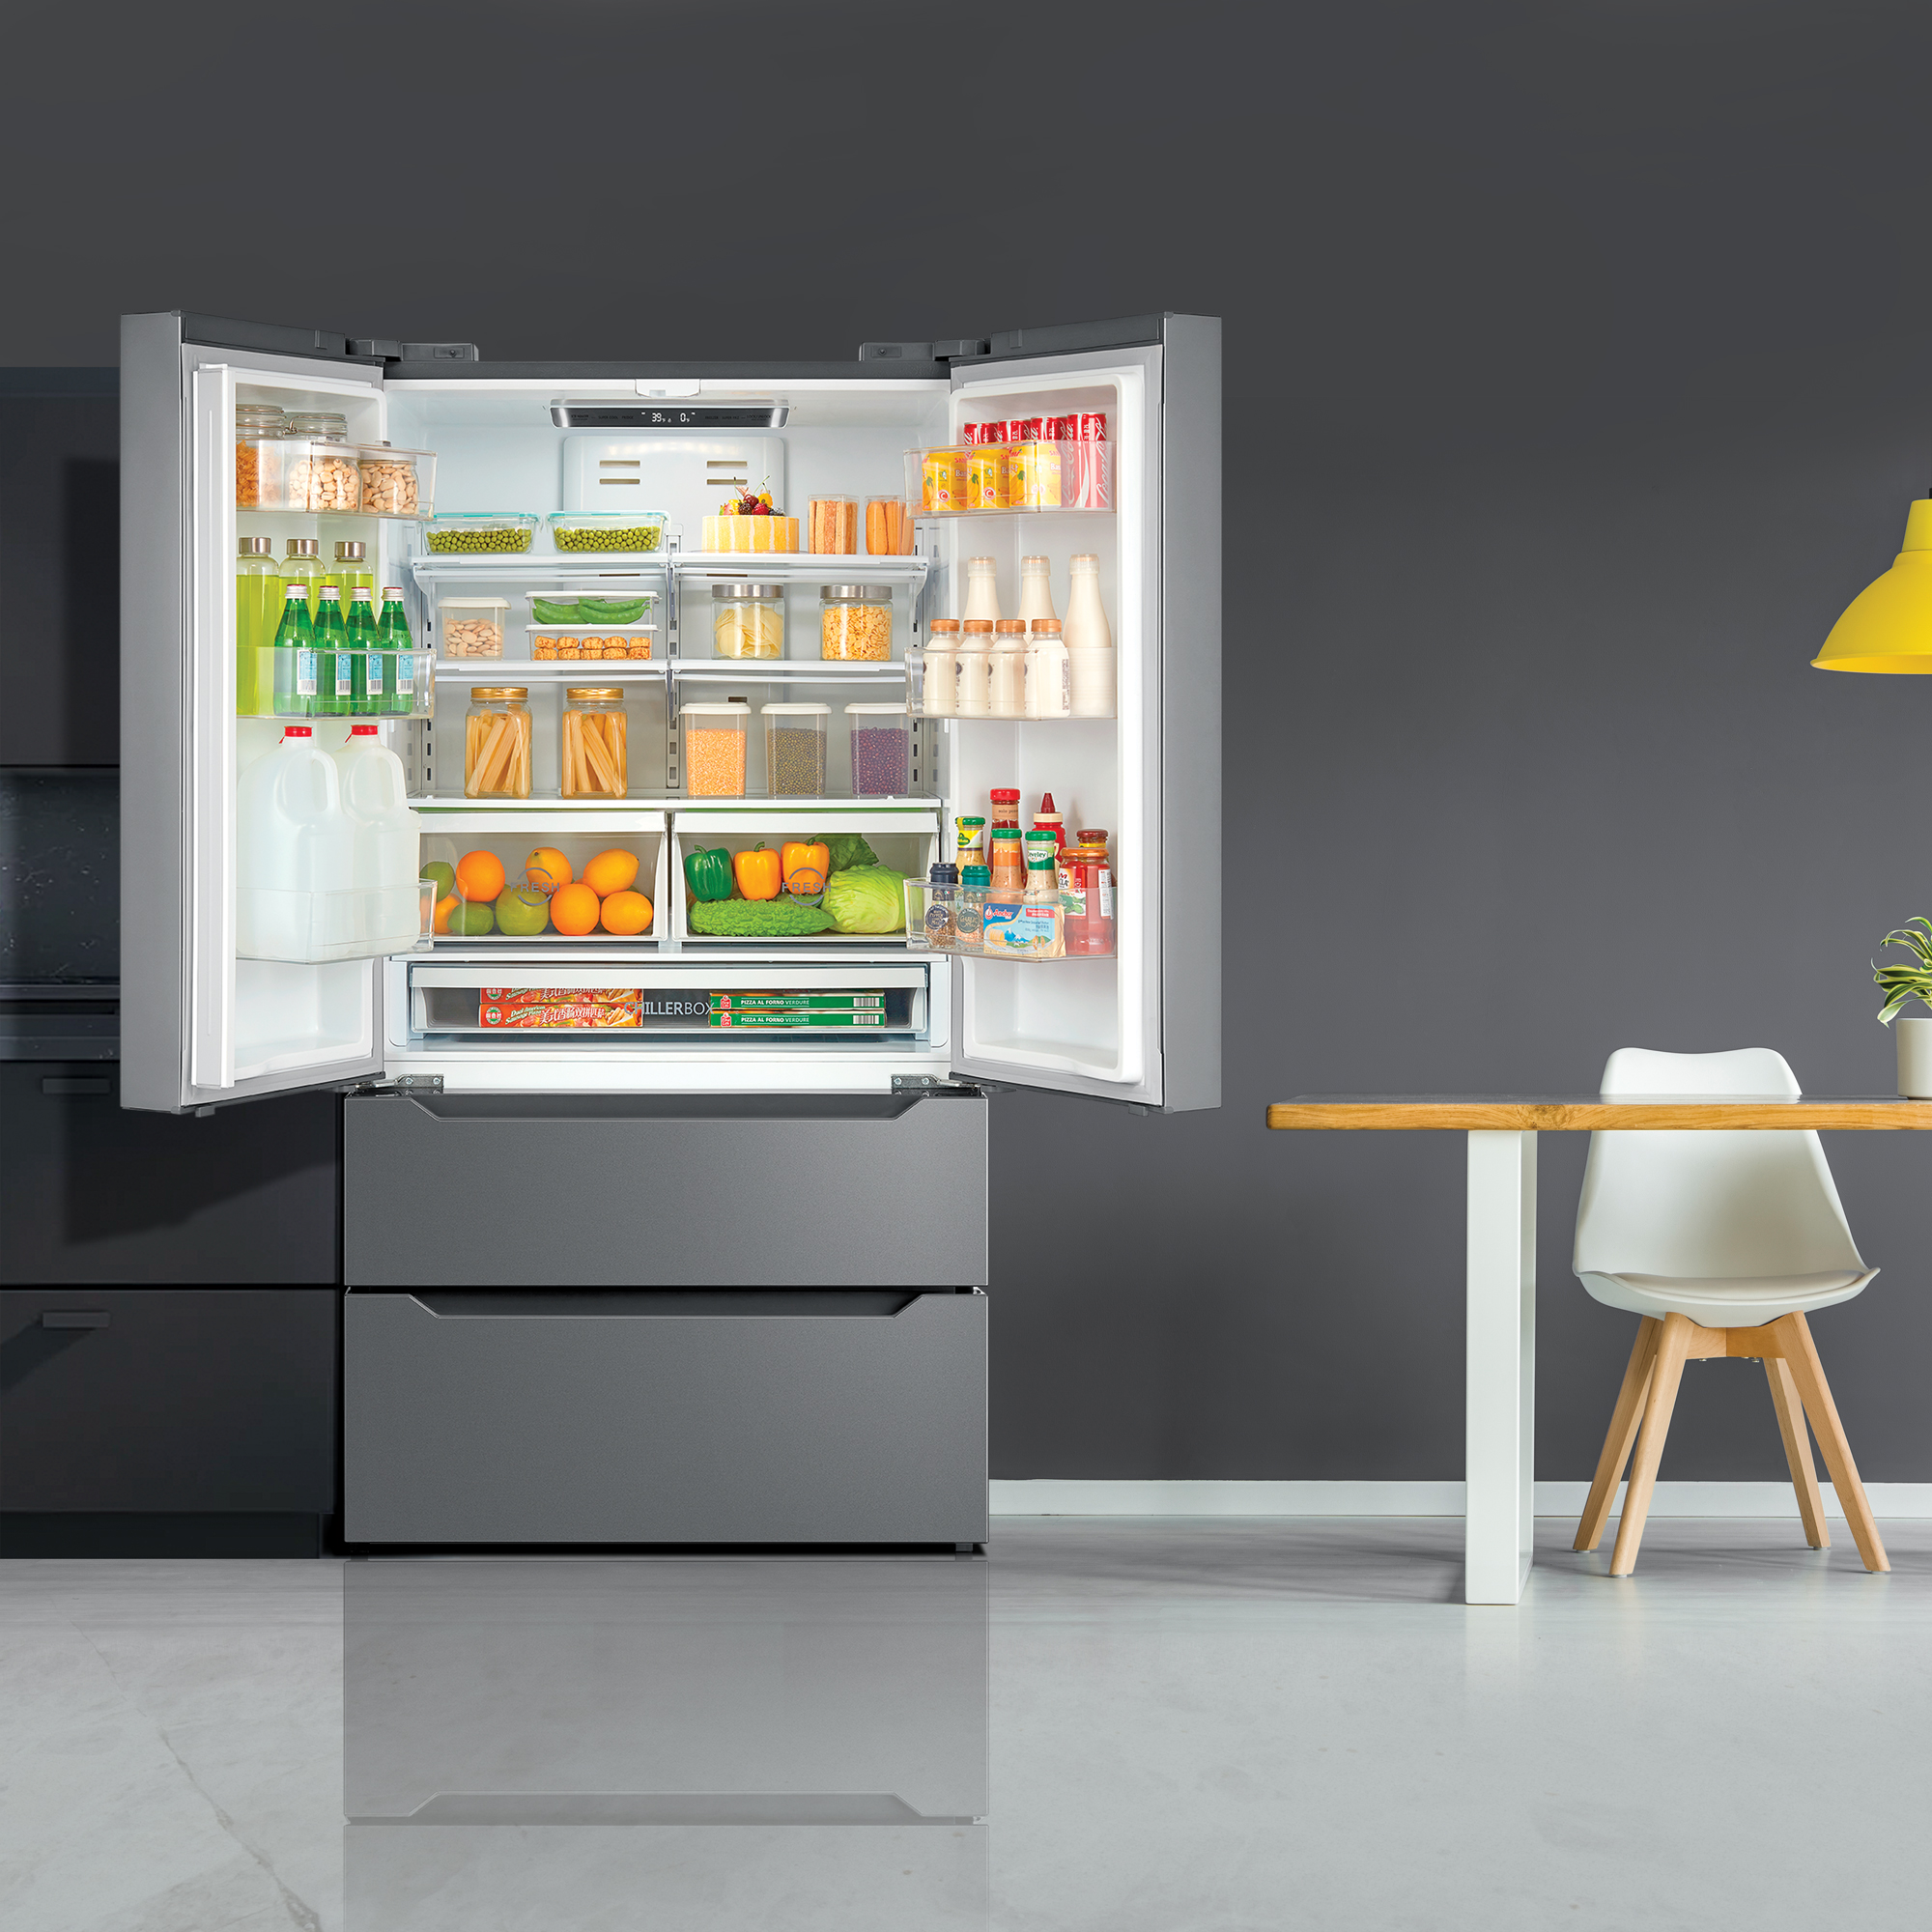
Refrigerators often hold the most important ingredients in your kitchen. French door or single door models may seem like a superficial detail but can actually make a big difference in how you use it. French Door Refrigerators Having two doors swinging out instead of one allows for better clearance in tighter kitchen areas. Since the freezer on French door refrigerators are located below, you have immediate access to your necessities–no more leaning down to see if you have any milk. They also tend to be more energy efficient than their single door counterparts, since you can open one door instead of the whole fridge, preventing cold air from escaping. French door refrigerators take advantage of the entire fridge width. You can easily store a full pizza in one of the tiers or drawers. However, French Door refrigerators often come with a more expensive price tag than a single door would. All the extra space means the door shelves tend to be more narrow, which may make it more difficult to store large pitchers or bottles on the doors. Single Door Refrigerators Single door refrigerators are favorable for their cheaper price. It may not have the fanciest features but if you need a fridge within a budget, the single door may be the way to go. They also are easier to clean, less handles means less work for you! Single door refrigerators are easier to close compared to French doors. French doors have to be closed with a good push, which can be a risk if you’re used to letting the door swing back closed on its own. If you’re looking for a statement piece in your kitchen, a single door wouldn’t have much to offer. Due to its larger door width these refrigerators need a lot of room to open. This can be an issue in smaller kitchen areas or apartments. Looking for a French Door Refrigerator? Check out the Cosmo COS-FDR225RHSS EXPLORE Source: Kitchn

Easy Pumpkin Pie Squares

Need a last minute Thanksgiving dinner recipe? We’ve got you covered. Satisfy your sweet tooth with these delicious and easy pumpkin pie squares. Prep: 20 mins Cook: 35 mins Servings: 24 Yield: 1-9×13 inch dish ½ cup butter, softened ½ cup brown sugar 1 cup all-purpose flour ½ cup rolled oats 2 eggs ¾ cup white sugar 1 (15 ounce) can pumpkin 1 (12 fluid ounce) can evaporated milk ½ teaspoon salt 1 teaspoon ground cinnamon ½ teaspoon ground ginger ¼ teaspoon ground cloves Preheat oven to 350 degrees F. In a medium bowl, cream together butter and brown sugar. Mix in flour. Fold in oats. Press into a 9×13 inch baking dish. Bake in preheated oven 15 minutes, until set. In a large bowl, beat eggs with white sugar. Beat in pumpkin and evaporated milk. Mix in salt, cinnamon, ginger and cloves. Pour over baked crust. Bake in preheated oven 20 minutes, until set. Let cool before cutting into squares. Source: AllRecipes