The Cooking Skills No One Teaches You (But Everyone Assumes You Know)
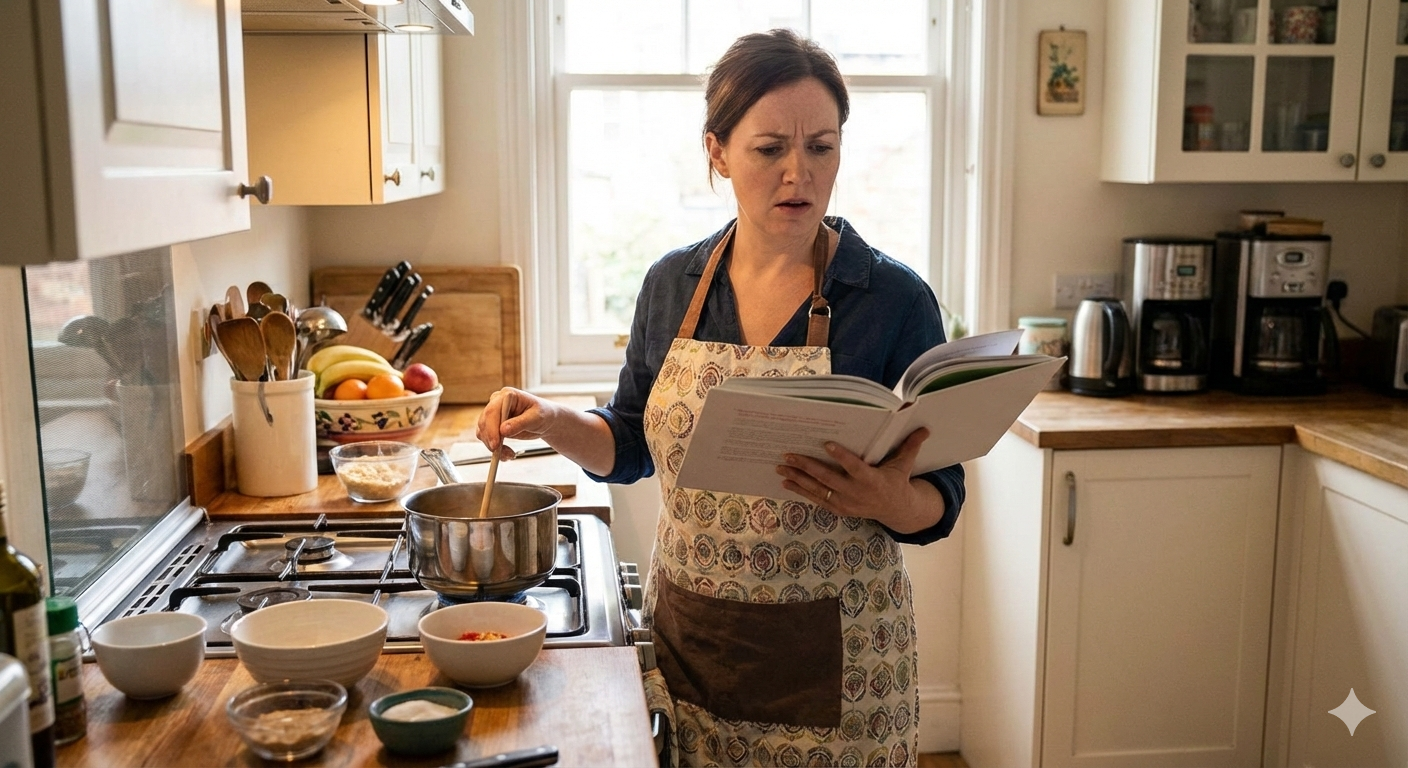
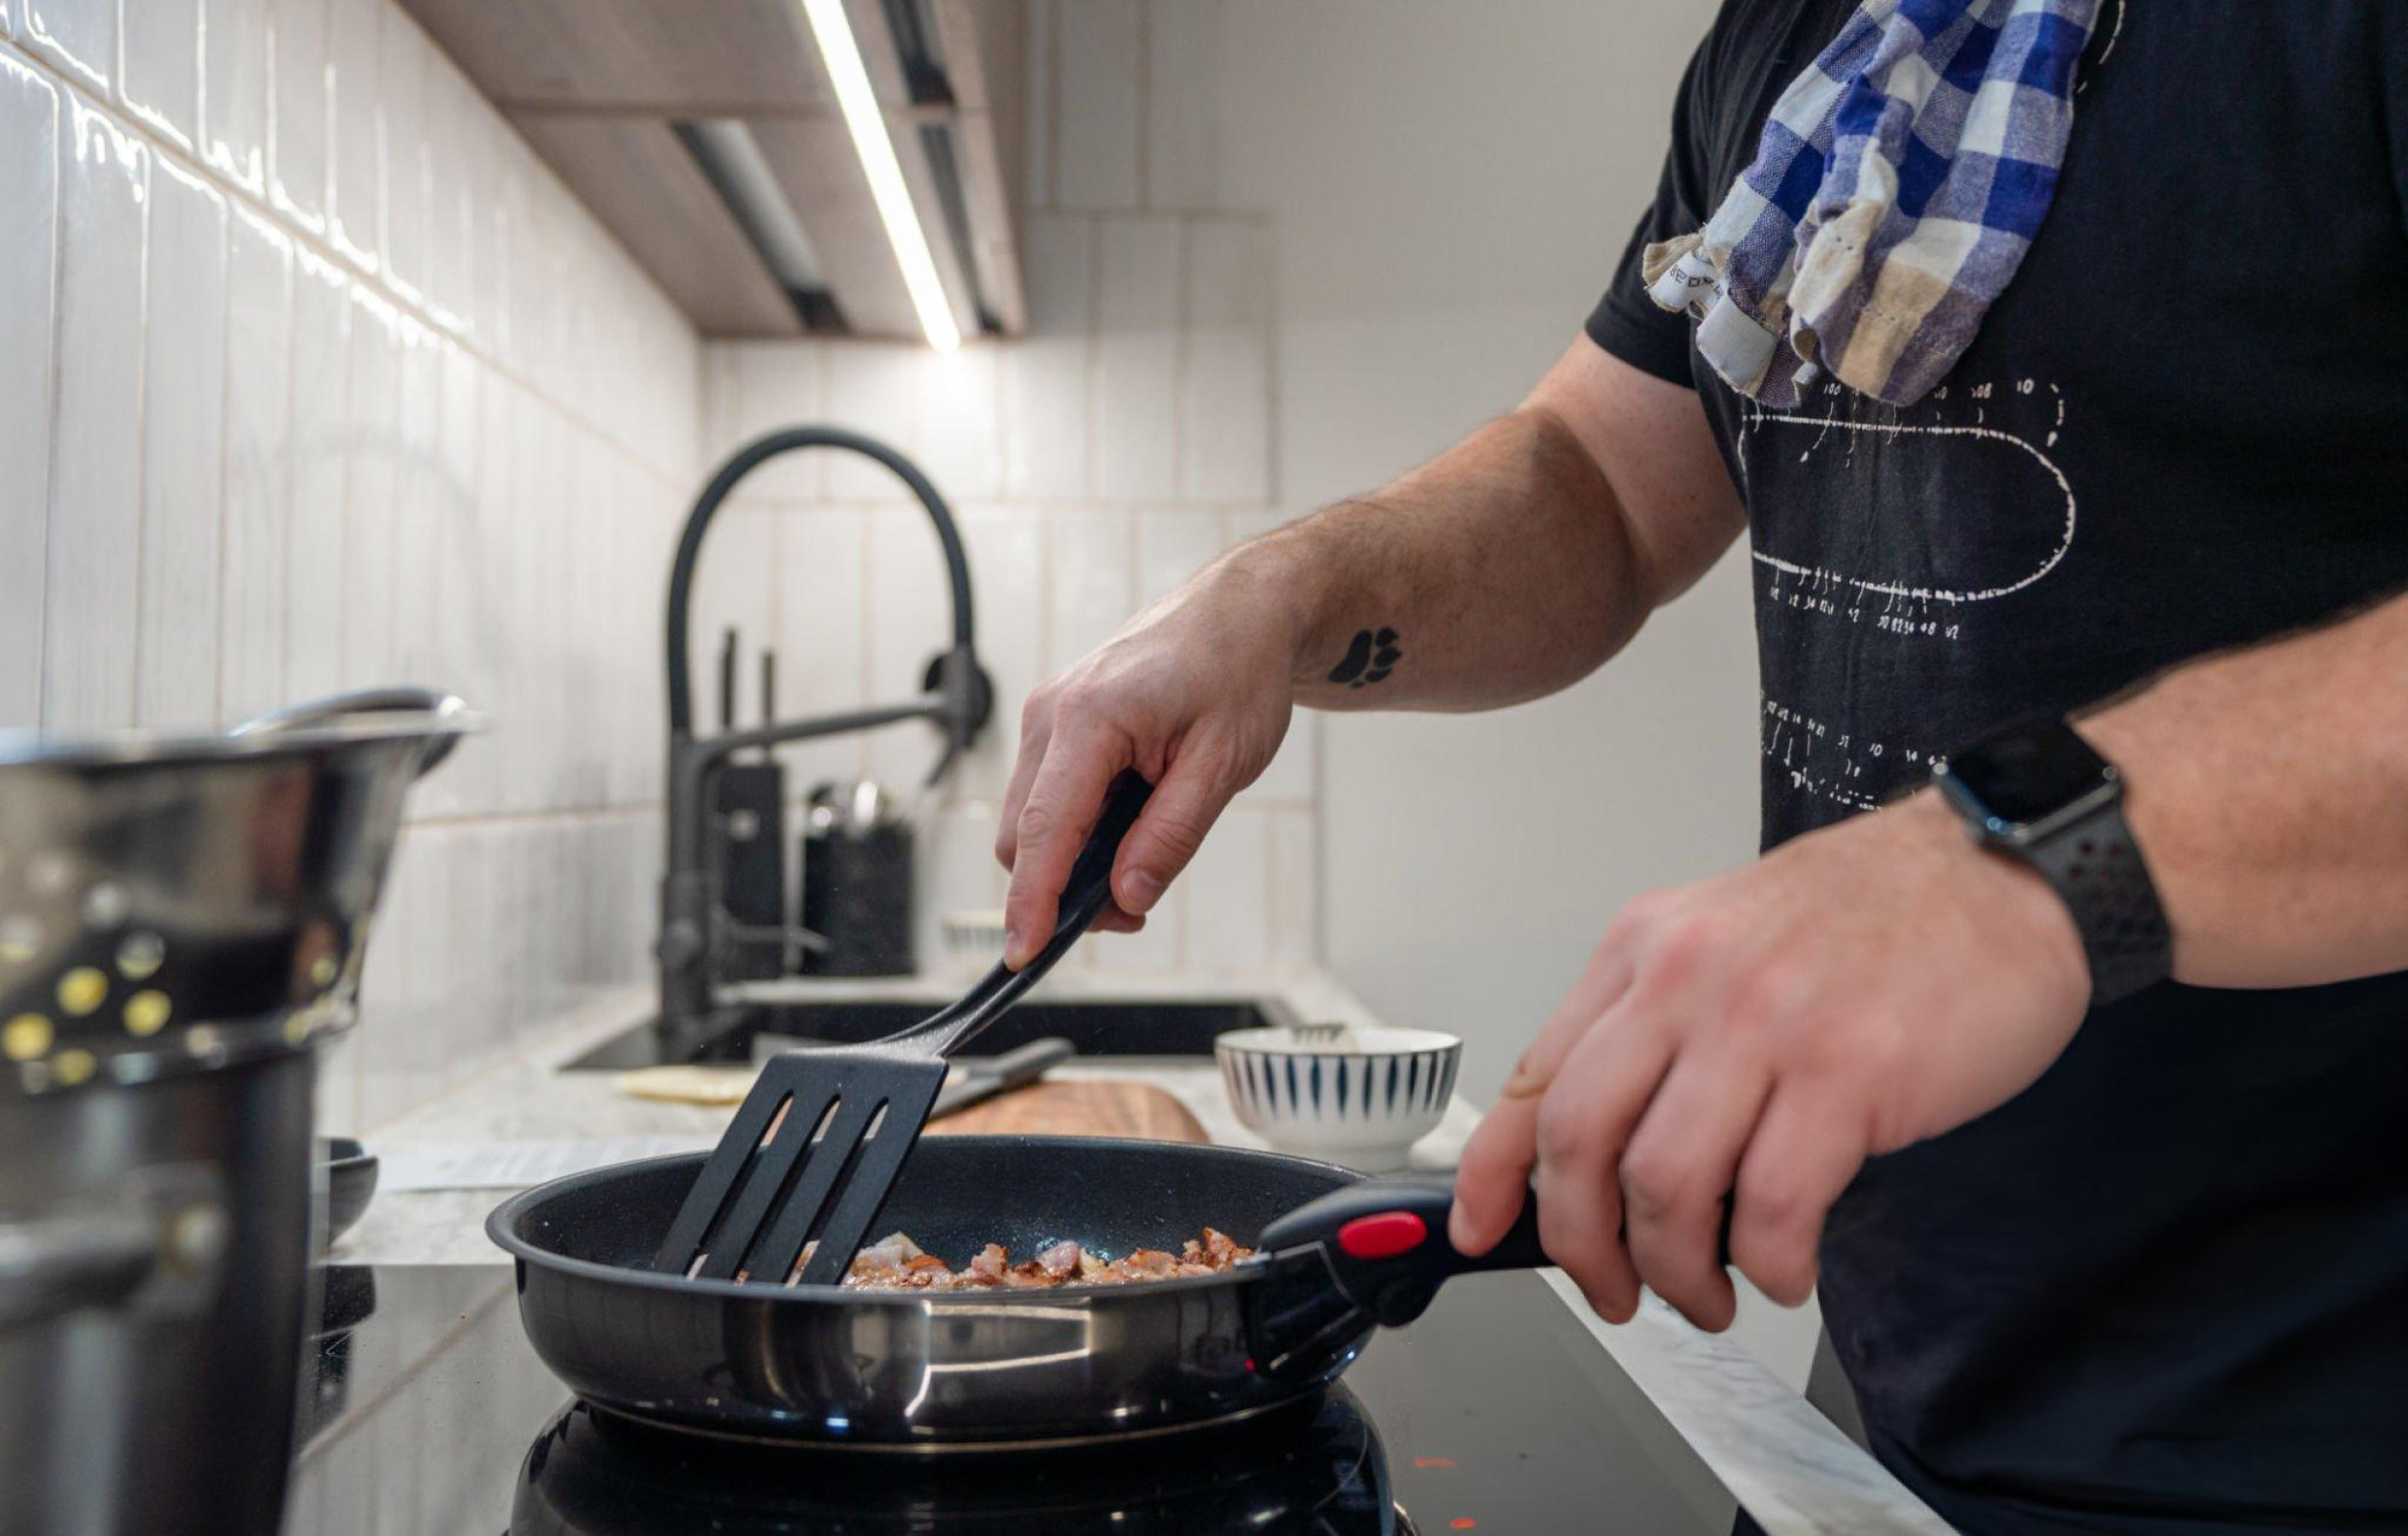
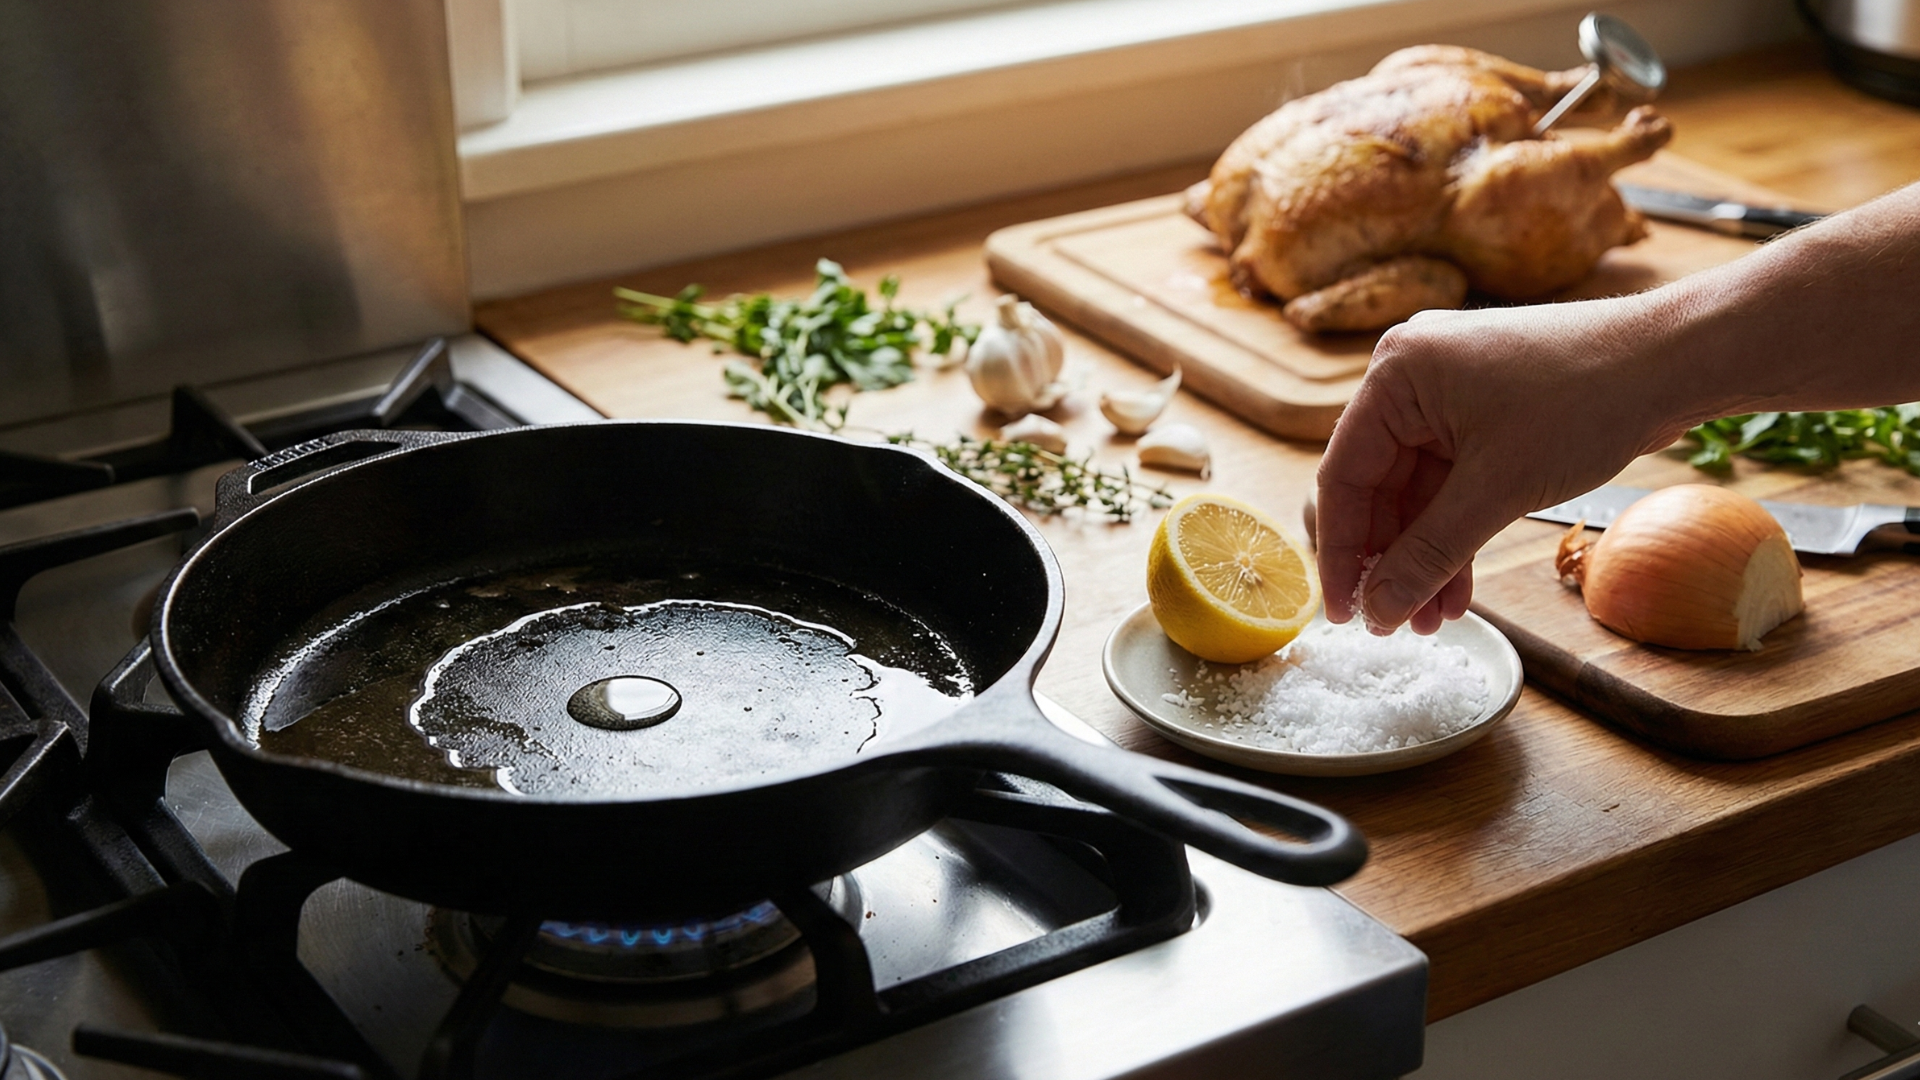
Recipe instructions operate on the assumption that cooks understand certain fundamental concepts and techniques that often never get explicitly taught or explained. This creates a strange gap where recipes tell you to “sauté until fragrant” or “cook until done” without explaining what fragrant smells like, how you know when something is done, or what you’re actually trying to accomplish at each step. These assumed skills—the things experienced cooks do automatically without conscious thought—rarely appear in recipes because they seem too basic to mention, yet their absence leaves many home cooks guessing and second-guessing throughout the cooking process. The result is uncertainty and inconsistent results not because recipes are being followed incorrectly but because the unstated knowledge between the written steps never got communicated. Understanding these assumed skills bridges the gap between following recipes mechanically and actually cooking with comprehension. When you know what each instruction means in practical terms and what you’re looking for at each stage, cooking becomes less mysterious and results become more reliable. How to Actually Preheat a Pan Recipes say “heat a pan over medium heat” and immediately proceed to the next step as if pan temperature is instantly achieved. The unstated reality is that proper preheating takes time and matters significantly to results. Pans need several minutes to reach temperature evenly. A thin pan might heat in 2-3 minutes while a heavy pan could need 5-7 minutes depending on the material and thickness. Putting food in too early means cooking in a pan that’s still heating up, creating uneven results. Testing pan temperature prevents adding food too soon. For sautéing, water droplets should sizzle and evaporate quickly but not instantly vaporize. For searing, a water droplet should ball up and roll around the pan. These simple tests tell you when the pan is actually ready rather than guessing. Burner size matching pan size affects heating efficiency. A large pan on a small burner heats unevenly with a hot center and cool edges. Matching pan size to burner ensures even heating across the cooking surface. The material matters because stainless steel, cast iron, nonstick, and carbon steel all heat differently and hold heat differently. Cast iron takes longest to heat but holds temperature best. Nonstick heats quickly but doesn’t tolerate high temperatures. Understanding your pan helps you preheat appropriately. Visual cues like shimmer in oil indicate the pan has reached cooking temperature. Oil should flow smoothly and shimmer slightly when the pan is properly heated for most cooking tasks. Nobody tells you this explicitly, but experienced cooks know to wait for the pan rather than rushing to add ingredients. Those few minutes of proper preheating separate good results from disappointing ones. What “Season to Taste” Really Means Recipes end with “season to taste” assuming you understand how to evaluate seasoning and what you’re adjusting for, but this is actually a complex skill involving multiple elements. Salt brightens flavors and balances sweetness but also makes everything taste more like itself. Under-salted food tastes flat and one-dimensional even if all other seasonings are present. Proper salting creates vibrancy and dimension in flavor. Tasting multiple times throughout cooking shows you how flavors develop and concentrate. What tastes properly seasoned at the beginning might taste bland after reducing. Seasoning isn’t one-time but ongoing as liquids evaporate and flavors concentrate. Acid balancing with lemon juice, vinegar, or wine brightens dishes in ways salt alone cannot. When food tastes heavy or dull despite adequate salt, acid is often what’s missing. A squeeze of lemon or splash of vinegar can transform a dish. Adjusting gradually with small additions prevents over-seasoning. Add a small amount, stir, wait a moment, then taste again. You can always add more but cannot remove excess seasoning easily. Temperature affects taste perception—food needs more seasoning when served hot or cold compared to warm. Soup that tastes perfectly seasoned warm will taste bland when served hot. Season slightly more aggressively for foods served very hot or cold. Tasting from a spoon you’ve used to stir provides false feedback because residual flavors on the spoon affect what you taste. Use a clean spoon for each taste test to get accurate seasoning assessment. This “simple” final instruction actually requires understanding salt, acid, balance, and how flavors develop through cooking—none of which the recipe explains. How to Know When Food Is Done “Cook until done” appears in countless recipes without explaining what done looks like, feels like, or how you determine it for different foods. Visual cues vary by food type. Fish becomes opaque and flakes easily. Chicken releases clear juices rather than pink. Vegetables change from raw color to vibrant color when properly cooked. Learning these visual indicators for different foods tells you when cooking is complete. Texture changes signal doneness in ways recipes rarely describe. Properly cooked pasta has slight resistance when bitten. Vegetables should have some tooth while being cooked through. Meat firms up as it cooks with specific texture changes at different temperatures. Internal temperature provides objective measurement removing guesswork. Chicken is safe at 165°F but ideal at 160°F with carryover. Medium-rare steak is 130-135°F. Bread is done when internal temperature reaches 190-200°F. Temperature removes uncertainty. Carryover cooking continues after removing food from heat. Meat temperature rises 5-10°F after leaving the heat source. Removing food slightly before target temperature accounts for carryover and prevents overcooking. Resting allows juices to redistribute and cooking to finish gently. Meat needs resting time equal to roughly half the cooking time. The rest period isn’t wasted time but essential to final results. Timing provides rough guidance but shouldn’t override visual and tactile cues. Every stove differs, every pan differs, every piece of meat differs. Use times as estimates but rely on actual doneness indicators rather than blindly following minutes. Nobody explicitly teaches these evaluation methods, but knowing when food is actually done versus trusting recipe times alone dramatically improves cooking results. What Different Heat Levels Actually Mean “Medium heat” or “medium-high heat” assumes shared understanding of what these terms mean, but heat levels