How-To

How to Elevate Your Cooking Experience with a Convection Oven

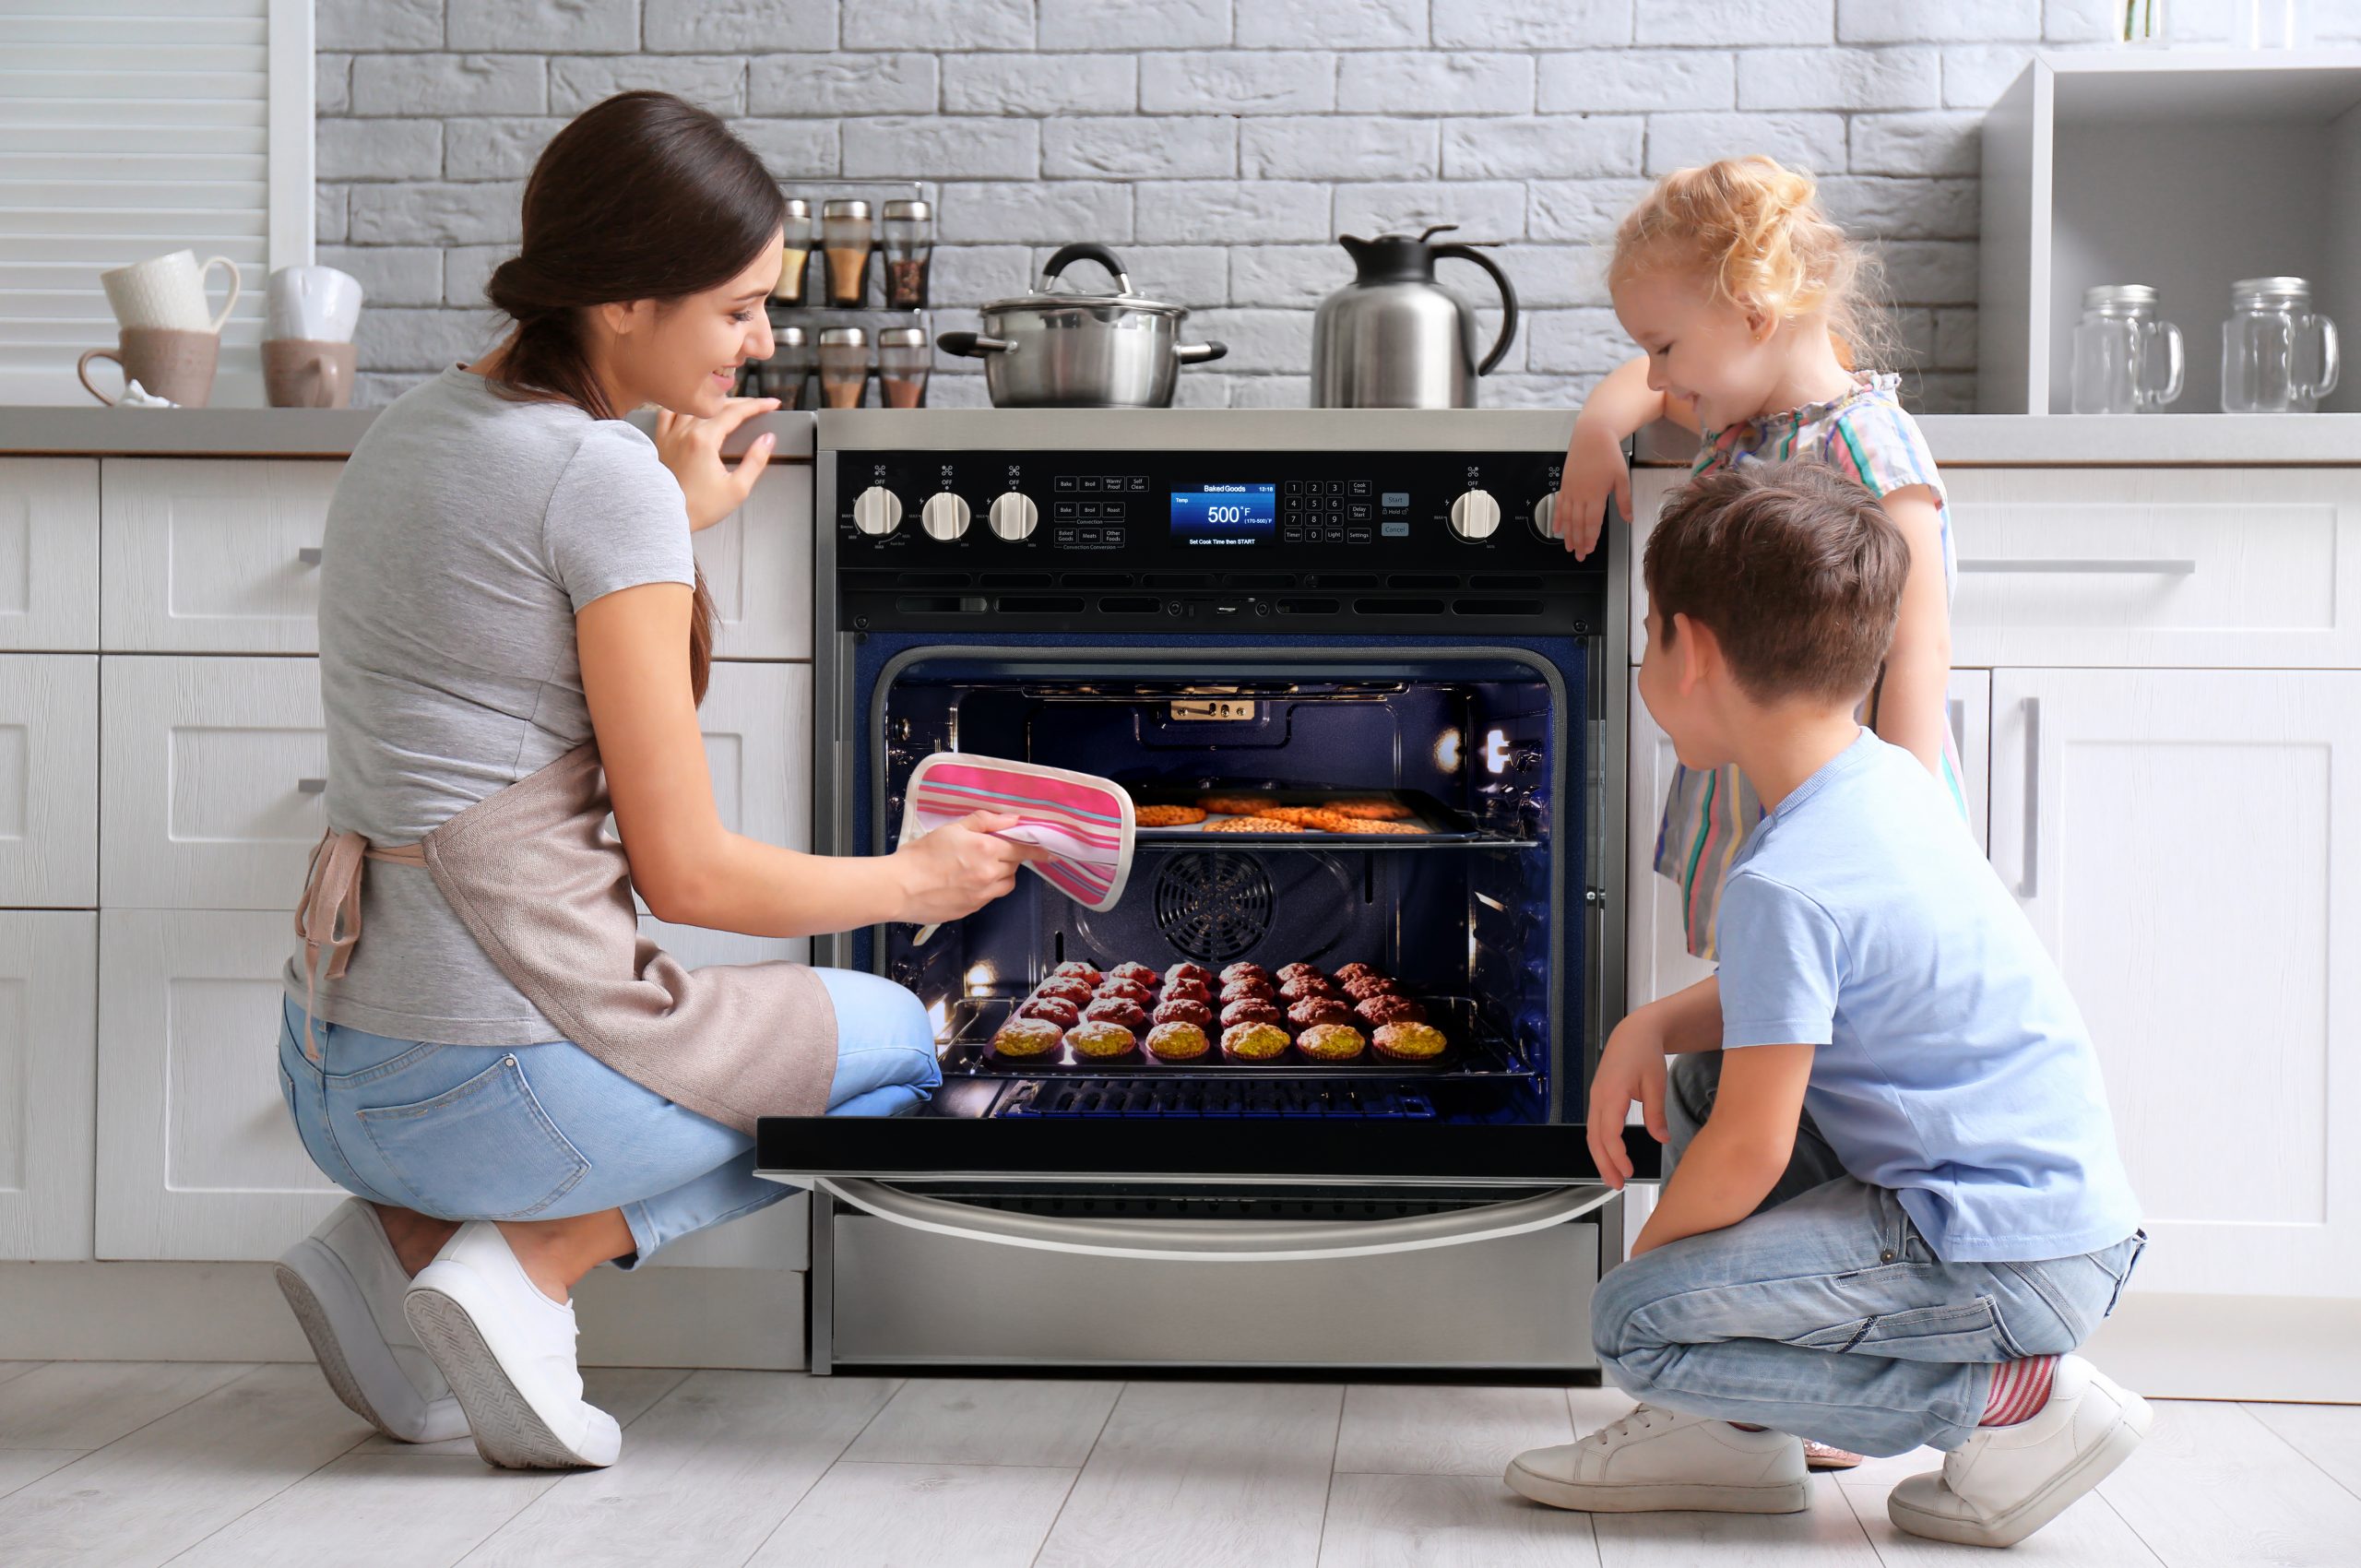
Why are Convection ovens becoming more and more popular with home cooks? Primarily because they’re faster, more efficient, and they make more delicious results than regular ovens. Even though a lot more homes have convection-capable ovens, many cooks still don’t know how to use them. So we’ve compiled some information that will help you feel confident using your convection oven. Understanding Your Convection Oven First, “convection” is a setting on your oven and your oven has a button that enables the convection feature.  Convection ovens can be gas or electric, so when the convection setting is off, you’ll experience all the advantages and disadvantages of cooking in those respective ovens. What happens when that convection setting is on? The oven uses fans to circulate hot air and cook food more rapidly than a traditional oven. Instead of relying on radiated heat from heating elements, a convection oven spreads the hot air so it envelopes food and cooks it from all sides. There are different types of convection: Convection and True Convection. Convection is your normal oven, but with an added fan on the back to circulate air. When shopping confirm that the oven has this third heating element around the fan. True Convection or ‘European convection,’ features a heating element behind the fan, allowing for better cooking results than standard convection.   Tips for getting more out of convection Adjust the Recipe Follow the rule of 25, when using True convection experts recommend adjusting any recipe in two ways.   1. Lower the oven’s temperature by about 25 degrees and 2. Expect the food to be ready about 25% faster than the recipe suggests, so reduce the cooking time by roughly 25%. Keep in mind variables such as initial oven temperature, quantity of the food, desired level of doneness, and oven model will all affect cooking time. Experiment with the temperature or cooking time, also start checking early and often until you get used to cooking the convection way. Air Supply To be effective air must circulate over and around the food when using your convection oven. Use trays and baking pans with lower sides that allow hot air to flow freely. You should place trays and pans in a way that they don’t hinder effective circulation. Use shallow roasting pans and rimless cookie sheets when possible. Try to keep a two-inch clearance on all sides. Do not cover the ovens shelves with aluminum foil. Avoid overcrowding the oven Remember, convection relies on air being able to circulate air, avoid overcrowding the oven and blocking the flow of air.  When you use multiple racks try not to fill the racks wall-to-wall and make sure you monitor the dishes for browning. When to Use the Convection Setting When you’re roasting Foods like meat and vegetables, convection immediately sears the food, locks in juices and continues to cook it faster, more evenly, and the drier environment yields crispy skin and caramelizes much better. When baking convection heat melts fat and forms steam quicker, which helps create more lift in pies and pastries. When baking a big batch of cookies, with convection you’re not limited to making one tray at a time.   When you’re toasting or dehydrating, convection is efficient at removing moisture as quickly as possible. When Not to Use the Convection Setting Not all foods are suited for convection cooking method. The fan disrupts delicate dishes that start out as batter and set while cooking like cakes, soufflés, breads, and custard. Blowing air on these foods can create lopsided results. Don’t use convection when making these foods: *While some argue that convection creates even browning and a great crust, others say that it dries out the interior of bread. The choice here is really up to you.

Healthy Recipes with Big Flavor

Maintaining a healthy lifestyle includes a variety of commitments, from exercising to eating right. However, serving up healthy meals doesn’t have to be boring. Taco-Stuffed Spaghetti Squash Prep time: 30 minutesCook time: 50 minutes Servings: 4 INGREDIENTS 2 spaghetti squash (2 pounds each) 6 tablespoons extra-virgin olive oil, divided 1 teaspoon salt, plus additional to taste, divided pepper, to taste 1 pound ground chicken 1 cup diced red onion, divided 3 cloves garlic, minced 1 can (14 ounces) diced tomatoes 1 teaspoon cumin 2 teaspoons chili powder 1 can Black Ripe Sliced Olives 1 lime, juice only 1 cup Monterey Jack cheese 1 avocado, diced 1 large tomato, diced 1 jalapeno, minced 1/2 cup Lindsay Black Ripe Medium Olives 1 lime, wedged DIRECTIONS: Heat oven to 400° F. In microwave, cook one whole squash 3 minutes. Repeat with second squash. Cut each in half and scrape out seeds. Drizzle 1 teaspoon oil over each half and rub around until insides are coated. Sprinkle each with salt and pepper, to taste; place on parchment-lined baking sheet center down to lay flat. Bake 50 minutes. Heat large sauté pan over medium-high heat. Put 2 teaspoons oil in pan then chicken, 3/4 cup onion and garlic. Cook until chicken is cooked through. Add tomatoes, cumin, chili powder and remaining salt; stir to combine. Bring mixture to boil and cook, uncovered, 15 minutes to reduce liquid, stirring occasionally. Remove from heat. Stir in sliced olives and lime juice. When squash is cooked, scrape insides with fork to release from edge then create nest. Put 1/4 of chicken mixture and 1/4 cup cheese in each squash half. Bake 5 minutes, or until cheese is melted. Top with avocado, diced tomatoes, remaining onions, jalapeno, whole olives and lime wedges. Mediterranean Chicken and Grain Bowl Servings: 6 INGREDIENTS  8 ounces farro or brown rice 6 cups spinach, stems removed 1 1/2 cups diced seedless cucumbers 1 1/2 diced tomatoes 6 thin slices red onion    3 cups cauliflower florets 3/4 cup balsamic vinaigrette 3 cups cooked skinless chicken breast 6 tablespoons fat-free or low-fat crumbled feta cheese 3 tablespoons kalamata olives DIRECTIONS:  Cook farro according to package instructions. On serving plate, place 1/2 cup farro. Around farro, arrange 1 cup spinach; 1/4 cup cucumber; 1/4 cup tomatoes; 1 slice red onion, separated into rings; and 1/2 cup cauliflower. Drizzle balsamic vinaigrette over salad. Top with 1/2 cup chicken and garnish with 1 tablespoon feta cheese and 1 1/2 teaspoons olives. Repeat with additional servings.  Curry-Spiced Tofu with Asian Vegetables Servings: 4 INGREDIENTS: 12 ounces light, extra-firm tofu, drained and patted dry, cut into four slices 1 tablespoon, plus 1 1/2 teaspoons, curry powder, divided 12 ounces packaged fresh stir-fry vegetables 1 tablespoon water 2 teaspoons canola oil 1 teaspoon toasted sesame oil 1 large onion, cut into 3/4-inch wedges 4 large garlic cloves, minced 1/4 cup light coconut milk 1/4-1/2 teaspoon chili garlic sauce DIRECTIONS: Put tofu on large plate. Sprinkle tofu on both sides with 1 tablespoon curry powder. In large microwaveable bowl, microwave vegetables and water on high 2-3 minutes, or until vegetables are almost tender-crisp. Pour off remaining water. In large nonstick skillet, heat canola oil over medium-high heat, swirling to coat bottom. Cook tofu in single layer 3-4 minutes on each side, or until browned. Transfer to separate large plate. Cover loosely to keep warm. In same skillet, heat sesame oil over medium-high heat, swirling to coat bottom. Cook onion 1 minute, stirring frequently. Stir in vegetables and garlic. Cook 1-2 minutes, or until vegetables are tender-crisp, stirring constantly. Stir in coconut milk, chili garlic sauce and remaining curry powder. Bring to boil over medium-high heat. Spoon vegetable mixture over tofu.

Bakers Edition: How to Create a Better Kitchen

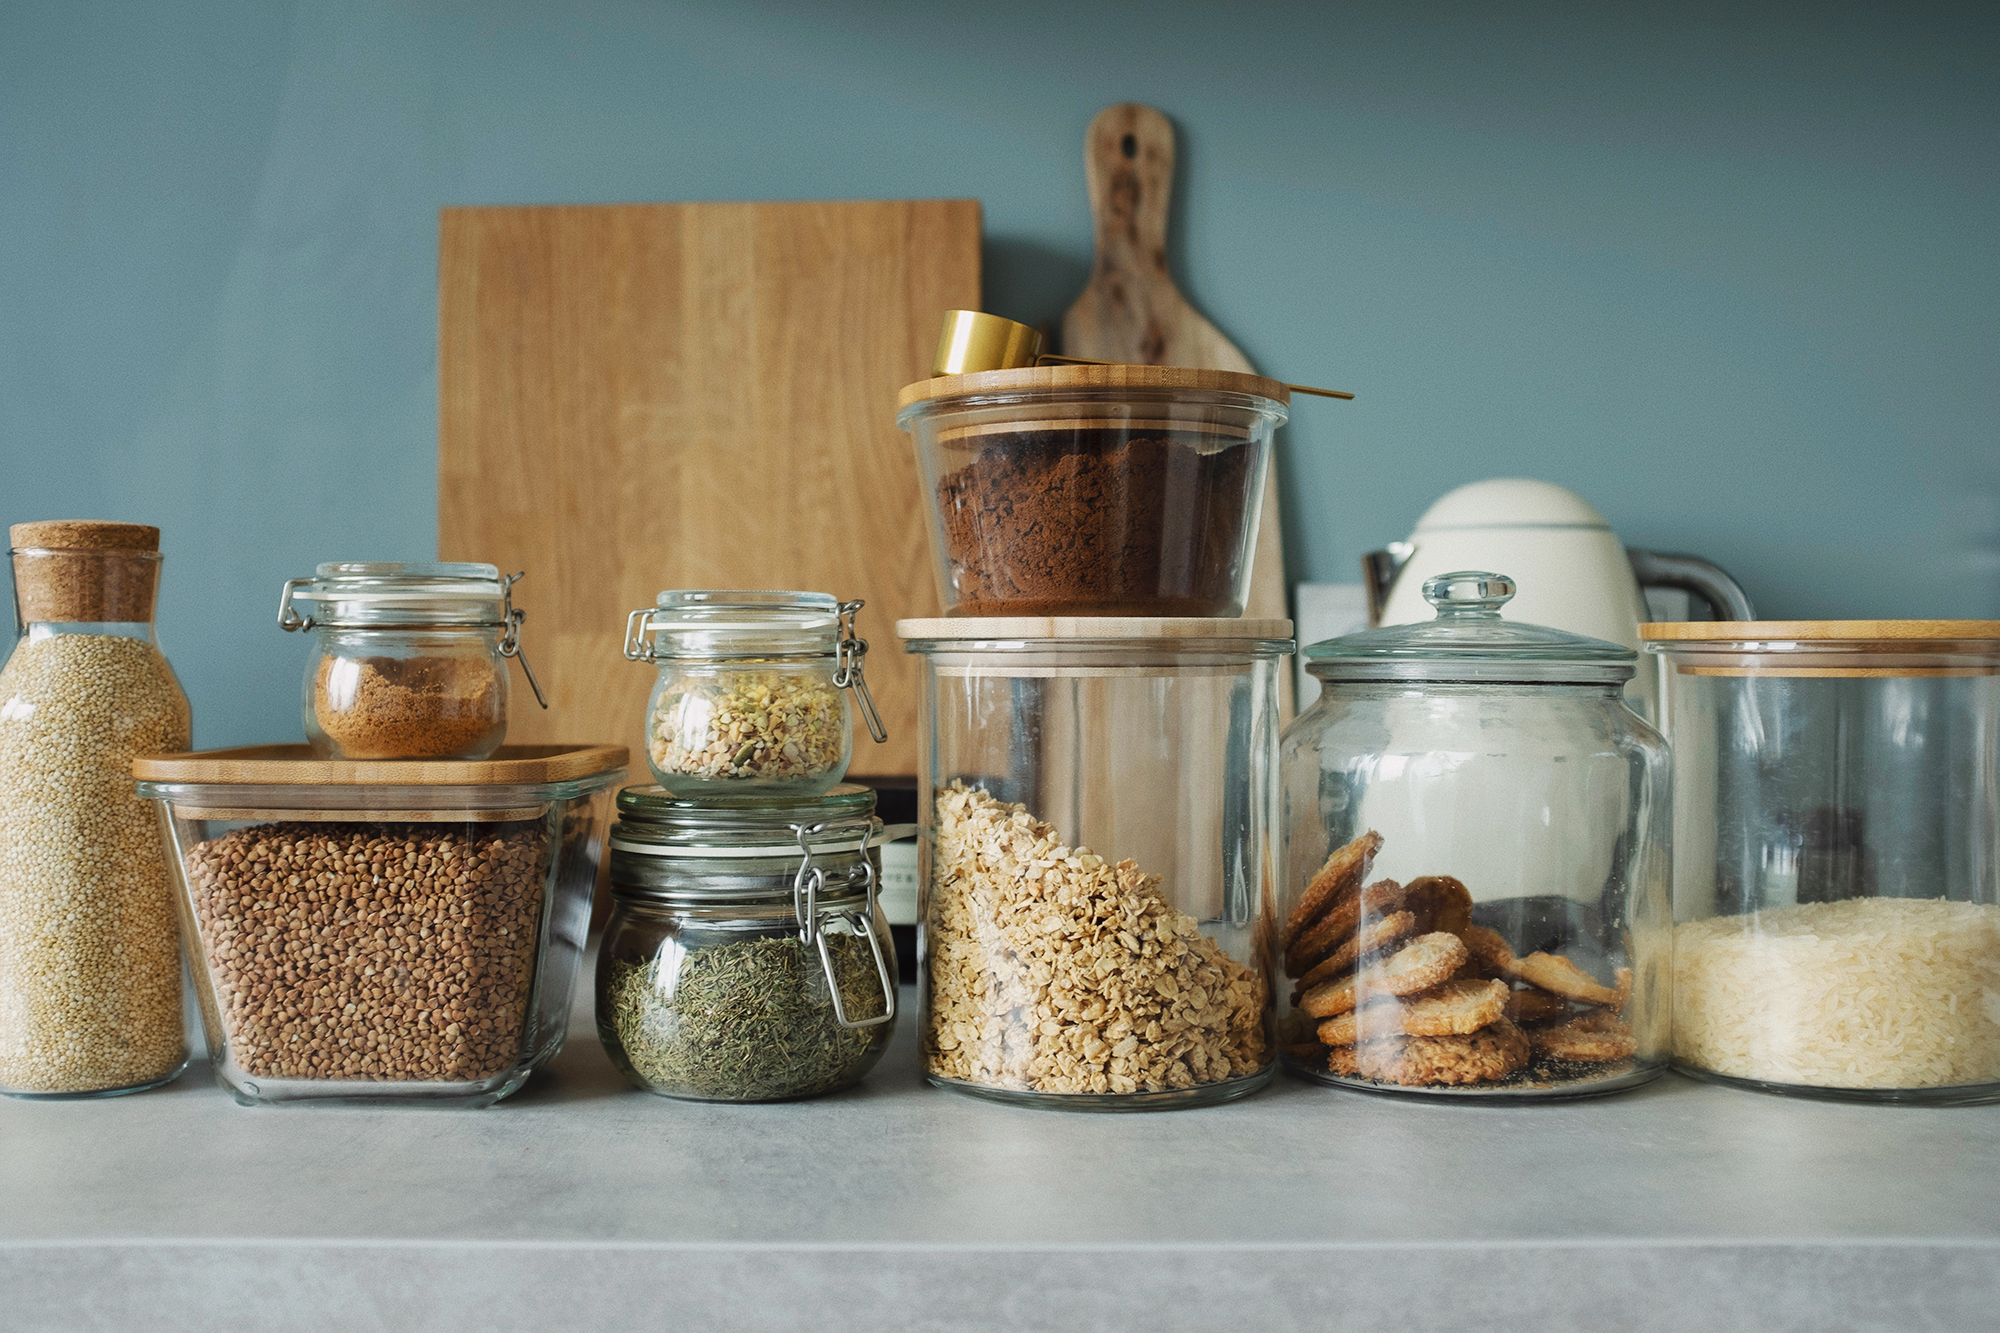
Whether you’re whipping up a big batch of extra fudgy brownies for a school bake-sale or crafting a delicate three-tier Orange Cardamom Cake with Rose Buttercream for a special occasion, we have practical tips and advice for the ultimate kitchen layout, tools, and equipment so you can turn your kitchen into a bakers dream. Do you love to bake? Here are some great ways to make your kitchen work for you. Custom Counter Heights  Different tasks call for different countertop heights. Home cooks serious about baking may want to consider custom countertop heights to achieve the most comfortable height. A counter-height surface works fine when mixing or assembling recipes. For kneading or rolling out dough, most bakers prefer a lower surface to get the right amount of leverage. To achieve this, you can Install countertops at a custom height or lower a section of an island so it’s the right height.  For a simpler solution, stand on a step stool and use a counter or use a kitchen table to achieve the most comfortable height. Previous Next Turn to Your Pantry  Baking often requires lots of ingredients and bulky countertop equipment, so pantry organization is the key to maintain a pristine kitchen. Install pull-out and horizontal pantry drawers that help you easily access your baking supplies. If you have enough space, consider putting your baking station inside your pantry. Also consider extra shelving for mixer storage. Organizing the pantry into specific sections and using bins with airtight lids allow for easier access when you need the basics – flour, sugar, brown sugar, chocolate chips, etc. Previous Next The Right Work Station  Granite and marble stay cool, making pastry dough easy to roll and clean up easily. Other baker-friendly countertops that can accommodate rolling, cutting and direct heat with no fuss are Quartz and Corian. If you can’t afford to install a whole slab, purchase a small marble section specifically for baking, or place marble on the kitchen island. Previous Next Double Ovens If what you are looking for is more baking and less waiting, double ovens are a bakers dream. They’re Spacious and versatile enough to accommodate your needs and allow a baker to cook two dishes at different temperatures at the same time. The double ovens, with convection are a must as the Convection ovens work with fans that recirculate heat, which evenly bake cookies and crusts. Even baked goods such as croissants develop a crispy, even texture with convection heat. An oven with a warming drawer or built-in Proof mode create the perfect oven environment for proving dough, you can also cook a variety of dishes in the warming drawer like meringues or melt chocolate. Extra Deep Sink  The sink is an essential element to keep the kitchen clean. Clean-up will be a whole lot easier with a deep, wide more functional kitchen sink since baking often involves using odd-shaped pans, oversized cookie sheets and large mixing bowls – many of which can’t go in the dishwasher. Previous Next Stand Mixer Serious bakers have more than one, and double or triple up on the bowl attachments so they don’t have to stop to wash them before moving on to the next phase of a baking project. Previous Next Baking Supply Cart It’s easy to run low on countertop space and having your supplies within reach is essential when baking. With a rolling cart you can move around your kitchen more easily and have your baking essentials wherever you’re working. Tech Corner There are thousands of recipes and how-to videos online to access these you can wire in a TV, desktop or laptop computer or an iPad in a small corner next to your countertop. A kitchen desk area works well for multi-tasking bakers so you can monitor the oven when working or catching up on emails and social media.

6 Superfoods to Add to Your Diet in 2020

If you’re on the lookout for simple ways to boost the nutritional content of your meals in 2020, we’re breaking down the trendiest superfoods that’ll be getting lots of attention.   Fermented Food Fermentation is a natural process through which microorganisms like yeast and bacteria convert carbs — such as starch and sugar — into alcohol or acids. Yogurt, pickles, kombucha, and kimchi are all popular fermented foods today. These foods contain natural probiotics (aka good bacteria) that can improve digestion and your immunity, Fermented foods are rich in beneficial probiotics and are associated with a range of health benefits — from better digestion to stronger immunity. Try it: Add kimchi or sauerkraut to sandwiches or salads, substitute sugary sodas with naturally sparkling kombucha and you can also add yogurt and kefir to your smoothies. Seeds Seeds contain all the starting materials necessary to develop into complex plants. Because of this, these little guys pack a powerful nutritional punch. Extremely nutritious this fatty staple is having a moment. Pumpkin seeds, sesame seeds, flaxseeds, and good ol’ chia all provide healthy fats, vitamins, minerals, fiber, and protein. When consumed as part of a healthy diet, seeds can help reduce blood sugar, cholesterol, and blood pressure. Try it: Stock up on any kind of seeds you like and have them in baked goods, salads and dressings; You can also make chia seed pudding or add a spoonful of chia seeds to oatmeal to up the fiber and protein. Avocado These days, the avocado has become a popular food among millennial and health-conscious individuals. The Avocado is a fruit and it’s considered a superfood for its many health properties. Avocados are very nutritious and loaded with almost 20 essential vitamins and nutrients and are a good source of unsaturated fats, fiber, potassium, vitamin E, and B vitamins. They’re weight loss friendly, heart-healthy and, last but not least, taste incredible. Try it: Mash avocado on toast, add it to salads or blend some with a handful or two of fruit for a delicious smoothie. Microgreens  These are the baby versions of the vegetables and herbs you already know about, like kale, spinach, and mustard greens, radish, arugula, beet greens, cilantro, and parsley. Packed with vitamins and minerals, microgreens are becoming a fun, flavorful way to add to meals. Try it: Add fresh microgreens to your salads or grains, stir them into pasta, or use them as a nutritious garnish to your favorite meals. You can also drink them down with a greens powder as smoothies. Pulses Pulses, which include peas, lentils, and beans that provide loads of fiber, carbs, and protein are the new veggie superfood. Nutritious, sustainable and affordable, this nutrient balance can help stabilize your blood sugar and improve digestion. Try it: They’re great for making vegetarian burgers, eating in salad, soup, or pasta. Also, use pulses in baked goods -either whole or as flour. MCT Oil  Keto has made pretty much all fats popular, especially MCT oil which is a big part of the diet. For those unfamiliar MCTs (medium-chain triglycerides) are found in coconut oil, palm kernel oil, and even some dairy products. MCT oil is easily absorbed and transported throughout the body. It can be used as an instant source of energy or can be converted into ketones to fuel your brain. They’re less likely to be stored as fat than other types of fat are—and they don’t spike your blood sugar the way carbohydrates do. Try it:  You’ll get some MCTs from coconut oil—but you can also buy bottles of flavorless isolated MCT oil. Add a teaspoon or two to your oatmeal, smoothies, dips or salad dressings for a little extra oomph.

5 Steps to Meal Prep for the Week

Eating healthier and saving time around the house are common goals for many families, and there’s one solution that can help attain both: meal-prepping. By planning and preparing meals in advance of each week, you can practice better portion control while creating free time for normally hectic mornings, afternoons and evenings. Consider these tips to start your meal-prepping process: Include the whole family. By letting everybody in on meal-prepping, you’re helping ensure everyone is satisfied with the breakfasts, lunches, dinners and snacks that become your end results. Even if you only plan to work in advance on lunches, for instance, loved ones will likely enjoy the process more if all are pleased with the meals they enjoy later. Plan the meals. Once the whole gang is included and on-board, start brainstorming the recipes and dishes you’d like to make. Try starting with just one course at first – lunch is likely to be the easiest – to help keep meal-prepping simple at the start. Buy ingredients in bulk. Whether your grocery shopping takes place over the weekend or on a free weeknight, purchasing ingredients and supplies in bulk – without overbuying perishables like fruits and veggies – can help make sure you have everything you need once it’s time to build the meals themselves. Head to the kitchen. Pick one day each week when you can plan to spend ample time in the kitchen making your meals. Use cooking techniques that are less hands-on, like baking or slow-cooking, as often as possible so you can multitask throughout. Sort and divide. Using quality food containers to keep your meals as fresh as possible, start splitting up servings in ways that fuel you and family while instituting improved portion control. By sorting out specific meals ahead of time, you can begin creating better eating habits.

Quick and Tasty

For those who are always on the go, it can be difficult to find time to whip up meals and snacks that are both nutritious and tasty. However, with some simple changes – and time-saving recipes – you can create delicious dishes and meals that will keep you feeling energized to fuel your busy lifestyle. This Egg Roll in a Bowl recipe is an easy dish featuring egg roll flavors and it’s ready in only 15 minutes! Egg Roll Bowl with Shrimp Prep time: 5 minutes Cook time: 10 minutes Servings: 4 5 cups frozen cauliflower rice 3 tablespoons grape seed oil 3 tablespoons sesame oil 4 teaspoons minced or pressed garlic 2 teaspoons ginger paste 6 cups pre-cut coleslaw (cabbage and carrots) 1 cup sliced red bell pepper 1/2 cup thinly sliced scallions, root and tips trimmed 1 teaspoon Chinese five-spice blend 1/4 cup tamari soy sauce 2 tablespoons mirin rice cooking wine 1 pound cooked and peeled shrimp, thawed 4 teaspoons sesame seeds In microwave, steam cauliflower according to package instructions. While cauliflower is cooking, warm large, nonstick skillet with lid over medium heat. Add oils, swirl to coat pan and, when shimmering, add garlic and ginger. Sauté until sizzling and fragrant, stirring constantly, about 30 seconds. Add coleslaw, bell pepper and scallions; continue sautéing, stirring frequently, until cabbage just begins to wilt, about 3 minutes. Sprinkle on five-spice blend and stir to incorporate. Add soy sauce and mirin rice cooking wine to pan and stir to evenly coat cabbage. Add shrimp to skillet; toss to evenly distribute. Reduce heat to medium-low, cover with lid and allow shrimp to warm, about 3 minutes. Measure about 1 cup cooked cauliflower rice into bottom of four bowls. Top evenly with shrimp and cabbage mixture, about 1 cup vegetables and 9-11 large shrimp per serving, drizzling with pan sauce evenly. Sprinkle each bowl with 1 teaspoon sesame seeds and serve while hot. Notes: To help meal come together quickly, use frozen cauliflower rice, pre-grated ginger paste, pre-minced jarred garlic and bagged coleslaw mix. Green onions and bell pepper can also be pre-sliced.

How to Be an Environmentally Friendly Cook

Cooking sustainably is an excellent step to reduce your impact on the environment. What we eat and how we cook affects our health and the health of our planet. The easiest way to make sure your food is sustainably sourced is to cook it yourself! Cooking at home allows you to make sustainable choices at every step of the process, from shopping for the most sustainable ingredients to reducing food waste as you cook. Shop Smart Food waste is a worldwide epidemic, and it’s time the average person started fighting back. We throw out a jaw-dropping 400 pounds of food per person per year—40% of our food. When you buy food, make sure you buy exactly what you need. Plan meals, use grocery lists and avoid impulse buys. We suggest making a detailed shopping list and plan out your meals before heading to the store. We should just be sure that our shopping carts and grocery budgets aren’t bigger than our stomachs. Use all Nutritious Bits When cooking, use every piece of the food you’re cooking with. Leave the skin on cucumbers and potatoes, sauté broccoli stems along with the florets, your food will still be just a delicious. You can also use vegetable and meat scraps in homemade stocks, and use citrus fruit rinds and zest to add flavor to other meals. Eat Seasonally Produce eaten at the right time and season tastes better, is nutritious, and can also benefit the planet. Buying Fruits and veggies harvested in your region cuts down on the carbon footprint from long-distance transportation. You can find out what’s ready to harvest near you via the new Seasonal Food Guide Optimize Grains Grains and other plant foods are far less resource-intensive to produce than animal foods like dairy, eggs, and meat. For example, Oats already have a low carbon footprint, and overnight oats are more sustainable since it requires no heat. Eat more nutrition-rich heirloom and ancient whole grains because they grow in an eco-friendly way. Better Sweeteners Satisfy your sweet cravings with natural alternatives like honey, maple, stevia, and agave that don’t rely on intense farming practices. Go Organic Organic food is better for the environment and your body. Certified organic foods are grown and processed using farming methods that recycle resources without the use of synthetic pesticides, bioengineered genes or petroleum. Buy Your Ingredients Locally As aforementioned buying Fruits, vegetables and other ingredients from local farmers is one of the most environmentally responsible ways to cook. Food products that are produced locally don’t have to be transported long distances, and this helps in reducing fuel and energy consumption. How you use your gadgets and appliances is just as important as the food you bring in to your kitchen. Use the Right Burner When cooking with gas burners, make sure the flame is fully below the pot; otherwise, heat and energy are wasted. When you put a small pot on a large element, you waste heat. Cook with Residual Beat When roasting vegetables or baking cookies, turn off the oven a few minutes before the recipe indicates this will conserve more energy. For casseroles and roasts, turn the oven off five or ten minutes earlier than you expect to remove the food. Cover Pans While Cooking Make sure all of your pots and pans have close-fitting lids, then use them whenever possible. To conserve energy, it’s best to keep your pans covered while cooking. Covering your pans will require less cooking time. Energy-efficiency Upgrades If you’re shopping for a new appliance, look for the Energy Star logo, found on products that can use up to 50 percent less energy or water without compromising performance. An efficient dishwasher, for instance, can use a lot less water than washing the dishes by hand in the sink. Go Paperless It’s easier than you think to replace paper with cloth in the kitchen. Try reusable cloth napkins instead of paper, or choose paper napkins made with recycled materials. Use Environmentally Friendly Cookware Pay attention to your cooking tools, the healthiest options are also the most eco-friendly kitchenware. Cool Leftovers Let foods sit at room temperature for about 30 minutes before storing or freezing. Warm food in the fridge or freezer increases energy usage by raising the temperature of other items. Just don’t leave perishable foods out for more than two hours, to avoid contamination. Use Water More Wisely When we cook we tend to use a lot of water but there are ways to shrink your water footprint. Install a low-flow faucet on your sink. Try to wash vegetables and fruits in a large bowl or tub of water and scrub them with a vegetable brush instead of using your faucet as a power-washer. Which tips did you find most helpful to you? Let us know in the comment box below.

Real Life Microwave Hacks

It’s not just for reheating leftover pizza- the microwave has some pretty nifty hacks that you can use to make your life easier. Here is a list of the best hacks we found.  Peeling Garlic Got Easier  Peeling garlic is daunting, however, you can put the garlic in the microwave and heat it up for 15 seconds. The heat will release the moisture from the garlic clove which gets trapped between the skins and loosens it. Once you take it out, the skin just slide off. Get More Juice from Your Citrus Fruits If you need help getting the most juice out of a lemon, lime or other citrus fruit throw it into the microwave for about 10-20 seconds so that the pulp inside becomes soft and you can juice it with ease. Tear-free Onion Chopping Save your eyes from the horrible stinging sensation you get when chopping onions. Ever wondered why that happens? Well, when an onion is cut with a knife, its cells release volatile sulfur compounds that cause tearing. The trick is to trim off the ends with a knife and heat the onion for about 30 seconds before chopping away. Bring Stale Bread Back to Life When your bread or bagels stale simply wrap in a moist paper towel (not soaking) and pop in the microwave for 20-second increments. The moisture from the towel will soak into the bread to make it taste fresh again. Preserve Fresh Herbs If you want to preserve herbs well, wrap them in a paper towel and heat them in the microwave for about 30 seconds allowing them to dry out. This may make them last longer in the refrigerator. To completely dry the herbs continue to microwave in 15-30 second increments until the herbs. Soak Lentils or Beans Overnight All you need to do is place your uncooked beans or lentils in a bowl filled with water, add a pinch of baking soda and microwave them for about 10 minutes. Allow them to rest for 30-40 minutes, after which they are ready to be cooked. Make Frothy Milk for Your Coffee The next time you’re craving a fancy frothy café au lait just make it yourself. A microwave and a mason jar are all you need. Fill the mason jar with as much skim or 2% milk as you’d normally use in your coffee, cover and shake it vigorously to get the frothing process started, then pop it uncovered in the microwave for 30 seconds. Then voila! Silky, frothy warm milk. A DIY Heating Pad for those Cold Nights Make your heating pad at home in two minutes! Pour rice into a sock then tie a knot at the top of the sock. Put it in the microwave for 1-2 minutes. Reheat as needed. Steam Clean the Microwave We’re sure with these hacks your microwave will be working overtime.  So while you’re at it, steam clean it with some lemon water. Place a bowl of water with freshly squeezed lemon juice into the microwave and set the timer for 5 minutes or until the water boils, let it sit in the microwave for 3 minutes so the steam can loosen any food stains. Remove the bowl then wipe your microwave clean.

Quick Cleaning Tips for Your Kitchen Appliances

Clean your kitchen appliances faster with these quick cleaning tips for your kitchen appliances, show your appliances a little cleaning love, and they’ll look and work as good as new. Clean Your Refrigerator The space behind your refrigerator is notoriously filthy. Dirt, pet hair, and a host of other stuff can build up beneath and behind the refrigerator. This can block the appliance’s motor and coils and restrict airflow. To clean, pull out the refrigerator and mop up whatever you find. Part of my spring cleaning ritual. Is to vacuum the refrigerator coils behind the fridge, which will put less stress on the motor and prolong its life. Here’s how to clean the inside of a refrigerator the easy way. A little soapy water or an equal parts water and white vinegar solution will clean and shine the inside of your fridge. Wipe down shelves and crispers weekly, or whenever you spot a spill. Remove fingerprints on stainless steel exteriors with a damp cloth.  Clean Your Dishwasher  You wouldn’t think of cleaning a dishwasher since its job is to clean but it also needs a good cleaning; In fact, as often as your shower or sink. Sanitizing the dishwasher can be done quickly. To eliminate mold and bacteria run the dishwasher on the hottest, and longest cycle with white vinegar. This will sanitize and loosen food and soap scum. You should wipe around the edges of the door, around the gasket and check the drainage area as well.  Clean Your Microwave Sauce and food splatter inside the microwave constantly and all that buildup is unsightly and gross to cook with. Fortunately, there is a simple solution, the best way to clean microwave messes is to fill a microwave-safe container with water, microwave it until the water boils, and let it sit for a few minutes while steam loosens any caked-on food. Then simply wipe it clean.  Clean Your Kitchen Stove and Oven   Stove-tops are hot spots for oil splatters and food spills, so it’s best to clean it often. The key to cleaning your stove-top is to be quick. Before the bits of food cook onto the surface wipe them away immediately, careful not to burn yourself. If splatters sit for a few days soak with an equal parts mix of vinegar and water or use dish soap and water for built-up grease. Now that the stove-top is clean, you can take care of your oven and it’s quite simple nowadays because most ovens have self-cleaning options. While this feature does a good job of by itself there are a few spots it doesn’t reach. You can wipe them up built-up grime with vinegar or soapy water around door hinges and frames and the space between double ovens.

Hello Airfying: A Healthier Way to Cook Your Favorite Food

You’ve probably heard about the Air fryer, that cool kitchen gadget people have been raving about since it hit the market.  Are you still wondering what all the hype is about?  Made popular by claims air frying is a healthy alternative for frying food; because it replicates the wonders of deep-frying in a healthier way. So, how does it work? The Air Fryer, uses rapid air technology to fry, bake, roast or grill your food with only a tablespoon or less of oil. Think of it as a hi-tech counter-top convection oven. Something else to consider, is the air fryer is a time-saver when you find yourself short on time to cook. It offers fast cooking, with little to no preheating required. It’s a great companion tool for adventurous cooks with little time to spare. What You Can Make in an Air Fryer AIR FRYER FRENCH FRIES The first thing you can try is a simple and delicious batch of French fries. Fresh or frozen potatoes! Crunchy, easy and healthy! Ready in under 30 minutes.   Ingredients 1 tbsp Flat leaf parsley 1 Garlic powder 1 Salt and pepper 1 tbsp Olive oil, extra virgin 1 pound Yukon Gold or Russet potatoes (peeled and sliced into 1/2-inch thick sticks) Instructions:  Throw your fries into the air fryer basket, and cook in the air fryer at 400°F for 15-20 minutes. While the fries are air-frying, chop the herbs and garlic, and mix with olive oil in a medium-size bowl. Remove the fries from the air fryer and transfer to the bowl with the garlic, rosemary and oil – toss thoroughly, and season with salt.  Serve with ketchup or sriracha mayo — which is 1:1 ratio of sriracha to mayo, Yum! AIR FRYER CHICKEN WINGS Air fryer chicken wings are the crispiest wings you’ve ever had! Cook a whole batch in your air fryer with a few simple ingredients. Ingredients 1 tsp Paprika, smoked 1 Salt and pepper 1 tsp Garlic powder 1 tbsp Olive oil 2 tbsp Barbecue sauce 1 tbsp Olive oil 1 1/2 lbs Chicken wings & drumettes Instructions: Set the air fryer to 375 degrees F. Season chicken wings with salt, pepper, and smoked paprika and place into the air fryer basket Cook the wings for 20 minutes, flipping after 10 minutes When time is up, flip one last time and increase the temperature to 400 degrees F. Cook an additional 8 minutes until skin is crispy and golden Remove wings from air fryer and place in a bowl or serving dish Toss with BBQ sauce  Finally, cook the BBQ sauce coated wings in the Air Fryer for additional 2 minutes and enjoy! SPICY GARLIC CHILI SHRIMP Bursting with flavor, this air fried shrimp recipe is perfect for all occasions it’s heavenly with a flavorful spicy kick. Ingredients 1 pound of shrimp peeled and de-veined 3 Tablespoons olive oil 2 cloves garlic minced 2 teaspoons chili powder ½ teaspoon ground cumin ¼ teaspoon paprika 1/2 teaspoon salt ¼ teaspoon freshly ground black pepper  Sweet Chili Sauce (to taste) Instructions: Set temperature to 400° and timer to 5 minutes for preheating. Rinse Shrimp  with water Apply a thin layer of oil to the shrimp and put into the fry basket evenly, put the fry basket with pot back in the appliance. set time for 5-8 minutes or until they look crunchy and golden. Remove from basket and coat with seasonings to your taste. GRILLED CORN ON COB Air Fryer Corn on the Cob is sweet, and juicy as can be! Make this with fresh corn for a great side dish recipe. No fuss, no mess, all deliciousness. Ingredients Corn Cobs (Sliced) 2 pcs Cooking Oil 1 tsp Instructions: Skewer the corn cobs, sliced to preference Set temperature to 400° and timer to 5 minutes for preheating. Apply a thin layer of olive oil to the corn and put into the fry basket evenly, push the fry basket with pot back in the appliance. Set time for 10 minutes or until baked golden. Add butter, salt, mayonnaise, season salt or whatever you like and enjoy! GRILLED PEACHES AND CREAM Love grilled peaches? – But who wants to heat up the grill for a few little peaches? Now you don’t have to, you can simply pop ’em in the AIR FRYER!!! You’ve got an easy and delicious Dessert in minutes.   Ingredients 2 peaches  1/4 cup graham cracker crumbs 1/4 cup brown sugar 1/4 cup butter, diced into tiny squares Cool Whip or Ice Cream Instructions: Cut peaches into wedges and pull out pits In air fryer, set a piece of parchment paper on top of rack Lay peach wedges, skin side up (on side) on parchment Air fry at 350 degrees for 5 minutes Mix together crumbs, brown sugar and butter Flip peaches skin side down Spoon crumb mixture over top of peaches – try and keep the butter on top of the peaches as best you can Air fry at 350 degrees for another 5 minutes Place peaches onto plates and top with whipped topping Spoon any excess butter/topping mixture from parchment onto whipped topping Want More Recipes? The Cosmo Air fryer comes with a complimentary Recipe Book with these and many more recipes to try.  GET YOURS HERE If you need fast, healthy, convenient and tasty meals, then once again, an air fryer is for you.