How-To

How to Make Homemade Sauces: From Marinara to Alfredo

Creating homemade sauces can elevate your meals from ordinary to extraordinary. Whether you’re topping pasta, enhancing a dish, or looking for a flavorful dip, homemade sauces are versatile and delicious. Here’s a guide to making two classic sauces: Marinara and Alfredo. Marinara Sauce Ingredients: Instructions: Sauté Aromatics: Add Tomatoes and Seasonings: Simmer the Sauce: Finish and Serve: Alfredo Sauce Ingredients: Instructions: Melt Butter: Add Cream and Garlic: Incorporate Cheese: Season and Serve: Tips for Perfect Sauces Use Fresh Ingredients: Simmer Slowly: Balance Flavors: Experiment: Homemade sauces like Marinara and Alfredo are simple to make and far superior to store-bought versions in terms of flavor and freshness. By following these steps, you can create delicious, homemade sauces that will enhance your meals and impress your family and friends. Enjoy the process and happy cooking!

Mastering Homemade Pasta: A Beginner’s Guide to From-Scratch Noodles

There’s something truly special about the taste and texture of homemade pasta. While it may seem daunting at first, making pasta from scratch is a rewarding culinary adventure that anyone can master with a little practice and patience. In this beginner’s guide, we’ll walk you through the step-by-step process of making delicious homemade pasta right in your own kitchen. 1. Gather Your Ingredients: To make homemade pasta, you’ll need just a few simple ingredients: all-purpose flour, eggs, and a pinch of salt. While some recipes may call for additional ingredients like olive oil or semolina flour, a basic pasta dough can be made with just flour and eggs. 2. Make the Dough: Start by creating a well of flour on a clean work surface. Crack the eggs into the center of the well and add a pinch of salt. Using a fork, gradually incorporate the flour into the eggs until a shaggy dough forms. Knead the dough until it becomes smooth and elastic, adding more flour if necessary to prevent sticking. 3. Rest the Dough: Once the dough is kneaded, wrap it tightly in plastic wrap and let it rest at room temperature for at least 30 minutes. This allows the gluten in the dough to relax, making it easier to roll out and shape. 4. Roll Out the Pasta: After the dough has rested, divide it into smaller portions and flatten each portion into a rough rectangle. Using a pasta machine or a rolling pin, roll out the dough until it is thin and uniform in thickness. If using a pasta machine, gradually decrease the thickness setting with each pass until the desired thickness is reached. 5. Shape the Pasta: Once the dough is rolled out, it’s time to shape it into the desired pasta shape. From classic spaghetti and fettuccine to more intricate shapes like ravioli and tortellini, the possibilities are endless. Use a pasta cutter or knife to cut the dough into strips or shapes, and then gently toss the pasta to separate the strands. 6. Cook and Enjoy: To cook homemade pasta, simply bring a large pot of salted water to a boil and add the pasta. Fresh pasta cooks much faster than dried pasta, usually in just 2-3 minutes. Once cooked, drain the pasta and toss it with your favorite sauce or toppings. With this beginner’s guide to making homemade pasta, you’ll be well on your way to creating delicious and satisfying meals right in your own kitchen. Experiment with different shapes, flavors, and sauces to customize your pasta creations and impress family and friends with your newfound culinary skills. Homemade pasta may take a little extra time and effort, but the end result is well worth it for the unparalleled taste and texture of freshly made noodles.

Healthy Eating on a Budget: Nutritious and Affordable Meals

Eating healthily doesn’t have to be expensive. With a bit of planning and smart shopping, you can enjoy nutritious meals without breaking the bank. Here’s a guide to help you eat well on a budget, featuring affordable ingredients, budget-friendly recipes, and practical strategies for meal planning and batch cooking. Affordable Ingredients for Healthy Eating 1. Canned Beans Canned beans are a versatile, protein-rich, and budget-friendly ingredient. They can be used in salads, soups, stews, and as a meat substitute in various dishes. 2. Frozen Vegetables Frozen vegetables are just as nutritious as fresh ones and often more affordable. They’re pre-washed and pre-cut, making meal prep easier and faster. 3. Whole Grains Whole grains like brown rice, quinoa, and oats are inexpensive and packed with nutrients. They’re a great base for many meals and keep you feeling full longer. 4. Seasonal Produce Buying fruits and vegetables in season is cheaper and ensures you get the freshest produce. Farmer’s markets and local grocery stores often have the best deals on seasonal items. 5. Eggs Eggs are an excellent source of protein and very affordable. They can be used in a variety of meals, from breakfast to dinner. Budget-Friendly Recipes Hearty Bean Soup Ingredients: Instructions: Veggie Stir-Fry with Brown Rice Ingredients: Instructions: Quinoa Salad Ingredients: Instructions: Shopping Tips for Eating Healthy on a Budget 1. Plan Your Meals Planning your meals for the week can help you avoid impulse purchases and make the most of your ingredients. Create a shopping list based on your meal plan and stick to it. 2. Buy in Bulk Items like grains, beans, and spices are often cheaper when bought in bulk. They have a long shelf life, so you can stock up without worrying about them going bad. 3. Use Store Brands Store brands often offer the same quality as name brands but at a lower price. Compare labels to ensure you’re getting the same nutritional value. 4. Take Advantage of Sales and Coupons Keep an eye out for sales and use coupons to save on staples. Many stores have apps or loyalty programs that offer digital coupons and discounts. 5. Cook at Home Eating out can be expensive and often less healthy than homemade meals. Cooking at home allows you to control the ingredients and portion sizes, ensuring a healthier diet. Strategies for Meal Planning and Batch Cooking 1. Batch Cooking Prepare large quantities of meals and freeze portions for later. This saves time and ensures you always have a healthy meal ready to go. 2. Prep Ingredients in Advance Chop vegetables, cook grains, and portion out snacks at the beginning of the week. This makes it easier to throw together meals quickly. 3. Use Leftovers Wisely Transform leftovers into new meals. For example, use leftover roasted vegetables in a salad or stir-fry, or turn last night’s chicken into a hearty soup. 4. Make One-Pot Meals One-pot meals are simple to make, require fewer ingredients, and result in less cleanup. Soups, stews, and casseroles are great options. Eating healthily on a budget is entirely possible with a little planning and smart shopping. By incorporating affordable ingredients, trying out budget-friendly recipes, and employing meal planning and batch cooking strategies, you can enjoy nutritious meals without overspending. Start implementing these tips today and see the difference in both your health and your wallet.

Setting Up a Family Cookbook or Recipe Exchange: A Heartwarming Tradition

Food has a unique way of bringing people together, especially within families. From grandma’s secret apple pie recipe to dad’s famous barbecue sauce, the culinary creations passed down through generations are treasures worth preserving. Setting up a family cookbook or recipe exchange is a wonderful way to celebrate these traditions, share beloved recipes, and create a lasting legacy. Here’s a guide to get you started on this heartwarming project. Why Create a Family Cookbook or Recipe Exchange? 1. Preserve Family Heritage Recipes often tell the story of a family’s heritage and culture. Preserving them ensures that future generations can enjoy and appreciate these culinary traditions. 2. Strengthen Family Bonds Sharing recipes and cooking together can strengthen family connections. It’s an opportunity to gather, reminisce, and create new memories. 3. Share Culinary Skills Everyone has their own cooking tips and tricks. A family cookbook or recipe exchange allows members to share their expertise and learn from each other. 4. Create a Legacy A well-crafted family cookbook can become a cherished heirloom, passed down through generations, keeping the family’s culinary traditions alive. Steps to Create a Family Cookbook Step 1: Gather Recipes Start by collecting recipes from family members. Reach out to relatives and ask them to contribute their favorite dishes, along with any special stories or memories associated with them. Tips for Gathering Recipes: Step 2: Organize the Recipes Organize the recipes into categories for easy navigation. Common categories include: Step 3: Design the Cookbook Decide on the format and design of your cookbook. You can choose to create a physical book or a digital version. Physical Cookbook: Digital Cookbook: Step 4: Add Personal Touches Make your cookbook special by adding personal touches: Step 5: Print and Distribute Once the cookbook is complete, print copies for family members or share the digital version. Consider having a family gathering to celebrate the launch of the cookbook. Setting Up a Recipe Exchange Step 1: Choose a Platform Decide how you want to facilitate the recipe exchange. Options include: Step 2: Set Guidelines Establish guidelines for the exchange to ensure consistency and participation. Step 3: Encourage Participation Motivate family members to participate by: Step 4: Maintain Engagement Keep the recipe exchange active and engaging by: Creating a family cookbook or setting up a recipe exchange is a rewarding project that celebrates family traditions, fosters connections, and preserves culinary heritage. Whether you opt for a beautifully printed cookbook or a dynamic recipe exchange, the result will be a treasured collection of family favorites that can be enjoyed for generations to come.

How to Grill Like a Pro: Tips for Success on the BBQ

Grilling is more than just a cooking method – it’s an art form that brings friends and family together, creating unforgettable memories over delicious, smoky flavors. Whether you’re a seasoned griller or just starting out, these tips will help you master the BBQ and impress everyone at your next cookout. Start with a Clean Grill A clean grill is essential for great grilling. Before you start, make sure to clean the grates with a wire brush to remove any residue from previous cooking sessions. This prevents sticking and ensures even cooking. Preheat Your Grill Preheating your grill is crucial. It helps to create those beautiful sear marks and ensures that your food cooks evenly. Aim to preheat for at least 15 minutes before adding any food. Oil the Grates To prevent sticking, oil your grill grates before cooking. Use a paper towel soaked in oil and, using tongs, rub it over the grates. This creates a non-stick surface, making it easier to flip your food. Use the Right Tools Invest in good quality grilling tools such as long-handled tongs, spatulas, and a meat thermometer. These tools not only make grilling easier but also help you cook food to the perfect temperature safely. Control the Heat Different foods require different grilling techniques. Use direct heat for quick-cooking items like steaks, burgers, and vegetables, and indirect heat for slower-cooking items like ribs, roasts, and whole chickens. This method allows you to cook food evenly without burning the exterior. Don’t Overcrowd the Grill Give your food enough space to cook properly. Overcrowding the grill can lead to uneven cooking and can also cause flare-ups. Cook in batches if necessary to ensure everything is perfectly grilled. Use a Meat Thermometer To achieve the perfect doneness, use a meat thermometer. It takes the guesswork out of grilling and ensures your meat is cooked to the right temperature. Here’s a quick guide: Let It Rest Allow your meat to rest for a few minutes after grilling. This lets the juices redistribute, resulting in a juicier and more flavorful bite. Tent your meat with aluminum foil and let it rest for 5-10 minutes. Experiment with Marinades and Rubs Marinades and rubs are great ways to add flavor to your grilled foods. Marinate your meat for at least 30 minutes before grilling, or use a dry rub to create a flavorful crust. Experiment with different combinations of herbs, spices, and liquids to find your favorite flavors. Practice Patience Grilling is a skill that improves with practice. Don’t be afraid to experiment with different techniques and recipes. Over time, you’ll learn the nuances of your grill and develop a knack for knowing when your food is perfectly cooked. Bonus Tips for BBQ Success Grilling like a pro is all about preparation, technique, and a willingness to experiment. With these tips in your grilling arsenal, you’re well on your way to BBQ success. So fire up the grill, invite some friends over, and enjoy the delicious rewards of your efforts.

How to Stock a Healthy Pantry: Essential Ingredients for Nutritious Meals

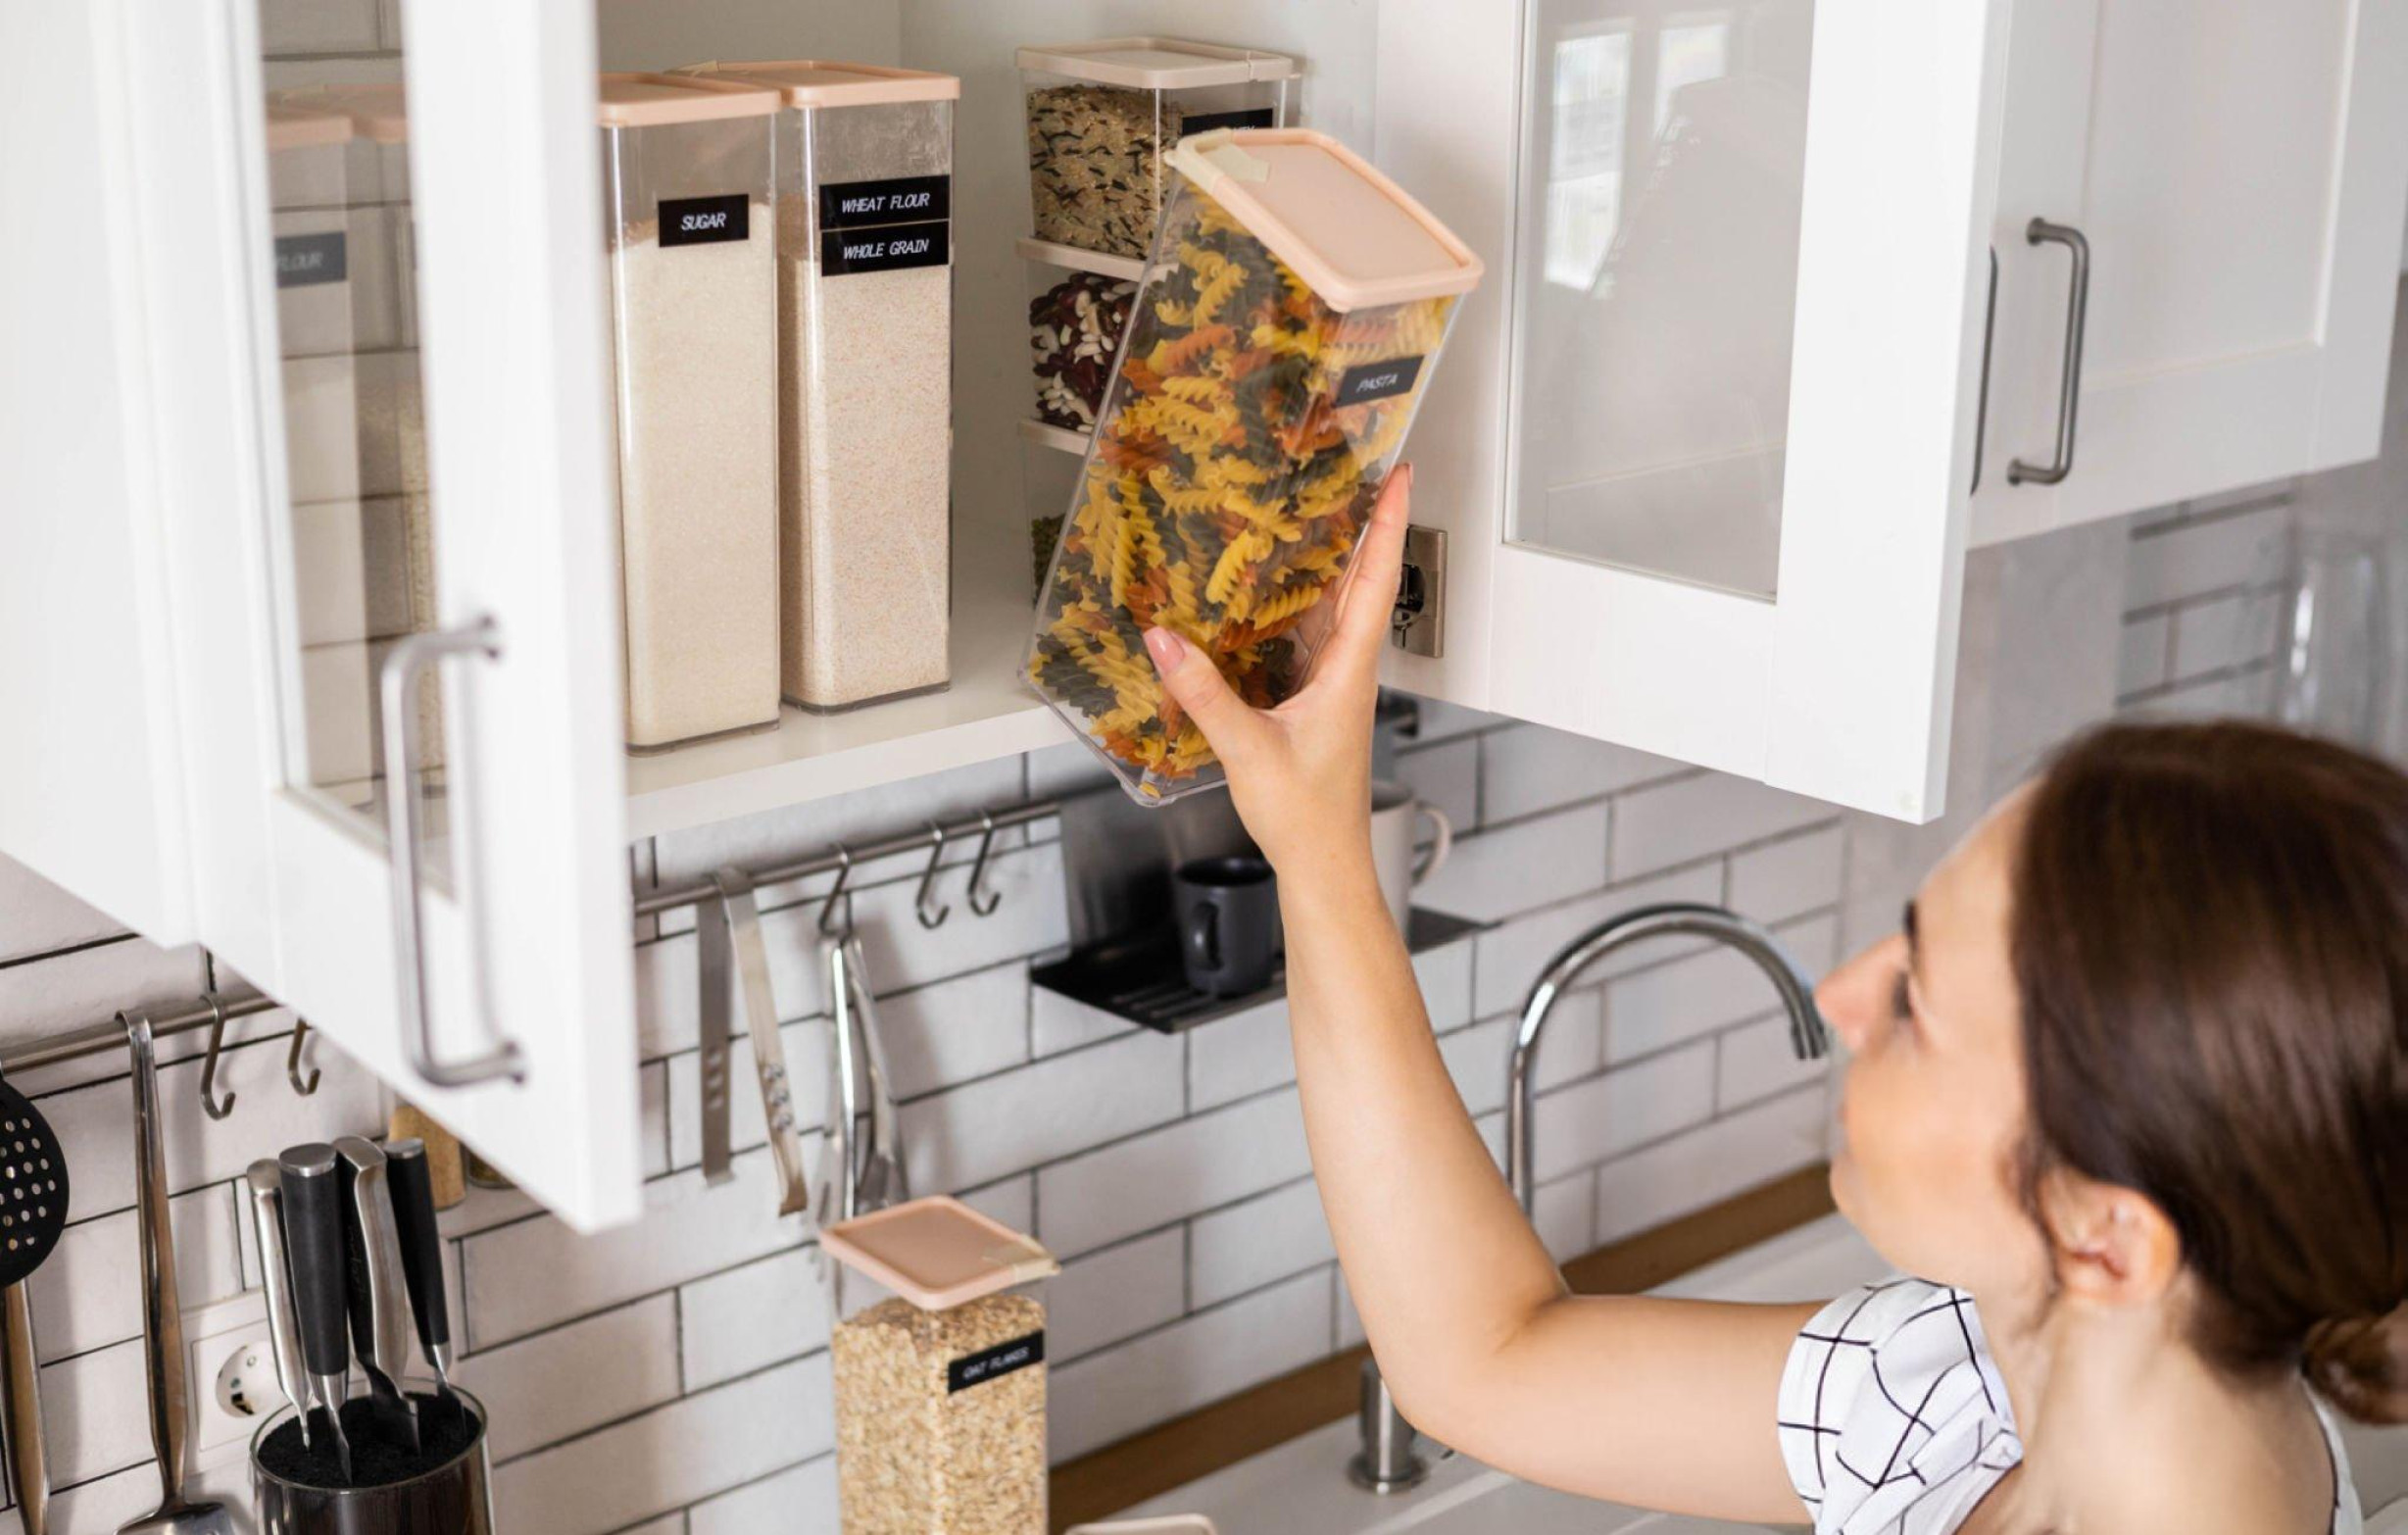
A well-stocked pantry is the foundation of a healthy kitchen. By keeping essential ingredients on hand, you can easily whip up nutritious meals without the need for last-minute grocery runs or unhealthy takeout options. In this blog post, we’ll explore how to stock a healthy pantry with essential ingredients that will help you create delicious and nutritious meals for you and your family. Whole Grains Whole grains are a staple in any healthy pantry. Opt for a variety of options such as brown rice, quinoa, oats, whole wheat pasta, and barley. Whole grains are rich in fiber, vitamins, and minerals, and they provide long-lasting energy to keep you feeling full and satisfied. Beans and Legumes Beans and legumes are versatile and affordable pantry staples that are packed with protein, fiber, and essential nutrients. Stock up on canned beans such as black beans, chickpeas, and kidney beans, as well as dried varieties like lentils and split peas. They can be used in soups, stews, salads, and even homemade veggie burgers. Healthy Fats Healthy fats are an essential component of a balanced diet and can help support heart health and brain function. Keep sources of healthy fats on hand such as olive oil, avocado oil, nuts, seeds, and nut butter. These ingredients can be used in cooking, baking, and as toppings for salads and oatmeal. Canned Tomatoes Canned tomatoes are a versatile pantry staple that can be used as a base for soups, sauces, and stews. They are rich in vitamins, minerals, and antioxidants, and they add depth of flavor to a variety of dishes. Look for canned tomatoes without added salt or sugar for the healthiest option. Herbs and Spices Herbs and spices are essential for adding flavor to your meals without the need for excess salt, sugar, or unhealthy fats. Keep a variety of dried herbs and spices on hand such as basil, oregano, garlic powder, cumin, and paprika. Fresh herbs like parsley, cilantro, and mint can also add a burst of flavor to your dishes. Healthy Snacks Having healthy snacks on hand can help prevent mindless munching on less nutritious options. Stock your pantry with nutritious snacks like whole grain crackers, rice cakes, popcorn, nuts, seeds, and dried fruit. These snacks are perfect for satisfying hunger between meals and providing a quick energy boost. Nutrient-Dense Condiments Condiments can add flavor and excitement to your meals, but many store-bought options are high in added sugars, sodium, and unhealthy fats. Opt for nutrient-dense condiments like salsa, hummus, tahini, mustard, and balsamic vinegar. These options add flavor without compromising your health goals. By stocking your pantry with these essential ingredients, you’ll have everything you need to create delicious and nutritious meals at home. With a little planning and preparation, you can enjoy healthy, satisfying meals that nourish your body and support your overall well-being. So take the time to stock your pantry with these healthy staples, and get ready to embark on a journey of delicious and nutritious cooking!

How to Make the Best Homemade Pizza: Tips and Techniques

Making homemade pizza can be a rewarding culinary experience that brings the flavors and techniques of a pizzeria right into your own kitchen. Whether you’re a pizza-making novice or a seasoned home chef, these tips and techniques will help you create the best homemade pizza, from the perfect crust to the most delectable toppings. Start with the Perfect Dough Ingredients: Instructions: Master the Art of Stretching Dough Stretching pizza dough by hand gives it a more rustic, artisan feel compared to using a rolling pin. Here’s how to do it: Choose the Right Sauce Classic Tomato Sauce: Select High-Quality Toppings Cheese: Meats and Veggies: Bake to Perfection Preheat Your Oven: Use a Pizza Stone or Steel: Baking: Finish with Fresh Ingredients Fresh Herbs: Drizzle of Olive Oil: Making the best homemade pizza involves mastering a few key techniques, from preparing the dough to selecting the right toppings and baking to perfection. With practice and these tips, you’ll be able to create delicious, restaurant-quality pizza in the comfort of your own kitchen. Happy pizza making!

Spice it Up: A Guide to Crafting Your Own Spice Blends for Every Dish

Elevate your culinary creations to new heights by mastering the art of spice blending. From savory curries to zesty marinades and aromatic rubs, the right blend of spices can take a dish from ordinary to extraordinary in seconds. Join us as we delve into the world of DIY spice blends, where creativity knows no bounds and flavor reigns supreme. Before we dive into the delicious details, let’s cover the basics of spice blending. A well-crafted spice blend is more than just a random assortment of herbs and spices—it’s a carefully curated combination that balances flavors, aromas, and textures to enhance the overall taste of a dish. While there are countless spice blends to choose from, mastering a few key recipes will provide you with a versatile arsenal of flavors to suit any cuisine or occasion. To get started, you’ll need a few essential tools and ingredients to craft your own spice blends. Invest in high-quality whole spices whenever possible, as they’ll impart the freshest and most intense flavors. You’ll also need a reliable spice grinder or mortar and pestle to grind whole spices into powders, as well as airtight containers for storing your homemade blends. As for ingredients, the options are endless—experiment with a variety of herbs, spices, salts, and dried aromatics to create unique flavor profiles that suit your taste preferences. Recipes for DIY Spice Blends: Now that you’re equipped with the essentials, it’s time to roll up your sleeves and start blending. Here are a few versatile spice blend recipes to get you started: The beauty of DIY spice blending lies in its endless possibilities—there are no hard and fast rules, only your imagination and taste buds to guide you. So don’t be afraid to experiment, explore, and get creative with your spice blends. Whether you’re crafting a signature seasoning for your favorite dishes or trying your hand at recreating exotic flavors from around the world, the journey of spice blending is as rewarding as the end result. So go ahead—spice it up, and let your culinary creations shine with homemade flavors that are truly one-of-a-kind.

Baking Bliss: How to Bake the Perfect Batch of Cookies

There’s nothing quite like the aroma of freshly baked cookies wafting through the kitchen – it’s a comforting and irresistible scent that evokes memories of childhood and cozy gatherings with loved ones. But achieving the perfect batch of cookies isn’t always as easy as it seems. From selecting the right ingredients to mastering baking techniques, there are several factors to consider when baking cookies. Dive into some tips and tricks to help you bake the perfect batch of cookies every time. Start with Quality Ingredients The foundation of any great recipe is quality ingredients. Use fresh, high-quality butter, eggs, flour, sugar, and other ingredients for the best results. Additionally, consider using real vanilla extract instead of artificial flavorings for a richer flavor profile. Measure Accurately Baking is a science, and accurate measurements are crucial for success. Use a kitchen scale to weigh ingredients for precision, especially when it comes to flour and sugar. If you don’t have a scale, use measuring cups and spoons, and be sure to level off ingredients with a straight edge for accuracy. Chill the Dough Chilling the cookie dough is essential for achieving the perfect texture and flavor. Chill the dough for at least 30 minutes (or overnight for best results) before baking to prevent the cookies from spreading too much in the oven. This also allows the flavors to develop and meld together for a more complex taste. Use Parchment Paper or Silicone Baking Mats To prevent cookies from sticking to the baking sheet and ensure even browning, line your baking sheets with parchment paper or silicone baking mats. This also makes cleanup a breeze and helps to maintain the integrity of your baking sheets over time. Don’t Overmix the Dough Overmixing the dough can lead to tough, dense cookies. Mix the dough just until the ingredients are combined – it’s okay if there are a few streaks of flour remaining. Overmixing can also cause cookies to spread too much during baking, resulting in thin, flat cookies instead of soft and chewy ones. Pay Attention to Oven Temperature Oven temperature can vary, so it’s essential to preheat your oven and use an oven thermometer to ensure it’s at the correct temperature before baking. Too high of a temperature can cause cookies to burn on the bottom or edges, while too low of a temperature can result in undercooked or unevenly baked cookies. Watch the Baking Time Keep a close eye on your cookies as they bake, especially during the last few minutes of baking time. Cookies can go from perfectly golden brown to burnt in a matter of seconds, so be vigilant and remove them from the oven as soon as they’re done. Remember that cookies will continue to cook slightly on the baking sheet after being removed from the oven, so it’s better to slightly underbake them than overbake them. Let Them Cool Properly Allow your cookies to cool on the baking sheet for a few minutes before transferring them to a wire rack to cool completely. This allows the cookies to set and firm up slightly, preventing them from falling apart when moved. Plus, the residual heat from the baking sheet will continue to cook the cookies slightly, resulting in a perfectly chewy texture. Experiment and Have Fun Baking cookies is as much about experimentation and creativity as it is about following a recipe. Don’t be afraid to try new flavor combinations, mix-ins, and techniques to create unique and delicious cookies that reflect your personal tastes and preferences. Whether you prefer classic chocolate chip cookies, oatmeal raisin cookies, or something more adventurous like peanut butter bacon cookies, the possibilities are endless! Baking the perfect batch of cookies is a labor of love that requires attention to detail, patience, and a bit of experimentation. By following these tips and tricks, you’ll be well on your way to baking cookies that are perfectly golden brown, delightfully chewy, and irresistibly delicious. So preheat your oven, gather your ingredients, and get ready to enjoy the sweet rewards of homemade cookies that are sure to impress family and friends alike. Happy baking!

Mastering the Art of Presentation: How to Create a Beautifully Plated Dish

They say we eat with our eyes first, and nowhere is this more evident than in the world of culinary arts. The presentation of a dish is often just as important as its taste, captivating diners and elevating their dining experience to new heights. Whether you’re a home cook looking to impress guests or a professional chef striving for culinary perfection, mastering the art of plating is essential. Explore some expert tips and tricks for creating beautifully plated dishes that are sure to dazzle the senses. Start with a Clean Canvas: Just like a painter begins with a blank canvas, a beautifully plated dish starts with a clean plate. Choose the appropriate size and shape of plate for your dish, ensuring that it provides the perfect backdrop for your culinary masterpiece. Avoid overcrowding the plate, leaving plenty of negative space to allow each element of the dish to shine. Consider Color and Contrast: A visually striking dish often features a vibrant array of colors and textures. Consider the color wheel when selecting ingredients, aiming for a balance of hues that complement each other. Experiment with contrasting colors and textures to create visual interest, such as pairing creamy mashed potatoes with crispy fried shallots or bright green asparagus with rich hollandaise sauce. Embrace Height and Dimension: Add dimension to your dish by varying the height and placement of its components. Use garnishes like microgreens, edible flowers, or citrus zest to add height and visual appeal. Stack or layer ingredients strategically to create depth, drawing the eye to different elements of the dish. Pay Attention to Plate Placement: The placement of each component on the plate is crucial to creating a visually appealing presentation. Use the rule of thirds as a guide, arranging elements off-center and in asymmetrical patterns for a more dynamic composition. Consider the natural flow of the dish and arrange ingredients in a way that enhances the overall aesthetic. Get Creative with Garnishes: Garnishes are the finishing touch that can take a dish from ordinary to extraordinary. Experiment with different garnishes to add flavor, texture, and visual appeal. Fresh herbs, citrus zest, edible flowers, and flavored oils are just a few options to consider. Just remember to keep garnishes cohesive with the flavors of the dish and avoid overpowering the main components. Practice Precision and Attention to Detail: Attention to detail is key when it comes to plating a dish. Take the time to carefully arrange each component with precision, paying attention to symmetry, spacing, and presentation. Use tools like tweezers or offset spatulas for delicate placement, ensuring that every element is thoughtfully considered. Let Your Creativity Shine: Above all, don’t be afraid to let your creativity shine when plating a dish. Experiment with different techniques, styles, and presentations to find what works best for you and your culinary vision. Whether you’re aiming for elegant simplicity or avant-garde flair, let your personality and passion for cooking shine through in every plate. By following these expert tips and tricks, you can elevate your plating game and create beautifully plated dishes that are as stunning to behold as they are delicious to eat. With a keen eye for detail, a touch of creativity, and a whole lot of passion, you’ll be well on your way to mastering the art of presentation in the kitchen. Happy plating!