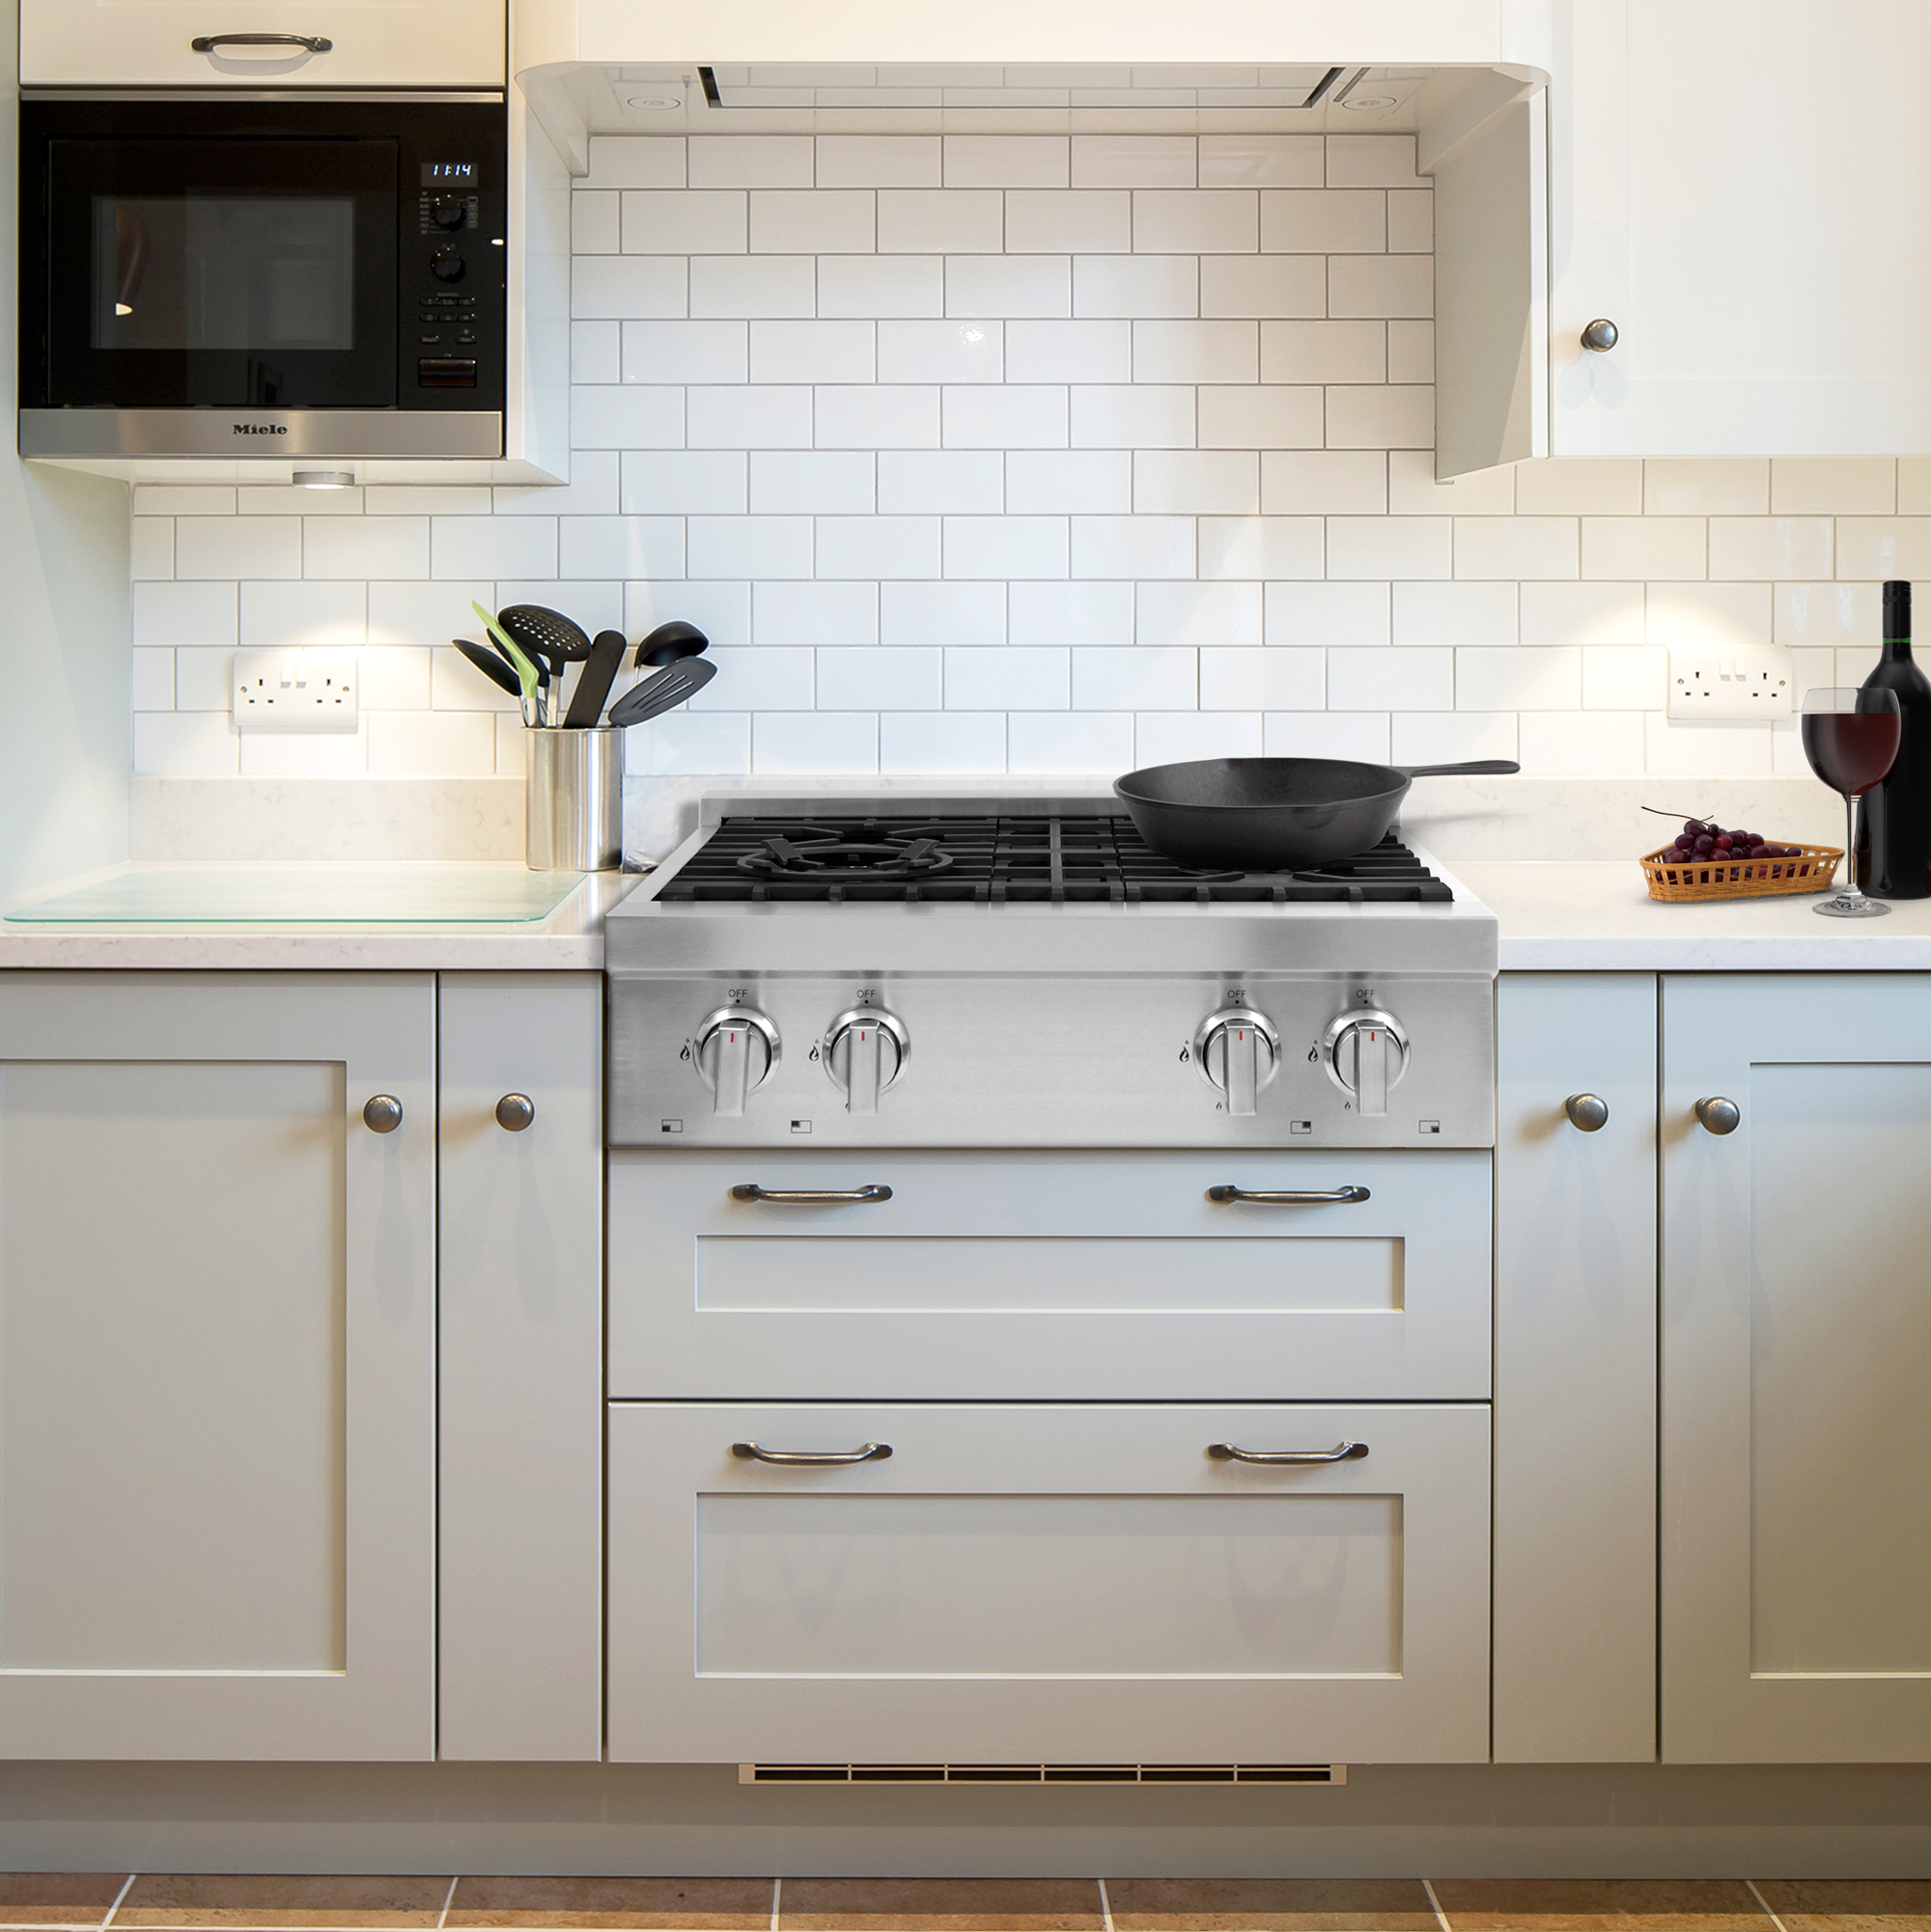
Cleaning a Gas Stovetop
Your range is bound to get messy with the meals you prepare on it. No matter how far gone you think your cooktop might be, here’s some steps you can take to get it looking as good as new.
Tools You’ll Need:
- Non-toxic degreaser
- Medium-stiffness scrub brush
- Toothbrush
- Soft scouring pad
- Paper towels
- Glass cleaner
- Razor blade
- Magic eraser
Before cleaning, make sure your cooktop is properly cool and safe to touch. Check that all knobs are switched to the off position. Remove knobs if possible to prevent bumping into them as you clean. Take all the necessary precautions to ensure the gas does not come one while you’re working on it. Check in with your product manual. Your product manufacturer may recommend specific cleaning procedures best fit for your cooktop. This guide does not apply to cooktops with stainless steel surfaces.
Step 1: Disassembly
Start by removing the grates on your stove and take some time to clean any food particles that may have been left behind. Pull off the small caps protecting your burners, then remove the burners themselves if possible. Set these aside as we will get back to them later.
Step 2: Degrease Grates
Place the grates you removed into your sink and give them a thorough soaking with some non-toxic degreaser. You can also use a dish detergent if you prefer, this just may take more time to scrub. Leave everything to soak for about 15-20 minutes.
Step 3: Degrease Cooktop
Use the same degreaser and spray down the exposed cooktop. Let this soak in for a few minutes to penetrate any buildup. Take a soft scouring pad to break any bits that have been burned or stuck to the surface. As you work through cleaning, take a paper towel and wipe down the cooktop to clean the grease and grime. Depending how much buildup there is on your stove, you may have to repeat this process.
Step 4: Persistent Buildup
There may be bits that have burned on to the cooktop that may seem impossible to get rid of with a sponge, or some that are trapped in corners you can’t easily get to. Take a medium-stiff nylon scrub brush or an old toothbrush with some degreaser for these areas. It’s a good idea to test the brushes on a part of the surface before, to make sure you won’t accidentally scratch it. For bits that seem stuck no matter what you try, take a razor blade to peel off the grime. Be extremely careful with this as you don’t want to scratch or peel off the paint. You just want to break the surface so the degreaser can get through and break up the grime. Give everything a final polish with paper towels and wipe away any excess degreaser. You can also take a Magic Eraser and Glass Cleaner to lift any residue remaining.
Step 5: Clean Removed Parts
By now, everything else that has been soaking in degreaser should be ready for a cleaning. Rinse off the grates with hot water, then take a nylon brush with some soap or degreaser to clean further if necessary. Repeat the process for your burner caps. Then, take the burners themselves and rinse with hot water and scrub gently with the brush again. Don’t use any aggressive cleaners or solvents as this may clog the burners and cause ignition problems. Let everything dry completely.
Step 6: Reassembly
Put everything back together and you’re done! If you’re looking for the best ways to clean your Cosmo product, check into our Customer Support Hub for specific cleaning instructions.
Sources: HGTV

