Crescent Rolls Recipe
Posted on Posted in Recipes
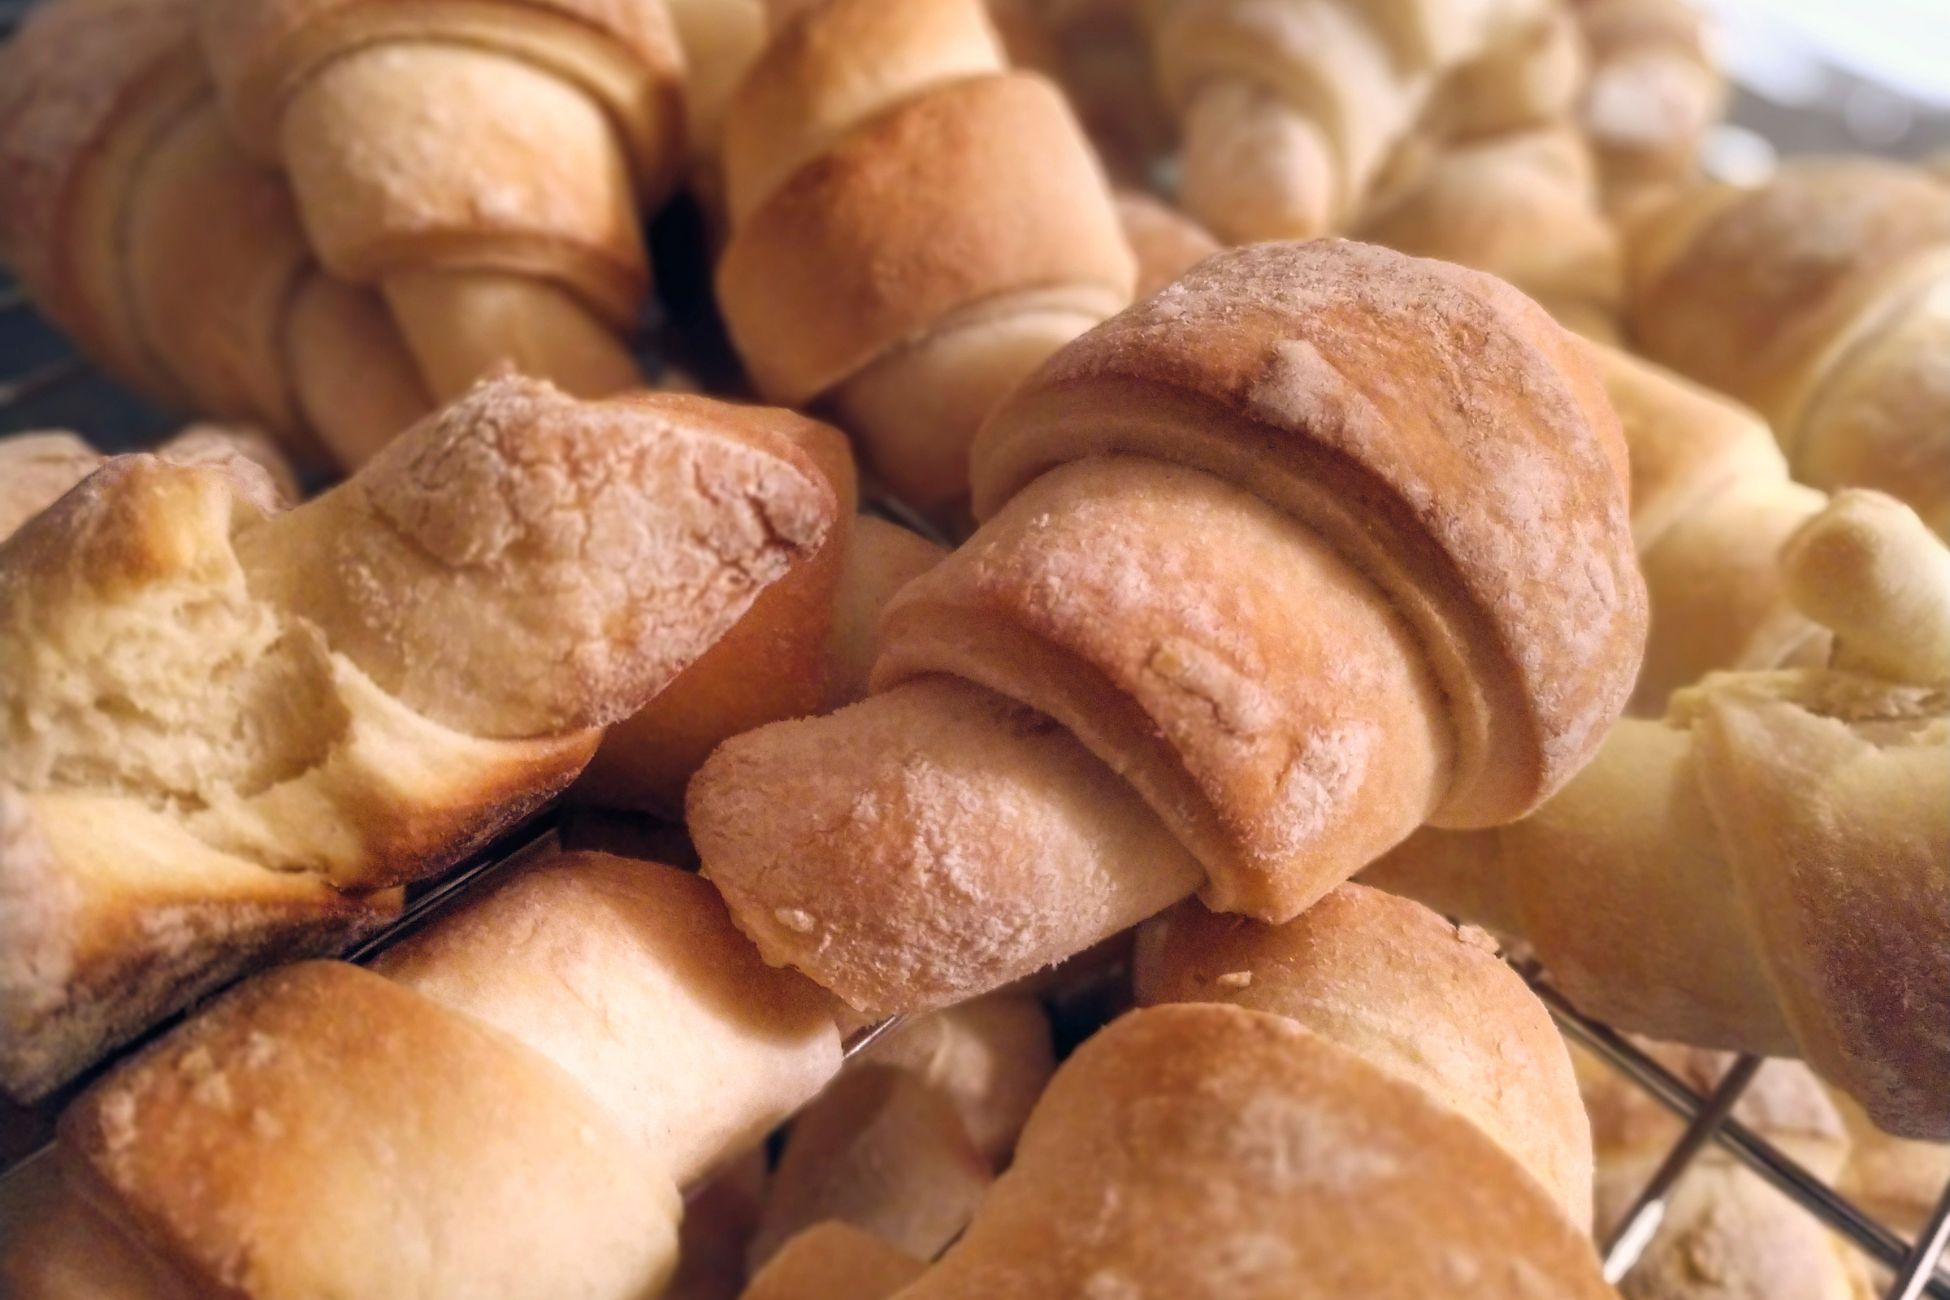
Make these classic, tender crescent rolls right at home. No need to run to the store and get the canned version! These rolls pull apart into flaky layers with mildly sweet and buttery flavory. Pair them with a savory meal or a great breakfast with butter and jam.
Prep time: 90 mins
Cook time: 13 mins
Rise and chill time: 2 hrs
Total time: 3 hrs 43 mins
Servings: 24 servings
Yield: 24 crescent rolls
Ingredients
- 1/4 cup (46g) warm water, about 110°F
- 1/4-ounce package (7g) active dry yeast
- 2 tablespoons plus 1/4 teaspoon sugar, divided
- 2 3/4 cups (372g) all-purpose flour, plus more for dusting
- 2 1/4 teaspoons (7g) kosher salt
- 2 sticks (226g) unsalted butter, cold, divided
- 1/2 cup (107g) whole milk, at room temperature, plus more for brushing
- 1 large egg, at room temperature, well beaten
- Neutral oil, for greasing the bowl
- 2 tablespoons unsalted butter, melted (optional)
Directions
- Proof the yeast: In a small bowl, add the warm water and yeast, and stir to dissolve the yeast. Sprinkle in 1/4 teaspoon sugar and let sit until foamy, 5 to 10 minutes. If your yeast is alive, the mixture will bubble up
- Combine the dry ingredients: In a large bowl, whisk together the flour, salt, and the remaining 2 tablespoons sugar.
- Add cold butter: Cut 10 tablespoons (141g) butter into 1/2-inch pieces and add it to the flour mixture. Set the remaining 6 tablespoons (85g) aside at room temperature to soften.
Use your hands to toss the butter in the flour mixture. Working quickly so that the butter doesn’t melt, use your fingers to pinch and squish the flour-coated butter in the flour until it’s roughly pea-size. Make a well in the center. - Add the wet ingredients: Add the milk, egg, and the proofed yeast into the well. Use a rubber spatula to stir it until a shaggy dough forms. Use your hand to bring the dough together into one mass.
The dough will be soft and sticky, with bits of butter visible throughout. Resist the urge to add more flour or continue kneading. - Let the dough rise in the refrigerator: Lightly oil a large bowl—you can use the same bowl used to mix the dough. Transfer the dough into it and cover with plastic wrap. Let it rise in the fridge for at least 1 hour or up to 18 hours.
Meanwhile, line a sheet pan that’s small enough to fit in your freezer with parchment paper. Set it aside. - Laminate the dough: Lightly sprinkle flour on a clean work surface and turn the chilled dough onto it. Lightly flour the top of the dough. Use a rolling pin to roll it into a 15×10-inch rectangle, about 1/4 inch thick, with the long side closest to you.
Use your fingers or offset spatula to spread about 1 1/2 tablespoons softened butter on the rolled dough into a very thin, even layer. Sprinkle a few pinches of flour over the butter.
Pick up and fold the left third of the dough over the middle third and the right third over that. You’ll have a narrow rectangle with the long side perpendicular to you. This is called a trifold. Transfer the dough onto the prepared sheet pan, cover loosely with plastic wrap, and chill in the freezer for 5 to 10 minutes, until the butter firms up.
Repeat this process three more times for a total of four trifolds—start by rolling it into a rectangle and end with chilling it in the freezer. After the last trifold, chill the dough for about 15 minutes in the freezer. The dough should be firm, but pliable enough to roll out. - Prepare the pans for baking: Line 2 sheet pans with parchment paper and set them aside.
- Divide the dough: Place the chilled dough on your work surface with the long side closest to you. Use a sharp knife to cut it in half crosswise—you’ll have 2 pieces about 5×5-inches each. Keep a piece in the fridge, while you shape the other.
- Cut the dough: Lightly sprinkle flour on your work surface. Roll the dough into a 12×6-inch rectangle, about 1/4 inch thick, with the long side closest to you. Use a sharp chef’s knife to cut it crosswise into 6 2×6-inch rectangles. Cut each rectangle in half on the diagonal to create 2 triangles. You will end with 12 triangles.
- Shape the dough: Place 1 triangle on your work surface with the point away from you. Cut a shallow 1/4-inch slit in the center of the base of the triangle. Gently tug each side of the base apart—while optional, this helps elongate and shape the crescent roll.
Roll the base of the triangle away from you and towards the point, ending with the point tucked under. Curve the ends to curve the roll slightly into the shape of a crescent. Transfer it onto a prepared sheet pan, which will hold 12 rolls. Shape the remaining rolls and spread them out evenly on the sheet pan.
Cover them loosely with plastic wrap and set aside at room temperature. In the meantime, cut and shape the remaining dough chilling in the fridge. - Final rise: Let the rolls rise at room temperature for 1 hour to 1 hour 15 minutes, until almost doubled in size. Gently poke one. If it slowly springs back, but holds an ident, it’s ready to be baked.
- Preheat the oven to 375°F. Set the oven racks to the top and bottom thirds.
- Brush the rolls: Use a pastry brush to lightly brush the tops of each roll with whole milk.
- Bake the rolls: Bake the rolls until puffed and golden brown, 13 to 15 minutes, rotating the sheet pans from front to back and from top to bottom, halfway through.
- Butter the rolls and serve: Place the sheet pans on wire racks. While the rolls are still hot, brush them with melted butter, if you’d like. Serve them warm—they’ll be flaky and oh so tender.
Store leftovers in a resealable bag or airtight container at room temperature for up to 3 days. To reheat, place the rolls on a sheet pan and reheat them in a 325°F oven until warmed through, about 5 minutes.
Source: Simply Recipes