How to Make Nut Milks and Butters at Home
Making nut milks and butters at home is easier than you might think, and the results are both delicious and healthy. By preparing these staples yourself, you can control the ingredients, skip additives or preservatives, and customize the flavor to your liking. Whether you’re dairy-free, looking to reduce processed foods, or just love fresh and natural ingredients, homemade nut milks and butters are a fantastic addition to your kitchen routine.
In this guide, we’ll walk you through the process of making nut milks and nut butters at home, using common nuts like almonds, cashews, and peanuts. Get ready to elevate your homemade creations with these simple steps!

How to Make Nut Milks at Home
Homemade nut milk is creamy, delicious, and free from preservatives or unnecessary additives. The basic recipe applies to any type of nut, whether almonds, cashews, or hazelnuts.
Basic Ingredients:
- 1 cup of raw nuts (almonds, cashews, hazelnuts, or others)
- 3-4 cups of filtered water (for blending)
- Optional: a pinch of salt, vanilla extract, or sweeteners (maple syrup, honey, dates)
Instructions:
- Soak the Nuts:
- Start by soaking 1 cup of raw nuts in water overnight, or for at least 6-8 hours. Soaking softens the nuts, making them easier to blend and enhancing the creaminess of the milk.
- After soaking, drain and rinse the nuts thoroughly.
- Blend with Water:
- Place the soaked nuts into a blender along with 3-4 cups of fresh filtered water.
- Blend on high speed for 1-2 minutes until the nuts are fully broken down, and the mixture turns white and creamy.
- Strain the Mixture:
- Pour the blended mixture into a nut milk bag or a cheesecloth-lined strainer over a large bowl.
- Squeeze the bag or cloth to extract all the liquid, leaving behind the pulp.
- Add Flavor (Optional):
- If you like, add a pinch of salt, vanilla extract, or a sweetener of your choice to enhance the flavor. Blend again for a few seconds to mix the flavors.
- Store and Enjoy:
- Pour the nut milk into a jar or bottle and store in the refrigerator for up to 4-5 days. Shake well before each use, as natural separation may occur.
Tips:
- Save the leftover nut pulp to use in smoothies, baking, or as a base for granola or energy bars.
- Cashew milk doesn’t require straining because the nuts blend completely, making it even easier to prepare.
Nut Milk Variations:
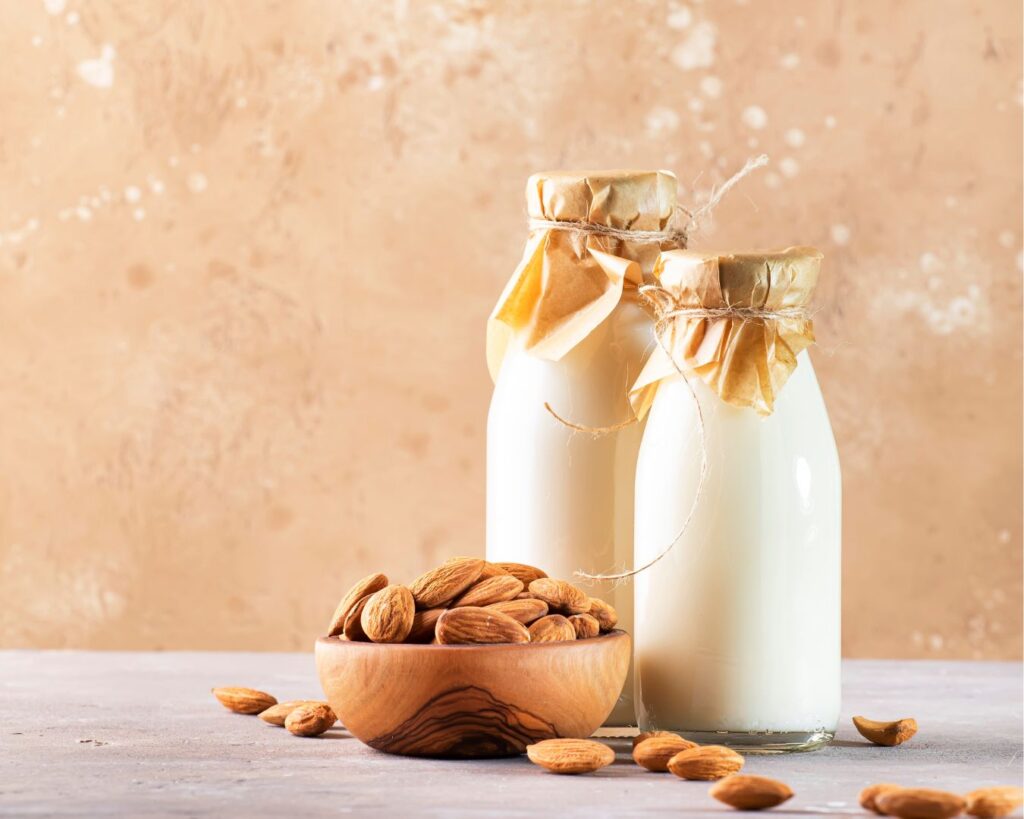
- Almond Milk: Creamy and versatile, almond milk is great for smoothies, coffee, or cereal.
- Cashew Milk: Rich and naturally sweet, cashew milk is perfect for lattes or creamy soups.
- Hazelnut Milk: Add a touch of chocolate for a delicious dairy-free alternative to chocolate milk.
- Pistachio Milk: For a unique flavor, pistachio milk is delicious in desserts or as a creamy drink.

How to Make Nut Butters at Home
Homemade nut butters are rich, creamy, and incredibly satisfying. You can make smooth or chunky versions with any nut, including peanuts, almonds, or hazelnuts. Plus, you can customize the flavor with sweeteners or spices to suit your taste.
Basic Ingredients:
- 2-3 cups of raw or roasted nuts (peanuts, almonds, cashews, etc.)
- Optional: a pinch of salt, honey, cinnamon, or chocolate
Instructions:
- Roast the Nuts (Optional):
- Roasting the nuts enhances their flavor and makes it easier to blend them into a smooth butter.
- Spread your chosen nuts on a baking sheet and roast in the oven at 350°F (175°C) for 10-15 minutes, stirring occasionally to prevent burning. Allow the nuts to cool slightly.
- Blend the Nuts:
- Add the nuts to a food processor or high-powered blender. Start blending on a low setting, gradually increasing the speed.
- The nuts will go through several stages: from crumbs, to a thick paste, and finally to a smooth butter. This process takes about 5-10 minutes, depending on your machine.
- Scrape Down the Sides:
- Pause every few minutes to scrape down the sides of the food processor. Continue blending until the nut butter reaches your desired consistency.
- Add Flavor (Optional):
- If you like, add a pinch of salt, sweeteners like honey or maple syrup, or flavorings like cinnamon, vanilla, or cocoa powder. Blend again to combine.
- Store and Enjoy:
- Transfer the nut butter to a jar and store it in the refrigerator for up to a month. It will thicken as it chills but should still remain spreadable.
Tips:
- You can make chunky nut butter by blending only part of the nuts to a smooth consistency, then adding the rest in later for texture.
- For a richer, creamier butter, add a small amount of coconut oil during the blending process.
Nut Butter Variations:
- Peanut Butter: A classic spread, perfect for sandwiches, smoothies, or dipping fruits and veggies.
- Almond Butter: Great for a nutrient-rich spread on toast or mixed into oatmeal.
- Cashew Butter: Super creamy and slightly sweet, cashew butter is delicious in baked goods or drizzled over pancakes.
- Pistachio Butter: A vibrant, green spread with a naturally sweet and nutty flavor, perfect for adding to desserts or enjoying on toast.
Benefits of Making Your Own Nut Milks and Butters
- Control Over Ingredients: Homemade nut milks and butters allow you to avoid added sugars, preservatives, and unhealthy oils often found in store-bought versions.
- Freshness: By making them at home, you ensure that your nut milks and butters are fresh, with no hidden additives or extended shelf-life chemicals.
- Cost-Effective: While nuts can be expensive, making your own milk and butter is more economical in the long run, especially for high-quality, preservative-free products.
- Customization: You can adjust the consistency, flavor, and sweetness of your nut products to suit your personal preferences.
Making nut milks and butters at home is not only simple but incredibly rewarding. With just a few ingredients and a blender or food processor, you can enjoy fresh, healthy, and delicious alternatives to store-bought products. Whether you’re lactose-intolerant, vegan, or just looking for wholesome, preservative-free options, homemade nut milks and butters offer an easy way to boost the nutritional value of your meals.
So, go ahead and experiment with different nuts, flavors, and combinations, and enjoy the satisfaction of creating your own kitchen staples!

