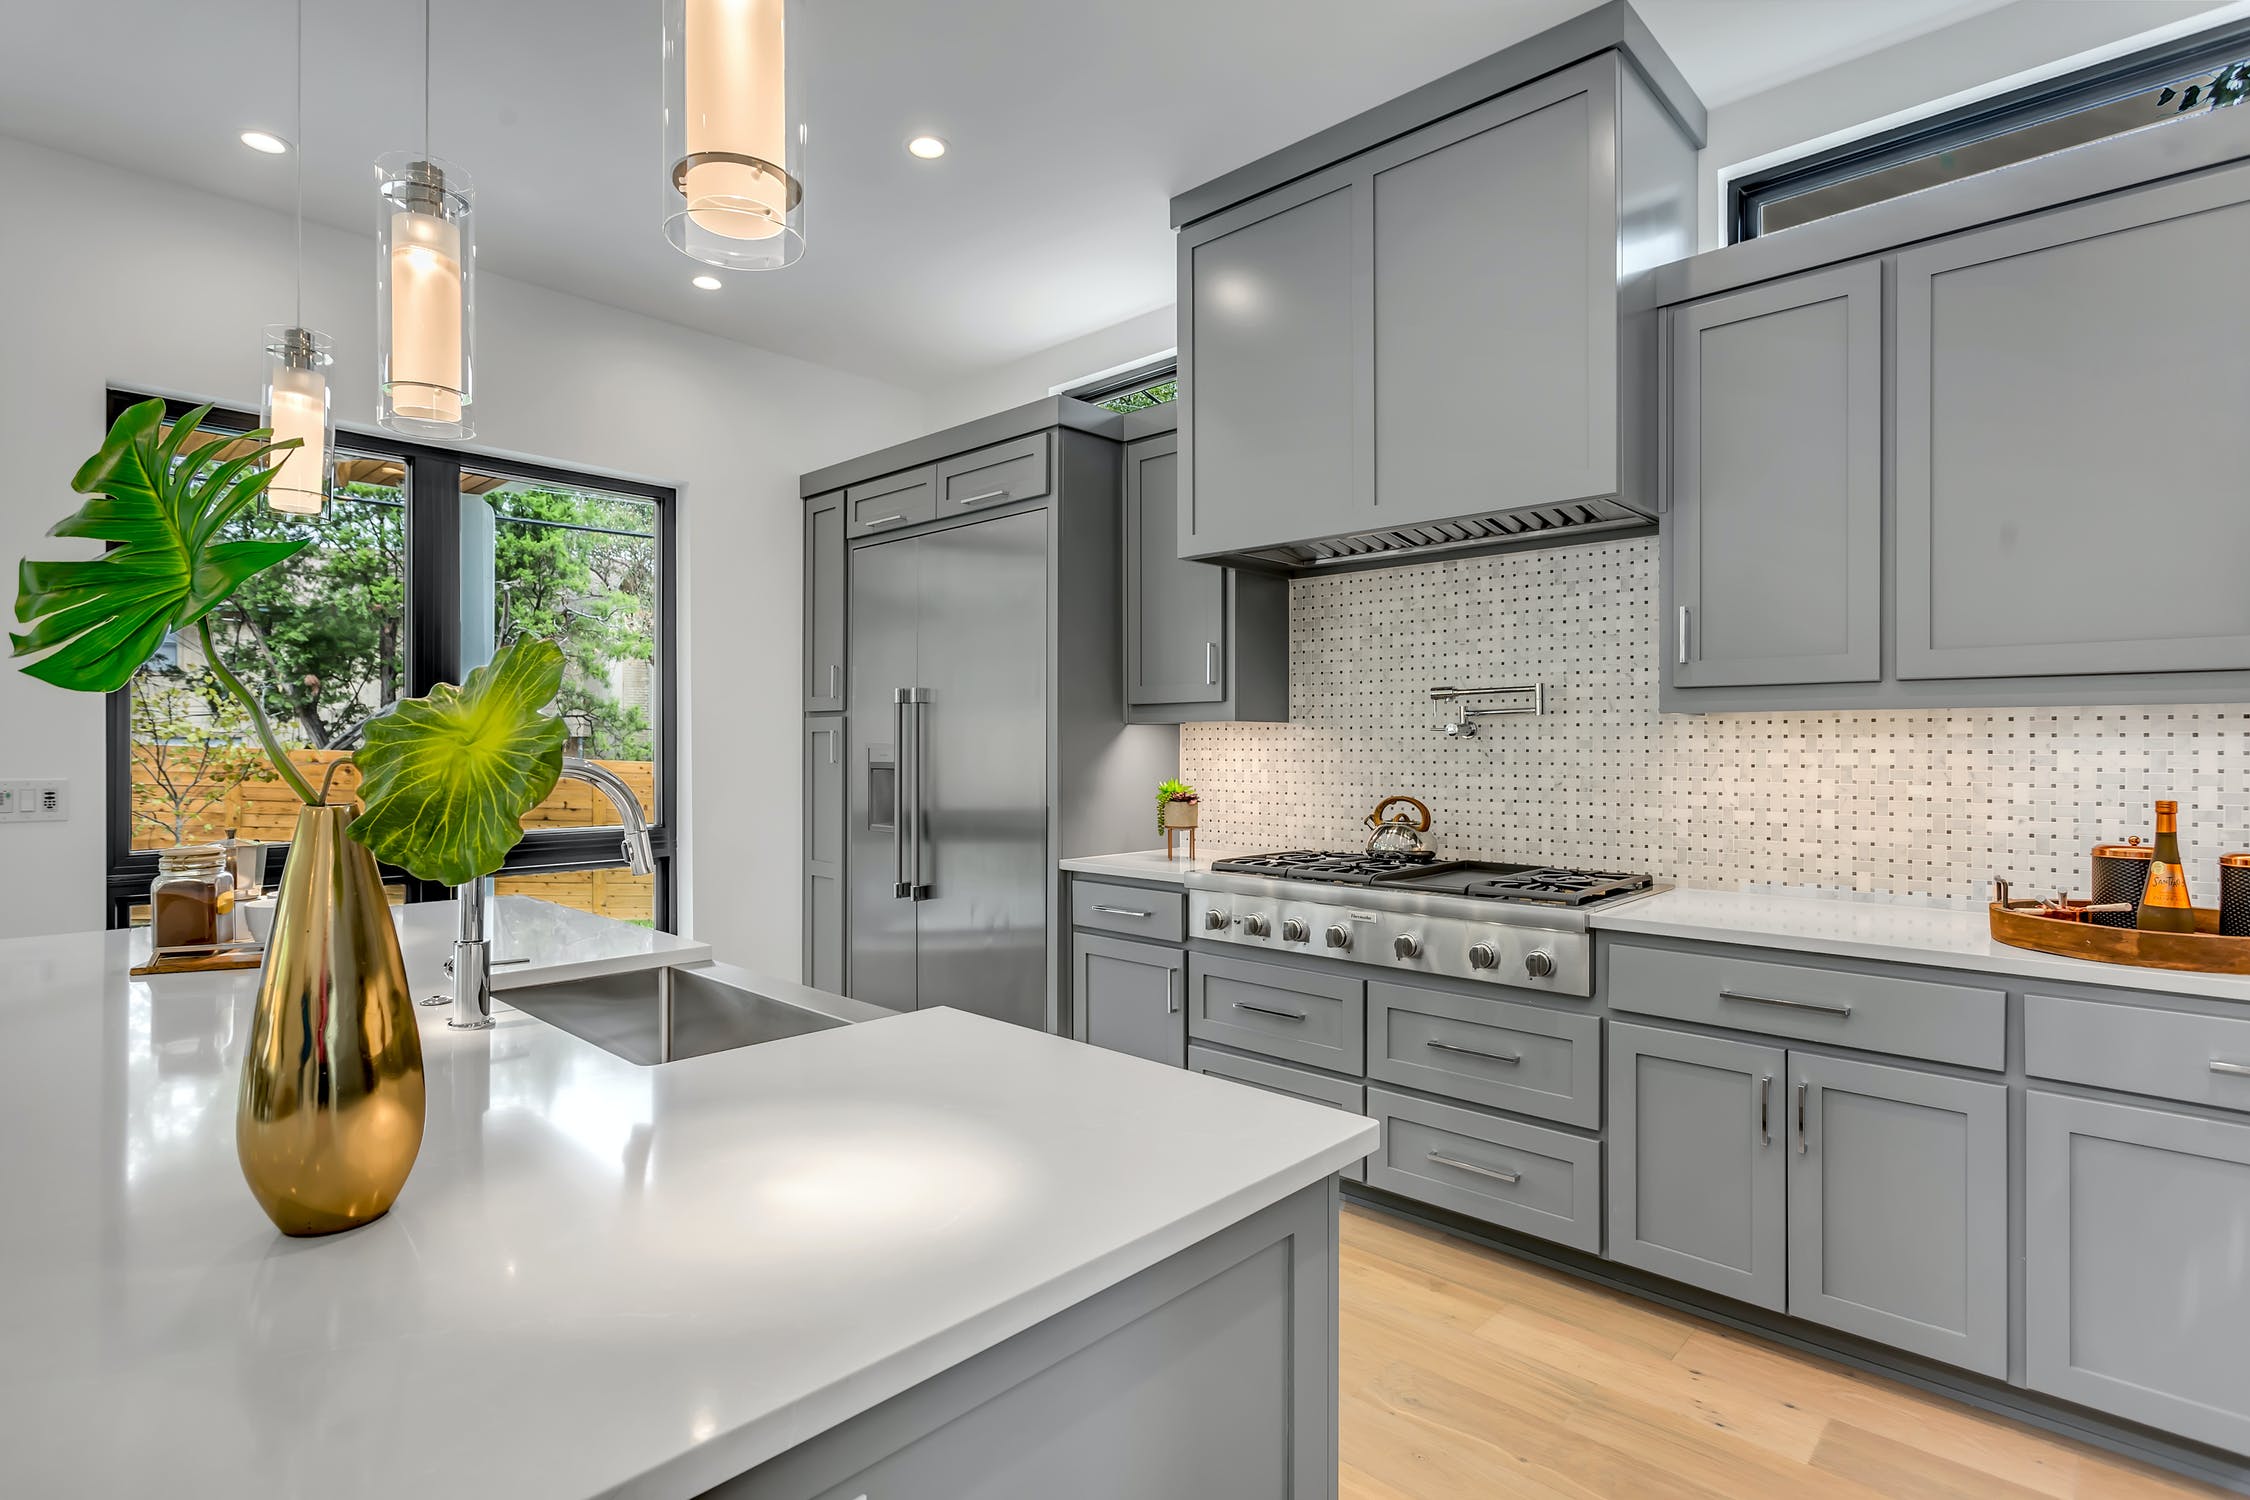
Mistakes to Avoid When Painting Cabinets
Changing cabinetry can be one of the most impactful visual changes in your kitchen. Some people may think this is a weekend job, painting your cabinets is a big project you want to properly plan. Check out the most important tips below on how to create the kitchen you want, while saving yourself a headache later on.
Preparation is Key
Take some time to understand the kind of cabinets you have. Wood materials paint differently than laminate and should influence the paint you’re buying. Flat-front doors and drawers are easily repainted, but woodwork with raised panels, routed profiles or other architectural detailing will require more time to prep and paint (see HGTV). Be sure to remove all the drawers and their hardware. Often people try to paint their cabinets as they currently stand which will result in problems later on. Removing the doors and hardware will ensure you have a careful painting process and reduce mistakes that will eventually have to be fixed. Mark all the doors and drawers, you want to know where they go once you’re done! Be sure to tape and cover everything else in your kitchen, the last thing you want is to accidentally get paint on something else.
The Importance in Sanding
According to GoodHouseKeeping, even if your cabinets are in near-perfect condition, you still have to sand them so the paint will stick. Use sandpaper in the middle of the spectrum (150 or 200 grit is good) and just give all of the surfaces a quick buffing. You just want to take the surface from glossy to matte. Your cabinets can have grease and dirt not visible to the eye that you definitely want to get rid of before painting. Skipping this step will result in paint chipping and peeling down the road. There’s no need to rid all the current color on the cabinets. Be sure to pay attention to the texture of the surface.
Paint with Patience
As previously mentioned, painting your cabinets is a long project that requires patience. Rushing the painting process can result in visible brush strokes, smudging or smearing. Apply paint in light, thin coats. Don’t lay the brush firmly on the cabinets as this will leave streaks and create air pockets or bubbles in the paint. Allow the paint to dry for at least four hours between coats. When dry, resand all surfaces lightly to prepare them for the second coat, wipe away all sanding dust with a tack cloth, then repaint. Two coats of quality paint are usually sufficient, but you may want to add a third coat because kitchen cabinets take lots of punishment from cooking heat and day-to-day use, and wood surfaces need all the protection they can get.
Looking to learn more tips and tricks for your kitchen? Be sure to give us a follow over on our Facebook and Instagram.

