
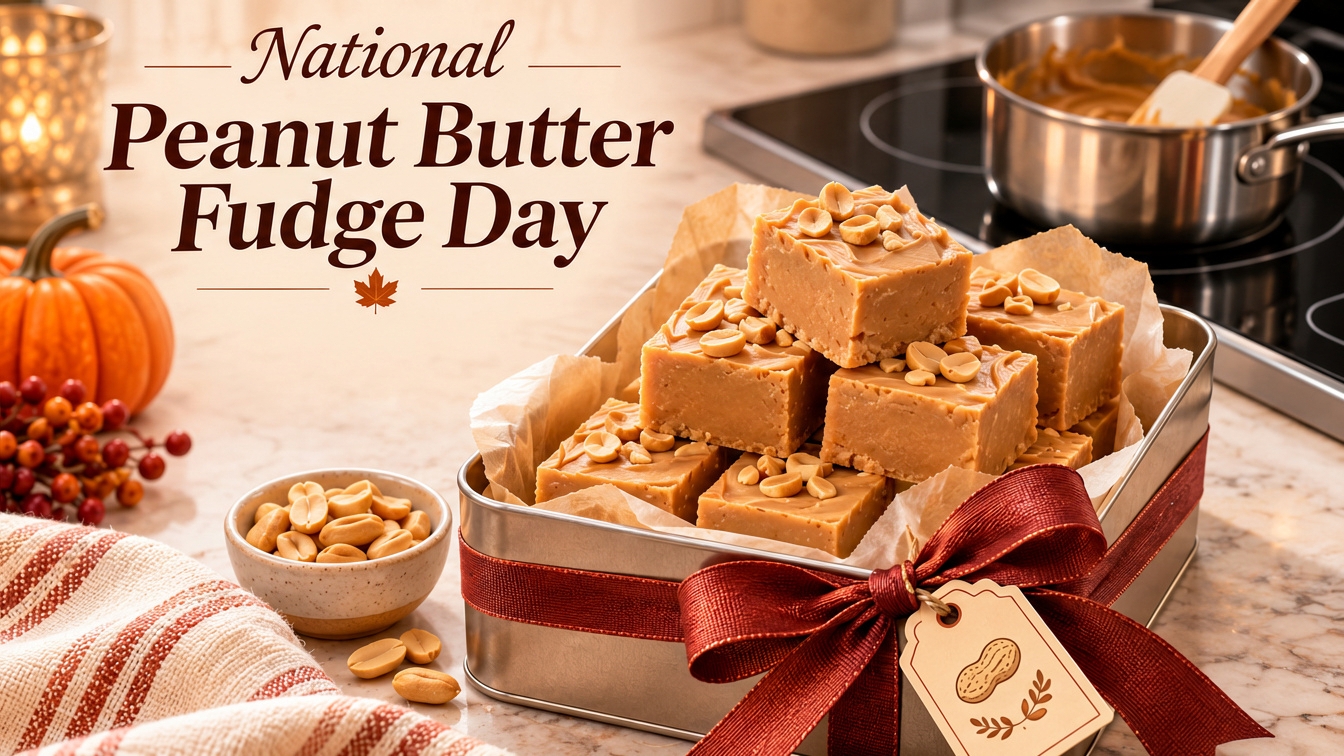
National Peanut Butter Fudge Day and the Patient Pot Behind Every Smooth Batch
Some recipes are judged by how they taste, and fudge is judged by how it feels. A good square of peanut butter fudge gives way cleanly under a knife, then melts on the tongue with no grit, no greasy film, and no stubborn chew. The ingredient list is short enough to fit on an index card, yet few candies are as easy to ruin, which is why National Peanut Butter Fudge Day, observed every November 20, is as much a celebration of technique as it is of dessert.
This year the date falls exactly one week before Thanksgiving, which makes it a useful dress rehearsal. A tray of fudge works as a host gift or a place on the dessert table. The recipe below uses the classic stovetop method, and the notes around it explain why each step matters.
Why Fudge Is a Patience Candy
Fudge is a sugar syrup that has been cooked, cooled, and then stirred into millions of tiny crystals. The size of those crystals decides everything. Small crystals produce the smooth, creamy bite people expect, and large crystals produce the sandy texture that sends a batch to the back of the freezer. A cook controls crystal size in two ways: by cooking the syrup to the correct temperature, and by letting it cool before beating it. Stirring too early, while the syrup is still scorching hot, invites large crystals to form.
The candy has a long history of teaching that lesson the hard way. Fudge is widely traced to American women’s colleges in the 1880s and 1890s, with Vassar College at the center of the story, where students traded recipes and passed them along. Chocolate became the default flavor, and peanut butter has remained one of the most popular alternatives, pairing naturally with the caramel notes of brown sugar.
Fudge Is Really a Heat Control Problem
The recipe is short, but the stove carries most of the work. The syrup has to climb steadily from a gentle simmer to roughly 236 degrees Fahrenheit, known as the soft ball stage, without hot spots that scorch the bottom of the pan. Sugar that burns at the edge of the pot lends a bitter flavor to the whole batch, and a syrup cooked too fast can leave the thermometer racing ahead of what is happening in the middle of the pan.
A flat, even cooktop helps more than most cooks expect. On a ceramic glass surface like the one on Cosmo’s COS-304TBECC, a flat bottomed saucepan sits in even contact with the element, so heat moves straight into the base of the pot. The touch controls offer nine power levels, which gives a cook room to hold a steady medium simmer rather than choosing between a rolling boil and a stall. The triple zone element can be matched to the size of the saucepan so heat reaches the full base of the pot, and a smaller burner stays free for warming milk or melting butter on the side. A hot surface indicator light stays lit while the glass is still warm, which matters in a fudge kitchen because the pot spends a long stretch cooling beside the burner, and a safety lock guards against unintended operation when the surface is being wiped down afterward.
The pan matters too. Choose a heavy bottomed saucepan of at least 3 quarts, since the syrup foams as it boils, and make sure the base is flat. A warped pan rocks against the surface and heats unevenly.
A Classic Stovetop Peanut Butter Fudge
This recipe fills an 8 inch square pan and yields about 36 small squares. Gather 2 cups of granulated sugar, 1 cup of packed light brown sugar, three quarters of a cup of whole milk, 4 tablespoons of butter, a quarter teaspoon of salt, 1 cup of creamy peanut butter, and 2 teaspoons of vanilla extract. Use a conventional creamy peanut butter rather than the natural kind that separates, because the stabilizers in the conventional jar help keep the finished fudge from turning oily. Line the pan with parchment, leaving an overhang on two sides for lifting the fudge out later, and measure everything before the heat goes on, since the final steps move quickly.
Cook the syrup. Combine the sugars, milk, butter, and salt in the saucepan over medium heat, stirring until the sugar dissolves. Once the mixture reaches a boil, stop stirring and clip a candy thermometer to the side of the pan, keeping the tip off the bottom. Let the syrup cook, without stirring, until it reaches 236 degrees, which usually takes 10 to 15 minutes. Without a thermometer, drop a small spoonful into a glass of cold water. At the soft ball stage it forms a pliable ball that flattens when lifted out.
Add the flavor, then wait. Remove the pan from the heat and stir in the peanut butter and vanilla just until blended. Set the pan on a trivet or a cool part of the counter, away from the hot burner, and leave it undisturbed until the thermometer reads about 110 degrees. This usually takes 30 to 40 minutes, and it is the step most often skipped by impatient cooks.
Beat until it turns. Beat the cooled mixture with a wooden spoon until it thickens, loses its glossy sheen, and begins to hold its shape. This takes about 5 to 10 minutes of steady effort. Work quickly once it turns, because fudge sets fast. Scrape it into the prepared pan and press it level with the back of a spoon.
Set and cut. Let the fudge firm up at room temperature for about 2 hours. Lift it out by the parchment, then cut small squares with a sharp knife, wiping the blade clean between cuts for neat edges.
When Fudge Goes Wrong
Most fudge failures trace back to temperature or timing, and most can be repaired.
If the batch turns grainy, large crystals formed, usually because the syrup was stirred while hot or because crystals from the sides of the pan fell back in. Prevention is easier than rescue, so avoid scraping the sides once the syrup is boiling and let the pot cool fully before beating. If the fudge stays soft and refuses to set, the syrup probably did not reach the right temperature. Thermometers drift, so test yours in boiling water, which reads 212 degrees at sea level, and adjust the target by the difference. A soft batch can be scraped back into the pot with a splash of milk and cooked again to the proper temperature.
If the fudge turns dry and crumbly, it was either cooked too long or beaten too long, and a crumbly batch still makes an excellent ice cream topping. If the surface looks oily, the culprit is usually natural peanut butter or overheated syrup, and the fix next time is a conventional creamy jar and a gentler flame.
Cleaning Up and Keeping the Sweetness Going
Sugar deserves respect on a glass cooktop. Boil overs happen, and sugary spills are best dealt with promptly, so check the cooktop’s use and care guide for the recommended method and handle any hot spill carefully, with oven mitts and the right tools. Turning pot handles inward and keeping the saucepan centered on the element also reduces the chance of a spill in the first place. Once the pot has cooled, soak it in warm water, and the hardened sugar will dissolve without scrubbing.
Stored properly, fudge keeps well, which is part of its appeal as a holiday gift. Layer the squares between sheets of parchment or wax paper in an airtight container, and keep them at room temperature for about a week. For longer storage, refrigerate the container for up to two weeks, or wrap the fudge well and freeze it for a few months, thawing it in the refrigerator before serving. For a neighbor or a Thanksgiving host, a small tin lined with parchment is all the packaging required.
A Small Batch Worth Making Today
National Peanut Butter Fudge Day asks very little of the cook beyond patience. Choose a flat bottomed pot, cook the syrup to temperature on a steady flame, let it cool without interference, and beat it only when it is ready. Do those four things, and a few cups of sugar and a jar of peanut butter turn into something worthy of a candy shop. Make a batch this afternoon, and by the time Thanksgiving cooking begins next week, the stove will be free for the main event and the fudge will already be waiting on the counter.