appliance maintenance

Kitchen Appliance Lifespan and Replacement Planning: Know When to Repair or Replace

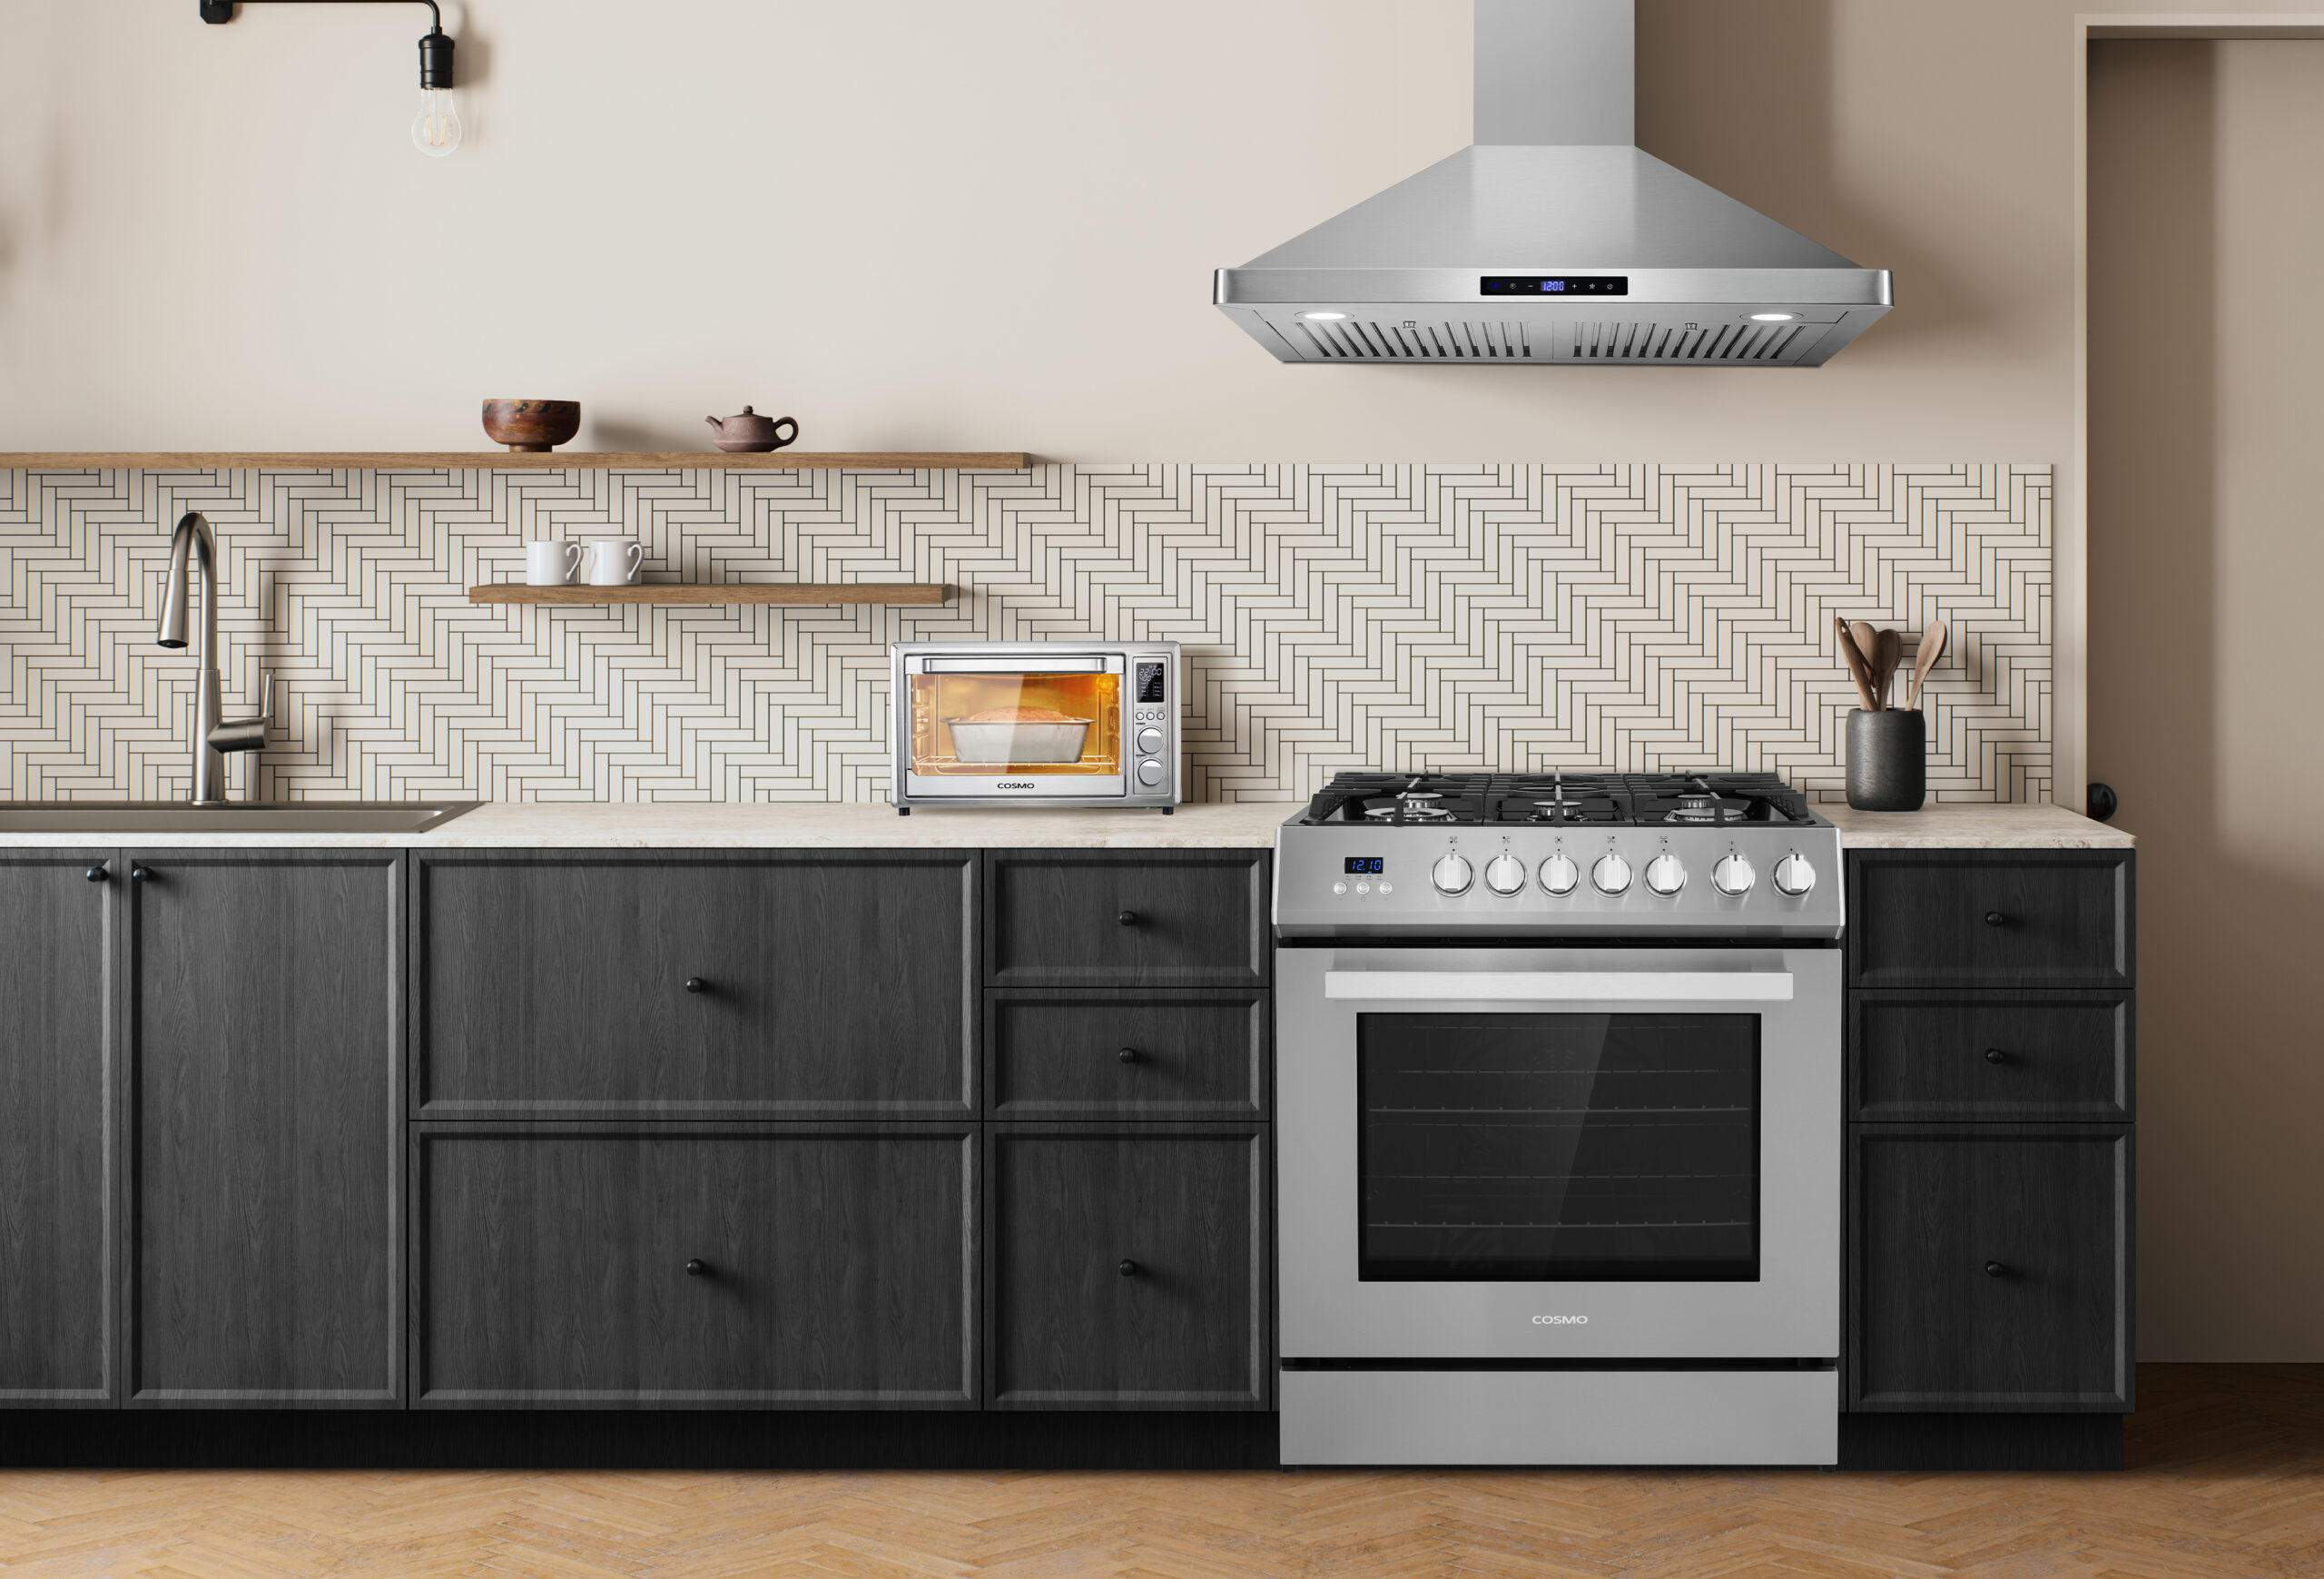
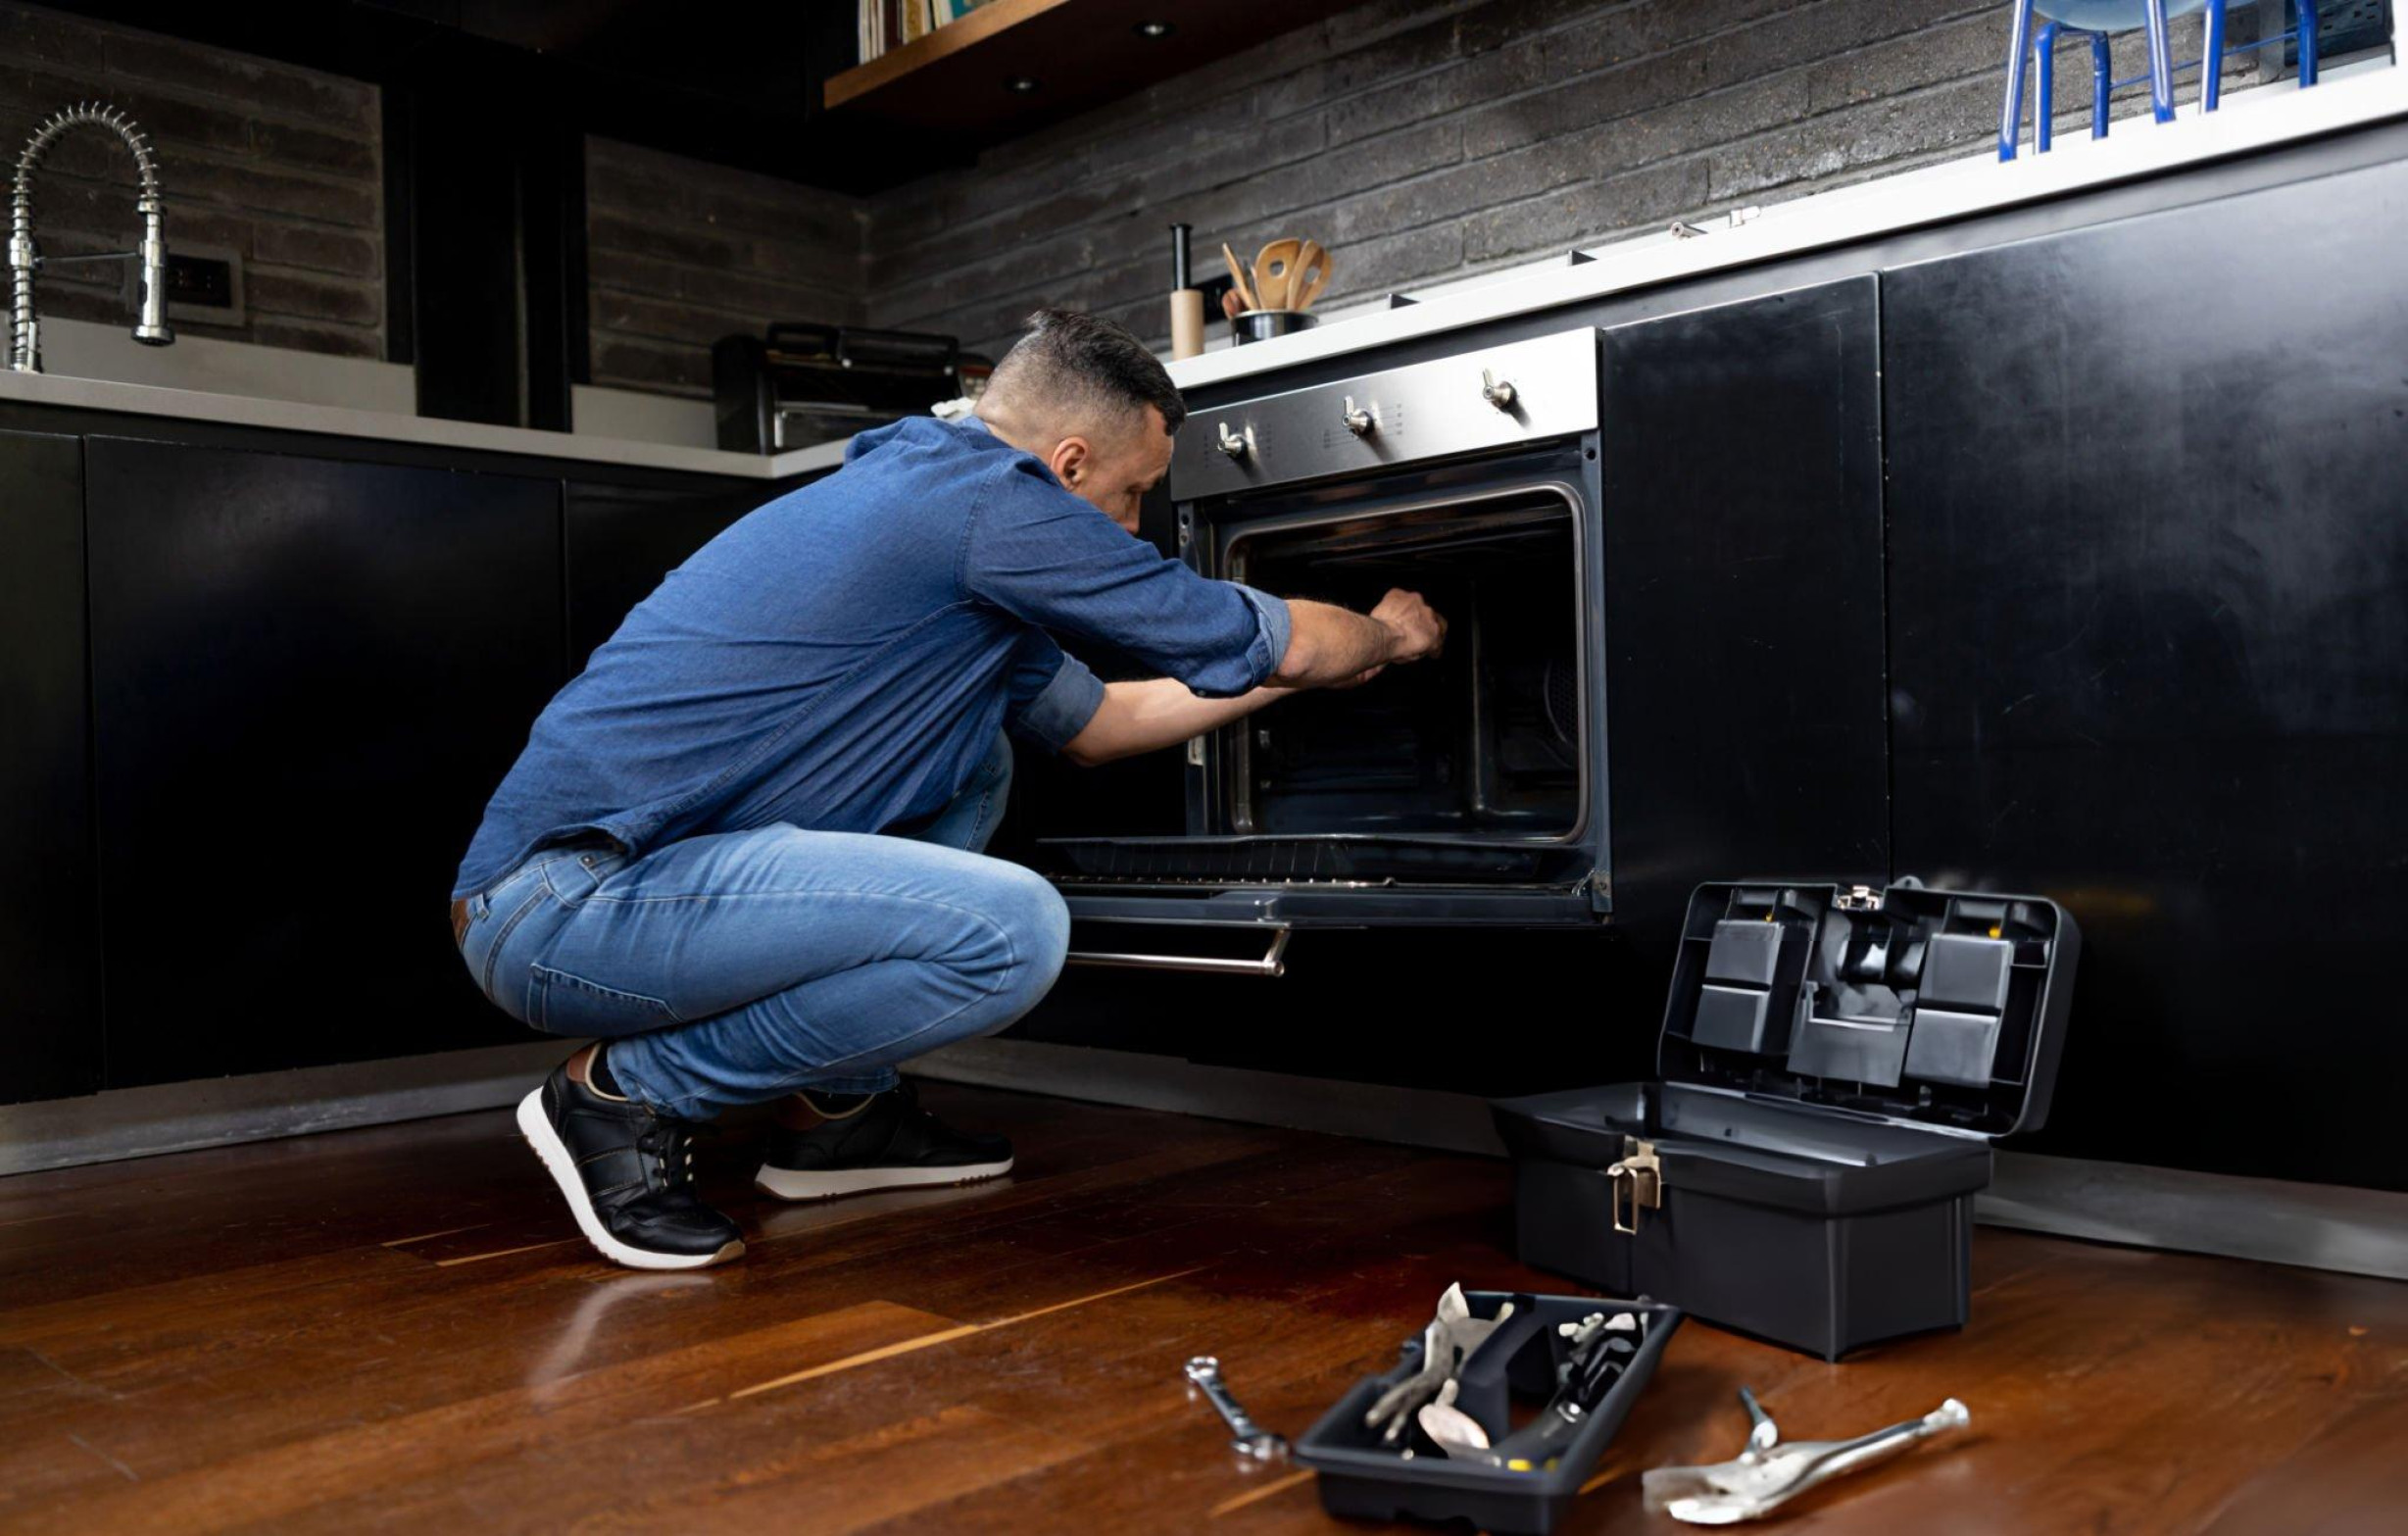
Understanding when your kitchen appliances are approaching the end of their useful life helps you plan replacements strategically rather than dealing with emergency breakdowns that force hasty decisions. Each type of kitchen appliance has typical lifespan expectations, and recognizing the warning signs of declining performance allows you to budget for replacements while avoiding the inconvenience and expense of sudden failures. Smart appliance replacement planning can save money while ensuring your kitchen continues functioning smoothly for your family’s daily needs. Most homeowners replace kitchen appliances reactively after they break down completely, often at the worst possible times and with limited options for research and comparison shopping. Taking a more strategic approach to appliance replacement allows you to take advantage of sales, coordinate with other home improvements, and choose appliances that better meet your current needs rather than simply replacing what you had before. Understanding Typical Appliance Lifespans Different kitchen appliances have varying expected lifespans based on their complexity, usage patterns, and construction quality. Understanding these general timelines helps you anticipate replacement needs and plan accordingly rather than being surprised by sudden failures. Refrigerators typically last 10-15 years with proper maintenance, though high-quality models can often operate effectively for 20 years or more. The compressor, door seals, and ice maker components usually show signs of wear first, while the basic cooling function often continues working long after other features begin failing. Ranges and cooktops generally provide 15-20 years of reliable service, with gas models often lasting longer than electric versions. The heating elements, igniters, and control systems tend to require attention before the overall appliance needs replacement, making partial repairs often worthwhile. Dishwashers usually need replacement after 8-12 years of regular use, though premium models with quality construction can last significantly longer. The pump, door seals, and control electronics typically fail before the basic washing mechanism, but repair costs often approach replacement costs for older units. Microwaves have relatively short lifespans of 8-10 years due to their complex electronics and frequent use. The magnetron and control board failures are common as units age, and repair costs usually exceed the value of older microwaves. Range hoods can last 15-20 years or more with proper maintenance, as their relatively simple mechanical systems resist wear better than complex appliances. Motor replacement and filter maintenance can extend their useful life significantly. Wall ovens typically provide 15-20 years of service, similar to ranges, with heating elements and control systems being the most common failure points that may justify repair rather than replacement. Warning Signs That Replacement Time Is Approaching Recognizing early warning signs of appliance decline allows you to plan replacements before complete failures occur, giving you time to research options and take advantage of favorable pricing rather than making emergency purchases. Increasing repair frequency often indicates that an appliance is entering its final years of useful life. When you’re calling for service multiple times per year or when repair costs start approaching 50% of replacement cost, replacement usually makes more financial sense. Performance degradation that affects daily use suggests approaching end of life even when the appliance still functions. Refrigerators that struggle to maintain temperature, dishwashers that leave dishes dirty, or ovens with uneven heating may be signaling time for replacement. Energy efficiency decline becomes noticeable as appliances age and components wear. Older appliances often consume significantly more energy than when new, making replacement worthwhile for both environmental and economic reasons. Noise increases often indicate wearing mechanical components that will likely lead to failure. While some noise issues can be repaired, persistent or worsening sounds usually suggest broader mechanical problems. Visible wear and damage like rust, cracking, or broken components often indicate that other, less visible problems are developing. When exterior condition deteriorates significantly, internal components are likely experiencing similar aging. Safety concerns should trigger immediate replacement consideration. Gas leaks, electrical problems, or mechanical failures that could cause injury or property damage require immediate attention and often justify replacement over repair. Repair Versus Replace Decision Making The decision to repair or replace aging appliances involves multiple factors beyond simple cost comparison. Understanding when repairs make sense helps you avoid throwing money at appliances that will likely fail again soon. The 50% rule provides a general guideline: if repair costs exceed 50% of replacement cost, replacement usually makes more financial sense, especially for appliances over halfway through their expected lifespan. Age considerations become crucial in repair decisions. Appliances in their final third of expected lifespan rarely justify expensive repairs, while newer appliances with single component failures often benefit from repair. Availability of parts affects repair feasibility for older appliances. Discontinued models may face limited parts availability or high costs that make repair impractical compared to replacement with modern alternatives. Energy efficiency improvements in newer models can justify replacement even when repairs are possible. Modern appliances often use 20-50% less energy than models from 10-15 years ago, providing ongoing savings that help justify replacement costs. Warranty considerations influence repair decisions for newer appliances. Units still under warranty should almost always be repaired rather than replaced, while out-of-warranty units require more careful cost analysis. Technology improvements in newer models may provide features that significantly improve convenience or performance compared to repairing older technology that lacks modern capabilities. Strategic Replacement Planning Planning appliance replacements strategically rather than reactively provides numerous advantages in terms of cost, convenience, and overall kitchen functionality. Budget planning allows you to spread replacement costs over time rather than facing large unexpected expenses. Setting aside funds regularly for appliance replacement makes major purchases more manageable when the time comes. Coordinated replacement can provide advantages when multiple appliances need attention around the same time. Package deals, coordinated styling, and single installation visits can reduce overall costs while ensuring design compatibility. Seasonal timing can provide significant cost savings through sales cycles and promotional periods. Many appliances go on sale during specific times of year, and avoiding emergency purchases allows you to take advantage of these savings. Kitchen renovation coordination allows appliance replacement to coincide with other improvements, potentially

How to Maintain and Care for Stainless Steel Appliances: Keep Your Kitchen Looking Brand New

Stainless steel appliances have become the gold standard in modern kitchens, and for good reason. They offer a sleek, professional appearance that works with virtually any design style while providing durability that lasts for decades. However, keeping stainless steel looking its best requires more than just occasional wiping down. Understanding proper care techniques will help your appliances maintain their stunning appearance and protect your investment for years to come. Many homeowners struggle with water spots, fingerprints, and streaks on their stainless steel surfaces. The good news is that with the right knowledge and techniques, maintaining stainless steel appliances becomes much easier. You don’t need expensive specialty products or professional cleaning services – just the right approach and consistent care. Understanding Your Stainless Steel Finish Not all stainless steel finishes are created equal. Most appliances use either brushed or polished stainless steel, and each requires slightly different care approaches. Brushed finishes have a directional grain that helps hide fingerprints and scratches, while polished finishes offer a mirror-like shine but show marks more easily. The grain direction in brushed stainless steel is crucial for proper cleaning. Always clean in the direction of the grain, never against it. Cleaning against the grain can create scratches and make your appliances look dull over time. If you’re unsure about the grain direction, look closely at the surface in good light – you should be able to see the subtle lines that indicate which way to clean. Some manufacturers apply protective coatings or special finishes to their stainless steel appliances. These fingerprint-resistant finishes make daily maintenance easier but may require specific care instructions. Check your appliance manual for any special requirements before using cleaning products. Understanding the grade of stainless steel also helps with care decisions. Higher grades like 304 stainless steel resist corrosion better and are easier to maintain than lower grades. This information is usually available in your appliance documentation. Daily Cleaning Routine That Works The key to beautiful stainless steel appliances is consistent daily care rather than intensive deep cleaning sessions. Developing a simple routine prevents buildup of grease, fingerprints, and water spots that become harder to remove over time. Start each day by wiping down your appliances with a clean, damp microfiber cloth. Microfiber is ideal because it picks up dust and light soil without scratching the surface. Always wipe in the direction of the grain, using long, smooth strokes rather than circular motions. For everyday cleaning, warm water often works perfectly well without any cleaning products. This gentle approach prevents chemical buildup while removing surface dirt and fingerprints. Dry immediately with a clean, dry microfiber cloth to prevent water spots from forming. Pay special attention to high-touch areas like handles, control panels, and the areas around faucets. These spots accumulate oils from hands and need more frequent attention. A quick daily wipe prevents these oils from building up and becoming harder to remove. Don’t forget about the sides and back of appliances that are visible in your kitchen. Dust and grease can settle on these surfaces, making your appliances look dingy even if the fronts are clean. The Right Products for Stainless Steel Care While many commercial stainless steel cleaners are available, you don’t always need specialty products to keep your appliances looking great. Some of the most effective cleaning solutions are probably already in your kitchen. Dish soap mixed with warm water creates an effective, gentle cleaner for most stainless steel surfaces. Use just a few drops of mild dish soap in a spray bottle filled with warm water. This solution cuts through grease and fingerprints without being harsh on the finish. White vinegar works exceptionally well for removing water spots and mineral deposits. Mix equal parts white vinegar and water in a spray bottle for tough spots. The acidity in vinegar dissolves mineral buildup that plain water can’t remove. Always rinse thoroughly after using vinegar to prevent any potential etching. For stubborn fingerprints and smudges, rubbing alcohol on a microfiber cloth can be very effective. The alcohol evaporates quickly, reducing the chance of streaking while cutting through oils from fingerprints. Commercial stainless steel cleaners can be useful for weekly deep cleaning or particularly stubborn spots. Look for products specifically designed for stainless steel rather than general-purpose cleaners. These products often contain oils that help protect the finish while cleaning. Baby oil or mineral oil can add shine and create a protective barrier against fingerprints when used sparingly. Apply a tiny amount to a microfiber cloth and wipe in the direction of the grain. This technique works particularly well on refrigerator doors and other high-touch surfaces. What to Avoid: Products That Can Damage Stainless Steel Knowing what not to use is just as important as knowing what works well. Many common household cleaners can damage stainless steel finishes permanently, so avoiding these products protects your investment. Bleach and chlorine-based cleaners can cause pitting and discoloration in stainless steel. Even small amounts can start corrosion processes that worsen over time. If you accidentally use a chlorine product, rinse thoroughly with clean water immediately. Abrasive cleaners, steel wool, and scouring pads will scratch stainless steel finishes. Once scratches occur, they’re very difficult to remove and can make your appliances look worn and old. Stick to soft cloths and non-abrasive cleaning tools. Ammonia-based cleaners can discolor stainless steel and should be avoided. Many glass cleaners contain ammonia, so check labels carefully before using any cleaning product on your appliances. Cleaners containing hydrochloric acid, muriatic acid, or other strong acids can permanently damage stainless steel. These ingredients are sometimes found in rust removers and heavy-duty bathroom cleaners. Paper towels, while convenient, can actually scratch stainless steel surfaces and leave lint behind. The rough texture of paper towels makes them unsuitable for delicate finishes. Stick to microfiber cloths for best results. Never use oven cleaner on stainless steel surfaces, even if part of your range or oven has stainless steel exterior panels. These cleaners are far too harsh and will damage the finish. Removing