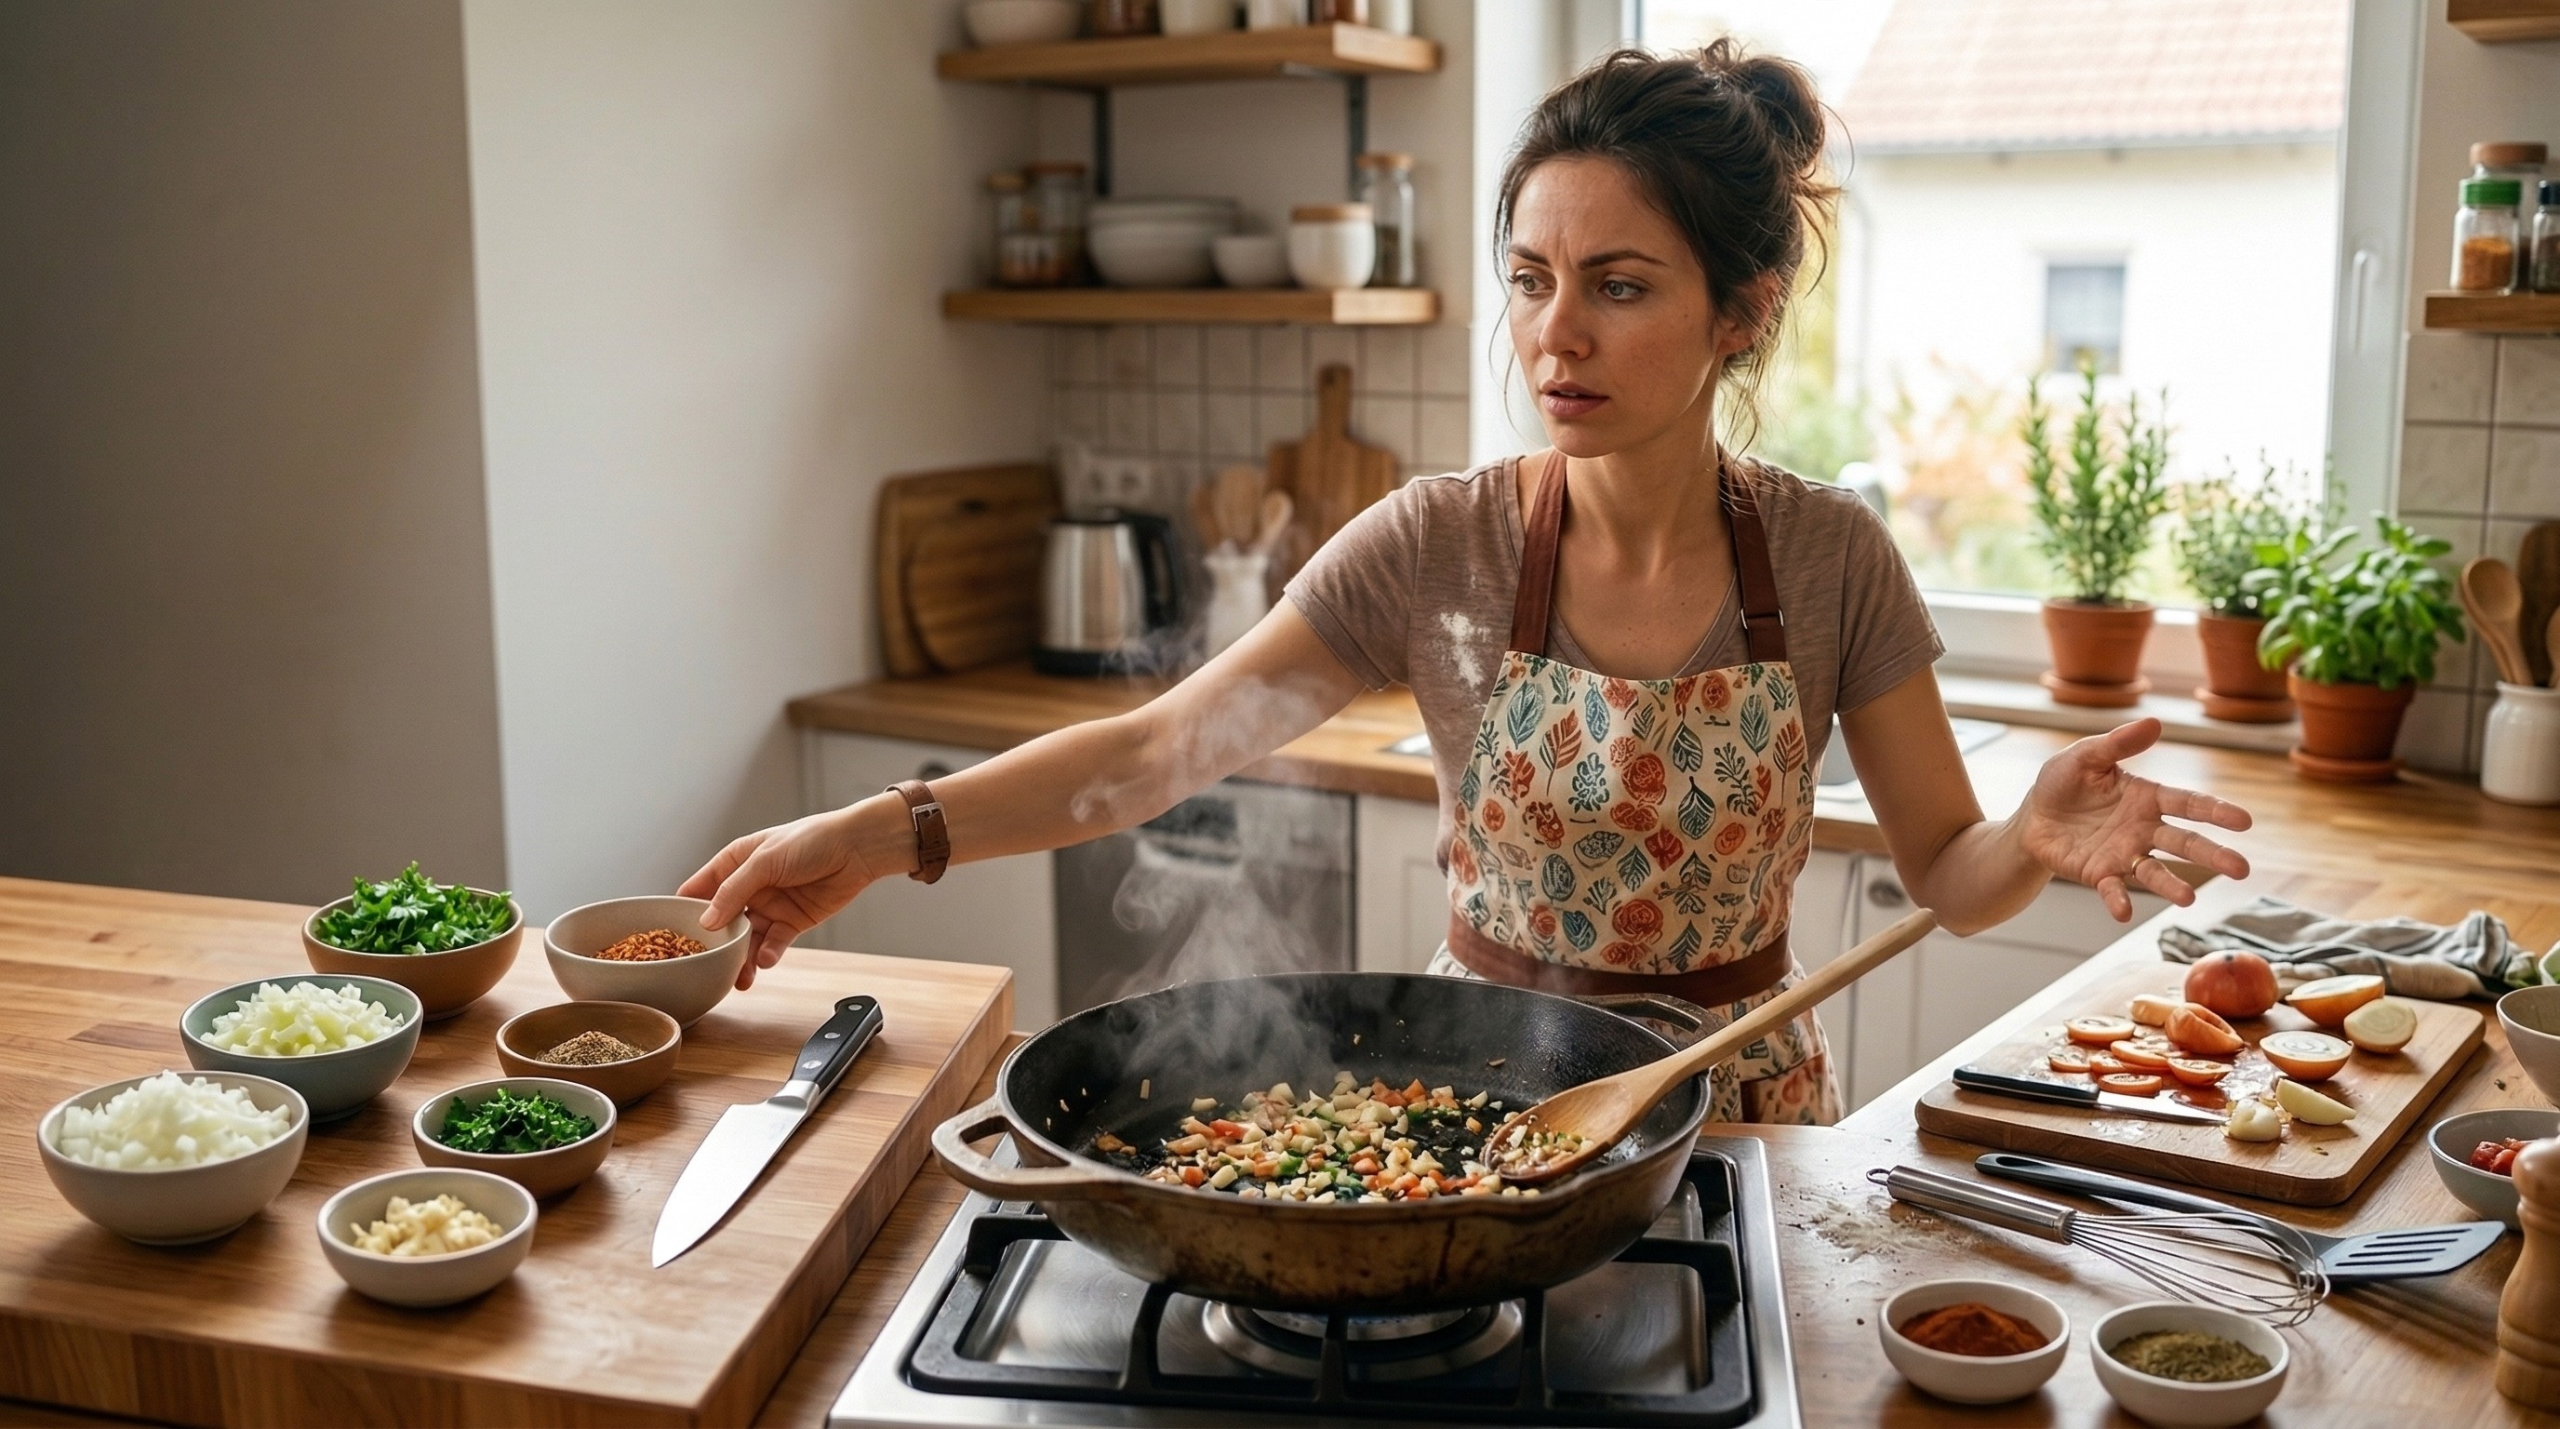
Why Your Kitchen Lighting Is Making Cooking Harder
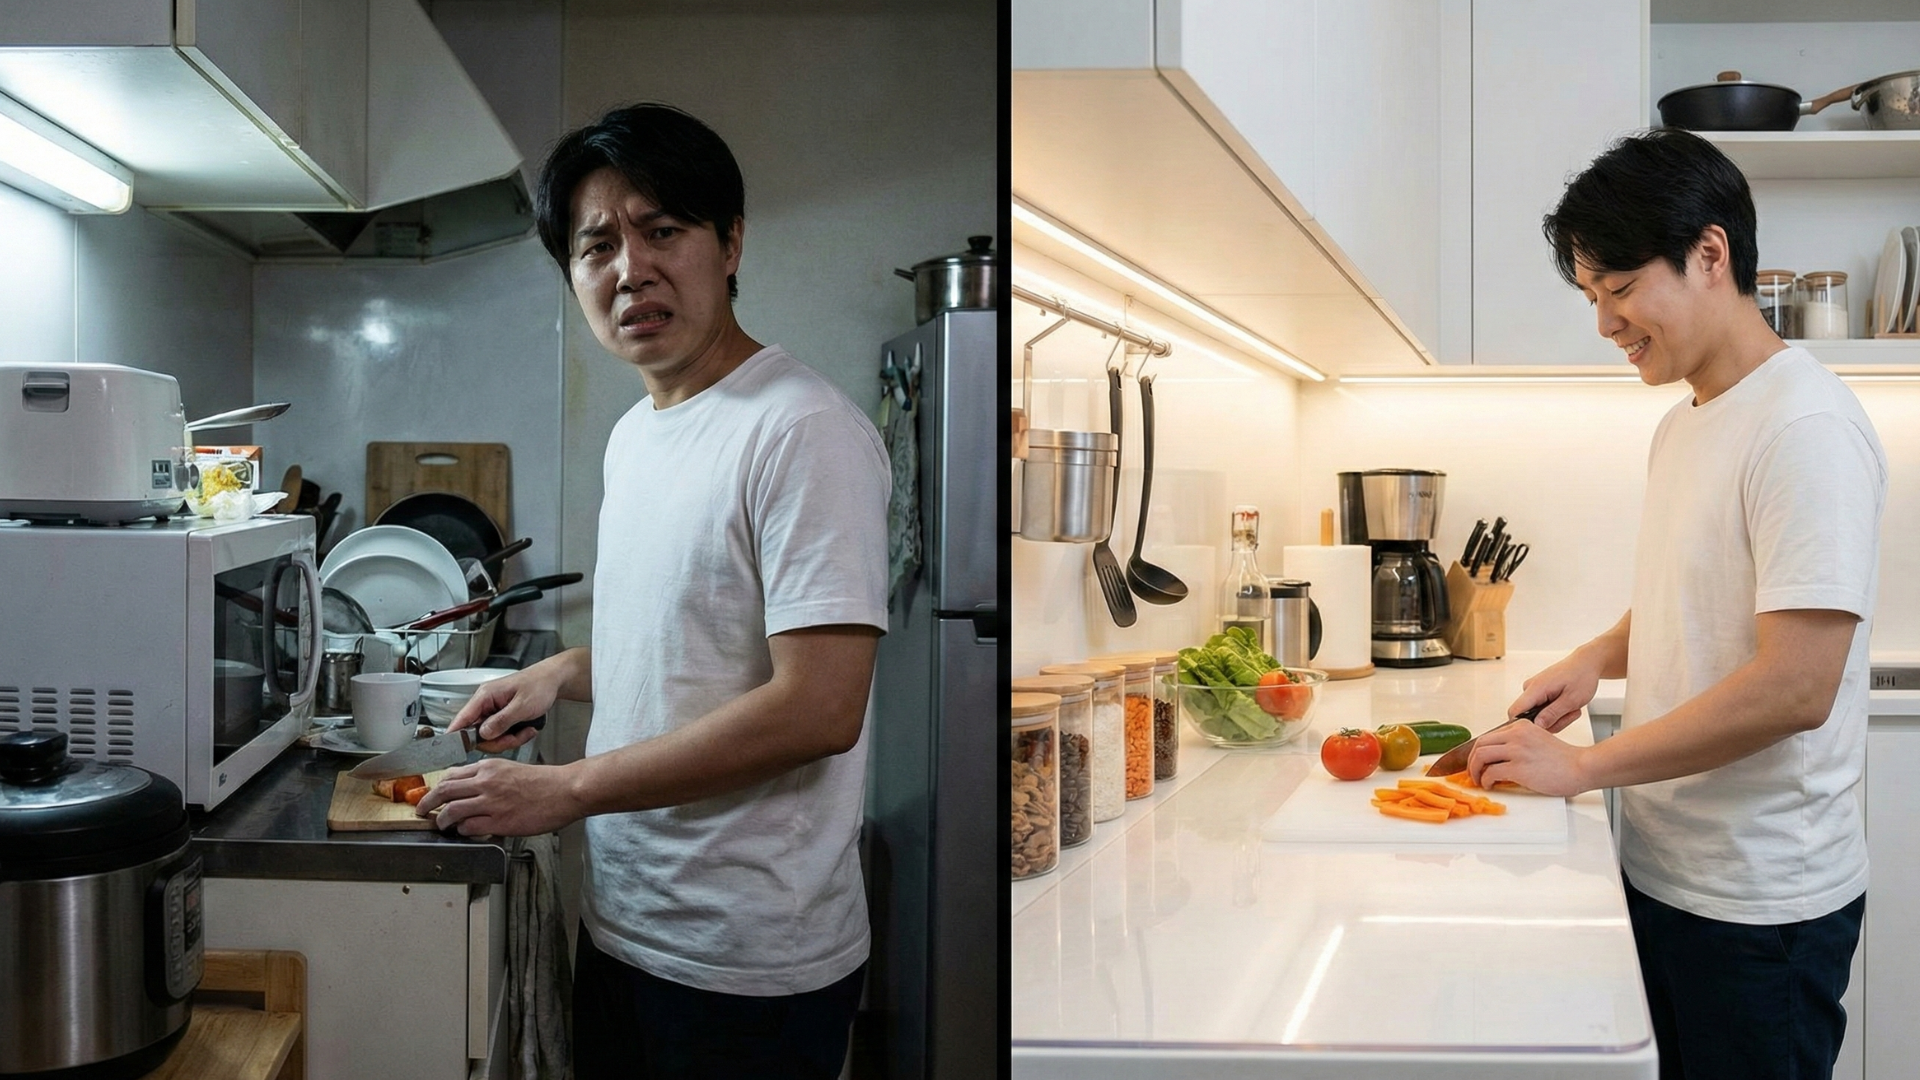
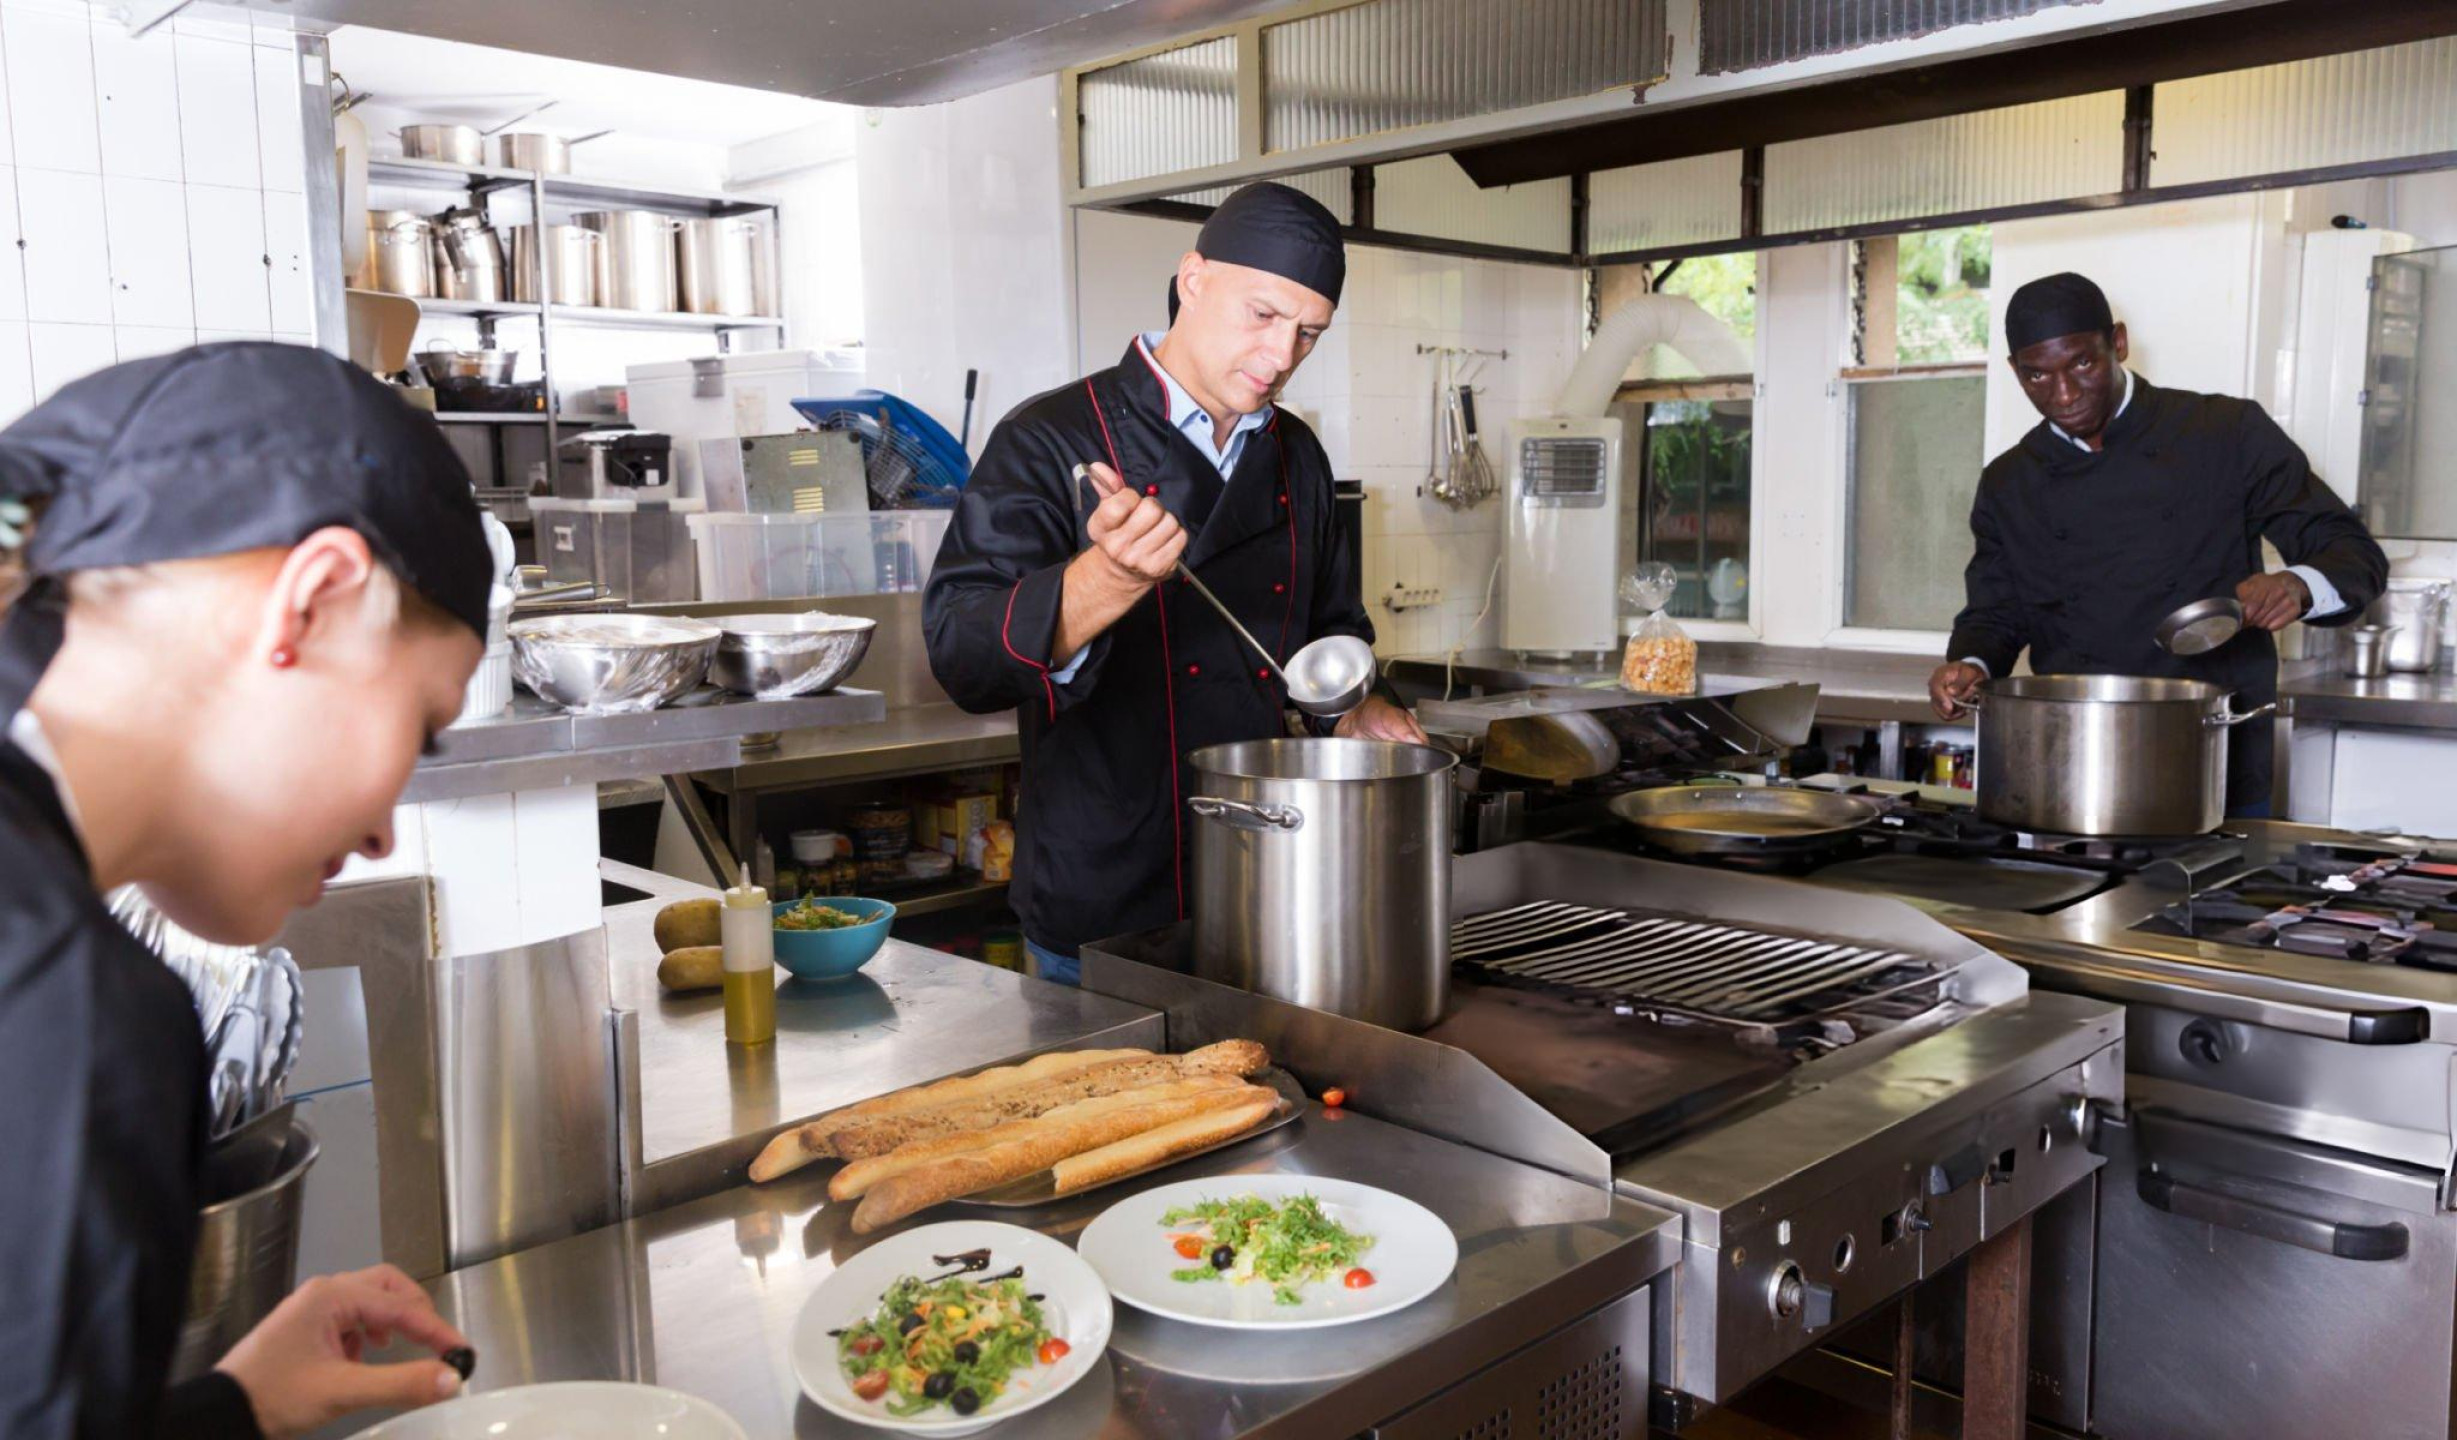
You’re chopping vegetables in your own shadow. The stove sits in darkness while overhead lights glare into your eyes. You can’t tell if chicken is browned or burned because the lighting angle hides the surface. Most kitchen lighting prioritizes general room illumination over task-specific visibility. Overhead fixtures light the room but cast shadows exactly where you work. Ambient lighting looks pleasant but doesn’t help you see knife work, stovetop cooking, or food prep details. Good kitchen lighting puts light where you’re actually working—on the cutting board, into the pots, across the counter surface. This requires different fixtures, different placement, and different thinking than standard room lighting provides. Here’s why standard kitchen lighting fails at supporting cooking tasks, where light actually needs to go, and how to fix lighting problems without rewiring your entire kitchen. Overhead Lights Create Shadows Where You Work Central ceiling fixtures illuminate the room. They don’t illuminate your work surfaces because your body blocks the light. Standing at the counter with overhead lighting puts you between the light source and the work surface. Your body casts shadow directly onto the cutting board, mixing bowl, or whatever you’re working on. The taller you are, the worse this problem becomes. Tall cooks create larger shadows. Short cooks working at standard counter height face similar issues from overhead fixtures. Overhead lighting works for walking through the kitchen or viewing the room. It fails completely for detailed work requiring visibility. This explains why you can’t see knife work clearly despite having “plenty of light” in the kitchen. The light exists but doesn’t reach where you need it. Overhead fixtures should provide ambient lighting only. They cannot and should not be your primary task lighting. Under-Cabinet Lighting Is Non-Negotiable Under-cabinet lights mounted beneath upper cabinets shine directly onto counter work surfaces eliminating shadows your body creates. The fixtures sit in front of you at cabinet height pointing downward. This angle puts light exactly where knife work, mixing, and counter prep happen. LED strip lights installed under cabinets provide continuous lighting across counter length. The strips are thin, inexpensive, and easy to install with adhesive backing and plug-in power. Puck lights create spotlight pools of light. These work better for focused task areas than general counter lighting. Use multiple pucks for even coverage. Under-cabinet lighting transforms counter work visibility. The difference between chopping with and without under-cabinet lights is night and day. This isn’t luxury lighting. It’s functional task lighting that actually supports cooking work. Kitchens without under-cabinet lighting are fundamentally underlit for prep work regardless of how many overhead fixtures exist. Your Stove Lives in Darkness Most kitchens position the stove without dedicated lighting. The range hood light is often the only illumination directly above cooking. Overhead fixtures can’t light inside pots. The pot rim creates shadow hiding the food you’re actually cooking. You’re guessing about browning, simmering, or doneness because you can’t see clearly. Range hood lights help but often provide weak illumination. Many hood lights are dim, poorly angled, or blocked by the hood itself. Poor stove lighting causes overcooking and undercooking. You can’t monitor visual doneness cues when you can’t see the food properly. Searing steak requires watching color change. Making caramel demands seeing exact amber shade. Scrambling eggs needs visibility of moisture level. All of these depend on adequate lighting directly above and into cookware. If you’re tilting pots toward ambient light to see inside them, your stove lighting is inadequate. Upgrade range hood bulbs to brightest compatible LED options. Add supplemental lighting aimed at the stovetop if hood lighting remains insufficient. Task Lighting Needs to Be Bright Ambient lighting aims for pleasant atmosphere. Task lighting needs to be substantially brighter for detailed work. The lumens required for reading a recipe, checking knife work, or inspecting food for doneness exceed comfortable ambient lighting levels by significant margins. Many kitchens use uniform lighting throughout attempting to create cohesive look. This compromises task areas that need concentrated bright light. Under-cabinet LED strips should produce 300-500 lumens per foot of counter. Lower output creates insufficient lighting for detailed work. Brightness matters more for task lighting than ambient lighting. You can’t compensate for dim task lights by adding more ambient light. They serve different purposes. Don’t rely on ambient lighting to support detailed work. Install dedicated task lighting that’s substantially brighter than room lighting. Color Temperature Affects Food Appearance Light color temperature measured in Kelvin dramatically changes how food looks during cooking. Warm light (2700-3000K) creates yellow/orange cast. Food appears warmer and more appealing but color accuracy suffers. Judging browning becomes difficult under warm lighting. Cool light (5000-6500K) produces blue/white illumination showing colors more accurately. This helps assess doneness, browning, and ingredient freshness more reliably. Neutral light (3500-4000K) balances accuracy and warmth. This middle ground works well for kitchens needing both function and atmosphere. Most kitchen lighting skews warm because it’s considered more flattering and inviting. This aesthetic choice compromises cooking functionality. Consider cooler temperature bulbs for task lighting even if ambient lighting stays warm. The mixed temperatures serve different purposes without conflicting. Use 4000-5000K bulbs in under-cabinet lighting and range hoods for accurate color rendering during cooking tasks. Dimmer Switches Create Problems Dimmers allow adjusting light levels for ambiance. They also create situations where task lighting becomes inadequate. Someone dims the lights for dinner mood. Later you start cooking in that dimmed lighting without thinking to brighten it. Now you’re working in insufficient light. Dimmers on task lighting are particularly problematic. Under-cabinet lights and hood lights should operate at full brightness always. These aren’t mood lights—they’re work lights. Ambient lighting can and should be dimmable. Task lighting should not. Separate the controls so dimming ambient lights doesn’t affect work area lighting. If your task lights share circuits with dimmable ambient lights, you’re compromising functionality for aesthetic control. Install task lighting on dedicated circuits without dimmer switches. Leave dimming capability for ambient fixtures only. Natural Light Isn’t Reliable Kitchens with windows get praised for natural light. This light varies dramatically by