Cleaning

How to Clean Kitchen Light Fixtures and Ceiling Fans: A Step-by-Step Guide

Keeping your kitchen light fixtures and ceiling fans clean is essential not only for maintaining their appearance but also for ensuring they operate efficiently. Dust, grease, and grime can accumulate quickly in these areas, affecting the quality of light and airflow. Here’s a comprehensive guide to help you clean your kitchen light fixtures and ceiling fans effectively. Cleaning Light Fixtures 1. Safety First Before starting any cleaning, ensure safety: 2. Gather Your Supplies You’ll need: 3. Dust and Remove Debris 4. Clean the Fixture 5. Reassemble and Test Cleaning Ceiling Fans 1. Safety Precautions Before cleaning your ceiling fan: 2. Gather Your Supplies You’ll need: 3. Dust the Blades 4. Clean the Fan’s Housing 5. Reassemble and Test Additional Tips Cleaning your kitchen light fixtures and ceiling fans may seem like a daunting task, but with the right techniques and tools, it can be straightforward and effective. Regular cleaning not only enhances the look of your kitchen but also ensures that your fixtures and fans operate efficiently. By following these steps, you can maintain a clean, bright, and well-ventilated kitchen environment.

Best Practices for Cleaning and Sanitizing Your Kitchen: A Comprehensive Guide

A clean kitchen is the cornerstone of a healthy home. Regular cleaning and sanitizing not only keep your kitchen looking its best but also ensure that it’s free from harmful bacteria and germs. Whether you’re cooking daily meals or preparing for special events, maintaining a hygienic kitchen is essential. In this post, we’ll explore the best practices for cleaning and sanitizing your kitchen to create a safe and pleasant cooking environment. Develop a Cleaning Routine Establishing a consistent cleaning routine is crucial for maintaining kitchen hygiene. Aim to clean and sanitize your kitchen daily to prevent the buildup of grime and bacteria. Break down your cleaning tasks into daily, weekly, and monthly routines to ensure comprehensive maintenance. Daily Tasks: Weekly Tasks: Monthly Tasks: Focus on High-Touch Areas High-touch areas in the kitchen are prone to contamination and require special attention. These include handles, knobs, and faucets. To effectively clean and sanitize these areas: Use the Right Cleaning Products Choosing the right cleaning products is essential for effective sanitation. Opt for: Prioritize Food Safety Proper food handling and storage are key to preventing foodborne illnesses. Follow these food safety practices: Clean Kitchen Tools and Equipment Kitchen tools and equipment can harbor bacteria if not cleaned properly. Follow these practices: Maintain a Clean Sink The kitchen sink can be a breeding ground for bacteria. Keep it clean by: Keep Air Vents and Filters Clean Air vents and filters help maintain air quality in the kitchen. Regular maintenance includes: A clean and sanitized kitchen is vital for both health and efficiency. By following these best practices, you can create a safe and enjoyable cooking environment. Develop a regular cleaning routine, focus on high-touch areas, prioritize food safety, and use appropriate cleaning products to maintain a hygienic kitchen. With consistent effort and attention to detail, you’ll ensure that your kitchen remains a clean and welcoming space for all your culinary adventures.

How to Keep Your Kitchen Smelling Fresh

A fresh-smelling kitchen is essential for maintaining a pleasant and inviting home environment. Cooking, garbage, and even lingering odors from past meals can contribute to unpleasant smells that can quickly take over the space. Fortunately, with a few simple tips and tricks, you can keep your kitchen smelling fresh all day long. In this blog post, we’ll explore effective strategies for preventing and eliminating kitchen odors, ensuring your kitchen remains a welcoming space for cooking and gathering. Regularly Clean and Empty the Trash One of the most common sources of kitchen odors is the trash can. Food scraps, packaging, and other waste can quickly produce unpleasant smells, especially in warm weather. Here’s how to manage it: Clean Your Sink and Drain Food particles and grease can accumulate in your sink and drain, leading to bad odors over time. Keeping these areas clean is key: Ventilate Your Kitchen Proper ventilation is crucial for preventing cooking odors from lingering in your kitchen. Here are a few ways to improve airflow: Eliminate Odors with Natural Deodorizers Instead of relying on synthetic air fresheners, try these natural solutions to keep your kitchen smelling fresh: Clean Appliances Regularly Your kitchen appliances can harbor odors if not cleaned regularly. Here’s how to keep them fresh: Prevent Odors from Developing Proactive measures can help prevent odors from developing in the first place: Maintaining a fresh-smelling kitchen is all about consistency and a few simple habits. By regularly cleaning your appliances, properly ventilating your space, and using natural deodorizers, you can keep your kitchen smelling clean and inviting. Whether you’re cooking up a feast or just enjoying a quiet cup of tea, these tips will help ensure that your kitchen remains a pleasant place to be.

The Role of Range Hoods in Air Quality: Keeping Your Kitchen Healthy

When we think about maintaining a healthy home, the kitchen is often at the top of the list. It’s the heart of the home, where meals are prepared, conversations flow, and delicious aromas fill the air. However, the kitchen can also be a source of pollutants, especially from cooking activities. Whether you’re sautéing vegetables, grilling meat, or simmering soup, your cooking can release smoke, steam, and airborne particles into the air. This is where range hoods play a crucial role. Why Range Hoods Are Essential for Kitchen Air Quality A range hood, often mounted above the stove or cooktop, helps to improve air quality by removing airborne contaminants. These contaminants include grease particles, smoke, odors, and excess moisture. Without a range hood, these substances can linger in your kitchen, eventually spreading to other areas of your home. Over time, this can lead to poor indoor air quality, which can cause respiratory issues, allergies, and unpleasant odors. How Range Hoods Work Range hoods come equipped with fans and filters that trap and remove airborne particles. Depending on the type of hood, they may either vent the air outside (ducted) or recirculate filtered air back into the kitchen (ductless). Here’s how each type works: The Health Benefits of Using a Range Hood Maintaining Your Range Hood for Maximum Efficiency To keep your range hood working effectively, regular maintenance is essential: Choosing the Right Range Hood for Your Kitchen When selecting a range hood, consider factors like your kitchen size, the type of stove you have, and the amount of cooking you typically do. For heavy cooking, a high-powered, ducted range hood will provide superior air quality and ventilation. If your kitchen doesn’t allow for ducting, a ductless option can still provide significant benefits, especially if equipped with a high-quality filter. In addition to adding a sleek, modern touch to your kitchen, range hoods are a key component in maintaining good indoor air quality. Whether you’re cooking up a storm or just preparing a simple meal, using a range hood ensures that you’re removing harmful pollutants and keeping your home environment healthy. Regular maintenance will ensure your range hood continues to function at its best, giving you peace of mind that your kitchen remains a safe and pleasant space for your family to enjoy.

Cleaning Your Wall Oven: Best Practices for a Spotless Appliance

Your wall oven is a vital part of your kitchen, but keeping it clean can be challenging with regular cooking and baking. A spotless oven not only looks great but also ensures better performance and longevity. Here’s a guide to cleaning your wall oven using effective practices that will make the task much easier! Regular Maintenance: Wipe Spills Immediately One of the easiest ways to keep your wall oven clean is by tackling spills as soon as they happen. After each use, allow the oven to cool down slightly and use a damp cloth to wipe away grease, food splatters, or spills before they harden. This prevents buildup and makes deep cleaning less daunting. Deep Cleaning with Natural Solutions For deep cleaning, you can skip harsh chemicals and use a homemade baking soda and vinegar solution: This method is safe, effective, and environmentally friendly. Self-Cleaning Function: How and When to Use It If your wall oven has a self-cleaning feature, it’s a great tool for removing grime. Here’s how to use it safely: Only use the self-cleaning function occasionally, as frequent use can wear down oven components. Cleaning the Oven Door The glass door of your oven often collects grease and fingerprints. Here’s a quick method to clean it: For baked-on grease, you can apply a baking soda paste and let it sit for 15 minutes before wiping it off. Don’t Forget the Racks Your oven racks can also accumulate grease over time. To clean them: Inspect the Gasket The rubber gasket around the oven door helps maintain the oven’s temperature. If it becomes dirty or damaged, it can lead to heat loss. Gently wipe the gasket with a damp cloth and inspect it regularly for any wear or tears. Preventing Future Buildup To keep your wall oven cleaner for longer, consider these tips: Regular cleaning and maintenance will not only keep your wall oven looking spotless but will also enhance its efficiency and extend its life. By following these best practices, you’ll save time and avoid heavy-duty scrubbing down the road. Whether it’s quick wipe-downs or deep cleaning with natural solutions, a little effort goes a long way in ensuring your wall oven continues to perform its best!

The Best Way to Remove Stains from Kitchen Towels

Kitchen towels are indispensable in any kitchen, but they can quickly become stained and unsightly from everyday use. From spilled sauces to greasy fingerprints, these stains can be tough to remove, especially if they’re left untreated for too long. Fortunately, with the right techniques and a few household products, you can restore your kitchen towels to their original pristine condition. Here’s a comprehensive guide to the best ways to remove stains from kitchen towels. Act Quickly The sooner you address a stain, the easier it will be to remove. Blot the stain gently with a clean cloth or paper towel to absorb excess liquid. Avoid rubbing, as this can push the stain deeper into the fibers. Pre-Treat with Stain Remover For stubborn stains, a pre-treatment can be highly effective. Apply a stain remover or a mixture of baking soda and water directly to the stained area. Let it sit for 15-30 minutes before washing. DIY Stain Remover Recipe: Use Vinegar and Baking Soda Vinegar and baking soda are powerful natural cleaners. For tough stains, add 1 cup of white vinegar to your washing machine’s rinse cycle, or sprinkle baking soda directly on the stain before washing. Both ingredients help to lift stains and neutralize odors. Steps: Try Hydrogen Peroxide Hydrogen peroxide is effective for removing a variety of stains, including blood and coffee. Apply a small amount directly to the stain and let it sit for 10-15 minutes before rinsing. Steps: Lemon Juice and Salt For grease stains, lemon juice and salt can work wonders. The acidity of the lemon juice helps break down grease, while the salt acts as a gentle abrasive. Steps: Boiling Water for Persistent Stains Boiling water can be an effective method for removing persistent stains, especially those caused by tea or coffee. Steps: Use Oxygen Bleach Oxygen bleach is a safer alternative to chlorine bleach and can be used to remove tough stains without damaging the fabric. Follow the package instructions for the correct amount to use. Steps: Avoid Fabric Softeners Fabric softeners can build up on towels over time and make stains harder to remove. Instead, use vinegar in the rinse cycle to keep your towels soft without the buildup. Drying and Maintenance After washing, check if the stains are gone before drying, as heat can set stains. If necessary, repeat the stain removal process. For best results, air-dry your towels or use a low-heat setting in the dryer. Removing stains from kitchen towels can be a straightforward process if you act quickly and use the right methods. With these tips and tricks, you’ll be able to keep your kitchen towels looking fresh and clean, no matter how messy your cooking adventures get. Remember, regular maintenance and prompt treatment are key to keeping your towels in top shape! Do you have any tried-and-true methods for removing stains from kitchen towels? Share your tips in the comments!

How to Choose and Maintain Kitchen Towels for Different Cleaning Tasks

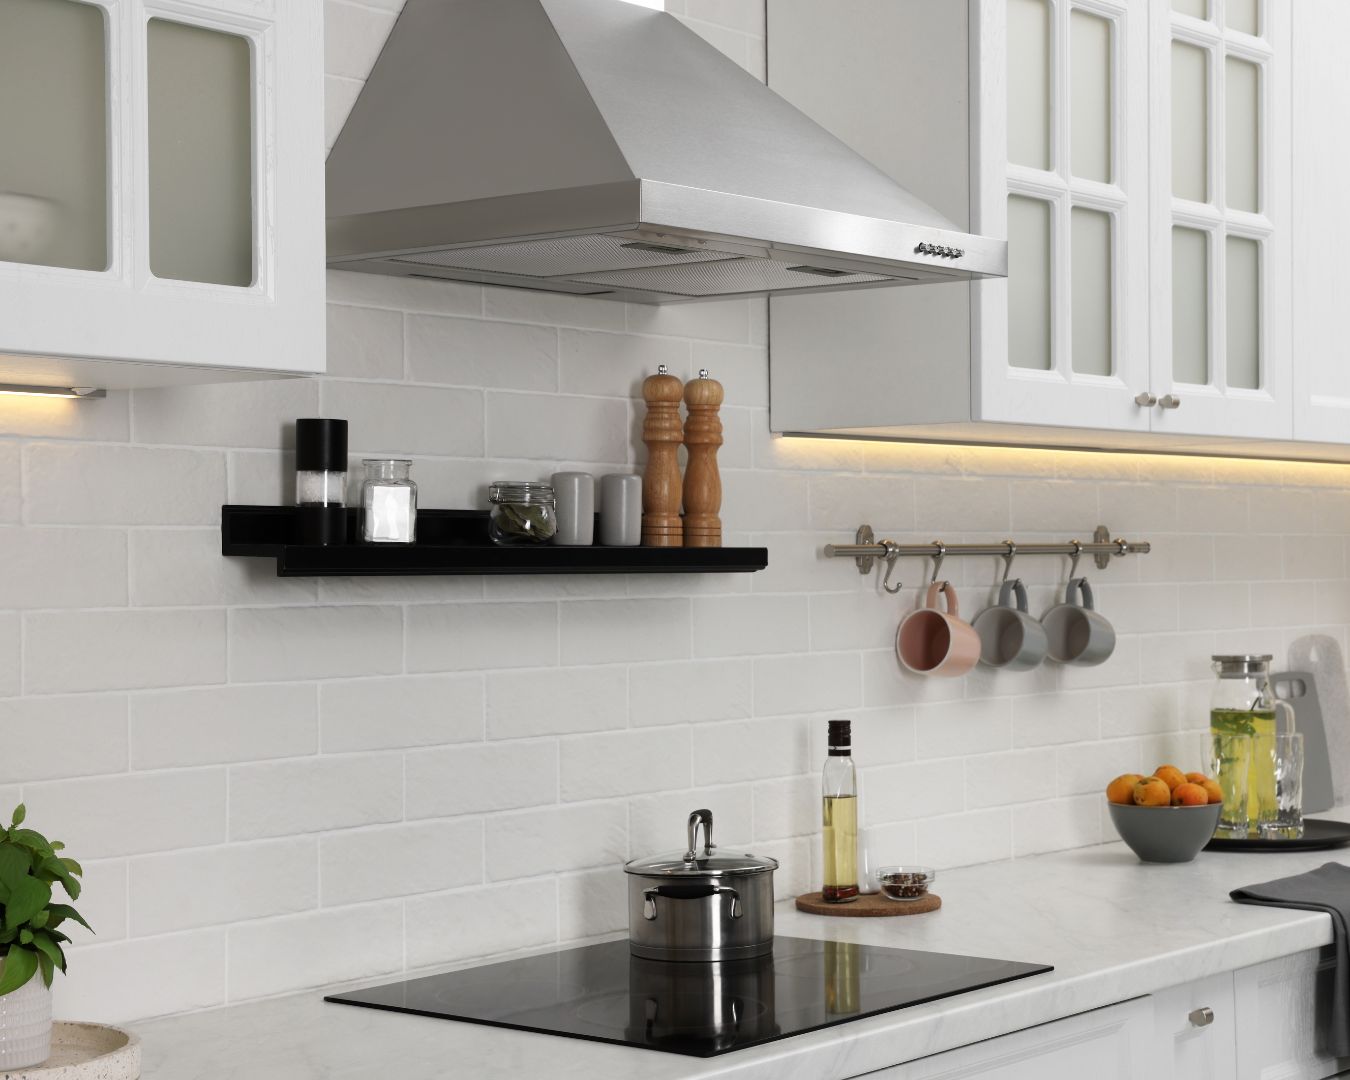
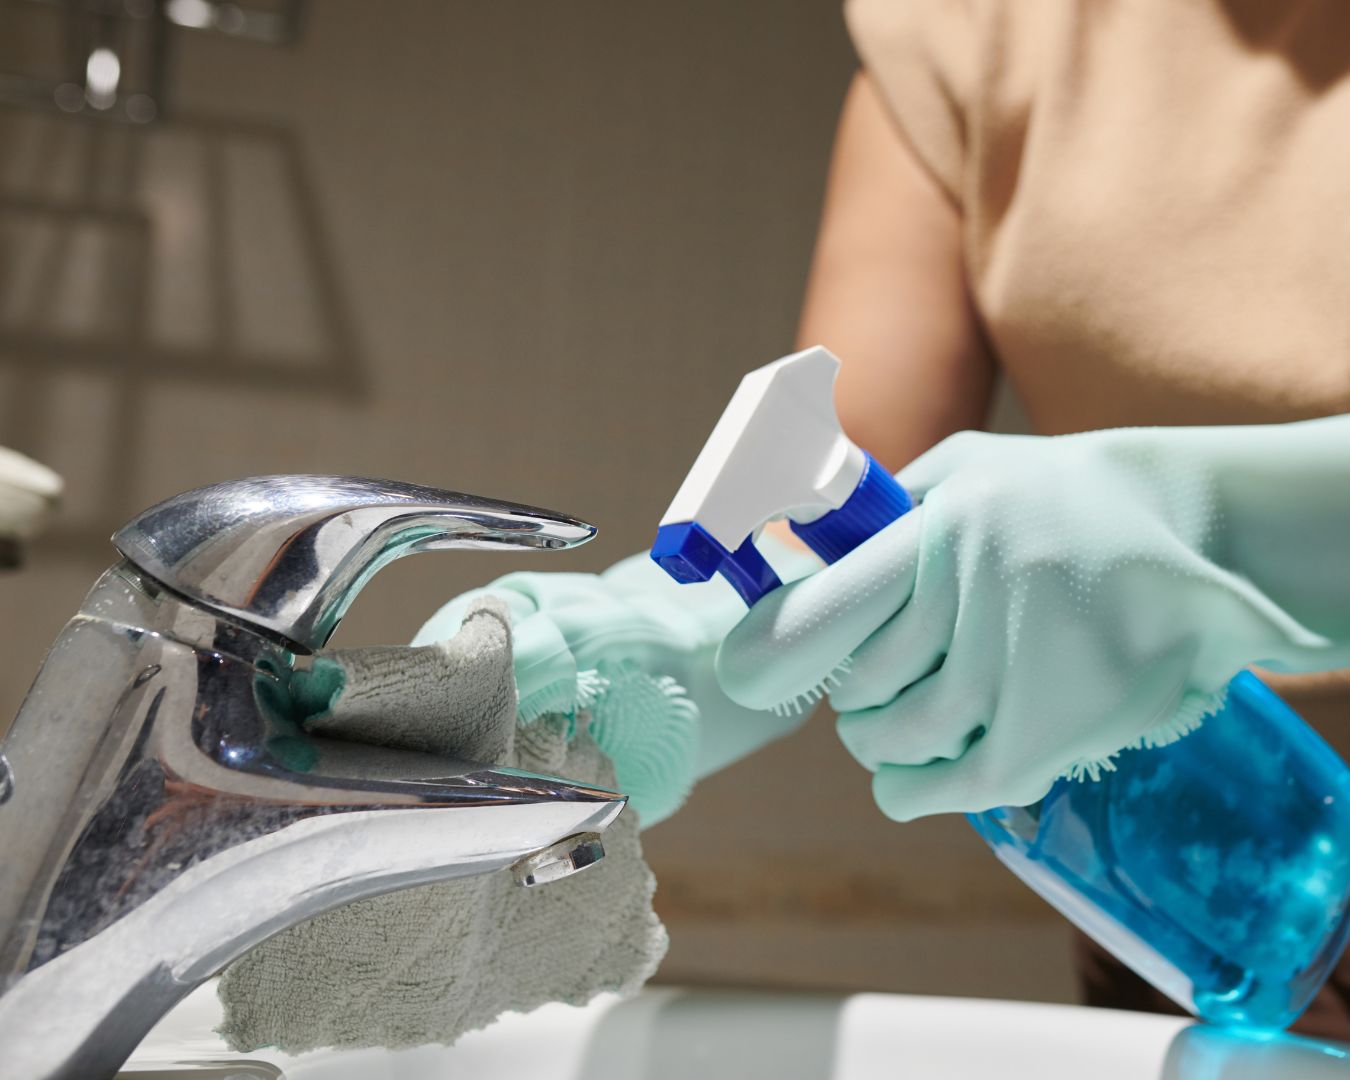
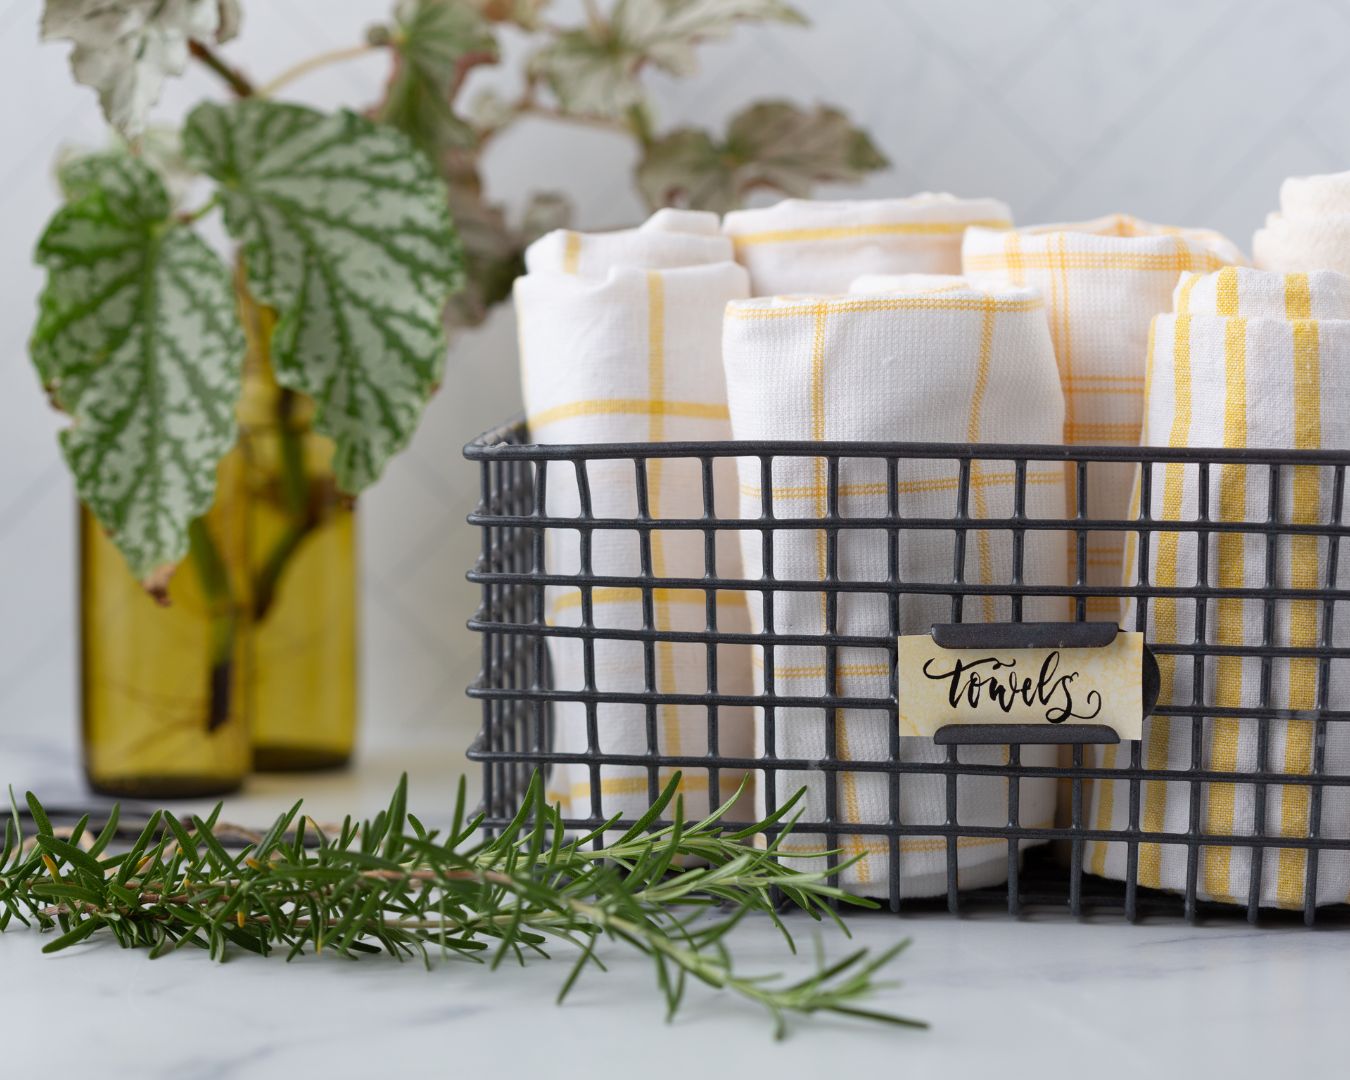
Kitchen towels are an essential tool for keeping your kitchen clean and efficient. However, not all kitchen towels are created equal, and selecting the right ones for different tasks—whether drying dishes, wiping counters, or handling hot pans—can make a significant difference. Maintaining them properly is also key to ensuring their longevity and keeping your kitchen hygienic. Here’s a comprehensive guide on how to choose the best kitchen towels for various tasks and tips for maintaining them. Choosing the Right Kitchen Towels for Different Tasks When selecting kitchen towels, consider the type of material and size best suited for each specific cleaning or cooking task. a) Cotton Towels for General Cleaning and Drying Cotton towels are soft, absorbent, and ideal for general kitchen tasks such as drying dishes, wiping countertops, and cleaning spills. b) Microfiber Towels for Detailed Cleaning Microfiber towels are excellent for tasks that require precision, like wiping down appliances or polishing glass surfaces. These towels trap dust and grime effectively without leaving streaks behind. c) Terry Cloth Towels for Absorbing Spills Terry cloth towels, with their looped texture, are ideal for soaking up large spills or wiping up messes in the kitchen. d) Flour Sack Towels for Baking and Proofing Flour sack towels are lightweight, thin, and made from soft cotton. These towels are great for tasks that require a delicate touch, like covering bread dough while it proofs or drying freshly washed fruits and vegetables. e) Lint-Free Towels for Glassware When drying glassware or crystal, you’ll want to avoid towels that leave lint behind. Linen or specially designed glass-drying towels are ideal for this task. Maintaining Your Kitchen Towels Once you’ve selected the right towels for your kitchen, proper maintenance will ensure they stay clean, fresh, and in good condition. a) Wash Kitchen Towels Regularly Kitchen towels, especially those used for drying hands or wiping surfaces, should be washed frequently to prevent the spread of bacteria and germs. Pro Tip: Wash towels separately from clothes, as kitchen towels can pick up grease and food particles that you don’t want transferring to your laundry. b) Avoid Cross-Contamination Assign specific towels for different tasks to avoid cross-contamination in the kitchen. Pro Tip: Keep your towels organized by hanging them in designated spots. This will prevent them from being used interchangeably and ensures that you always know which towel is meant for which task. c) Air Dry Towels Thoroughly Damp towels can become a breeding ground for bacteria and mold. After use, make sure to hang towels in a well-ventilated area so they can air dry completely between uses. Pro Tip: Consider purchasing quick-dry towels if you live in a humid environment or if you frequently use towels throughout the day. d) Treat Stains Promptly Kitchen towels are prone to stains from food, grease, and sauces. Treat stains as soon as possible to prevent them from setting. Pro Tip: If you do use bleach, limit it to white towels and only use it occasionally to prevent fiber breakdown. e) Replace Worn-Out Towels Even with proper care, kitchen towels will eventually wear out. Pay attention to signs of wear, such as fraying edges, thinning fabric, or a musty odor that won’t go away, even after washing. Pro Tip: Rotate your towels regularly, using all of them evenly to avoid wearing out just a few. This can extend the life of each towel. Choosing the right kitchen towels for specific tasks can make your kitchen cleaning routine more efficient and hygienic. Whether you need a durable terry cloth towel for absorbing spills or a lint-free towel for drying glassware, having the right towels on hand is essential. By maintaining them properly—washing regularly, air drying thoroughly, and treating stains—you’ll ensure they remain in top condition and serve you well in the kitchen. With a little care and organization, your kitchen towels will help keep your cooking space clean and efficient.