Cleaning

How a Wall Mount Range Hood Elevates Your Kitchen Design (Featuring COS-6324EWH)

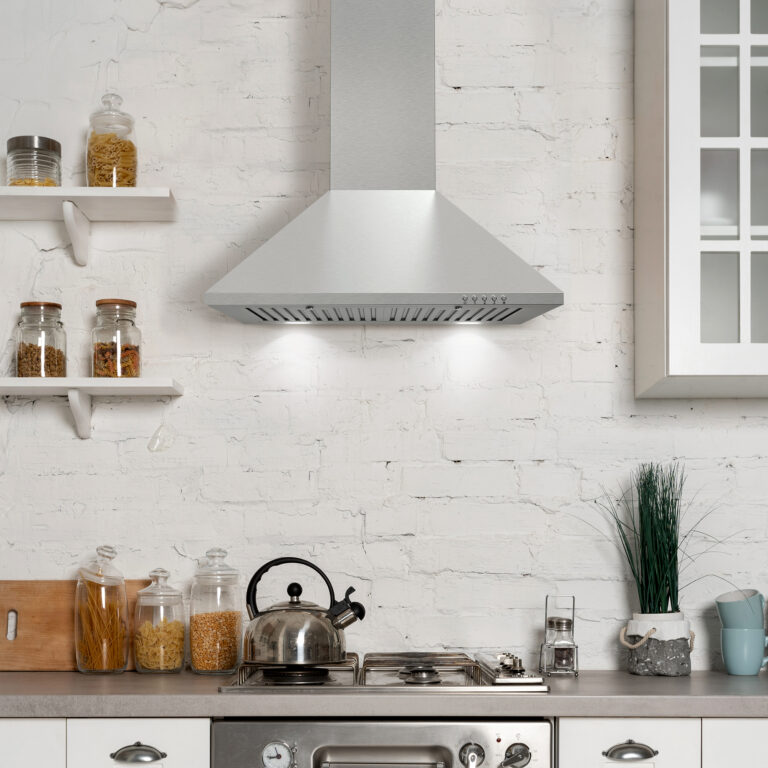
A well-designed kitchen isn’t just about aesthetics—it’s about functionality, efficiency, and creating a space that makes cooking enjoyable. One of the key elements that can transform your kitchen is a wall mount range hood. Unlike under-cabinet models, wall-mounted range hoods create a bold statement while ensuring superior ventilation. Among the choices in wall-mounted range hoods, the COS-6324EWH 24-inch Wall Mount Range Hood by Cosmo stands out for its elegant design, efficient performance, and user-friendly features. Whether you’re renovating your kitchen or upgrading your current setup, this article will explore how the COS-6324EWH can enhance both the look and functionality of your cooking space. The Benefits of a Wall Mount Range Hood 1. Enhancing Kitchen Aesthetics One of the biggest advantages of a wall-mounted range hood is its ability to become a design focal point. Unlike traditional under-cabinet models that remain tucked away, a wall-mounted range hood serves as a stunning centerpiece, drawing the eye upward and adding a sense of luxury to your space. The COS-6324EWH features a sleek, modern design with a modern canopy wall that blends seamlessly with contemporary kitchen aesthetics. The stainless steel adds sophistication while ensuring durability. 2. Superior Airflow for a Cleaner Kitchen Grease, smoke, and odors are common byproducts of cooking, and without proper ventilation, these elements can linger in your kitchen, affecting air quality. The COS-6324EWH is designed to effectively remove airborne grease, heat, and odors, ensuring that your kitchen remains fresh and comfortable. This model efficiently clears out steam and cooking fumes, making it ideal for both everyday cooking and high-heat techniques like searing and stir-frying. 3. Flexible Venting Options It  is configured for ducted use by default, allowing it to vent outside and away from your home. However, it can be converted to a recirculating system with the optional purchase of the Carbon Filter Kit CFK6, providing flexibility to suit different kitchen setups. This flexibility ensures that no matter your kitchen’s structure, you can enjoy the benefits of effective ventilation. 4. Energy-Efficient LED Lighting Proper lighting is crucial for precision while cooking. The COS-6324EWH is equipped with LED lights that provide bright, energy-efficient illumination over your cooktop. Unlike traditional halogen bulbs, LEDs consume less power and have a longer lifespan, ensuring consistent lighting without frequent replacements. 5. Quiet Yet efficient Performance Loud range hoods can be disruptive, especially in open-concept kitchens. The COS-6324EWH is engineered for quiet operation, allowing you to maintain a peaceful environment while still benefiting from high-powered ventilation. Even at its highest speed, the noise level remains manageable, making it a great choice for homes where the kitchen is a central gathering space. 6. Multi-Speed Fan Control Different cooking styles require different levels of ventilation. The COS-6324EWH comes with a 3-speed fan, allowing you to adjust the suction power depending on your cooking needs. Whether you’re simmering on low heat or frying at high temperatures, this hood provides the right amount of airflow for optimal performance. 7. Easy-to-Clean Stainless Steel Filters Maintaining a clean kitchen is essential, and range hoods can quickly accumulate grease buildup. Fortunately, the COS-6324EWH is equipped with durable stainless-steel filters that are dishwasher-safe, making cleaning effortless. Simply remove the filters and place them in the dishwasher for a hassle-free cleanup. Installation Tips for COS-6324EWH Installing a wall mount range hood requires some planning, but with the right approach, you can achieve a flawless setup. Here are a few tips to ensure a smooth installation process: Maintenance and Cleaning Tips To keep your COS-6324EWH performing efficiently and looking sleek, follow these maintenance guidelines: A wall mount range hood does more than just remove smoke and odors—it enhances your kitchen’s overall design, improves air quality, and makes cooking a more enjoyable experience. The COS-6324EWH 24-inch Wall Mount Range Hood is an excellent choice for homeowners who want a combination of style, power, and convenience. With its sleek design, energy-efficient LED lights, and easy-to-clean filters, this range hood is a must-have addition to many modern kitchens. Whether you’re renovating or simply upgrading your ventilation system, the COS-6324EWH is sure to elevate your cooking space to the next level. Upgrade your kitchen today and experience the difference of a high-quality wall mount range hood!

Best Practices for Cleaning and Storing Cookware

Proper cleaning and storage of cookware are essential for maintaining its longevity, performance, and overall hygiene in your kitchen. Whether you’re dealing with non-stick pans, cast iron skillets, or stainless steel pots, following the right practices can keep your cookware in top shape. Here’s a comprehensive guide to cleaning and storing various types of cookware effectively. Non-Stick Cookware Cleaning: Storing: Cast Iron Cookware Cleaning: Storing: Stainless Steel Cookware Cleaning: Storing: Copper Cookware Cleaning: Storing: Glass and Ceramic Cookware Cleaning: Storing: Aluminum Cookware Cleaning: Storing: Proper care and storage of your cookware can extend its lifespan, maintain its performance, and ensure your kitchen remains in top condition. By following these best practices for cleaning and storing various types of cookware, you’ll keep your kitchen tools in excellent shape and enjoy cooking with them for years to come.

Techniques for Cooking Tender and Juicy Chicken at Home

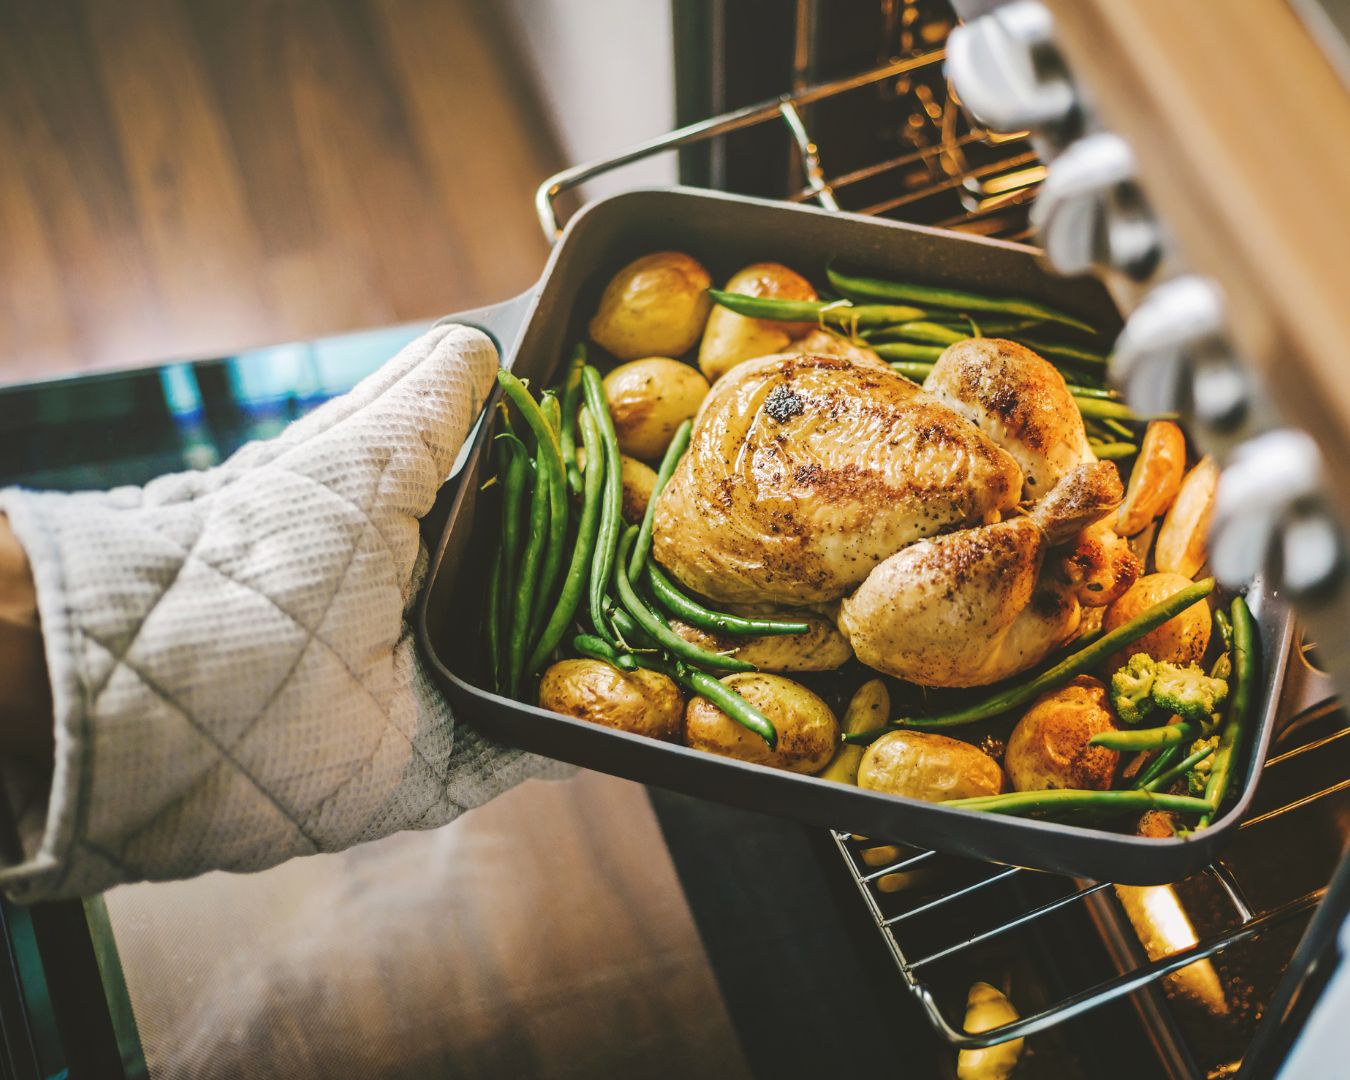
Chicken is a versatile and popular protein, but achieving a tender and juicy result can sometimes be tricky. Whether you’re cooking a simple weeknight dinner or preparing a special meal, mastering a few techniques can ensure your chicken turns out perfectly every time. Here’s a guide to cooking tender and juicy chicken at home, from preparation to cooking methods. Brining Description: Brining is a technique that involves soaking the chicken in a saltwater solution before cooking. This helps the chicken retain moisture and enhances its flavor. How to Brine: Tips: Marinating Description: Marinating involves soaking the chicken in a flavorful mixture of acids (like lemon juice or vinegar), oils, and seasonings. This not only adds flavor but also helps tenderize the meat. How to Marinate: Tips: Pounding Description: Pounding involves flattening chicken breasts to an even thickness. This ensures even cooking and prevents the thinner parts from drying out. How to Pound: Tips: Searing Description: Searing involves cooking the chicken over high heat to develop a flavorful, caramelized crust. This method locks in juices and adds texture. How to Sear: Tips: Baking Description: Baking is a gentle cooking method that helps maintain moisture in the chicken. It’s ideal for cooking larger pieces or whole chickens. How to Bake: Tips: Slow Cooking Description: Slow cooking is a method that involves cooking the chicken at a low temperature for an extended period. This method is perfect for making tender, fall-off-the-bone chicken. How to Slow Cook: Tips: With these techniques, you can achieve tender, juicy chicken that’s packed with flavor. Whether you’re brining, marinating, or using a slow cooker, each method offers unique benefits and can be tailored to your taste preferences. Experiment with these techniques to find your perfect method for cooking chicken at home.

Range Repair and Troubleshooting: Common Issues and Solutions

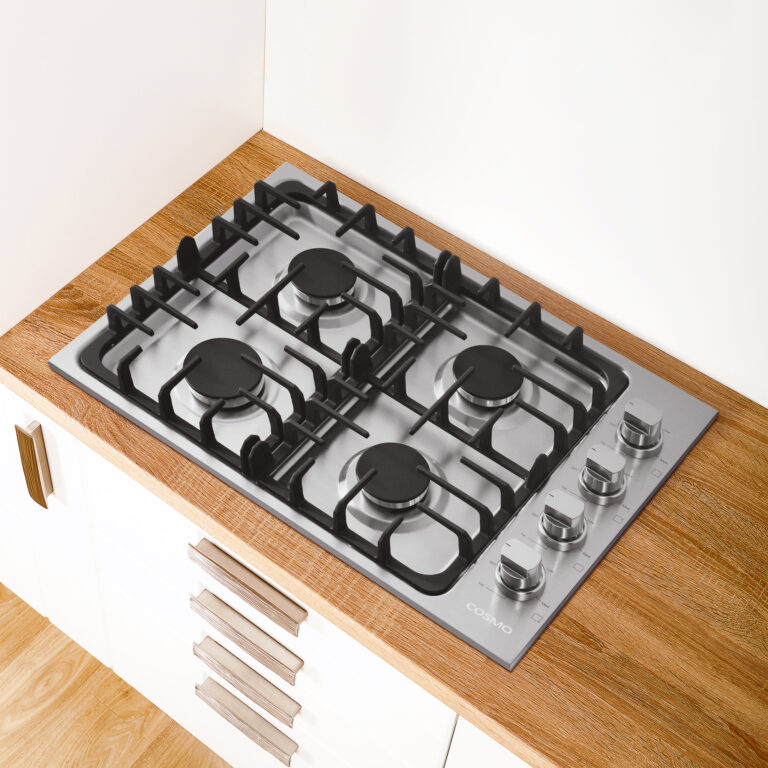
When your range isn’t performing as it should, it can disrupt your entire cooking routine. Understanding common range issues and their solutions can help you tackle problems effectively or know when to call a professional. Here’s a guide to some frequent range problems and how to address them. The Burner Won’t Light Issue: If one or more burners on your range won’t ignite, it could be due to several reasons. Solution: The Oven Isn’t Heating Properly Issue: An oven that doesn’t heat evenly can affect your cooking results. Solution: The Range is Not Self-Cleaning Properly Issue: The self-cleaning function is not working or not cleaning thoroughly. Solution: The Oven Door Doesn’t Close Properly Issue: An oven door that doesn’t close tightly can affect cooking efficiency and safety. Solution: The Range Makes Unusual Noises Issue: Strange noises, such as buzzing or clicking, can be a sign of underlying problems. Solution: The Control Panel Isn’t Responding Issue: The control panel may become unresponsive, making it difficult to set or adjust functions. Solution: When to Call a Professional While many range issues can be addressed with basic troubleshooting, some problems require specialized skills and tools. If you encounter complex issues, such as electrical malfunctions or extensive damage, it’s best to consult a professional technician to ensure safe and effective repairs. By familiarizing yourself with common range issues and their solutions, you can maintain your cooking equipment in top condition and minimize disruptions to your kitchen routine. 

How to Clean Fish and Remove Scales: A Step-by-Step Guide

Cleaning fish and removing scales can be a bit daunting if you’re new to it, but with the right techniques and tools, you can make the process smooth and efficient. Whether you’re preparing a fresh catch or store-bought fish, properly cleaning and scaling your fish is essential for ensuring a delicious and enjoyable meal. Here’s a step-by-step guide to help you clean fish and remove scales with ease. Tools You’ll Need: Step 1: Prepare Your Workspace Start by setting up your workspace. Place a cutting board on a stable surface and have your tools ready. If you’re cleaning a large number of fish, you might want to use a bowl or basin to catch any debris and water. Step 2: Rinse the Fish Rinse the fish under cold running water to remove any surface dirt and slime. Pat the fish dry with paper towels to make it easier to handle. Step 3: Remove the Scales Step 4: Gut the Fish Step 5: Clean the Fish Step 6: Store or Cook the Fish If you’re not cooking the fish immediately, store it in the refrigerator on a plate or in a container, covered with plastic wrap or aluminum foil. For longer storage, you can freeze the fish. Wrap it tightly in plastic wrap or place it in a vacuum-sealed bag to prevent freezer burn. Cleaning and scaling fish may seem like a daunting task, but with the right approach, it can become a quick and manageable part of your cooking routine. By following these steps—rinsing the fish, removing scales, gutting, and cleaning—you’ll ensure that your fish is ready for a delicious meal. With a bit of practice, you’ll be able to clean fish like a pro, making your seafood preparations both efficient and enjoyable.

Efficient Freezer Organization: How to Stack and Store Meat for Easy First-In, First-Out Access

Keeping your freezer organized not only helps you find what you need quickly but also ensures that your food stays fresh and safe. When it comes to storing meat, having a system in place for easy access and proper rotation can make meal planning and preparation more efficient. Here’s a guide to help you stack and store meat in the freezer for seamless first-in, first-out (FIFO) access. Use Clear, Sturdy Containers Start by investing in clear, freezer-safe containers or resealable plastic bags. Clear containers allow you to see the contents at a glance, while sturdy options prevent freezer burn and maintain the quality of the meat. Vacuum-sealing bags are also a great choice as they remove air and prevent freezer burn. Label Everything Proper labeling is crucial for keeping track of what’s in your freezer. Use a permanent marker or label maker to write the type of meat, date of storage, and any other relevant information on each container or bag. This practice helps you quickly identify what you have and ensures you use the older items first. Follow the FIFO Method To ensure that you’re using the oldest meat first, practice the FIFO method. When you add new items to the freezer, place them behind or underneath older items. This way, you’ll naturally pull out the older meat before it has a chance to expire. Organize by Type and Use Group similar types of meat together, such as beef, chicken, and pork. Within each group, you might organize by cuts or specific uses (e.g., ground meat, steaks, or roasts). This organization helps you locate what you need quickly and reduces the time the freezer door is open. Stack Smartly Stack containers and bags in a way that allows for easy access and visibility. Avoid overloading the freezer, as this can obstruct air circulation and make it harder to find items. Use bins or dividers to create sections within your freezer if needed. Place frequently used items on the top or in the most accessible spots. Keep an Inventory List Maintaining a written or digital inventory list can be a lifesaver. Update your list regularly as you add or remove items from the freezer. This list should include the type of meat, quantity, and expiration dates. You can keep the list on your phone, in a notebook, or even on a whiteboard attached to the freezer. Check and Rotate Regularly Periodically check your freezer to ensure that everything is in good condition and that items are being used in the correct order. Rotate items if necessary to maintain the FIFO system and prevent any items from getting lost or forgotten. Defrost and Clean Regularly defrost your freezer to remove ice build-up, which can reduce space and efficiency. While defrosting, take the opportunity to clean the interior and reorganize the items to ensure that everything is in its proper place. An organized freezer not only makes meal preparation easier but also helps you manage your food inventory effectively, reducing waste and ensuring that you always have fresh ingredients on hand. By using clear containers, labeling items, practicing the FIFO method, and keeping an inventory list, you can streamline your freezer organization and make the most out of your frozen meat supplies. With these tips, you’ll be able to enjoy hassle-free cooking and a well-managed kitchen.

How to Safely Handle and Store Raw Meat at Home

Handling and storing raw meat properly is crucial for maintaining food safety and preventing foodborne illnesses. Raw meat can harbor harmful bacteria, such as Salmonella, E. coli, and Listeria, which can contaminate your kitchen and make you sick if not handled correctly. By following best practices for storage, handling, and preparation, you can ensure that your kitchen remains safe and your meals are healthy. In this blog post, we’ll guide you through the essential steps for safely handling and storing raw meat at home. Purchasing Raw Meat Storing Raw Meat Proper storage is essential to keep raw meat safe and fresh: Handling Raw Meat in the Kitchen Safe handling practices can prevent the spread of bacteria in your kitchen: Cooking Raw Meat Safely Proper cooking is essential to kill harmful bacteria: Storing Leftover Cooked Meat Proper storage of cooked meat is just as important: Disposing of Raw Meat Waste Safe disposal of raw meat waste helps maintain a clean kitchen environment: By following these guidelines for handling, storing, and cooking raw meat, you can significantly reduce the risk of foodborne illness in your home. Remember to prioritize cleanliness, prevent cross-contamination, and cook meat to the appropriate temperatures to ensure your meals are safe and delicious. Safe meat handling is a critical part of maintaining a healthy kitchen, and by implementing these practices, you can enjoy your meals with peace of mind.

How to Remove Sticky Residue from Kitchen Surfaces

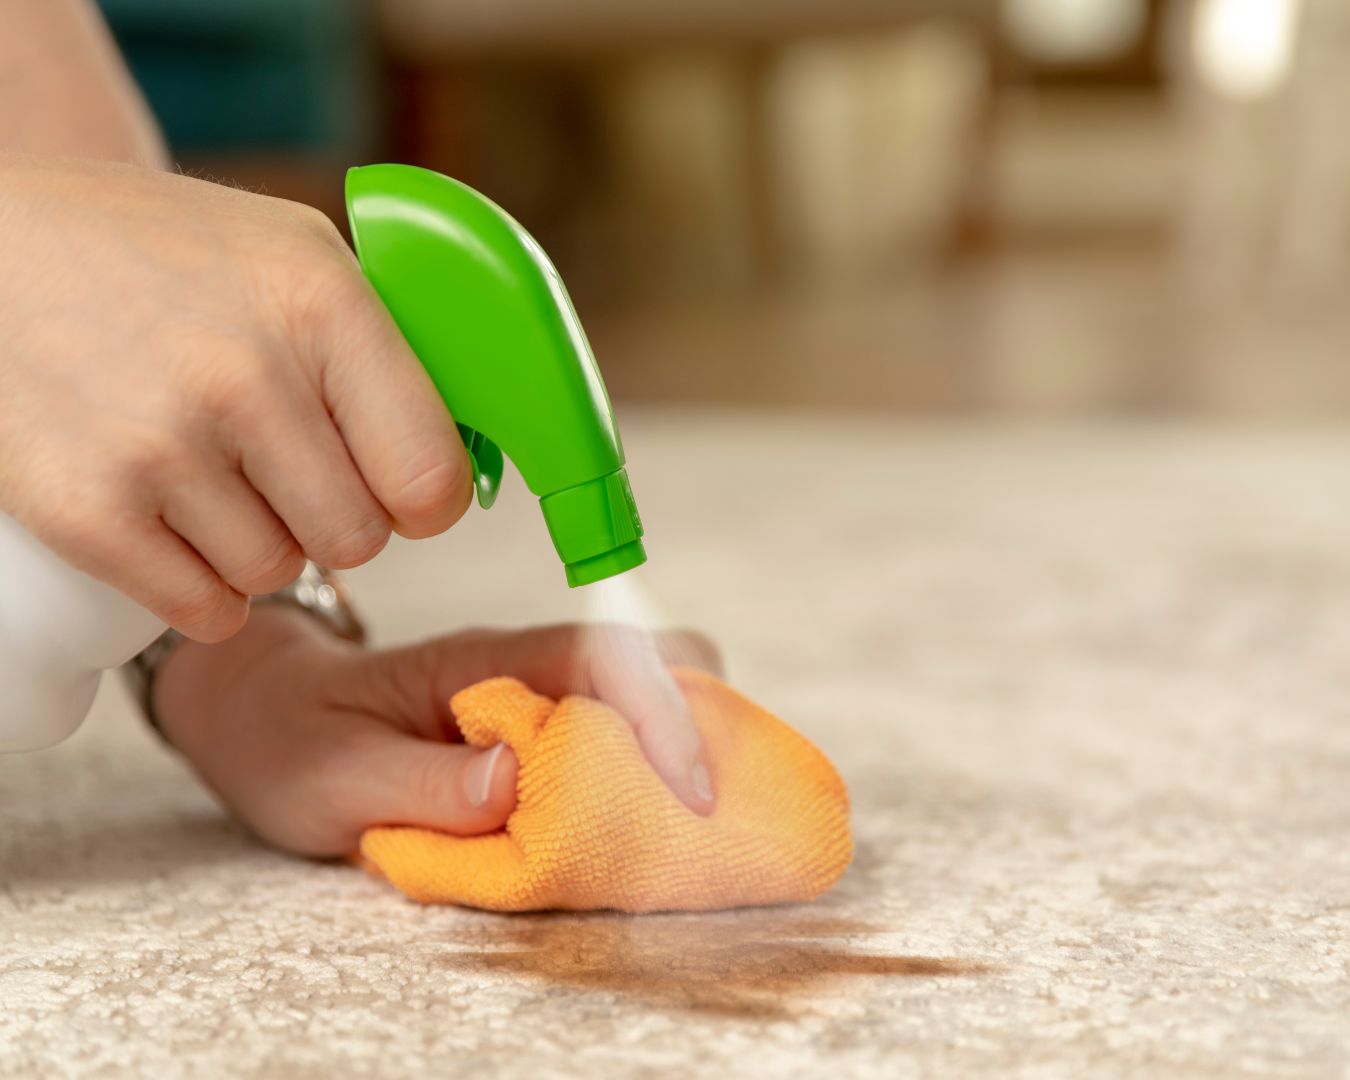
Sticky residue on kitchen surfaces can be frustrating to deal with, especially when it seems impossible to remove. Whether it’s from spilled food, adhesive labels, or leftover grime from cooking, sticky residue can make your kitchen look unclean and attract more dirt over time. Fortunately, with the right techniques and tools, you can effectively remove sticky residue from various kitchen surfaces without damaging them. In this blog post, we’ll explore different methods to tackle sticky residue and restore your kitchen surfaces to their original condition. Identifying the Type of Surface Before you begin removing sticky residue, it’s important to identify the type of surface you’re dealing with. Different surfaces require different cleaning methods to avoid damage: General Cleaning Tips for Sticky Residue For most kitchen surfaces, these general tips will help remove sticky residue effectively: Methods for Removing Sticky Residue a. Soap and Warm Water For most surfaces, a mixture of mild dish soap and warm water is a safe and effective first step: b. Baking Soda Paste Baking soda is a gentle abrasive that works well on stubborn sticky residue: c. White Vinegar White vinegar is an effective natural cleaner that can dissolve sticky residue: d. Rubbing Alcohol or Vodka Rubbing alcohol or vodka can effectively dissolve adhesive residue on most surfaces: e. Cooking Oil or Coconut Oil For surfaces that are sensitive to harsh chemicals, cooking oil or coconut oil can help loosen sticky residue: f. Commercial Adhesive Removers For stubborn sticky residue, you may need to use a commercial adhesive remover. These products are specifically designed to break down adhesives: Special Considerations for Different Surfaces Preventing Sticky Residue in the Future To keep your kitchen surfaces clean and free from sticky residue: Sticky residue can be a nuisance, but with the right approach, it’s easy to remove from your kitchen surfaces. By using gentle cleaning methods and being mindful of the type of surface you’re working with, you can effectively clean and maintain a sparkling kitchen. Keep these tips in mind to ensure your kitchen remains free of sticky residue and looking its best.

How to Clean and Maintain a Toaster Oven

Toaster ovens are versatile kitchen appliances that can do everything from toasting bread to baking small batches of cookies. However, like any other appliance, they require regular cleaning and maintenance to keep them working efficiently and safely. In this blog post, we’ll guide you through the steps to clean and maintain your toaster oven, ensuring it stays in top condition for years to come. Why Regular Cleaning and Maintenance Matter Regular cleaning and maintenance are essential for several reasons: How to Clean Your Toaster Oven Step 1: Unplug and Cool Down Before you start cleaning, make sure your toaster oven is unplugged and completely cooled down. This is important for both your safety and the effectiveness of the cleaning process. Step 2: Remove and Clean the Removable Parts Step 3: Clean the Interior Step 4: Clean the Exterior Step 5: Reassemble and Test Once everything is clean and dry, reassemble your toaster oven. Plug it in and run it on a low heat setting for a few minutes to make sure everything is working properly. Maintaining Your Toaster Oven 1. Regularly Empty the Crumb Tray The crumb tray should be emptied and cleaned regularly to prevent crumbs from burning and causing smoke or fire hazards. 2. Avoid Overfilling Avoid overloading your toaster oven with food, as this can cause spills and make cleaning more difficult. Follow the manufacturer’s guidelines for food capacity. 3. Use the Right Cookware Only use cookware that is safe for toaster ovens. Avoid using plastic or other materials that could melt or warp under high heat. 4. Check the Door Seal Periodically check the door seal to ensure it’s intact and sealing properly. A good seal helps maintain even cooking temperatures and prevents heat from escaping. 5. Schedule Deep Cleans In addition to regular cleaning, schedule a deep clean of your toaster oven every few months. This will help prevent buildup and keep your appliance in good condition. Troubleshooting Common Issues 1. Uneven Heating If your toaster oven is cooking unevenly, it might be due to grease buildup on the heating elements or improper rack placement. Clean the heating elements carefully and make sure the racks are positioned correctly. 2. Burning Smell A burning smell is often a sign of leftover food particles or grease in the toaster oven. Unplug the appliance and give it a thorough cleaning to remove any residue. 3. Door Not Closing Properly If the door isn’t closing properly, check for obstructions or misaligned parts. If the door seal is damaged, it may need to be replaced. Cleaning and maintaining your toaster oven is simple, yet essential for ensuring its longevity and safe operation. By following these steps, you can keep your toaster oven in top shape, ready to deliver delicious meals and snacks whenever you need them. Make regular cleaning a habit, and enjoy the benefits of a well-maintained kitchen appliance!

How to Clean Kitchen Appliances with Baking Soda and Vinegar

Keeping your kitchen appliances clean is essential for maintaining a healthy, efficient, and well-functioning kitchen. While there are many commercial cleaning products available, you don’t need harsh chemicals to get the job done. Baking soda and vinegar, two common household items, are powerful natural cleaners that can tackle grease, grime, and stains on a variety of kitchen appliances. In this blog post, we’ll explore how to use baking soda and vinegar to clean some of the most commonly used kitchen appliances. Why Use Baking Soda and Vinegar? Together, baking soda and vinegar form a dynamic cleaning duo that’s safe, eco-friendly, and cost-effective. Cleaning Your Kitchen Appliances 1. Oven Ingredients: Procedure: 2. Microwave Ingredients: Procedure: 3. Refrigerator Ingredients: Procedure: 4. Dishwasher Ingredients: Procedure: 5. Coffee Maker Ingredients: Procedure: Baking soda and vinegar are powerful, natural cleaning agents that can effectively clean and maintain your kitchen appliances. By using these eco-friendly ingredients, you can keep your appliances in top shape without relying on harsh chemicals. Regular cleaning not only prolongs the life of your appliances but also ensures that your kitchen stays hygienic and pleasant. Give these tips a try and enjoy a cleaner, more efficient kitchen!