cooking at home

The Best Practices for Washing and Drying Fresh Berries to Prevent Mold

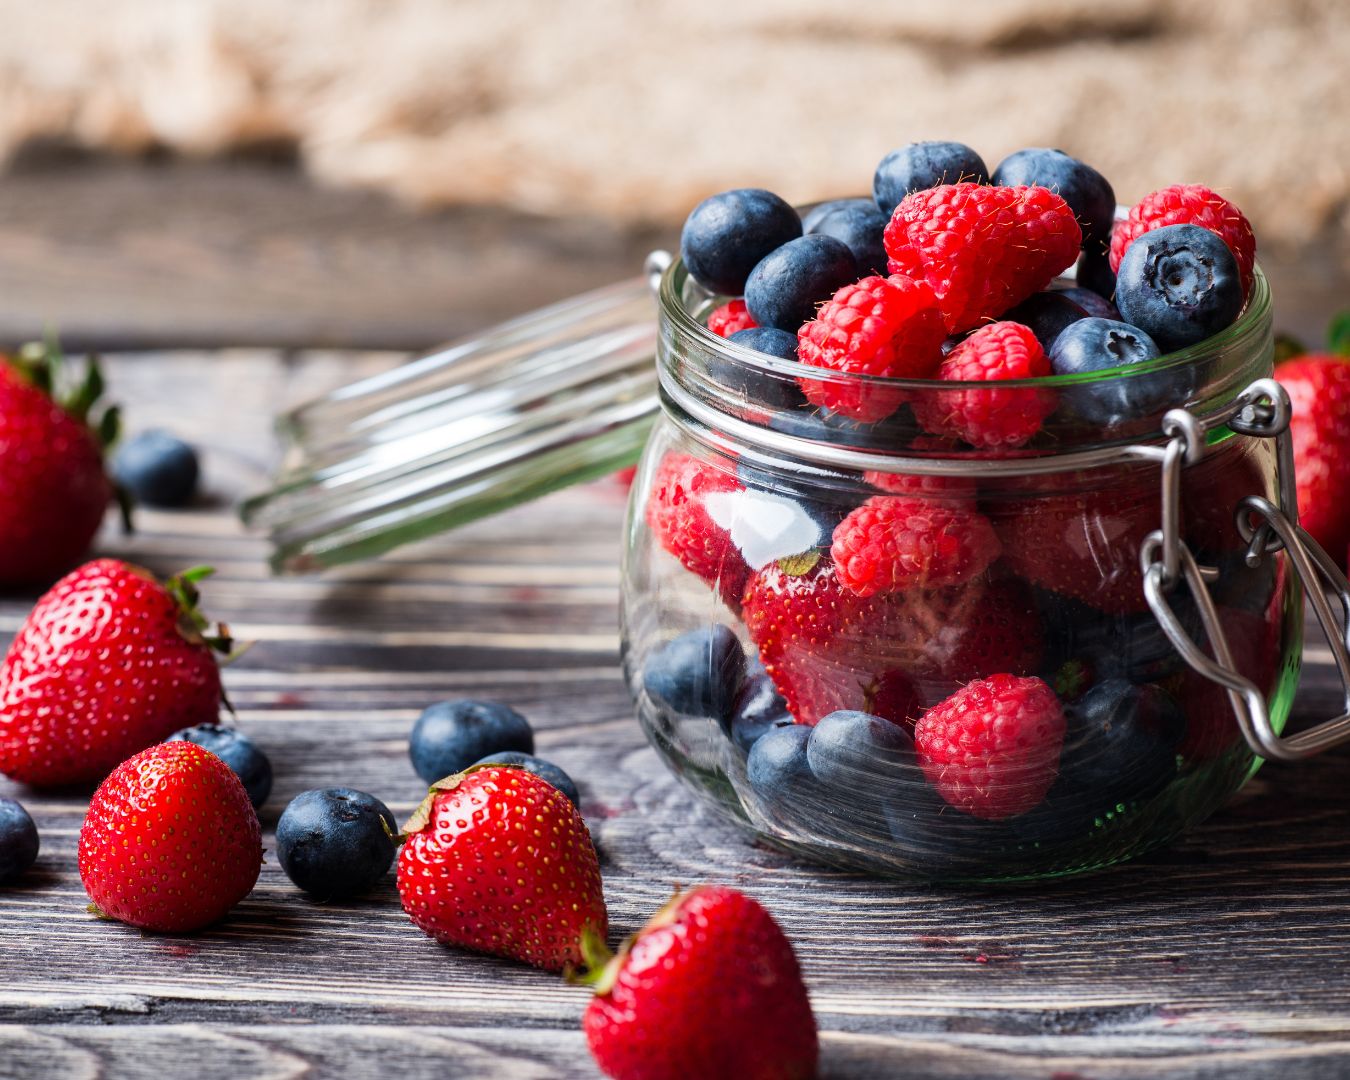
Fresh berries are a delicious and nutritious addition to any meal, whether sprinkled over yogurt, added to salads, or eaten straight from the carton. However, they are also highly perishable and can quickly develop mold if not handled properly. By using the right techniques for washing and drying berries, you can extend their freshness and prevent mold from ruining your precious fruit. In this blog post, we’ll walk you through the best practices for cleaning and storing berries so you can enjoy them for longer. Why Berries Are Prone to Mold Berries such as strawberries, blueberries, raspberries, and blackberries have high moisture content and delicate skin, making them susceptible to mold growth. If stored improperly, the moisture can encourage mold spores to develop, shortening the lifespan of your berries. Mold can spread rapidly, so it’s essential to handle berries with care from the moment you bring them home. Here’s how you can preserve your fresh berries and reduce the risk of mold development. Step-by-Step Guide: How to Wash and Dry Fresh Berries 1. Wash Just Before Eating or Using One of the most important rules for preventing mold on berries is to avoid washing them until you’re ready to eat or use them. Washing berries and then storing them while damp can trap moisture, creating the perfect environment for mold to grow. If you must wash berries ahead of time, make sure to dry them thoroughly before storing them. 2. Use a Vinegar and Water Solution A simple and effective way to clean berries is by using a vinegar and water solution. The vinegar helps kill mold spores and bacteria on the surface of the berries, significantly reducing the chances of mold formation. Here’s how to do it: The vinegar will not affect the taste of the berries, but if you’re concerned, you can give them a quick rinse with fresh water after the vinegar soak. 3. Rinse Carefully in Cold Water After the vinegar soak, carefully rinse your berries in cold water. This helps wash away any vinegar residue and ensures that your berries are clean and ready to eat. Be gentle when rinsing delicate berries like raspberries and blackberries to avoid crushing them. Use a colander to rinse the berries under cold running water. Avoid letting the berries sit in water for too long, as this can cause them to become soggy and more prone to mold. 4. Dry the Berries Thoroughly Once your berries are clean, it’s crucial to dry them thoroughly before storage. Excess moisture is the primary cause of mold development, so removing as much water as possible is key to prolonging their freshness. Here’s how to dry your berries properly: For especially delicate berries like raspberries and blackberries, use a soft cloth or paper towel to blot them dry instead of rubbing, as their skins are easily damaged. 5. Store Berries in a Well-Ventilated Container Once your berries are completely dry, it’s time to store them properly. To prevent mold, berries need airflow. Store them in a well-ventilated container that allows air circulation, rather than in a tightly sealed bag or container where moisture can accumulate. Here’s what works best for storing berries: 6. Check for Mold Regularly Even with proper washing, drying, and storage techniques, it’s essential to check your berries regularly for any signs of mold. Mold can spread quickly from one berry to another, so if you spot any berries with mold, remove them immediately to prevent the spread. If you notice any mushy or overripe berries, it’s a good idea to remove them as well, as they can accelerate the spoilage of the other berries in the container. Extra Tips for Extending the Life of Your Berries Berries are a delicious and nutritious snack, but they can quickly go bad if not stored properly. By following these best practices for washing, drying, and storing your berries, you can significantly extend their freshness and prevent mold from developing. Remember to wash berries just before eating, dry them thoroughly, and store them in a well-ventilated container in the fridge. With these simple steps, you’ll enjoy fresh, juicy berries for days without the worry of mold spoiling your produce.
The Role of Vinegar in Food Preservation: A Kitchen Staple for Longer-Lasting Foods

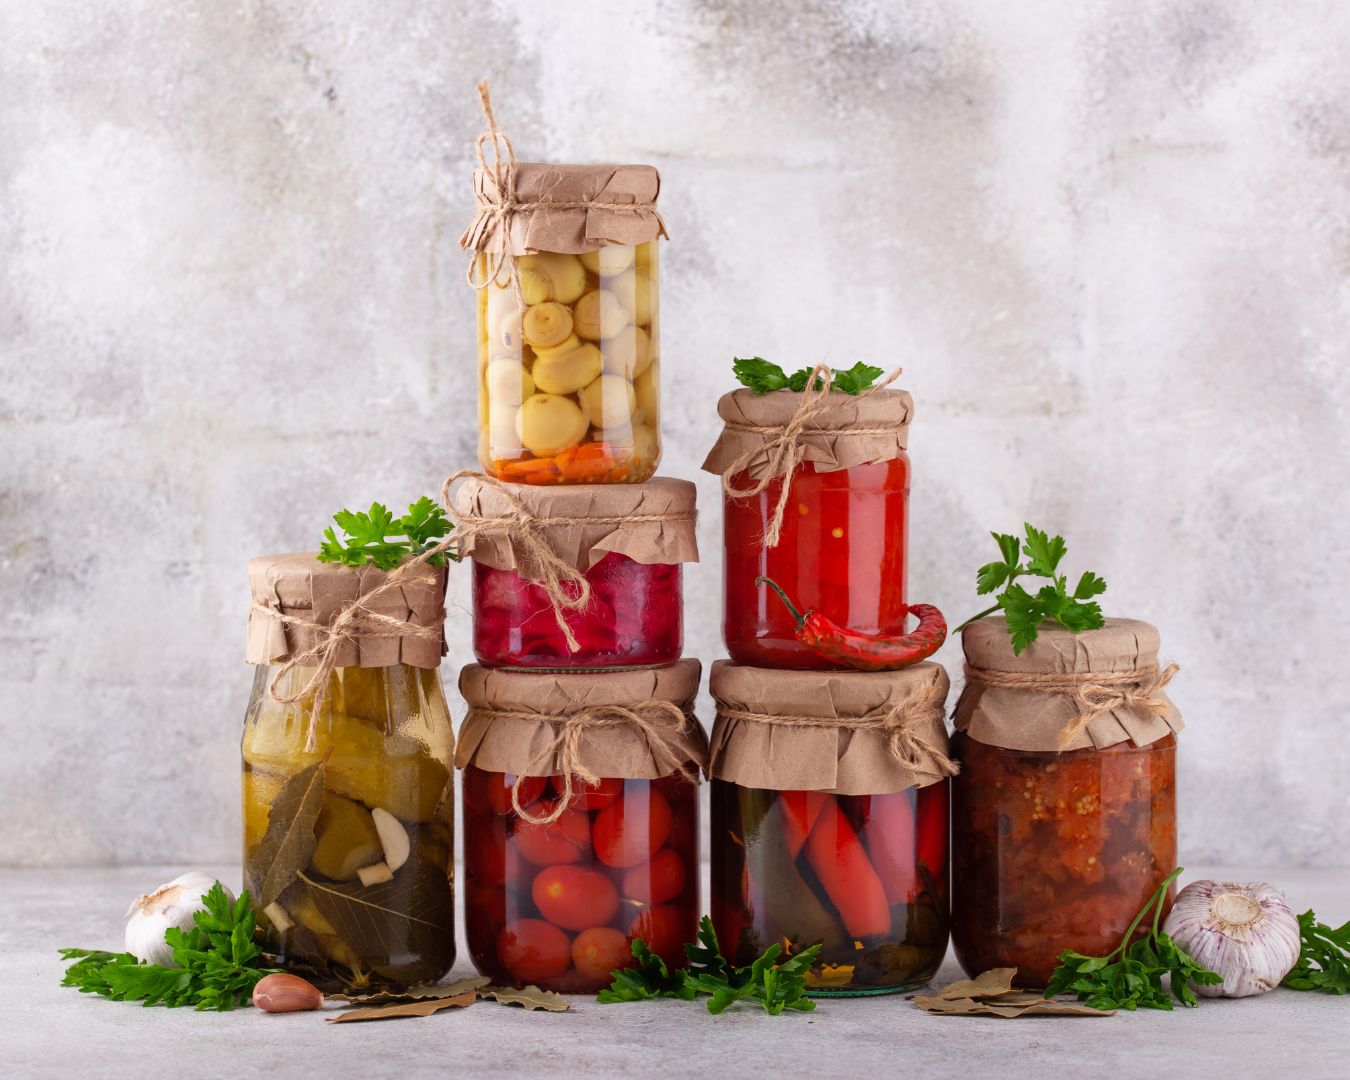
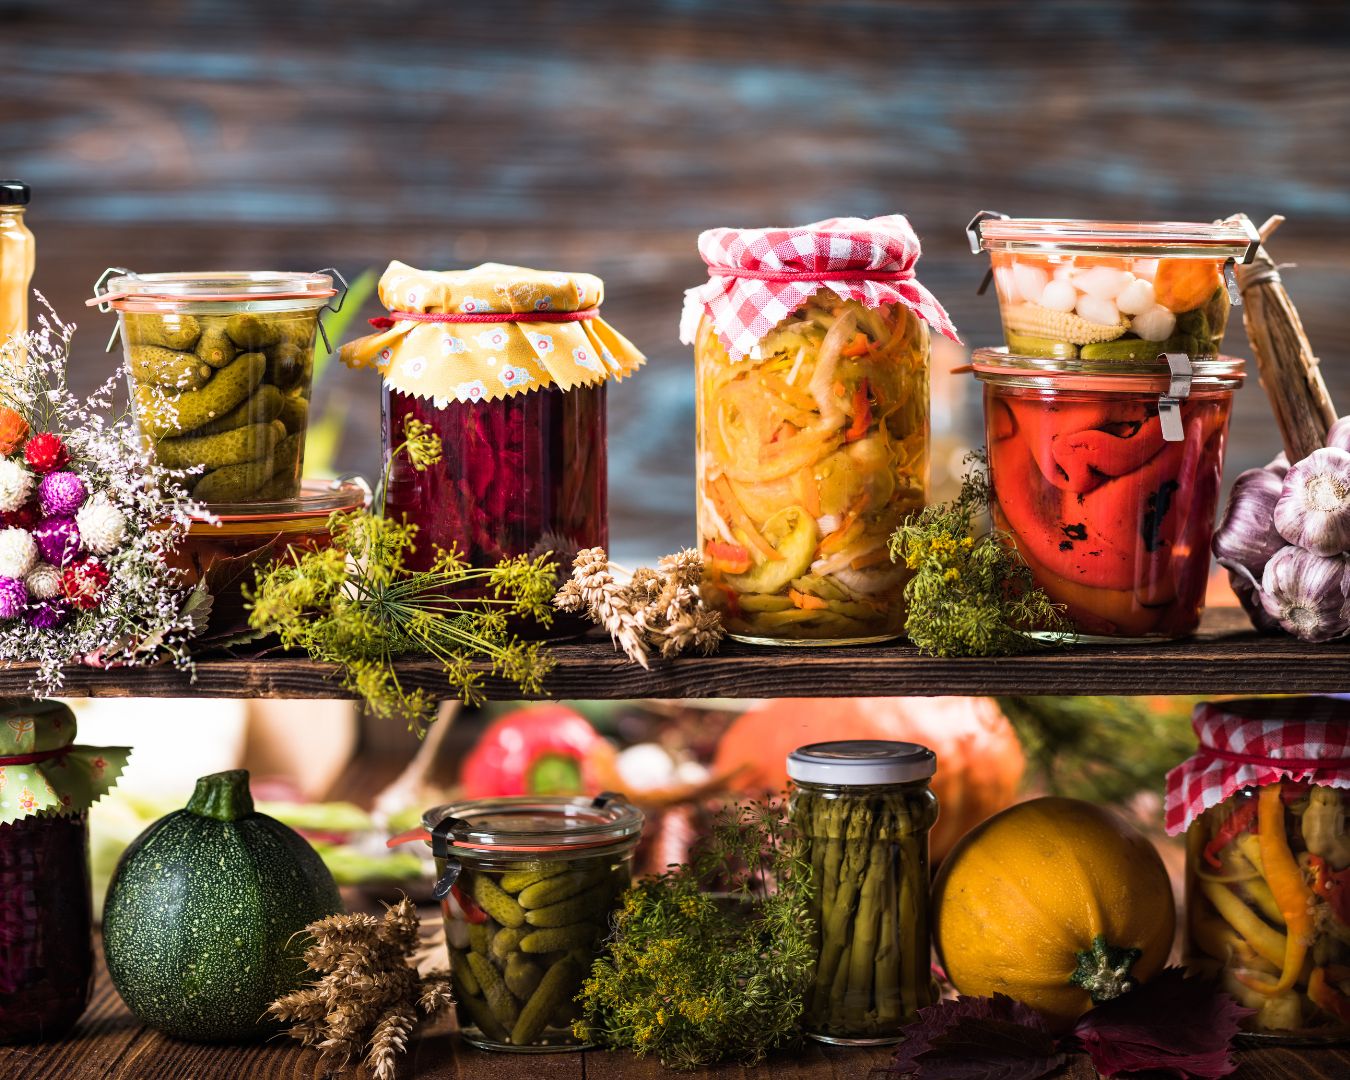
Vinegar has long been a trusted kitchen ingredient for food preservation, dating back centuries to when our ancestors used it to extend the shelf life of fruits, vegetables, and even meats. Today, vinegar remains one of the most effective and natural methods of preserving food while enhancing its flavor. This versatile liquid, which comes in various forms like apple cider, white, and wine vinegar, not only adds tangy zest to recipes but also plays a vital role in the preservation process. Let’s explore how vinegar works its magic and why it should be a staple in every kitchen. How Vinegar Preserves Food The secret to vinegar’s preserving power lies in its acidity. Vinegar typically contains 4-7% acetic acid, which lowers the pH level of foods, creating an environment that inhibits the growth of harmful bacteria, molds, and yeasts. When foods are submerged in vinegar, the acidic environment slows down the decomposition process, allowing the food to stay fresh for longer periods without refrigeration. This process is commonly used in techniques like pickling, marinades, and fermenting, where vinegar not only preserves the food but also enhances its flavor. Key Methods of Food Preservation with Vinegar 1. Pickling Pickling is perhaps the most well-known method of food preservation using vinegar. In this process, fruits, vegetables, and even some proteins are submerged in a brine made from vinegar, water, salt, and sometimes sugar or spices. The acidity of the vinegar prevents the growth of harmful microorganisms, keeping the food safe to eat for weeks or even months. Examples of popular pickled foods: In addition to preserving, pickling adds a tangy, tart flavor to foods, making them a delicious addition to salads, sandwiches, and charcuterie boards. 2. Canning with Vinegar Vinegar is also used in home canning, particularly with acidic fruits and vegetables. When foods are canned with vinegar, they are sealed in airtight containers, ensuring long-term preservation. The vinegar in the canning liquid prevents bacteria from growing, especially the bacteria responsible for botulism, which can be dangerous in improperly canned foods. Canning examples using vinegar: Using vinegar for canning is a natural, safe method to preserve seasonal produce so you can enjoy it year-round. 3. Marinades and Meat Preservation Vinegar is often used in marinades for meats and fish, not only to tenderize but also to preserve them for a short period. The acidic properties of vinegar slow down the spoiling process and help maintain the freshness of proteins before cooking. For example, meats that are marinated in vinegar-based sauces or dressings can be kept fresher longer. Vinegar also prevents bacterial growth on the surface of meats while adding flavor. 4. Fermentation Fermentation is another method of food preservation that sometimes involves vinegar. Although the fermentation process primarily relies on natural bacteria, vinegar can be added to speed up the acidification of foods. This method is commonly used in making kombucha, a fermented tea, as well as in fermented vegetables like sauerkraut and kimchi. Vinegar not only enhances the tanginess of these fermented products but also contributes to their longer shelf life and nutritional benefits, such as providing probiotics that promote gut health. Benefits of Preserving Food with Vinegar 1. All-Natural and Chemical-Free Vinegar is an all-natural preservative, free from artificial additives or chemicals. Unlike many store-bought preserved foods that use synthetic preservatives, vinegar offers a clean and safe way to keep foods fresh longer. 2. Longer Shelf Life Foods preserved in vinegar can last significantly longer than those stored using other methods. For example, properly pickled vegetables can be stored in the pantry for several months, offering a way to enjoy seasonal produce year-round. 3. Enhanced Flavor One of the added bonuses of preserving food with vinegar is the burst of flavor it imparts. Vinegar adds a tangy, sour note to foods, making them more interesting and complex. Pickled cucumbers, for instance, take on a sharp and refreshing bite, while pickled fruits develop a sweet and tangy complexity that complements both savory and sweet dishes. 4. Low-Cost and Accessible Vinegar is one of the most affordable and widely available food preservation ingredients. It doesn’t require specialized equipment or expensive ingredients, making it accessible for home cooks who want to try their hand at pickling or preserving food at home. 5. Safe and Reliable Vinegar has been trusted for centuries as a reliable method for preserving food safely. Its high acidity makes it a formidable opponent to harmful bacteria, ensuring that your preserved foods remain safe to eat for extended periods. Best Types of Vinegar for Preservation There are several types of vinegar that can be used for preserving food, each bringing a different flavor and acidity level. Here are a few of the best: Vinegar is much more than a kitchen condiment; it’s a powerful and natural preservative that extends the life of your food while adding rich, tangy flavors. From pickling to canning, marinades to fermentation, vinegar offers numerous ways to preserve food and maintain its freshness. Whether you’re looking to enjoy summer’s harvest throughout the winter or enhance your favorite recipes with bold flavors, incorporating vinegar into your food preservation practices is an easy, cost-effective, and healthful choice. So, next time you find yourself with an abundance of fresh produce, consider turning to vinegar as your go-to preservation tool. Your pantry and your taste buds will thank you!

Unique Recipes Featuring Pickled and Fermented Foods: A Tangy Twist for Your Kitchen

Pickled and fermented foods have been enjoyed for centuries, not just for their bold flavors but also for their health benefits. Rich in probiotics, these foods support gut health, aid digestion, and add a zesty touch to any dish. From tangy pickles to spicy kimchi, fermented and pickled ingredients can elevate your meals in surprising ways. Below are some unique recipes that bring out the best in pickled and fermented foods, offering creative twists on everyday dishes. Pickled Beet and Goat Cheese Salad Bright, earthy pickled beets pair beautifully with creamy goat cheese and fresh greens in this vibrant salad. Ingredients: Instructions: Kimchi Fried Rice Kimchi’s spicy, tangy flavor turns a simple bowl of fried rice into a bold, flavor-packed meal. This Korean-inspired dish is perfect for using up leftover rice and vegetables. Ingredients: Instructions: Pickled Red Onion and Avocado Tacos Give your tacos a tangy twist with quick-pickled red onions and creamy avocado. These plant-based tacos are fresh, flavorful, and perfect for a quick meal. Ingredients: Instructions: Fermented Dill Pickle Potato Salad Swap out regular pickles for fermented dill pickles in this refreshing take on a classic potato salad. The fermented pickles add a deeper, tangy flavor to the dish. Ingredients: Instructions: Miso-Marinated Grilled Eggplant Miso, a fermented soybean paste, adds an incredible umami depth to grilled vegetables. In this recipe, eggplant soaks up the savory miso marinade and develops a caramelized finish when grilled. Ingredients: Instructions: Incorporating pickled and fermented foods into your cooking adds layers of complexity and flavor while delivering health benefits. Whether you’re whipping up a simple salad or a hearty fried rice dish, these unique recipes offer creative ways to enjoy tangy, fermented ingredients. Give them a try, and discover how pickled and fermented foods can transform your meals!

How to Incorporate Gourmet Ingredients into Everyday Cooking in the Kitchen

Elevating your daily meals with gourmet ingredients doesn’t have to be reserved for special occasions. By incorporating high-quality, flavorful ingredients into your everyday cooking, you can transform simple dishes into culinary delights. Here’s how to infuse a touch of gourmet into your daily routine without breaking the bank. Start Small: Upgrading Basics 1 Use High-Quality Oils and Vinegars 2 Fresh Herbs and Spices Upgrade Your Proteins 1 Premium Meats and Seafood 2 Specialty Cheeses Enhance Vegetables and Grains 1 Specialty Vegetables 2 Gourmet Grains Experiment with Gourmet Condiments 1 Flavored Mustards and Sauces 2 Specialty Jams and Preserves Elevate Your Baking 1 High-Quality Chocolate 2 Specialty Flours Creative Ways to Use Gourmet Ingredients 1 Infused Oils and Butters 2 Elegant Presentations 3 Unique Pairings Budget-Friendly Tips 1 Buy in Bulk 2 DIY Infusions Incorporating gourmet ingredients into everyday cooking doesn’t require a complete overhaul of your kitchen or diet. By making small, thoughtful changes and experimenting with high-quality ingredients, you can enhance the flavor and sophistication of your meals. Whether it’s a splash of extra-virgin olive oil or a sprinkle of artisan cheese, these touches can make your daily dishes feel special and satisfying.

The Role of Range Hoods in Air Quality: Keeping Your Kitchen Healthy

When we think about maintaining a healthy home, the kitchen is often at the top of the list. It’s the heart of the home, where meals are prepared, conversations flow, and delicious aromas fill the air. However, the kitchen can also be a source of pollutants, especially from cooking activities. Whether you’re sautéing vegetables, grilling meat, or simmering soup, your cooking can release smoke, steam, and airborne particles into the air. This is where range hoods play a crucial role. Why Range Hoods Are Essential for Kitchen Air Quality A range hood, often mounted above the stove or cooktop, helps to improve air quality by removing airborne contaminants. These contaminants include grease particles, smoke, odors, and excess moisture. Without a range hood, these substances can linger in your kitchen, eventually spreading to other areas of your home. Over time, this can lead to poor indoor air quality, which can cause respiratory issues, allergies, and unpleasant odors. How Range Hoods Work Range hoods come equipped with fans and filters that trap and remove airborne particles. Depending on the type of hood, they may either vent the air outside (ducted) or recirculate filtered air back into the kitchen (ductless). Here’s how each type works: The Health Benefits of Using a Range Hood Maintaining Your Range Hood for Maximum Efficiency To keep your range hood working effectively, regular maintenance is essential: Choosing the Right Range Hood for Your Kitchen When selecting a range hood, consider factors like your kitchen size, the type of stove you have, and the amount of cooking you typically do. For heavy cooking, a high-powered, ducted range hood will provide superior air quality and ventilation. If your kitchen doesn’t allow for ducting, a ductless option can still provide significant benefits, especially if equipped with a high-quality filter. In addition to adding a sleek, modern touch to your kitchen, range hoods are a key component in maintaining good indoor air quality. Whether you’re cooking up a storm or just preparing a simple meal, using a range hood ensures that you’re removing harmful pollutants and keeping your home environment healthy. Regular maintenance will ensure your range hood continues to function at its best, giving you peace of mind that your kitchen remains a safe and pleasant space for your family to enjoy.

Cooking and Baking with Sugar Alternatives: A Guide to Healthier Sweetening

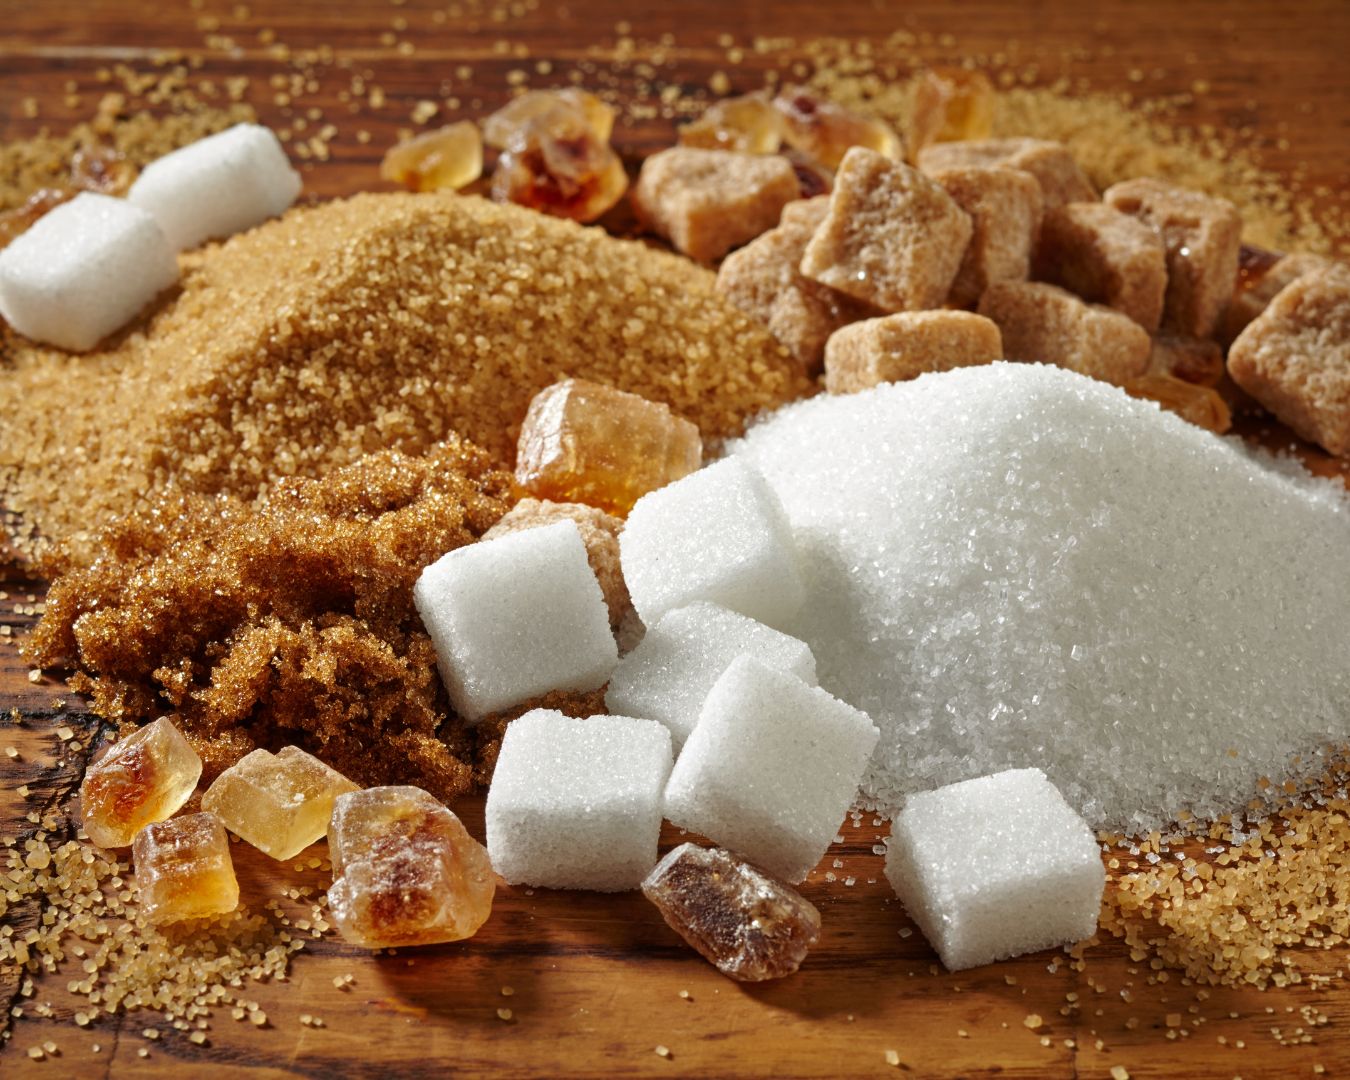
Sugar alternatives can be a game-changer in your kitchen, offering a way to reduce refined sugar intake while still enjoying the sweet flavors you love. Whether you’re baking, cooking, or simply looking to cut back on sugar, exploring these alternatives can lead to healthier and equally delicious results. Here’s a comprehensive guide to cooking and baking with sugar alternatives! Understanding Sugar Alternatives Before diving into recipes, it’s important to understand the various types of sugar alternatives available. They fall into several categories: Choosing the Right Alternative The choice of sweetener depends on the recipe and your personal preferences. Here’s a rundown of popular alternatives and how they work in cooking and baking: Baking with Sugar Alternatives When baking, sugar alternatives can affect texture, color, and taste. Here are some tips for successful baking: Cooking with Sugar Alternatives When cooking with sugar alternatives, the method can vary depending on the sweetener: Health Considerations Recipes to Try Here are a few recipe ideas to get you started with sugar alternatives: Cooking and baking with sugar alternatives can be a fun and rewarding way to enjoy your favorite treats while making healthier choices. Experiment with different sweeteners to find the perfect balance for your recipes and preferences. With these tips and a bit of creativity, you can create delicious, sweet dishes that fit your dietary needs!

How to Temper Chocolate for Baking and Confectionery

Tempering chocolate is an essential skill for any baker or confectioner aiming to create glossy, smooth, and perfectly set chocolate treats. Properly tempered chocolate has a professional finish, a satisfying snap, and a smooth texture that melts beautifully. Whether you’re making chocolates, dipping fruits, or coating cakes, understanding how to temper chocolate can elevate your confections to the next level. Here’s a step-by-step guide to tempering chocolate for baking and confectionery. What is Tempering Chocolate? Tempering chocolate is the process of heating and cooling chocolate to stabilize the cocoa butter crystals, ensuring that the chocolate has a smooth texture and a glossy finish when it sets. Proper tempering helps prevent chocolate from becoming dull or developing unsightly streaks and ensures it has a satisfying snap when broken. Why Temper Chocolate? Ingredients and Tools Needed Methods for Tempering Chocolate There are three common methods for tempering chocolate: the Seeding Method, the Tabling Method, and the Microwave Method. Here’s how to use each method effectively. 1. Seeding Method Steps: 2. Tabling Method Steps: 3. Microwave Method Steps: Tips for Success Tempering chocolate may seem like a delicate process, but with a bit of practice and the right technique, you can achieve beautifully finished confections every time. Whether you’re creating elegant chocolate candies, coating fruits, or decorating cakes, mastering the art of tempering will help you create treats with a glossy finish, satisfying snap, and smooth texture. So grab your chocolate, gather your tools, and start tempering! Have you tried tempering chocolate before? Share your tips and experiences in the comments!

Unique Recipes Featuring Exotic Fruits: A Culinary Adventure

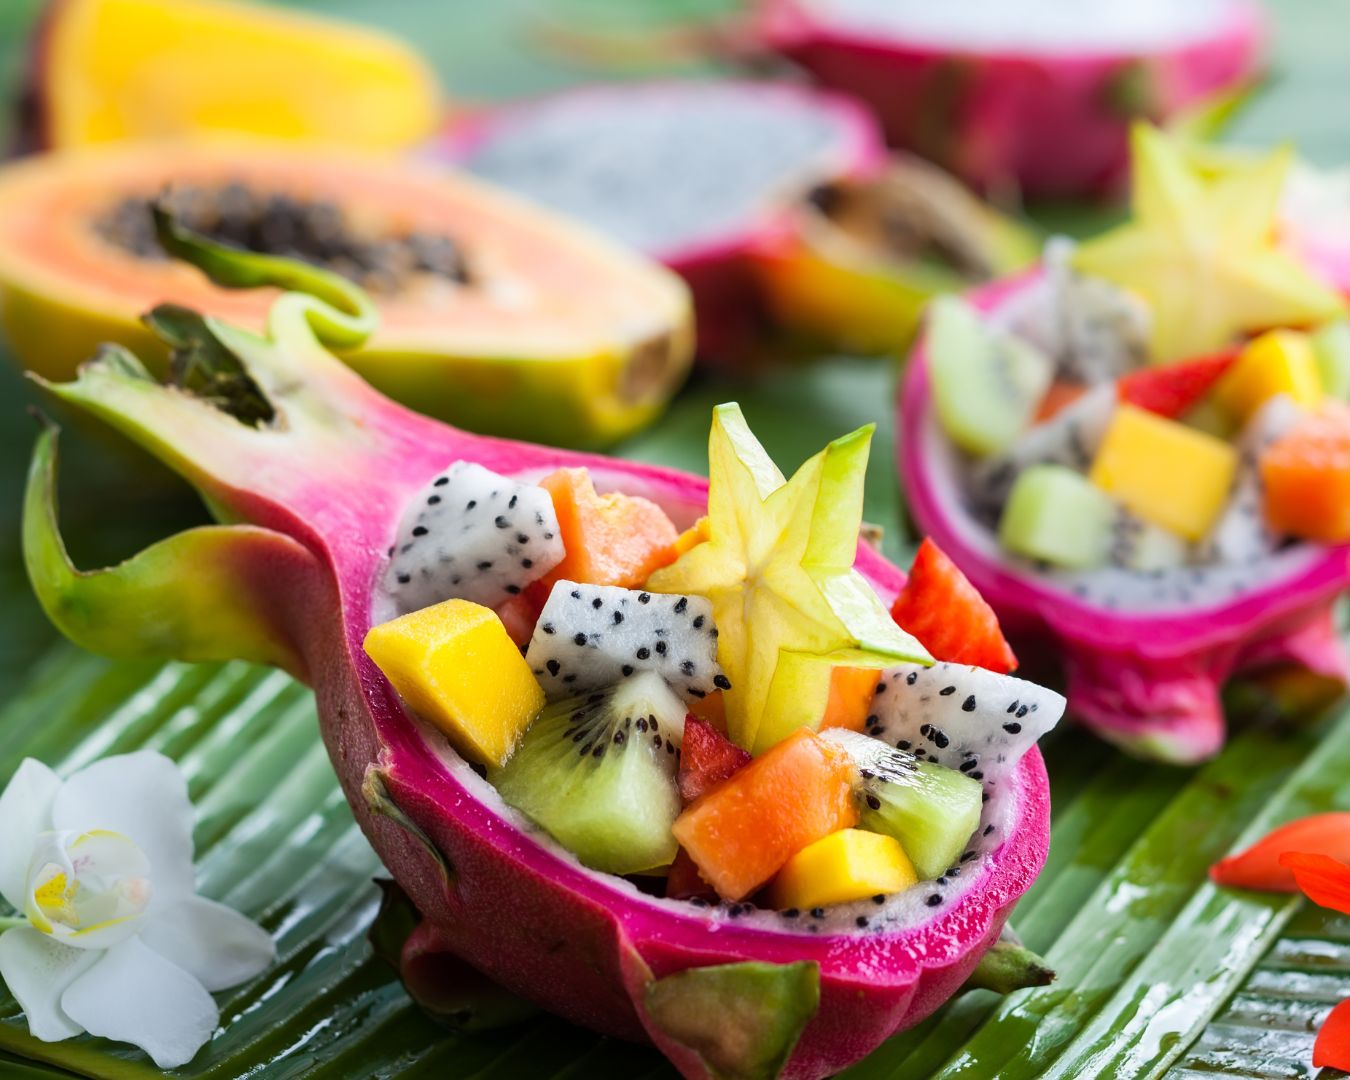
Exotic fruits bring a touch of the extraordinary to your kitchen, offering unique flavors, vibrant colors, and nutritional benefits that can transform ordinary dishes into extraordinary ones. From tangy to sweet, these fruits can be used in a variety of recipes to add a new dimension to your meals. If you’re ready to explore the world of exotic fruits, here are some unique recipes that highlight their delightful flavors and textures. Dragon Fruit Smoothie Bowl Dragon fruit, also known as pitaya, is a visually stunning fruit with a mildly sweet taste. Its vibrant pink or white flesh is dotted with tiny black seeds and has a texture similar to kiwi. Ingredients: Instructions: Papaya and Lime Chicken Salad Papaya adds a tropical twist to a classic chicken salad. Its sweetness complements the tangy lime dressing and crunchy vegetables. Ingredients: Instructions: Mango and Avocado Salsa Mango’s sweet and juicy flavor pairs beautifully with creamy avocado, making it a perfect complement to grilled meats or as a standalone dip. Ingredients: Instructions: Starfruit and Ginger Chutney Starfruit, also known as carambola, has a crisp texture and a tangy flavor that works well in a sweet and spicy chutney. It’s an excellent accompaniment to curries or grilled meats. Ingredients: Instructions: Passion Fruit Sorbet Passion fruit’s tangy, aromatic flavor makes it an ideal choice for a refreshing sorbet. This dessert is perfect for hot summer days or as a light finish to a meal. Ingredients: Instructions: Kumquat Marmalade Kumquats are small citrus fruits with a sweet-tart flavor. Their entire peel is edible, making them ideal for marmalade. Ingredients: Instructions: Exploring exotic fruits can add excitement and variety to your cooking. Whether you’re making a refreshing smoothie bowl, a zesty salsa, or a tangy chutney, these fruits offer unique flavors that can elevate your dishes and impress your taste buds. So don’t be afraid to step out of your culinary comfort zone and experiment with these exotic fruits. Your taste buds will thank you! Have you tried cooking with exotic fruits? Share your favorite recipes and experiences in the comments!

How to Make Nut Milks and Butters at Home

Making nut milks and butters at home is easier than you might think, and the results are both delicious and healthy. By preparing these staples yourself, you can control the ingredients, skip additives or preservatives, and customize the flavor to your liking. Whether you’re dairy-free, looking to reduce processed foods, or just love fresh and natural ingredients, homemade nut milks and butters are a fantastic addition to your kitchen routine. In this guide, we’ll walk you through the process of making nut milks and nut butters at home, using common nuts like almonds, cashews, and peanuts. Get ready to elevate your homemade creations with these simple steps! How to Make Nut Milks at Home Homemade nut milk is creamy, delicious, and free from preservatives or unnecessary additives. The basic recipe applies to any type of nut, whether almonds, cashews, or hazelnuts. Basic Ingredients: Instructions: Tips: Nut Milk Variations: How to Make Nut Butters at Home Homemade nut butters are rich, creamy, and incredibly satisfying. You can make smooth or chunky versions with any nut, including peanuts, almonds, or hazelnuts. Plus, you can customize the flavor with sweeteners or spices to suit your taste. Basic Ingredients: Instructions: Tips: Nut Butter Variations: Benefits of Making Your Own Nut Milks and Butters Making nut milks and butters at home is not only simple but incredibly rewarding. With just a few ingredients and a blender or food processor, you can enjoy fresh, healthy, and delicious alternatives to store-bought products. Whether you’re lactose-intolerant, vegan, or just looking for wholesome, preservative-free options, homemade nut milks and butters offer an easy way to boost the nutritional value of your meals. So, go ahead and experiment with different nuts, flavors, and combinations, and enjoy the satisfaction of creating your own kitchen staples!

Boost Your Health by Easily Incorporating Superfoods into Your Diet

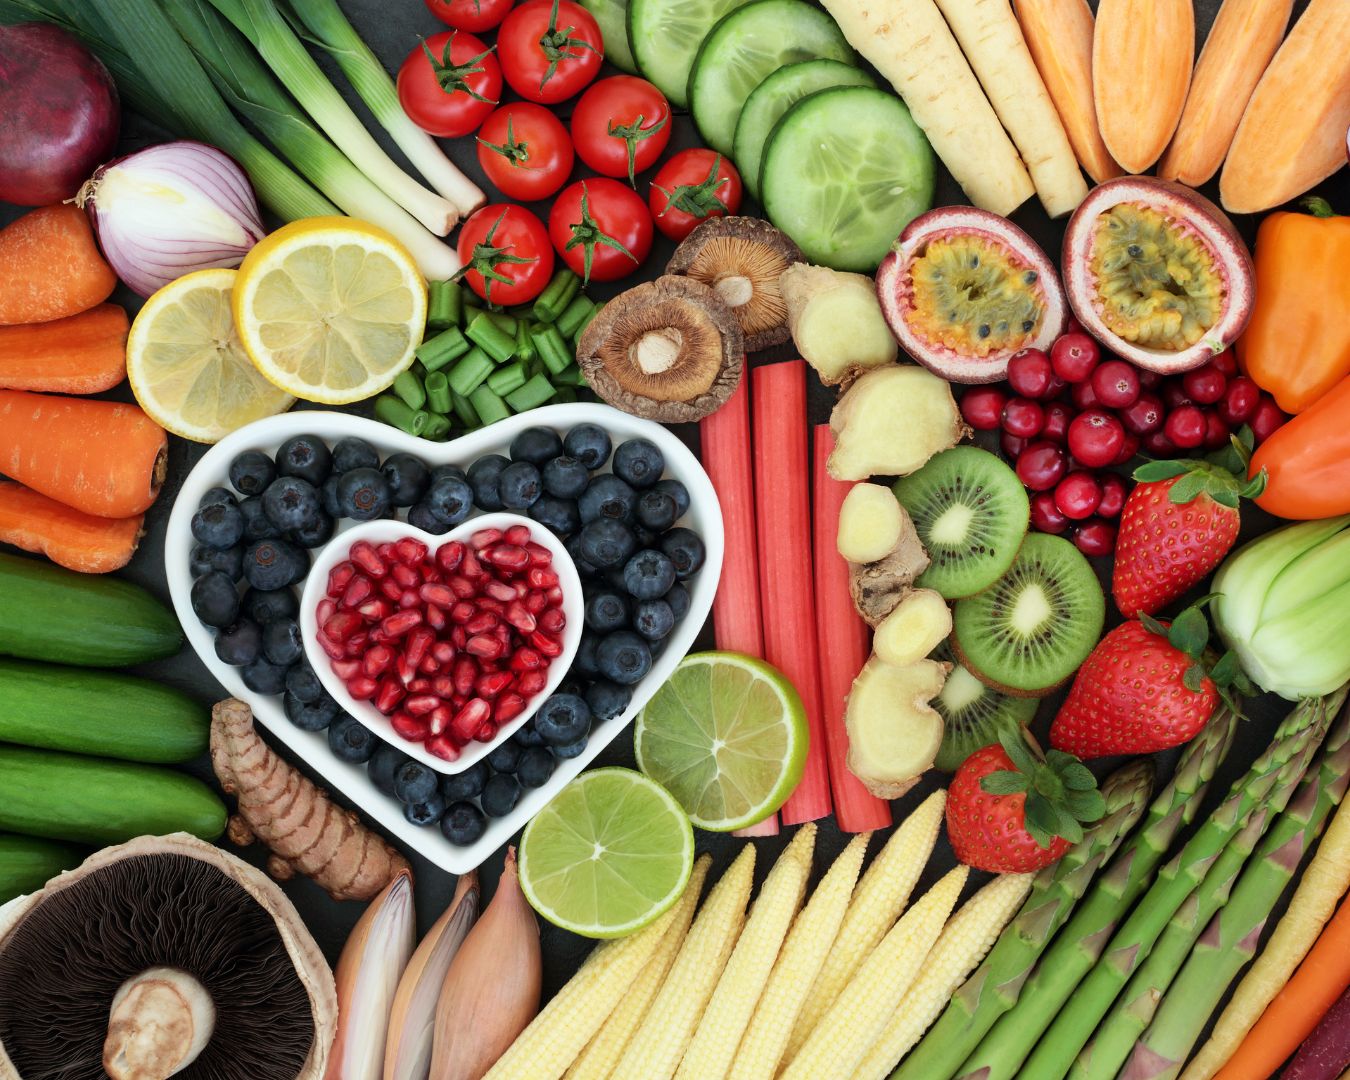
Superfoods are nutrient-dense foods packed with vitamins, minerals, and antioxidants that can significantly benefit your health. From leafy greens like kale to seeds like chia, these foods provide essential nutrients that can support your immune system, improve digestion, and enhance overall well-being. But how do you seamlessly add these powerful foods to your everyday diet? In this post, we’ll explore easy and delicious ways to incorporate superfoods into your meals without overwhelming your routine. Start Your Day with Superfoods at Breakfast Breakfast is a great opportunity to infuse your meal with superfoods, giving your body a healthy head start. Upgrade Your Snacks with Superfoods Snacks are an excellent way to sneak more superfoods into your diet. Supercharge Your Salads Salads are a natural home for superfoods and can be customized with a wide range of nutrient-dense ingredients. Power Up Your Lunch and Dinner Incorporating superfoods into your main meals is easier than you think with a few simple swaps. Supercharge Your Soups and Stews Soups and stews provide the perfect opportunity to incorporate superfoods without much effort. Drink Your Superfoods Superfoods don’t have to be limited to solid foods. Beverages can also be a great way to boost your nutrient intake. Incorporate Superfoods into Your Desserts Yes, even your desserts can be supercharged with nutrients without sacrificing flavor! Incorporating superfoods into your diet doesn’t have to be complicated. By making small, intentional changes, you can gradually increase the amount of nutrient-dense, health-boosting foods you consume. Whether it’s adding a handful of spinach to your smoothie or using quinoa as a base for your salad, these small adjustments can have a big impact on your overall health and well-being. So start experimenting with these simple ideas and give your meals a nutritional upgrade today!