cooking

How to Encourage Healthy Eating Habits Through Cooking

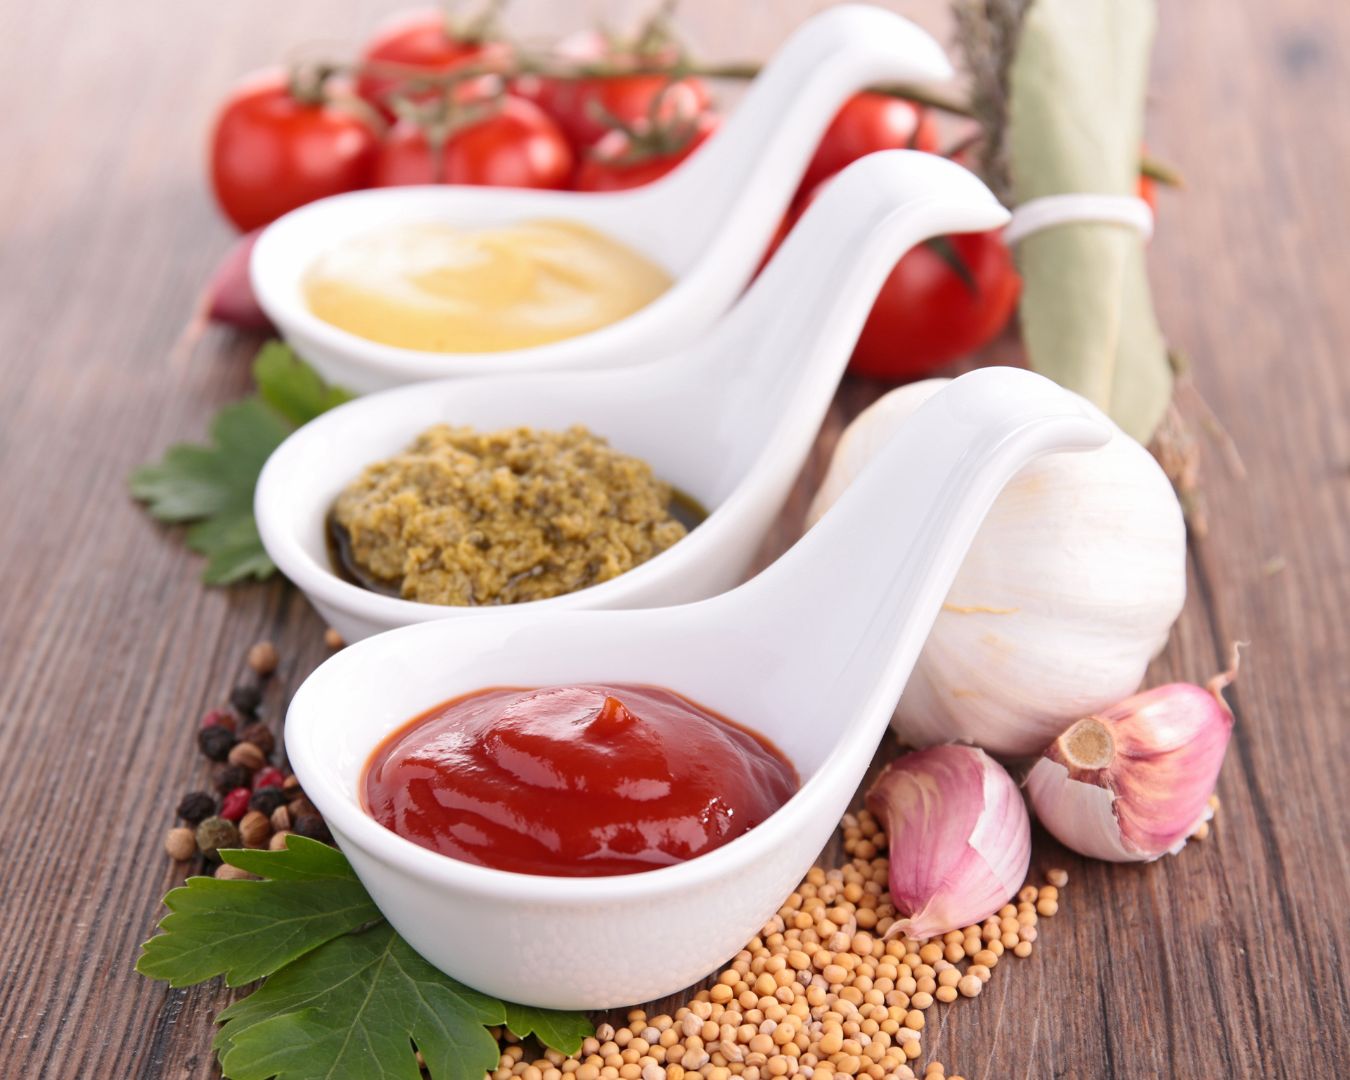
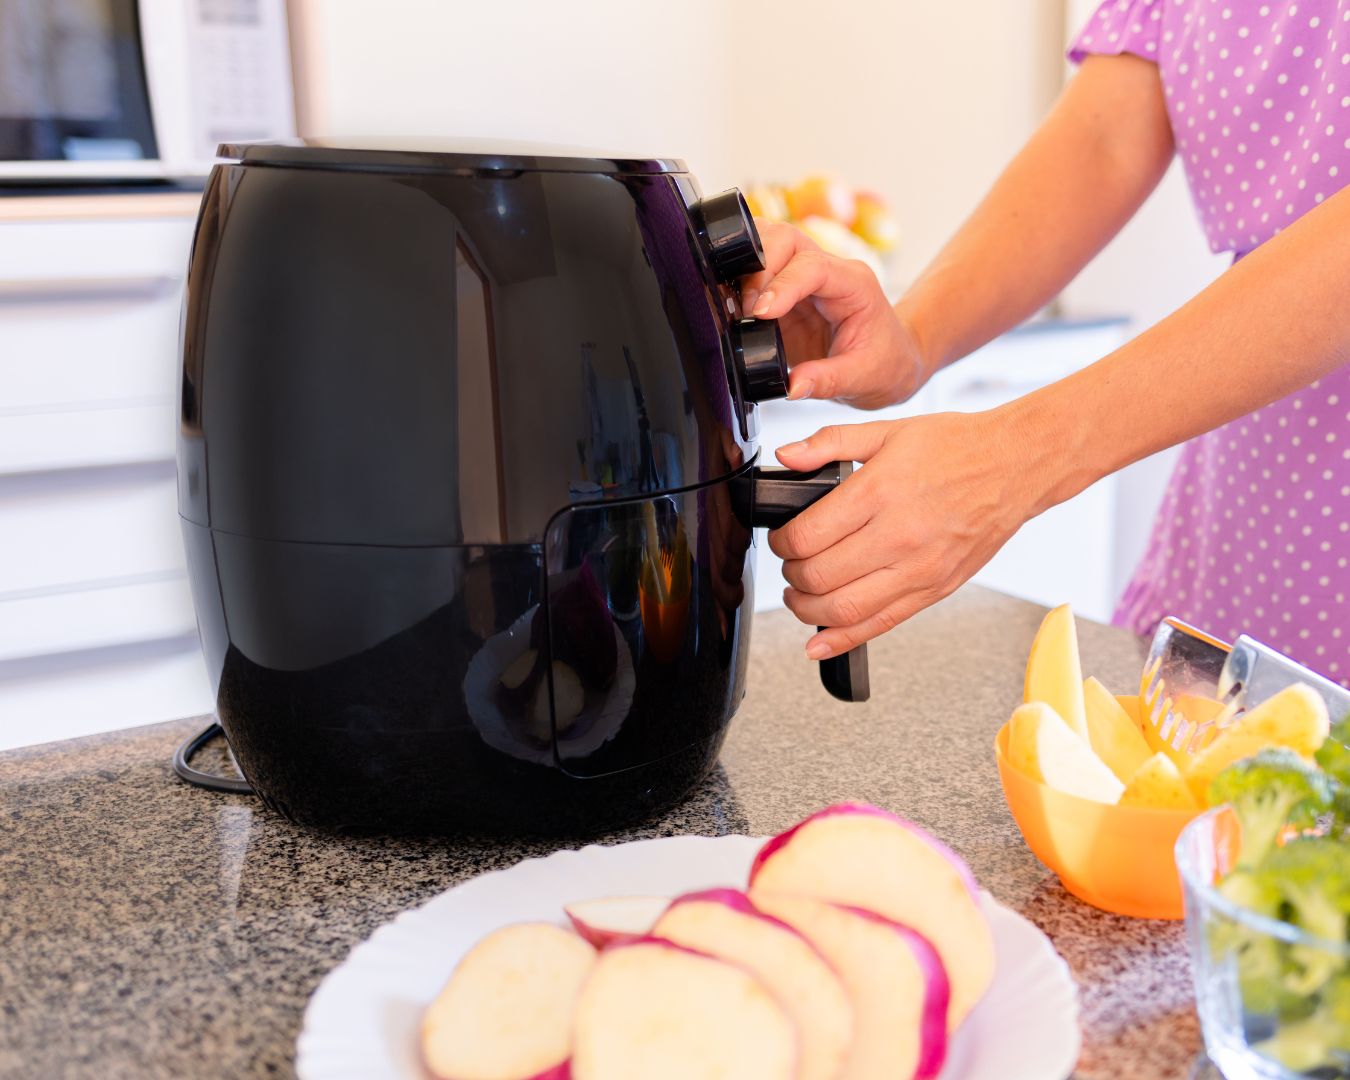
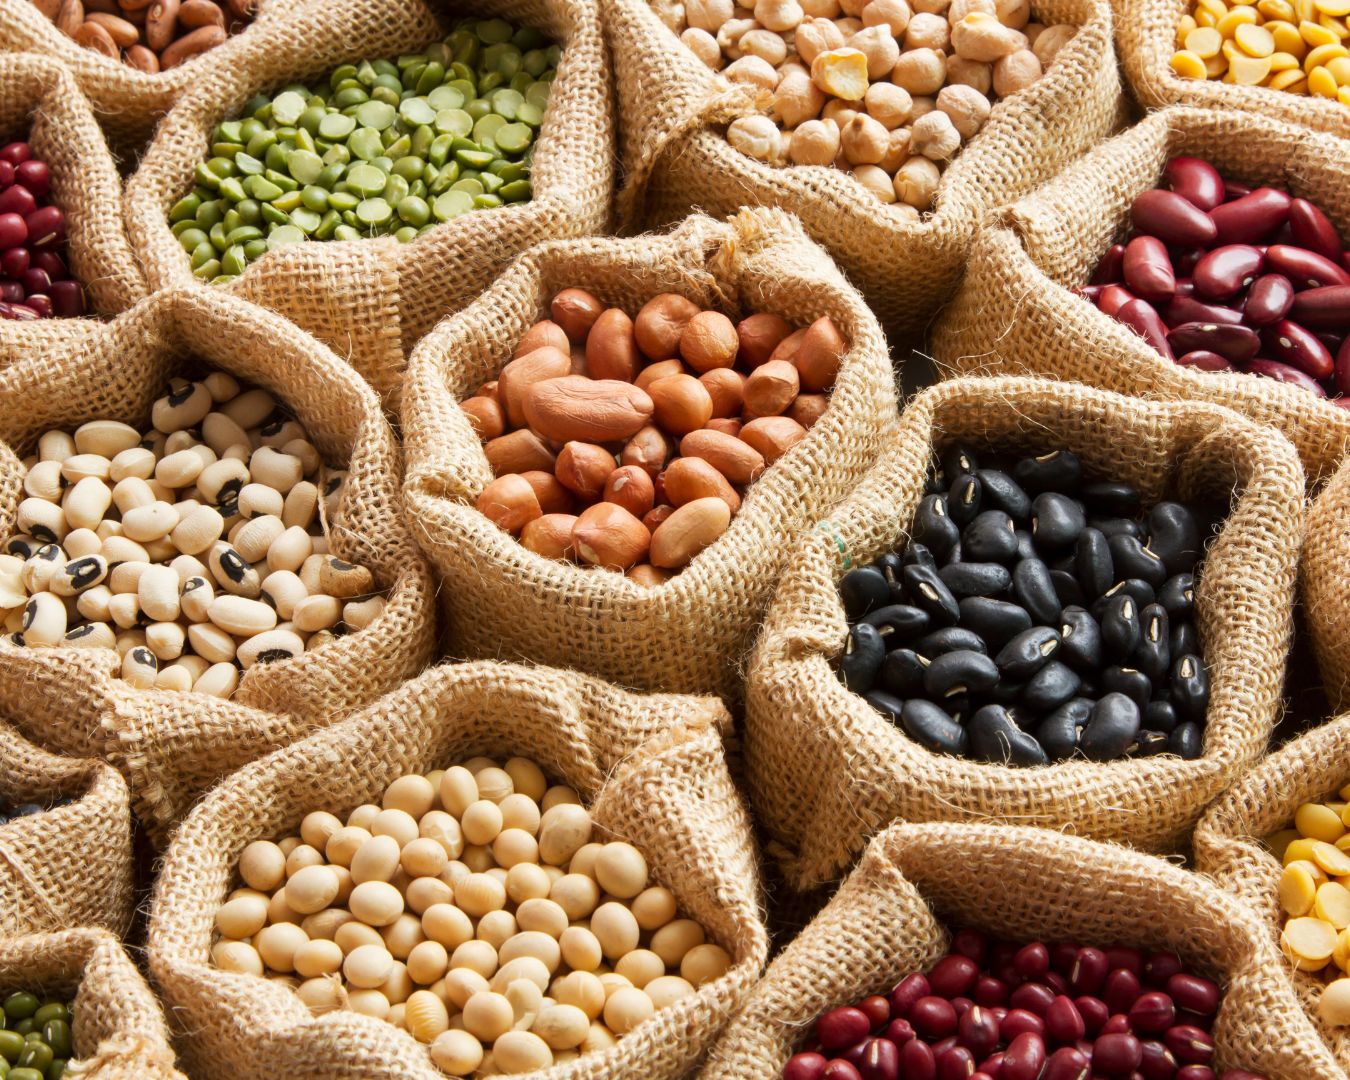
Cooking at home offers more than just a way to prepare meals; it’s an opportunity to foster healthy eating habits and make nutritious choices. By integrating certain practices into your cooking routine, you can promote a healthier lifestyle for yourself and your family. In this blog post, we’ll explore effective strategies to encourage healthy eating habits through cooking. Plan Balanced Meals Meal planning is a cornerstone of healthy eating. By planning your meals in advance, you can ensure that your diet is balanced and includes a variety of nutrients. Aim to include: Tip: Use a meal planning app or a simple calendar to organize your weekly meals and make grocery shopping more efficient. Cook from Scratch Preparing meals from scratch allows you to control the ingredients and avoid added sugars, unhealthy fats, and excessive sodium found in processed foods. Cooking from scratch also gives you the chance to experiment with fresh ingredients and healthier cooking methods. Tip: Start with simple recipes and gradually incorporate more complex dishes as you become more comfortable. Homemade soups, salads, and stir-fries are great starting points. Use Healthy Cooking Methods The way you cook your food can impact its nutritional value. Favor healthy cooking methods that preserve nutrients and reduce the need for excessive fats. Some methods include: Tip: Invest in non-stick cookware to minimize the amount of oil needed and experiment with herbs and spices for added flavor without extra calories. Incorporate Superfoods Superfoods are nutrient-dense foods that offer a variety of health benefits. Integrate these into your cooking to enhance the nutritional profile of your meals: Tip: Add berries to your breakfast cereal, toss leafy greens into salads or smoothies, and use nuts and seeds as toppings for yogurt or oatmeal. Involve the Whole Family Involving family members in meal preparation can make healthy eating more enjoyable and educational. Children who participate in cooking are more likely to try new foods and develop a positive attitude towards healthy eating. Tip: Assign age-appropriate tasks such as washing vegetables, stirring ingredients, or setting the table. Make cooking a fun and collaborative activity. Create Healthy Substitutions Make small, manageable changes to traditional recipes to improve their nutritional content. Some healthy substitutions include: Tip: Experiment with different substitutions and flavors to find what works best for your family’s taste preferences. Practice Portion Control Portion control is key to maintaining a balanced diet. By serving appropriate portions, you can enjoy a variety of foods without overeating. Tip: Use smaller plates and bowls to help manage portion sizes and avoid second servings. Pay attention to hunger cues and eat slowly to recognize when you’re satisfied. Focus on Mindful Eating Mindful eating involves paying attention to the sensory experience of eating and savoring each bite. It helps you become more aware of your body’s hunger and fullness signals, leading to healthier eating habits. Tip: Sit down for meals without distractions, chew your food thoroughly, and appreciate the flavors and textures of your dishes. Practice gratitude for the food you have and the effort put into preparing it. Make Healthy Snacks Available Healthy snacks can keep you satisfied between meals and prevent unhealthy cravings. Stock your kitchen with nutritious options: Tip: Prepare snack-sized portions in advance and keep them readily available to avoid reaching for unhealthy options. Educate Yourself and Others Knowledge is a powerful tool for encouraging healthy eating habits. Educate yourself about nutrition and share what you learn with your family and friends. Tip: Read nutrition labels, follow reputable health blogs, and consider consulting a registered dietitian for personalized advice. Cooking is a powerful way to promote healthy eating habits and support a nutritious lifestyle. By planning balanced meals, cooking from scratch, using healthy cooking methods, and involving your family, you can create an environment that fosters good eating habits. Remember, small changes can make a big difference, so start incorporating these practices into your cooking routine and enjoy the benefits of a healthier, more satisfying diet.

Nutritional Content of Common Condiments: What You Need to Know

Condiments can elevate the flavor of any dish, turning a simple meal into something extraordinary. However, while they may add taste, they can also contribute significantly to your overall nutritional intake. Understanding the nutritional content of common condiments is essential for making informed choices in the kitchen. In this post, we’ll explore the nutritional profiles of some popular condiments and offer tips on how to use them wisely. Ketchup Ketchup is a staple in many households, especially as a dip for fries or a topping for burgers. While it’s packed with flavor, ketchup is also high in sugar and sodium. Nutritional Content (per tablespoon): Health Tip: Opt for low-sugar or no-added-sugar varieties to reduce your sugar intake, or consider making your own ketchup at home using fresh tomatoes and a natural sweetener. Mayonnaise Mayonnaise is creamy and rich, often used in sandwiches, salads, and dressings. However, it’s high in fat and calories, primarily due to its oil content. Nutritional Content (per tablespoon): Health Tip: To cut down on calories and fat, try using light mayonnaise or a mayo substitute made from Greek yogurt, which also adds a boost of protein. Mustard Mustard is a low-calorie condiment that adds a tangy kick to sandwiches and dressings. It’s also low in fat and sugar, making it a healthier option compared to other condiments. Nutritional Content (per tablespoon): Health Tip: Use mustard generously as a flavor enhancer without worrying about adding extra calories or sugar to your meal. Soy Sauce Soy sauce is a popular condiment in Asian cuisine, known for its salty, umami flavor. While it’s low in calories, soy sauce is extremely high in sodium. Nutritional Content (per tablespoon): Health Tip: To manage your sodium intake, opt for low-sodium soy sauce or tamari, which offers similar flavor with less salt. Alternatively, use coconut aminos, which are naturally lower in sodium. Barbecue Sauce Barbecue sauce is sweet, tangy, and often used as a marinade or dipping sauce. However, it can be high in sugar and calories. Nutritional Content (per tablespoon): Health Tip: Look for reduced-sugar versions or make your own barbecue sauce at home to control the sugar content. You can use natural sweeteners like honey or maple syrup for a healthier alternative. Hot Sauce Hot sauce adds a spicy kick to dishes without adding many calories or fat. It’s also low in sodium, making it a healthier choice for those who enjoy a bit of heat in their meals. Nutritional Content (per tablespoon): Health Tip: Use hot sauce liberally to add flavor without the guilt. Just be mindful of the sodium content if you’re watching your salt intake. Ranch Dressing Ranch dressing is a popular choice for salads and dipping vegetables. However, it’s typically high in calories, fat, and sodium. Nutritional Content (per tablespoon): Health Tip: Try using a lighter version of ranch or make your own at home using Greek yogurt as a base to reduce the fat and calorie content. Hummus Hummus is a nutritious and versatile dip made from chickpeas, tahini, olive oil, and spices. It’s high in fiber and protein while offering healthy fats. Nutritional Content (per tablespoon): Health Tip: Hummus can be a great alternative to mayonnaise or other high-fat spreads. Use it in sandwiches or as a dip for vegetables to add flavor and nutrients without excess calories. Condiments can enhance the taste of your meals, but it’s important to be aware of their nutritional content. While some condiments like mustard and hot sauce can be used generously, others like mayonnaise and barbecue sauce should be used in moderation due to their high fat and sugar content. By making smart choices and considering healthier alternatives, you can enjoy your favorite condiments without compromising your nutritional goals.

The Role of Burner Types: Sealed vs. Open Burners

When it comes to choosing a cooktop, one of the most important decisions is selecting the right type of burner for your cooking needs. The two primary types of burners you’ll encounter are sealed burners and open burners. Each has its own set of advantages and drawbacks, making them suitable for different types of cooking styles and preferences. In this post, we’ll explore the key differences between sealed and open burners and help you determine which might be the best fit for your kitchen. Sealed Burners: Convenience and Cleanliness Sealed burners are designed with a cap that covers the burner, preventing spills and debris from entering the burner itself. This design makes them incredibly easy to clean, as any spills stay on the cooktop surface and can be wiped away with a damp cloth. The smooth, flat surface around the burner also allows for easier maneuvering of pots and pans. In addition to being easy to clean, sealed burners tend to distribute heat more evenly, making them ideal for simmering sauces or cooking delicate dishes that require precise temperature control. The sealed design also helps to contain heat within the burner, which can improve energy efficiency and reduce the risk of burns. Pros: Cons: Open Burners: Power and Performance Open burners, on the other hand, are designed with an exposed flame that allows for more direct contact with the cookware. This design provides a powerful and intense heat source, making open burners a favorite among professional chefs and serious home cooks who need high heat for tasks like searing, stir-frying, or boiling large quantities of water quickly. The open design also allows for better air circulation around the burner, which can result in more efficient combustion and faster cooking times. However, the exposed flame can be more challenging to clean, as spills and food particles can easily fall into the burner, requiring more frequent maintenance. Pros: Cons: Which Burner Type Is Right for You? The choice between sealed and open burners ultimately depends on your cooking style and kitchen habits. If you prioritize easy cleanup and often cook dishes that require low to medium heat, sealed burners may be the better option. They offer convenience and safety, making them ideal for everyday home cooking. On the other hand, if you’re a cooking enthusiast who enjoys experimenting with high-heat techniques and doesn’t mind a little extra cleaning, open burners might be the way to go. They provide the power and performance needed for more demanding cooking tasks, giving you greater control over your culinary creations. In conclusion, both sealed and open burners have their unique benefits, and understanding these differences can help you make an informed decision when choosing a cooktop. Whether you’re looking for ease of use or professional-grade performance, selecting the right burner type will enhance your cooking experience and allow you to create delicious meals with confidence.

Using Garnishes and Sauces to Enhance Food Presentation

When it comes to creating a memorable dining experience, taste is only part of the equation. The way food is presented can significantly impact how it is perceived and enjoyed. Garnishes and sauces play a crucial role in elevating the visual appeal of a dish, making it more appetizing and inviting. Whether you’re a home cook looking to impress your guests or a professional chef striving for perfection, mastering the art of garnishing and sauce presentation can take your culinary creations to the next level. In this blog post, we’ll explore the various ways garnishes and sauces can be used to enhance food presentation, offering tips and techniques to help you plate like a pro. The Importance of Garnishes What Are Garnishes? Garnishes are decorative elements added to a dish that can also enhance its flavor and texture. They are typically small, edible components placed on or around the food to add color, contrast, and a finishing touch. Common garnishes include fresh herbs, citrus zest, edible flowers, microgreens, and finely chopped vegetables. Choosing the Right Garnish: The key to a successful garnish is ensuring that it complements the dish both visually and flavor-wise. Here are some tips for selecting the right garnish: Examples of Effective Garnishes: The Art of Sauce Presentation Why Sauces Matter: Sauces are more than just a way to add flavor to a dish; they are also an essential element of food presentation. The way a sauce is applied can change the entire look of a dish, turning a simple plate of food into a work of art. Whether drizzled, smeared, or pooled, sauces can add color, contrast, and elegance to your presentation. Techniques for Sauce Presentation: Pairing Garnishes and Sauces To truly elevate your food presentation, consider how garnishes and sauces can work together. Here are some tips for creating harmonious pairings: Garnishes and sauces are powerful tools in the art of food presentation. By carefully selecting and applying these elements, you can transform a simple dish into a visually stunning and delicious experience. Whether you’re drizzling a balsamic reduction over a salad or adding a sprinkle of fresh herbs to a pasta dish, the right garnish or sauce can make all the difference. So, next time you’re in the kitchen, take a moment to think about how you can enhance your food’s presentation with the perfect garnish or sauce. Your eyes—and your taste buds—will thank you!

Cooking with Peppers to Add Flavor and Heat

Peppers are a versatile and flavorful ingredient that can elevate any dish. From sweet bell peppers to fiery habaneros, these colorful vegetables add depth, texture, and heat to your meals. Whether you prefer a mild kick or an intense burn, cooking with peppers is a great way to experiment with flavors and spice up your culinary creations. In this blog post, we’ll explore the different types of peppers, how to use them in your cooking, and tips for balancing heat and flavor. Types of Peppers Cooking Tips Peppers are a dynamic ingredient that can add both flavor and heat to your dishes. Whether you’re looking to enhance a simple meal or create something bold and spicy, the variety of peppers available means there’s something for every palate. Experiment with different types of peppers in your cooking, and don’t be afraid to mix and match to find your perfect balance of heat and flavor. Happy cooking!

Exploring Dehydration Options with Your Air Fryer

The air fryer has become a kitchen favorite for its ability to create crispy, delicious meals with minimal oil. But did you know that your air fryer can also serve as a dehydrator? Dehydrating food is a fantastic way to preserve fruits, vegetables, and even herbs, making them last longer and providing healthy, shelf-stable snacks. In this blog post, we’ll explore how you can use your air fryer for dehydration, the types of foods you can dehydrate, and tips for achieving the best results. Why Dehydrate Food? Dehydrating food removes moisture, which inhibits the growth of bacteria, yeast, and mold, thereby extending the shelf life of your food. It also concentrates the flavors, making dehydrated snacks like fruit chips or vegetable crisps a tasty and healthy alternative to store-bought snacks. Plus, dehydrated foods are lightweight, making them perfect for camping, hiking, or just stocking your pantry with nutritious options. Dehydrating with an Air Fryer: What You Need to Know Many air fryers come with a dehydration function, or at least the capability to run at a low temperature, which is essential for dehydration. Here’s how you can get started: 1. Choose the Right Air Fryer: 2. Preparing the Food: 3. Arranging the Food in the Air Fryer: 4. Setting the Temperature and Time: Foods You Can Dehydrate in Your Air Fryer 1. Fruits: 2. Vegetables: 3. Herbs: Tips for Successful Dehydration 1. Store Properly: 2. Label and Date: 3. Experiment with Flavors: Dehydrating with your air fryer opens up a whole new world of culinary possibilities. Whether you’re looking to preserve seasonal produce, create healthy snacks, or simply experiment with new flavors, the air fryer can be your go-to tool. With a bit of practice and experimentation, you can master the art of dehydration and enjoy the convenience and versatility it brings to your kitchen. Happy dehydrating!

Cooking and Baking with Seeds in the Kitchen: A Guide to Flavor and Nutrition

Seeds are a small but mighty ingredient in the kitchen. Packed with nutrients, flavor, and texture, they can elevate your cooking and baking in a variety of ways. Whether you’re sprinkling them on a salad or mixing them into your bread dough, seeds are versatile and easy to incorporate into your recipes. In this blog post, we’ll explore different types of seeds, their nutritional benefits, and creative ways to use them in the kitchen. Common Types of Seeds and Their Nutritional Benefits Cooking with Seeds: Adding Flavor and Texture Seeds can be used in various ways to enhance your cooking. Here are some ideas: Baking with Seeds: Nutritional Boosts for Your Favorite Treats Incorporating seeds into your baking is an easy way to boost the nutritional value of your recipes without sacrificing flavor. Here’s how you can use seeds in baked goods: Homemade Seed Butters and Milks Making your own seed butters and milks at home is simple and rewarding. Here’s how you can use seeds in homemade butters and plant-based milk alternatives: Tips for Cooking and Baking with Seeds Cooking and baking with seeds is a fantastic way to add flavor, texture, and nutrition to your meals. From chia seeds in puddings to sesame seeds on bread, the possibilities are endless. By incorporating seeds into your kitchen routine, you can enhance the health benefits of your favorite dishes while exploring new and exciting recipes. So the next time you’re cooking or baking, don’t forget to reach for the seeds—they might just become your new favorite ingredient!

Unique Recipes Featuring Legumes: A Versatile Superfood

Legumes, including beans, lentils, peas, and chickpeas, are a nutritional powerhouse. Rich in protein, fiber, and essential vitamins, they offer endless possibilities in the kitchen. Whether you’re looking for hearty meals or light, creative dishes, legumes are versatile enough to shine in various unique recipes. Below are some exciting ways to incorporate legumes into your cooking routine. Chickpea and Sweet Potato Burgers Chickpeas are an excellent base for plant-based burgers, adding both texture and flavor. This recipe combines chickpeas with mashed sweet potatoes, herbs, and spices to create a tasty alternative to traditional burgers. Ingredients: Procedure: Lentil and Mushroom Shepherd’s Pie This plant-based version of a classic shepherd’s pie uses lentils and mushrooms as the base. The earthy flavor of mushrooms pairs beautifully with the hearty lentils, creating a rich and comforting dish. Ingredients: Procedure: Black Bean and Quinoa Stuffed Peppers Black beans are perfect for stuffing vegetables, and when paired with quinoa, they create a filling, protein-packed meal. These stuffed peppers are colorful, flavorful, and nutrient-dense. Ingredients: Procedure: Red Lentil Coconut Curry Red lentils cook quickly and blend beautifully into a creamy coconut curry. This recipe is both quick and satisfying, making it perfect for a weeknight dinner or meal prep. Ingredients: Procedure: Spicy Roasted Chickpeas Looking for a healthy snack? Roasted chickpeas are crunchy, flavorful, and customizable to your spice preferences. They’re perfect for snacking, adding to salads, or as a crunchy topping for soups. Ingredients: Procedure: Legumes are incredibly versatile and nutritious, offering countless ways to incorporate them into your meals. From hearty main courses to light snacks, they can transform any dish into a delicious and wholesome creation. Whether you’re looking for a protein-packed alternative to meat or a plant-based option for your next meal, these unique recipes featuring legumes will inspire your kitchen adventures. Explore the world of legumes and enjoy their flavors, textures, and health benefits in every bite!

How to Select, Store, and Prepare Peppers: A Complete Guide

Peppers are a versatile and flavorful ingredient that can add color, crunch, heat, and depth to a wide range of dishes. With their variety of flavors—from sweet and mild to fiery hot—peppers have become a kitchen staple worldwide. Whether you’re using bell peppers for stir-fries or adding some heat with chili peppers, knowing how to select, store, and prepare peppers will help you get the most out of these vibrant vegetables. Here’s a comprehensive guide to choosing the best peppers, keeping them fresh, and prepping them for your next culinary creation. Selecting the Right Peppers When shopping for peppers, it’s important to select the right type based on your recipe and flavor preference. Here’s a quick breakdown of the most common peppers: 1. Bell Peppers What to Look For: 2. Jalapeño Peppers What to Look For: 3. Poblano Peppers What to Look For: 4. Habanero Peppers What to Look For: 5. Chili Peppers (e.g., Serrano, Cayenne, Thai) What to Look For: How to Store Peppers Storing peppers properly will help extend their freshness and flavor. Here are some tips for keeping your peppers in prime condition. 1. Store Whole Peppers in the Refrigerator 2. Freeze Peppers for Long-Term Storage 3. Store Dried Peppers in a Cool, Dark Place How to Prepare Peppers 1. Washing and Seeding Peppers 2. Roasting Peppers Roasting peppers enhances their sweetness and gives them a smoky flavor. Here’s how to roast them: Roasted peppers are perfect for salsas, sauces, or stuffing. 3. Sautéing Peppers Sautéing peppers softens them and brings out their natural sweetness. This method is great for fajitas, stir-fries, or as a side dish. 4. Grilling Peppers Grilling peppers brings out their smokiness and enhances their natural flavors. Use grilled peppers in sandwiches, salads, or as a topping for meats. 5. Pickling Peppers Pickled peppers make a tangy and spicy addition to sandwiches, tacos, and salads. Cooking with Peppers: Recipe Ideas Peppers are a must-have ingredient in every kitchen, offering endless possibilities for flavor, color, and texture in your meals. From selecting the freshest peppers at the store to storing them for long-term use, this guide will help you make the most of this versatile vegetable. Whether you’re roasting bell peppers, grilling jalapeños, or pickling chili peppers, you’ll always have the perfect pepper for any dish!

How to Clean a Glass-Top Stove: A Complete Guide

A glass-top stove adds a sleek, modern look to your kitchen, but it requires special care to maintain its shine and functionality. Unlike traditional stovetops, glass-top stoves can easily show streaks, smudges, and burnt-on food if not cleaned properly. In this guide, we’ll walk you through the best practices for cleaning and maintaining your glass-top stove to keep it looking pristine and functioning effectively. Why Glass-Top Stoves Require Special Care Glass-top stoves are made from smooth, flat ceramic or tempered glass surfaces. While they are visually appealing and easier to wipe down compared to gas stoves, their delicate surface can be prone to scratches and stains if you use the wrong cleaning methods. Abrasive cleaning tools or harsh chemicals can damage the surface, while burnt-on food can become a nightmare if not handled properly. That’s why it’s essential to use the right techniques and materials when cleaning a glass-top stove. Let’s dive into how to clean your stove without causing damage. What You’ll Need Step-by-Step Cleaning Process 1. Let the Stove Cool Down Before you begin cleaning, ensure that the stove is completely cool. Cleaning a hot stove can cause burns or damage the surface. Wait at least 20-30 minutes after cooking before starting the cleaning process. 2. Wipe Away Loose Debris Use a damp microfiber cloth or paper towel to wipe away loose debris, crumbs, or light spills. This will remove any immediate messes and prevent them from being smeared around the surface during the next steps. 3. Spray with White Vinegar White vinegar is a great natural cleaner for glass-top stoves because it cuts through grease and streaks. Fill a spray bottle with white vinegar and lightly mist the entire surface of the stove. Allow the vinegar to sit for a few minutes, which will help loosen any grease or residue. 4. Apply Baking Soda for Stubborn Stains For tougher, burnt-on stains, sprinkle baking soda generously over the problem areas. Baking soda is a mild abrasive that will help lift the grime without scratching the glass surface. The combination of baking soda and vinegar creates a fizzing action that helps break down stubborn food particles. 5. Use a Damp Cloth to Gently Scrub Take a damp microfiber cloth and gently scrub the baking soda and vinegar mixture in a circular motion. Be careful not to press too hard, as applying too much pressure can scratch the glass. Work your way across the surface, focusing on areas with visible stains or grime. 6. Scrape Off Burnt-On Food with a Razor Blade For any tough, burnt-on food that won’t come off with baking soda and vinegar, you can use a razor blade scraper. Ensure that the scraper is specifically designed for glass-top stoves to avoid scratching the surface. Hold the scraper at a 45-degree angle and gently scrape away the burnt residue. Be careful not to apply too much pressure, and always keep the blade flat against the surface. 7. Wipe the Surface Clean Once you’ve removed all the stains and food debris, wipe the stove with a clean, damp microfiber cloth to remove the remaining residue. Make sure the surface is free of baking soda and any other cleaning agents. 8. Dry and Polish To finish, use a dry microfiber cloth or paper towel to dry the stove and buff it to a shine. You can also spray a small amount of glass cleaner on the surface and wipe it down for a streak-free finish. Regular Maintenance Tips Cleaning a glass-top stove may require a bit of extra care, but by following the proper steps and using the right cleaning materials, you can keep your stove looking brand new. From regular maintenance to removing stubborn stains, these tips will help you maintain a sleek, scratch-free surface that enhances your kitchen’s modern look.