microwave

Using Your Microwave for Baking: Tips and Tricks for Success

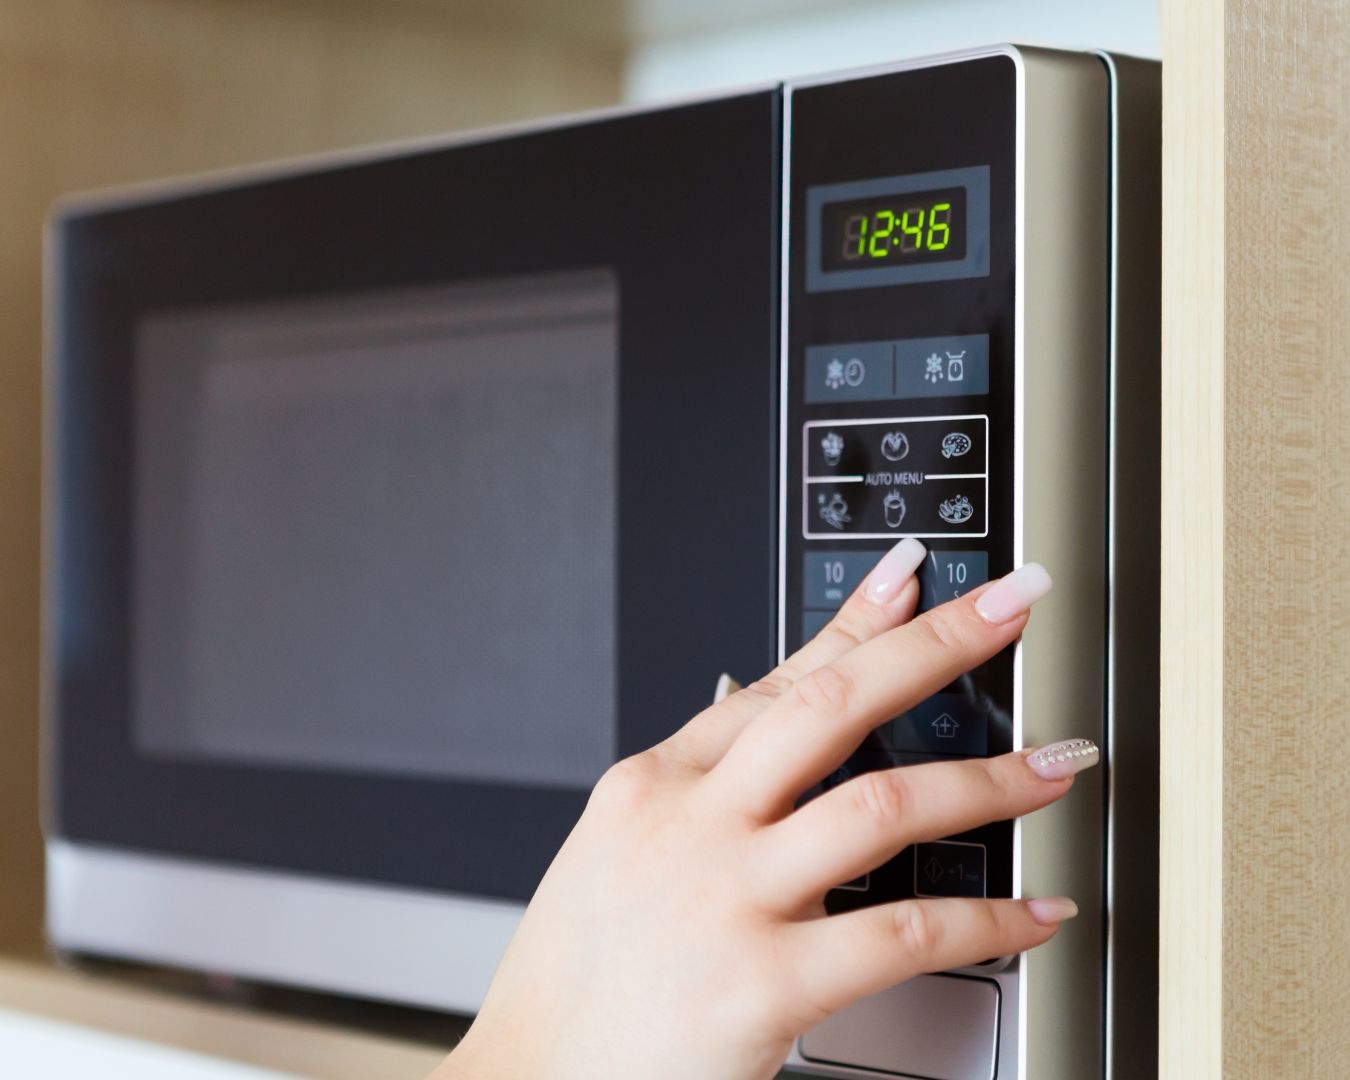
Microwaves are typically known for reheating leftovers or quickly cooking simple meals, but did you know they can also be used for baking? While a microwave won’t completely replace a traditional oven, it can be a handy alternative for small batches, quick desserts, or when your main oven is occupied. Here’s how to make the most of your microwave for baking, along with some tips and tricks to ensure success. Choose Microwave-Safe Bakeware The first step to successful microwave baking is choosing the right bakeware. Use only microwave-safe containers, such as glass, ceramic, or silicone, to avoid any mishaps. Avoid metal pans or dishes with metallic trims, as they can cause sparks or damage your microwave. Also, consider using round containers rather than square or rectangular ones, as they promote more even cooking. Understand Power Levels Microwaves typically operate at different power levels, which can be adjusted depending on what you’re baking. Lower power levels mimic the slow, steady heat of an oven and are ideal for baking. For instance, if your microwave’s maximum power is 1000 watts, you might want to bake at 50% power (500 watts) to avoid overcooking the outside while the inside remains undercooked. Use Small Portions and Batches Microwaves work best for smaller portions, so keep this in mind when baking. Large cakes or loaves may not cook evenly, leading to dry or rubbery textures. Stick to individual servings or small batches, like mug cakes, brownies, or mini cookies, for the best results. Additionally, since microwaves cook food quickly, small portions ensure even baking throughout. Rotate and Monitor Microwaves can have hot spots, so it’s crucial to rotate your dish halfway through baking to ensure even cooking. If your microwave doesn’t have a turntable, manually rotate the dish every minute or so. Also, keep an eye on your baked goods and check for doneness frequently, as microwaves can cook faster than you might expect. Add Moisture Microwave baking can sometimes dry out baked goods, especially if cooked for too long. To combat this, consider adding a small cup of water in the microwave alongside your dish. The steam from the water will help keep your baked goods moist. Alternatively, use ingredients like yogurt, applesauce, or even a bit of extra butter or oil in your recipes to maintain moisture. Experiment with Timing Microwave baking times can vary significantly from those in a conventional oven, so be prepared to experiment. Start by setting a shorter cook time and increase it gradually until you achieve the desired result. It’s better to undercook slightly and add extra time than to overcook and ruin your dish. Use Pre-Packaged Microwave Baking Mixes For beginners, pre-packaged microwave baking mixes can be a great way to get started. These mixes are specifically designed for microwaves and come with precise instructions, making it easier to achieve a successful bake. Once you’re comfortable, you can start experimenting with your own recipes. Allow for Carryover Cooking Microwave-baked goods often continue to cook slightly after being removed from the microwave due to residual heat. To avoid overcooking, let your baked goods rest for a minute or two after removing them from the microwave. This rest time allows the heat to distribute evenly, ensuring a better texture. Know When to Use the Microwave While the microwave is convenient, it’s not suitable for all types of baking. Delicate pastries, flaky pie crusts, and recipes requiring a crispy or browned exterior are better suited to a traditional oven. However, for quick cakes, puddings, and other simple treats, the microwave can be a lifesaver. Baking in a microwave can be a convenient and efficient way to prepare small, quick treats. With the right techniques and a bit of experimentation, you can achieve delicious results that rival those from a conventional oven. Whether you’re whipping up a quick dessert or trying out a new recipe, these tips and tricks will help you make the most of your microwave for baking success.

How to Clean a Blender and Other Small Kitchen Appliances

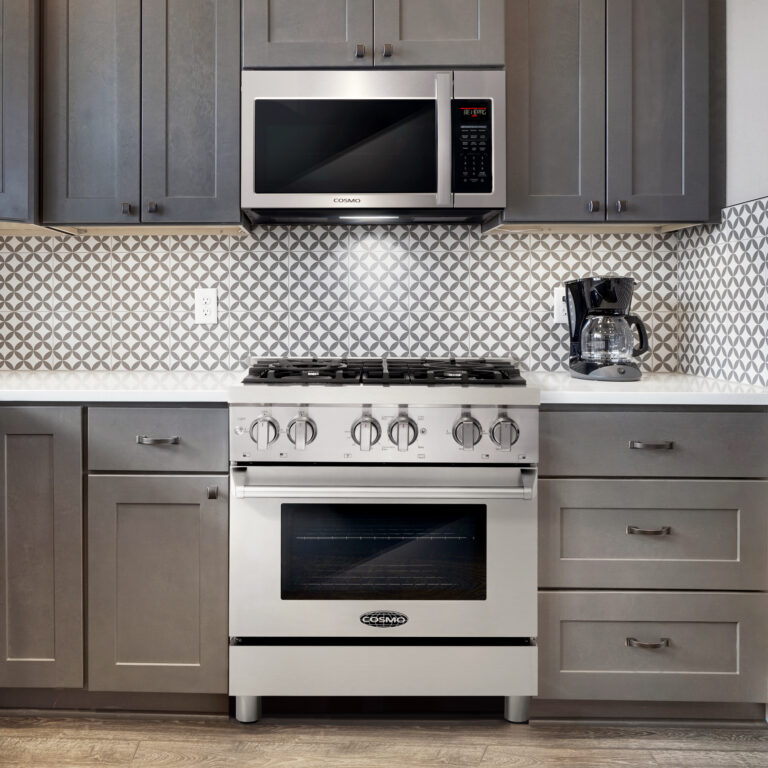
Small kitchen appliances like blenders, coffee makers, and toasters are essential tools in our daily cooking routines. However, over time, they can accumulate food residue, grease, and stains, which not only affect their performance but also pose hygiene risks. Regular cleaning and maintenance are key to extending the life of these appliances and ensuring they function efficiently. In this blog post, we’ll guide you through the process of cleaning your blender and other common small kitchen appliances, so you can keep your kitchen tools in top shape. How to Clean a Blender Blenders are versatile appliances, used for everything from smoothies to soups. However, their design can make them tricky to clean properly. Here’s how to do it: 1. Disassemble the Blender: 2. Rinse Immediately After Use: 3. Use Warm Soapy Water: 4. Deep Clean the Components: 5. Clean the Base: 6. Reassemble and Store: How to Clean Other Small Kitchen Appliances 1. Coffee Maker: Coffee makers can accumulate mineral deposits and coffee oils, affecting the taste of your brew. Here’s how to clean it: 2. Toaster: Toasters collect crumbs and can become a fire hazard if not cleaned regularly. 3. Microwave: Microwaves can quickly become dirty from food splatters and spills. 4. Food Processor: Food processors can trap food particles in various parts, making them difficult to clean. Keeping your small kitchen appliances clean is essential for maintaining their performance and ensuring your kitchen remains a safe and hygienic space. By following these cleaning tips for your blender, coffee maker, toaster, microwave, and food processor, you can extend the life of your appliances and enjoy consistently great results in your cooking and food preparation. Make regular cleaning a part of your kitchen routine, and your appliances will thank you with years of reliable service.

Real Life Microwave Hacks

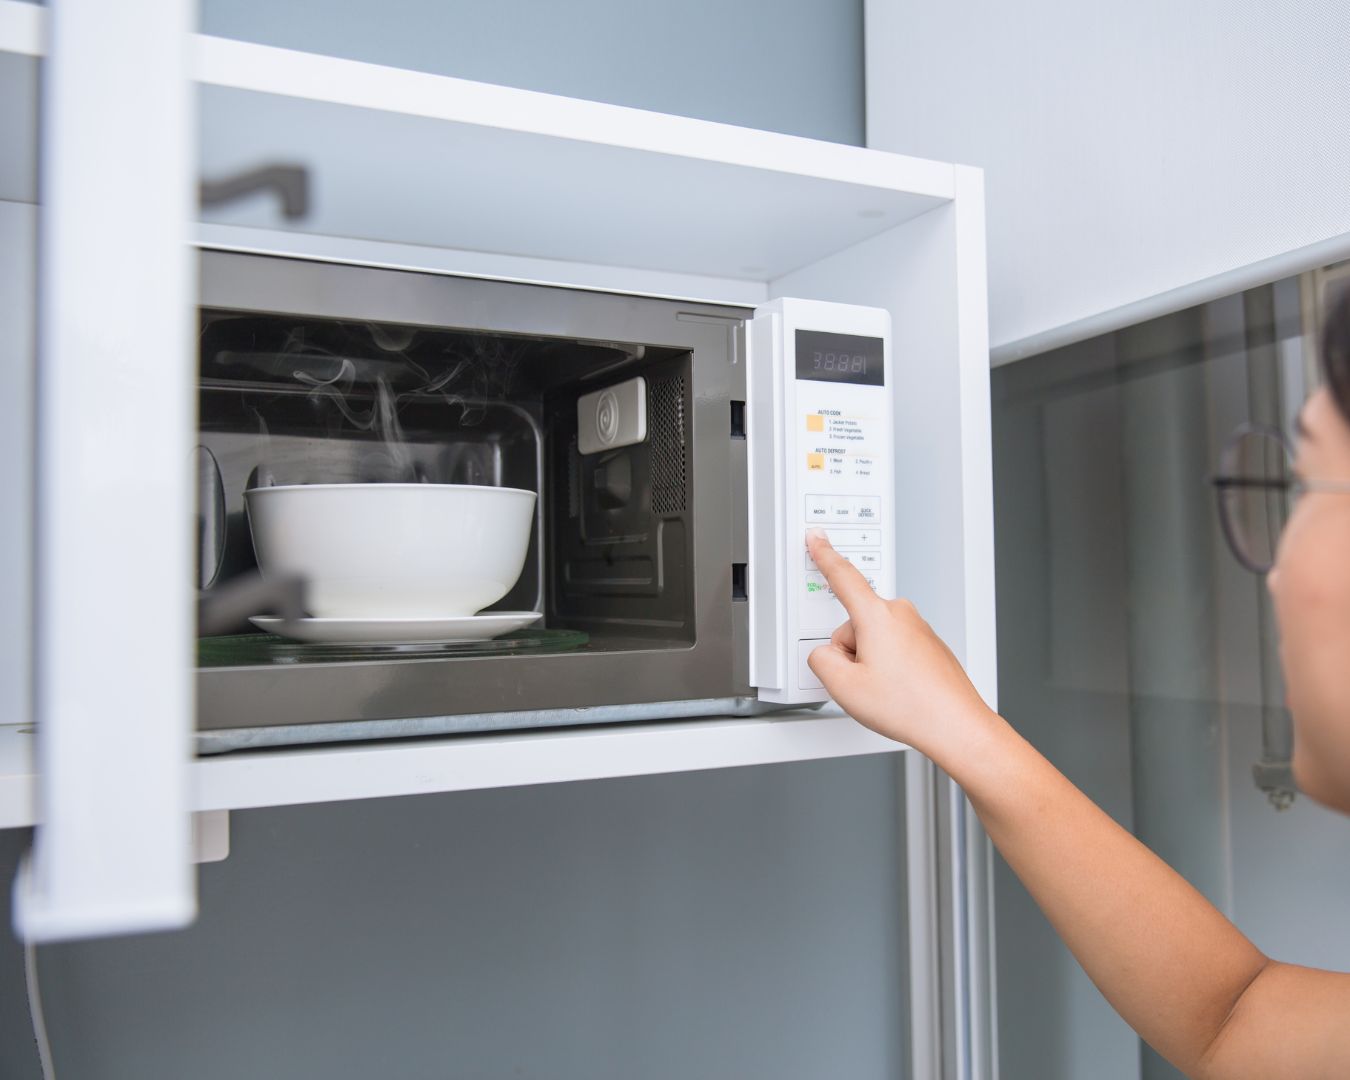
It’s not just for reheating leftover pizza- the microwave has some pretty nifty hacks that you can use to make your life easier. Here is a list of the best hacks we found.  Peeling Garlic Got Easier  Peeling garlic is daunting, however, you can put the garlic in the microwave and heat it up for 15 seconds. The heat will release the moisture from the garlic clove which gets trapped between the skins and loosens it. Once you take it out, the skin just slide off. Get More Juice from Your Citrus Fruits If you need help getting the most juice out of a lemon, lime or other citrus fruit throw it into the microwave for about 10-20 seconds so that the pulp inside becomes soft and you can juice it with ease. Tear-free Onion Chopping Save your eyes from the horrible stinging sensation you get when chopping onions. Ever wondered why that happens? Well, when an onion is cut with a knife, its cells release volatile sulfur compounds that cause tearing. The trick is to trim off the ends with a knife and heat the onion for about 30 seconds before chopping away. Bring Stale Bread Back to Life When your bread or bagels stale simply wrap in a moist paper towel (not soaking) and pop in the microwave for 20-second increments. The moisture from the towel will soak into the bread to make it taste fresh again. Preserve Fresh Herbs If you want to preserve herbs well, wrap them in a paper towel and heat them in the microwave for about 30 seconds allowing them to dry out. This may make them last longer in the refrigerator. To completely dry the herbs continue to microwave in 15-30 second increments until the herbs. Soak Lentils or Beans Overnight All you need to do is place your uncooked beans or lentils in a bowl filled with water, add a pinch of baking soda and microwave them for about 10 minutes. Allow them to rest for 30-40 minutes, after which they are ready to be cooked. Make Frothy Milk for Your Coffee The next time you’re craving a fancy frothy café au lait just make it yourself. A microwave and a mason jar are all you need. Fill the mason jar with as much skim or 2% milk as you’d normally use in your coffee, cover and shake it vigorously to get the frothing process started, then pop it uncovered in the microwave for 30 seconds. Then voila! Silky, frothy warm milk. A DIY Heating Pad for those Cold Nights Make your heating pad at home in two minutes! Pour rice into a sock then tie a knot at the top of the sock. Put it in the microwave for 1-2 minutes. Reheat as needed. Steam Clean the Microwave We’re sure with these hacks your microwave will be working overtime.  So while you’re at it, steam clean it with some lemon water. Place a bowl of water with freshly squeezed lemon juice into the microwave and set the timer for 5 minutes or until the water boils, let it sit in the microwave for 3 minutes so the steam can loosen any food stains. Remove the bowl then wipe your microwave clean.