How to Choose the Right Kitchen Appliances for Your Cooking Style: Match Your Tools to Your Needs
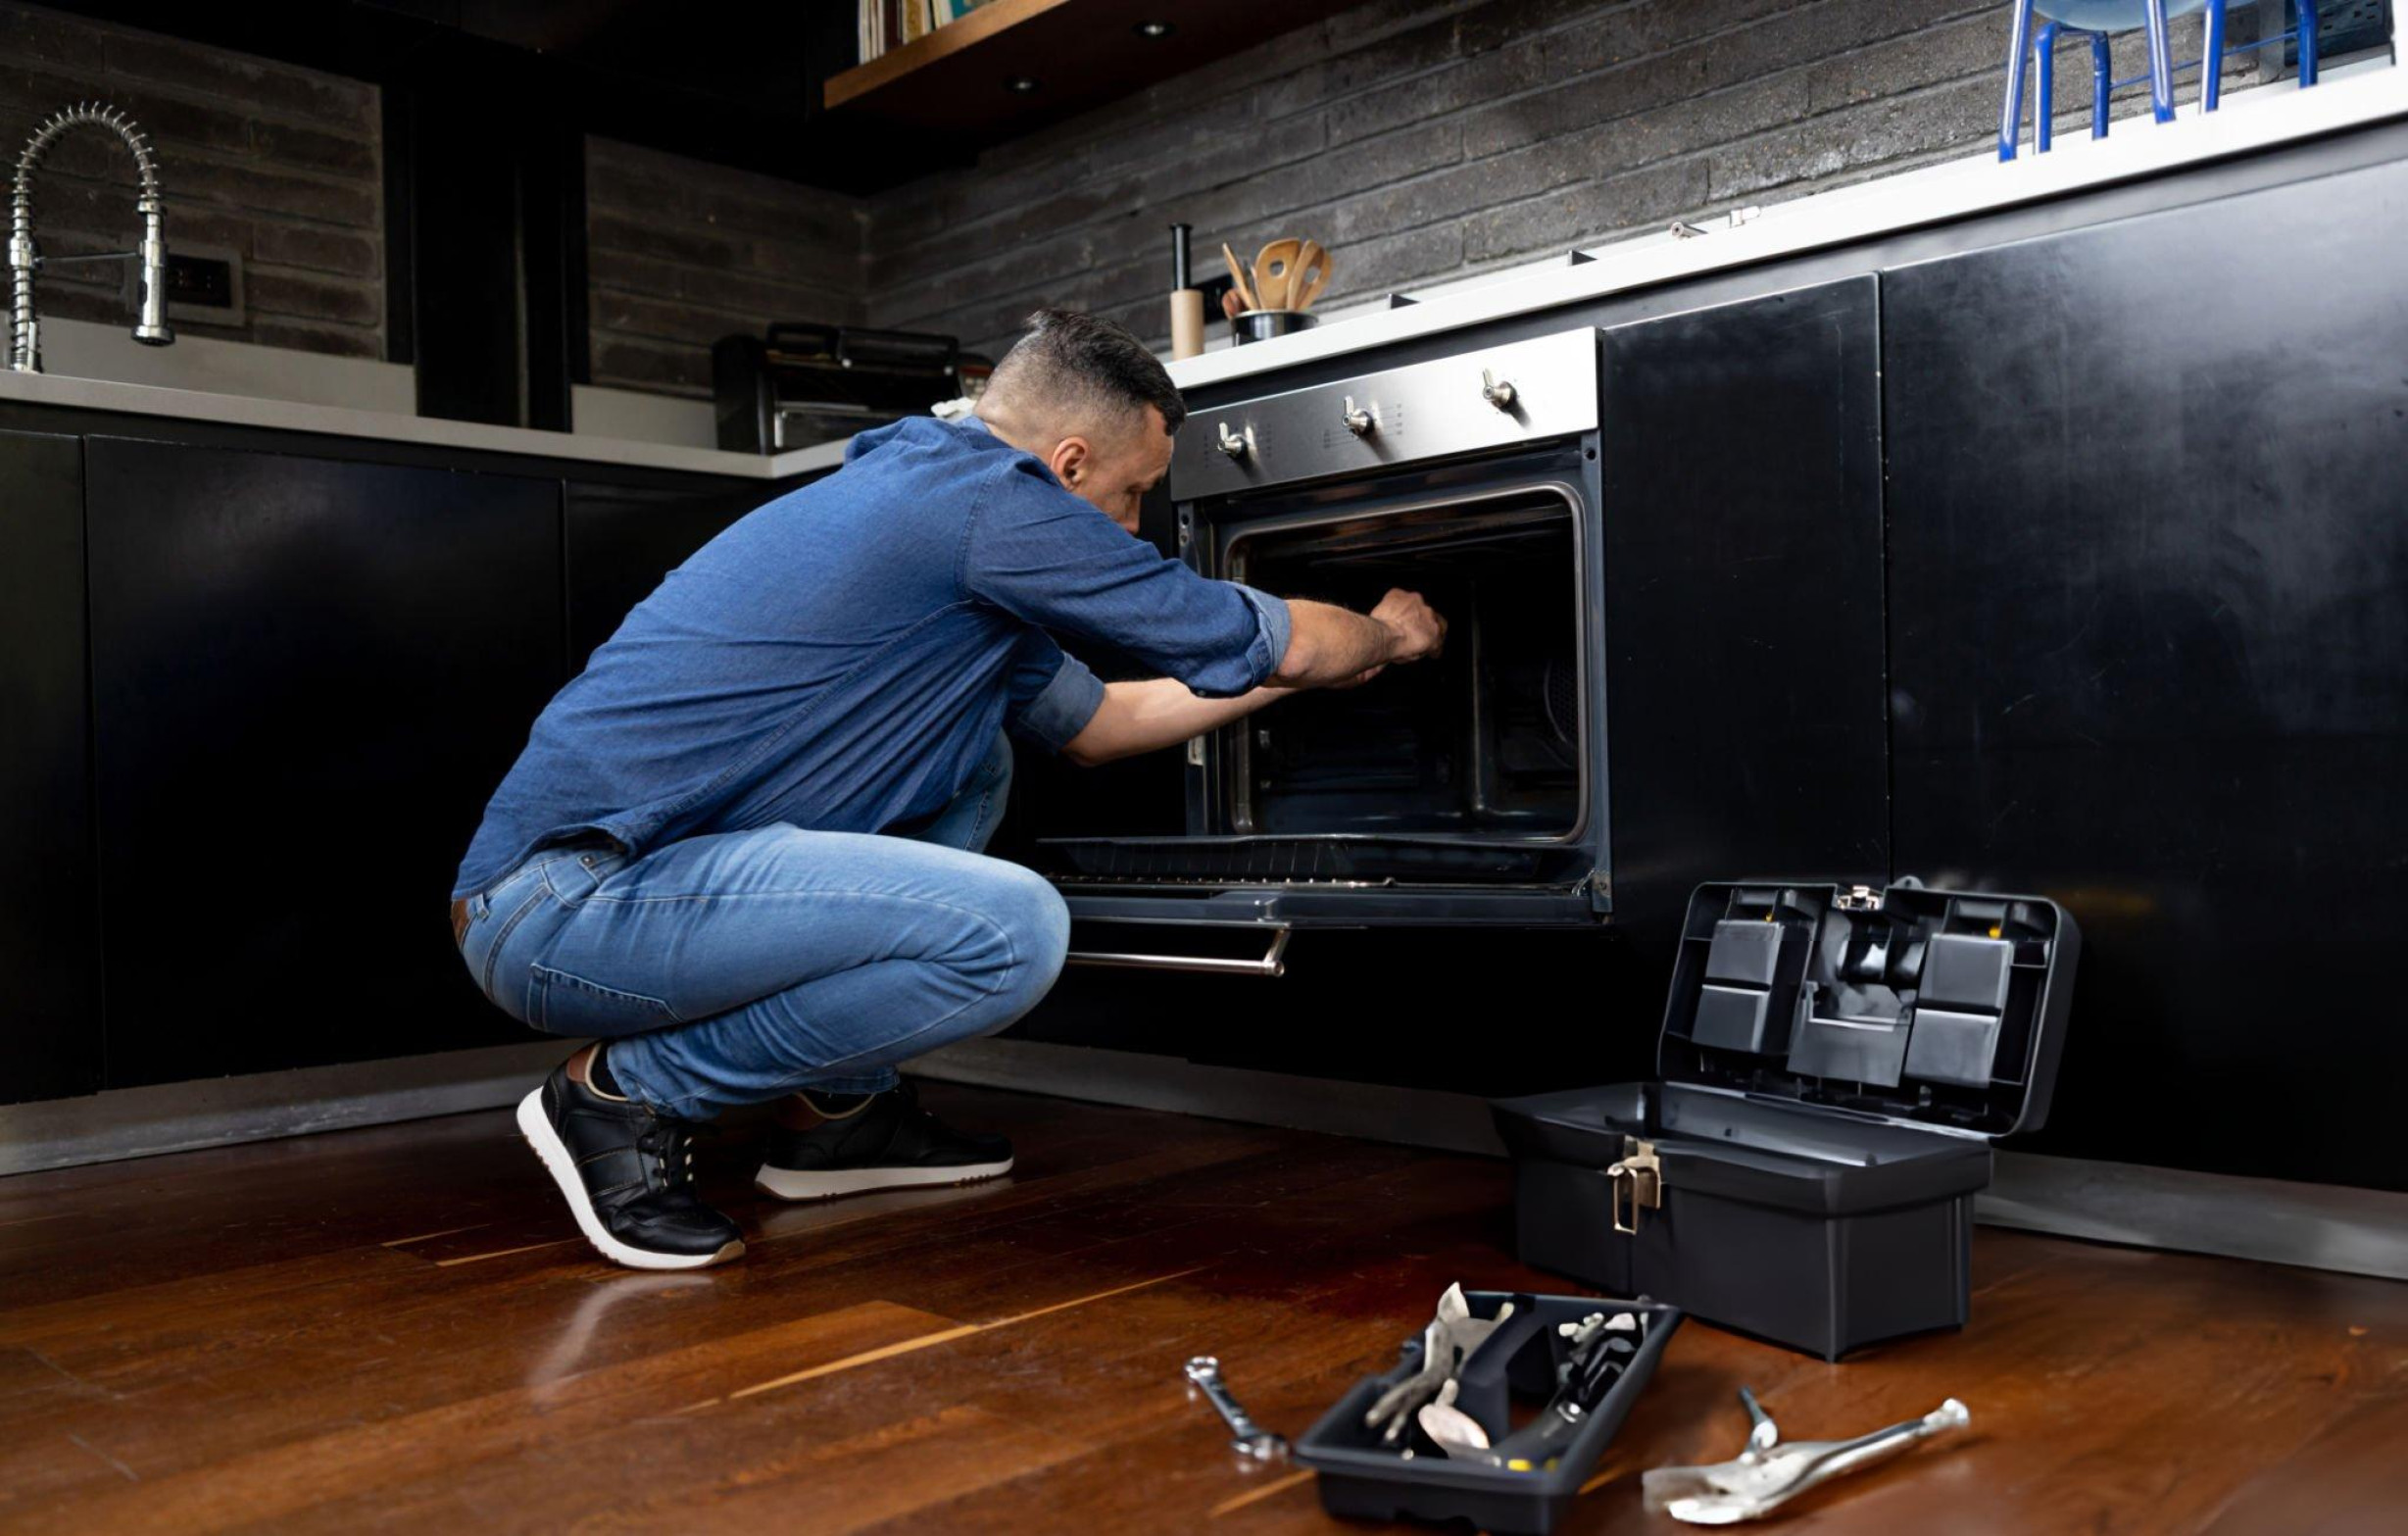
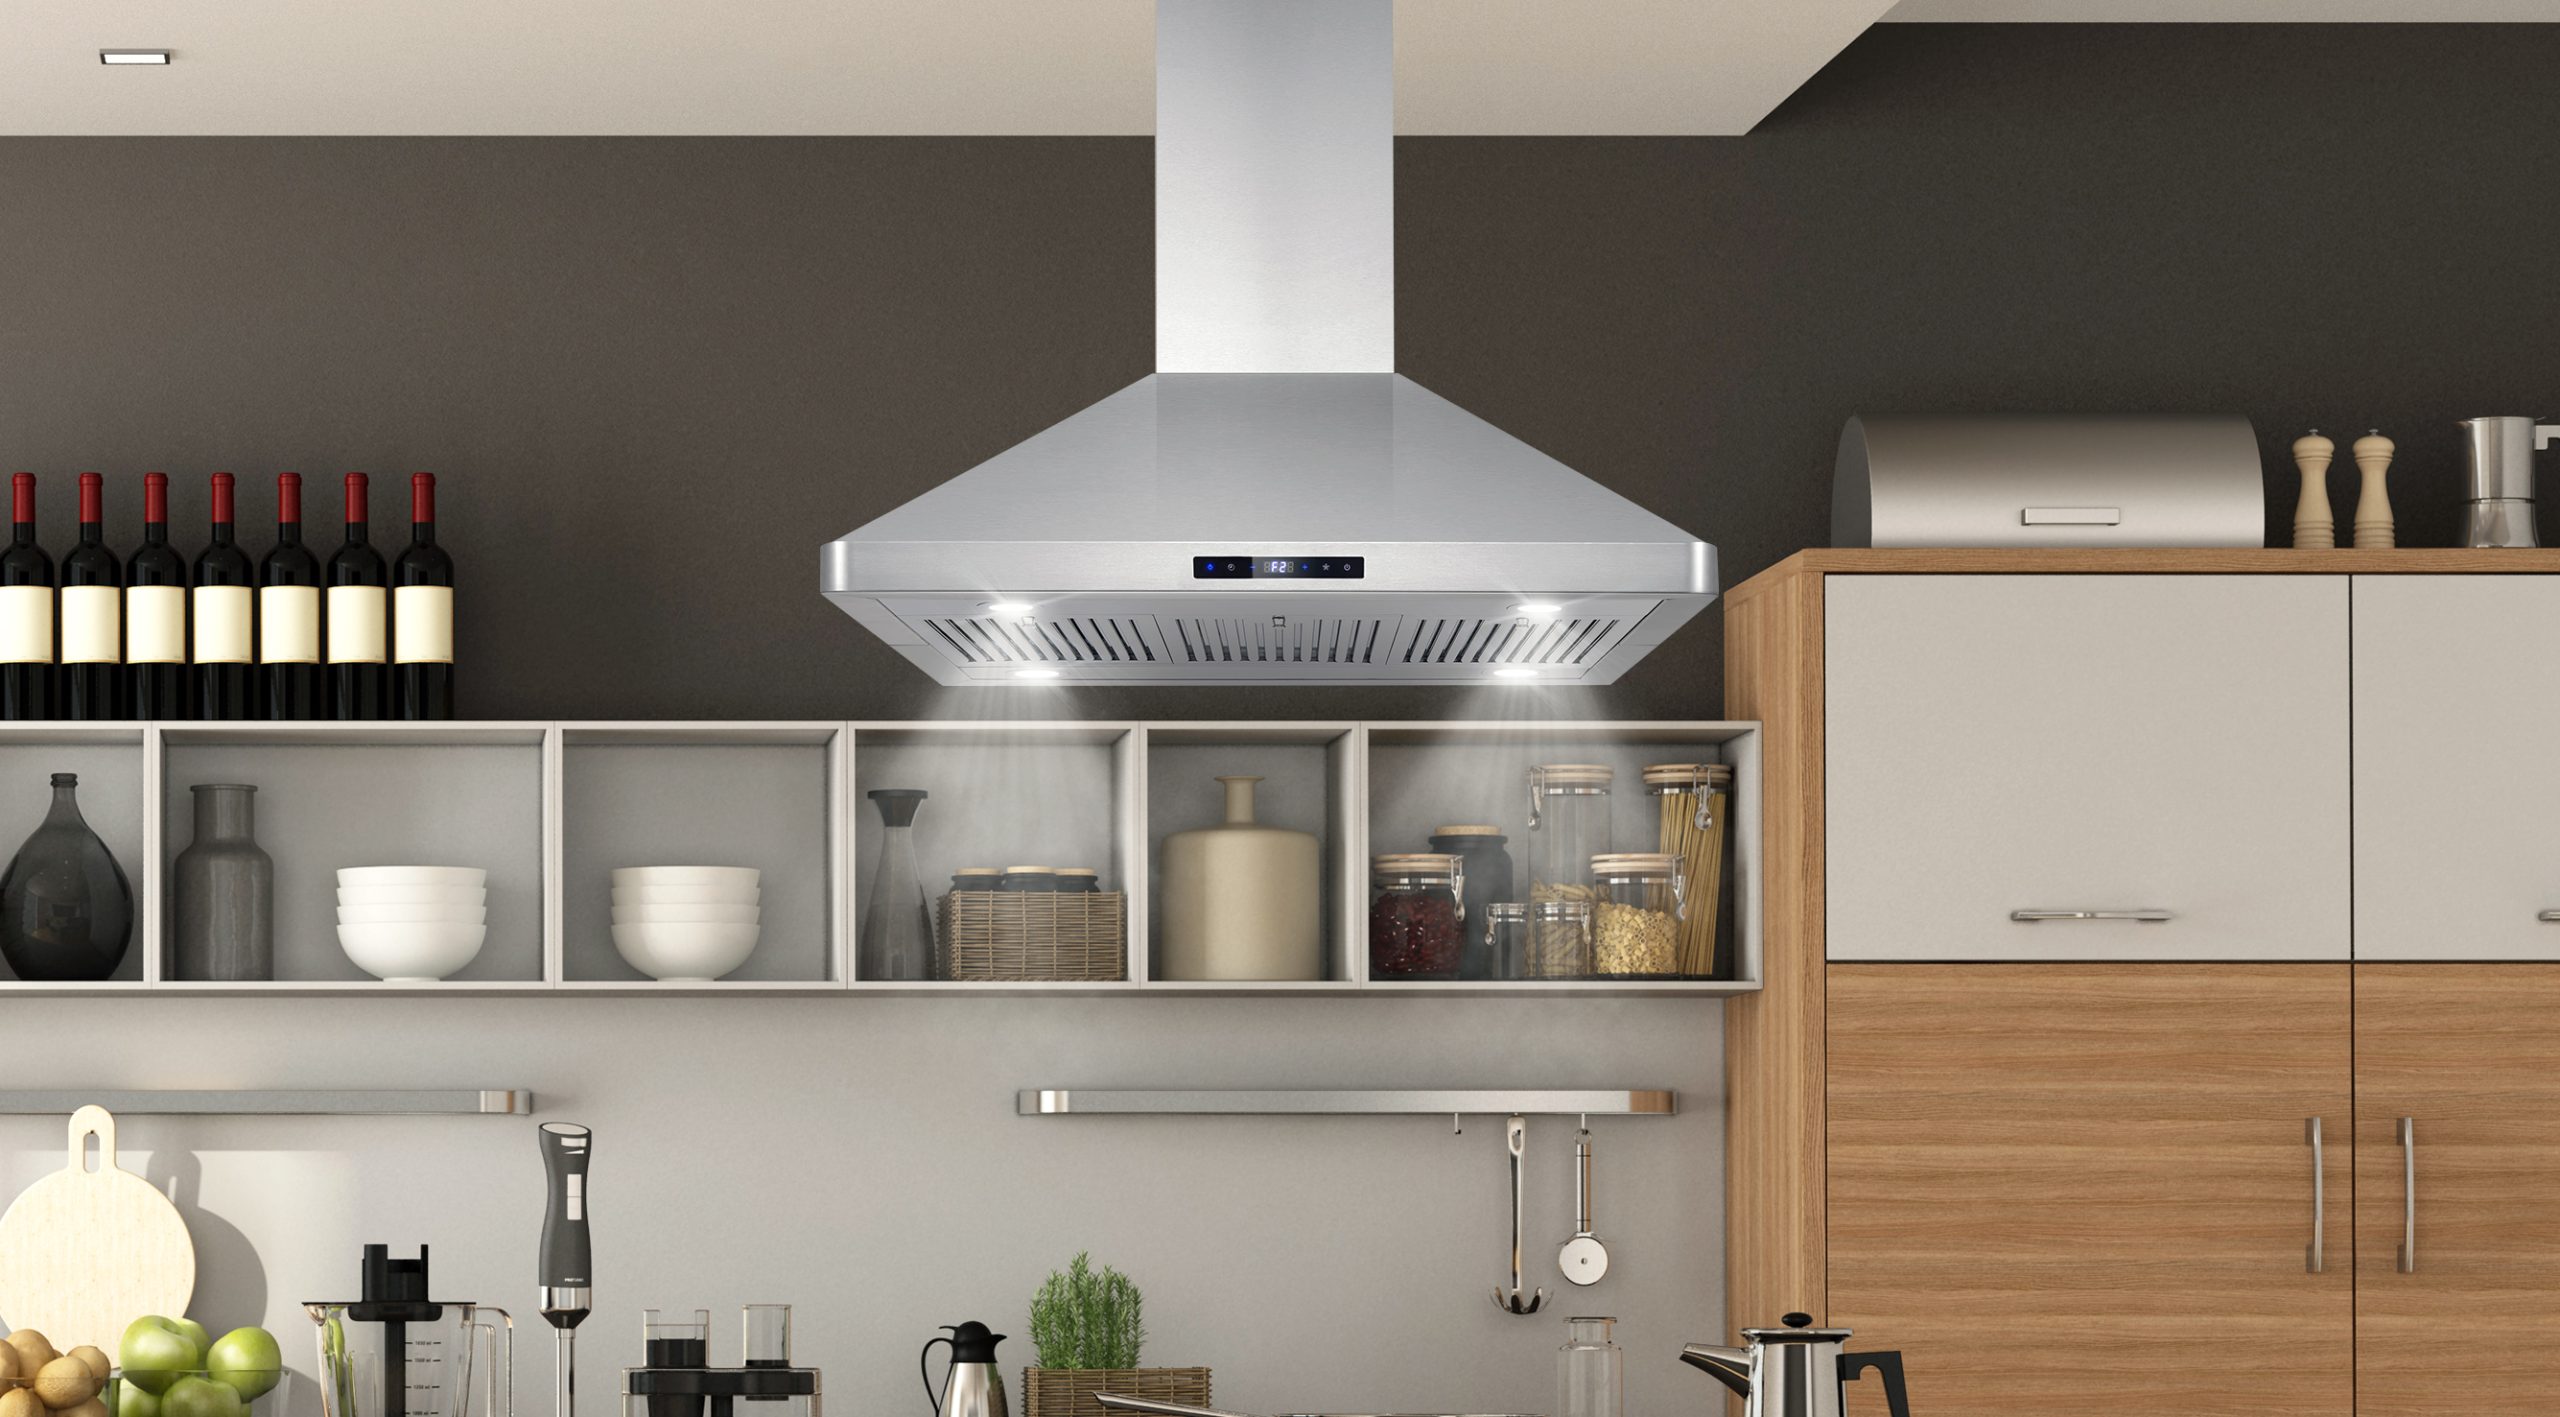
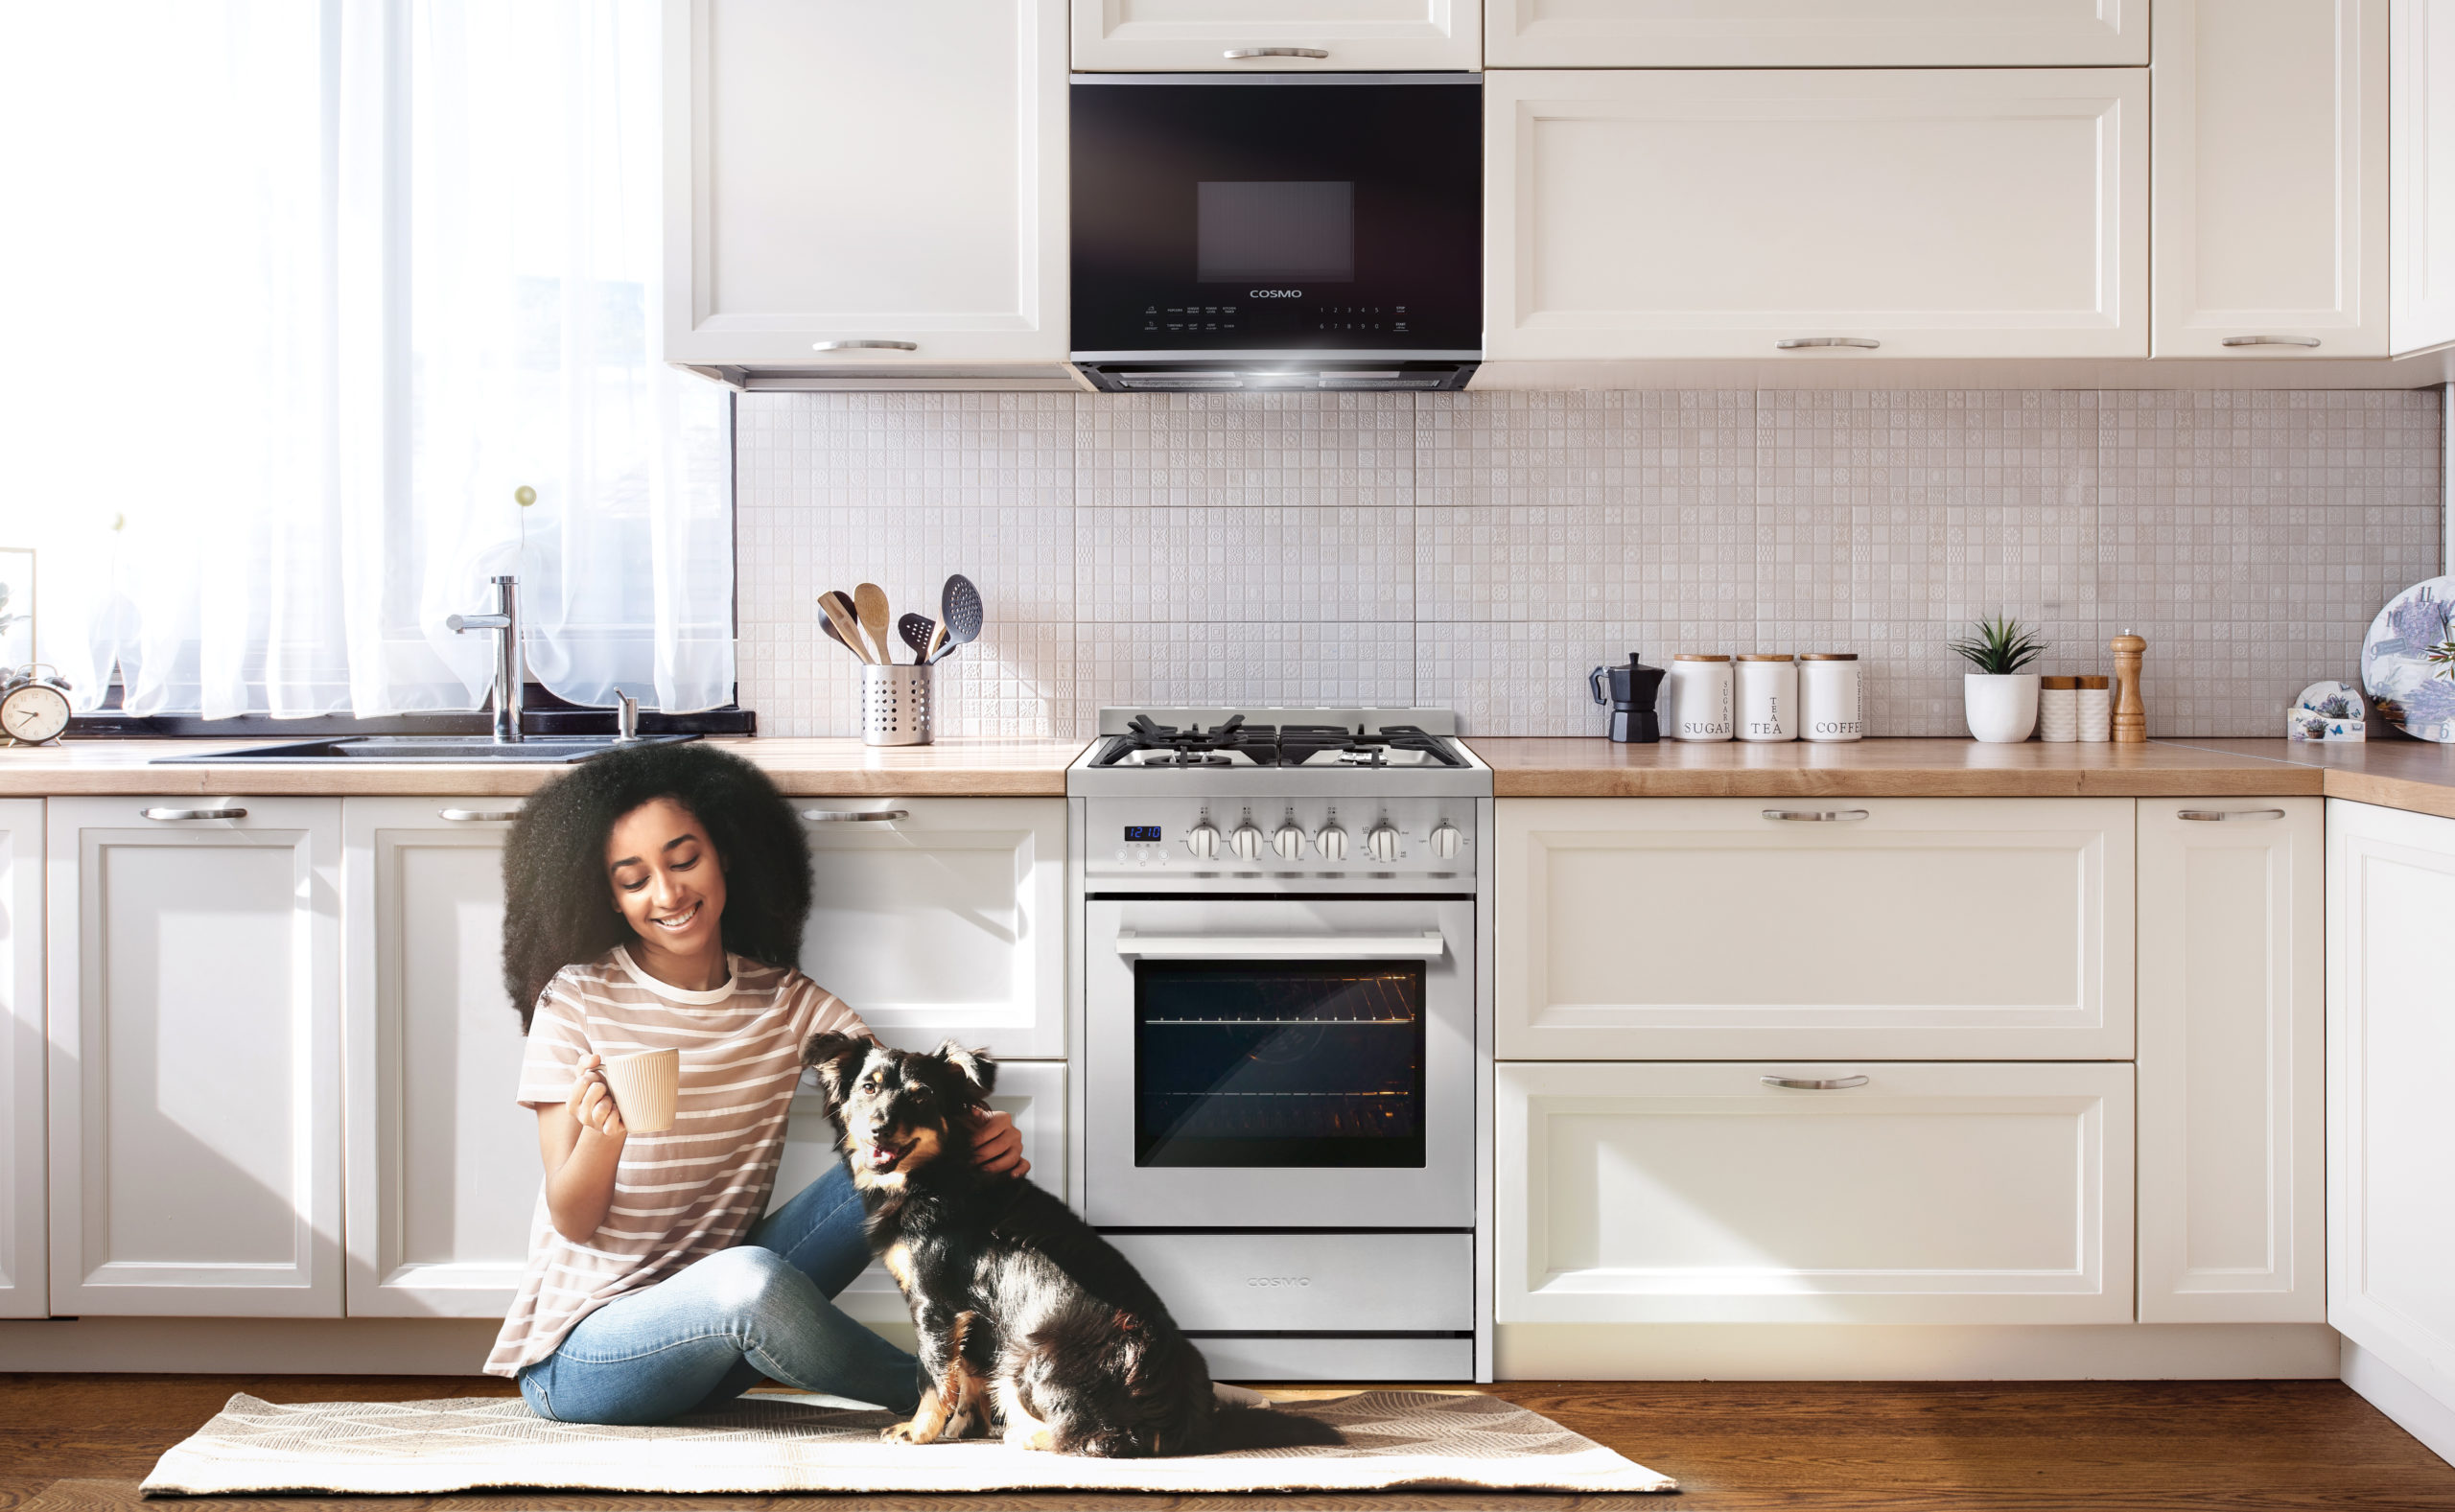
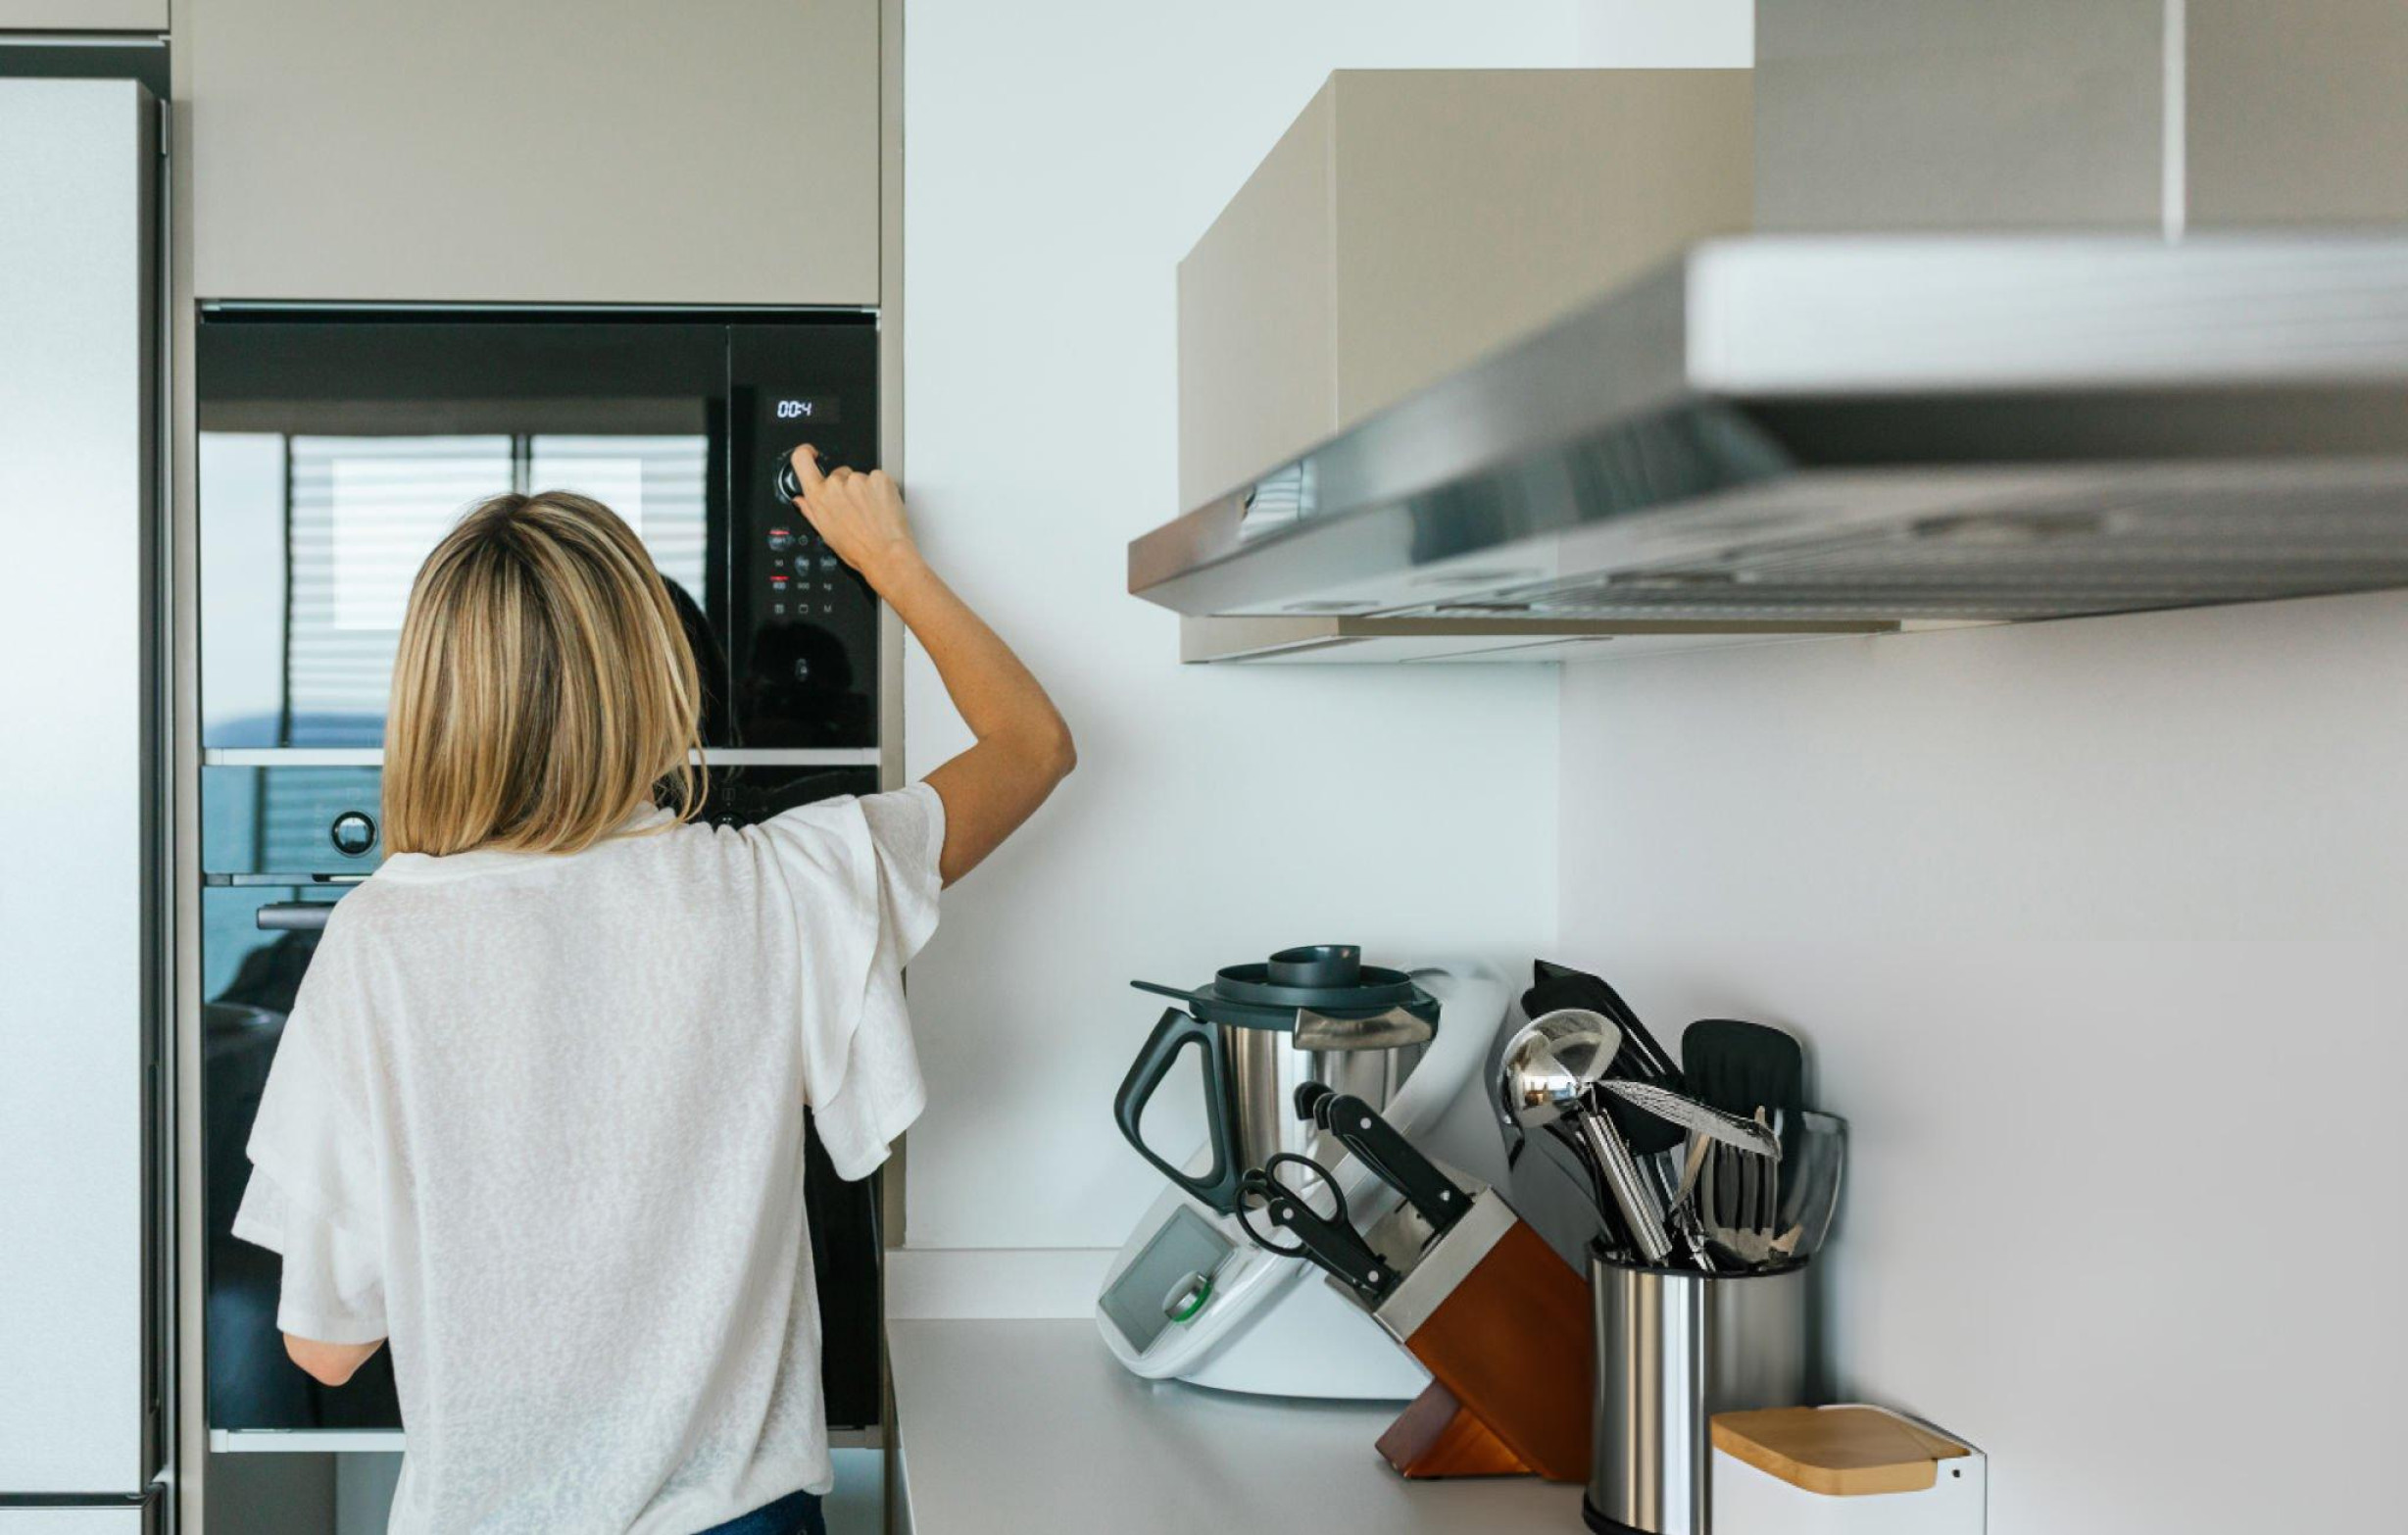
Choosing kitchen appliances can feel overwhelming with countless options, features, and price points competing for your attention. The secret to making smart appliance decisions lies in honestly assessing your actual cooking habits rather than aspirational ones. A baker needs different appliances than someone who primarily grills, while a busy family requires different features than a couple who loves elaborate weekend cooking projects. Understanding your cooking style helps you avoid expensive mistakes like investing in high-end appliances you rarely use or choosing budget options that can’t handle your actual cooking demands. The right appliances make cooking more enjoyable and efficient, while wrong choices lead to frustration and wasted money. This guide helps you identify your cooking style and select appliances that truly serve your needs. Identifying Your Cooking Style Before shopping for appliances, spend time honestly evaluating how you actually use your kitchen rather than how you wish you used it. Understanding your real cooking patterns prevents expensive mistakes while ensuring your appliances serve your actual needs. Frequency matters significantly when choosing appliances. Daily cooks need durable, high-performance appliances that can handle constant use, while occasional cooks might prioritize different features or invest less in equipment they use infrequently. Cooking methods you prefer influence appliance priorities dramatically. Someone who loves baking needs different oven capabilities than someone who primarily uses stovetop cooking. Consider which cooking techniques you use most often and which you rarely attempt. Family size affects appliance capacity requirements and features you’ll value most. Large families need bigger refrigerators, more burners, and larger oven capacity, while smaller households can choose more compact options that fit their space and needs better. Entertaining frequency changes appliance requirements substantially. If you regularly host dinner parties or holiday gatherings, you’ll value features like double ovens, warming drawers, and extra burner capacity that occasional entertainers might not need. Time constraints influence which convenience features provide genuine value versus unnecessary complexity. Busy families might prioritize features like rapid preheat or self-cleaning functions, while those with more flexible schedules might not need these premium features. Dietary preferences and restrictions affect appliance priorities. Health-conscious cooks might value steam oven capabilities or air fry functions, while those following specific diets might need specialized equipment for their cooking requirements. For the Daily Home Cook Daily home cooks who prepare most meals from scratch need reliable, efficient appliances that can handle constant use without excessive complexity. These cooks value durability and practical features over bells and whistles. Reliable ranges with good temperature control become essential when you cook multiple meals daily. Gas ranges offer instant heat control that many daily cooks prefer, while electric ranges provide consistent oven temperatures excellent for regular baking. Multiple burners with varied BTU outputs accommodate simultaneous cooking of different dishes. Four or five burners with at least one high-output option for rapid boiling and one low-output burner for gentle simmering serve daily cooking needs well. Self-cleaning ovens save time and effort when you use your oven frequently. The convenience of self-cleaning becomes more valuable the more often you cook, as buildup occurs faster with regular use. Adequate refrigerator capacity with good organization features helps manage regular grocery shopping and meal planning. French door models provide easy access to fresh foods you use daily while keeping frozen items organized below. Efficient dishwashers with multiple rack configurations handle the steady stream of dishes that daily cooking produces. Look for models with adequate capacity and flexible loading options that accommodate various dish types and sizes. Quality range hoods with good ventilation capacity maintain air quality when cooking produces regular smoke, steam, and odors. Adequate CFM ratings and quiet operation become important for daily use that might occur during family activities. For the Passionate Baker Serious bakers need different appliances than general cooks, with priorities focused on precise temperature control, adequate capacity, and features that support various baking techniques. Convection ovens provide even heat distribution crucial for consistent baking results. The fan circulation helps achieve uniform browning and cooking that’s particularly important for cookies, pastries, and breads. Accurate temperature control ensures recipes turn out correctly every time. Digital temperature displays and well-calibrated thermostats help bakers achieve the precise temperatures that baking demands. Multiple oven racks with various positioning options allow baking several items simultaneously. Adjustable racks accommodate different pan sizes while maintaining adequate spacing for proper air circulation. Large oven capacity accommodates multiple sheet pans or large items like holiday turkeys. Bakers who prepare multiple batches or large quantities benefit from generous oven space. Stand mixer storage and adequate counter space for baking equipment become important considerations. While not built-in appliances, bakers need kitchens designed to accommodate essential baking tools conveniently. Proof settings or warming drawers help with bread making by providing controlled environments for dough rising. These features support advanced baking techniques that serious bakers employ regularly. For the Health-Conscious Cook Health-focused cooks prioritize appliances that support nutritious cooking methods while making healthy eating convenient and appealing. These cooks value features that reduce fat while maintaining flavor. Air fry capabilities built into ranges or as separate appliances allow crispy textures with minimal oil. This technology supports healthy eating goals while providing satisfying results that don’t feel like deprivation. Steam oven functions preserve nutrients in vegetables while providing gentle cooking that doesn’t require added fats. Steam cooking maintains food’s natural flavors and colors while supporting healthy eating goals. Convection cooking reduces cooking times and temperatures, which can help preserve nutrients while using less energy. The efficient cooking method aligns with both health and environmental consciousness. Quality ventilation removes cooking byproducts effectively, maintaining healthy indoor air quality. Good range hoods eliminate smoke and particles that can affect respiratory health. Induction cooktops provide precise temperature control while keeping kitchen cooler and more comfortable. The responsive heat control helps with delicate cooking techniques while the cool cooking surface improves kitchen safety. Adequate refrigerator space for fresh produce and healthy ingredients supports meal planning and preparation. Crisper drawers with humidity controls keep vegetables fresh longer, reducing waste while supporting healthy eating. For