Spice Up the Season With These Easy Recipes
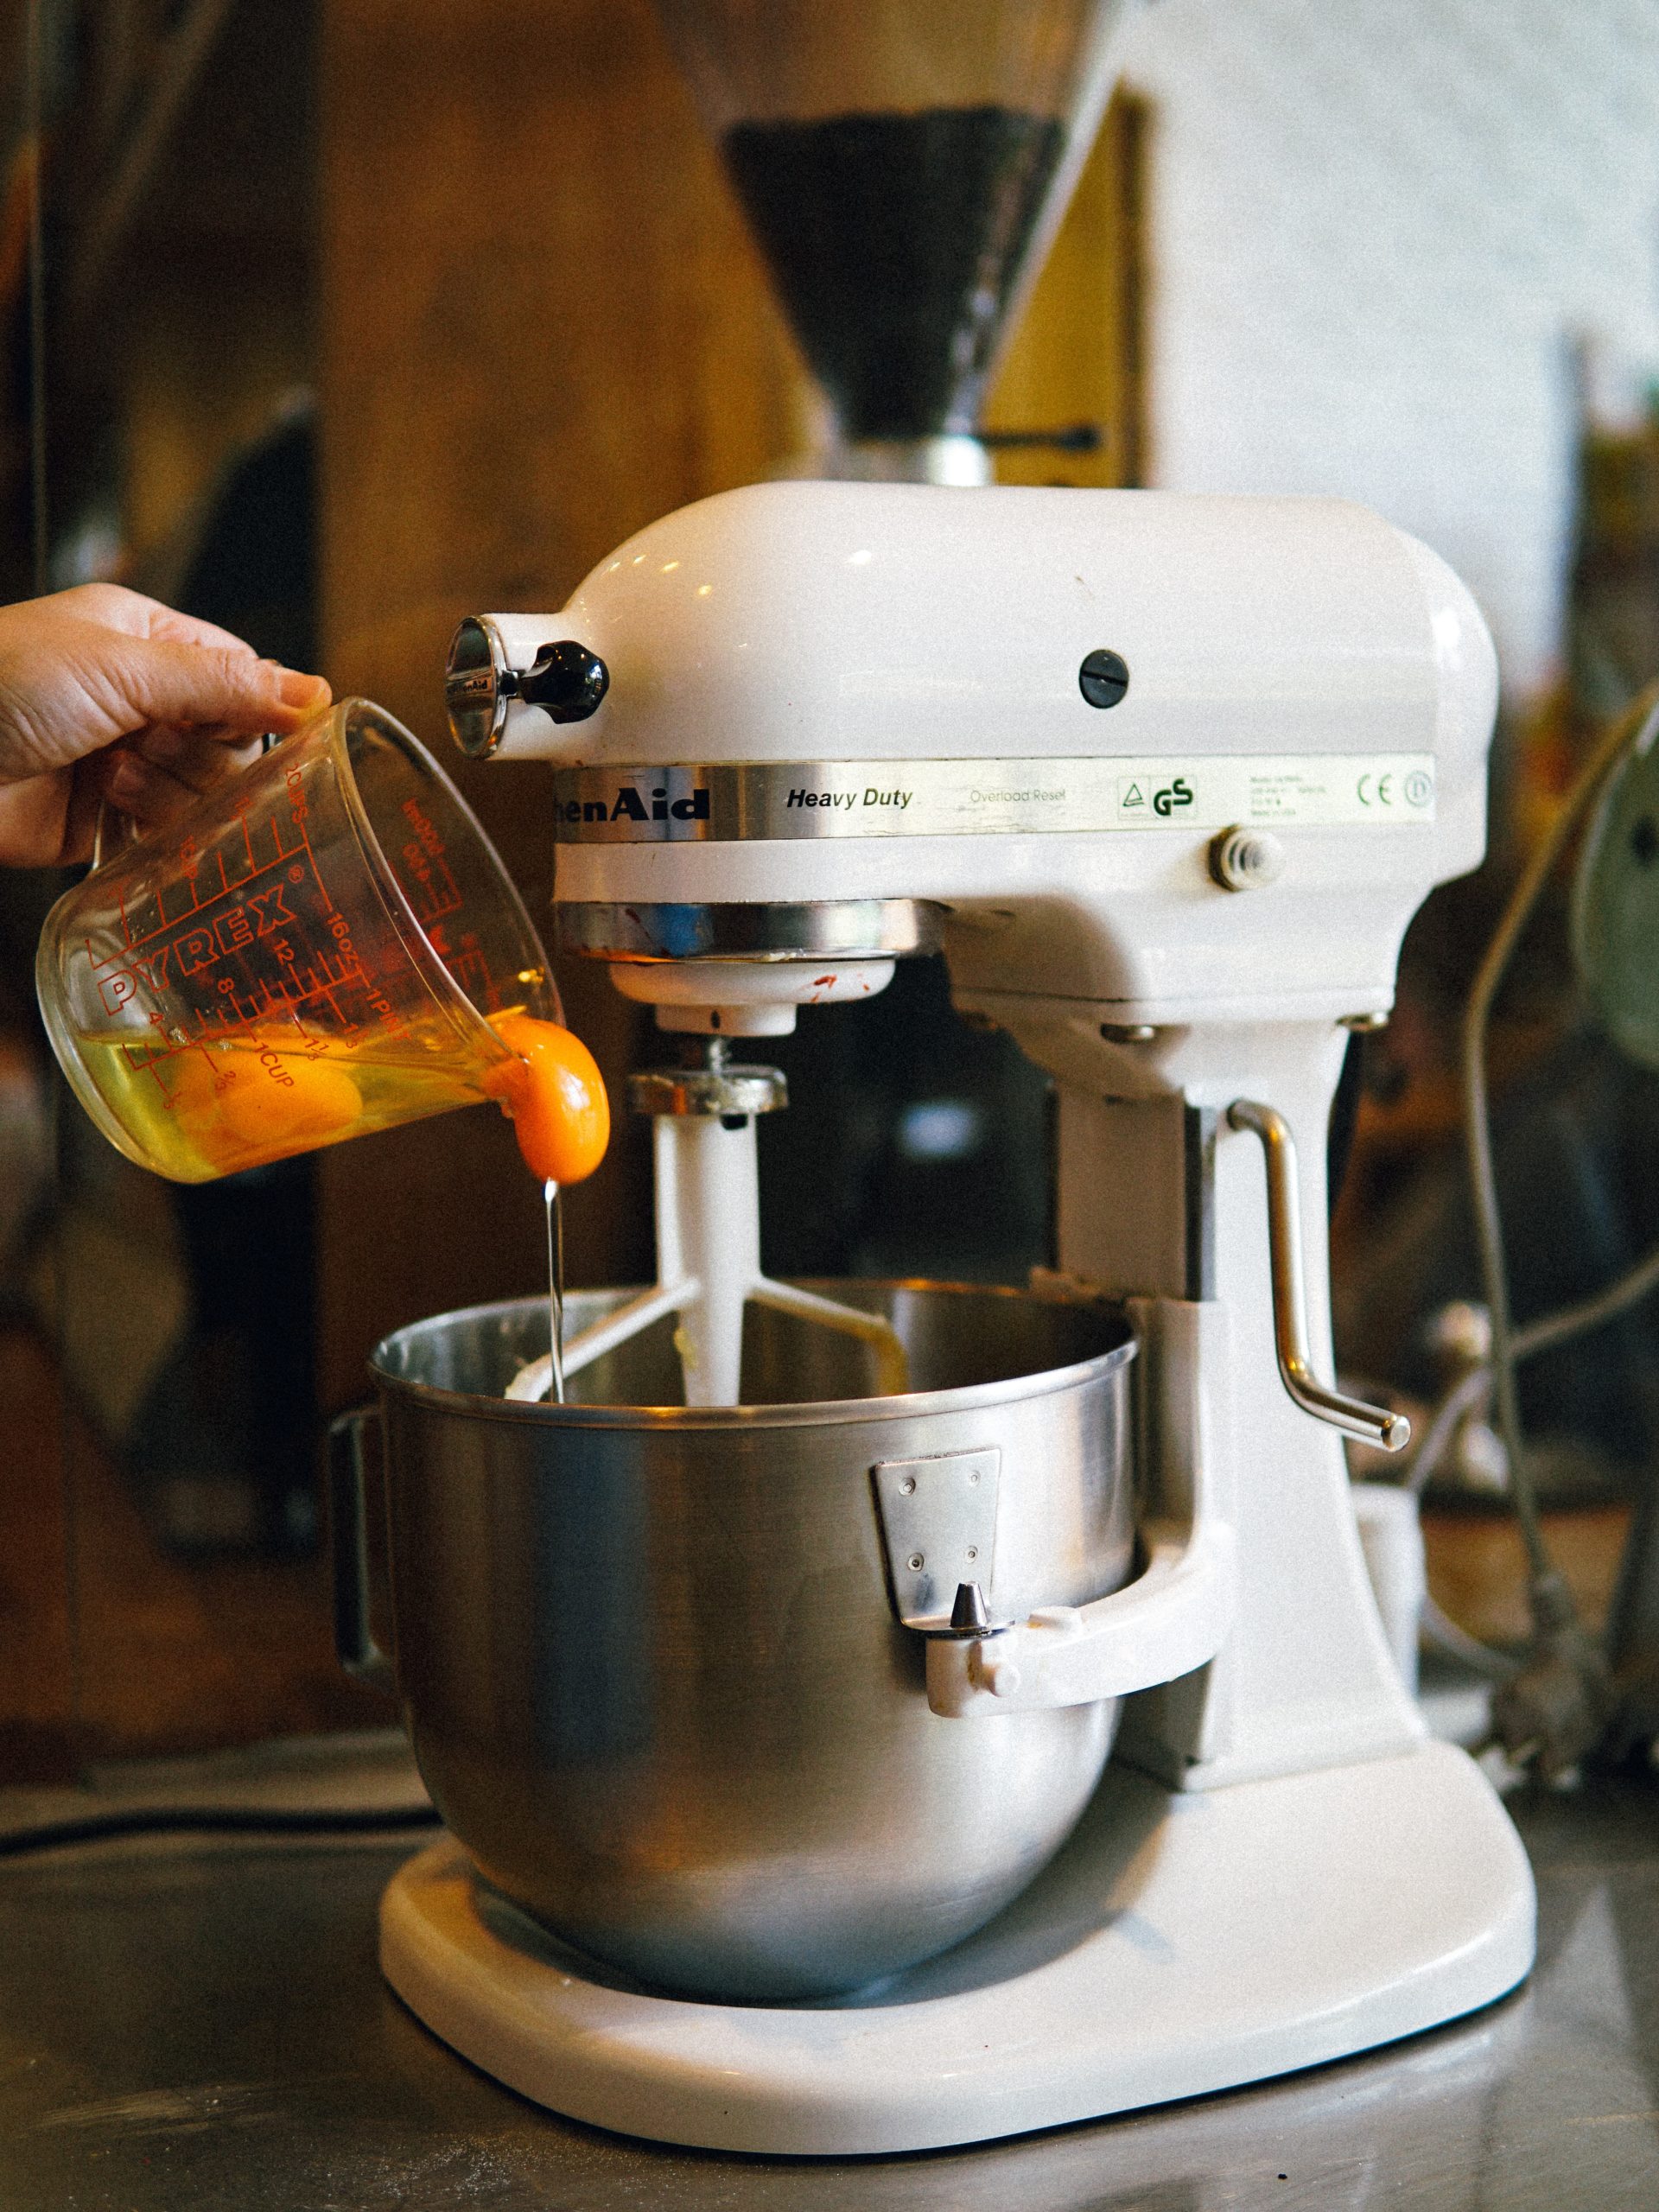
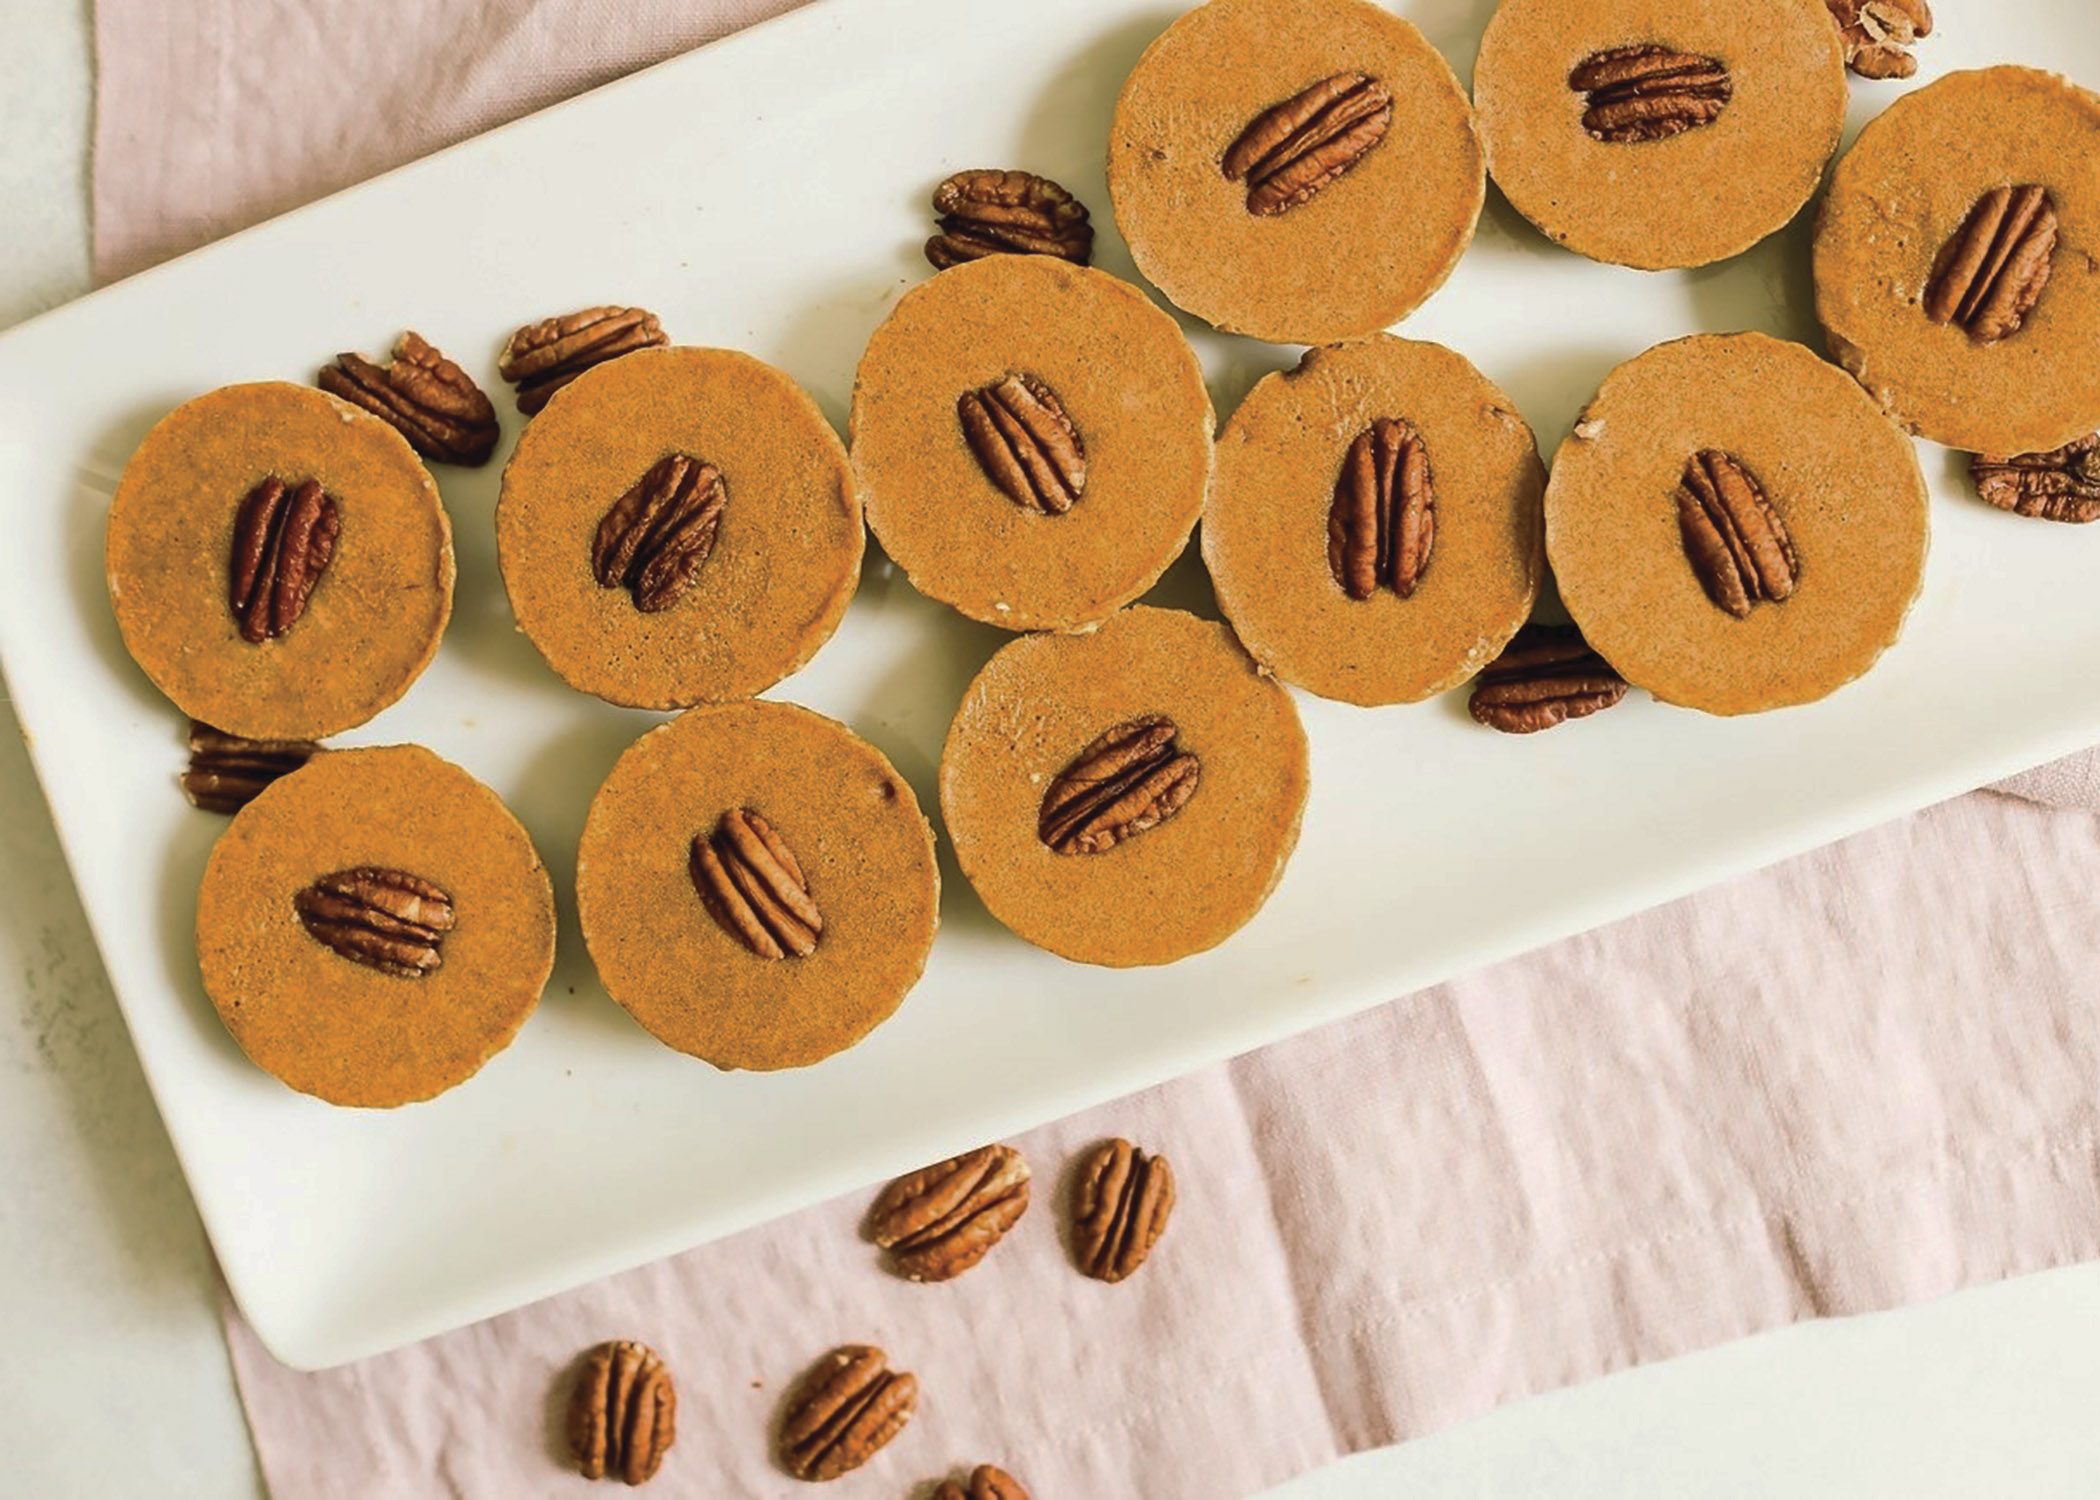
The holiday season is upon us, and with that comes delicious foods for the whole family! Snacks are a staple for any occasion but are often overlooked. Don’t miss the opportunity to bring a memorable experience when you impress your family with these recipes. Learn how to make these delicious treats below, courtesy of AmericanPecan.com Reindeer Pecan Brownies Prep time: 20 minutes Cook time: 15 minutes Yield: 20 brownies Nonstick cooking spray 1 stick (½ cup) unsalted butter, melted 1 tablespoon pecan or canola oil 1 cup, plus 2 tablespoons, granulated sugar 2 large eggs 1 teaspoon vanilla extract ½ cup all-purpose flour ½ cup cocoa powder 1 teaspoon espresso powder (optional) ¼ teaspoon kosher salt 20 raw pecan halves, cut in half 40 candy eyeballs 20 red chocolate candies ¼ cup chocolate chip Preheat oven to 350 F. Spray mini muffin tin with nonstick cooking spray. In large bowl, whisk melted butter, oil and sugar until well combined. Add eggs and vanilla extract; beat until mixture is thick and pale in color, about 1 minute. Sift in flour and cocoa powder. Add espresso powder, if desired, and salt. Using rubber spatula, fold dry ingredients into butter mixture until just combined. Batter should be thick. Using 1-tablespoon cookie scoop, transfer batter to prepared mini muffin tin. Bake 13-15 minutes until toothpick inserted in center comes out mostly clean, with some lingering crumbs. Add chocolate chips to heat-safe bowl; microwave until smooth and melted. Pour melted chocolate into sandwich bag and cut off small portion of one corner to use as tip. Use melted chocolate to “glue” on pecan antlers, candy eyeballs and red candy noses to brownies. Allow chocolate to set before transferring brownies to airtight container. Note: Brownies will stay fresh for up to three days. No-Bake Pumpkin Pecan Pie Bites Prep time: 15 minutes Chill time: 1 hour Yield: 12 bites (6 servings) Crust: 1 1/2 cups raw pecan pieces 3/4 cup pitted medjool dates (about 7 dates), soaked in hot water 10 minutes 1 pinch pink salt Filling: 1/3 cup pumpkin puree 1/3 cup full fat coconut milk 1 teaspoon pumpkin spice 1/4 cup maple syrup 1 pinch pink salt 1 scoop collagen peptides (optional) 12 raw pecan halves, for topping To make crust: In food processor, process pecan pieces, drained dates and salt until combined and “dough” starts to form into ball. To make filling: In bowl, combine pumpkin puree, coconut milk, pumpkin spice, maple syrup, pink salt and collagen peptides, if desired. Whisk until smooth. Line cupcake tin and evenly distribute crust mixture, about 1 1/2 tablespoons in each cupcake opening. Use fingers to press crust into even layer. Evenly disperse pumpkin pie filling among openings until tins are about half full. Top each with one pecan half and place in freezer at least one hour. Source: American Pecan Council