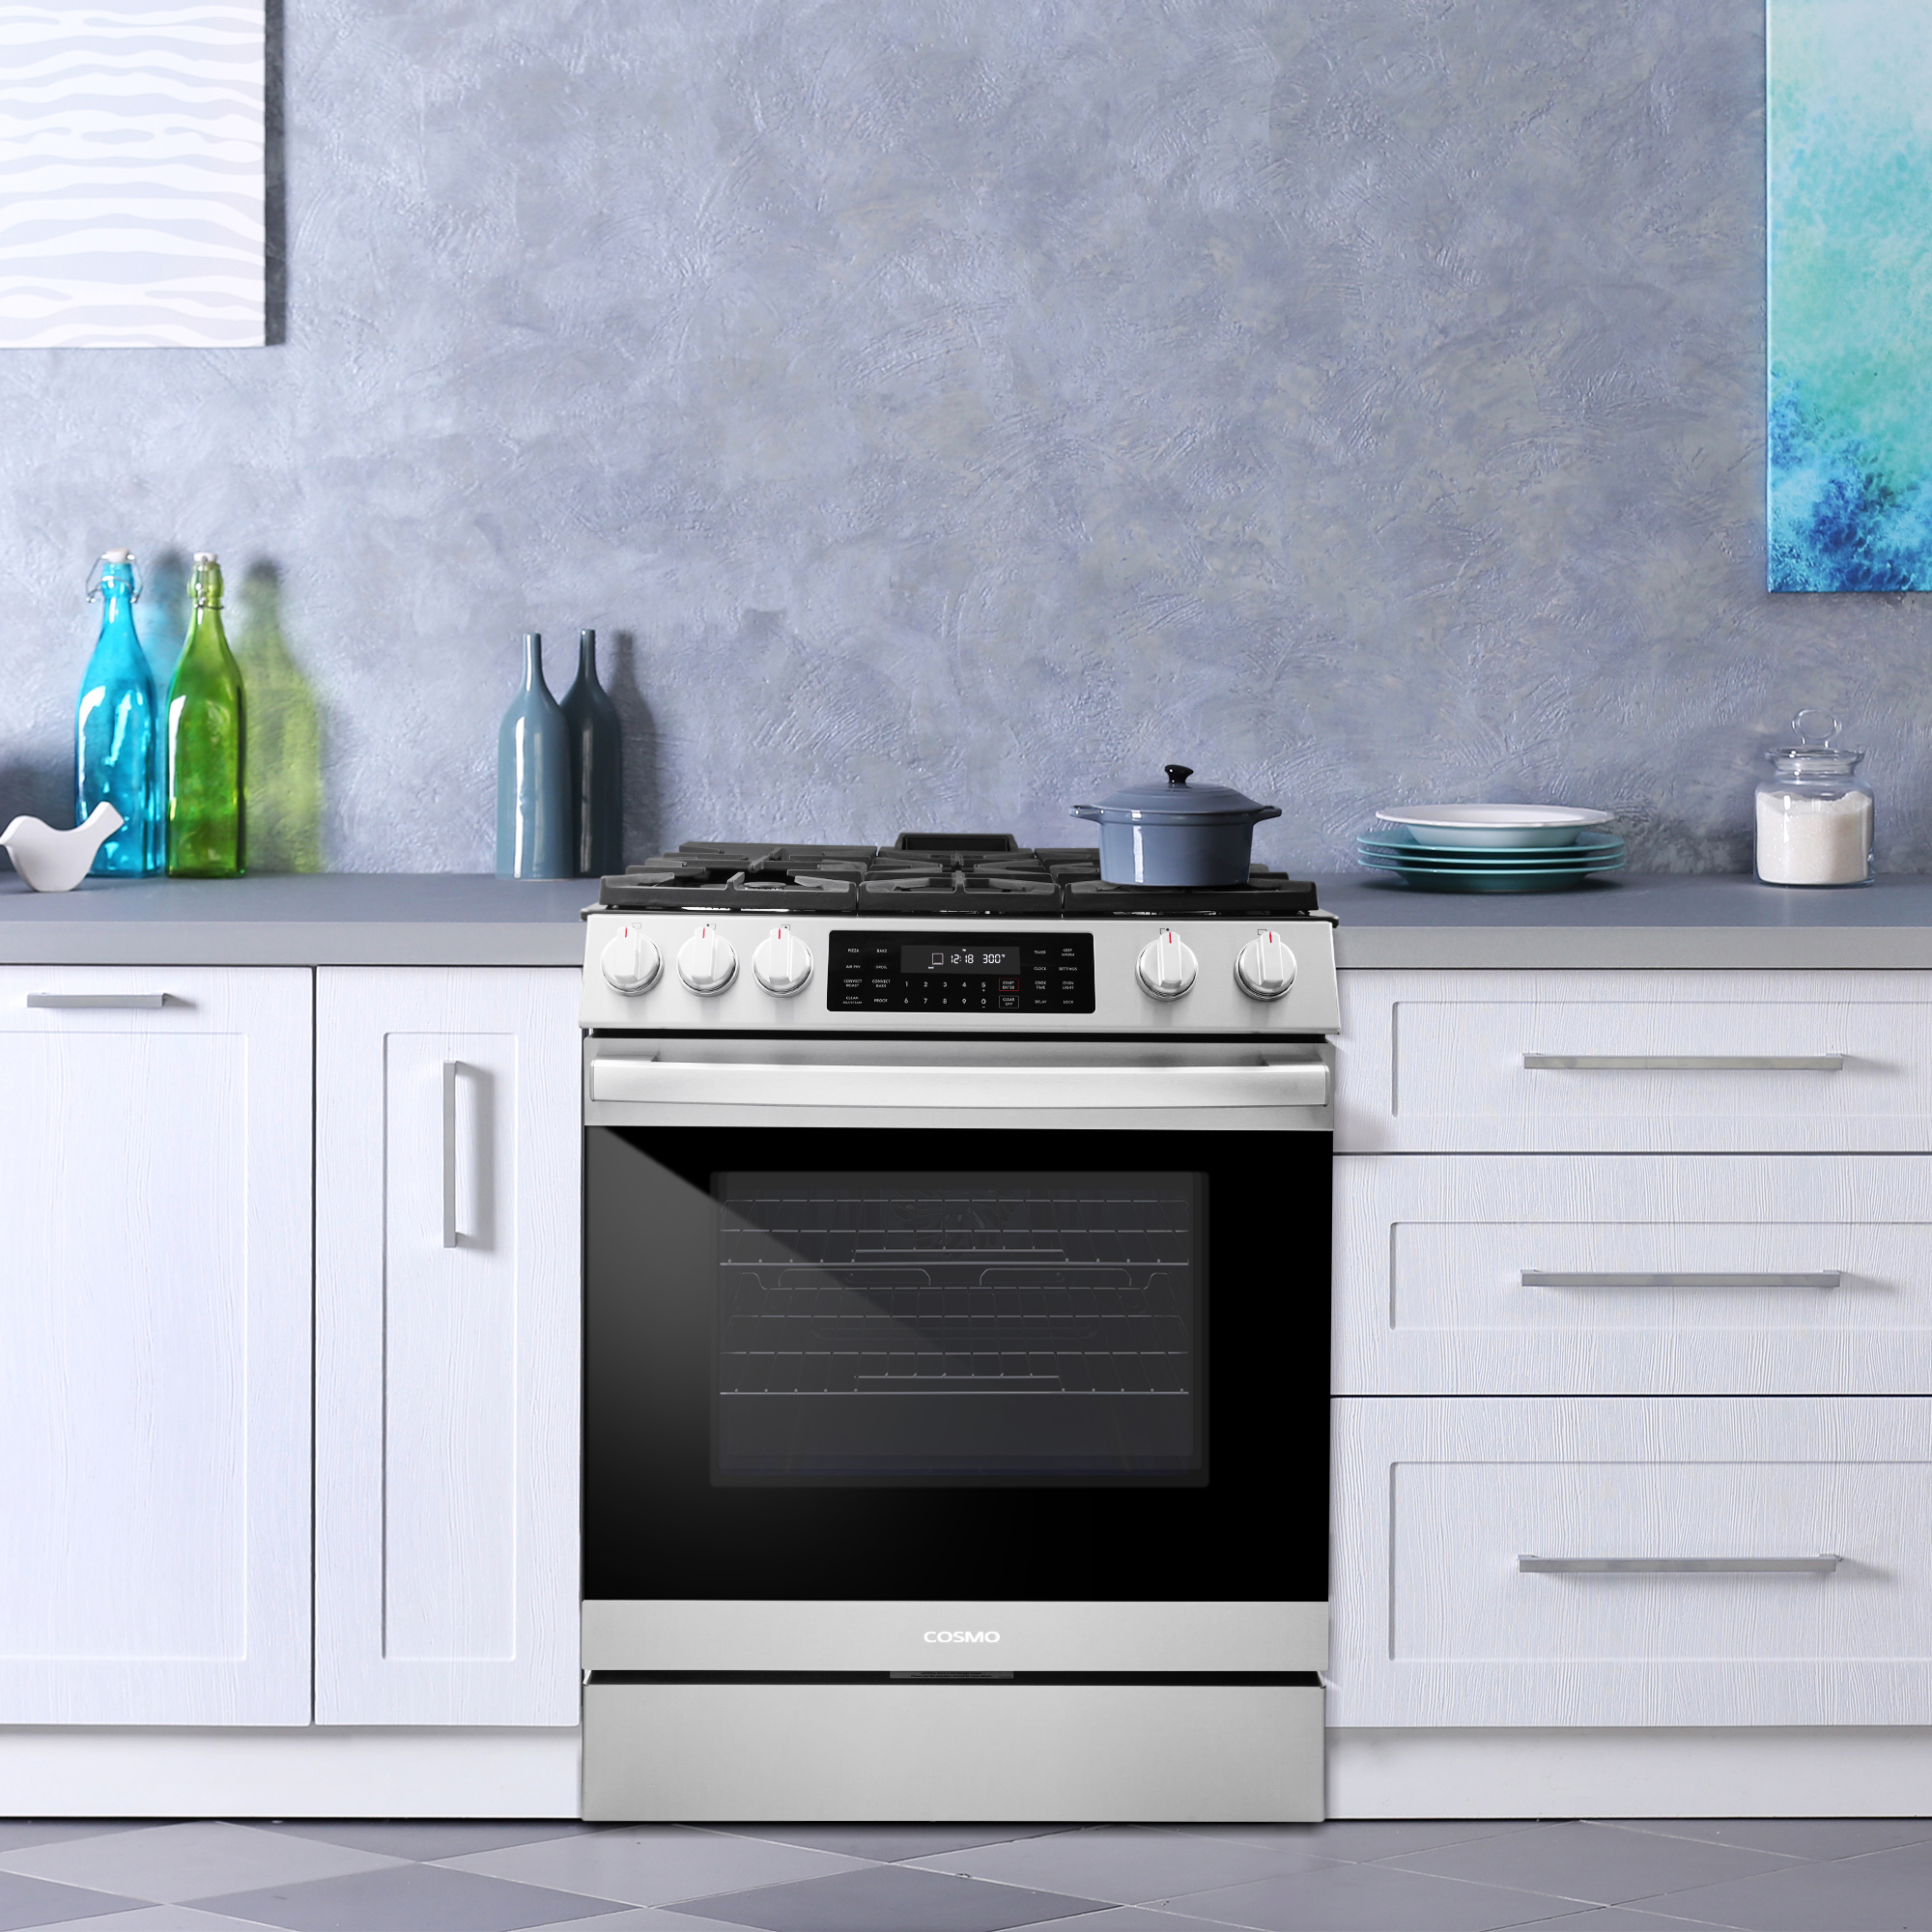
The COS-965AGC Gas Range: 36-Inch with Convection Oven and Wok Grate
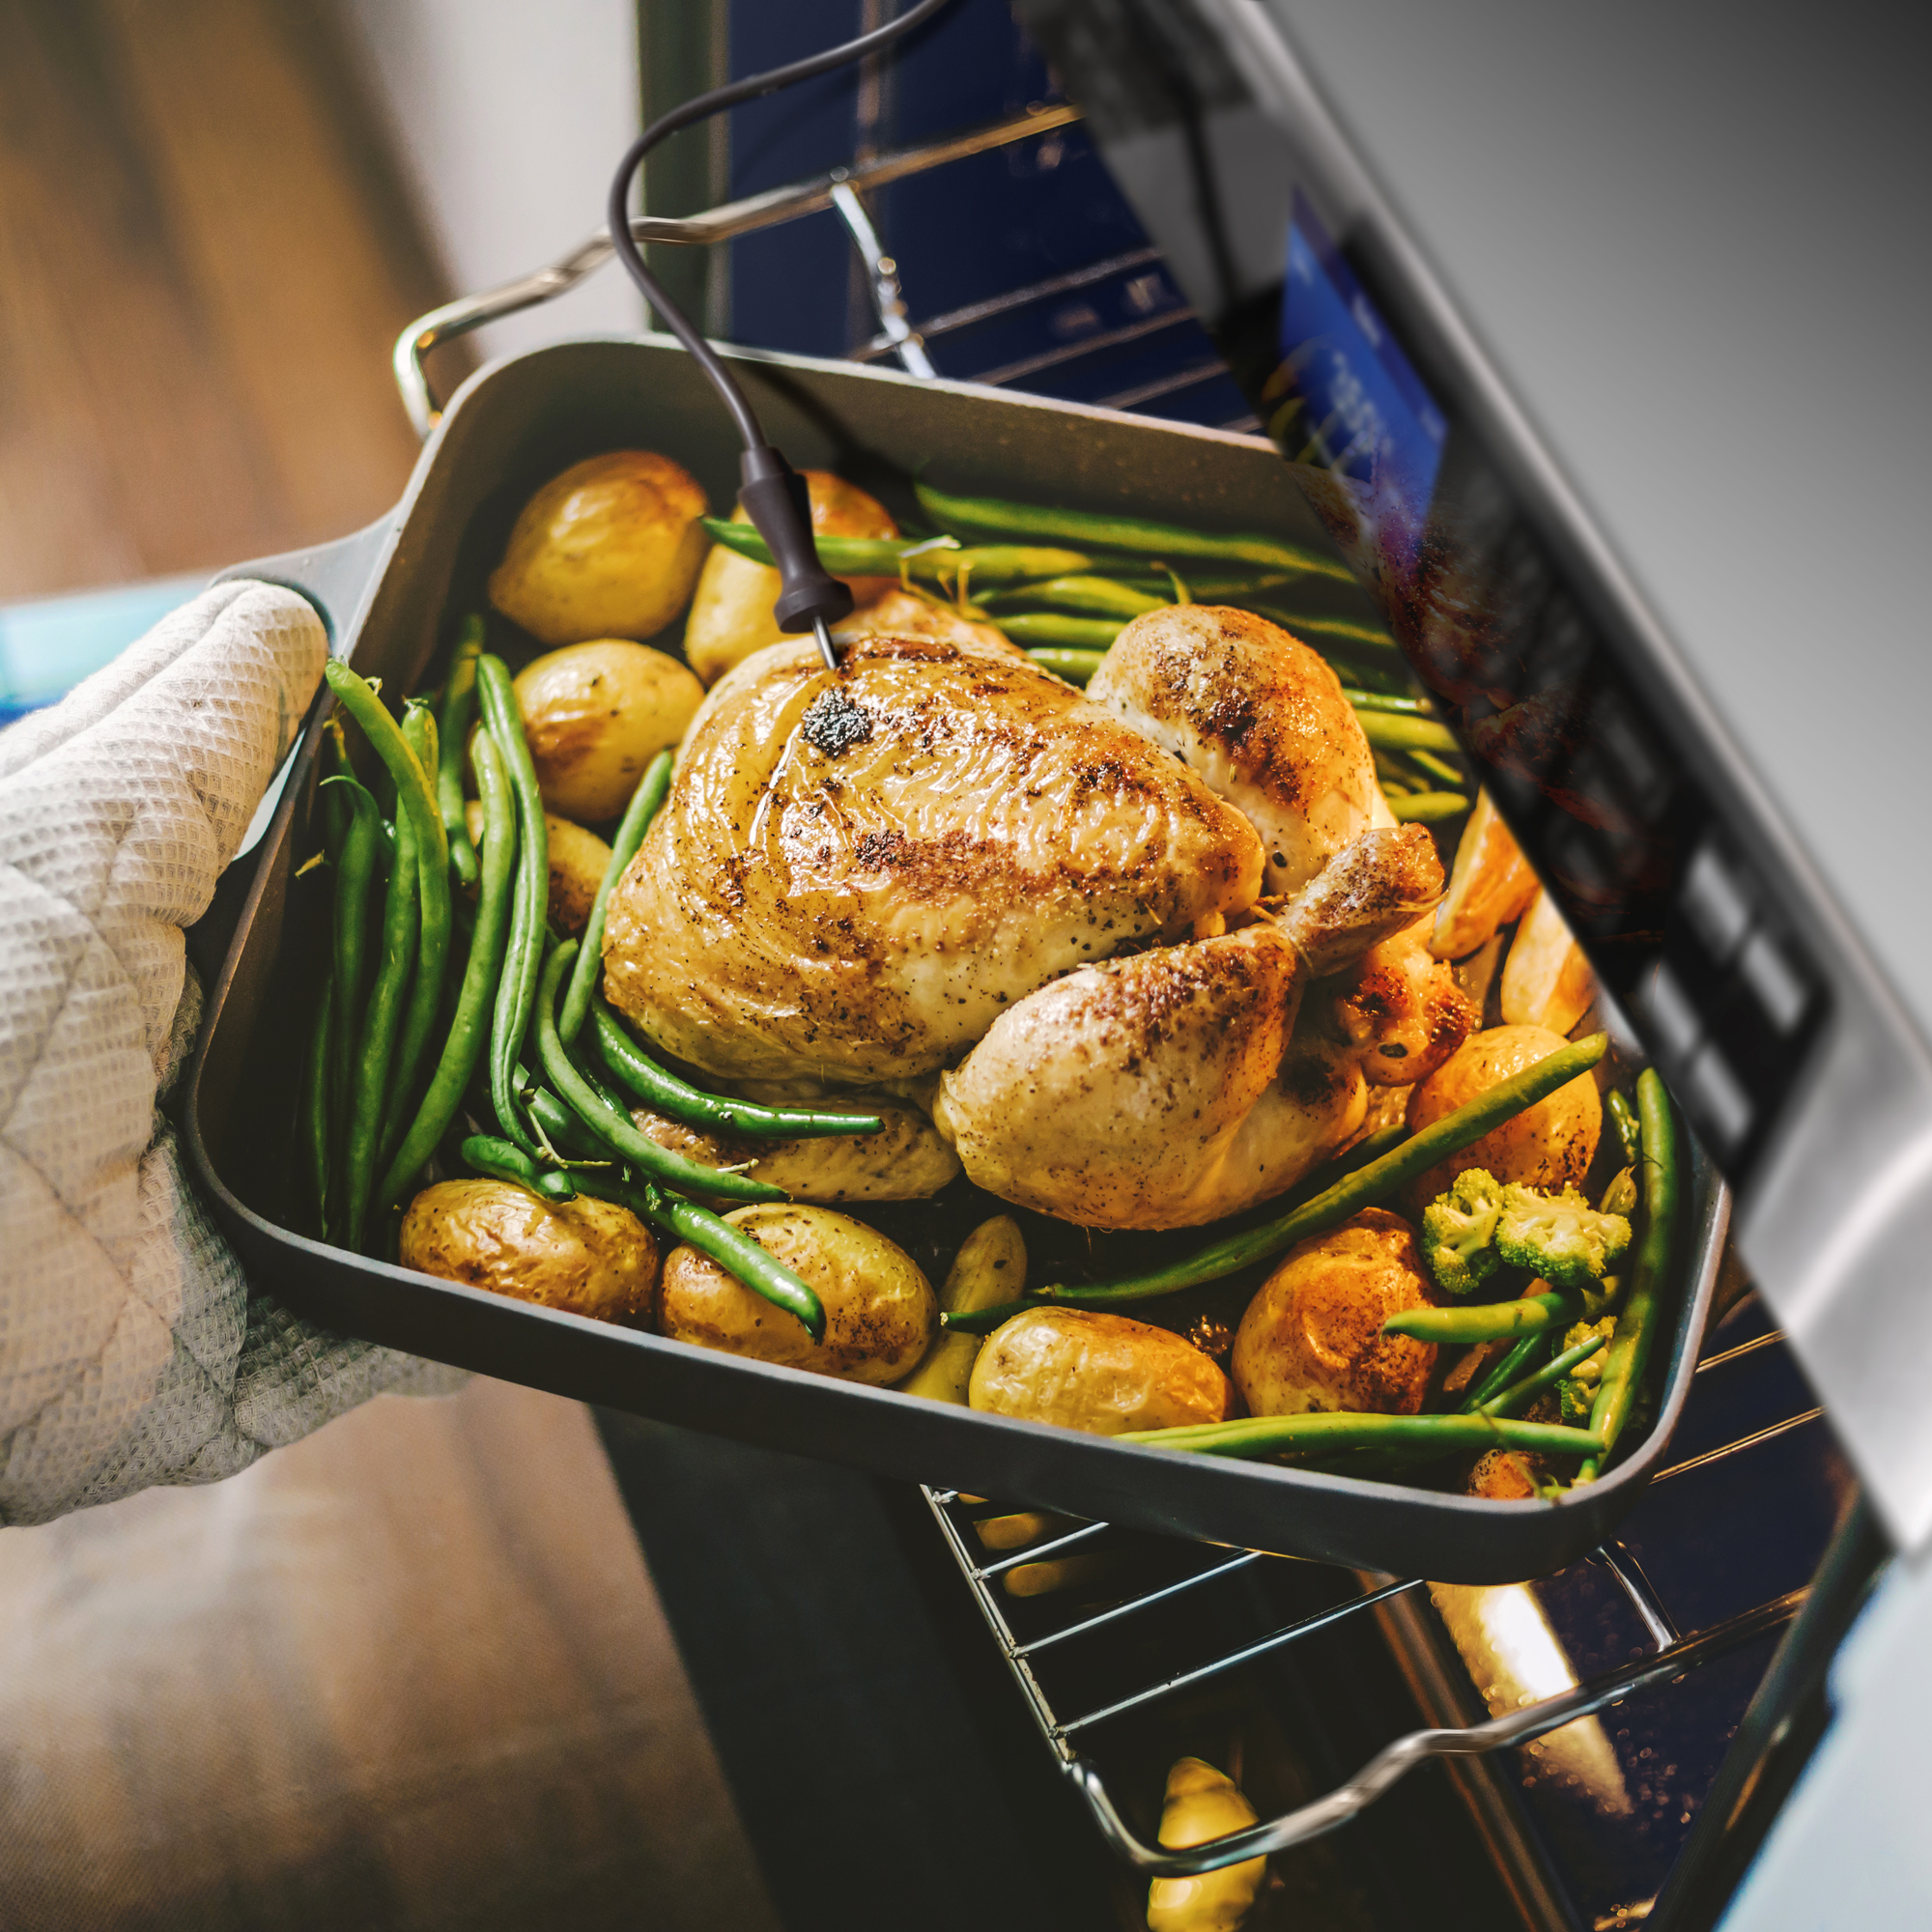
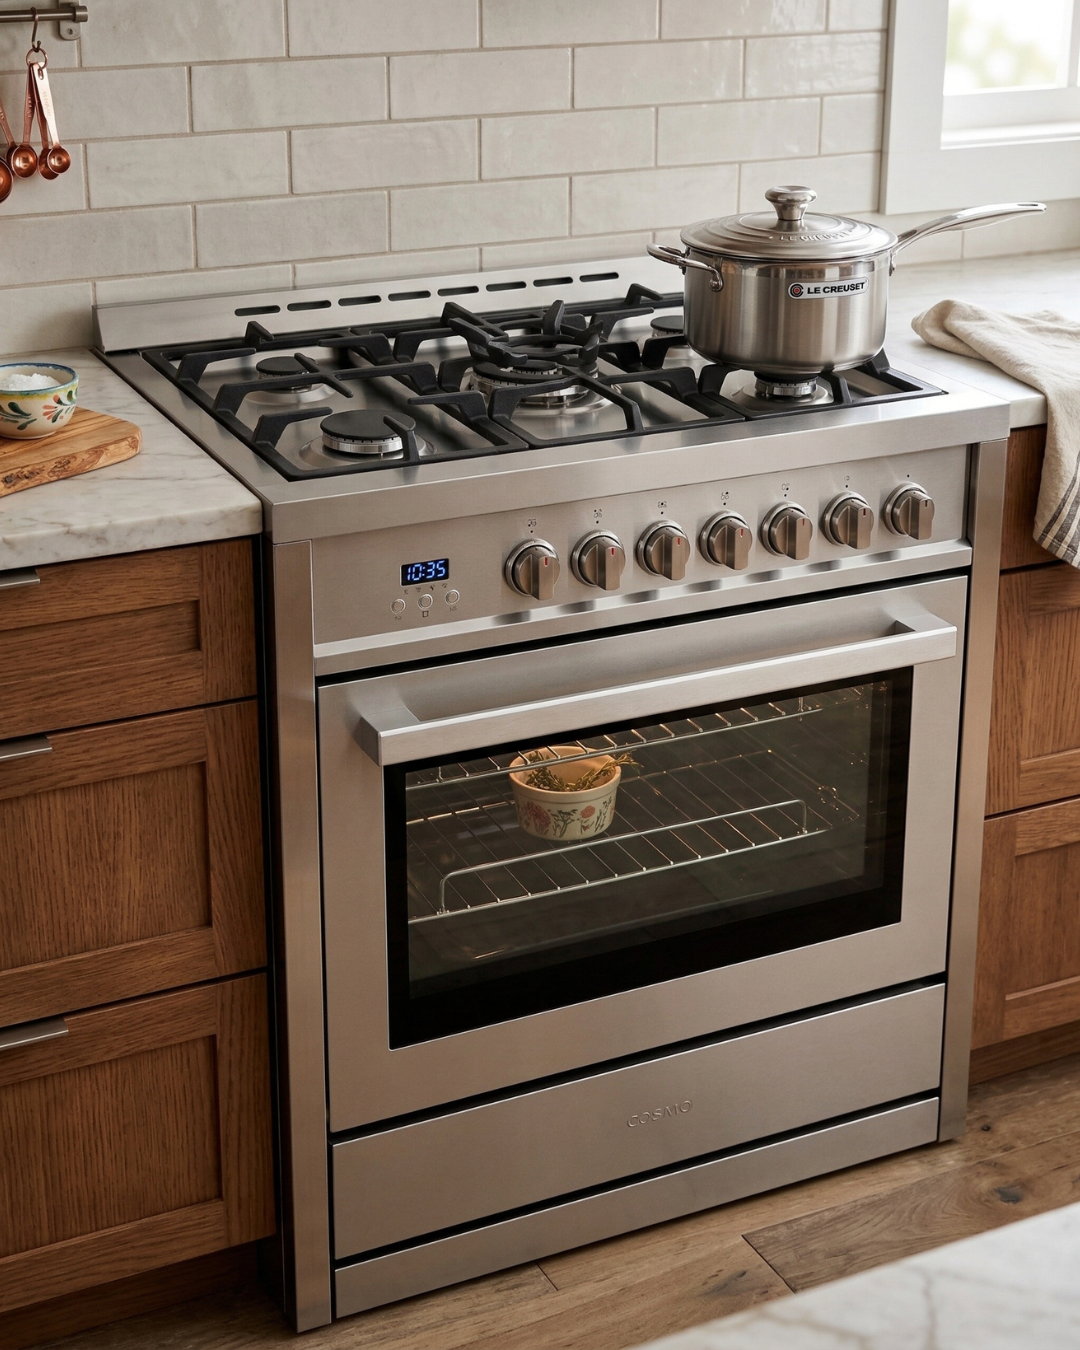
Gas ranges with wok grate attachments represent cooking solutions emphasizing Asian cooking versatility, gas burner precision, convection oven performance, and fuel flexibility through liquid propane conversion capability. The COS-965AGC from Cosmo’s AG Series delivers 36-inch freestanding gas range functionality through five sealed gas burners and convection oven technology, incorporating wok grate attachment providing stable platform for round-bottom wok cooking, 3.8 cubic feet convection oven capacity with fan-assisted heating for even cooking, four oven functions optimized for different cooking techniques, five sealed gas burners offering varied heat outputs for different cooking needs, full metal knobs providing heat-resistant durable controls, lower storage drawer adding storage space beneath oven for cookware, brushed stainless steel finish creating contemporary kitchen appearance, cast iron grates supporting heavy cookware, digital display with timer managing oven timing, interior oven lighting monitoring food progress, oven cavity cooling ventilation system dissipating heat safely, removable backsplash allowing freestanding or slide-in installation, broiler function providing high-heat top-down cooking, and LP conversion kit compatibility (sold separately) allowing natural gas or propane operation. This gas range serves households wanting Asian cooking capability with wok grate alongside convection baking performance in wider 36-inch format. The combination of wok grate attachment, convection technology, and generous 36-inch width addresses specialty cooking needs and oven capacity affecting cooking versatility and kitchen design. 36-Inch Freestanding Gas Range The wider 36-inch footprint accommodates five burners providing more cooking zones than standard 30-inch ranges, while freestanding design offers complete cooking solution with finished sides. Sizing of 36 inches exceeds standard 30-inch range width providing additional cooktop space. The extra width allows five-burner configuration offering more simultaneous cooking capacity. Freestanding format includes finished sides and rear panel allowing placement against walls without requiring surrounding cabinetry. The complete external finish enables traditional range positioning. Installation flexibility from freestanding design suits various kitchen layouts. The range functions independently without built-in cabinet integration. Width considerations require verifying available kitchen space accommodates 36-inch footprint. The larger size provides cooking benefits but demands adequate floor space. The 36-inch freestanding gas format represents wider residential cooking appliance serving households wanting expanded cooking capacity beyond standard 30-inch ranges. Five Sealed Gas Burners Multiple burner configuration provides cooking versatility through burner quantity allowing complex meal preparation using varied heat levels simultaneously across five cooking zones. Five-burner layout (specific BTU ratings not detailed) provides adequate cooking zones for serious meal preparation. The quantity handles typical dinner preparation plus additional cooking. Sealed burner design places burner beneath smooth cooktop surface preventing spills from entering burner assembly. Sealed construction simplifies cleaning compared to open burners. Burner variety (specific configurations not mentioned but typical five-burner layouts include high-output, standard, and simmer burners) provides heat range from gentle simmering to high-heat cooking. Cast iron grates support heavy cookware across burner surfaces. The durable grates withstand weight and provide stable cooking platform. The five sealed gas burners provide cooking flexibility through multiple zones allowing simultaneous preparation at different temperatures for complex meals. 3.8 Cubic Feet Convection Oven Convection technology with fan-assisted heating provides even temperature distribution throughout oven cavity improving baking consistency and reducing cooking times compared to standard ovens. Capacity measurement of 3.8 cubic feet represents substantial oven space in 36-inch range. The volume handles large roasting pans, multiple baking sheets, and family-size portions. Convection operation uses fan circulating heated air throughout oven creating consistent temperature eliminating hot and cold spots. The even heating improves baking results. Cooking time reduction from convection typically allows 25-degree temperature reduction or faster cooking compared to standard baking. The efficiency saves time and energy. Multiple rack positions (specific number not mentioned but proportional to capacity) accommodate varied food heights and allow using multiple racks simultaneously for batch baking. The 3.8 cubic feet convection oven provides substantial baking space with fan-assisted heating improving cooking evenness and efficiency compared to standard ovens. Wok Grate Attachment Specialty accessory provides stable platform for traditional round-bottom woks enabling authentic Asian cooking techniques requiring high heat and curved cookware on residential gas burners. Wok grate design (specific configuration not detailed but typically circular ring fitting over standard grate) supports round-bottom wok preventing tipping. The specialized support enables proper wok positioning. Asian cooking techniques like stir-frying require wok stability during vigorous food tossing. The grate provides secure platform preventing cookware movement during cooking. High-heat cooking benefits from gas burner direct flame heating wok bottom rapidly. The open flame creates temperature control Asian cooking demands. Removable attachment allows using standard flat-bottom cookware when wok cooking not needed. The grate stores when not in use maintaining cooktop versatility. The wok grate attachment provides essential equipment for authentic Asian cooking enabling round-bottom wok stability and proper heat exposure on residential gas range. Four Oven Functions Multiple cooking modes provide operational versatility beyond basic bake allowing specialized heating patterns optimized for different food types and cooking techniques. Four oven functions (specific modes not individually listed but typically including bake, broil, convection bake, and convection roast) accommodate varied cooking needs through dedicated heating patterns. Bake mode uses bottom heating element for traditional baking creating heat from below for breads, casseroles, and standard oven cooking. Broil function provides high-heat top-down cooking for browning, crisping, melting cheese, or finishing dishes requiring intense surface heat. Convection modes (likely including convection bake and convection roast) add fan-assisted heating to bake or roast functions improving evenness and efficiency. The four oven functions provide cooking versatility allowing the range to handle diverse recipes and techniques beyond basic baking operations. Full Metal Knobs and Digital Display Durable control interface combines heat-resistant metal knobs for burner operation with digital display showing oven temperature and timing functions providing both tactile control and electronic precision. Full metal knob construction withstands heat exposure better than plastic controls. Metal knobs maintain functionality and appearance despite proximity to active burners. Burner control through knobs provides tactile feedback and at-a-glance heat level indication through knob position. The mechanical interface proves intuitive for most users. Digital display shows oven temperature, timer countdown, and clock providing clear electronic readout. The display eliminates guessing about oven status.