cooking

Unique Recipes Featuring Pickled and Fermented Foods: A Tangy Twist for Your Kitchen

Pickled and fermented foods have been enjoyed for centuries, not just for their bold flavors but also for their health benefits. Rich in probiotics, these foods support gut health, aid digestion, and add a zesty touch to any dish. From tangy pickles to spicy kimchi, fermented and pickled ingredients can elevate your meals in surprising ways. Below are some unique recipes that bring out the best in pickled and fermented foods, offering creative twists on everyday dishes. Pickled Beet and Goat Cheese Salad Bright, earthy pickled beets pair beautifully with creamy goat cheese and fresh greens in this vibrant salad. Ingredients: Instructions: Kimchi Fried Rice Kimchi’s spicy, tangy flavor turns a simple bowl of fried rice into a bold, flavor-packed meal. This Korean-inspired dish is perfect for using up leftover rice and vegetables. Ingredients: Instructions: Pickled Red Onion and Avocado Tacos Give your tacos a tangy twist with quick-pickled red onions and creamy avocado. These plant-based tacos are fresh, flavorful, and perfect for a quick meal. Ingredients: Instructions: Fermented Dill Pickle Potato Salad Swap out regular pickles for fermented dill pickles in this refreshing take on a classic potato salad. The fermented pickles add a deeper, tangy flavor to the dish. Ingredients: Instructions: Miso-Marinated Grilled Eggplant Miso, a fermented soybean paste, adds an incredible umami depth to grilled vegetables. In this recipe, eggplant soaks up the savory miso marinade and develops a caramelized finish when grilled. Ingredients: Instructions: Incorporating pickled and fermented foods into your cooking adds layers of complexity and flavor while delivering health benefits. Whether you’re whipping up a simple salad or a hearty fried rice dish, these unique recipes offer creative ways to enjoy tangy, fermented ingredients. Give them a try, and discover how pickled and fermented foods can transform your meals!

How to Incorporate Gourmet Ingredients into Everyday Cooking in the Kitchen

Elevating your daily meals with gourmet ingredients doesn’t have to be reserved for special occasions. By incorporating high-quality, flavorful ingredients into your everyday cooking, you can transform simple dishes into culinary delights. Here’s how to infuse a touch of gourmet into your daily routine without breaking the bank. Start Small: Upgrading Basics 1 Use High-Quality Oils and Vinegars 2 Fresh Herbs and Spices Upgrade Your Proteins 1 Premium Meats and Seafood 2 Specialty Cheeses Enhance Vegetables and Grains 1 Specialty Vegetables 2 Gourmet Grains Experiment with Gourmet Condiments 1 Flavored Mustards and Sauces 2 Specialty Jams and Preserves Elevate Your Baking 1 High-Quality Chocolate 2 Specialty Flours Creative Ways to Use Gourmet Ingredients 1 Infused Oils and Butters 2 Elegant Presentations 3 Unique Pairings Budget-Friendly Tips 1 Buy in Bulk 2 DIY Infusions Incorporating gourmet ingredients into everyday cooking doesn’t require a complete overhaul of your kitchen or diet. By making small, thoughtful changes and experimenting with high-quality ingredients, you can enhance the flavor and sophistication of your meals. Whether it’s a splash of extra-virgin olive oil or a sprinkle of artisan cheese, these touches can make your daily dishes feel special and satisfying.

Cooking and Baking with Sugar Alternatives: A Guide to Healthier Sweetening

Sugar alternatives can be a game-changer in your kitchen, offering a way to reduce refined sugar intake while still enjoying the sweet flavors you love. Whether you’re baking, cooking, or simply looking to cut back on sugar, exploring these alternatives can lead to healthier and equally delicious results. Here’s a comprehensive guide to cooking and baking with sugar alternatives! Understanding Sugar Alternatives Before diving into recipes, it’s important to understand the various types of sugar alternatives available. They fall into several categories: Choosing the Right Alternative The choice of sweetener depends on the recipe and your personal preferences. Here’s a rundown of popular alternatives and how they work in cooking and baking: Baking with Sugar Alternatives When baking, sugar alternatives can affect texture, color, and taste. Here are some tips for successful baking: Cooking with Sugar Alternatives When cooking with sugar alternatives, the method can vary depending on the sweetener: Health Considerations Recipes to Try Here are a few recipe ideas to get you started with sugar alternatives: Cooking and baking with sugar alternatives can be a fun and rewarding way to enjoy your favorite treats while making healthier choices. Experiment with different sweeteners to find the perfect balance for your recipes and preferences. With these tips and a bit of creativity, you can create delicious, sweet dishes that fit your dietary needs!

Making Homemade Berry Preserves and Jams: A Sweet Delight

There’s something incredibly satisfying about making your own berry preserves and jams. The process not only fills your kitchen with delicious aromas but also allows you to enjoy the vibrant flavors of fresh berries all year long. Whether you’re looking to make a gift for someone special or just want to stock up on homemade goodies, this guide will walk you through the steps to create your own berry preserves and jams. Choosing Your Berries 1 Selecting Fresh Berries For the best results, use fresh, ripe berries. Common choices include strawberries, raspberries, blueberries, blackberries, and a mix of these. Opt for berries that are free from mold and bruising. 2 Frozen Berries If fresh berries are not available, frozen berries work well. Just be sure to thaw them completely and drain any excess liquid before using. Essential Equipment 1 Canning Jars Choose canning jars with new, clean lids. Pint or half-pint jars are ideal for preserves and jams. 2 Large Pot and Utensils You’ll need a large pot for cooking the fruit mixture and a ladle for transferring the hot jam into jars. A canning funnel can help pour the jam into jars without spills. 3 Canning Tools Invest in a canning kit that includes tongs for handling hot jars, a magnetic lid lifter, and a jar lifter to safely remove jars from the hot water bath. Preparing the Berries 1 Washing and Sorting Rinse the berries thoroughly under cold water. Remove any stems, leaves, and damaged berries. 2 Mashing or Chopping Depending on the type of jam or preserve you want, mash the berries with a fork or potato masher for a smoother texture, or chop them if you prefer chunkier preserves. Making the Jam Basic Berry Jam Recipe Preserves vs. Jam 1 Preserves have larger pieces of fruit and a chunkier texture. To make preserves, cook the fruit with less pectin and allow the mixture to thicken with larger fruit chunks remaining. 2 Jam has a smoother texture and is made with more fruit pectin, resulting in a thicker consistency. For jam, mash the fruit to a finer consistency before cooking. Flavor Variations 1 Spiced Berry Jam Add spices like cinnamon, cloves, or nutmeg to your berry mixture for a unique twist. 2 Citrus Twist Incorporate orange or lime zest along with the lemon juice for an extra burst of citrus flavor. 3 Mixed Berry Blend Combine different types of berries for a complex, multi-layered flavor in your preserves and jams. Storage and Shelf Life Store homemade berry preserves and jams in a cool, dark place. Properly canned jars can last up to a year. Once opened, refrigerate and use within a few weeks. Making your own berry preserves and jams is a rewarding and enjoyable activity that allows you to savor the taste of summer all year long. With a bit of time and effort, you can create delicious, homemade treats that are perfect for breakfast, snacks, or gifts. Enjoy the process and the delightful results of your homemade berry preserves!

How to Temper Chocolate for Baking and Confectionery

Tempering chocolate is an essential skill for any baker or confectioner aiming to create glossy, smooth, and perfectly set chocolate treats. Properly tempered chocolate has a professional finish, a satisfying snap, and a smooth texture that melts beautifully. Whether you’re making chocolates, dipping fruits, or coating cakes, understanding how to temper chocolate can elevate your confections to the next level. Here’s a step-by-step guide to tempering chocolate for baking and confectionery. What is Tempering Chocolate? Tempering chocolate is the process of heating and cooling chocolate to stabilize the cocoa butter crystals, ensuring that the chocolate has a smooth texture and a glossy finish when it sets. Proper tempering helps prevent chocolate from becoming dull or developing unsightly streaks and ensures it has a satisfying snap when broken. Why Temper Chocolate? Ingredients and Tools Needed Methods for Tempering Chocolate There are three common methods for tempering chocolate: the Seeding Method, the Tabling Method, and the Microwave Method. Here’s how to use each method effectively. 1. Seeding Method Steps: 2. Tabling Method Steps: 3. Microwave Method Steps: Tips for Success Tempering chocolate may seem like a delicate process, but with a bit of practice and the right technique, you can achieve beautifully finished confections every time. Whether you’re creating elegant chocolate candies, coating fruits, or decorating cakes, mastering the art of tempering will help you create treats with a glossy finish, satisfying snap, and smooth texture. So grab your chocolate, gather your tools, and start tempering! Have you tried tempering chocolate before? Share your tips and experiences in the comments!

Unique Recipes Featuring Exotic Fruits: A Culinary Adventure

Exotic fruits bring a touch of the extraordinary to your kitchen, offering unique flavors, vibrant colors, and nutritional benefits that can transform ordinary dishes into extraordinary ones. From tangy to sweet, these fruits can be used in a variety of recipes to add a new dimension to your meals. If you’re ready to explore the world of exotic fruits, here are some unique recipes that highlight their delightful flavors and textures. Dragon Fruit Smoothie Bowl Dragon fruit, also known as pitaya, is a visually stunning fruit with a mildly sweet taste. Its vibrant pink or white flesh is dotted with tiny black seeds and has a texture similar to kiwi. Ingredients: Instructions: Papaya and Lime Chicken Salad Papaya adds a tropical twist to a classic chicken salad. Its sweetness complements the tangy lime dressing and crunchy vegetables. Ingredients: Instructions: Mango and Avocado Salsa Mango’s sweet and juicy flavor pairs beautifully with creamy avocado, making it a perfect complement to grilled meats or as a standalone dip. Ingredients: Instructions: Starfruit and Ginger Chutney Starfruit, also known as carambola, has a crisp texture and a tangy flavor that works well in a sweet and spicy chutney. It’s an excellent accompaniment to curries or grilled meats. Ingredients: Instructions: Passion Fruit Sorbet Passion fruit’s tangy, aromatic flavor makes it an ideal choice for a refreshing sorbet. This dessert is perfect for hot summer days or as a light finish to a meal. Ingredients: Instructions: Kumquat Marmalade Kumquats are small citrus fruits with a sweet-tart flavor. Their entire peel is edible, making them ideal for marmalade. Ingredients: Instructions: Exploring exotic fruits can add excitement and variety to your cooking. Whether you’re making a refreshing smoothie bowl, a zesty salsa, or a tangy chutney, these fruits offer unique flavors that can elevate your dishes and impress your taste buds. So don’t be afraid to step out of your culinary comfort zone and experiment with these exotic fruits. Your taste buds will thank you! Have you tried cooking with exotic fruits? Share your favorite recipes and experiences in the comments!

Blending Your Own Herb Mixes: A Fresh Approach to Flavor

Herbs are the unsung heroes of the kitchen, elevating dishes with their vibrant flavors and aromatic profiles. While pre-made herb mixes are convenient, blending your own can be a game-changer, allowing you to customize flavors to suit your taste and dietary preferences. Whether you’re a seasoned cook or a kitchen newbie, creating your own herb mixes is a fun and rewarding way to enhance your culinary creations. Here’s a guide to help you get started with blending your own herb mixes at home. Why Blend Your Own Herb Mixes? Essential Herbs to Start With When creating your own herb blends, it’s important to choose high-quality, fresh herbs. Here are some versatile herbs to consider: Basic Steps to Blend Your Own Herb Mixes Popular Herb Mixes to Try Tips for Success Blending your own herb mixes is a simple yet impactful way to elevate your cooking. With a little experimentation and creativity, you can create personalized blends that enhance your favorite dishes and bring new dimensions of flavor to your kitchen. So gather your herbs, start mixing, and enjoy the fresh, vibrant flavors of your homemade herb blends! Have you tried blending your own herb mixes? Share your favorite combinations in the comments!

Cooking Techniques to Enhance the Flavor of Fungi

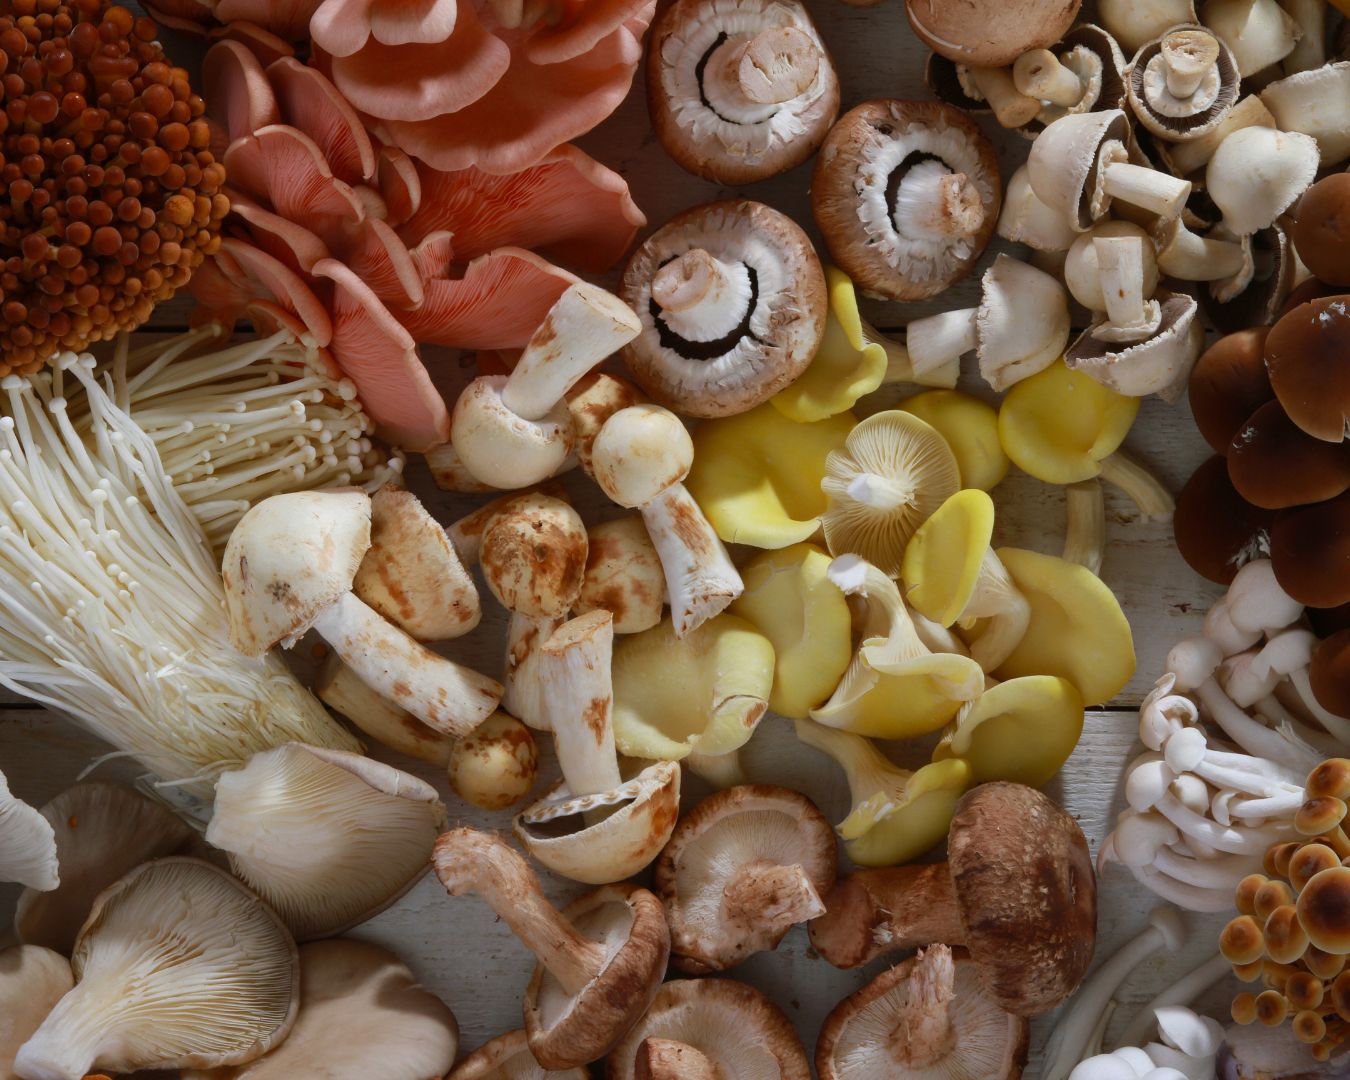
Mushrooms, a favorite in kitchens around the world, are packed with earthy, umami-rich flavors that can elevate any dish. Whether you’re working with common varieties like button mushrooms or more exotic types like shiitake or oyster, cooking techniques can significantly enhance their flavor and texture. In this post, we’ll explore some of the best methods to bring out the deliciousness of fungi and take your culinary creations to the next level. Sautéing: A Simple Yet Effective Technique Sautéing is one of the most straightforward ways to cook mushrooms, but the key is to do it properly to bring out their deep, savory flavors. How to Do It: Why It Works: Mushrooms are over 80% water, and sautéing helps to evaporate excess moisture while caramelizing the surface. This browning enhances their natural umami flavor, resulting in a more intense taste. Roasting: Intensifying Flavors Through High Heat Roasting mushrooms is another excellent method to concentrate their flavors. The high, dry heat of the oven brings out their natural sweetness and adds a subtle crispiness. How to Do It: Why It Works: Roasting dehydrates mushrooms slightly, concentrating their flavor and creating a meatier, more robust texture. Grilling: A Smoky Flavor Boost Grilling mushrooms is a fantastic way to add a smoky, charred flavor that complements their natural earthiness. Larger mushrooms, like portobellos or king oysters, are particularly well-suited for the grill. How to Do It: Why It Works: The grill imparts a smoky depth to the mushrooms, while the direct heat caramelizes their natural sugars, enhancing their richness and texture. Braising: Rich, Savory Flavor Infusion Braising involves cooking mushrooms in a flavorful liquid over low heat, infusing them with additional aromas and complexity. This method is perfect for dishes like stews or risottos, where you want the mushrooms to take on the flavor of the cooking liquid. How to Do It: Why It Works: Braising infuses the mushrooms with additional flavors while breaking down their fibers, making them tender and deeply flavorful. Dry Searing: Maximizing Umami Dry searing is an unusual but highly effective way to maximize the umami flavor of mushrooms. This technique involves cooking mushrooms without any oil or fat to allow them to release and concentrate their natural juices. How to Do It: Why It Works: By drawing out the mushrooms’ moisture through dry searing, you concentrate their umami flavor, leading to an incredibly rich and intense taste. Marinating: Enhancing Flavor Before Cooking Marinating mushrooms is a fantastic way to add depth before cooking. The porous nature of mushrooms allows them to absorb flavors from marinades, adding complexity to their natural taste. How to Do It: Why It Works: The marinade permeates the mushrooms, infusing them with complementary flavors that enhance their umami profile. Using Dried Mushrooms for a Flavor Boost Dried mushrooms, such as porcini or shiitake, are incredibly potent and can be used to intensify the flavor of dishes. Rehydrating them in hot water releases their concentrated flavor, which can be used both in the mushrooms and the soaking liquid. How to Do It: Why It Works: Dried mushrooms have an intensified flavor compared to fresh ones. When rehydrated, they add a depth of flavor that can transform simple dishes into something extraordinary. Mushrooms are incredibly versatile and can be transformed through various cooking methods, each enhancing their natural umami flavor in different ways. Whether you’re sautéing, roasting, grilling, or braising, experimenting with these techniques can help you discover new depths of flavor and texture in this humble ingredient. So the next time you’re cooking with fungi, try out one of these methods and enjoy the rich, earthy flavors that mushrooms bring to your meals!

Safety Features in Modern Cooktops: Enhancing Kitchen Safety

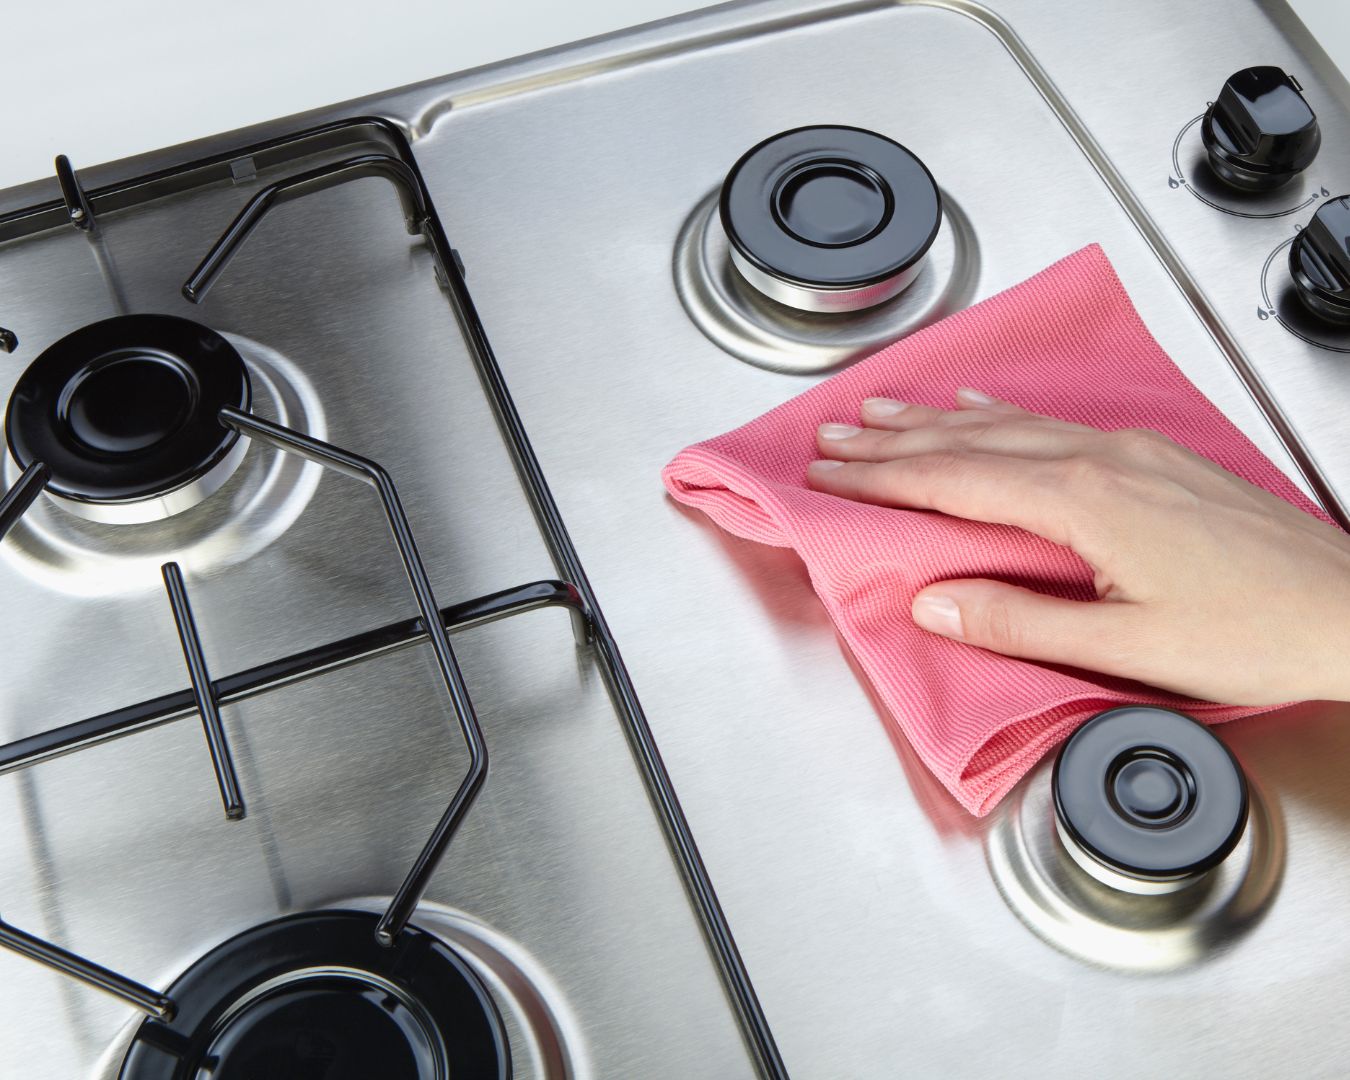
The modern kitchen is not only a space of creativity but also a place where safety is paramount. As cooking technology has advanced, so too have the safety features integrated into cooktops. Today’s cooktops are designed with a variety of mechanisms to ensure that you can enjoy the culinary experience with peace of mind. Let’s explore some of the essential safety features in modern cooktops that are helping make kitchens safer than ever before. Auto Shut-Off Feature One of the most valuable safety features in modern cooktops is the auto shut-off mechanism. This feature automatically turns off the cooktop after a certain period of inactivity or if the temperature exceeds a safe threshold. This reduces the risk of fires or overheating, particularly if you accidentally leave a burner on or forget that something is cooking. Induction and electric cooktops often come with this feature, giving you extra reassurance in the kitchen. Child Lock For families with young children, the child lock feature is a lifesaver. This safety function prevents kids from accidentally turning on the cooktop or adjusting the settings. Most modern cooktops, particularly those with digital controls, come equipped with a child lock option. By pressing a sequence of buttons, you can lock the controls so that they are non-responsive until unlocked. This feature helps to avoid potential burn injuries or accidents when curious little hands are around. Residual Heat Indicators Cooktops can retain heat long after you’ve turned them off, and this residual heat poses a burn hazard if touched unknowingly. Modern cooktops, especially ceramic and induction types, are equipped with residual heat indicators. These lights remain on as long as the surface is still too hot to touch, offering a visual cue to stay away until it’s safe. Once the cooktop cools down to a safe temperature, the indicator light will turn off. Pan Detection in Induction Cooktops Induction cooktops have transformed kitchen safety by incorporating intelligent pan detection. This technology ensures that heat is only generated when a suitable pan is placed on the cooking zone. If there’s no pan, or if the pan is removed, the cooktop won’t generate heat. This feature significantly reduces the risk of accidental burns or fires, making induction cooktops one of the safest options available. Overheat Protection Overheat protection is another critical safety feature in many modern cooktops. This function monitors the temperature of the cooking surface and will automatically turn off the heat if it detects that the temperature is getting too high. Overheating can happen when pots are left unattended or when the cooktop is used at high temperatures for extended periods. This feature helps to prevent damage to the appliance and minimizes the risk of kitchen fires. Flame Failure Device (FFD) for Gas Cooktops For those who prefer the traditional feel of gas cooktops, safety hasn’t been left behind. Modern gas cooktops often come equipped with a Flame Failure Device (FFD). This feature automatically cuts off the gas supply if the flame is extinguished, preventing dangerous gas leaks. Whether due to a draft, spill, or the flame simply going out, the FFD ensures that gas is not released into the kitchen, thus significantly reducing the risk of explosions or fires. Temperature Limiters Temperature limiters are another excellent feature in modern electric and induction cooktops. These devices prevent the cooktop from reaching temperatures that could cause damage to the cooktop or pose a fire risk. The limiter controls the maximum heat output, ensuring that the surface doesn’t overheat, which is especially useful for reducing the risk of overheating non-stick cookware or other delicate kitchen tools. Timer Functions Many modern cooktops come with integrated timer functions, allowing you to set a cooking time for each burner or cooking zone. Once the set time has elapsed, the cooktop will automatically turn off. This feature is particularly useful for multitasking in the kitchen, as it prevents food from overcooking or burning while ensuring that the cooktop is not left on longer than needed. As the heart of the home, the kitchen should be a safe space for everyone. Modern cooktops are designed with a multitude of safety features that enhance both convenience and security. Whether you’re using an induction, electric, or gas cooktop, these safety advancements allow you to focus on cooking delicious meals while minimizing risks. From auto shut-off functions to child locks, these innovations ensure that your kitchen is equipped with the tools to protect you and your family, creating a safer, smarter cooking environment. By investing in a cooktop with advanced safety features, you’re not only upgrading your kitchen’s functionality but also safeguarding your home.

Appliance Talk: Difference Between a Rangetop & Cooktop?

When remodeling your kitchen, or designing a brand new one, then you’ll need to think about which appliances you need. There are essential appliances every well designed kitchen needs and this includes a cooking appliance such as you range or a cooktop to cook on. Will you choose a range top or cooktop? To make your purchase with confidence we have decided to break it down for ya! In this comparison between the range top vs cooktop, you will discover the similarities and differences between these two kitchen applications. First, Let’s discuss the similarities. Rangetops and cooktops have either gas or electric models, and either one offers the ability to have a more flexible kitchen layout, so oven and rangetop or cooktop can be placed separately. Now, on to the differences. The major difference between rangetops and cooktops is the control features and installation method, which will determine how your countertop and cabinets are designed. The Pros of a Range Top These are the perks: A rangetop is very much like a hybrid of a range and a cooktop. rangetop slides into an opening directly into your countertops Range tops are sturdy and can handle heavy use. Range tops can either be powered by electric or gas. Range tops have knobs and controls on the front, which come in handy when trying to manage you’re cooking with multiple items on the burners. Range tops have a larger cooking surface. Range tops typically come with more professional features than others of its kind on the market. Like the sound of these Pros? CLICK HERE The Cons of a Range Top These aren’t exactly cons but these are a few things to consider. The front knobs and controls of the range top may be a safety concern where small children are concerned.  Range tops may be too large and bulky for smaller kitchens. The Pros of a Cooktop Cooktops have their pros too that make them a popular choice among many people. Cooktops are available in electric, gas, or induction cooking methods.  In general a Cooktop are smaller than Rangetops so they take up less space in your kitchen. The knobs and controls of cooktops are found on top of the unit. This allows an increased level of safety since they are more difficult for young kids to reach. Cooktops are often easier to clean. Like the sound of these Pros? CLICK HERE The Cons of a Cooktop Cooktops have they’re drawbacks, too! Cooktops are more compact, with less room or space to move around. Cooktops often come with less professional features than range tops do. Rangetops are going to require more space but they are perfect for those who do a lot of cooking and want the normal grates and feeling of a stove top. On the other hand, if space, efficiency, and simple is what you are after, then a cooktop may be your ideal appliance. When determining which one is right for your kitchen before you waste your money, consider the following: The size of your kitchen is going to have a great impact on which one you choose. You will need to determine the space available and how much of it you are willing to give up. Determine the amount of cooking you typically do you are going to need something hefty, sturdy, and large to withstand your level of use. Think about the method of cooking electric, gas, or induction? What level of professional features are you looking for, do you prefer something simpler or more advanced for your needs? Getting a new appliance for your kitchen is always exciting. However, it is important to remember that appliances are not the type of item you buy on a whim. They require installation and space, in addition to the purchase itself.